
38 Ways to Separate Your Bed in a Studio Apartment (Renter-Friendly)
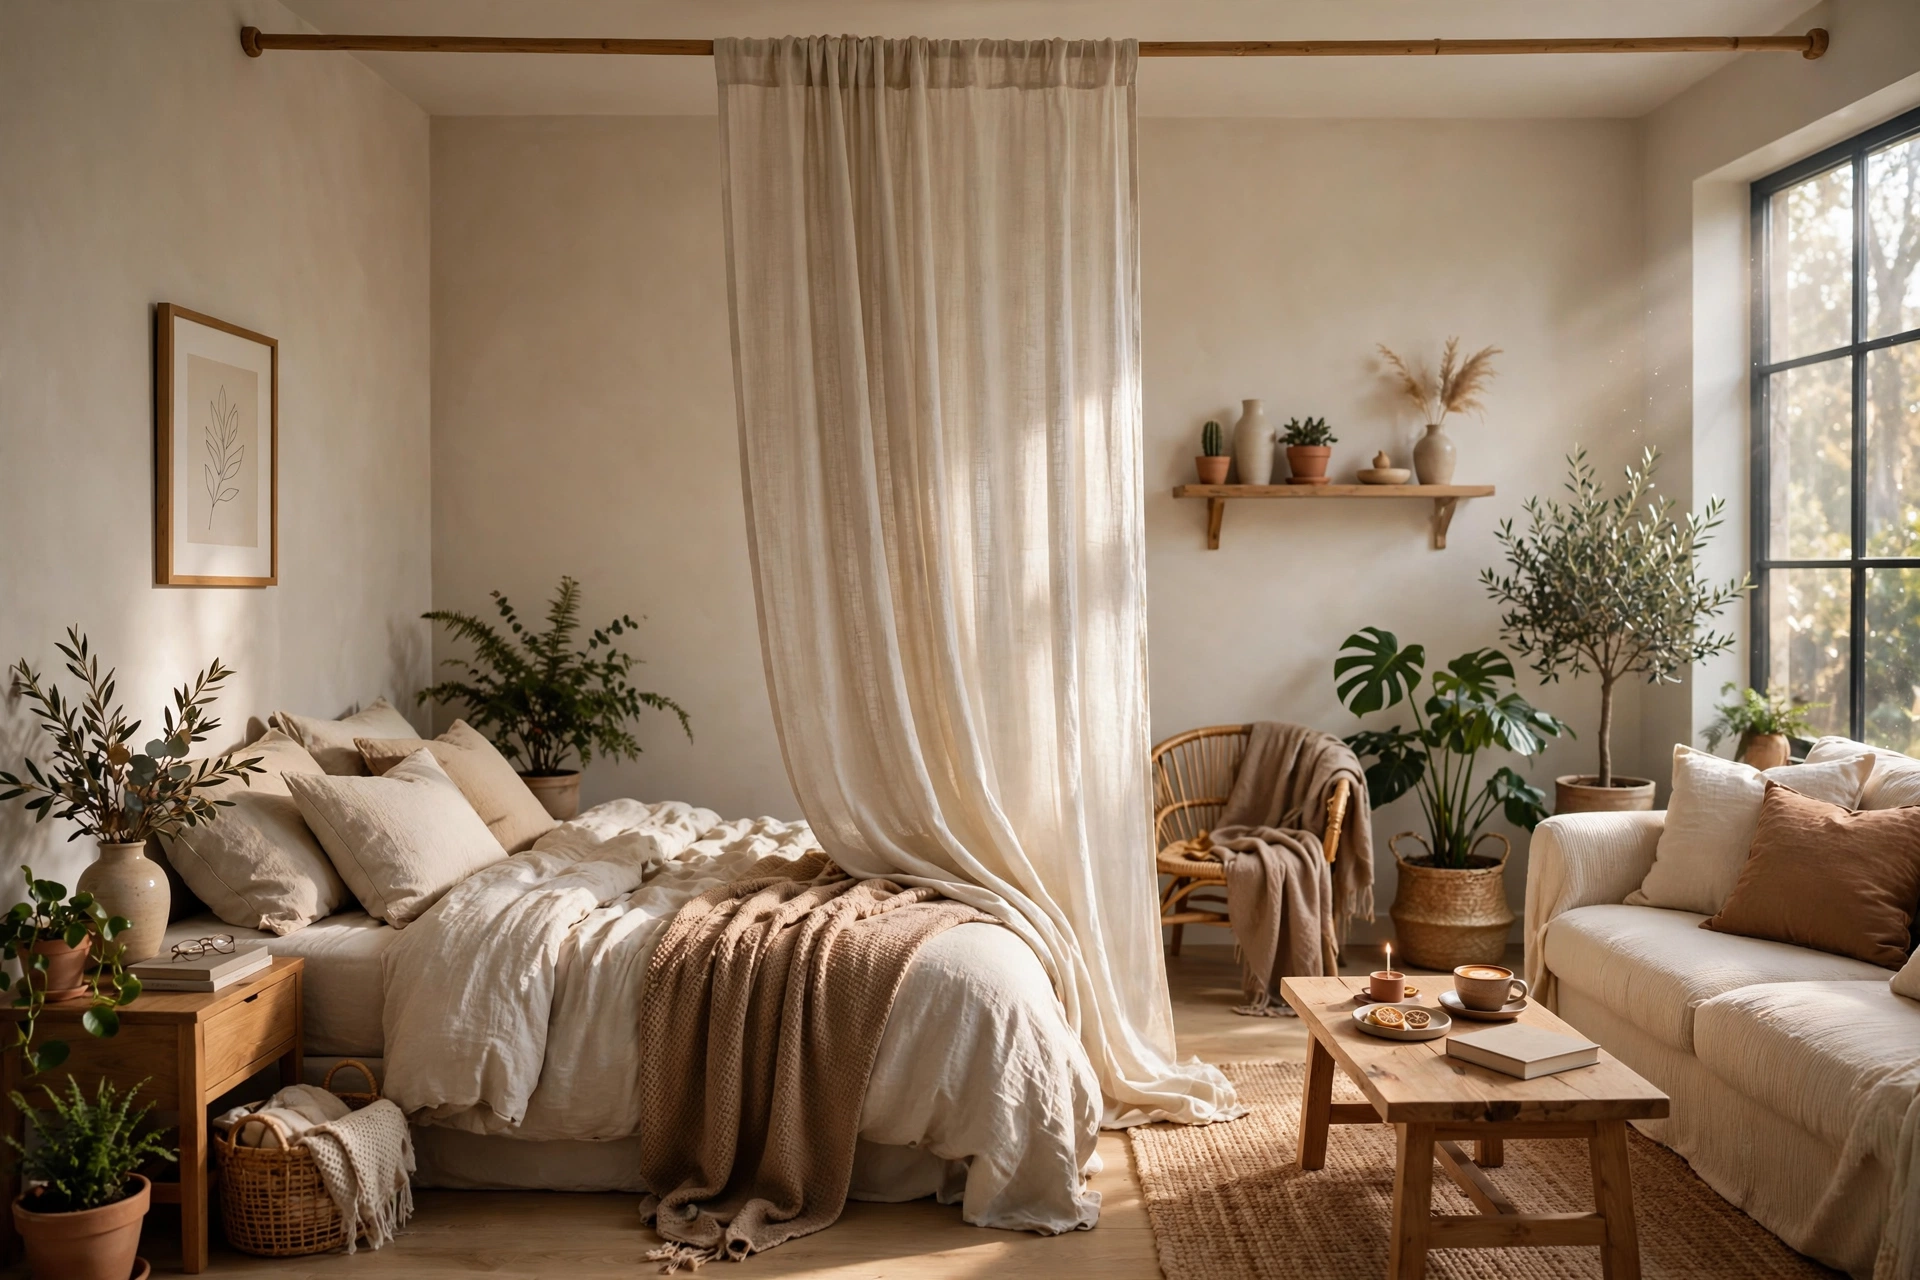
There’s a special kind of tired that comes from falling asleep staring at your couch, your desk, and the dishes you meant to wash. When your bed sits three feet from your living room, your brain never fully switches into rest mode — and no matter how cute your bedding is, the whole apartment still reads as “one room with a bed in it.”
Here’s the good news: learning how to separate your bed in a studio apartment is one of the highest-impact upgrades a renter can make. You don’t need a bigger apartment or a landlord’s permission. A simple curtain, a bookshelf turned sideways, or even a clever rug can carve out a sleeping nook that genuinely feels like a bedroom — most of these ideas cost under $150 and come down cleanly when your lease ends.
Below are 38 renter-friendly ways to create that separation, grouped by approach so you can jump straight to what fits your budget, your lease, and your style. And if you want the bigger picture on dividing studio space beyond just the bed zone, check out our full guide to studio apartment divider ideas for renters.
9 Time-Tested Ways to Separate Your Bed
These nine classics earned their spot — they’re the most-loved, most-pinned bed separation ideas for a reason. If you’re new to studio living, start here.
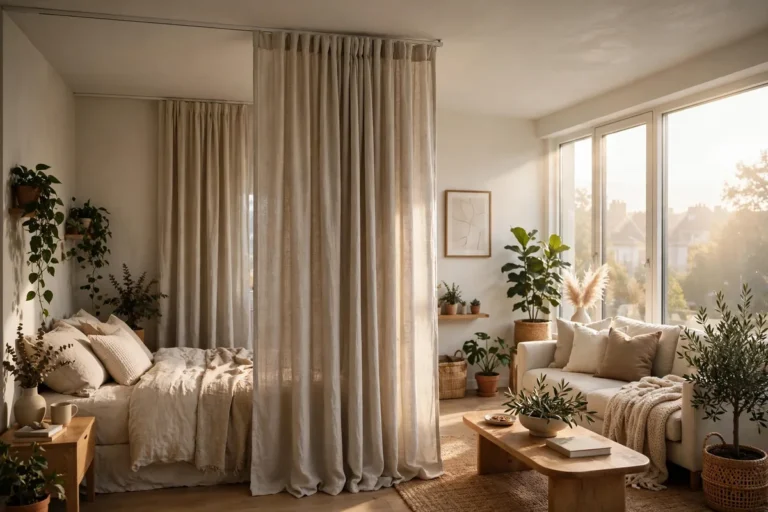
1. Ceiling-Track Curtain Divider
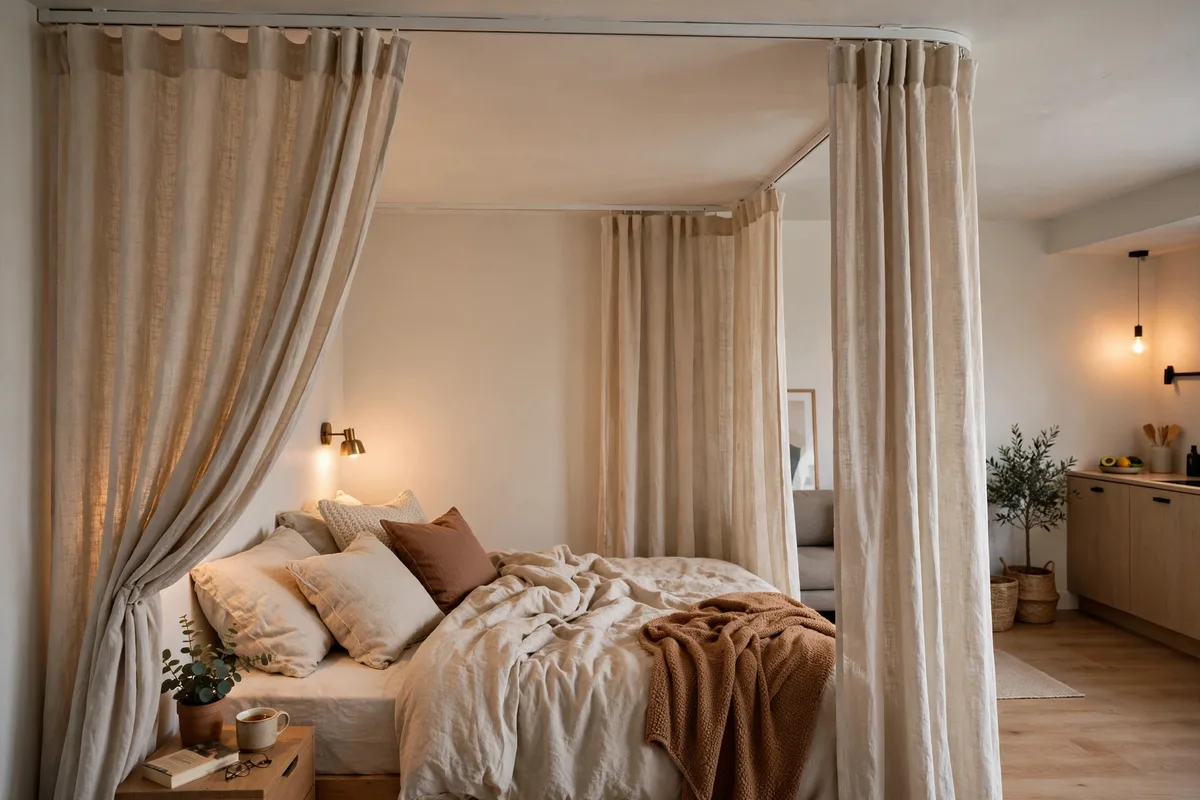
The classic for a reason: mount a ceiling track (IKEA’s VIDGA system is the go-to) and hang floor-length linen or cotton panels around your bed zone. Warm neutrals make the sleeping area feel like its own little room, and you can sweep the curtains open during the day so the studio never feels cramped. Expect to spend $40–$120 for the track plus panels, and it’s fully renter-friendly with adhesive ceiling mounts or a tension-mounted track. Pro tip: hang the panels as close to the ceiling as possible — the extra height makes both zones feel taller.
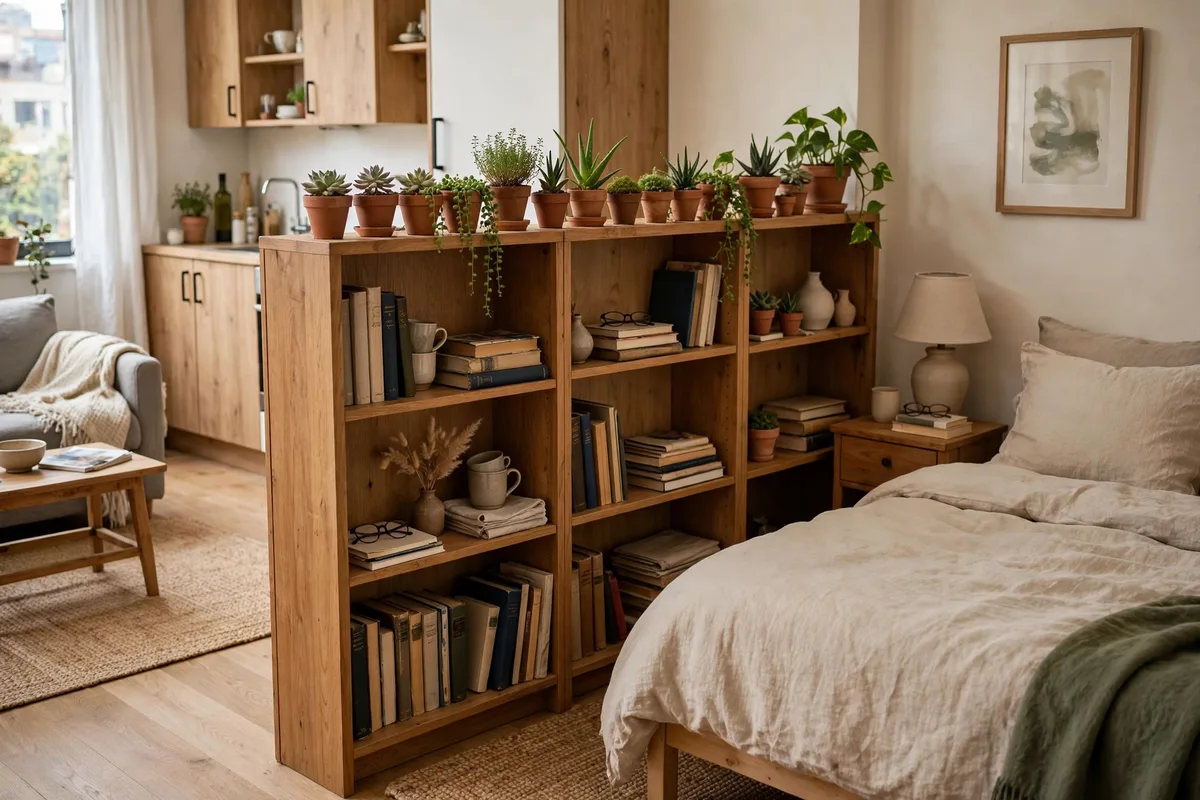
2. Bookshelf Divider
Turn a low or mid-height bookshelf perpendicular to the wall and you’ve built a wall you can actually use. Face the shelves toward the living area for books and decor, and the back becomes a solid, headboard-like backdrop behind your bed. IKEA’s KALLAX is the studio dweller’s best friend here — $70–$200 depending on size — and it’s 100% freestanding, so your deposit is safe. Pro tip: leave the top row of cubes empty or style them with trailing plants so light still flows over and the room doesn’t feel boxed in.
3. Folding Screens
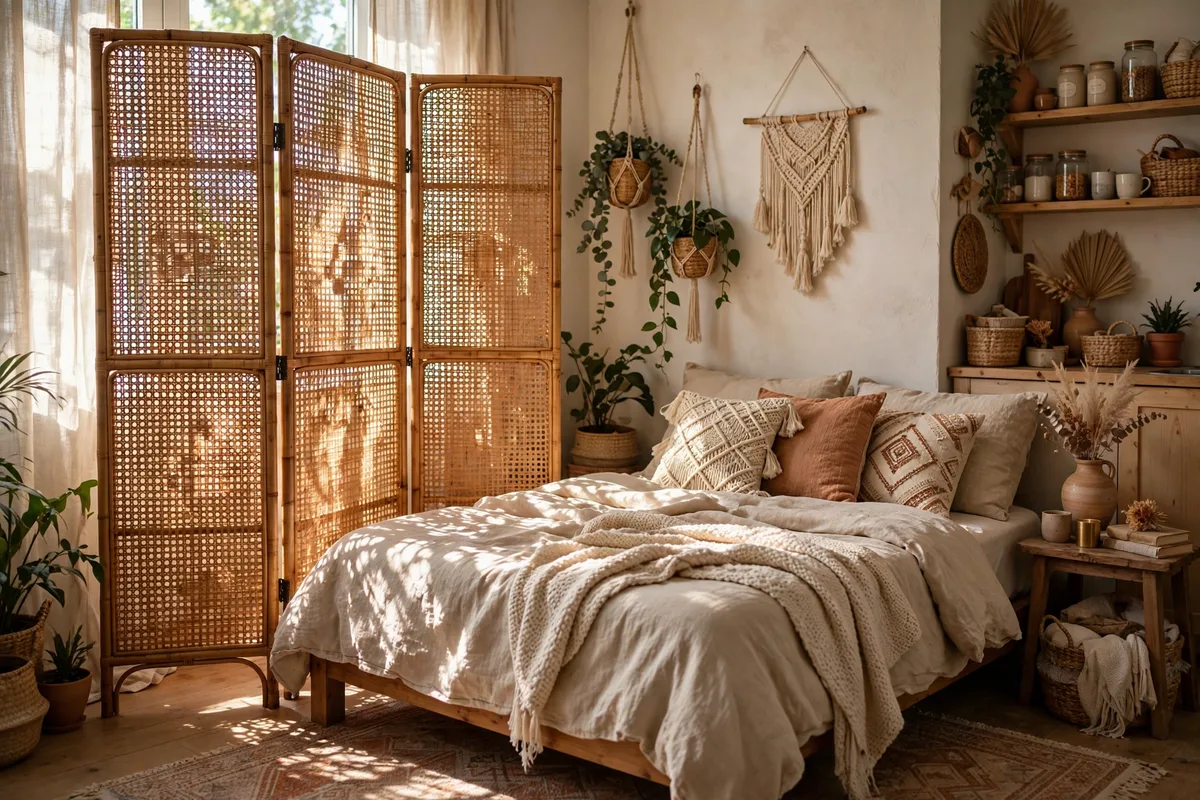
Three-panel folding screens are the original studio hack. Look for rattan, cane webbing, or upholstered fabric — they add gorgeous texture while letting light filter through, so your bed corner feels private but never gloomy. Expect $50–$150 on Amazon or Wayfair, and there’s literally zero installation. Pro tip: angle the panels slightly instead of standing them straight — it looks more intentional and catches the light beautifully.
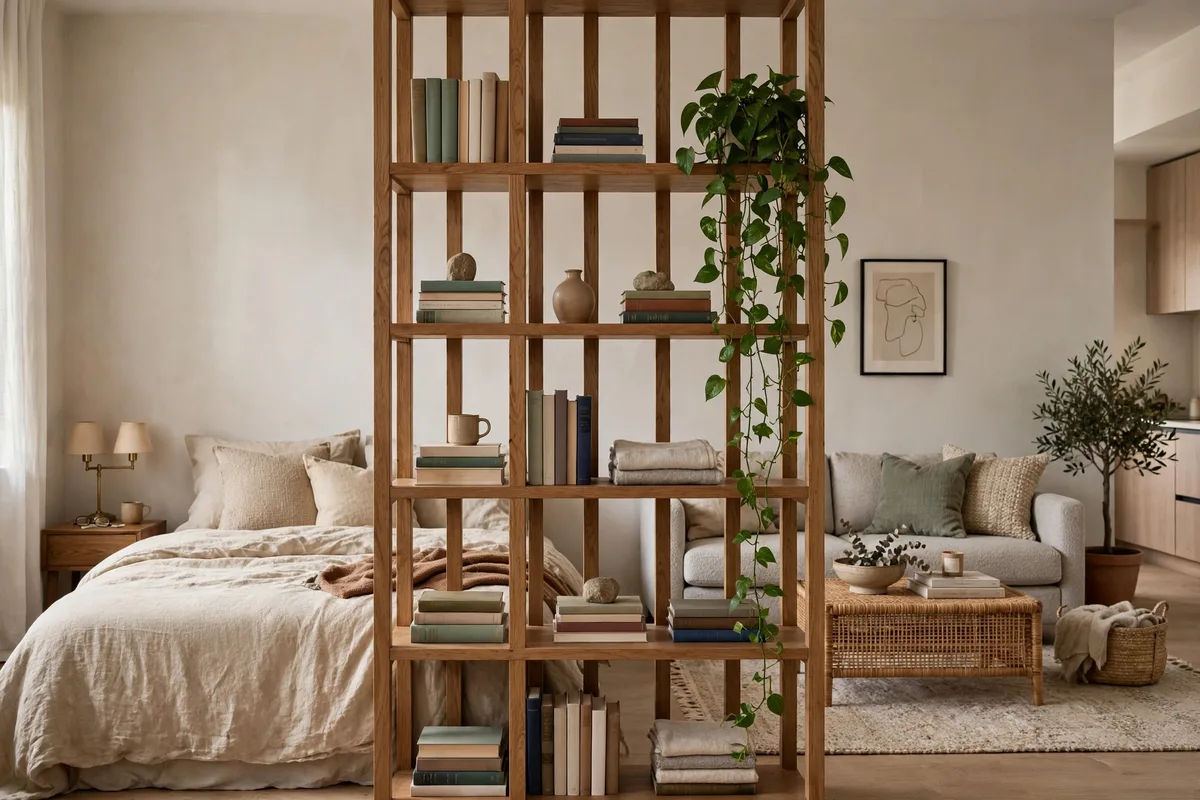
4. Open Shelving Unit
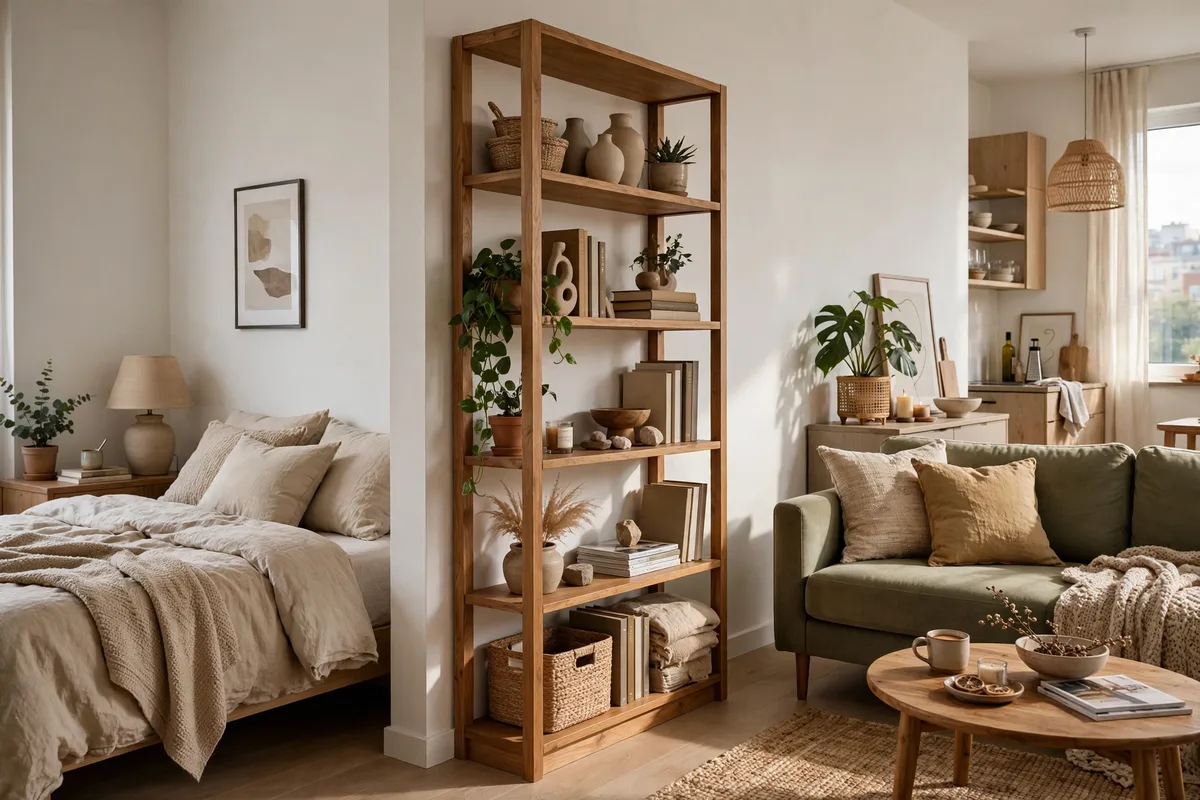
Unlike a solid bookshelf, an open-back shelving unit divides the space while keeping sightlines open — your studio stays airy, but the bed zone reads as its own room. Style the shelves with books, woven baskets, and one trailing pothos for that effortlessly lived-in look. Expect $80–$180 for a decent unit from Target or Wayfair, and it’s fully freestanding. Pro tip: put a small table lamp on the middle shelf facing the bed — instant bedside lighting without needing a nightstand.
5. Canopy or Loft Bed Frame
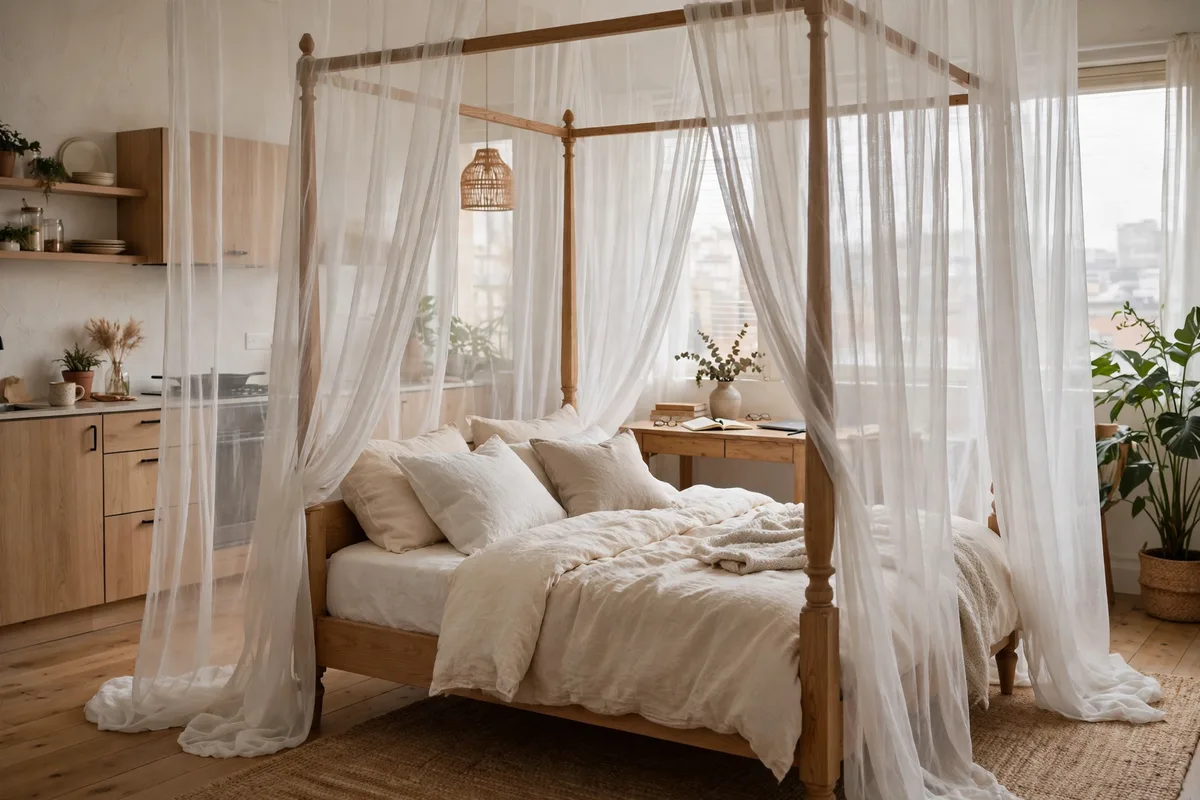
When floor space is truly tight, go vertical. A four-poster or canopy frame lets you hang curtains from the bed itself — no wall or ceiling mounting needed at all. In very small studios, a loft bed frees the entire footprint underneath for a desk or reading nook. Frames run $150–$400 (curtains extra), and it’s just furniture — no lease worries. Pro tip: sheer canopy curtains keep the bed zone bright by day; heavier linen panels give a true “room” feel at night.
6. Rug Zoning
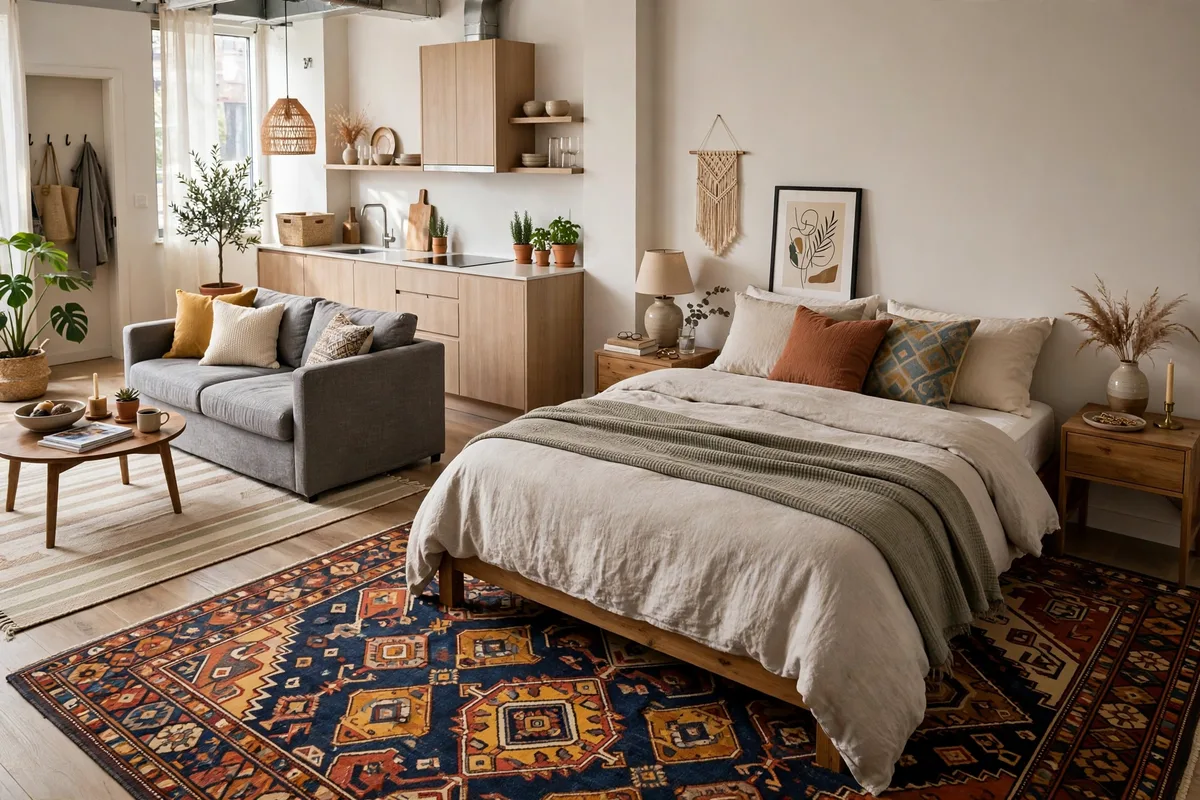
Sometimes separation is psychological, not physical. A large rug under and around your bed — distinct in color or pattern from the living area rug — visually declares “this is the bedroom.” It works best paired with one other method, but even alone it makes a surprising difference. A 5×7 rug runs $40–$120, and it’s obviously renter-friendly. Pro tip: let the rug extend at least 18 inches beyond each side of the bed so your feet land on softness every morning.
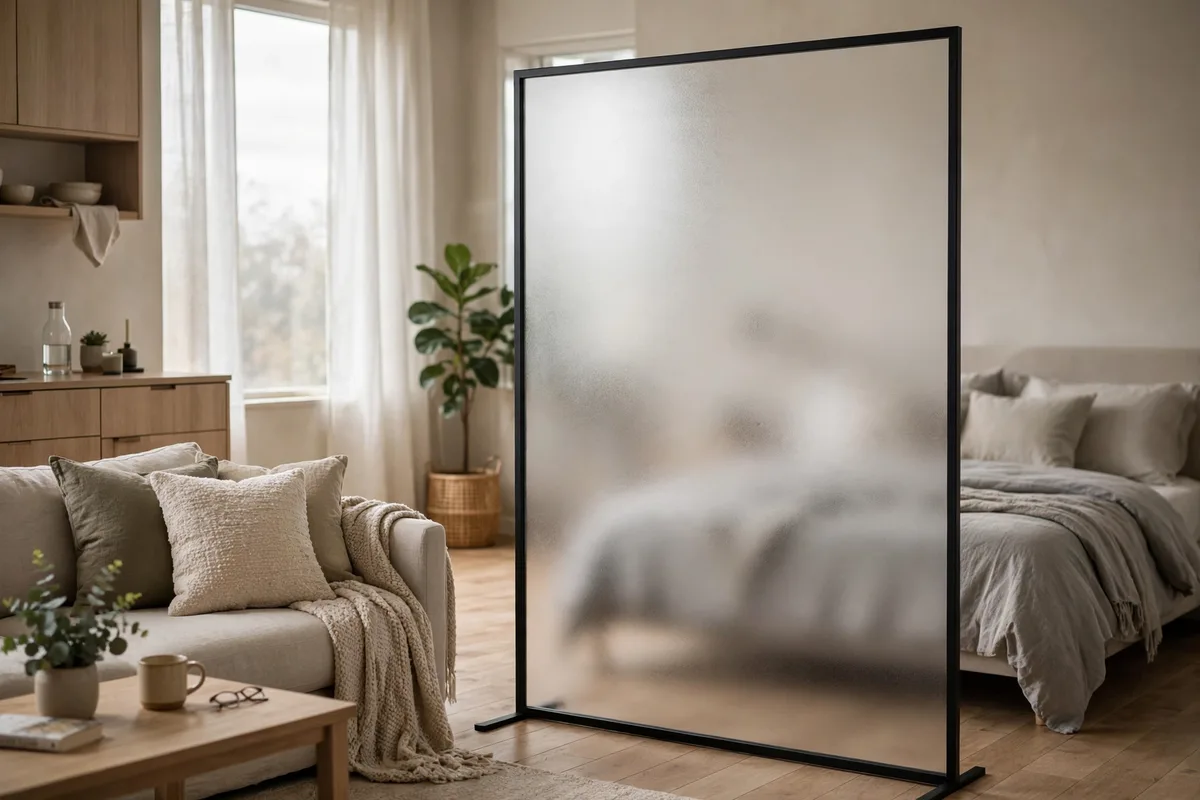
7. Glass or Acrylic Dividers
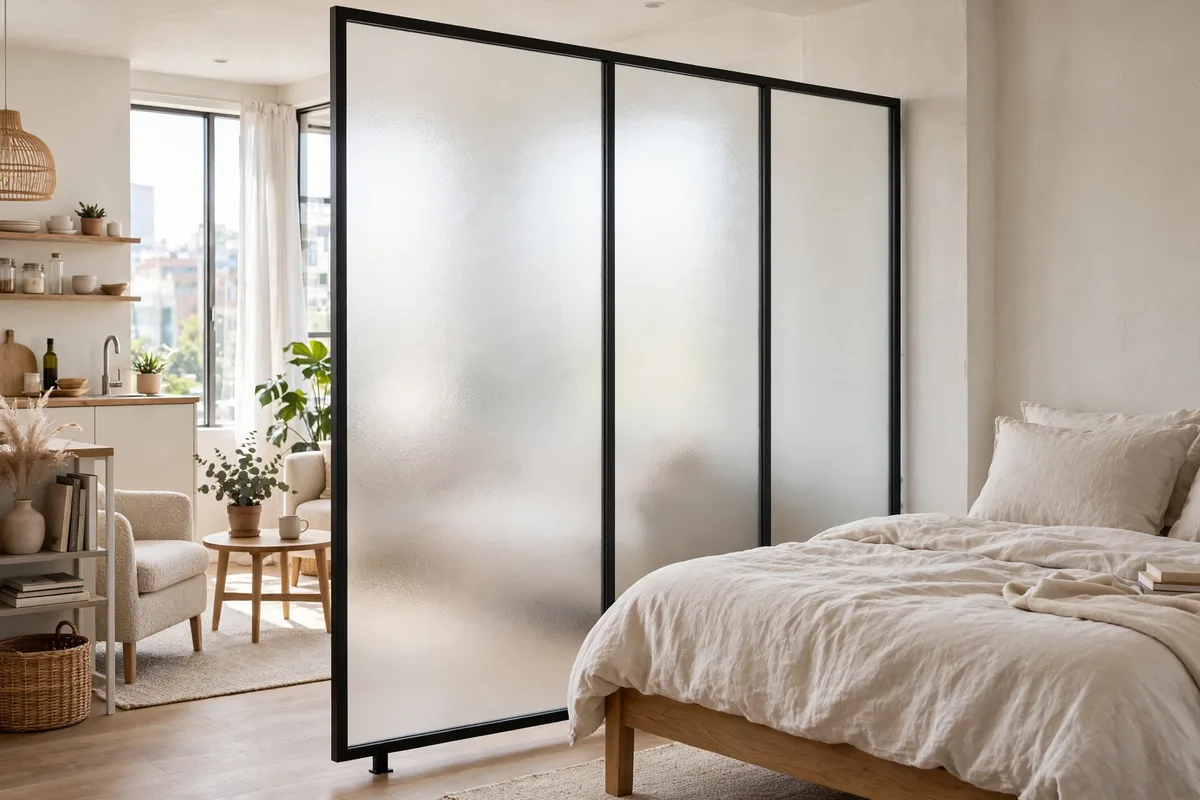
Want separation without losing light? A frosted glass panel or clear acrylic divider tucks the bed away while the studio stays bright. Frosted or reeded glass is ideal — it blurs the bed zone into a soft, private glow. Freestanding panels run $120–$300, and they need no mounting. Pro tip: this is hands-down the best option for dark studios; every other divider steals some light, but glass gives it all back.
8. Wardrobe as Divider
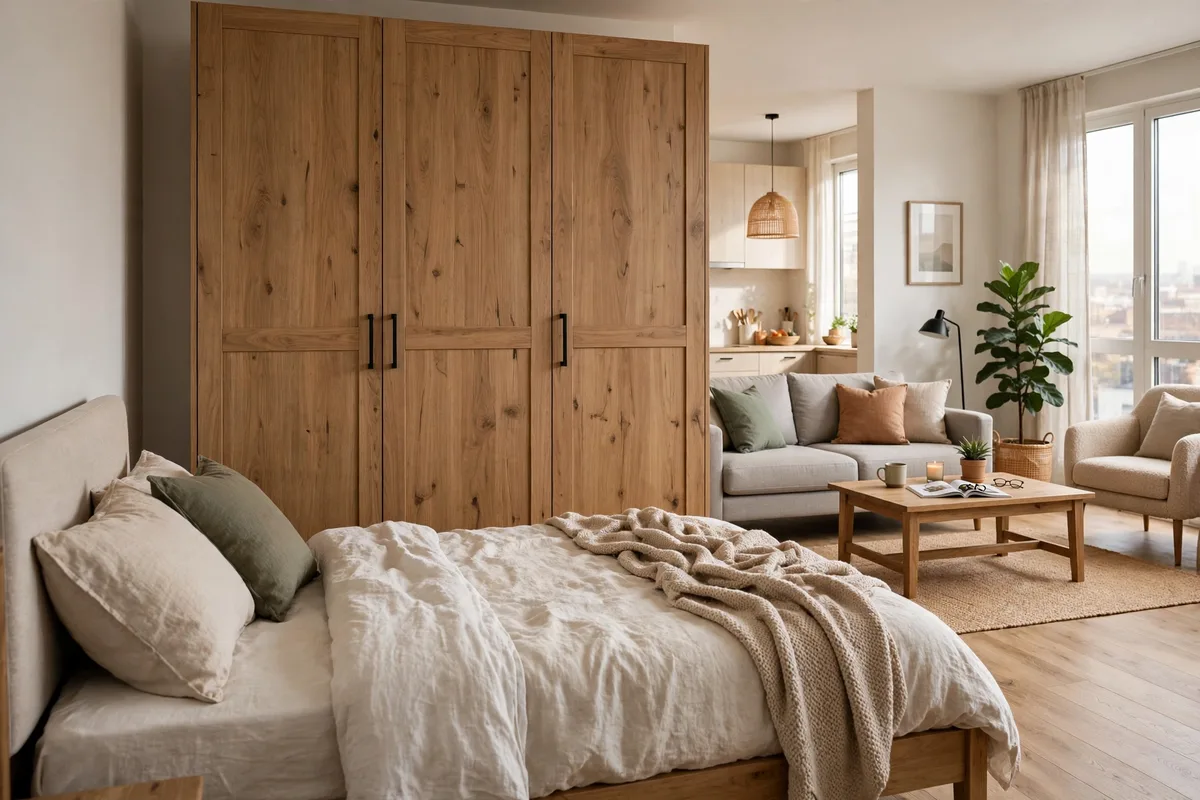
Your wardrobe has to live somewhere — make it earn its footprint. Place a tall wardrobe (or an open clothing rack with a curtain) perpendicular to the wall at the foot or side of your bed, and you’ve got a solid visual barrier with your clothes within arm’s reach. Cost is $0 if you already own one; an open rack plus curtain runs $100–$250. Completely renter-friendly. Pro tip: face the wardrobe doors toward the living area and style the top with a plant — it reads as intentional design, not just shoved storage.
9. Plant Wall
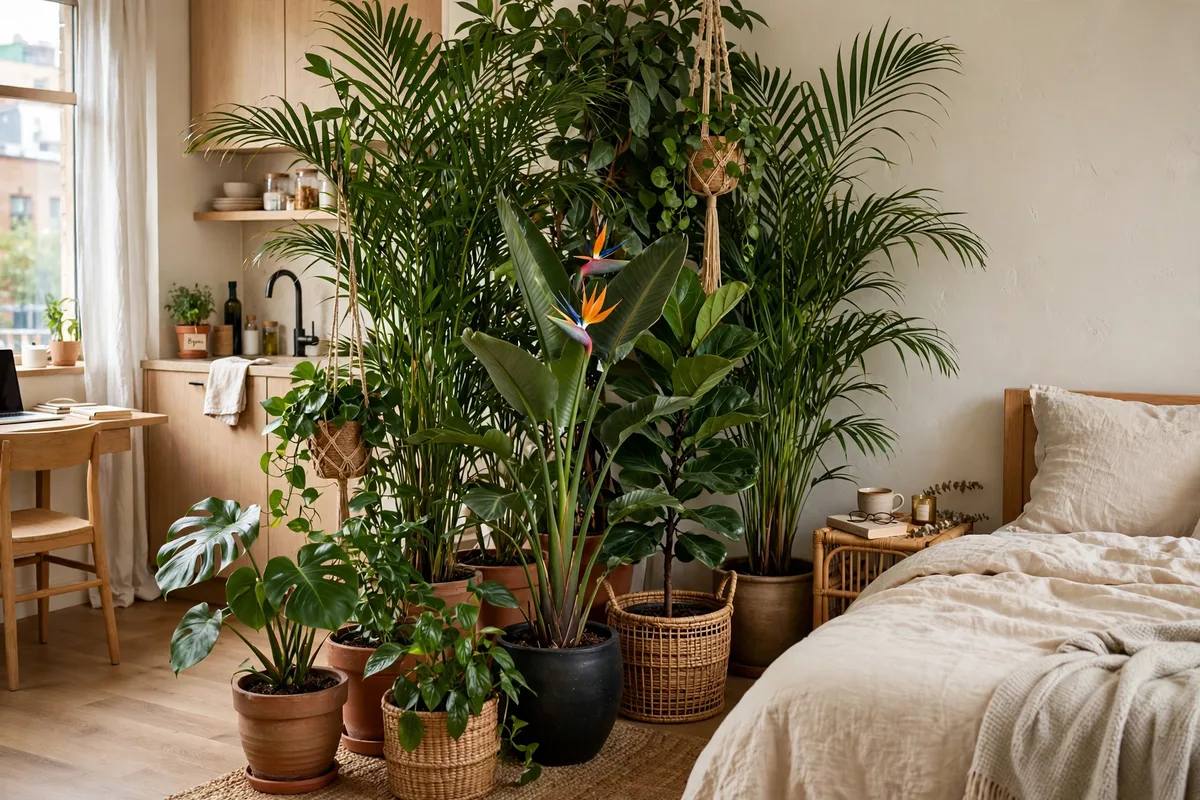
For the nature lovers: a row of tall plants — fiddle-leaf fig, snake plants, a monstera cluster — in matching pots creates a living divider that softens the boundary and freshens the whole studio’s air. It won’t block sound, but it divides beautifully. Budget $60–$150 for 3–5 medium plants plus pots. Fully renter-friendly, obviously. Pro tip: vary the heights — one tall, two medium — so the “wall” feels organic rather than like a fence.
Curtain Solutions
Curtains are the undisputed champion of bed separation — cheap, soft, endlessly changeable, and they need zero holes in your walls when you use the right hardware.
10. Tension-Rod Curtain Wall
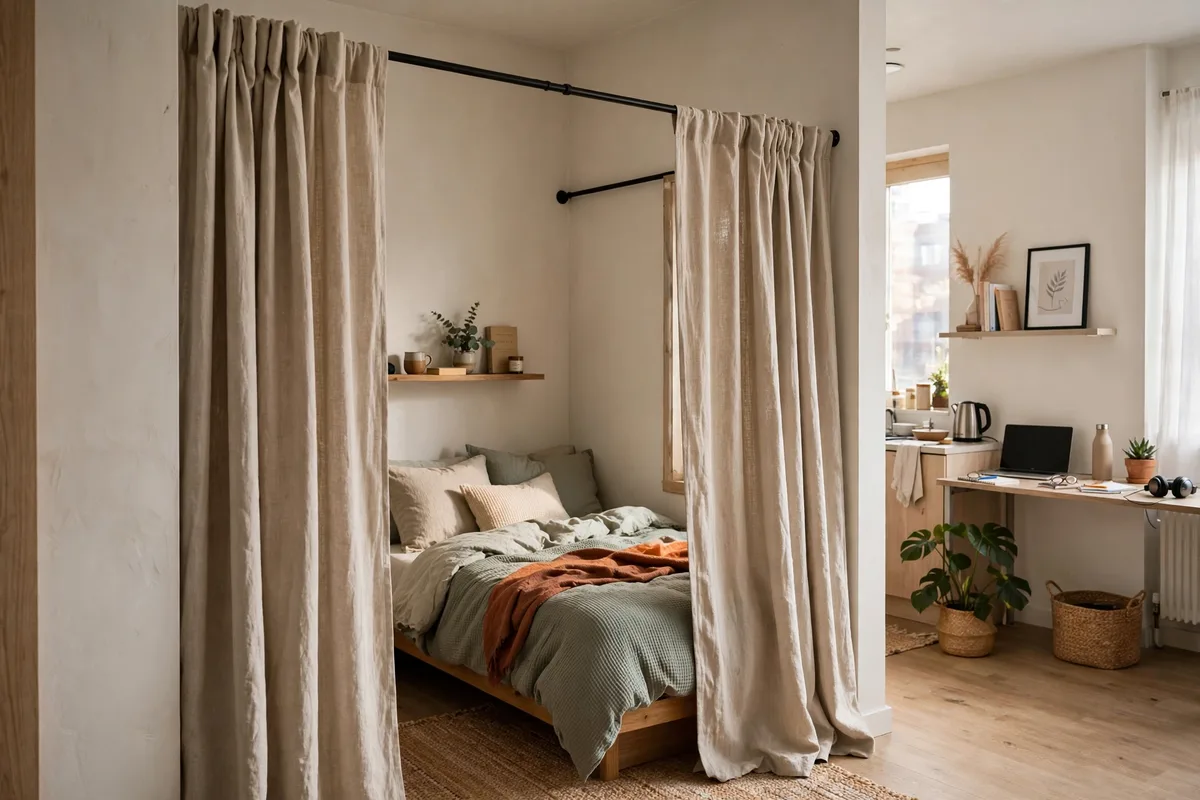
If your bed sits between two walls or a wall and a sturdy bookshelf, a heavy-duty tension rod is all you need — no track, no hardware, no landlord conversation. Wedge the rod at ceiling height, hang your curtains, and you’ve got a bedroom wall that takes ten minutes to install. A good tension rod runs $25–$45 on Amazon, curtains another $30–$60, and the whole thing vanishes on moving day. Pro tip: twist-lock rods hold far better than spring-only ones, especially with heavier linen panels.
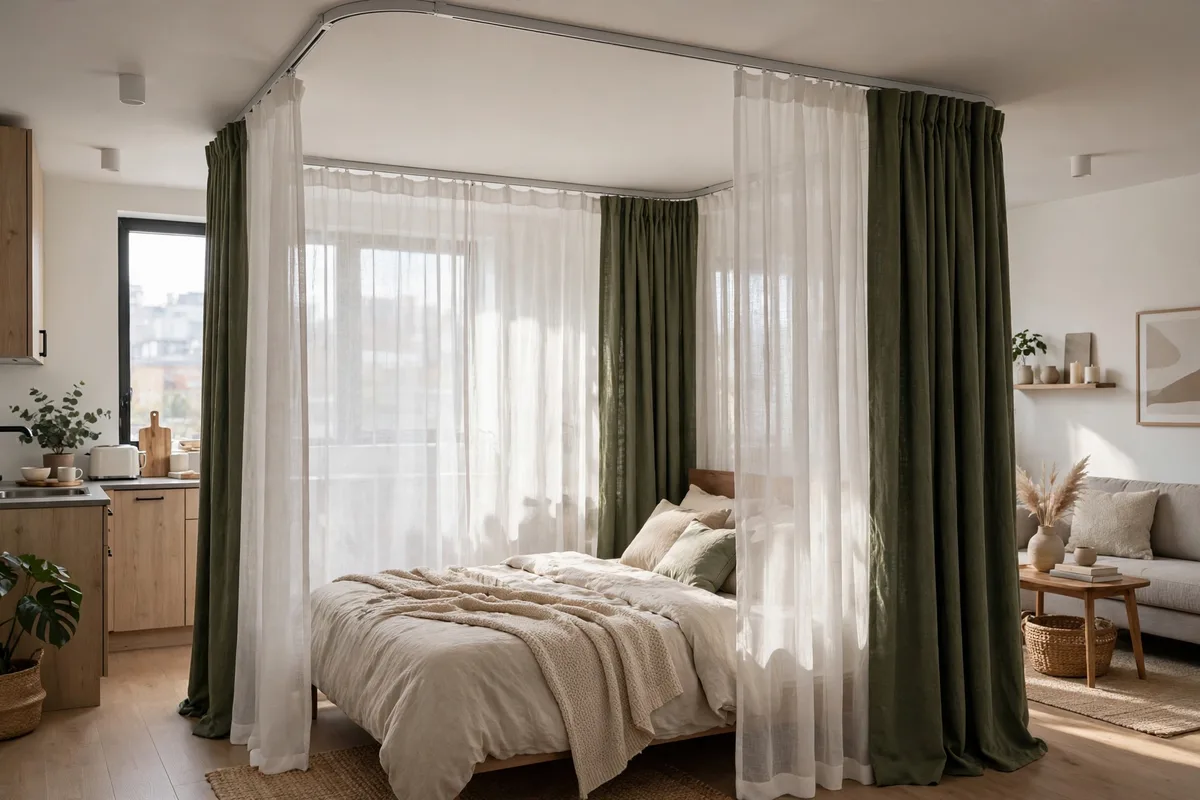
11. Sheer Curtain Privacy Layer
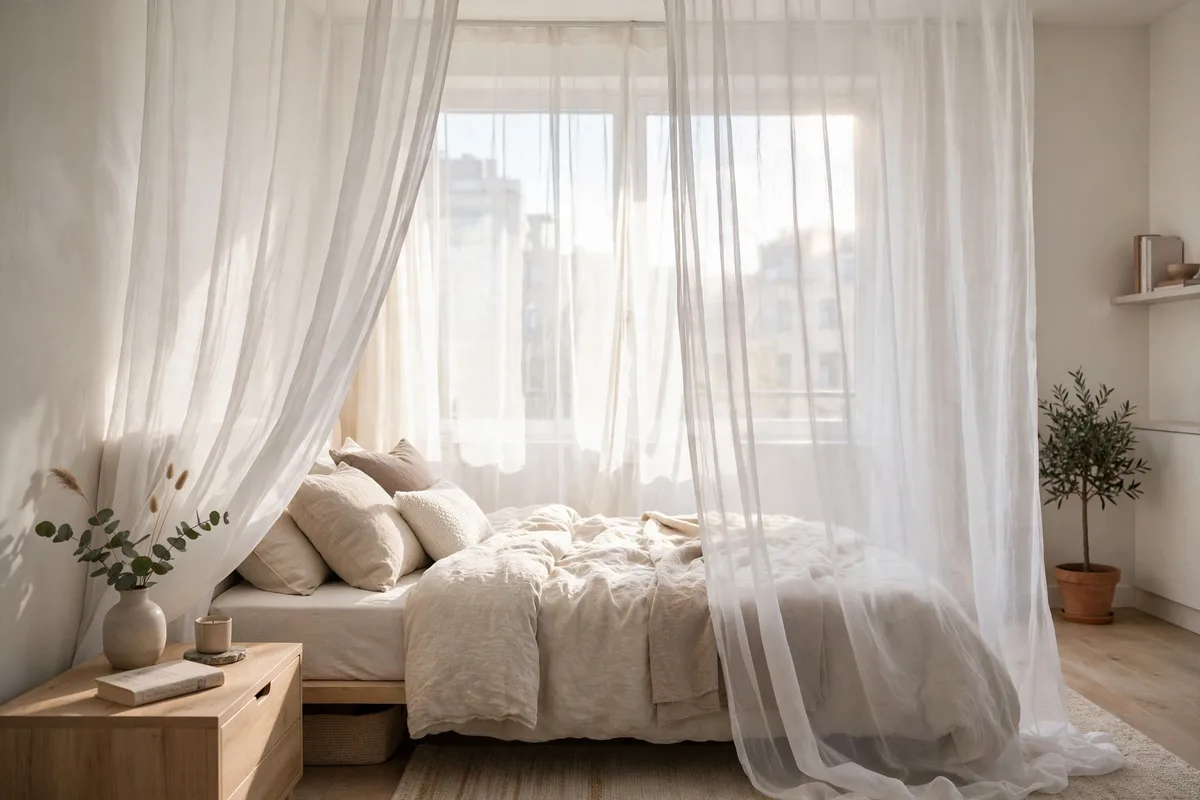
Don’t want to block a single ray of light? Sheer white curtains give you that dreamy, boutique-hotel separation while letting daylight flow straight through. They won’t hide clutter the way heavier panels do, but they blur the bed zone into a soft, glowing nook that reads as intentionally separate. A pair of sheers from Target or IKEA costs $15–$35, making this one of the cheapest privacy upgrades on this list. Pro tip: layer sheers over your window curtains too — the matching fabric ties the whole studio together.
12. Blackout Curtains for the Sleep Nook
If city lights or a roommate’s late-night TV keep you up, blackout curtains around your bed are life-changing. They carve out a dark, cave-like sleep zone that signals to your brain it’s actually bedtime — even at 7pm in summer. Budget $40–$90 for a decent blackout set from Wayfair or Amazon, and hang them on a ceiling track or tension rod. Pro tip: overlap the panels by a few inches where they meet so no light leaks through the middle.
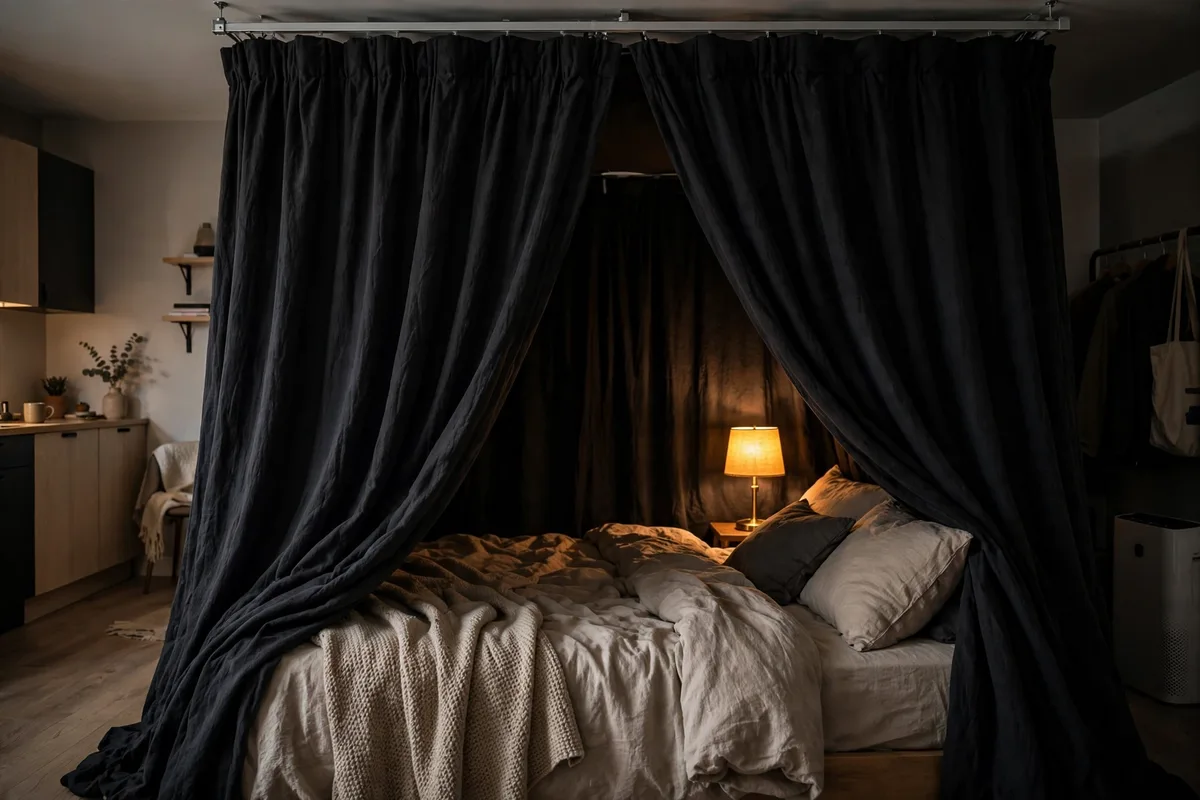
13. Double-Track Day/Night Curtains
Can’t decide between airy sheers and cozy blackouts? Use a double ceiling track — sheers on the front track, heavier linen or blackout panels on the back. By day you get light and openness; by night you pull the heavy panels closed for a true bedroom feel. A double track kit runs $50–$80, plus two sets of panels. Pro tip: this is the single best curtain setup for couples on different sleep schedules — one person can read in the living zone while the other sleeps in total darkness.
Furniture Dividers
Furniture that divides is furniture that earns double rent — you get storage, display space, and a bedroom boundary in one footprint.
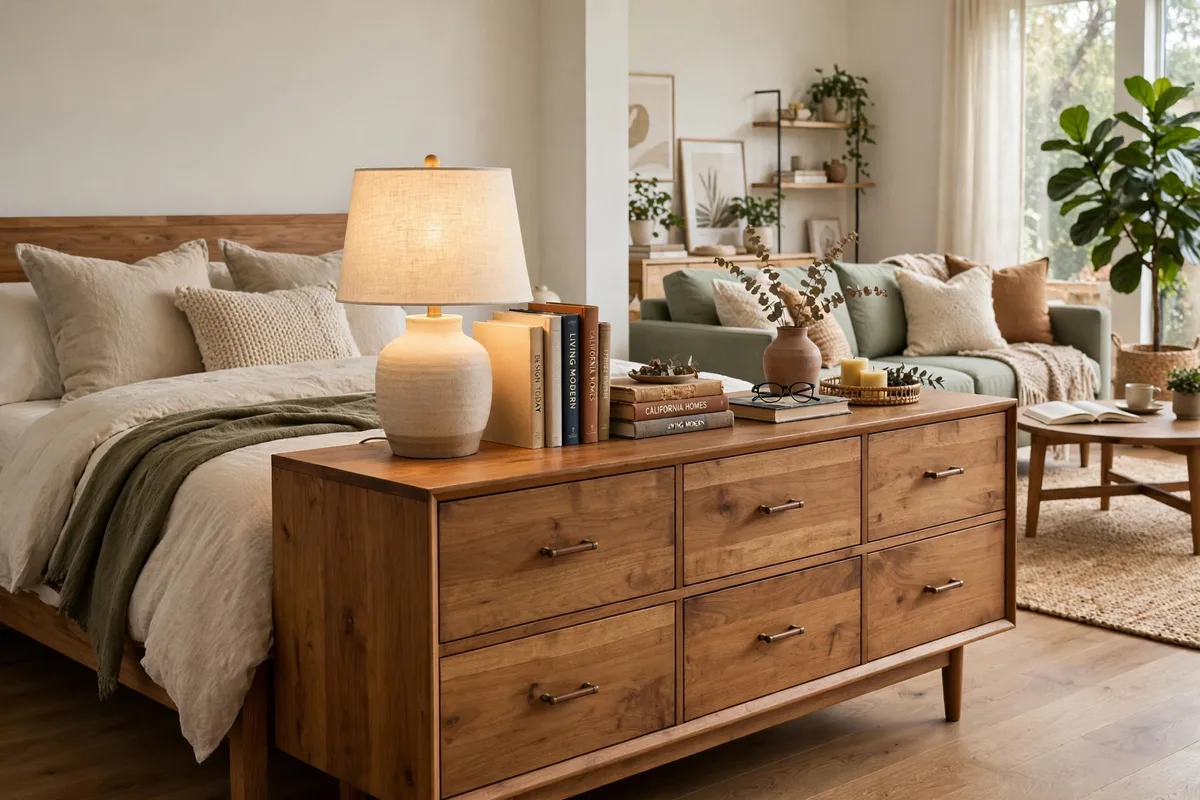
14. Dresser or Console as a Divider
A wide, low dresser placed at the foot of your bed works like a visual stop sign between the sleeping zone and everything else — and it swallows clothes, linens, and the random stuff every studio accumulates. A 6-drawer dresser from IKEA’s MALM line or a thrifted mid-century piece runs $80–$250. Zero installation, zero holes. Pro tip: anchor it with adhesive anti-tip straps and style the top with a lamp and a stack of books so it feels like a deliberate design choice.
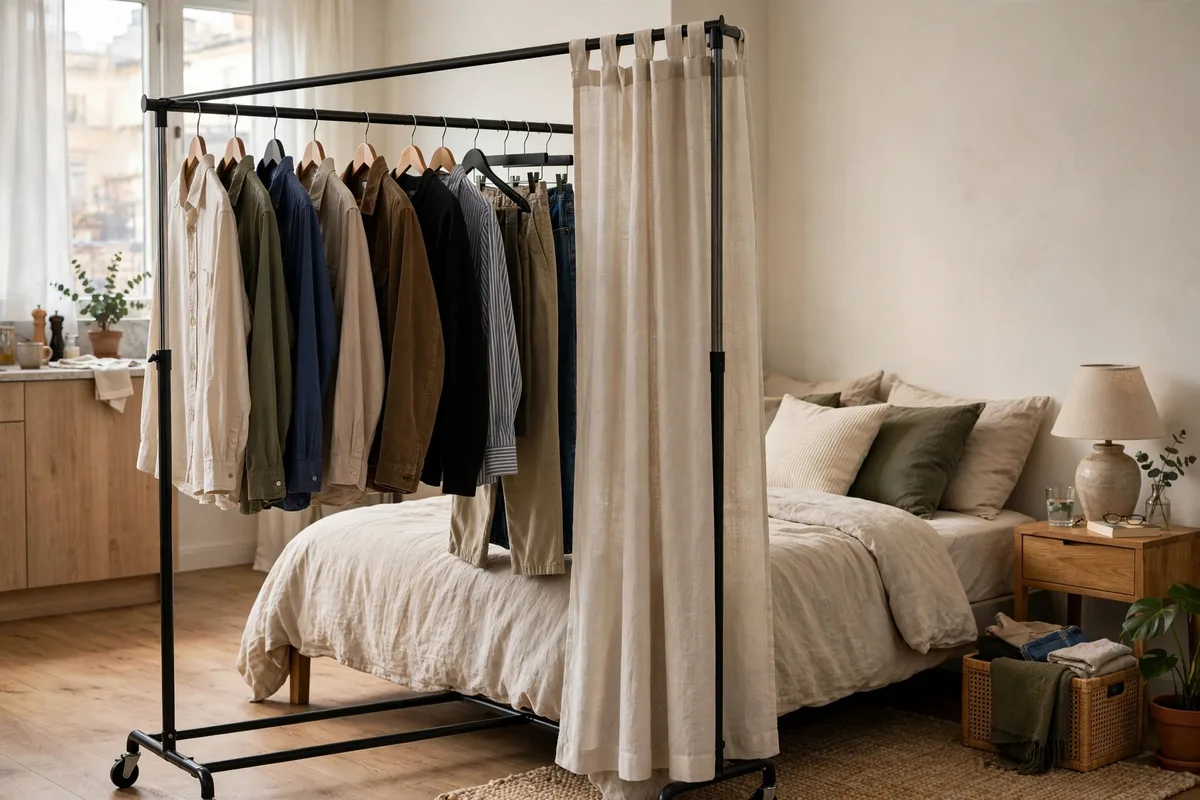
15. Open Clothing Rack + Curtain
No closet? No problem. A sturdy open clothing rack at the side of your bed doubles as a divider — and a simple curtain hung on the rack’s top bar hides the visual clutter of your wardrobe while adding a soft fabric boundary. Racks run $40–$90 on Amazon; add $20 for a curtain panel. Pro tip: keep the clothes facing the bed side and the curtain facing the living area — guests see fabric, you see your outfits.
16. IKEA KALLAX Cube Wall
Two KALLAX units stacked or placed side by side create a proper half-wall between your bed and the living zone — with 8 to 16 cubbies of storage as the bonus. At roughly $140–$280 for the pair, it’s one of the best dollars-per-function dividers a renter can buy. Freestanding and movable, though you’ll want anti-tip straps for safety. Pro tip: mix fabric bins (to hide mess) with open cubbies styled with books and plants — it looks curated, not like a storage unit.
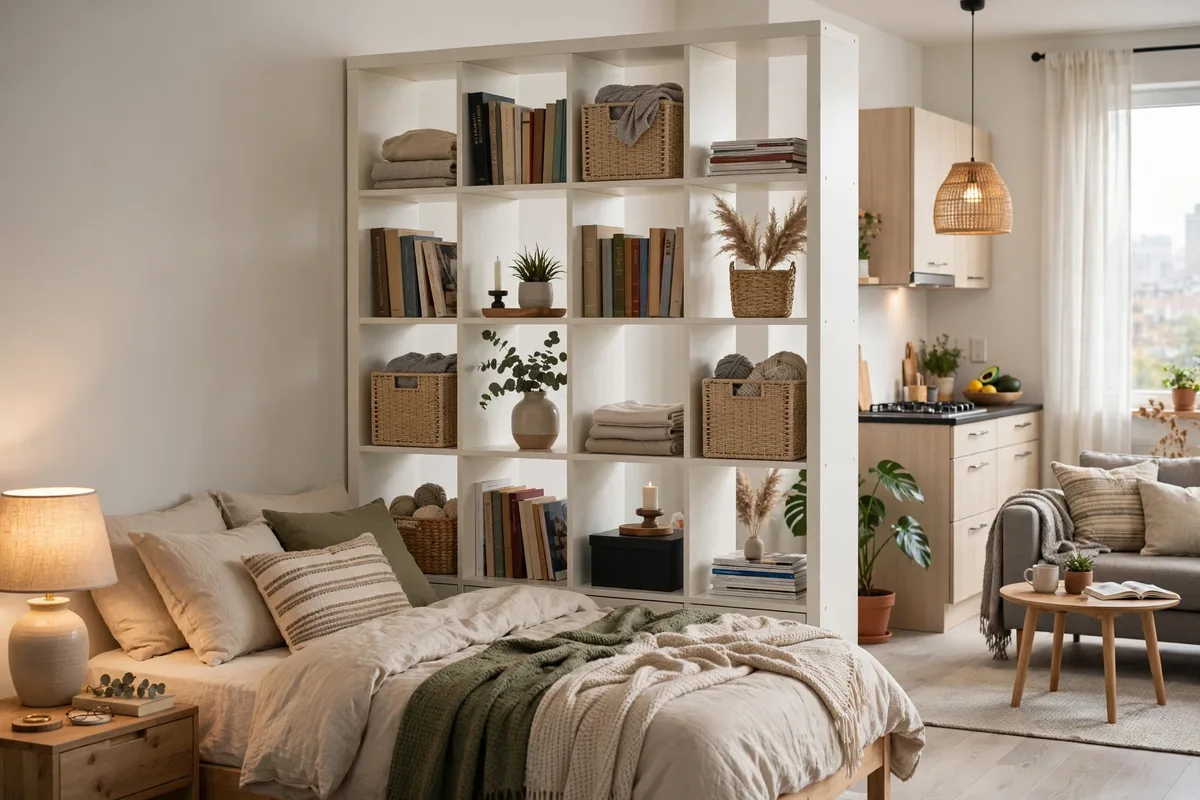
17. Low TV Console Divider
If your TV currently faces the bed from across the room, flip the script: put a low console between the bed and living area, TV facing the sofa. The console becomes a natural boundary, and movie nights suddenly feel like they’re happening in a different room. Consoles run $100–$300 at Wayfair or Target. Pro tip: choose a console with closed cabinets on the bed side — it hides the tangle of cables and remotes from your sleep zone.
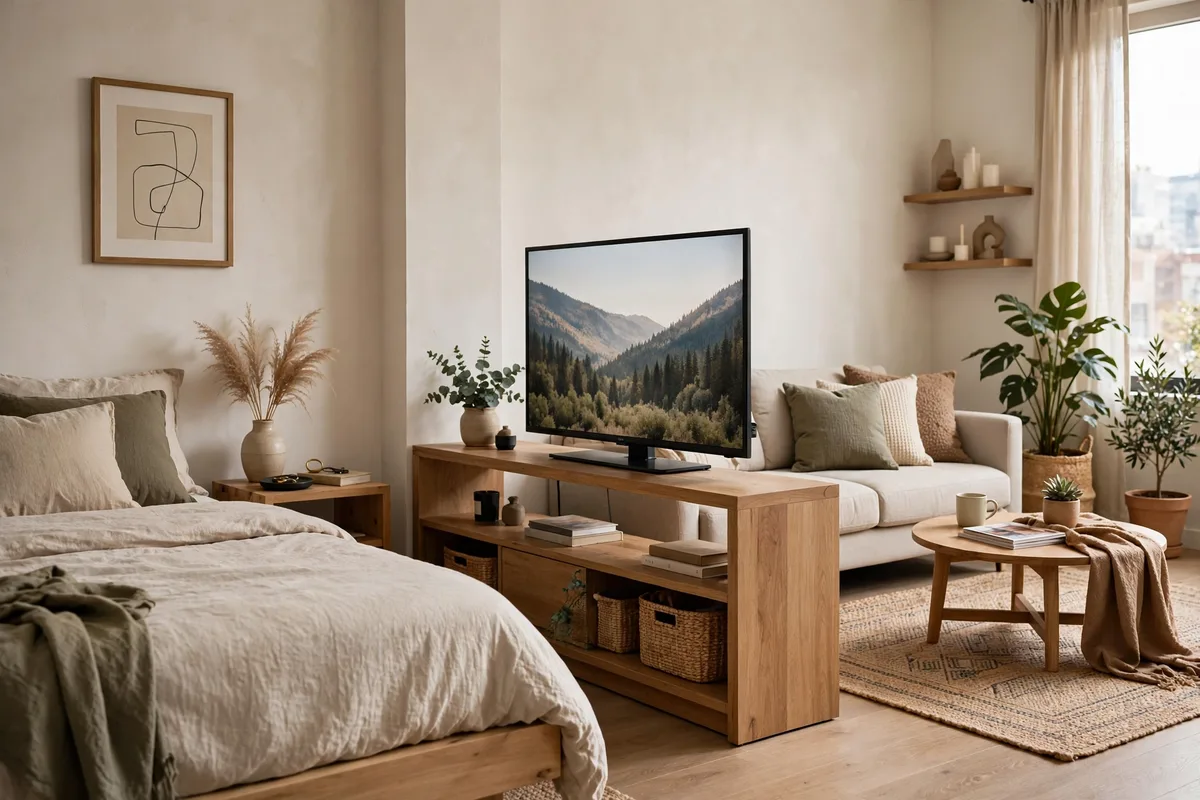
18. Rolling Storage Cart Wall
Line up two or three rolling kitchen carts (IKEA’s RÅSKOG is the classic at about $35 each) between your bed and the rest of the studio. You get a movable, low-profile divider plus rolling storage for books, chargers, skincare, and midnight snacks. Total cost: $70–$120. Pro tip: because they roll, you can pull them aside when guests come over and the studio needs to feel bigger.
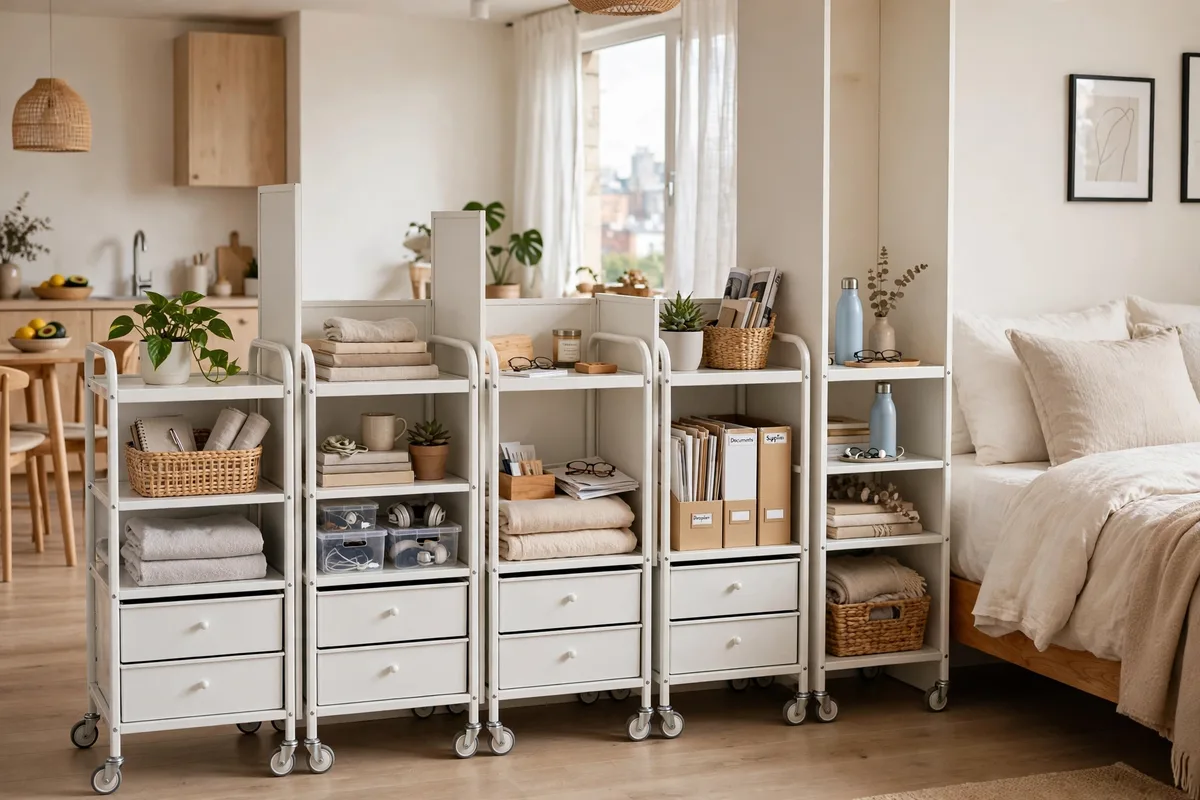
Screens & Panels
Screens are the fastest bedroom you’ll ever build: unfold, position, done. No tools, no commitment, and they fold flat when you move.
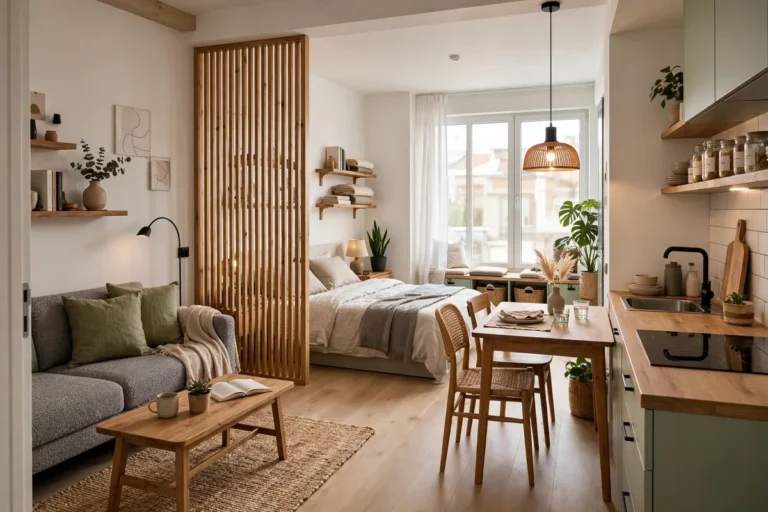
19. Wooden Slat Panel
A freestanding vertical wood-slat panel gives you that warm, Japandi-coffee-shop look while striping sunlight across the floor in the prettiest way. It divides without fully closing off, so the studio keeps its airy feel. Ready-made slat dividers run $120–$250, or you can DIY one with lumber and a simple frame for under $80. Pro tip: position it so the slats run parallel to your window light — the shadows become part of the decor.
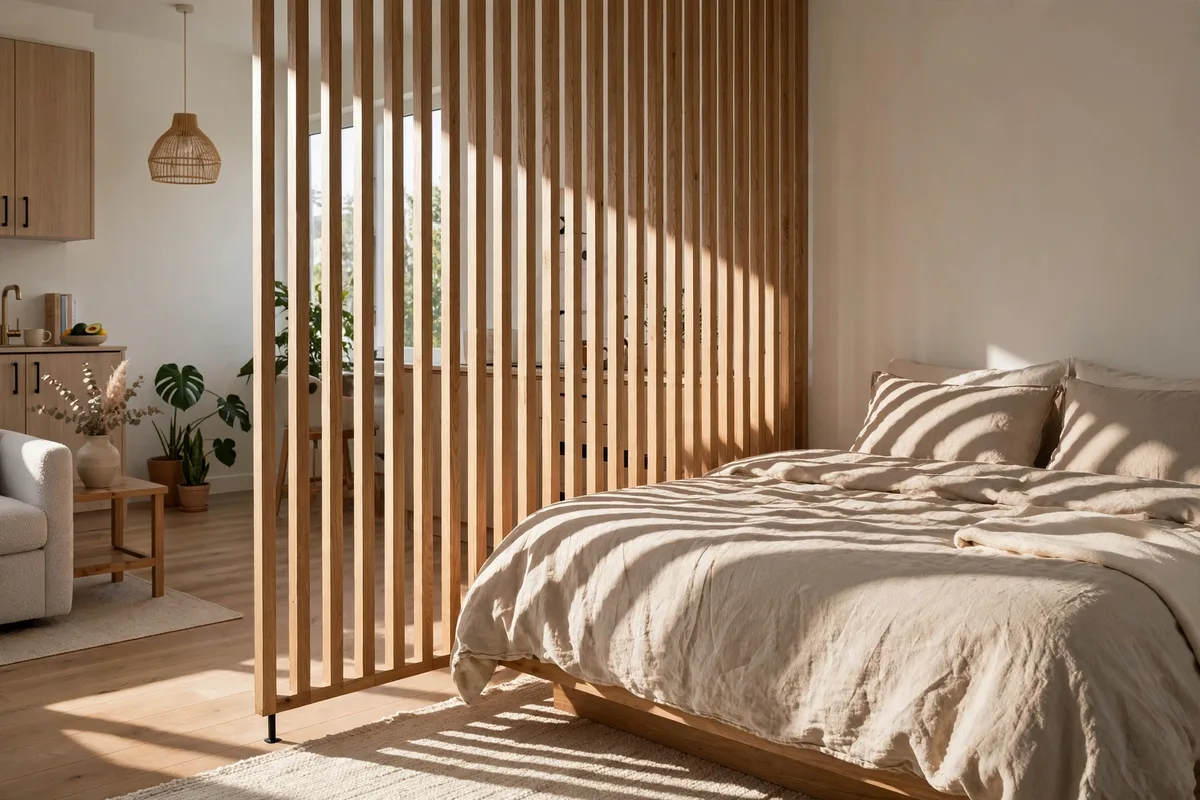
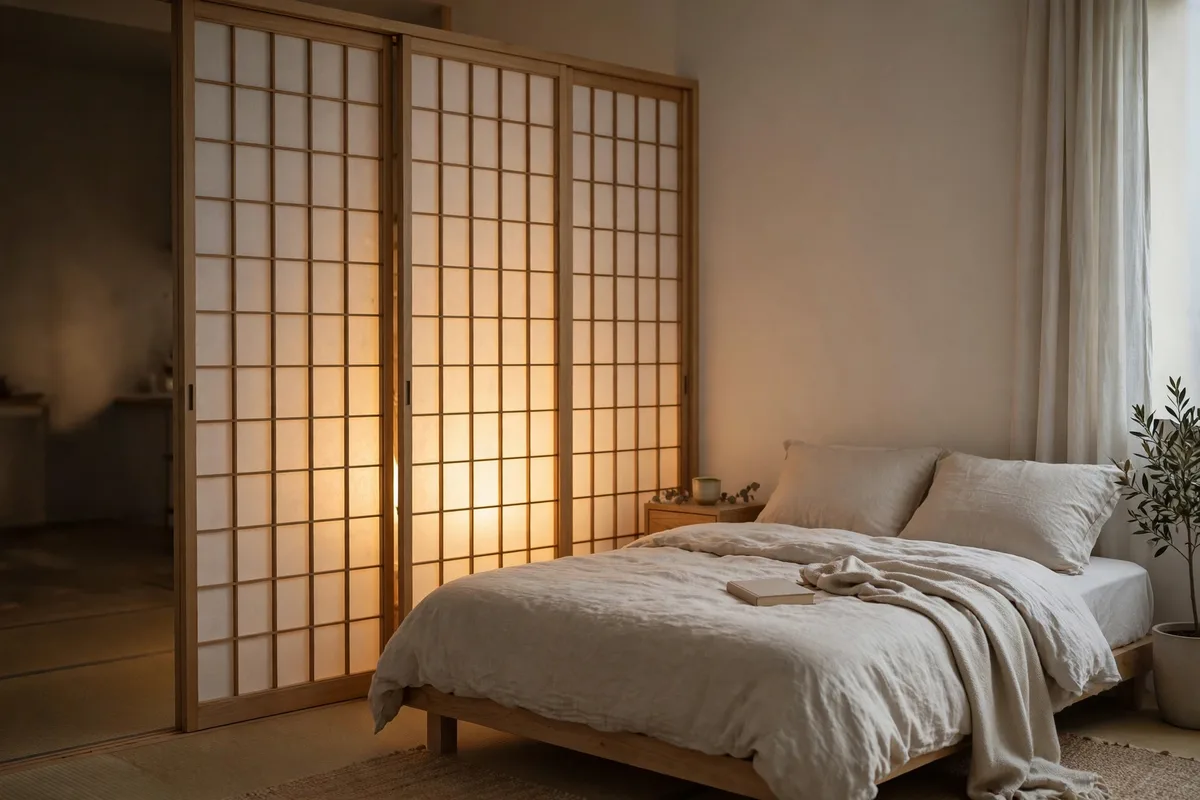
20. Shoji Screen
Japanese shoji screens — light wood frames with rice-paper panels — glow softly when a lamp sits behind them, turning your bed corner into a serene retreat. They’re featherweight, fold flat, and start around $60–$140 for a three-panel version. Pro tip: place a warm floor lamp directly behind the screen at night; the whole panel becomes a giant lantern and your bedtime routine instantly feels calmer.
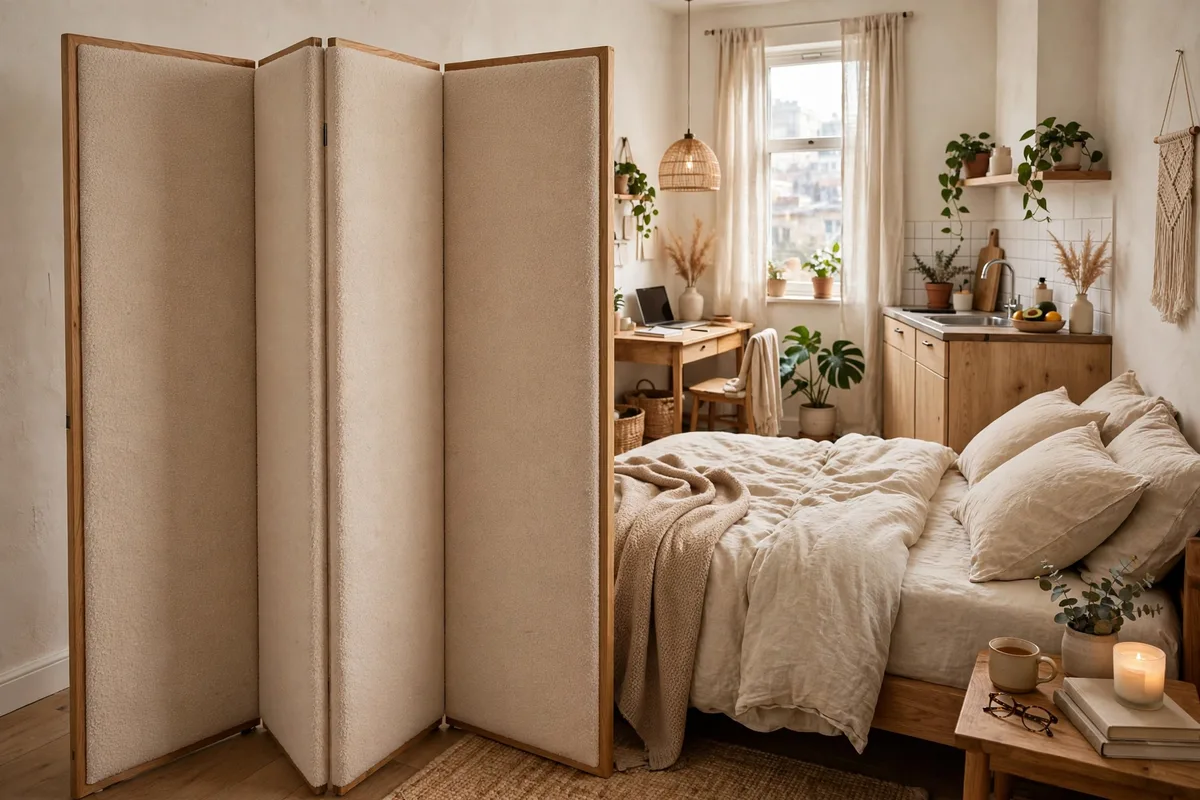
21. Fabric Upholstered Screen
If rattan feels too boho for your taste, an upholstered fabric screen in linen or bouclé adds softness and actually absorbs sound — a real plus when your “bedroom” shares air with your TV. Prices run $90–$200, and the fabric panels double as a subtle acoustic treatment. Pro tip: choose a screen in a color pulled from your bedding so the bed zone feels like one designed moment.
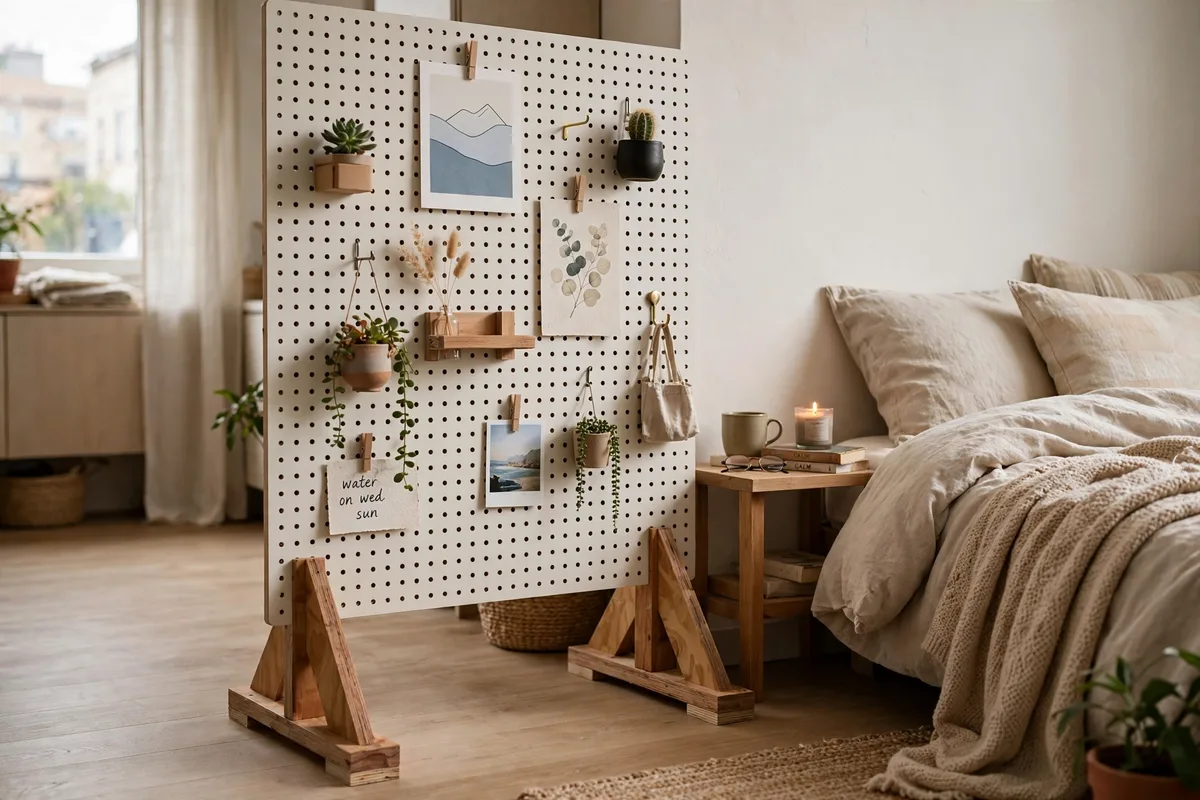
22. DIY Pegboard Divider
Two pegboard panels hinged together on simple wooden feet make a divider that’s also a giant organizer — hang plants, art, fairy lights, even your headphones. A 4×8 sheet of pegboard is about $25–$40 at Home Depot, plus $20 in lumber and hinges. Pro tip: paint it the same color as your walls so it reads as architecture, not craft project.
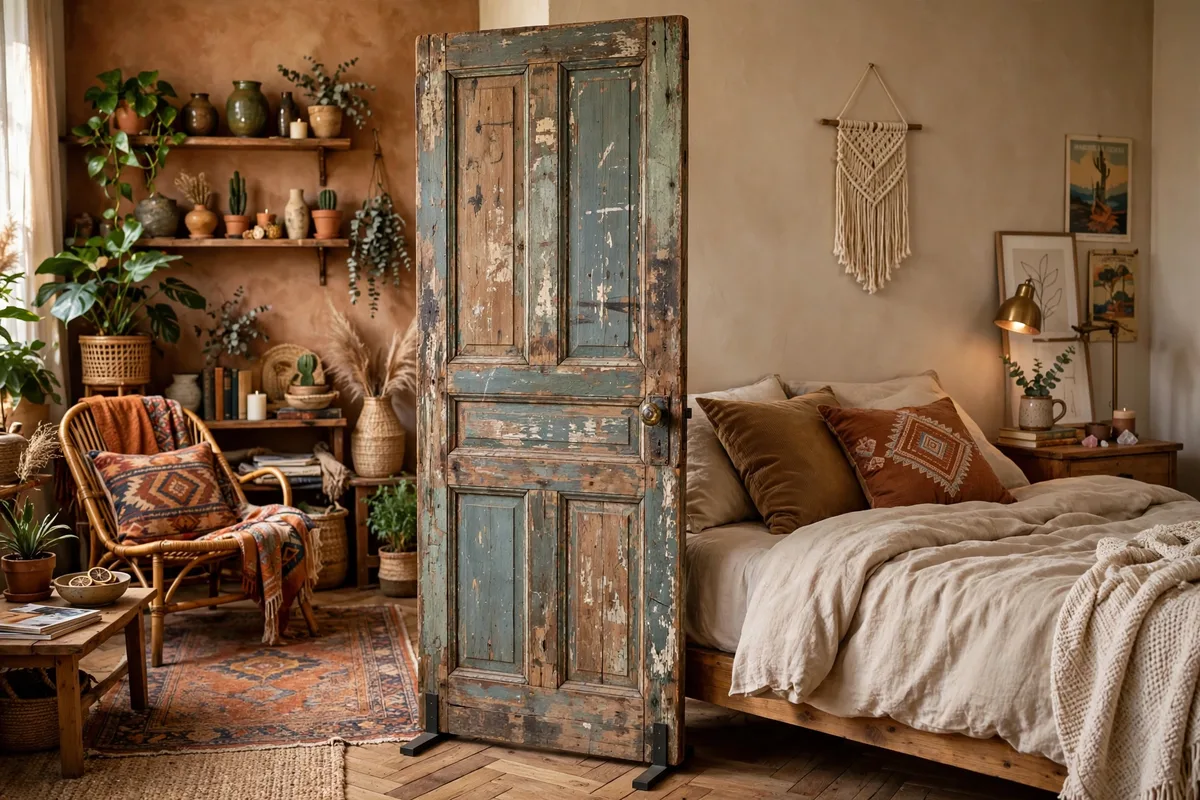
23. Vintage Door Panel
One reclaimed door — propped securely on feet or hinged to a second panel — brings instant character that no flat-pack screen can match. Check Facebook Marketplace or architectural salvage shops; doors often go for $20–$60. Pro tip: leave the chipped paint as-is for charm, but sand and seal any splintery edges, and always secure it so it can’t tip toward the bed.
Glass & Light
When your studio is short on windows, these dividers separate your bed without stealing a single ray of daylight.
24. Frosted Window Film on a Panel
Already own a clear acrylic panel or a glass-front bookcase? A roll of frosted window film ($10–$20 on Amazon) turns it into a privacy screen in an afternoon — just cut, spray, and squeegee. The film peels off cleanly when you move. Pro tip: reeded or “rain” patterns blur shapes better than plain frost while still passing maximum light.
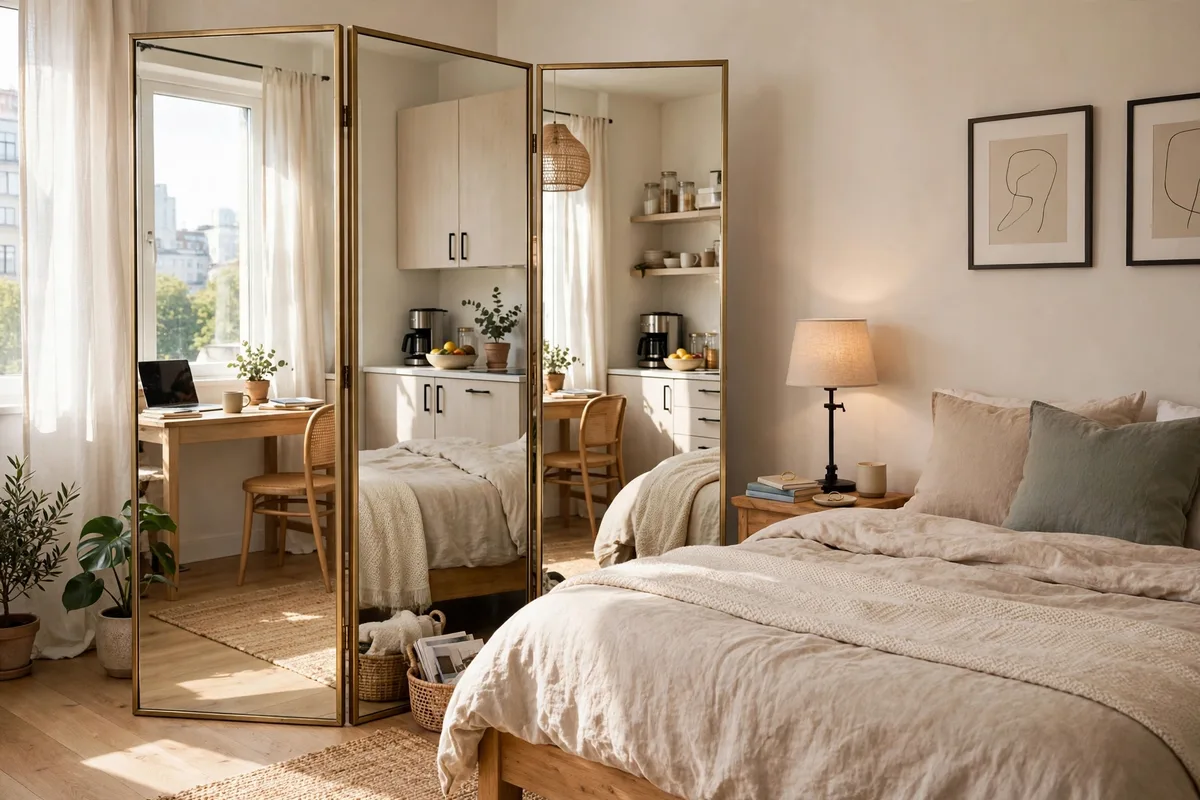
25. Mirrored Divider Trick
A mirrored folding screen or a leaning floor mirror placed at the bed zone’s edge does double duty: it marks the boundary and bounces light around, making the whole studio feel twice as big. Mirrored screens run $100–$220; a large leaning mirror from Target starts around $80. Pro tip: angle the mirror to reflect a window, not your unmade bed — future you says thanks.
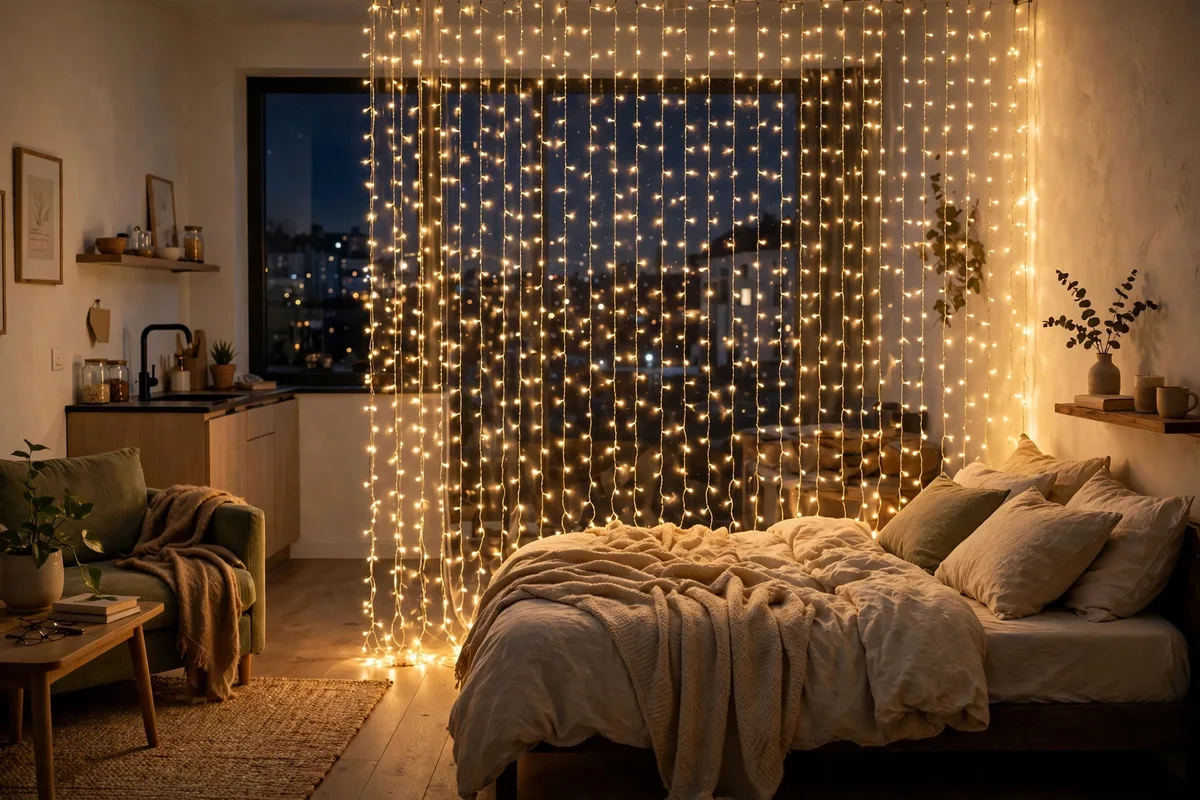
26. String-Light Curtain Boundary
Hang a curtain of warm-white fairy lights from a tension rod or adhesive ceiling hooks at the edge of your bed zone. By day it’s nearly invisible; by night it becomes a glowing, magical boundary that says “bedroom” louder than any wall could. Light strands cost $15–$30, and the whole setup is damage-free. Pro tip: choose warm white (2700K) over cool white — cool light feels like an office, warm light feels like rest.
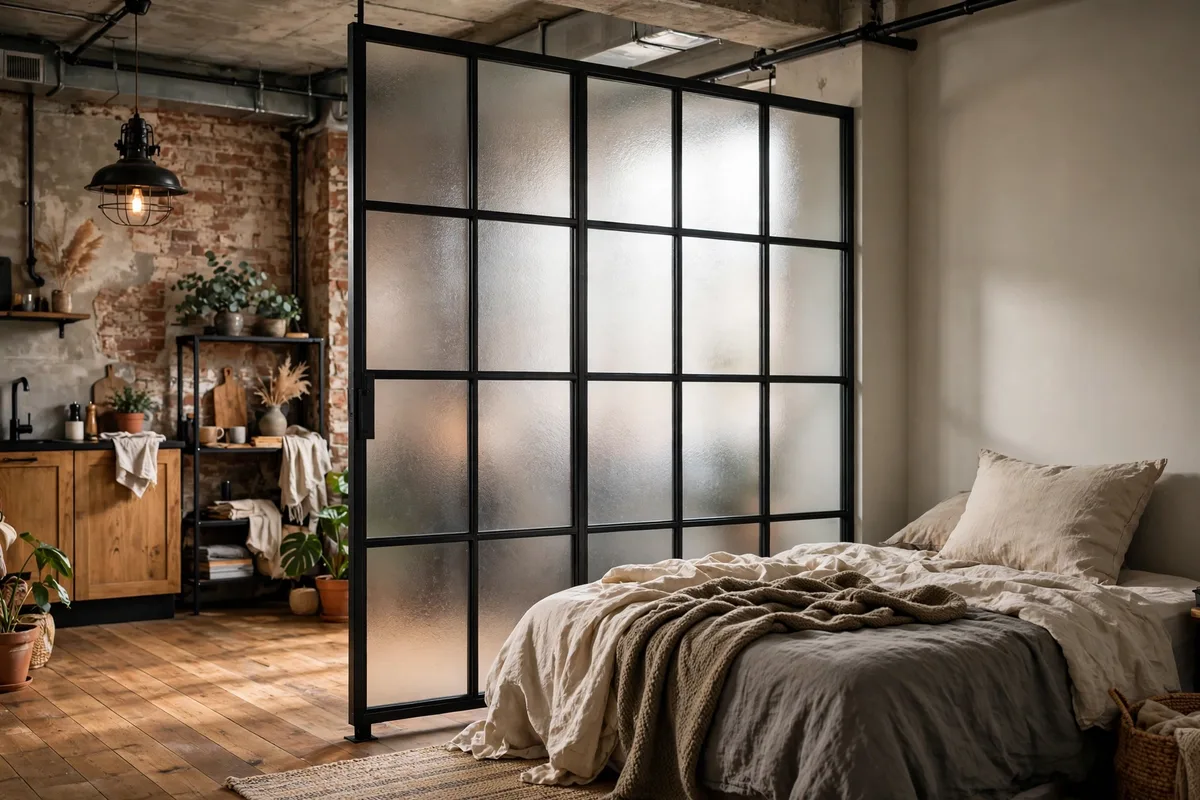
27. Window-Style Partition
A freestanding interior window frame — real or faux, with frosted panes — stands on feet like a piece of furniture and divides your bed zone with vintage-industrial charm. Salvage yards sell old window sashes for $15–$40; add simple wooden feet and frosted film. Pro tip: style the “sill” with tiny succulents — it sells the illusion that this was always part of the architecture.
The Bed Itself
Sometimes the smartest divider is the bed you choose — pick a frame that builds the boundary for you.
28. Daybed as a Sofa-Bed Hybrid
A daybed styled with throw pillows reads as a sofa by day and a bed by night — the separation problem partly solves itself because guests never quite register it as a bed. Push it against the wall with a slim console behind it and the “living room” illusion is complete. Daybeds run $150–$350 at IKEA, Wayfair, or Target. Pro tip: a tailored daybed cover (not a wrinkly sheet) is what sells the sofa look — it’s worth the $40 investment.
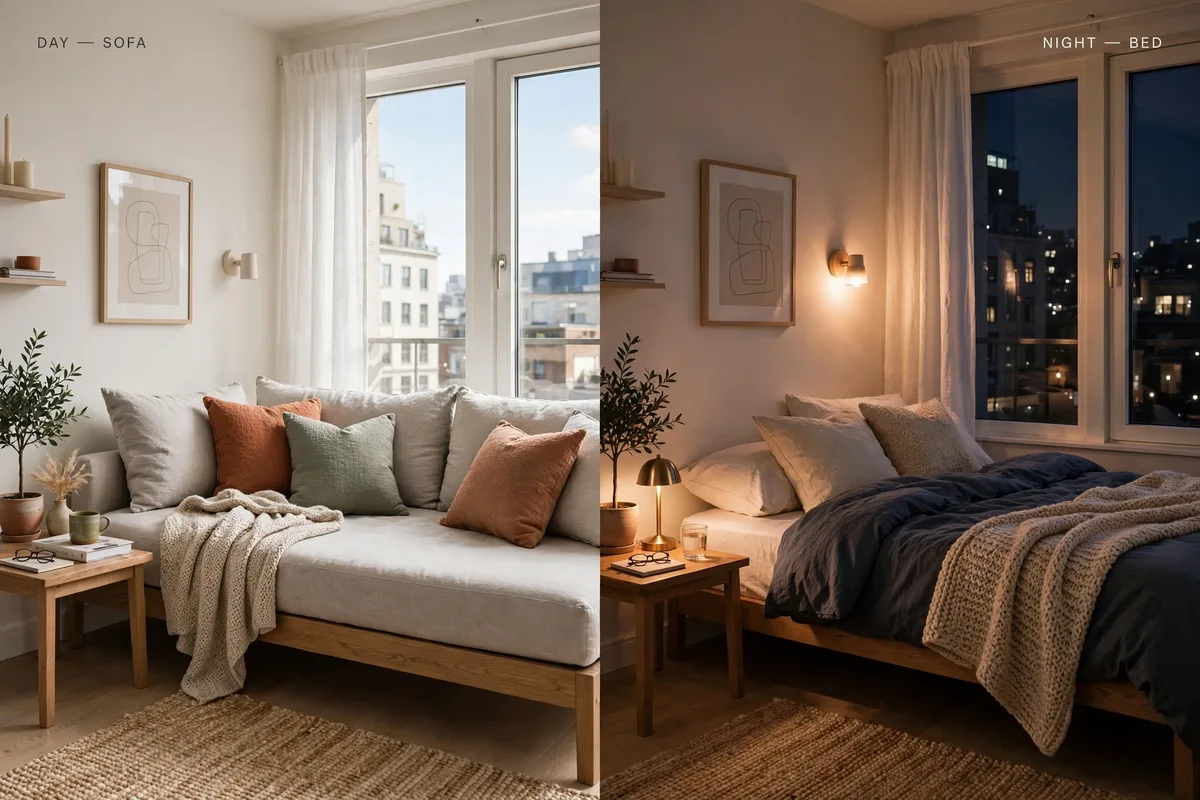
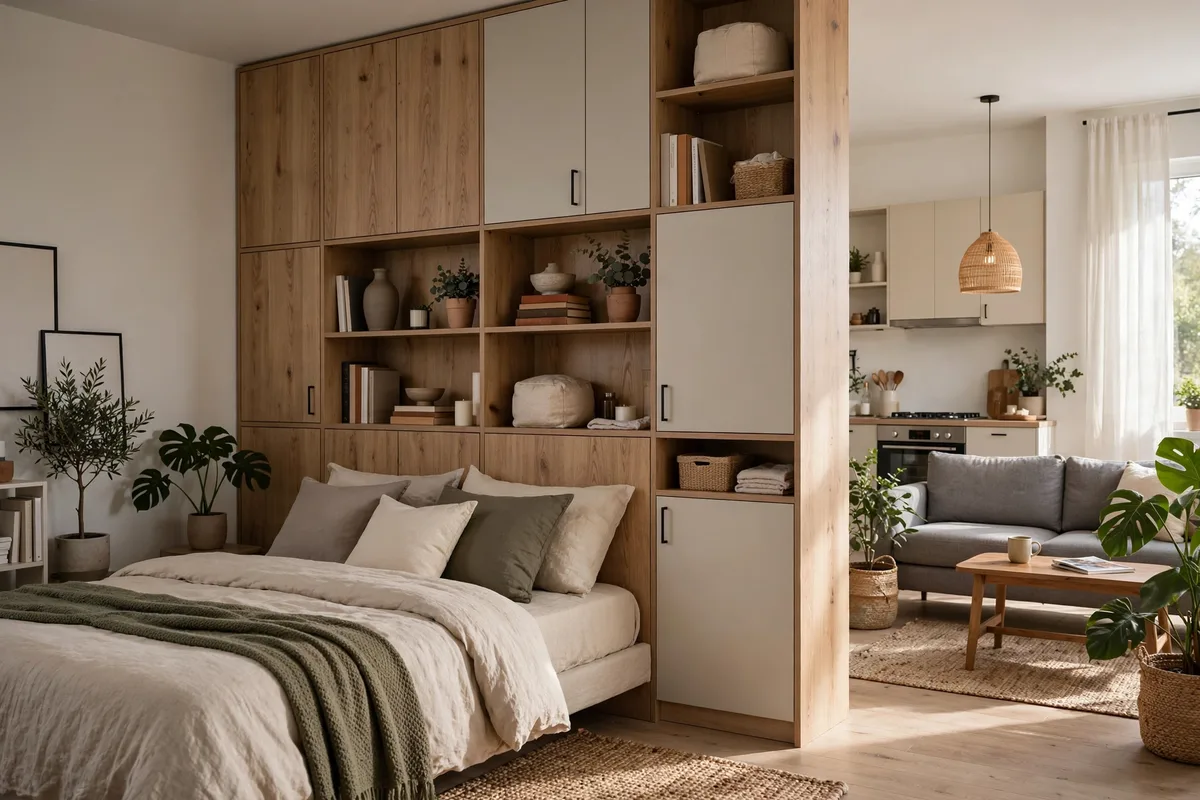
29. Bed with a Storage Headboard Wall
Choose a bed with a tall, wide storage headboard — IKEA’s MALM ottoman bed or a BRIMNES headboard with compartments — and the headboard itself becomes a low wall between your pillows and the room. You gain hidden storage for linens and out-of-season clothes while the bed zone gets architectural definition. Expect $200–$450 for the bed. Pro tip: top the headboard with a row of small plants or books and it functions exactly like a divider shelf.
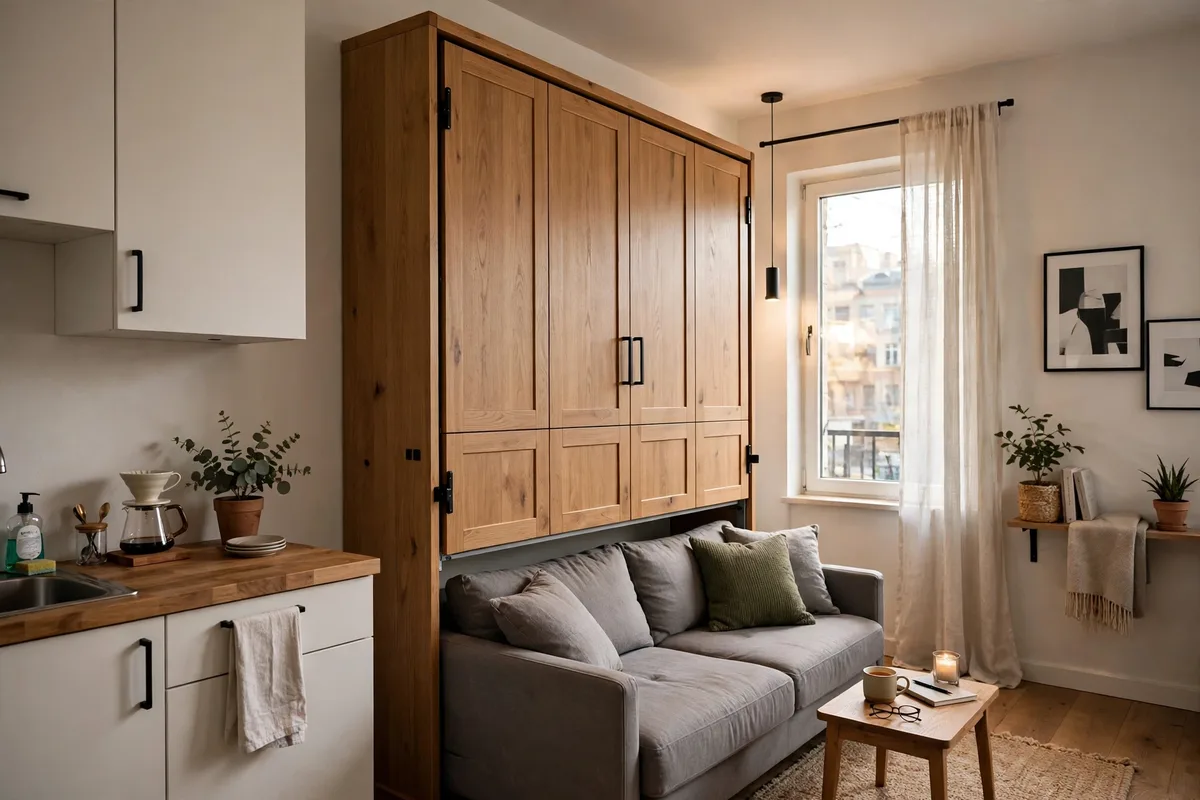
30. Murphy / Wall Bed Trick
The ultimate separation: a bed that disappears. A wall bed folds up by day, revealing what looks like a cabinet or a sofa — your studio becomes 100% living space until bedtime. Freestanding murphy cabinets (no wall mounting) run $800–$1,500, so this is the splurge option, but nothing else gives you a true one-bedroom feel on demand. Pro tip: if that’s too steep, a quality tri-fold mattress stored behind the sofa ($150–$300) gives you 80% of the effect for a fifth of the price.
Layout & Visual Tricks
No new furniture required — sometimes separation is about placement, paint, and psychology.
31. Bed Orientation Flip
Simply turning your bed so the headboard sits against a different wall — ideally tucking it into a corner or alcove — can create a sense of enclosure that costs absolutely nothing. Corner placement gives you two “walls” for free and naturally angles the bed away from the living zone. Pro tip: avoid pointing the foot of the bed directly at the front door; it makes the bed the first thing every visitor sees.
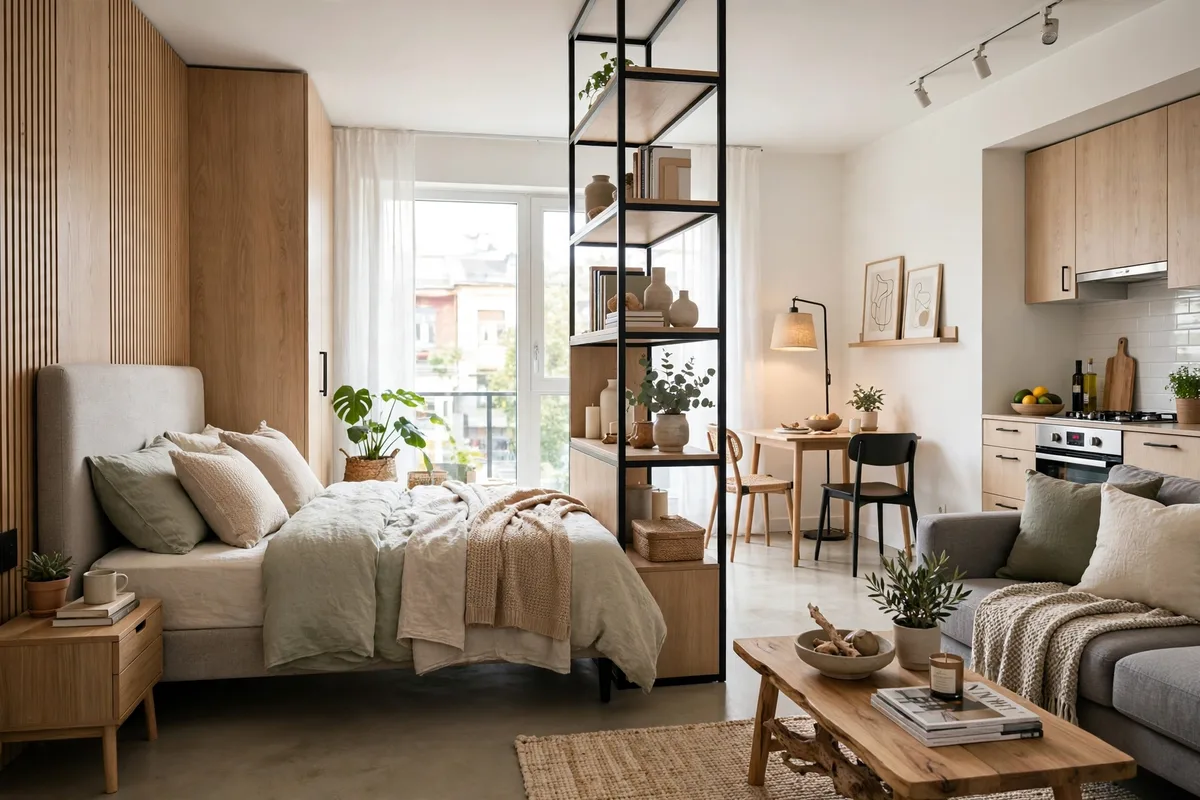
32. Paint or Wallpaper Accent Zone
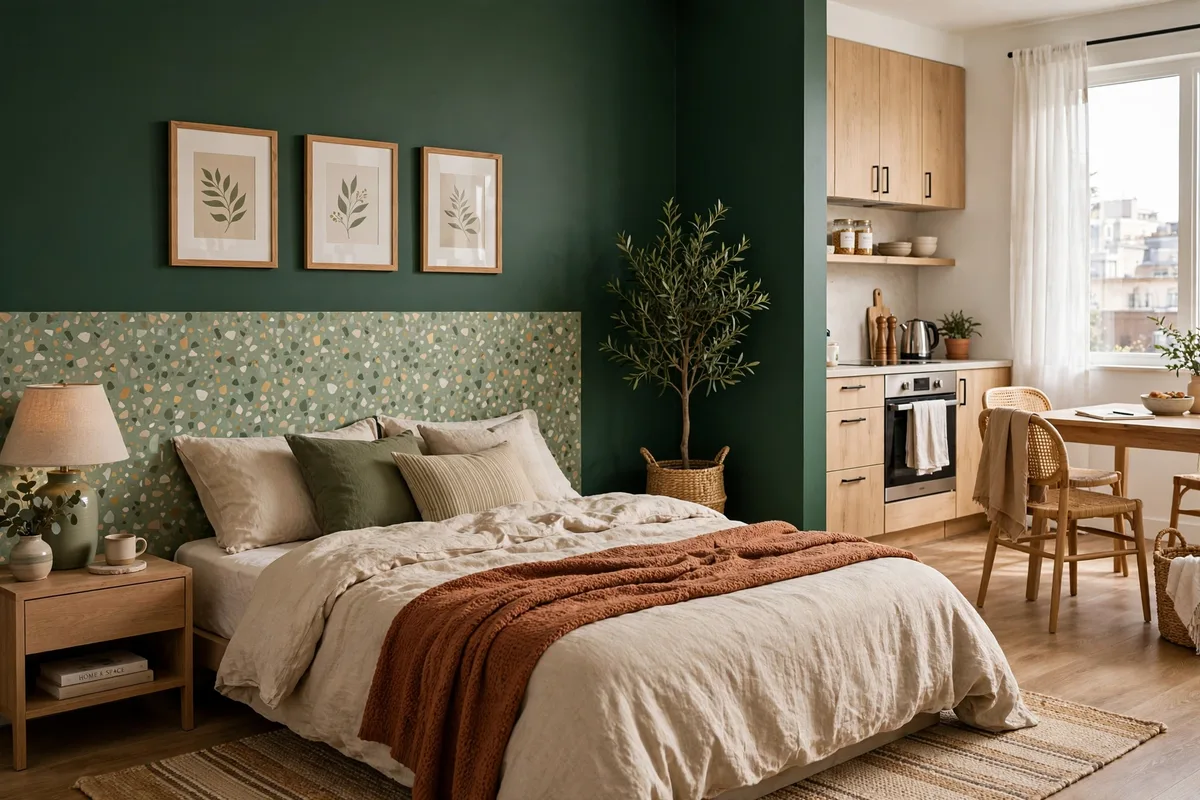
A single accent wall behind your bed — removable peel-and-stick wallpaper or even a large painted arch — tells the eye “this area is different” without a single piece of furniture. Peel-and-stick rolls run $30–$80 and come off cleanly. Pro tip: choose a deep, restful tone (forest green, warm terracotta, dusty blue) — color psychology is real, and darker hues genuinely help the bed zone feel sleepier.
33. Raised Platform Bed Zone
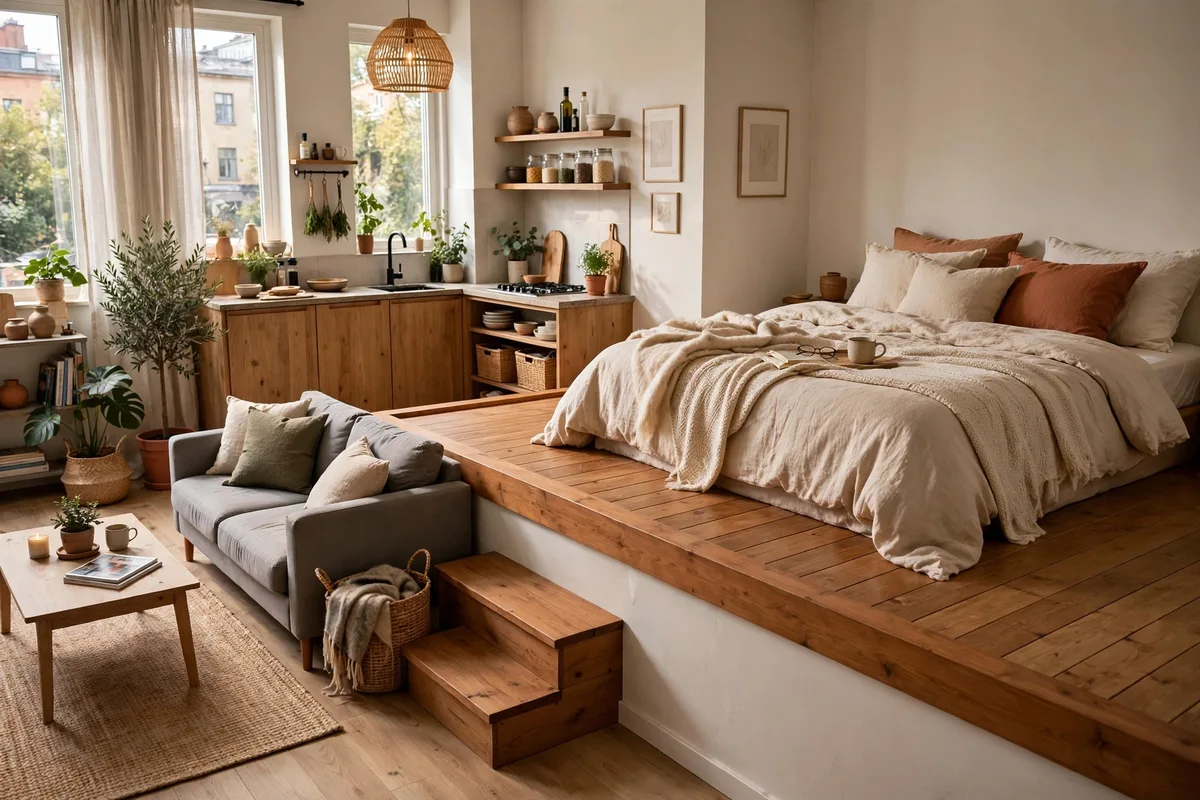
A low platform — even just 4 to 6 inches — under your bed creates a subtle stage that separates the sleep zone physically and visually. Low platform frames start around $100–$200, or build one from plywood and 2x4s for under $60. Pro tip: add LED strip lighting under the platform edge; the floating-bed glow at night makes the zone feel luxurious and clearly defined.
34. Alcove / Nook Bed Placement
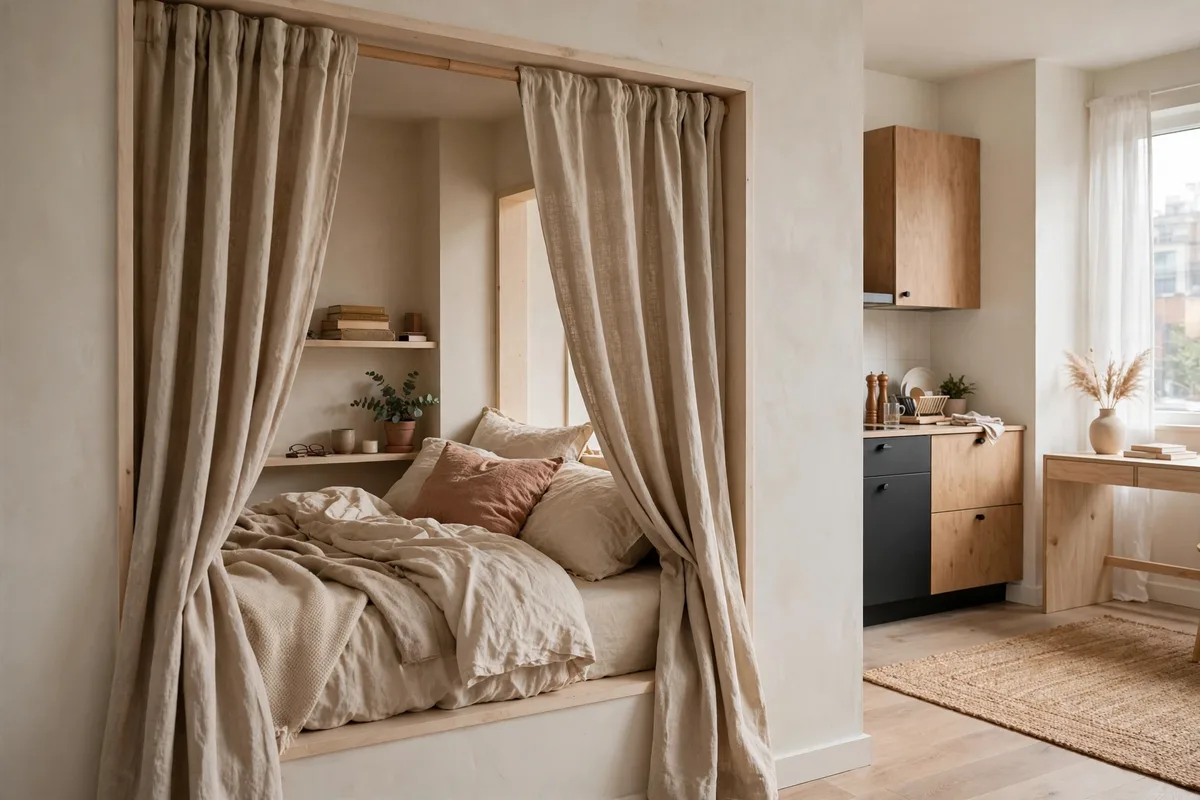
If your studio has any kind of recess, hallway nook, or wide entryway indent, that’s your bedroom waiting to happen. Sliding the bed into the alcove gives you three walls of separation for free — add a curtain across the opening and you’ve built a genuine bedroom. Cost: $0 plus whatever curtain you choose. Pro tip: measure the alcove before buying the bed; a full-size frame in a queen-size nook is the most common studio regret.
Creative & Budget Ideas
Proof that the best bed dividers are sometimes the cheapest — especially when you’re learning to decorate a studio apartment on a budget.
35. Hanging Plant Curtain
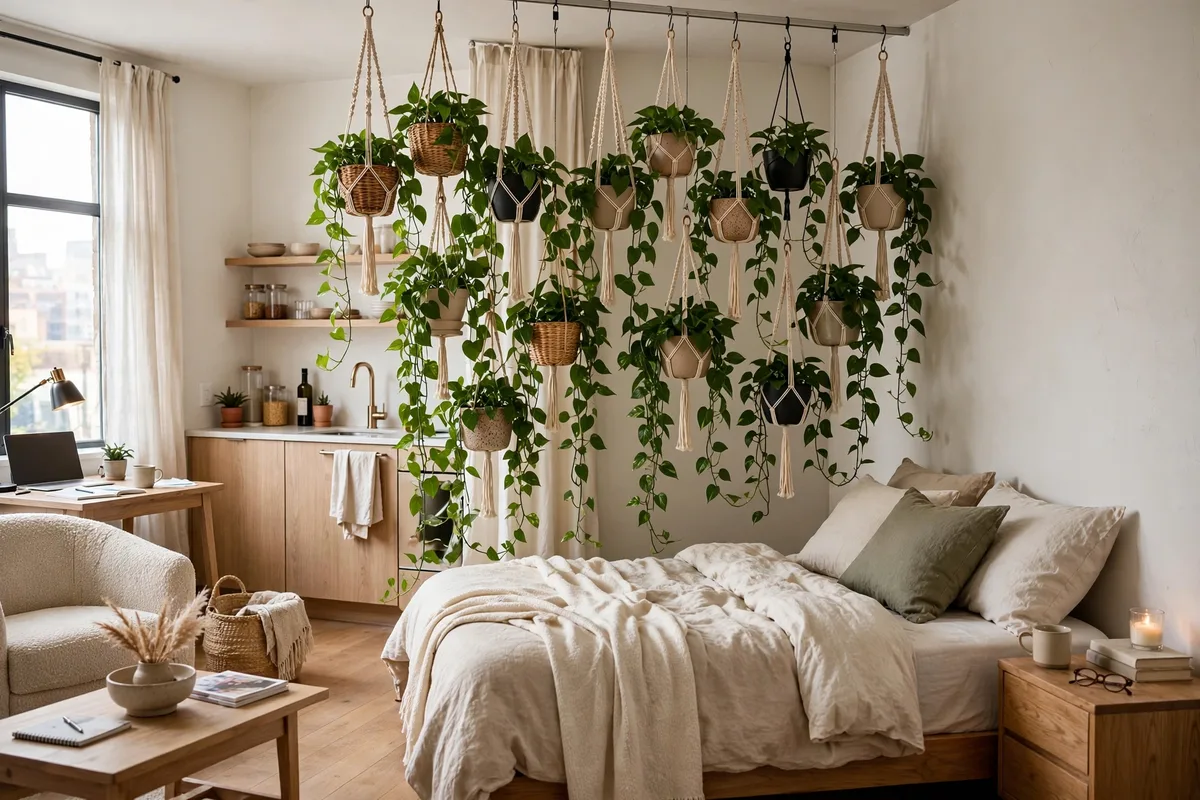
Suspend 6–8 hanging planters at varying heights from a tension rod or ceiling hooks and you get a living, breathing curtain of trailing pothos and ferns. It’s a divider, an air purifier, and a statement piece in one — for about $50–$100 in plants and hangers. Pro tip: stick to low-maintenance trailers (pothos, philodendron, spider plant) so the curtain thrives on neglect.
36. Tapestry or Macramé Hanging
A large woven tapestry or oversized macramé piece hung from a ceiling track or tension rod adds color, texture, and even a little sound softening — all for $30–$90. It’s the renter’s answer to an upholstered wall. Pro tip: hang it with a bit of slack rather than drum-tight; the gentle drape looks expensive and hides imperfect walls behind it.

37. Bookcase-Top Garden Ledge
Already using a bookshelf as your divider? Take it further: turn the entire top surface into a garden ledge with a row of small potted plants, trailing vines, and one statement plant. The greenery raises the visual height of the divider and makes the bed zone feel like a hidden garden. Cost: $30–$70 in small plants. Pro tip: use a long, narrow drip tray under the pots to protect the shelf — and your deposit.
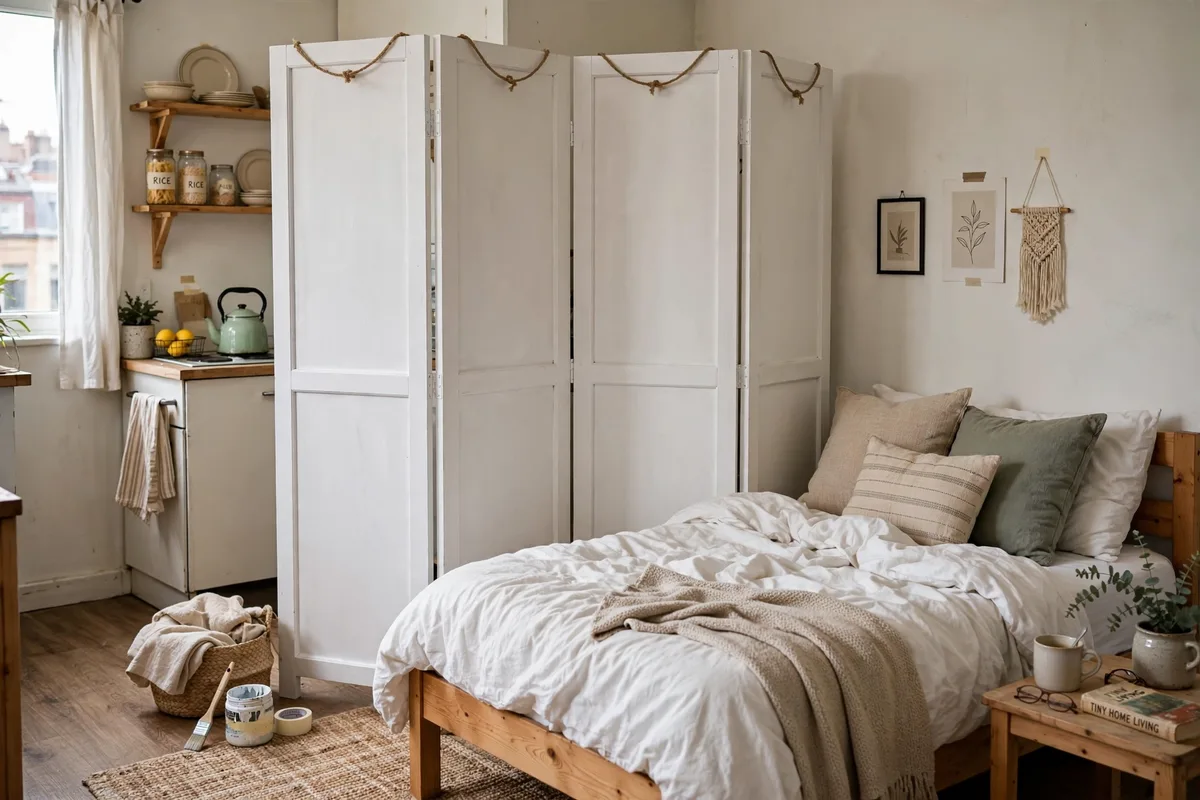
38. Thrifted Room Divider Makeover
Secondhand stores are full of folding screens, shutters, and odd panels begging for a second life — often $10–$30. A coat of paint, new fabric panels, or even decoupaged wallpaper turns a sad thrift find into a custom divider nobody else has. Pro tip: search Facebook Marketplace for “room divider” and “folding screen” weekly; the good ones get claimed within hours, so set an alert.
Frequently Asked Questions
Can I separate my bed in a studio apartment without drilling any holes?
Absolutely — nearly every idea on this list is drill-free. Tension rods, adhesive ceiling tracks, freestanding bookshelves, folding screens, and furniture placement all create real separation with zero holes. If your lease does allow small holes, a ceiling-mounted curtain track is the sturdiest option, but it’s never required.
What’s the cheapest way to create a bedroom zone in a studio?
Rug zoning ($40+) or sheer curtains on a tension rod ($40–$70 total) are the budget champions. Thrifted screens ($10–$30) win on pure price if you’re patient. Most renters land between $50–$150 total for a convincing bedroom zone.
How do I keep light flowing when I divide my studio?
Choose your divider by window position: put sheer, open, or glass dividers on the window side, and save solid pieces (wardrobes, dressers) for the darker side of the room. Pull curtains open during the day, and stick to light colors — a divider in white or natural wood steals far less light than a dark one.
Will a room divider make my small studio feel smaller?
A bad one will; a good one won’t. Solid, dark, ceiling-height dividers chop a tiny studio in half visually. But low dividers, sheer fabrics, open shelving, and glass actually make a studio feel bigger — because each zone gets its own purpose, the brain reads “two rooms” instead of “one cramped box.”
What’s the best bed divider for couples in a studio?
Double-track curtains (idea #13) are the couple’s champion: one partner can sleep in blackout darkness while the other reads or works in the living zone. For sound, add an upholstered fabric screen — it won’t soundproof, but it takes the edge off.
How do I make my bed zone feel like a real bedroom on a budget?
Layer two cheap tricks: a distinct rug under the bed plus one vertical element (curtain, screen, or tall plant). The rug defines the floor, the vertical piece defines the walls, and together they convince your brain it’s a room. Add a warm bedside lamp and you’re done — total cost can stay under $100.
Final Thoughts
You don’t need a bigger apartment — you need better boundaries. Whether you go with breezy curtains, a hardworking KALLAX, a glowing shoji screen, or simply a well-placed rug, learning how to separate your bed in a studio apartment is the fastest way to make your space feel like a real home with real rooms.
Start with the method that fits your budget and your lease, live with it for a week, then adjust. Your future well-rested self — the one who falls asleep in a bedroom instead of a living room — will thank you.

One Comment