35 Studio Apartment Divider Ideas That Are Perfect for Renters
Living in a studio apartment means one big room has to do everything — bedroom, living room, office, dining room. The secret to making it feel like a real home isn’t more square footage; it’s smarter boundaries. The right studio apartment divider ideas carve out cozy, private zones without blocking light, breaking your lease, or draining your wallet.
Every idea below is renter-friendly (no drilling required unless noted, and even then there’s a workaround), budget-conscious, and proven in real studios. Whether you want to hide your bed, create a work-from-home nook, or just stop eating dinner staring at your laundry pile — there’s a divider here for you.
Curtain Dividers: The Renter’s Best Friend
Curtains are the #1 studio divider for a reason: cheap, soft, endlessly changeable, and they disappear in seconds when you want the space open.
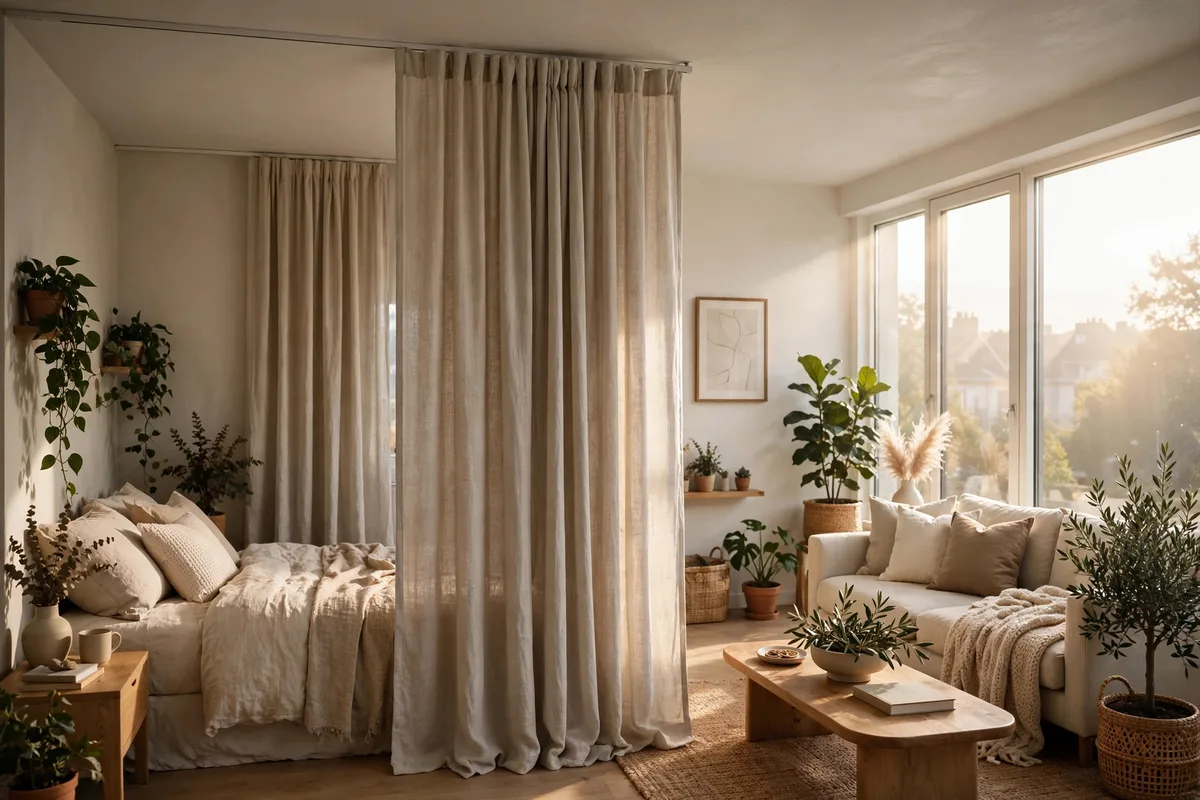
1. Ceiling-Track Linen Curtains
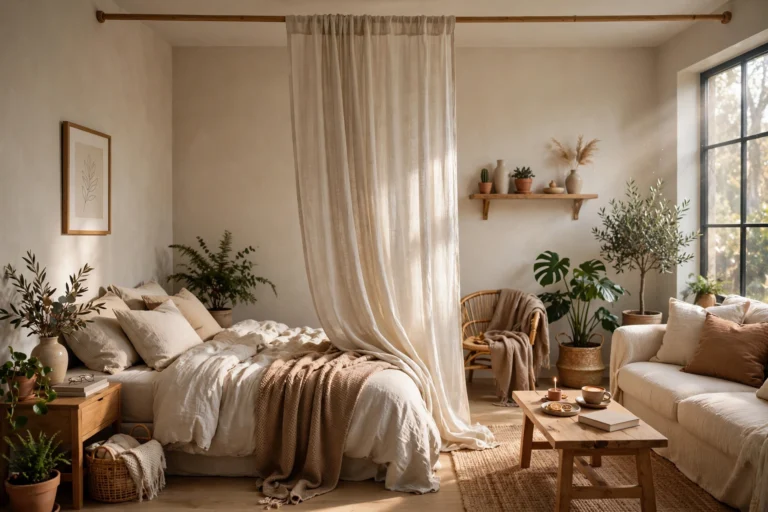
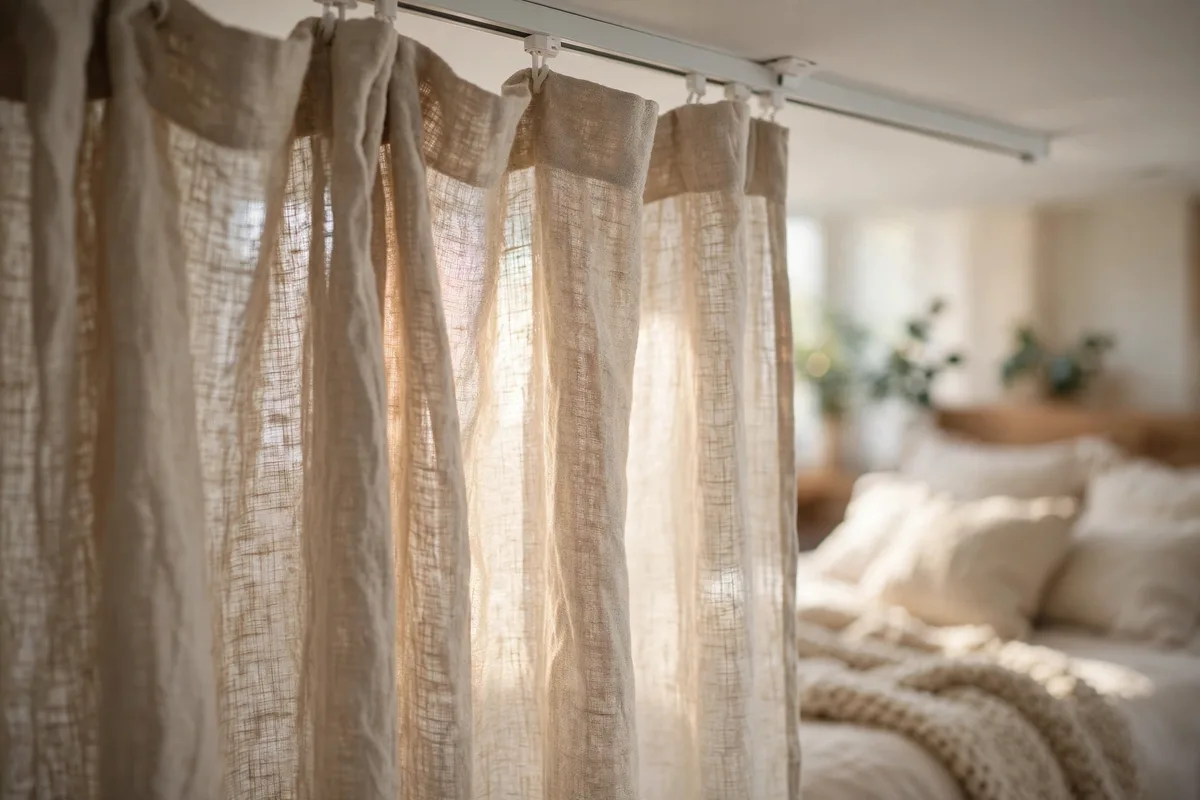
Mount a flexible ceiling track (IKEA VIDGA, ~$15) in an L-shape around your bed zone and hang floor-length linen curtains. It reads as architecture, not a hack — like a boutique hotel suite. Cost: $60–$140 total.
2. Tension-Rod Curtain Wall
No drilling, no tracks: wedge a heavy-duty tension rod between two walls and hang curtains. Perfect for renters whose leases forbid even adhesive hooks. Cost: $30–$70.
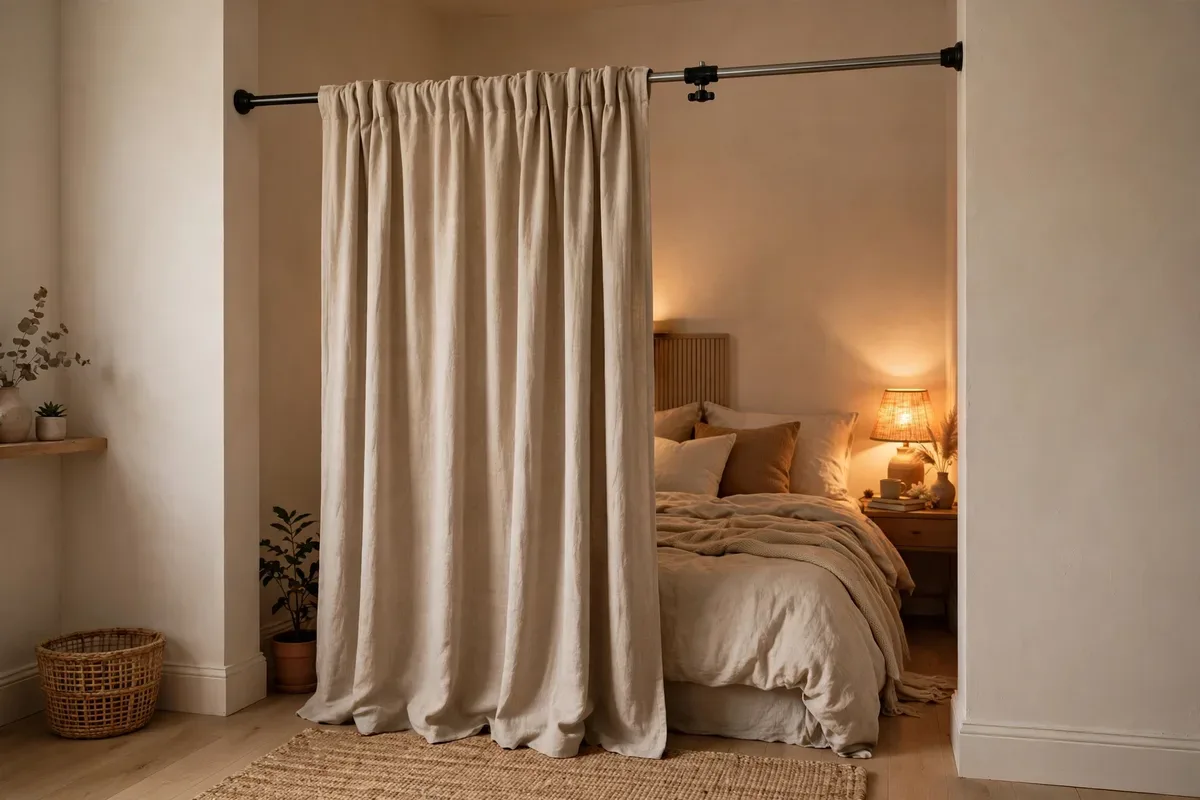
3. Sheer White Curtains for Airy Separation
Sheers divide the space visually while letting 80% of light through — ideal for dark studios where solid dividers would create a cave. Layer two panels for softness. Cost: $25–$50.
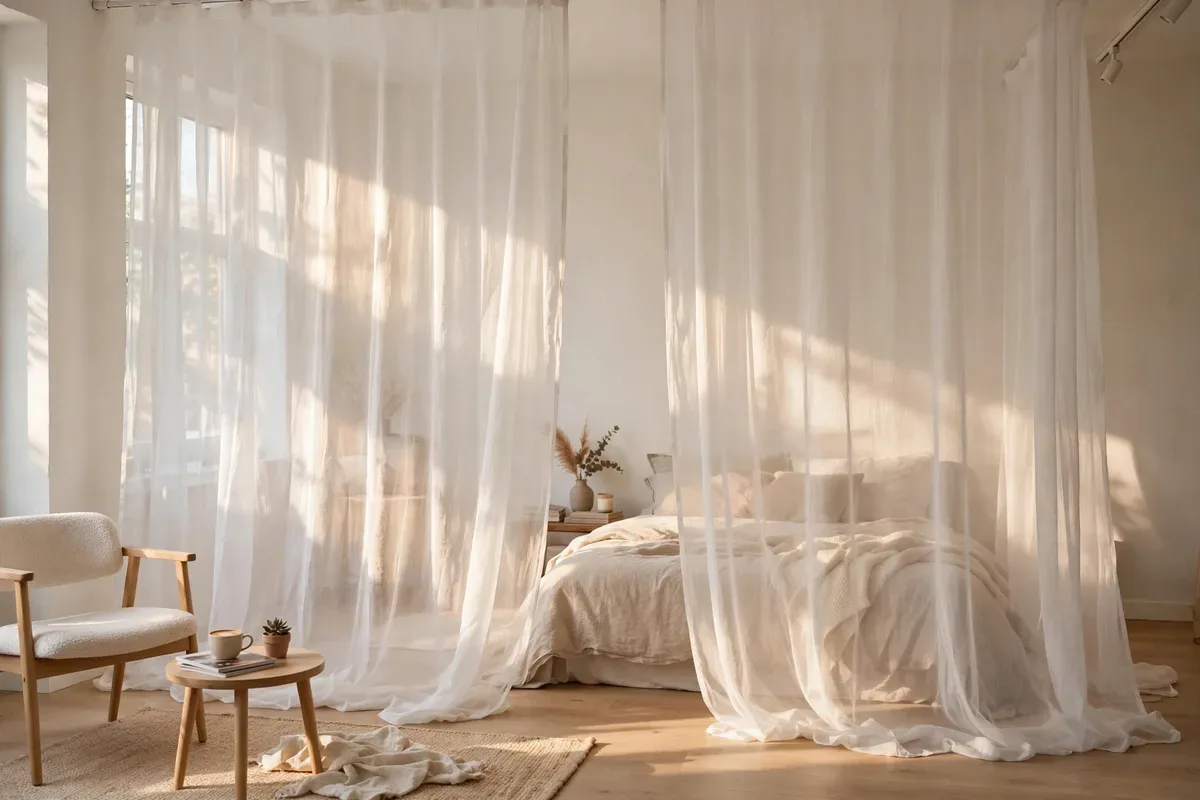
4. Blackout Curtains Around the Bed
If streetlights or a partner’s late-night TV ruin your sleep, blackout curtains on a ceiling track create a genuinely dark sleep cave. Choose a warm neutral so daytime looks soft, not bunker-like. Cost: $50–$110.
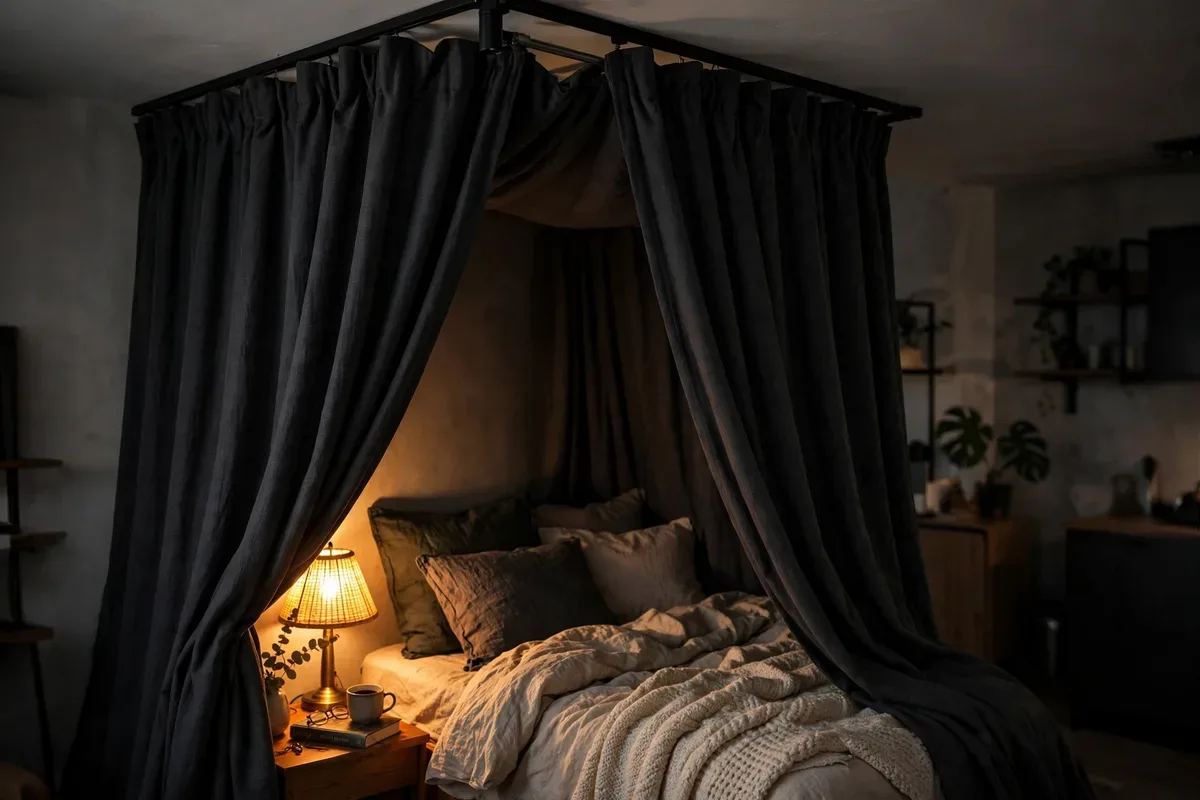
5. Double-Layer Curtains (Sheer + Linen)
Hang sheers closest to the room and heavier linen behind them on a double track. Daytime: pull back the linen for light. Night: close both for full privacy. Cost: $70–$150.
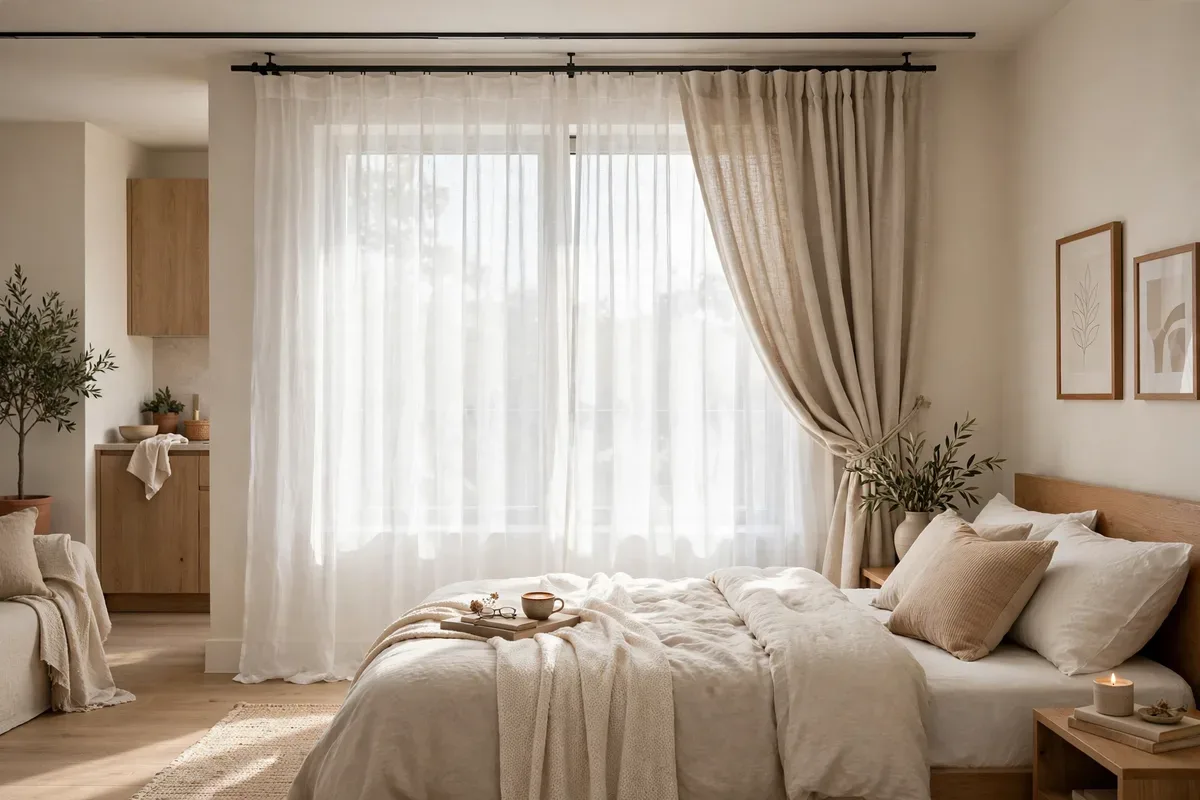
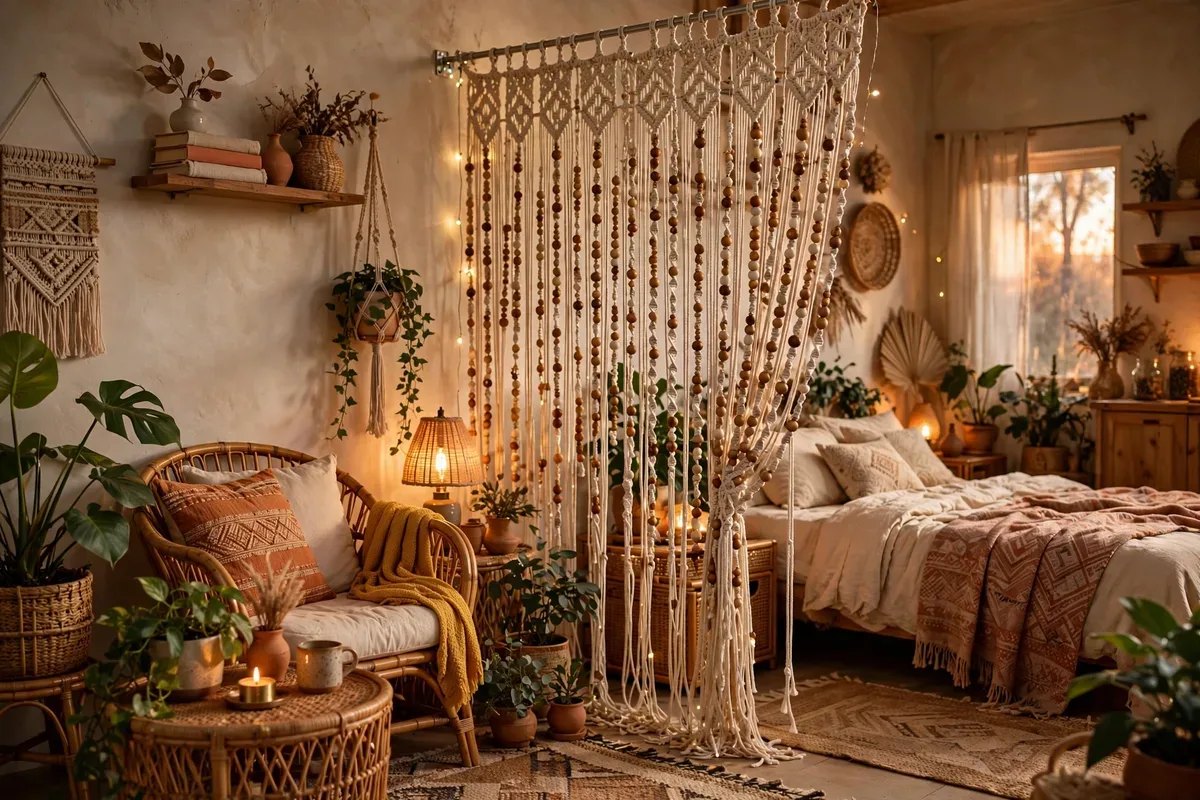
6. Beaded or Macramé Curtain
For boho studios, a beaded or macramé curtain divides without blocking sightlines at all — it signals “different zone” through texture alone. Cost: $30–$90.
Bookshelf & Storage Dividers: Walls That Work
Why build a wall that does nothing when a bookshelf gives you a wall and storage?
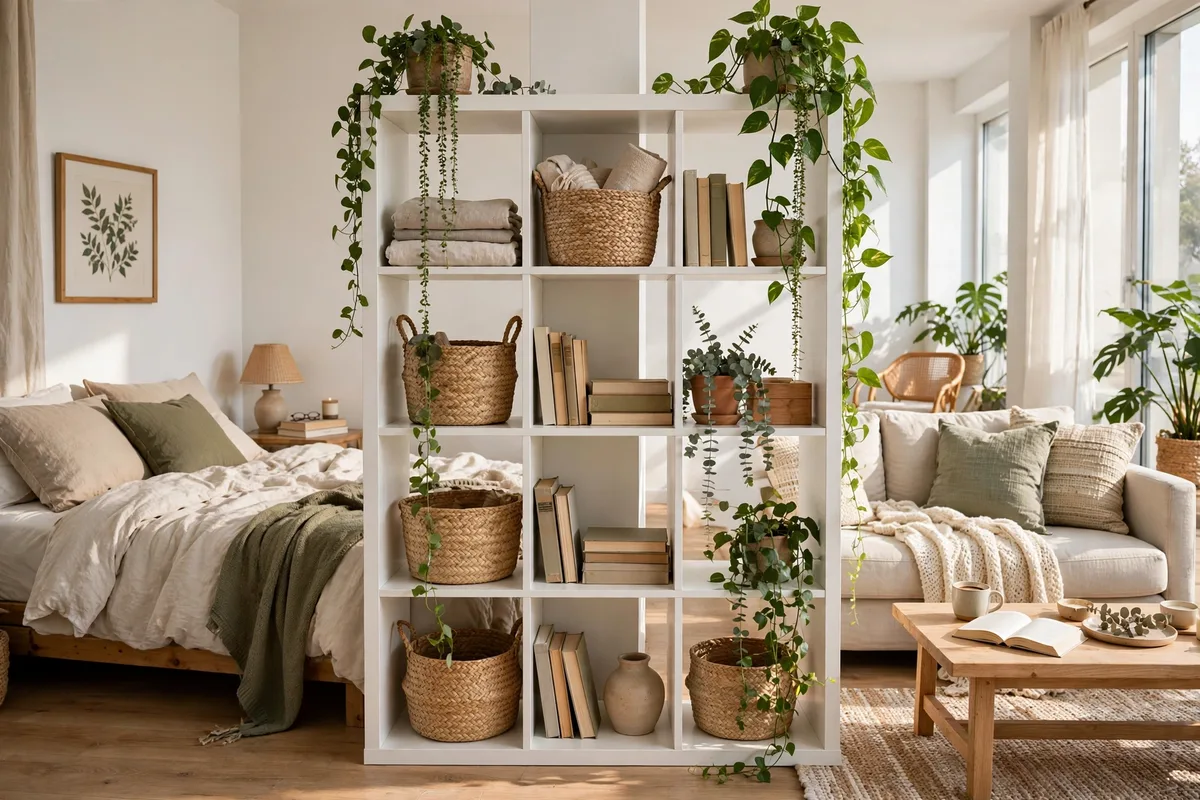
7. Cube Shelf Divider (KALLAX Style)
The studio classic: a 4×2 or 4×4 cube shelf placed perpendicular to the wall. Face bins toward the bedroom side, display toward the living side. Add fabric bins ($5–$8 each) to hide clutter. Cost: $70–$200.
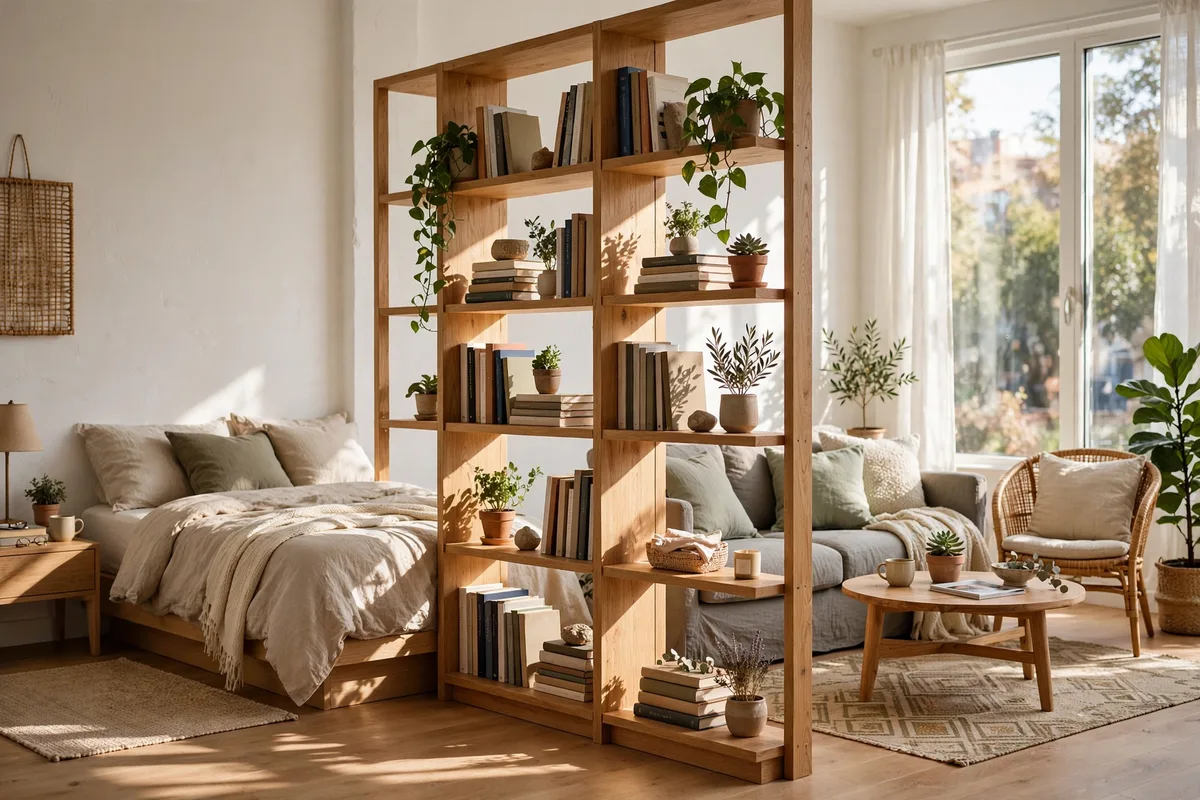
8. Open-Back Bookcase
Unlike solid shelves, an open-back bookcase lets light and sightlines pass through — the room stays airy while zones read clearly. Style with books, baskets, and one trailing pothos. Cost: $60–$150.
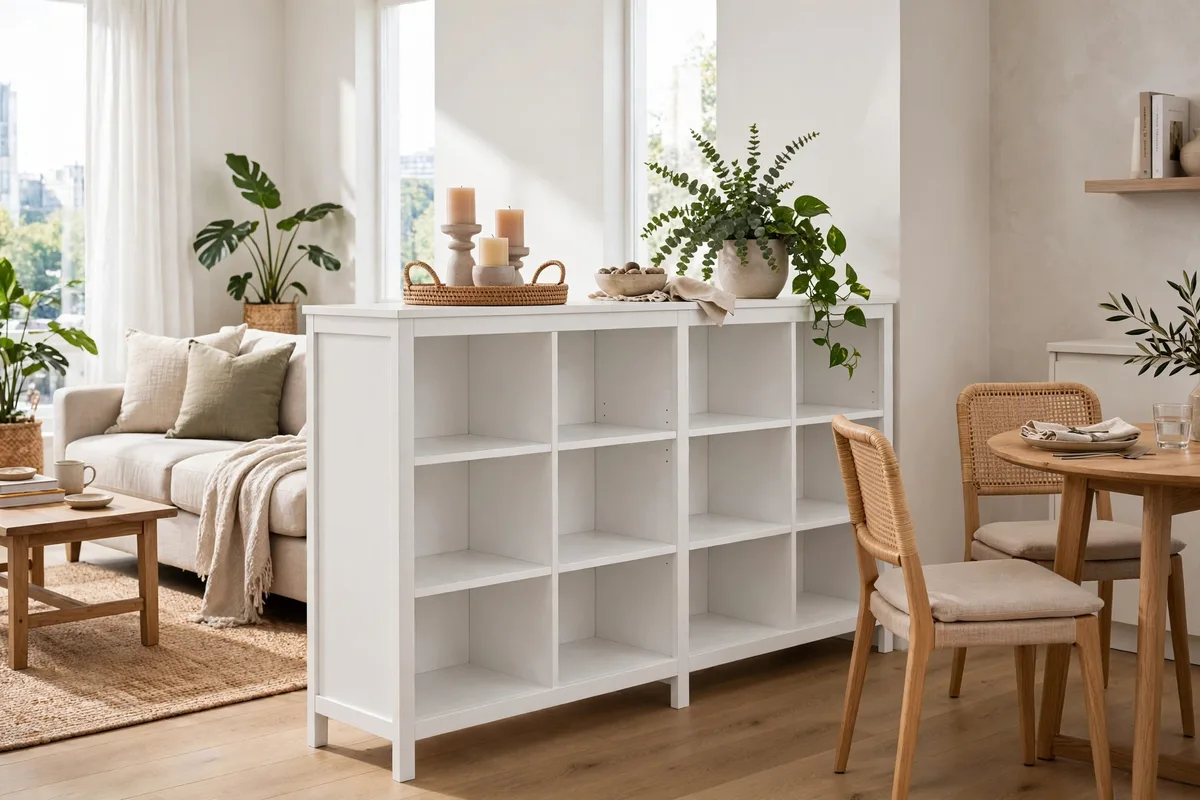
9. Low Bookcase (Waist Height)
A low, wide bookcase (under 30 inches) divides without blocking light or conversation — perfect between a living area and a dining nook. Cost: $50–$120.
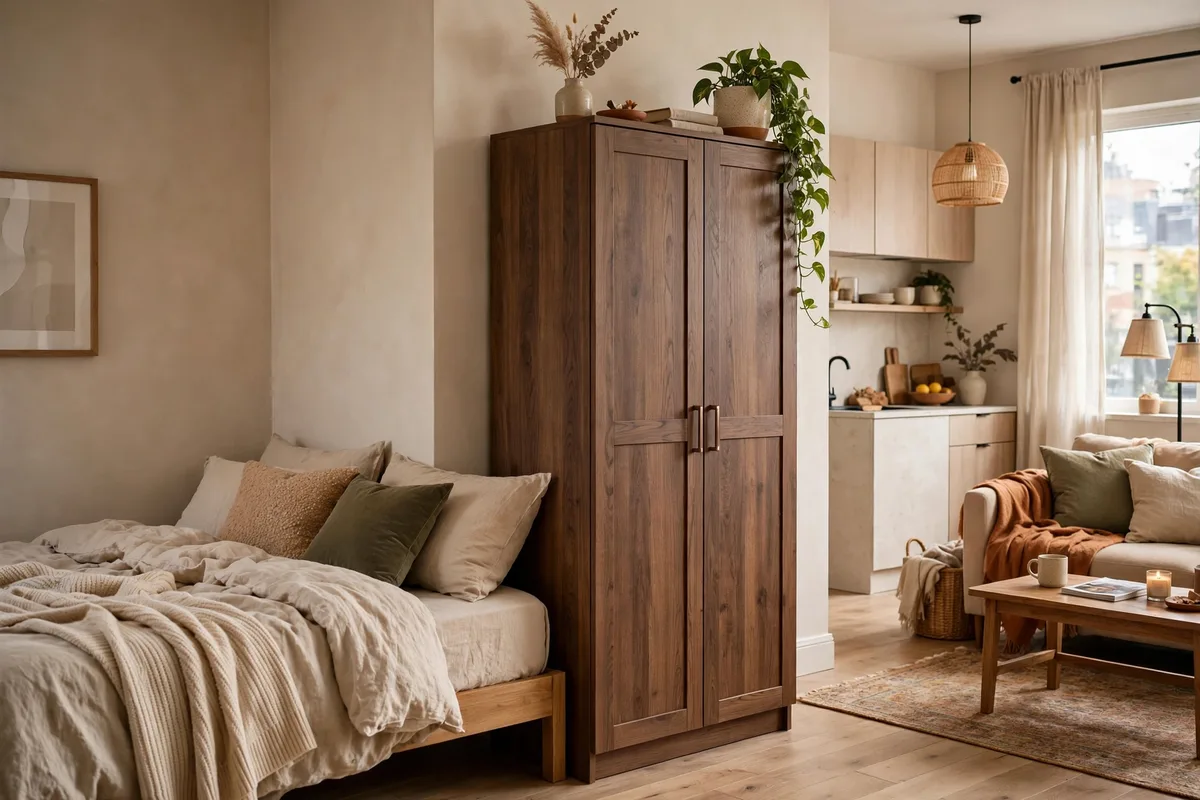
10. Tall Wardrobe as a Wall
Place a freestanding wardrobe perpendicular at the foot of your bed. Solid, private, and your clothes live exactly where you dress. Cost: $0 (already own it) to $250.
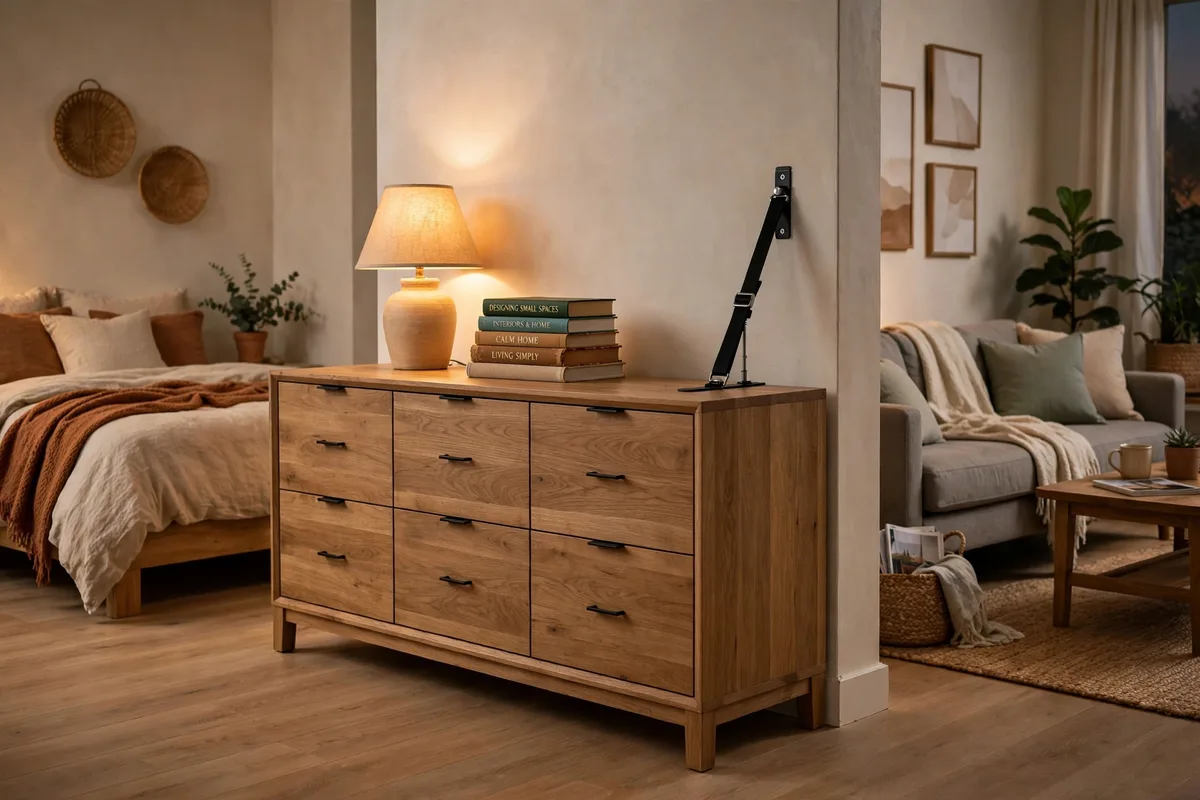
11. Dresser Divider
A wide, low dresser between bed and living zones gives you six drawers of storage plus a surface for a lamp and books. Anchor it with anti-tip straps. Cost: $40–$150 secondhand.
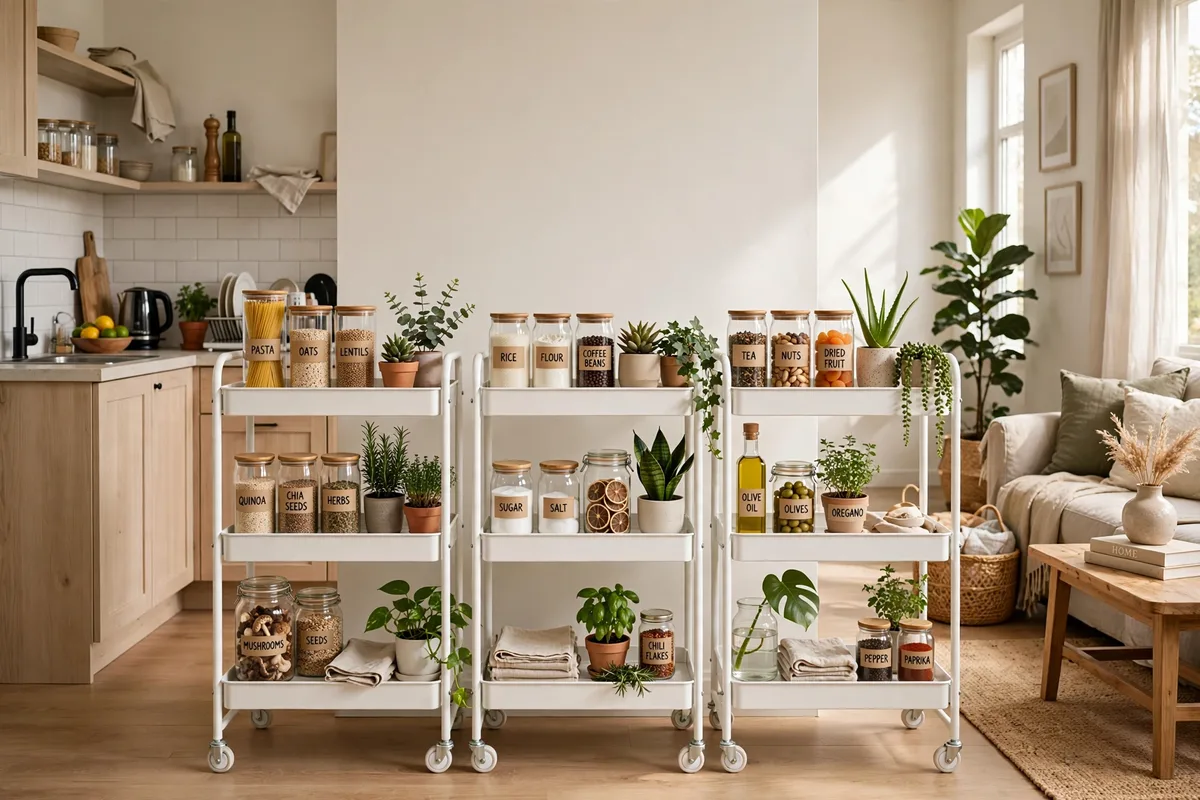
12. Rolling Storage Cart Wall
Two or three rolling kitchen carts ($35 each) lined up create a movable divider — roll them aside when you want the space open. Cost: $70–$110.
Screens & Freestanding Panels: Instant Architecture
Zero installation, zero commitment — unfold and done.
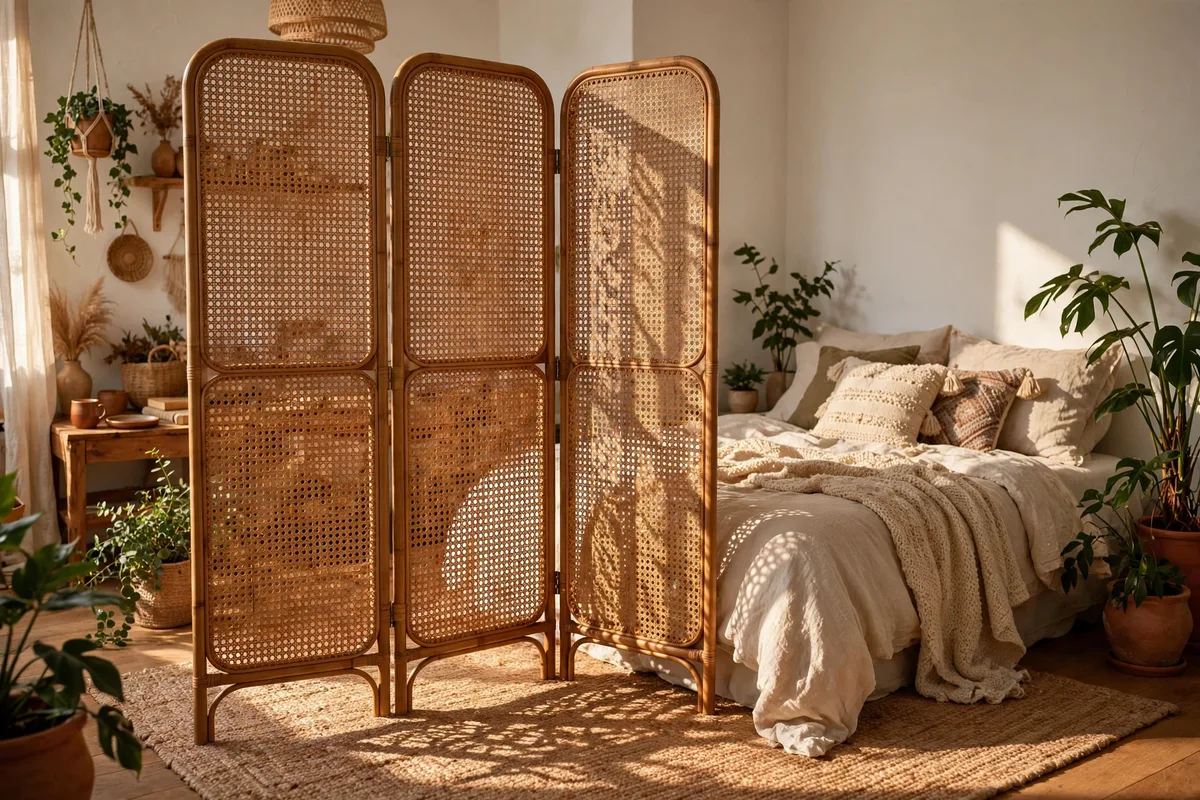
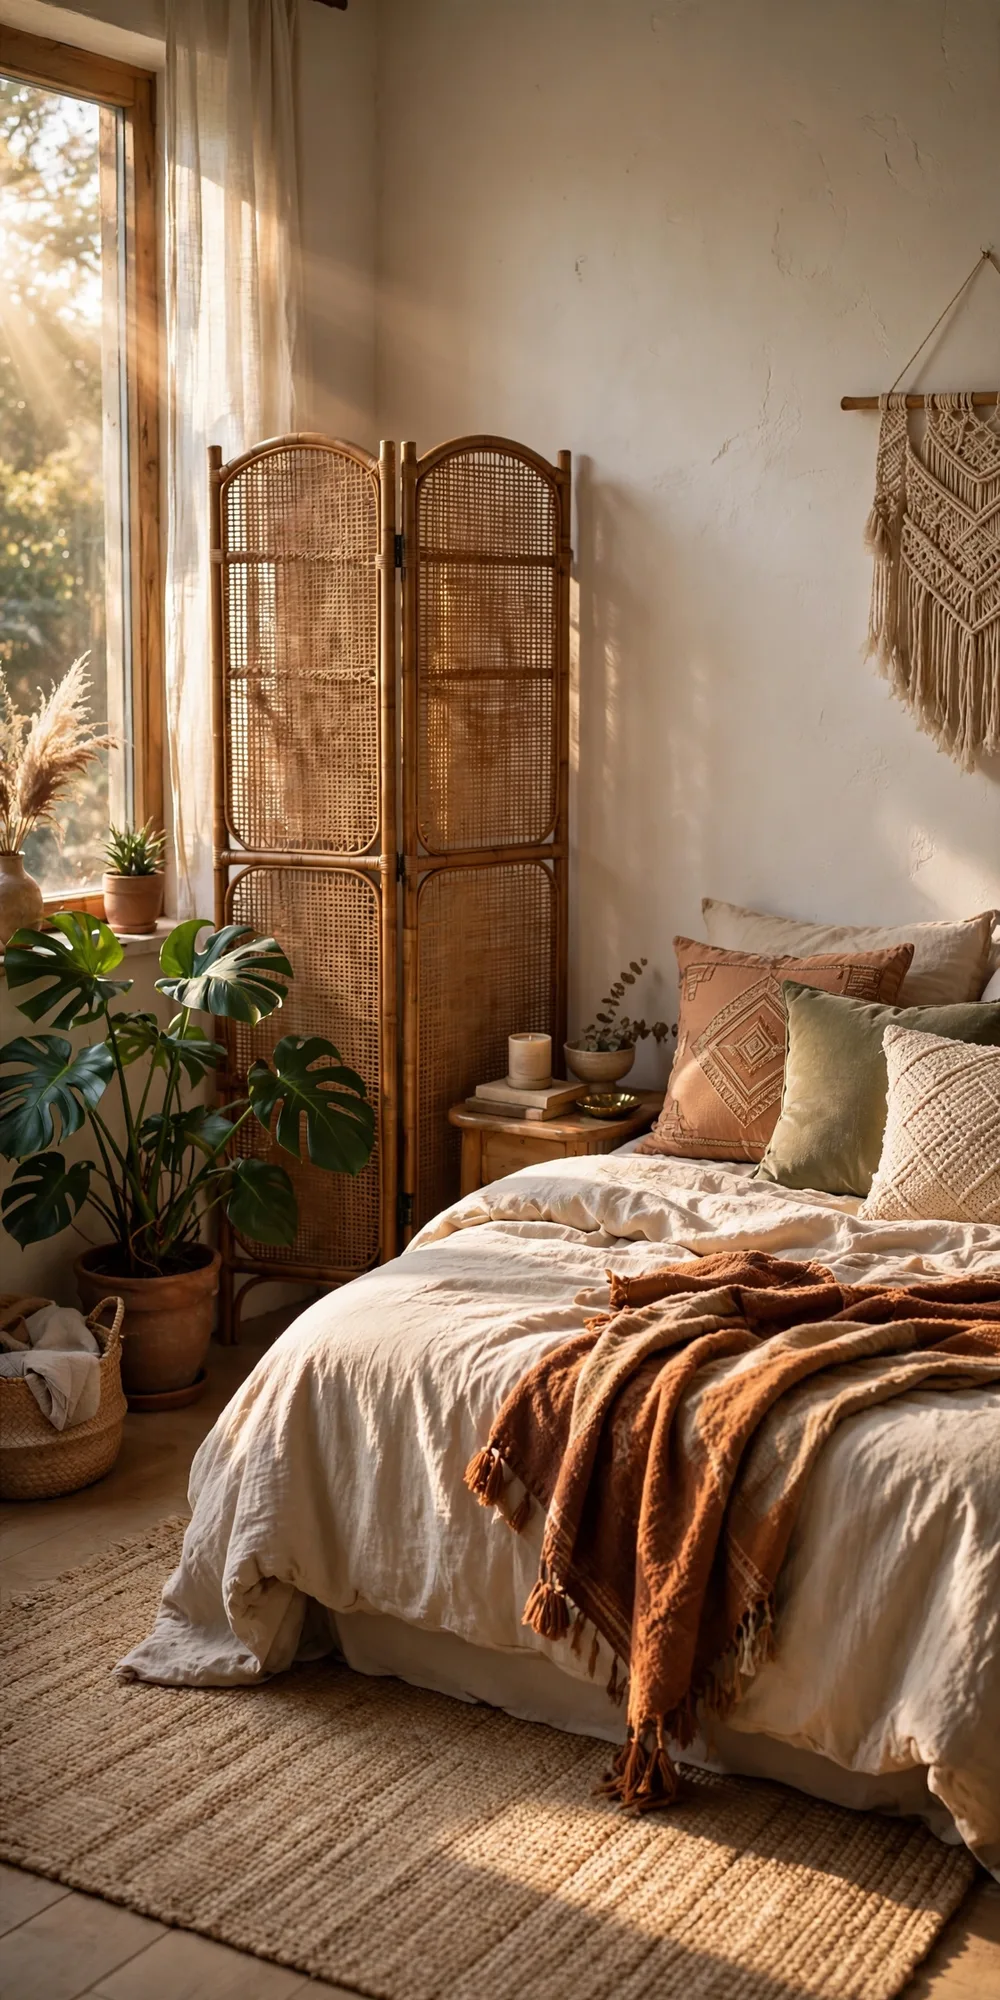
13. Rattan Folding Screen
Three-panel rattan or cane-webbing screens add warm texture while filtering light beautifully. Angle the panels slightly — it looks intentional and catches light. Cost: $80–$180.
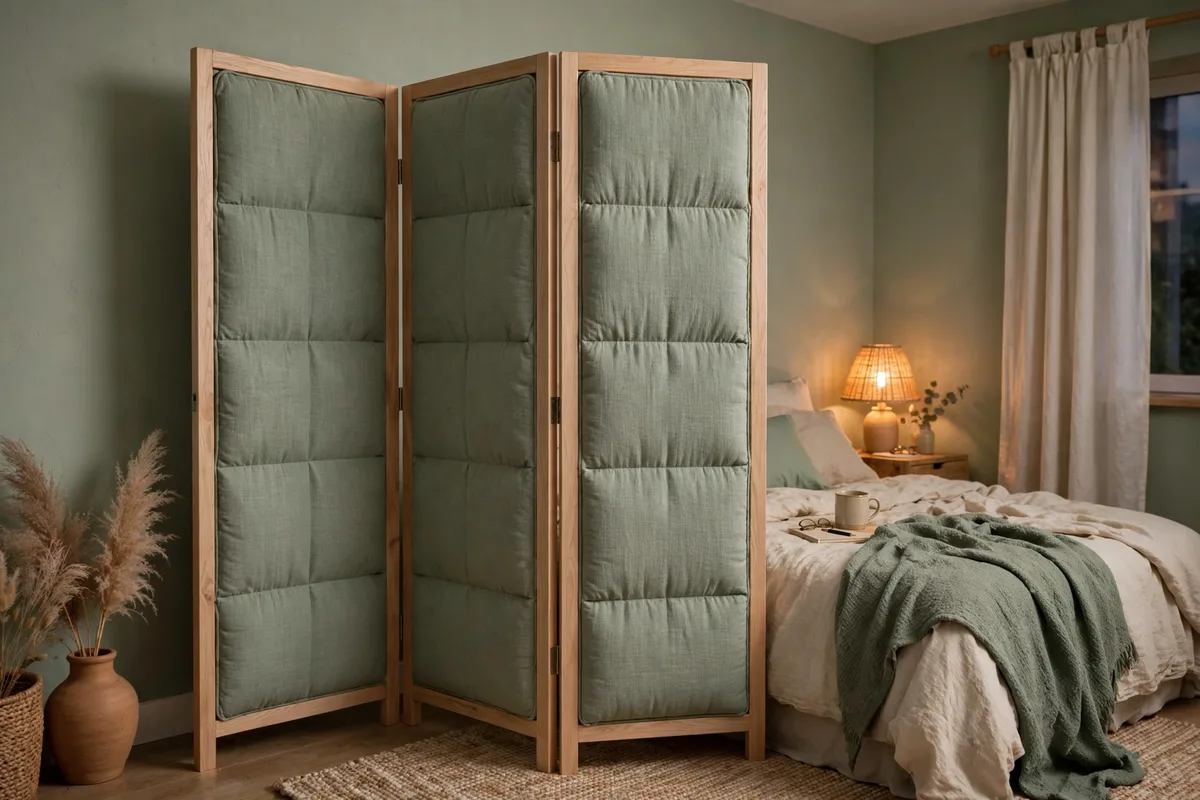
14. Fabric 3-Panel Screen
Upholstered or canvas screens give the most privacy of any folding option and come in every color. Look for wooden frames — sturdier than all-fabric. Cost: $60–$140.
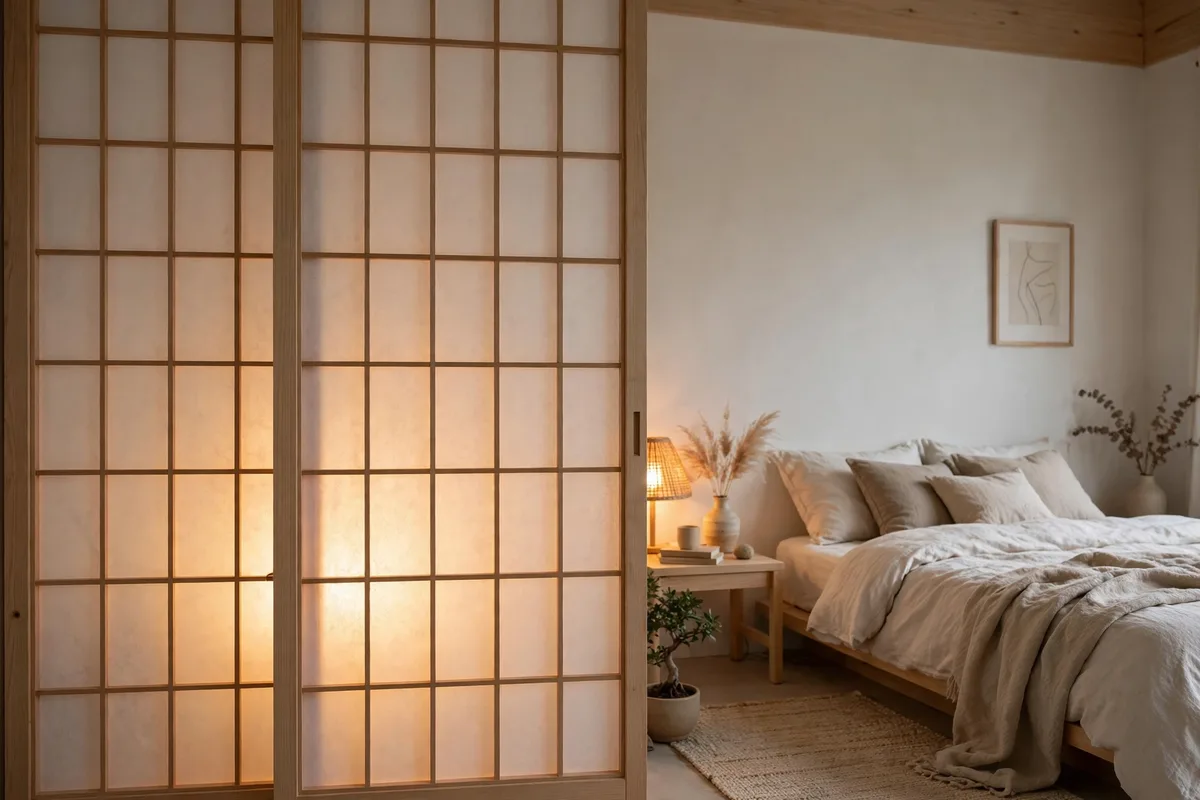
15. Shoji Screen
The Japanese classic: light wood frames with rice-paper panels. Glows beautifully with a lamp behind it; suits minimalist, Japandi, and Scandinavian studios. Cost: $70–$160.
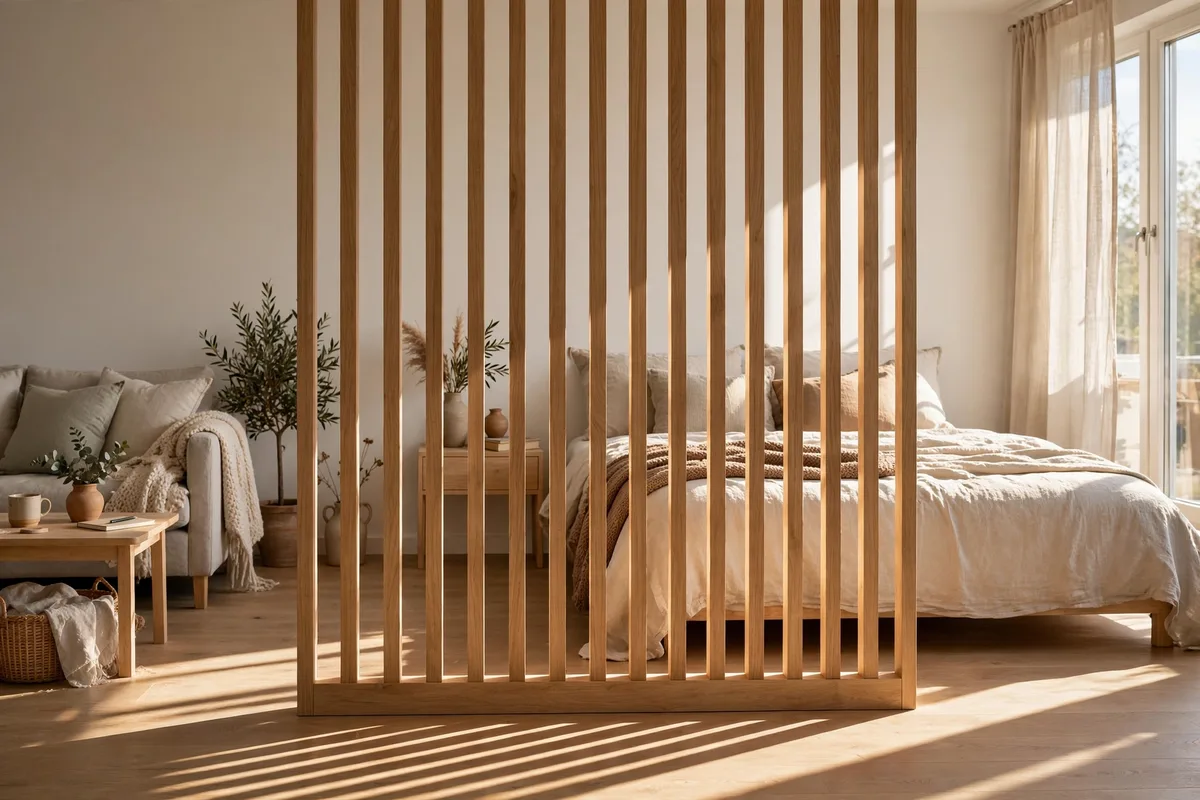
16. Wooden Slat Panel
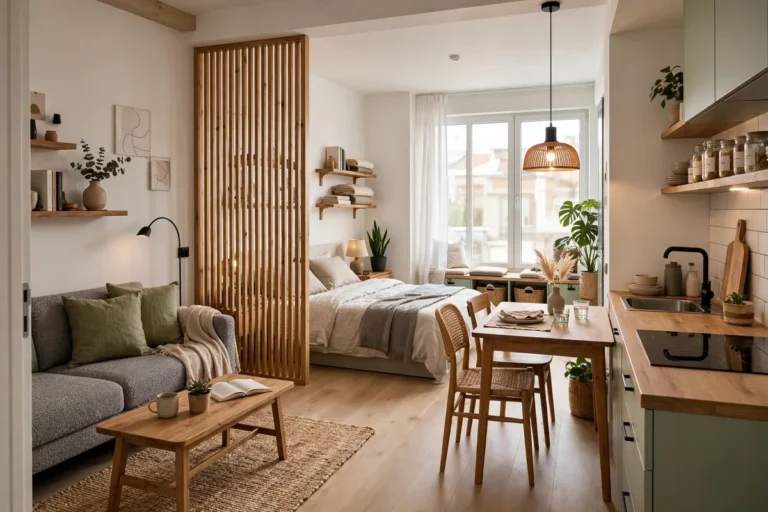
Vertical wood slats divide while letting light stripe through — the most “designed” look on this list. DIY-able with 1×2 lumber and a weekend. Cost: $50–$200 (DIY) or $150+ pre-made.
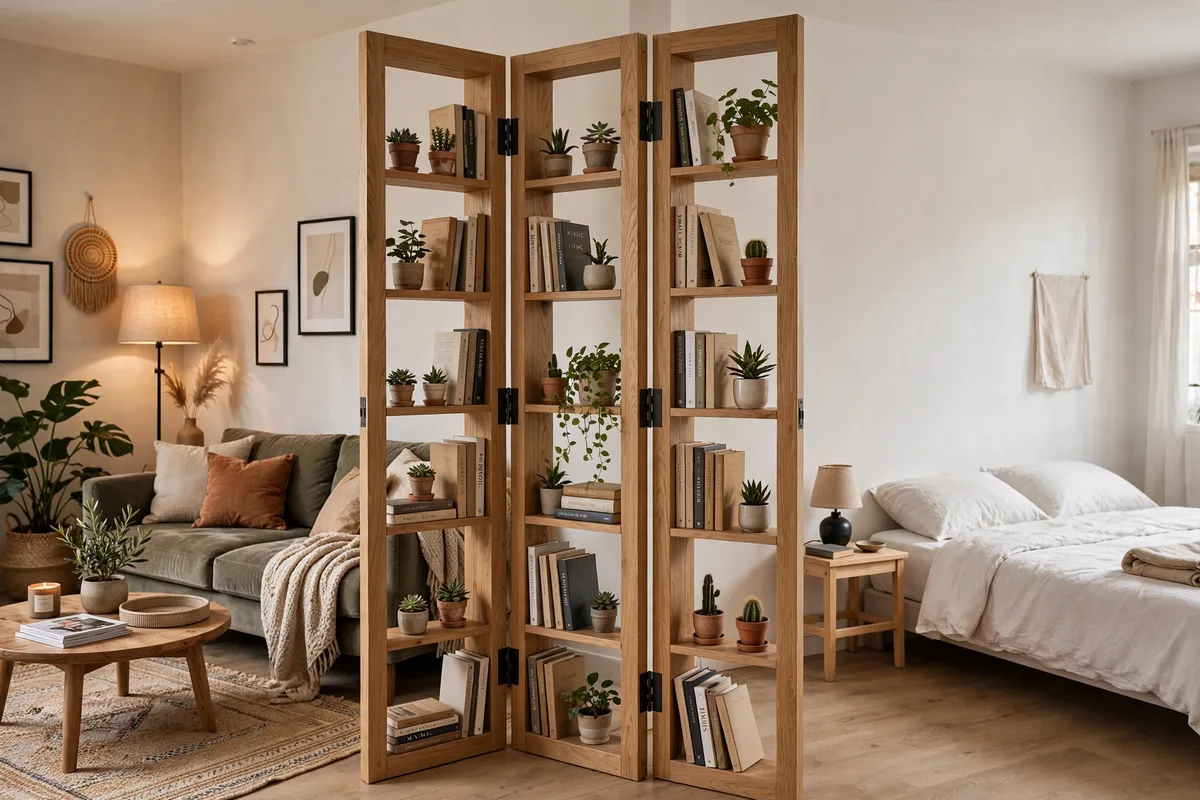
17. Room Divider with Built-In Shelves
A folding screen where each panel has shelves. Display plants and books on the living side, keep the bedroom side simple. Cost: $90–$200.
18. Vintage Door or Window Frame Panel
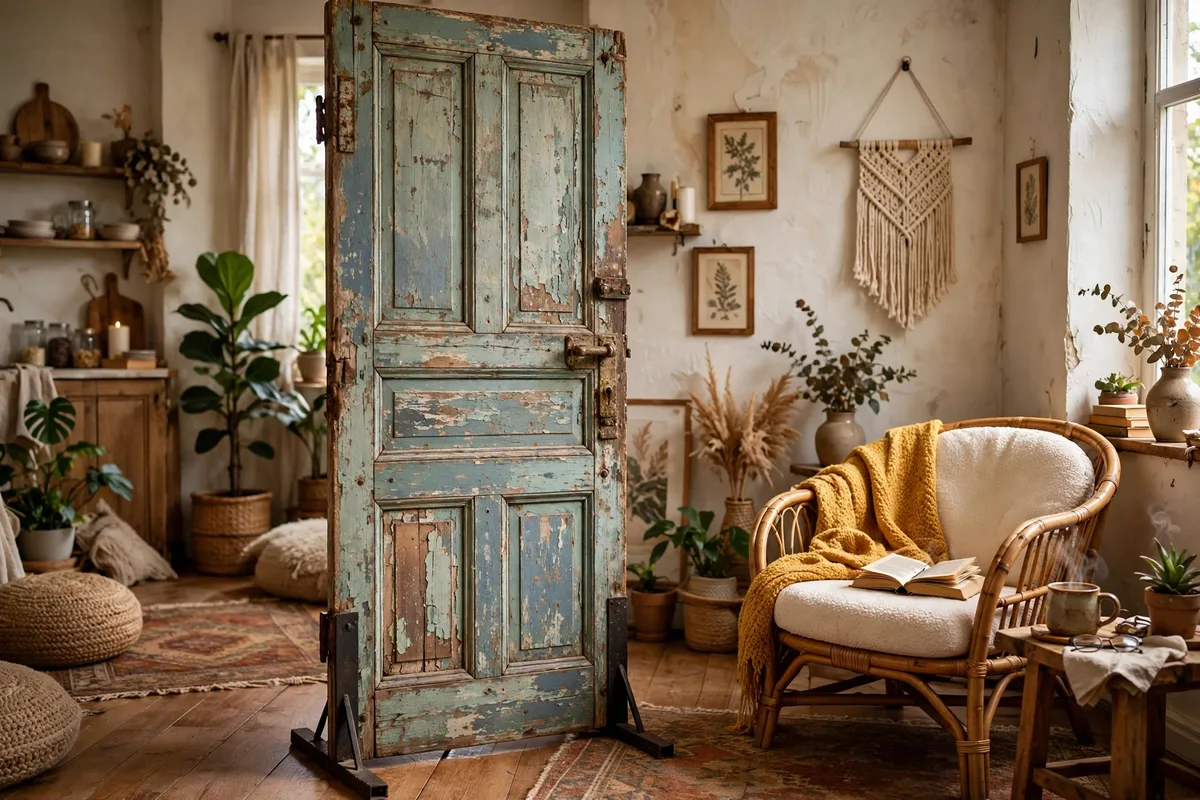
One vintage door (or old window frames hinged together) makes a divider with unbeatable character. Check architectural salvage shops. Cost: $30–$120.
Glass & Light-Friendly Dividers: Privacy Without Darkness
For studios where every ray of light matters.
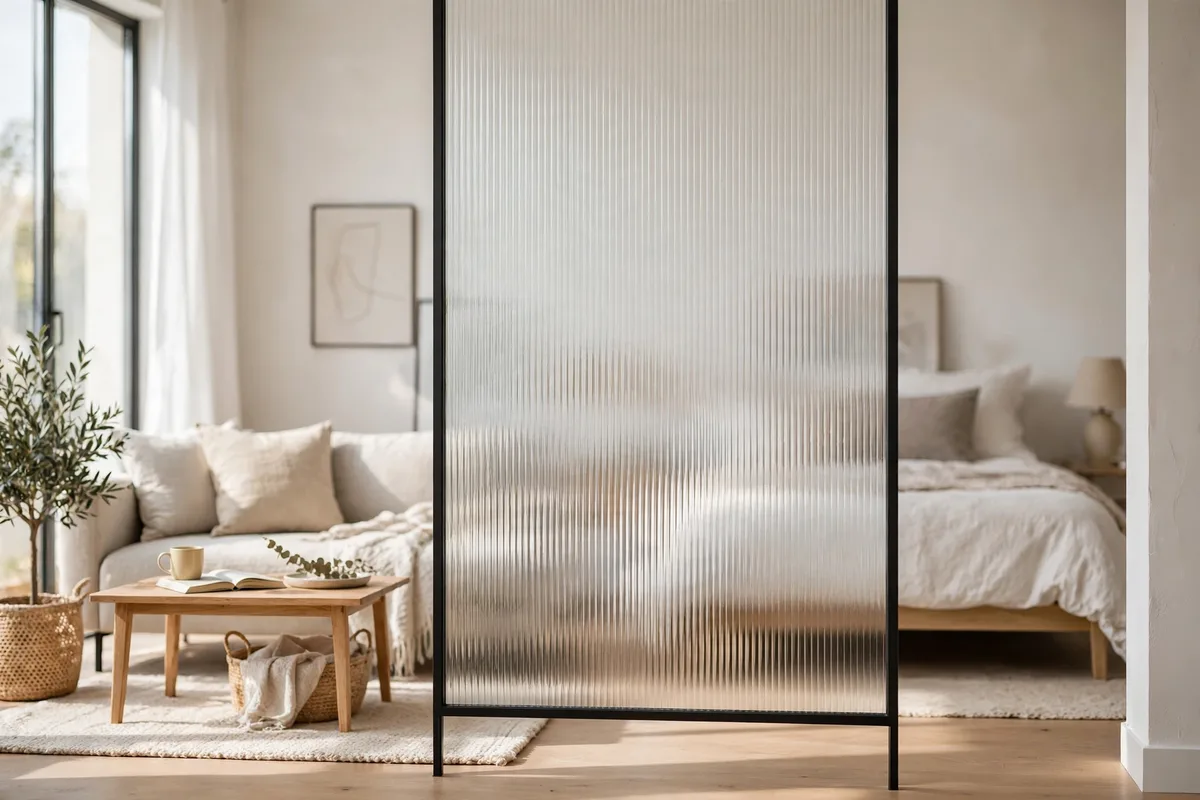
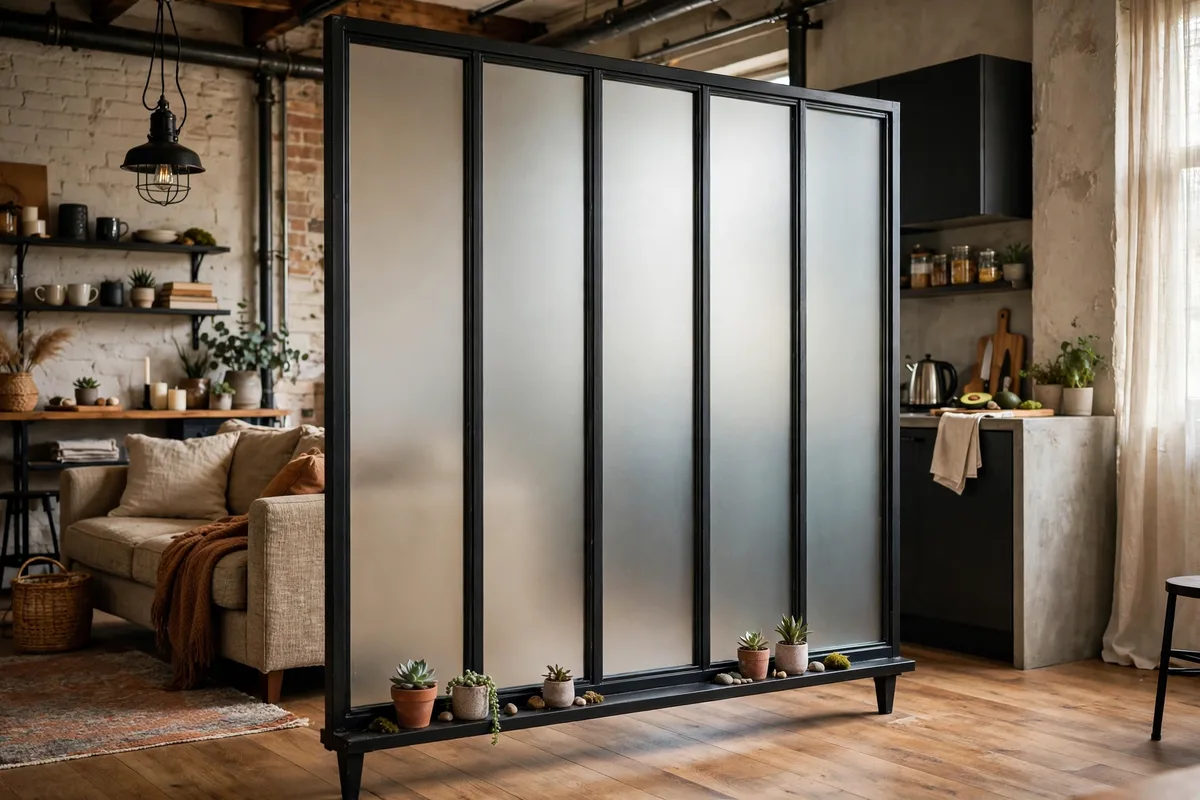
19. Frosted Glass Freestanding Panel
Frosted or reeded glass blurs the bed zone into a soft glow while transmitting nearly all light. Transformative in dark studios. Cost: $150–$350.
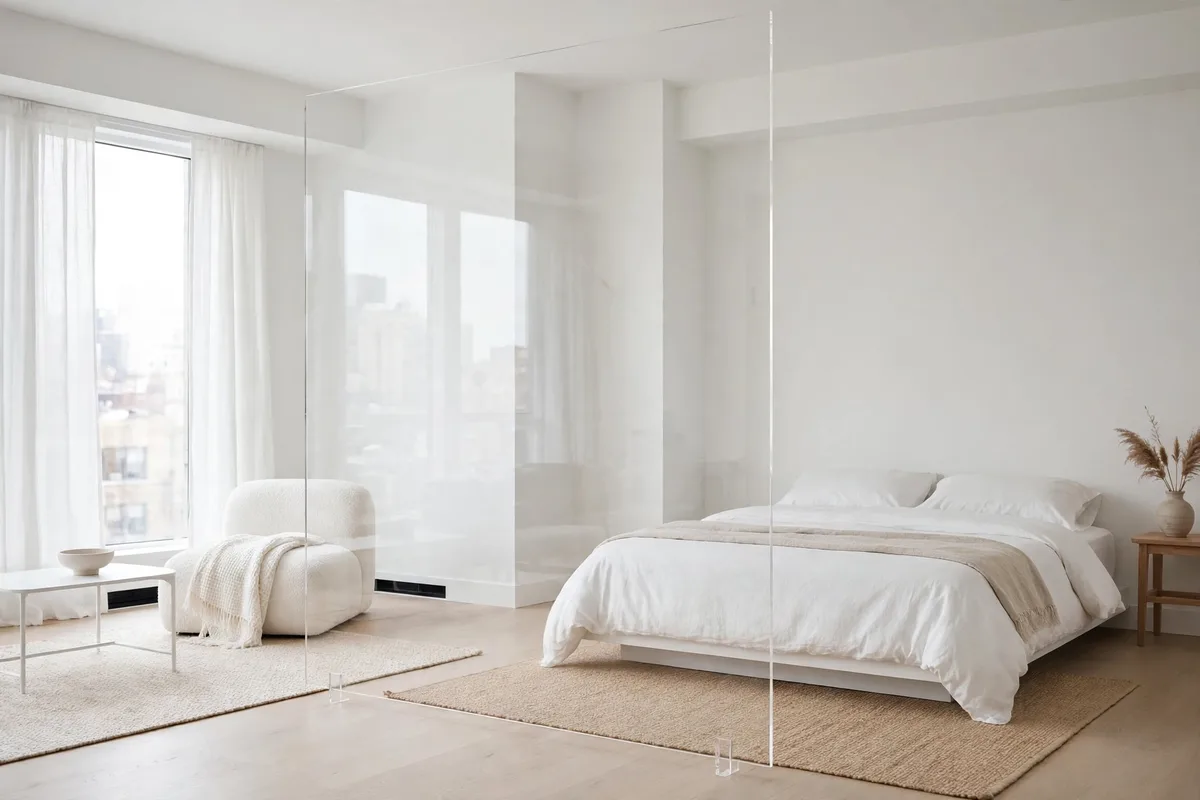
20. Clear Acrylic Panel
Nearly invisible: a clear acrylic panel on feet defines the zone boundary without any visual weight. Best for ultra-minimalist studios. Cost: $80–$200.
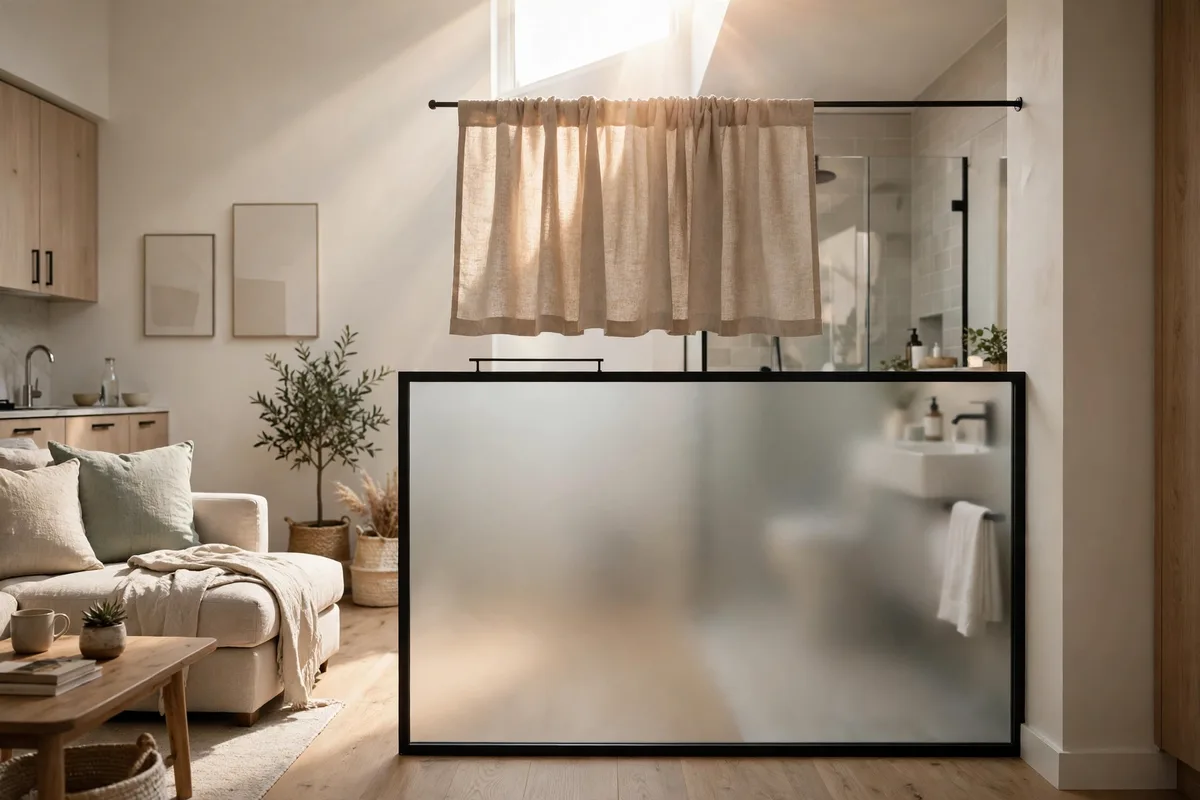
21. Glass + Curtain Combo
A half-height frosted glass panel with a short curtain above on a mini rod. Light flows over the top; privacy stays at eye level. Cost: $120–$250.
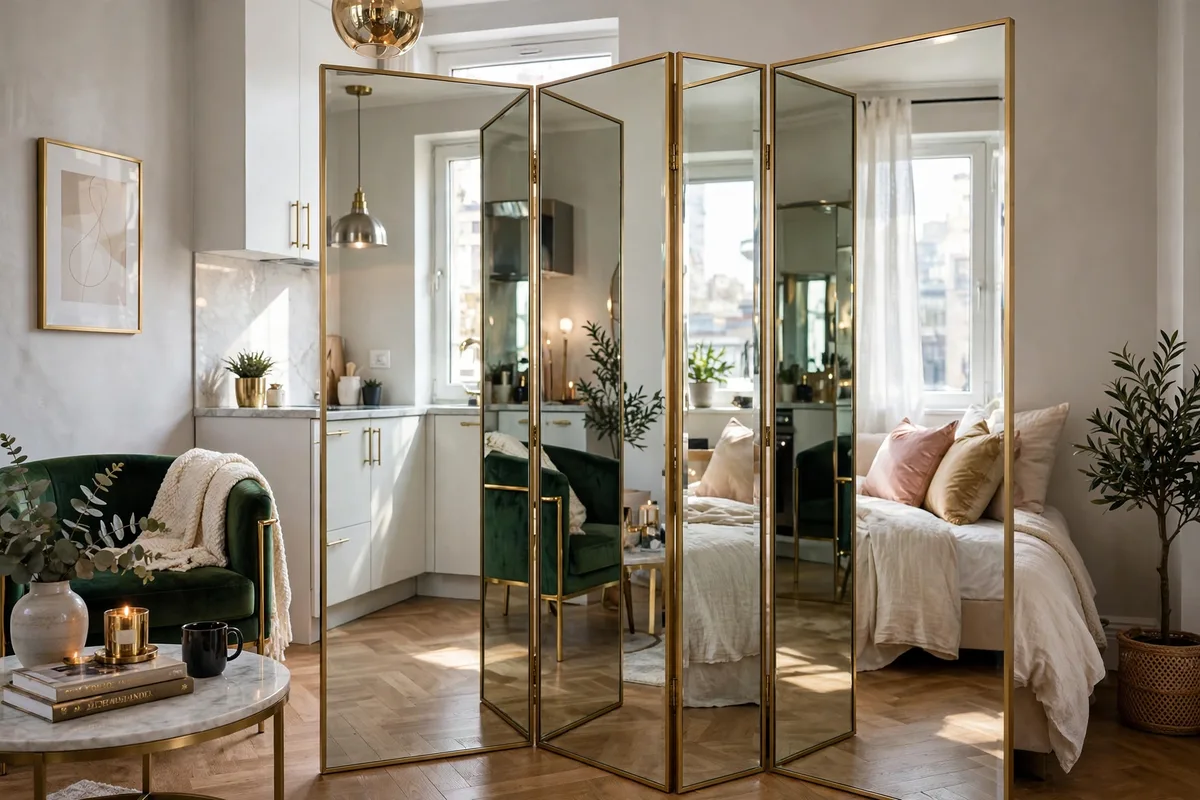
22. Mirrored Divider Panel
A mirrored folding screen doubles light and divides — visually doubling the room while hiding the bed. Cost: $100–$250.
23. Window-Style Interior Partition
A freestanding “window” frame with frosted panes on feet — like borrowing architecture. Style the sill with tiny plants. Cost: $120–$280.
Furniture as Dividers: Placement Is Everything
Sometimes the divider is furniture you already own — just turned sideways.
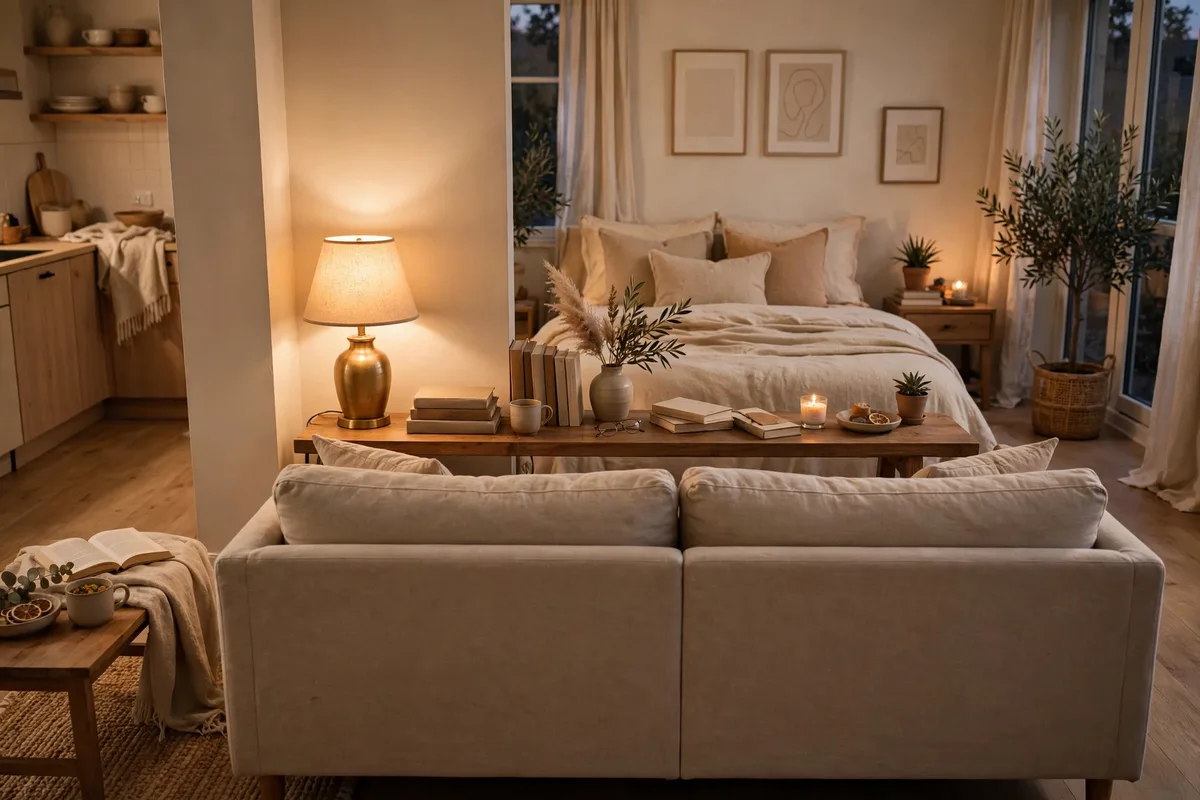
24. Sofa Back as Divider
Place your sofa with its back to the bed, not against a wall. Instantly creates a “living room” facing one way and a “bedroom” behind it. Add a narrow console table behind the sofa. Cost: $0.
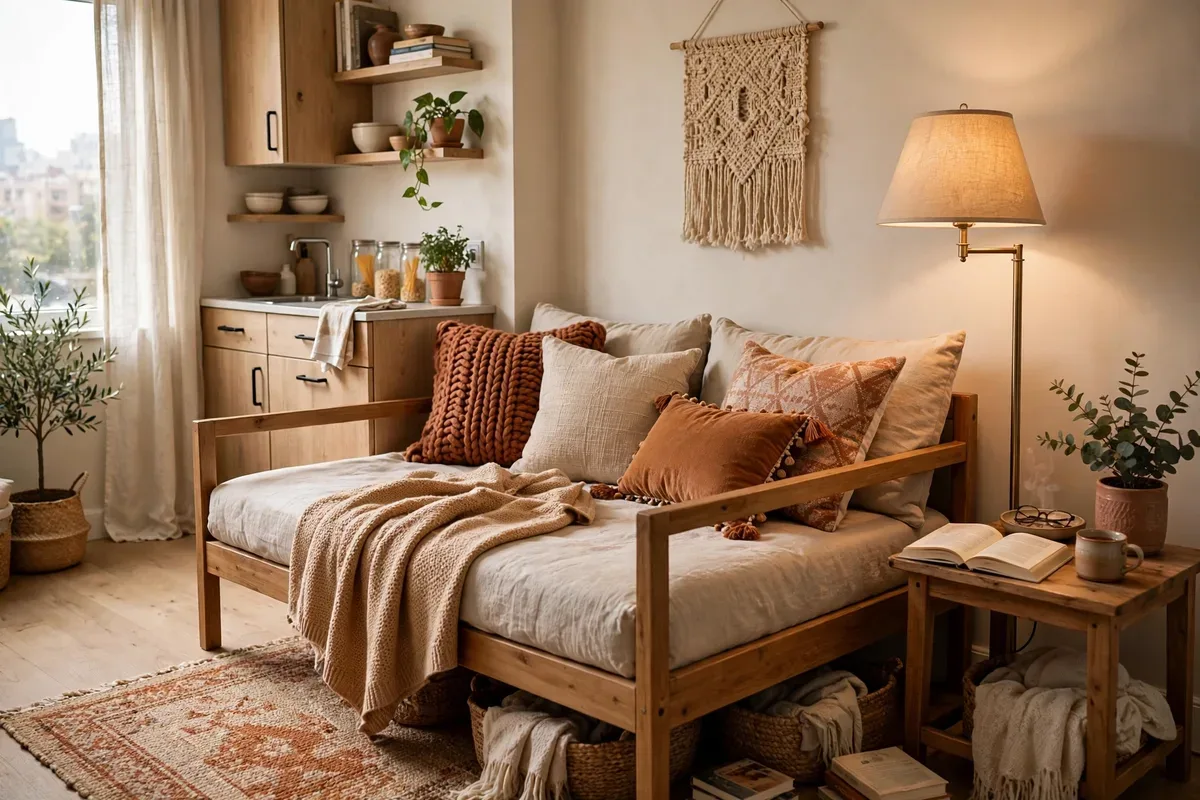
25. Daybed Against the Wall
A daybed styled with throw pillows reads as a sofa by day and a bed by night. The smartest furniture choice for studios under 400 sq ft. Cost: $200–$500.
26. Dining Table as Zone Marker
A small dining table between kitchen and living areas declares “this is where we eat” without any vertical barrier. Pair with a pendant light above it. Cost: $0 to $150.
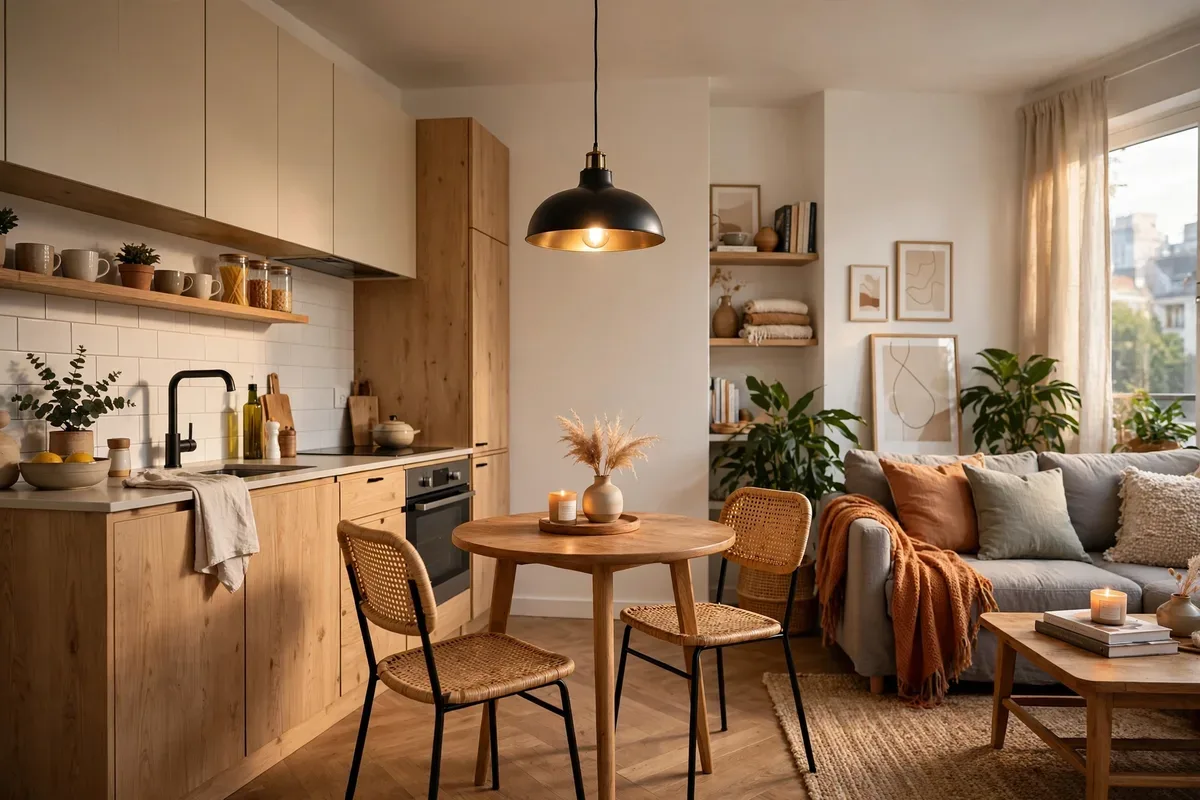
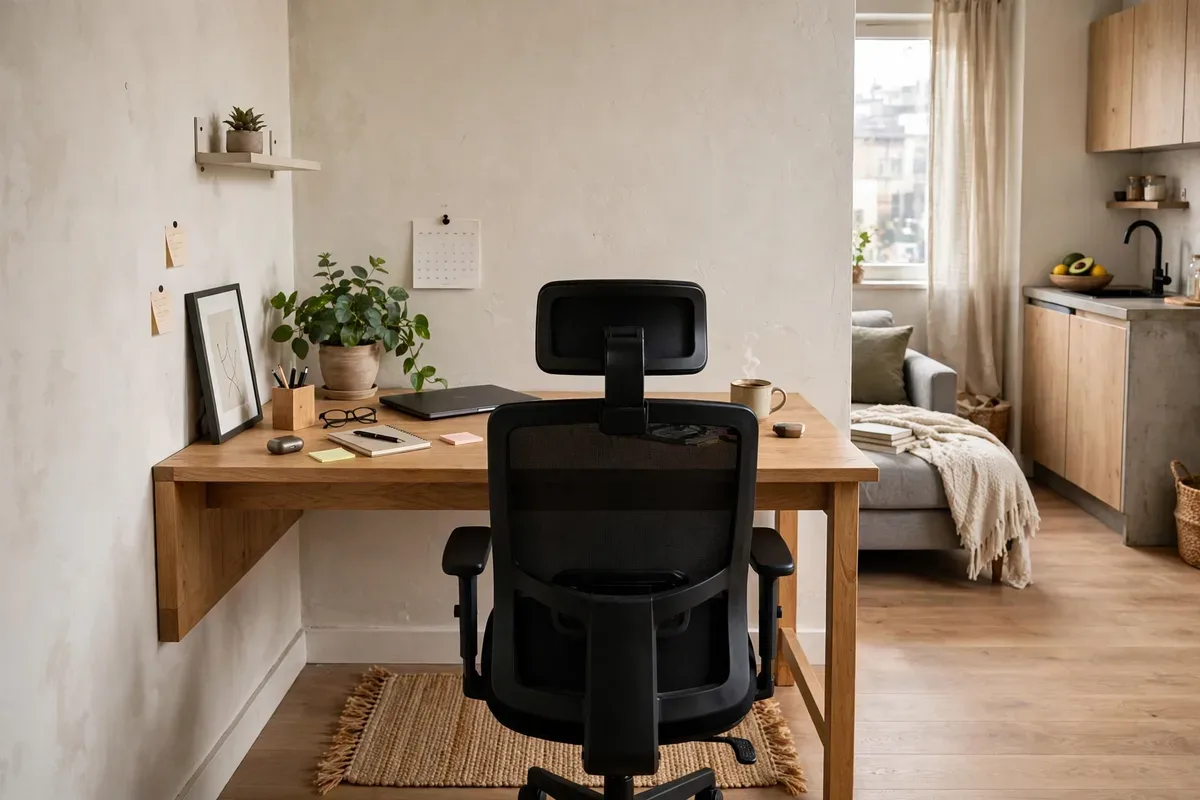
27. Desk Facing Away
Place your desk perpendicular to the wall with your back to the living area — the desk itself becomes the office boundary. Add a rug under it. Cost: $0.
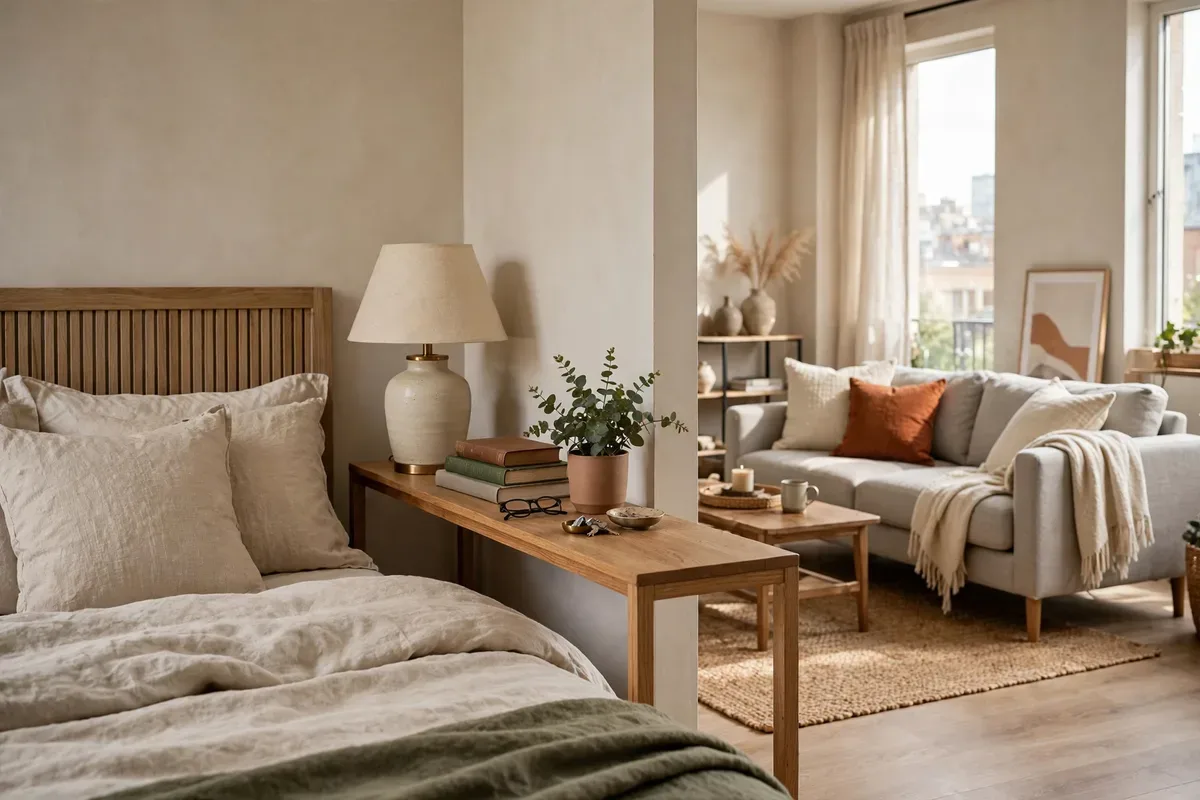
28. Console Table Behind the Bed
A narrow console table (12 inches deep) at the head or side of your bed creates a visual stop-line: bedroom ends here, living begins. Cost: $40–$120.
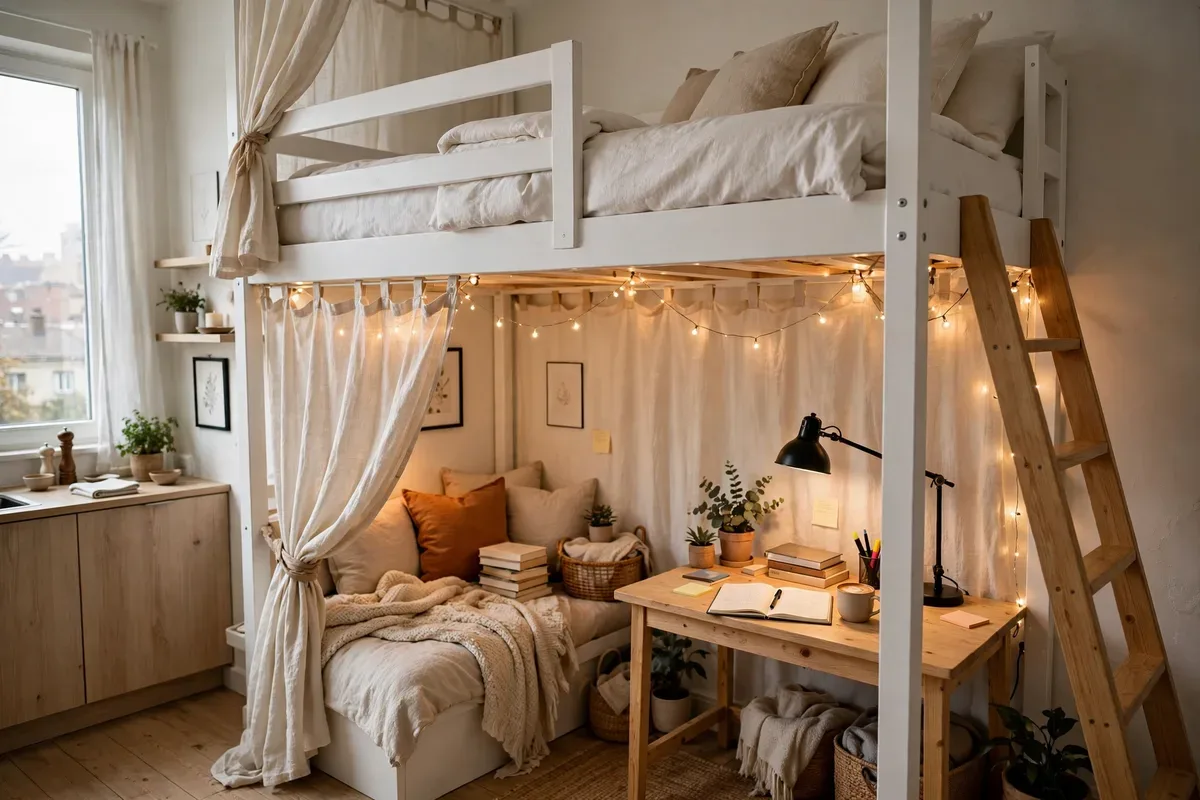
29. Loft Bed with Zone Underneath
A loft bed frees the entire footprint below for a desk, reading nook, or dresser — vertical zoning instead of horizontal. Cost: $250–$500.
Creative & Natural Dividers: Personality Pieces
For studios where the divider should be decor, not just division.
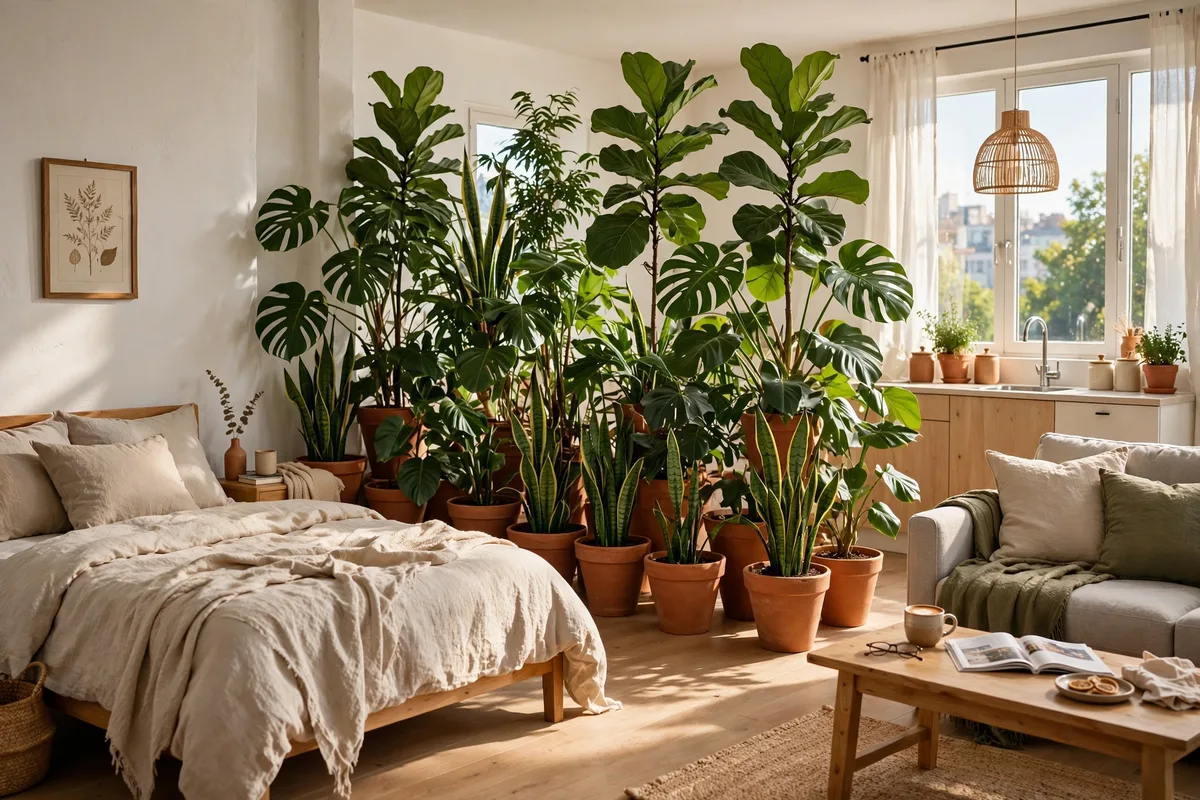
30. Tall Plant Wall
Five to seven tall plants in matching pots form a living wall. It won’t block sound, but it softens boundaries and freshens air. Vary heights for an organic feel. Cost: $80–$200.
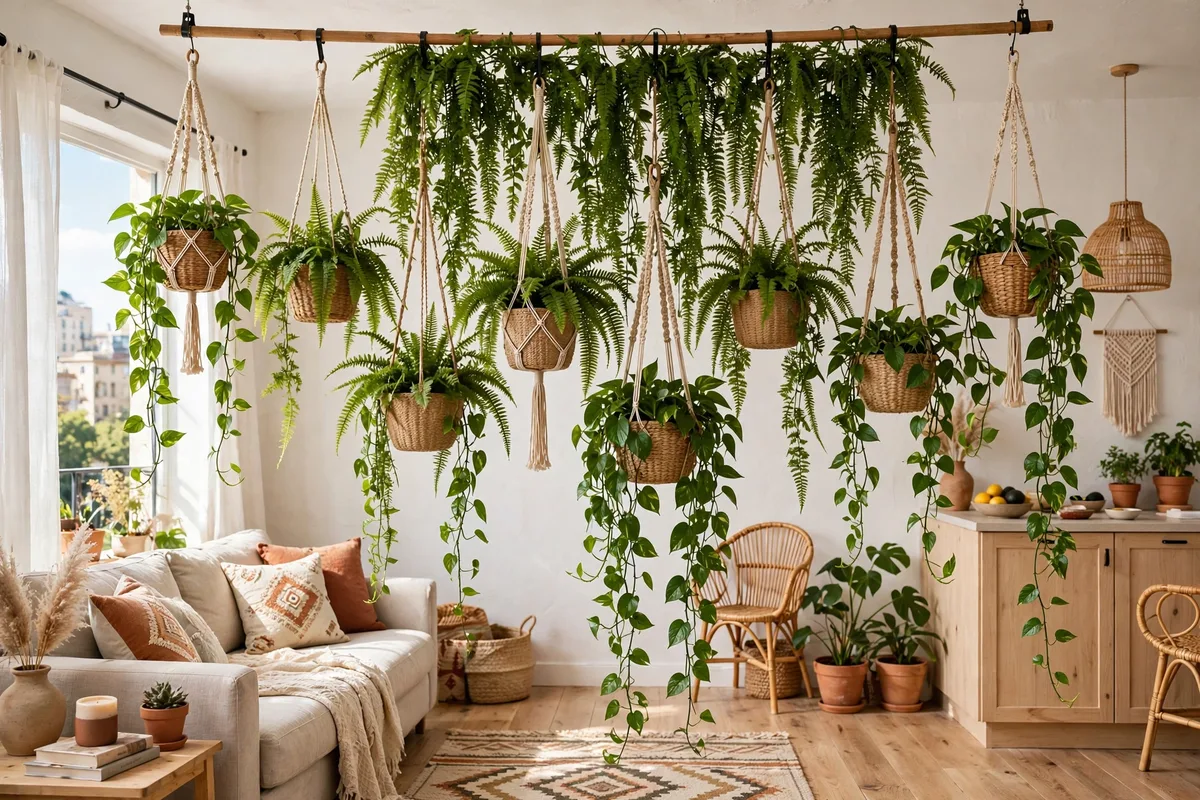
31. Hanging Plant Curtain
Suspend 6–10 hanging planters at varying heights from a ceiling-mounted rod. A green waterfall that divides while staying light and airy. Cost: $60–$150 including plants.
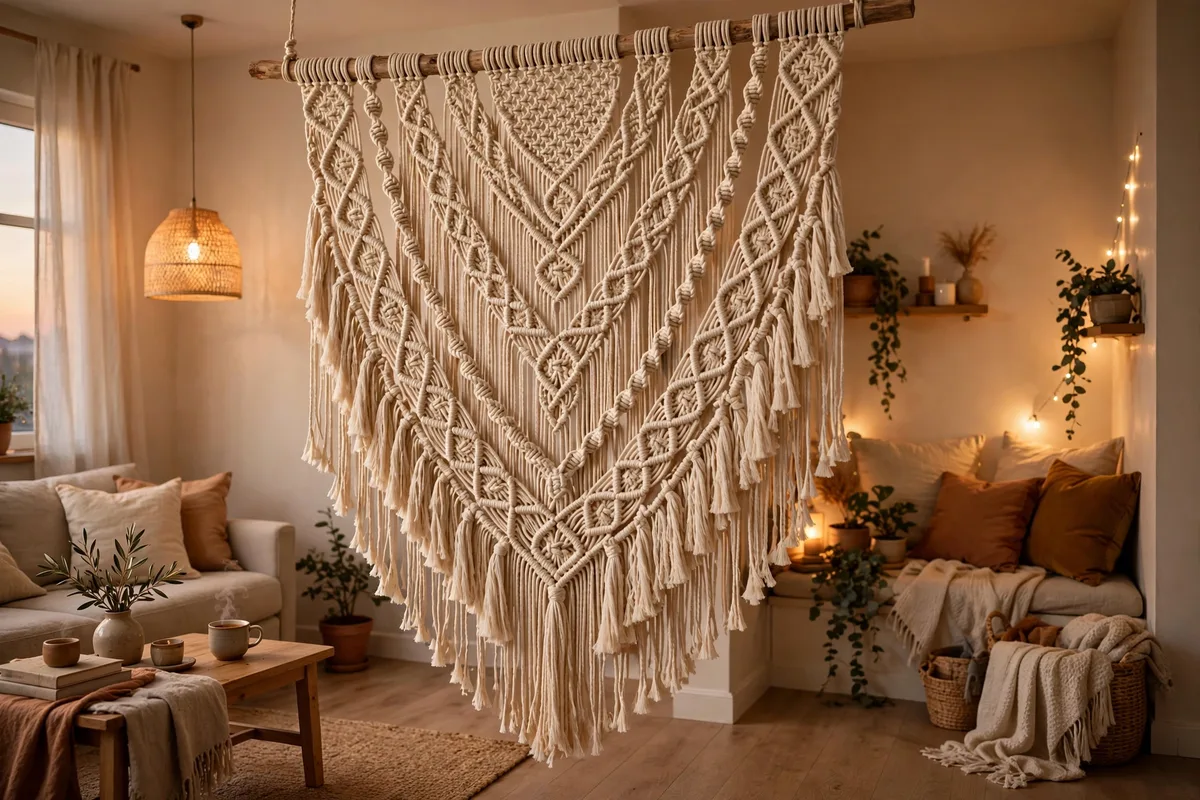
32. Macramé Wall Hanging (Oversized)
An extra-large macramé piece (4+ feet wide) hung from the ceiling on a wooden dowel divides a nook with pure texture. Cost: $50–$150.
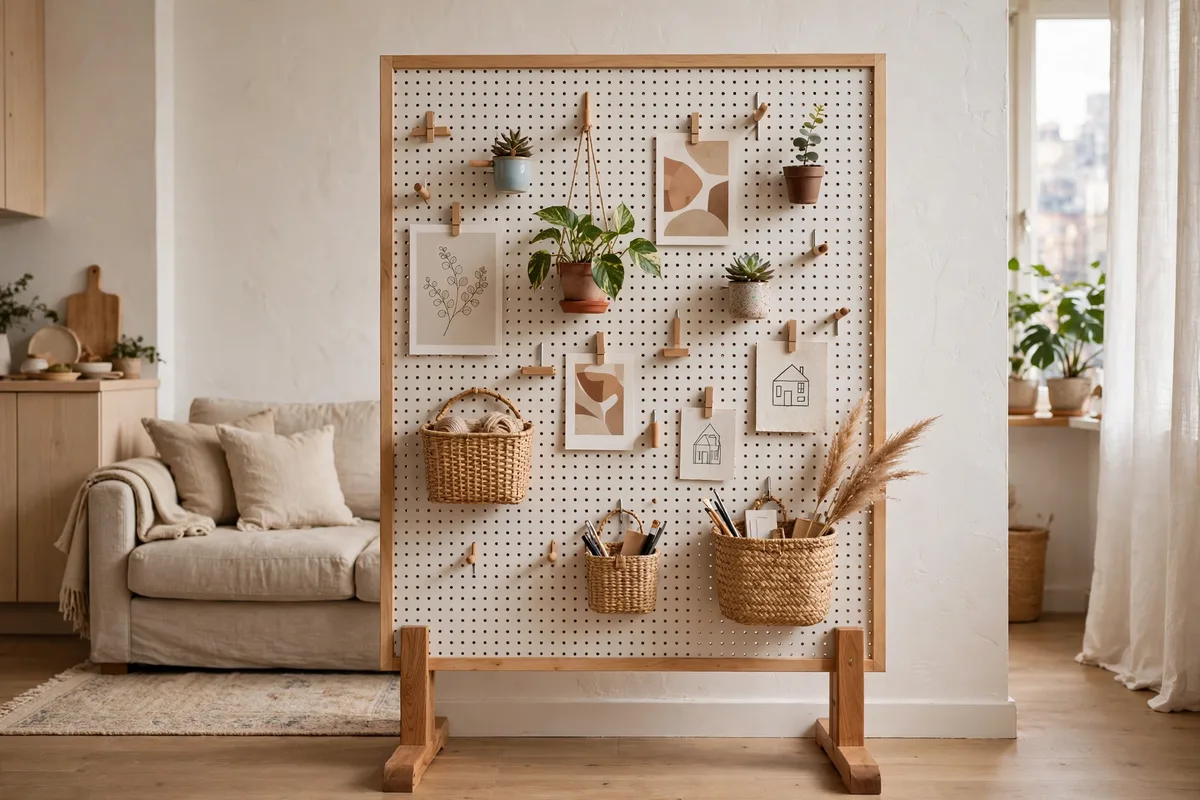
33. Pegboard Divider Wall
A freestanding pegboard panel on feet holds plants, art, and storage while dividing space — endlessly reconfigurable. Cost: $40–$100 DIY.
34. Tapestry or Woven Wall Hanging
A large tapestry hung from a ceiling track adds color, softens sound, and marks a zone. Cost: $30–$100.
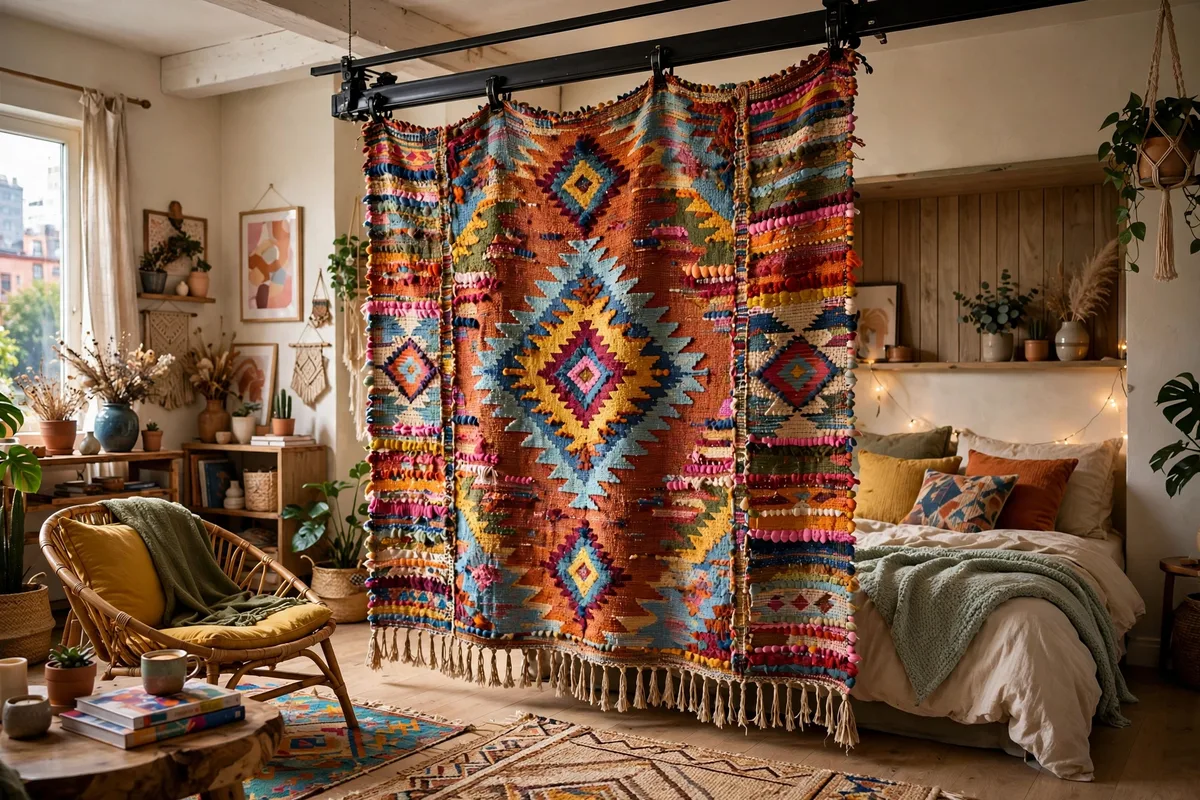
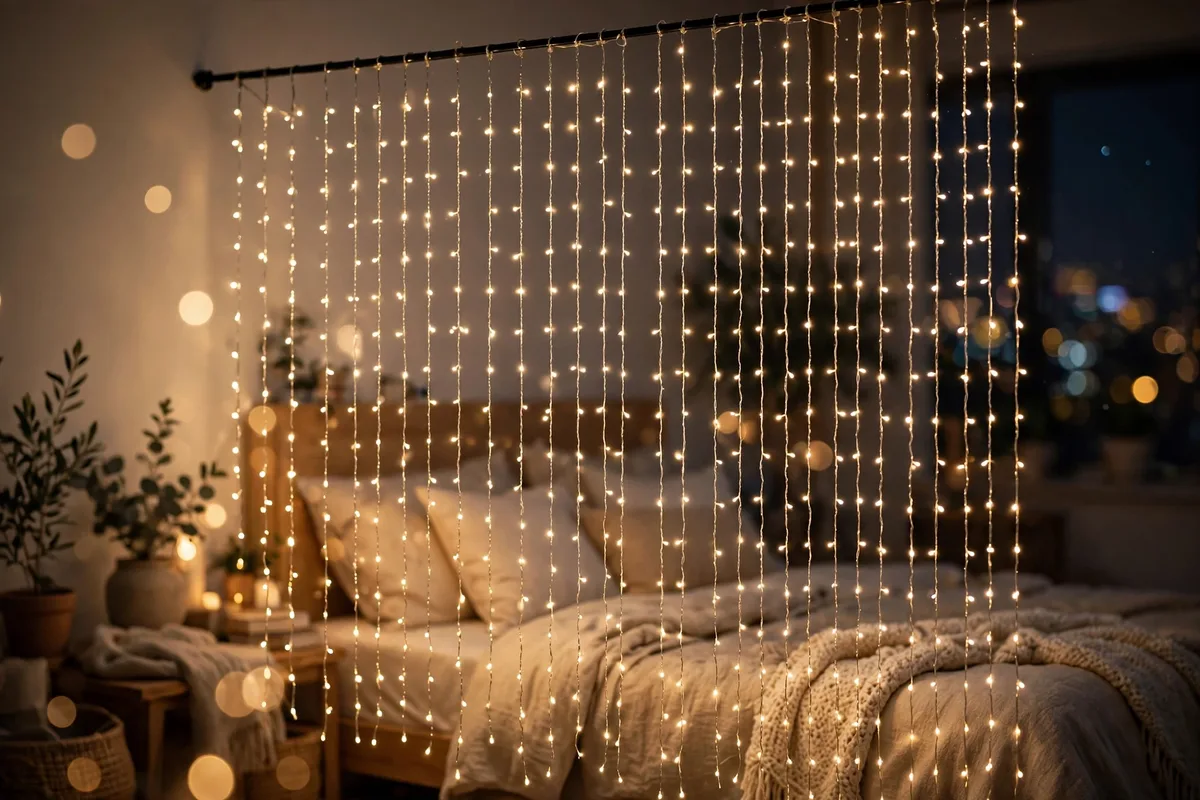
35. String-Light Curtain
Hang warm-white fairy lights in vertical strands from a tension rod to create a glowing curtain wall. Magical at night, nearly invisible by day. Cost: $20–$50.
How to Choose the Right Divider for Your Studio
Start with your #1 problem. Need sleep privacy? Go curtains or screens around the bed. Need a work zone? Desk placement + rug. Just want visual order? Bookshelf or sofa-back.
Measure your walkways first. Keep 24–30 inches clear on main paths.
Light is non-negotiable. Never put a solid divider between the window and the rest of the room. Choose sheer, open, glass, or low options on the window side.
Renters: check your lease. Everything above is freestanding or tension-mounted except ceiling tracks (usually allowed — tiny holes, easy spackle).
Budget reality check: Most renters solve their divider problem for $50–$150 total. Start with one method and layer a second only if needed.
Renter-Friendly Installation Tips
- Tension rods hold surprising weight — get heavy-duty ones rated 20+ lbs for curtains.
- Adhesive ceiling hooks work for lightweight sheers and string lights; test one hook’s hold for 48 hours first.
- Anti-tip straps on any tall freestanding furniture used as a divider.
- Felt pads under divider feet protect floors and make rearranging silent.
- Photograph everything before move-in so you can restore the exact original state.
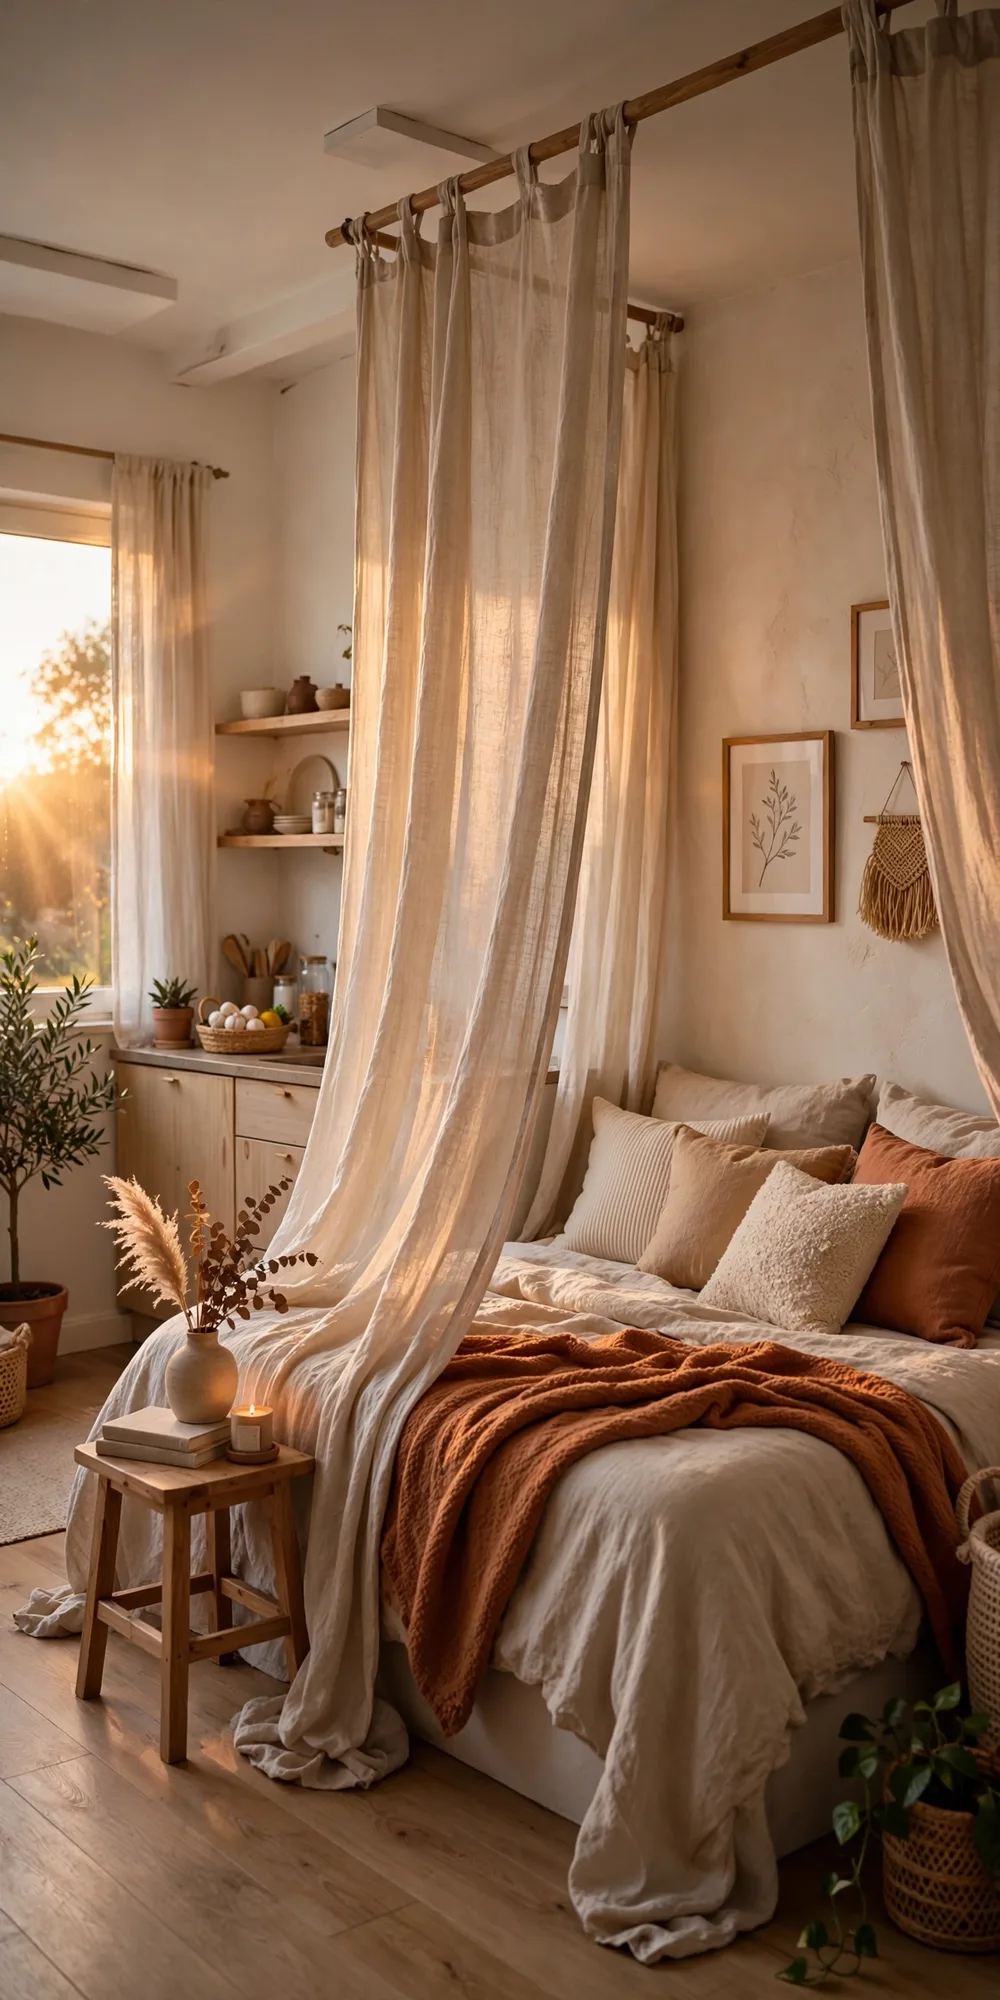
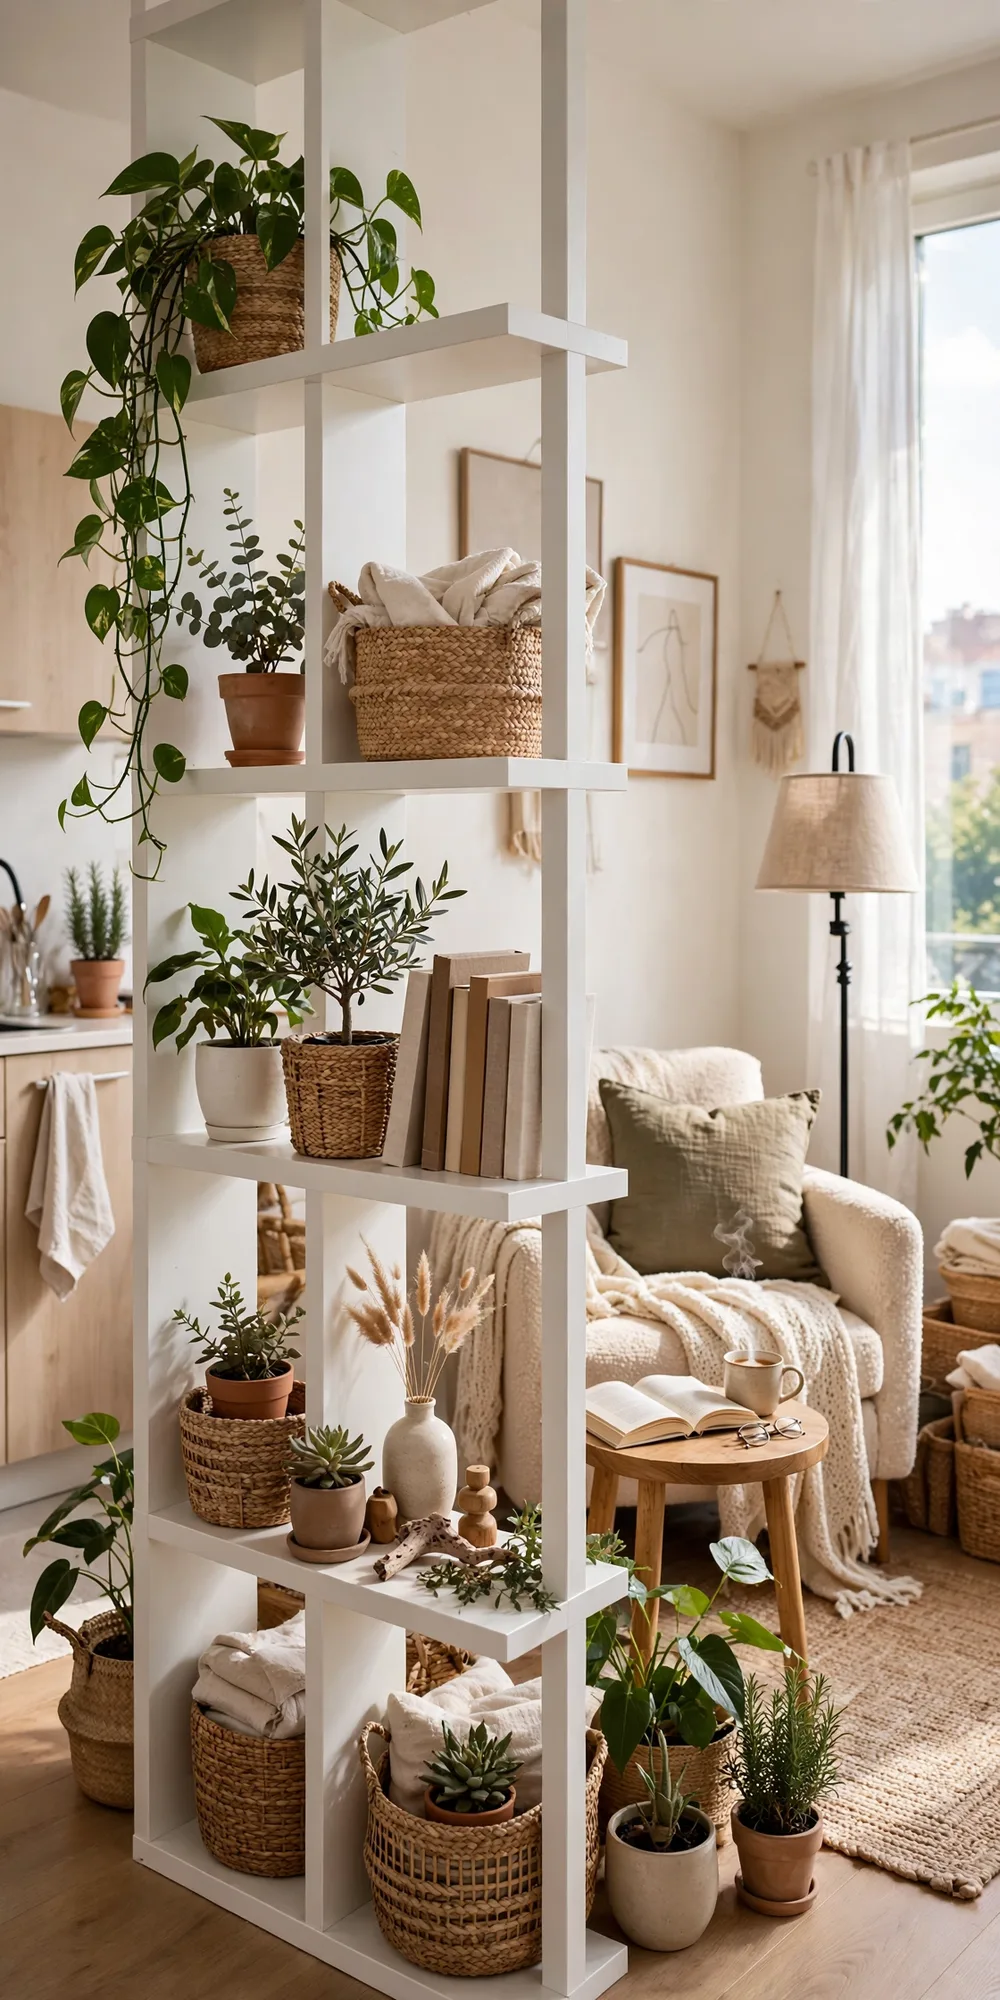
Save These Ideas to Pinterest
Love these studio apartment divider ideas? Save them to your Pinterest boards so you can find them when you’re ready to transform your space!
Frequently Asked Questions
What’s the cheapest way to divide a studio apartment?
Furniture placement costs $0 — turn your sofa back-to-bed or float a bookshelf you own. The cheapest purchased divider is a tension rod + curtains at $30–$70. For more budget ideas, see our guide on how to decorate a studio apartment on a budget.
How can I separate my bed without blocking light?
Choose sheer curtains, open-back shelving, glass/acrylic panels, or low furniture (under 30 inches) on the window side. Our detailed guide on how to separate your bed in a studio apartment covers 9 methods in depth.
Do I need my landlord’s permission for a room divider?
Freestanding dividers (screens, bookshelves, plants, furniture placement) need no permission. Tension rods and adhesive hooks are generally fine. Ceiling-mounted tracks make tiny holes — most landlords allow them; check your lease or ask first.
What’s the best divider for a very small studio under 350 sq ft?
Go low visual weight: sheer curtains, a folding screen, or rug + furniture zoning. Browse more room divider ideas for small-space layouts.
Can dividers actually make a studio feel bigger?
Yes — counterintuitively. Defined zones give each area a purpose, so the brain reads “bedroom + living room” instead of “one cramped room.” Keep dividers light-colored, low or sheer, and never block windows.
Final Thoughts
Thirty-five ideas, one truth: you don’t need more space — you need better boundaries. Whether you go with breezy ceiling curtains, a hardworking bookshelf wall, or a jungle of plants, the right divider turns one room into a home with real rooms.
Start with the method that matches your biggest frustration, live with it for a week, then refine. Your studio is small. Your life inside it doesn’t have to feel that way — that’s the DecorWao way: real tips, real budgets, real homes.