36 Studio Apartment Layout Ideas for Efficient Design
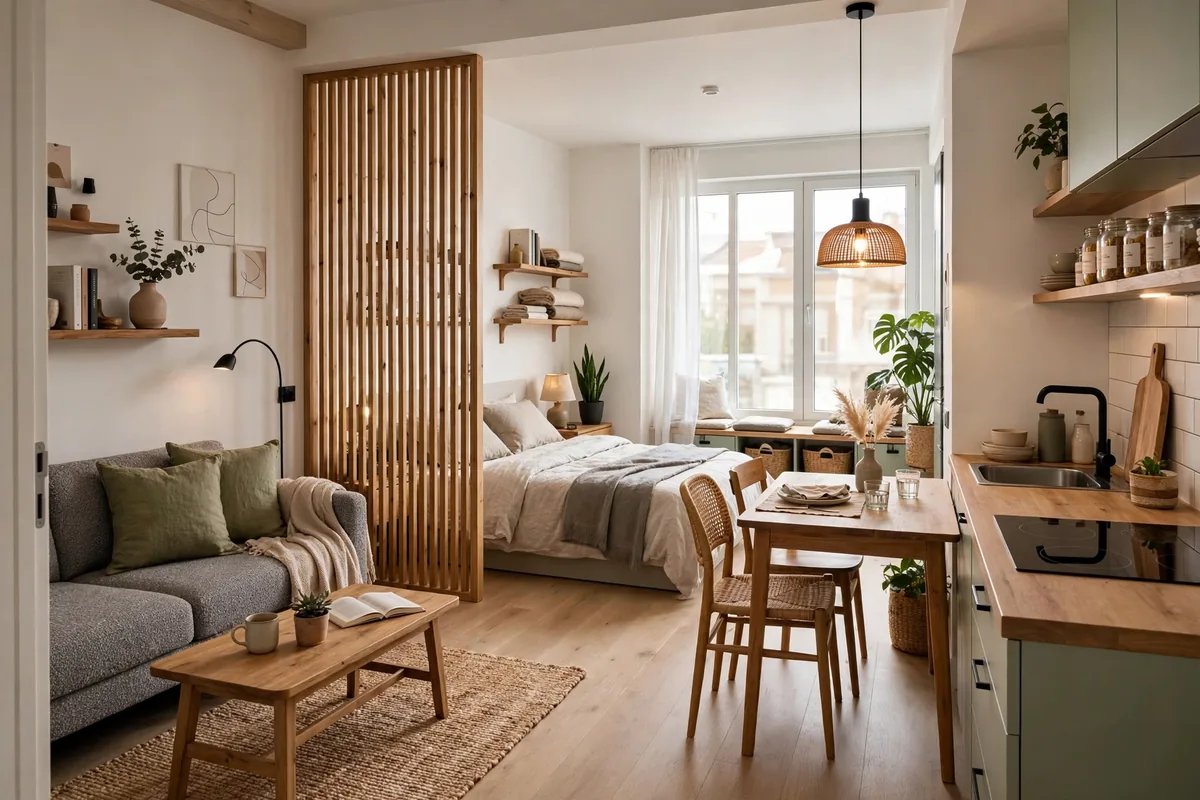
Here’s the truth nobody tells you about studio apartments: the difference between “cramped box” and “clever little home” has almost nothing to do with square footage. It comes down to layout — where you put the bed, how the sofa faces, whether you can walk from the door to the kitchen without doing parkour around a coffee table. Get the studio apartment layout right and even 350 square feet can feel like a real one-bedroom. Get it wrong and 600 square feet still feels like a storage unit you sleep in.
These 36 studio apartment layout ideas are the efficient-design playbook: how to zone your space, place furniture so traffic flows, carve out a bedroom that feels private, and squeeze a living room, dining spot, and workspace into one open plan — without it looking like a furniture showroom exploded. Grab a tape measure and let’s plan your studio like a designer would.
Zone First: The Foundation of Every Great Studio Layout
Before you move a single piece of furniture, decide what your studio needs to do. Most studios need four zones: sleep, lounge, eat, and work. Sketch them on paper first — it takes ten minutes and saves you a weekend of dragging a sofa around. If you need physical dividers between zones later, our guide to studio apartment divider ideas has 35 renter-friendly options.
1. Draw Your Zones Before You Move a Single Piece
Grab graph paper (or a free floor-plan app like RoomSketcher) and block out four zones: sleep, lounge, eat, work. Assign each zone roughly a quarter of the room, then adjust for reality — the bed zone usually needs less floor space than the living zone. Pro tip: measure your big pieces first and draw them to scale; “eyeballing it” is how sofas end up blocking bedroom doors.
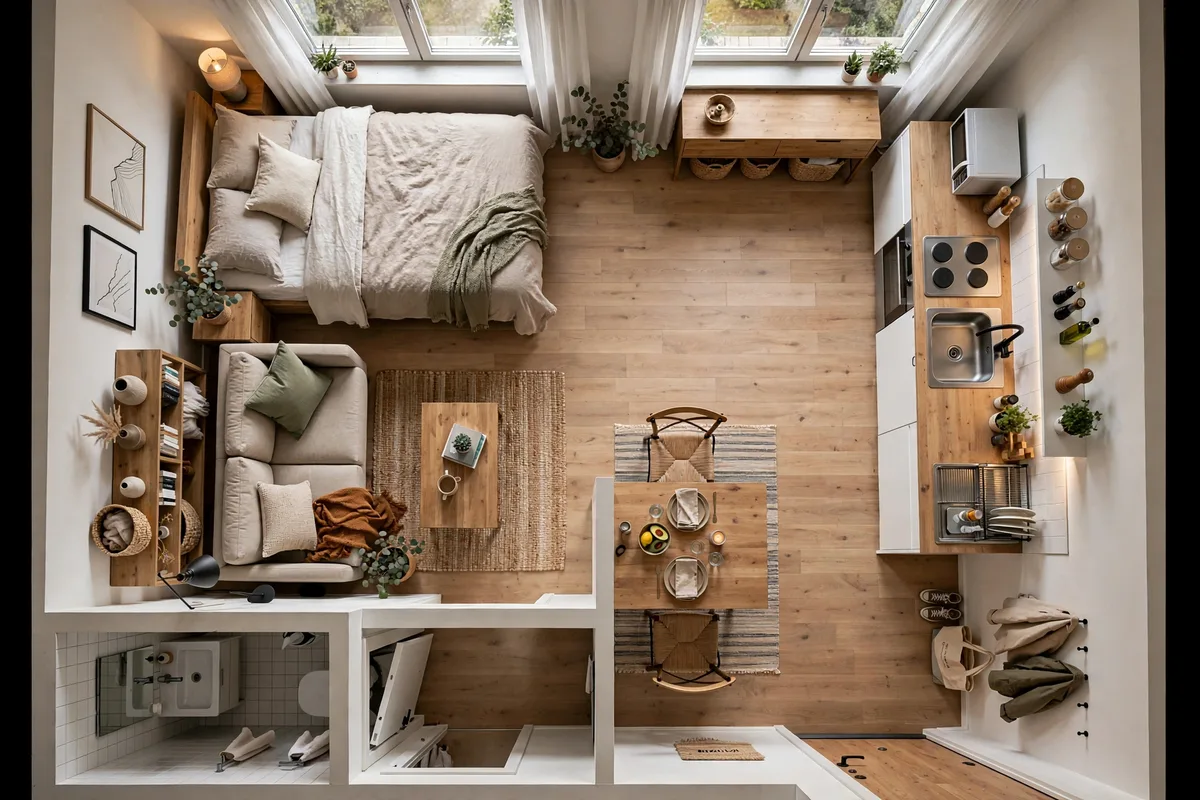
2. Keep a Clear 3-Foot Traffic Lane
Every studio needs one unobstructed path from the front door to the kitchen and bathroom — aim for at least 30 to 36 inches wide. Walk the lane yourself after arranging furniture; if you have to turn sideways or shimmy, something’s in the way. Pro tip: this lane is sacred — never let it become “temporary” storage for laundry baskets or Amazon boxes.
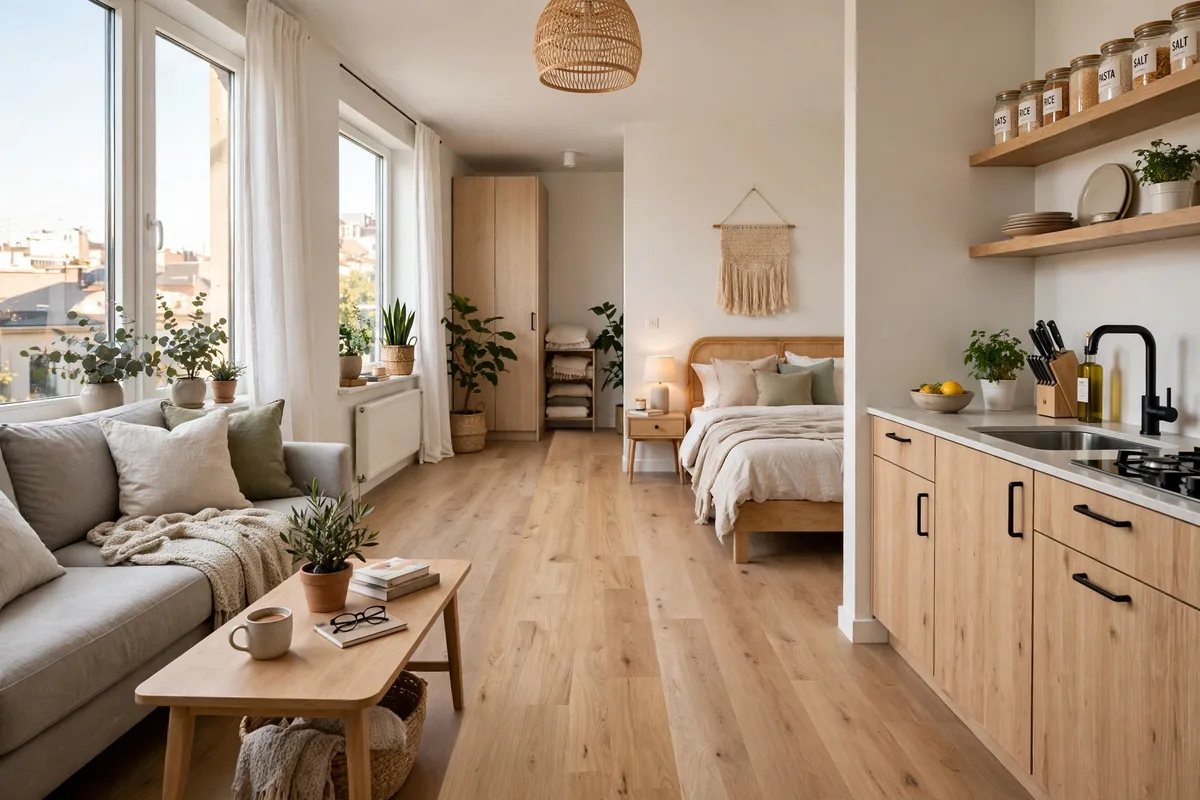
3. Float Furniture Away From the Walls
The rookie move is pushing everything against the walls, which actually makes a studio feel smaller and leaves a sad empty middle. Pull your sofa and seating even 6 to 12 inches off the wall — it creates breathing room and makes zones feel intentional. Pro tip: floating works best for the living zone; keep the bed against a wall for coziness and stability.
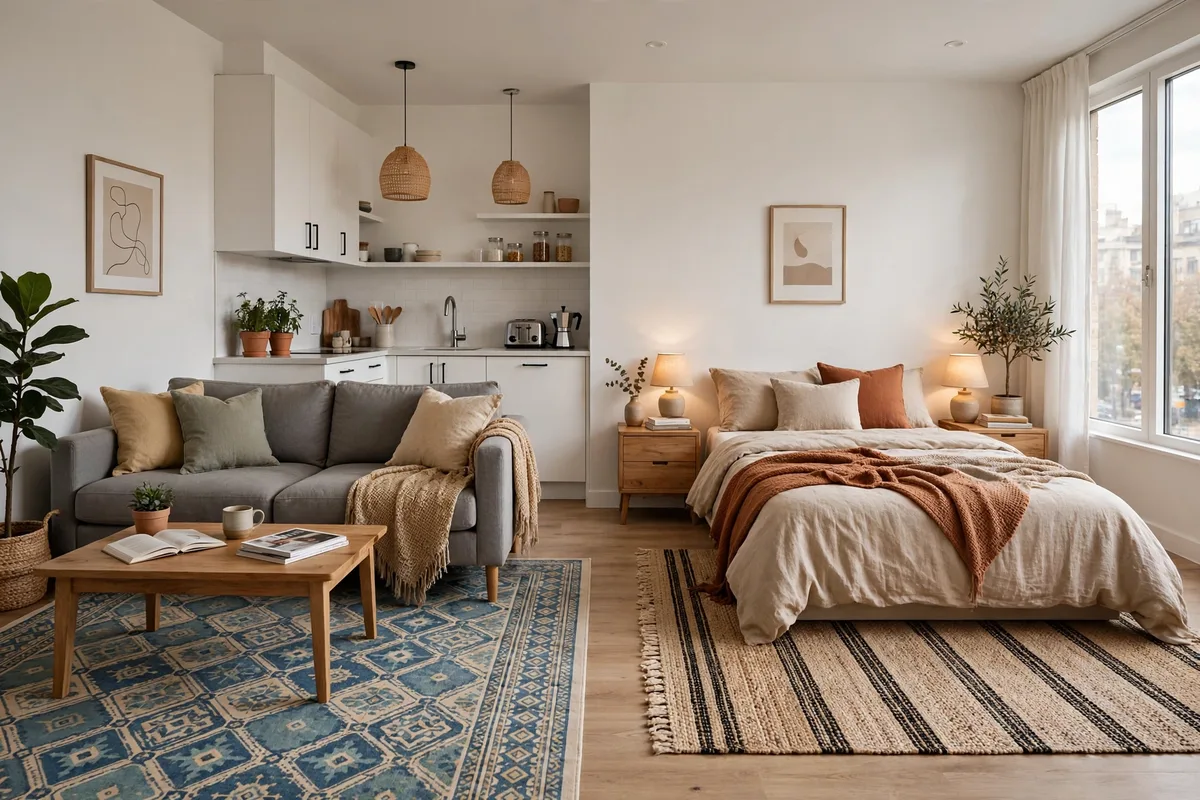
4. Anchor Each Zone With Its Own Rug
Rugs are the cheapest walls you’ll ever buy. A rug under the bed says “bedroom,” a rug under the sofa says “living room” — no construction required. Choose rugs that are different but coordinated (same palette, different patterns) so zones feel distinct yet connected. Pro tip: a 5×7 under the bed and an 8×10 in the living area is the classic studio pairing.
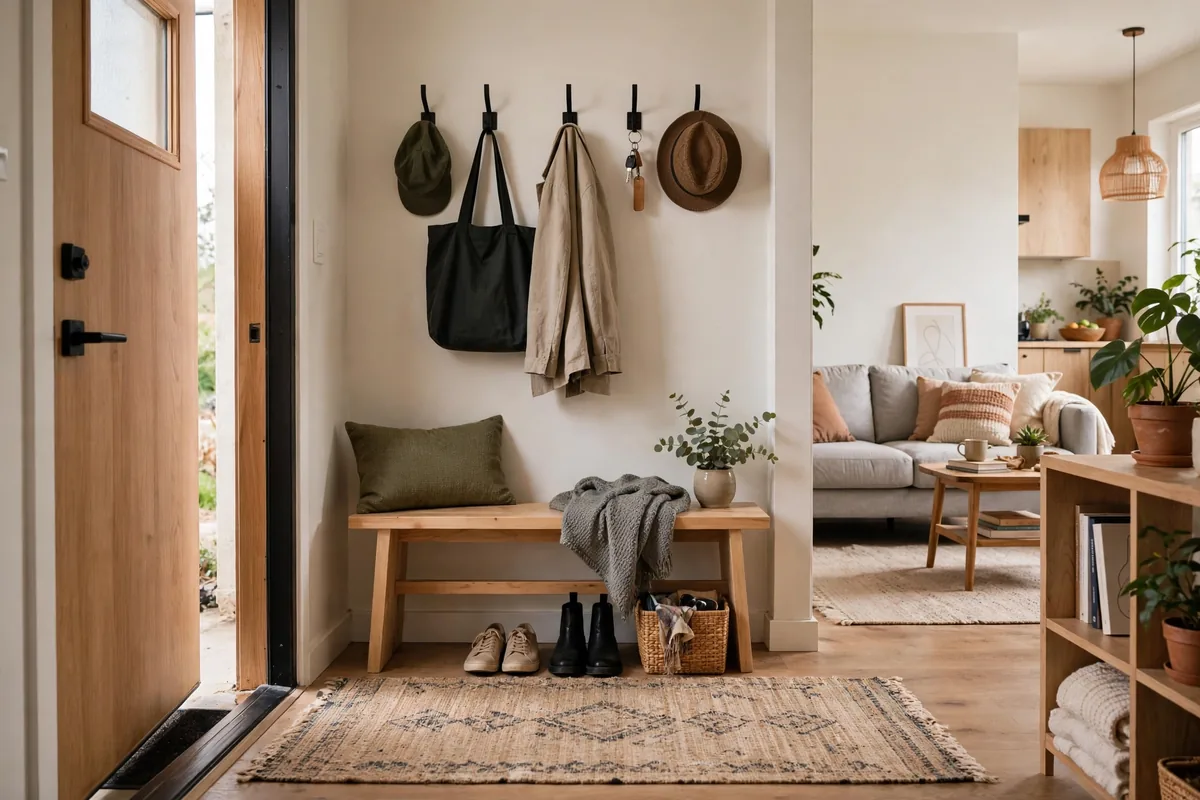
5. Use the Entryway as a Transition Zone
The first 3 to 4 feet inside your front door should be a mini mudroom: a small bench or wall hooks, a tray for keys, and a doormat. This transition zone stops the “walking straight into someone’s bedroom” feeling the second guests arrive. Pro tip: a narrow IKEA TRONES shoe cabinet (just 7 inches deep) fits almost any entryway.
6. Plan Around Your Windows, Not Against Them
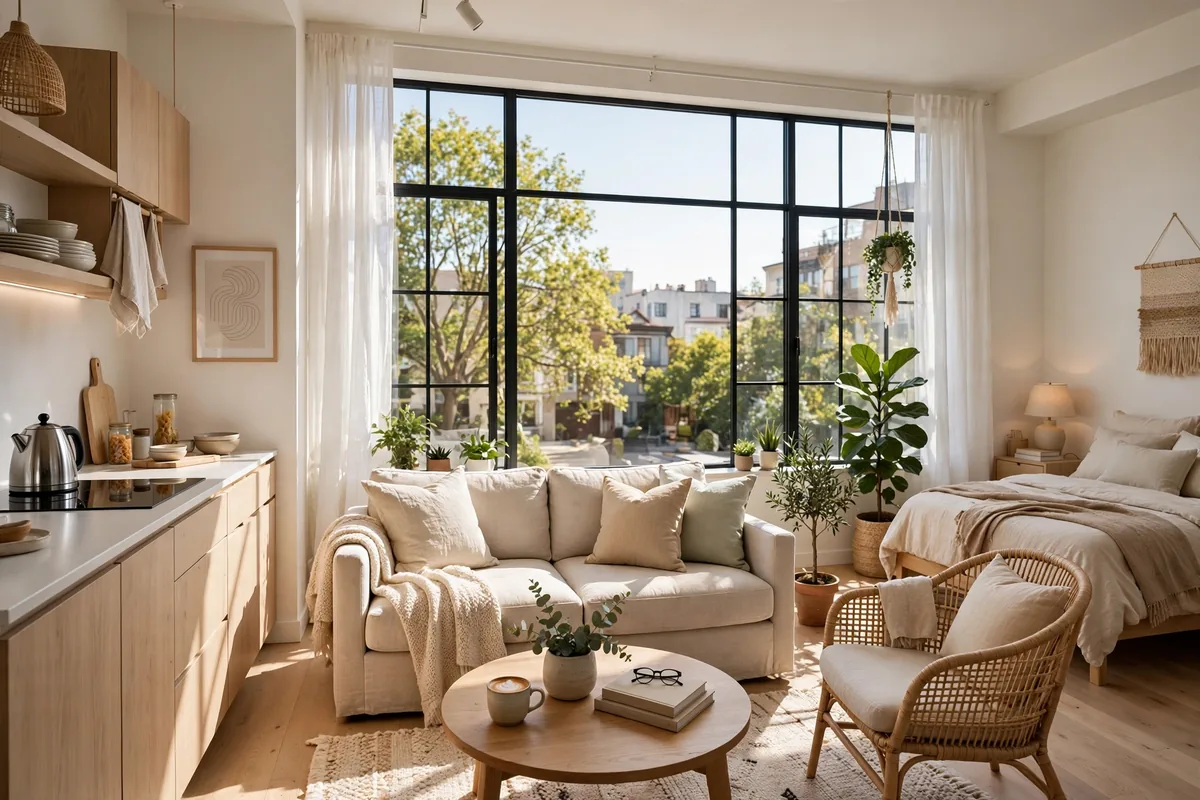
Natural light is a studio’s most valuable asset — never block your best window with a tall bookshelf or wardrobe. Put low-profile pieces (sofa, daybed, dining table) near windows and push tall storage to windowless walls. Pro tip: your desk earns the window-adjacent spot; daylight beats any desk lamp for work-from-home mood.
Furniture Placement Rules That Actually Work
Studio furniture has to multitask, but placement matters as much as the pieces themselves. These rules come from interior designers who specialize in small spaces — they’re the difference between “furniture in a room” and “a room that works.”
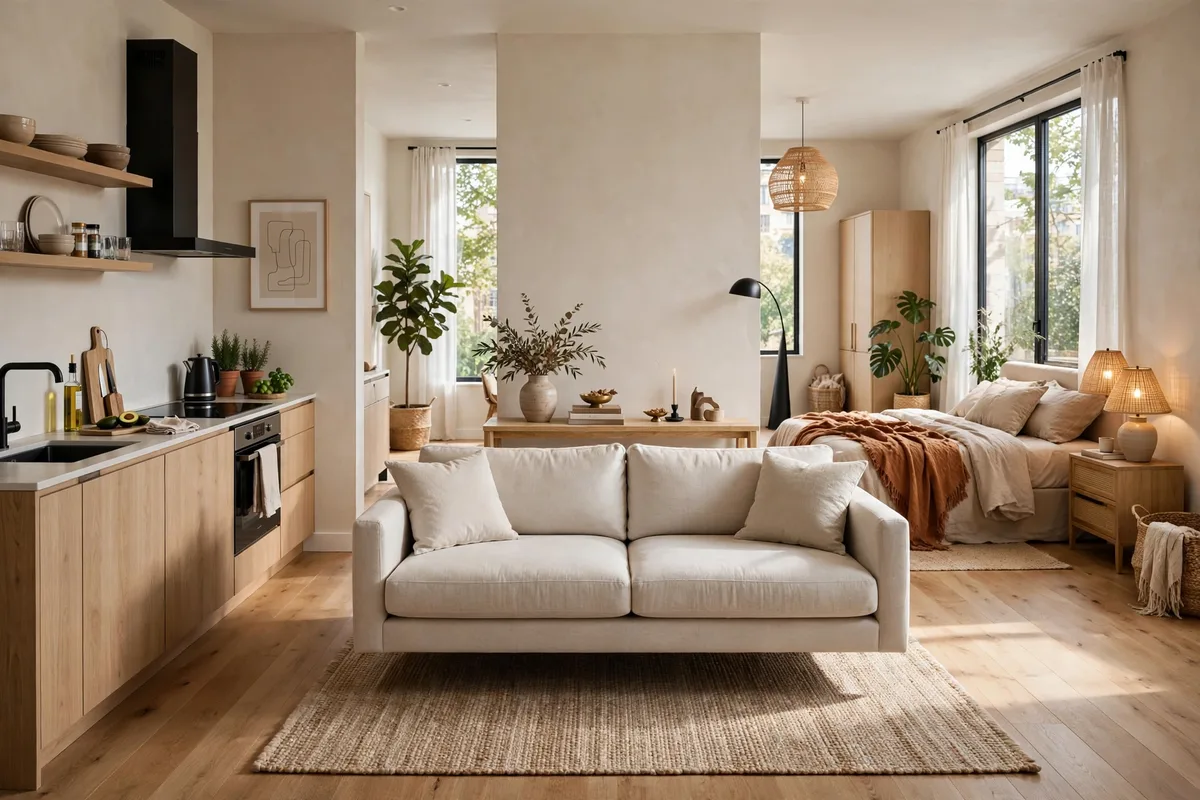
7. Put the Sofa Back-to-Bed
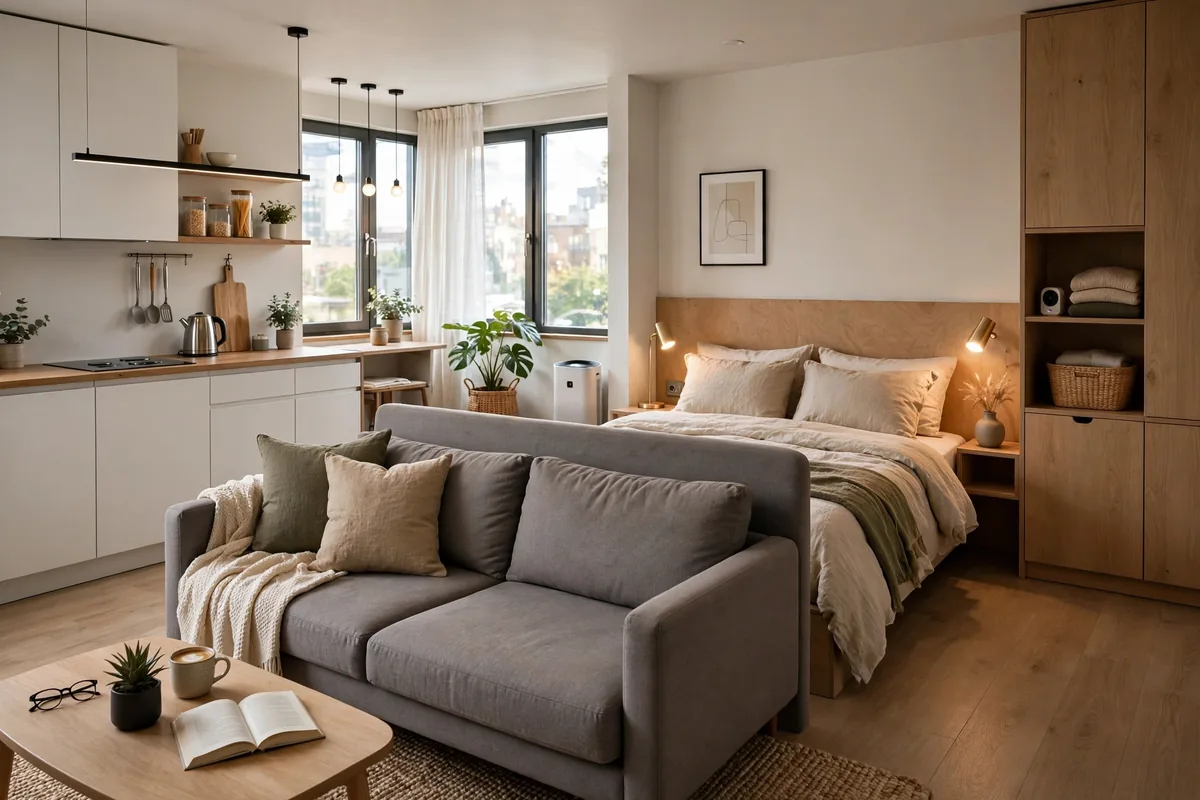
The single most effective studio trick: place your sofa with its back facing the bed zone. The sofa back becomes a visual wall, and from the couch you see a living room — not a reminder that you should be asleep. Pro tip: drape a throw over the sofa back so the “wall” looks finished from the bedroom side too.
8. Angle One Piece to Break the Box
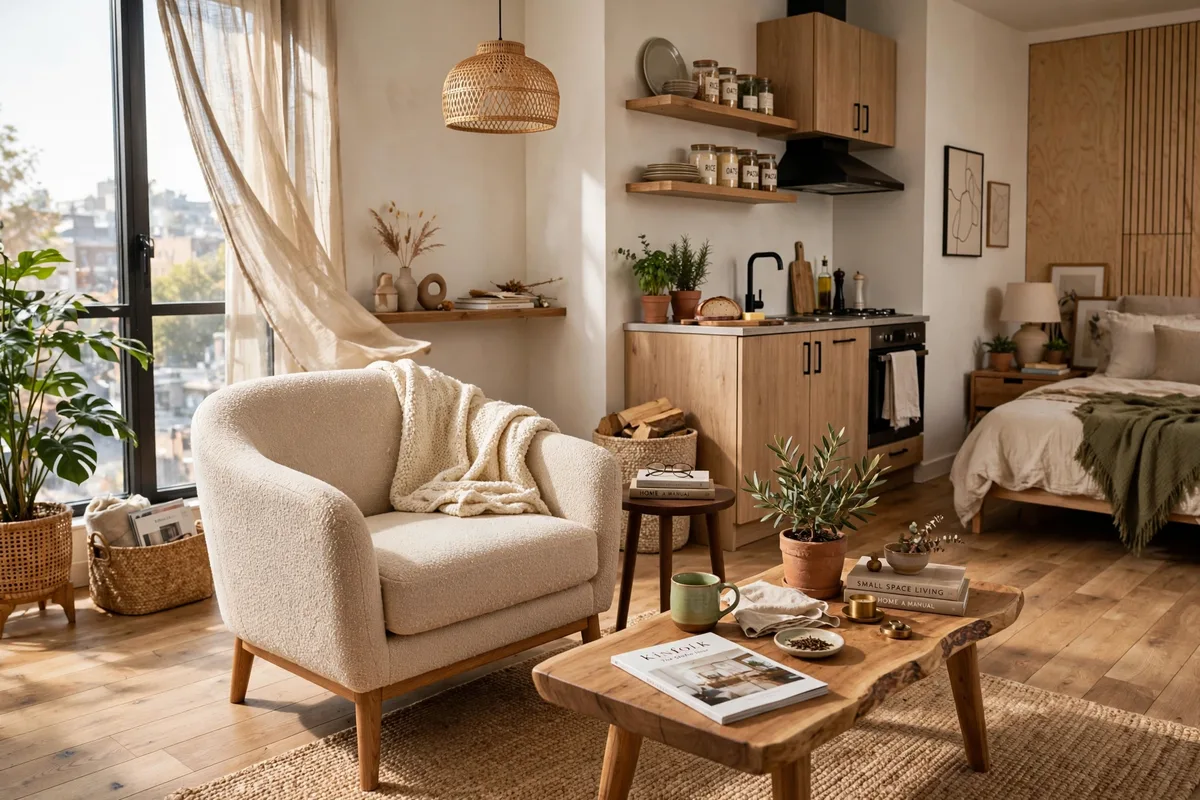
Studios are rectangles, and rectangle-on-rectangle furniture placement can feel rigid. Angle one piece — a reading chair, a floor lamp, a small side table — at 45 degrees to break the grid. It adds designer energy for zero dollars. Pro tip: the angled piece works best in a corner that’s otherwise dead space.
9. Keep the Tallest Furniture on One Wall
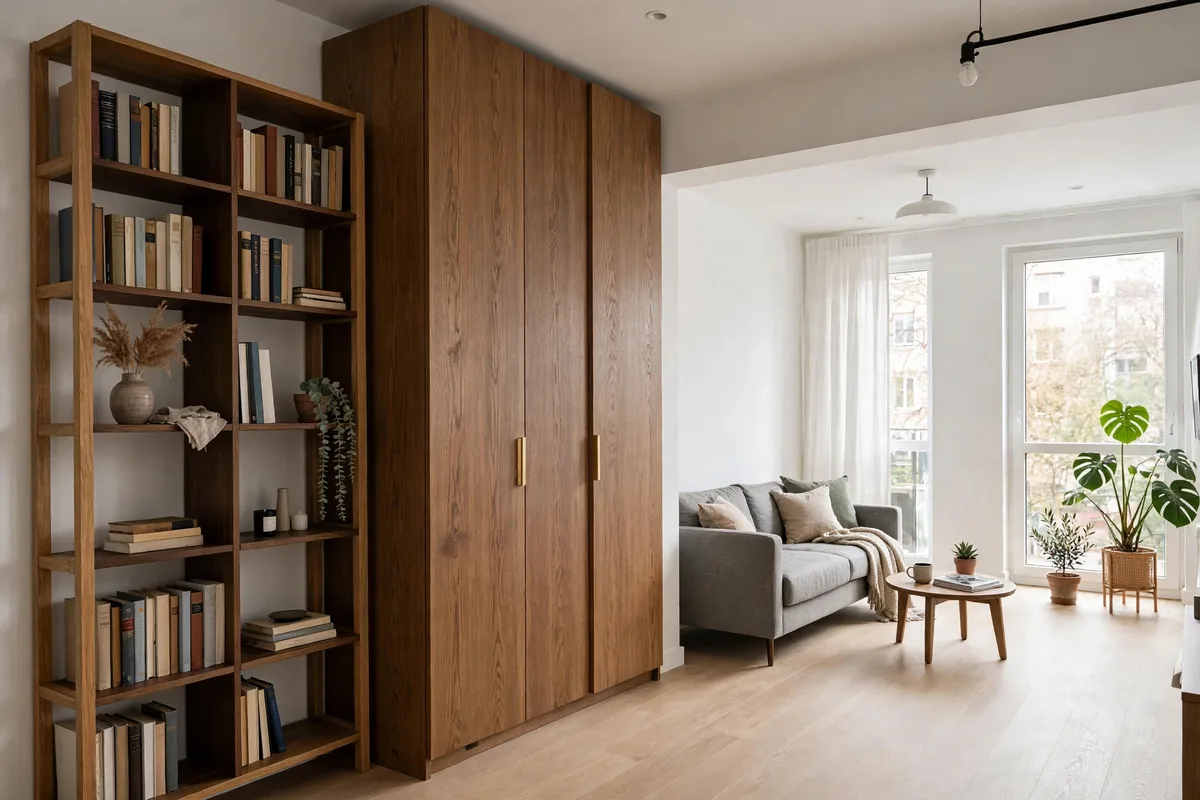
Bookcases, wardrobes, and armoires should live along the same wall (ideally the darkest one) so the rest of the studio stays open and airy. Scattering tall pieces around the room chops it into visual fragments. Pro tip: this “tall wall” is also the perfect backdrop for your bed zone — it reads as architecture.
10. Create an L-Shaped Living Arrangement
Instead of lining the sofa, coffee table, and TV in a straight firing line, arrange seating in an L: sofa plus a perpendicular loveseat or two chairs. The L-shape defines the living zone’s boundary without any divider and seats more people. Pro tip: the open end of the L should face your traffic lane so flow never dead-ends.
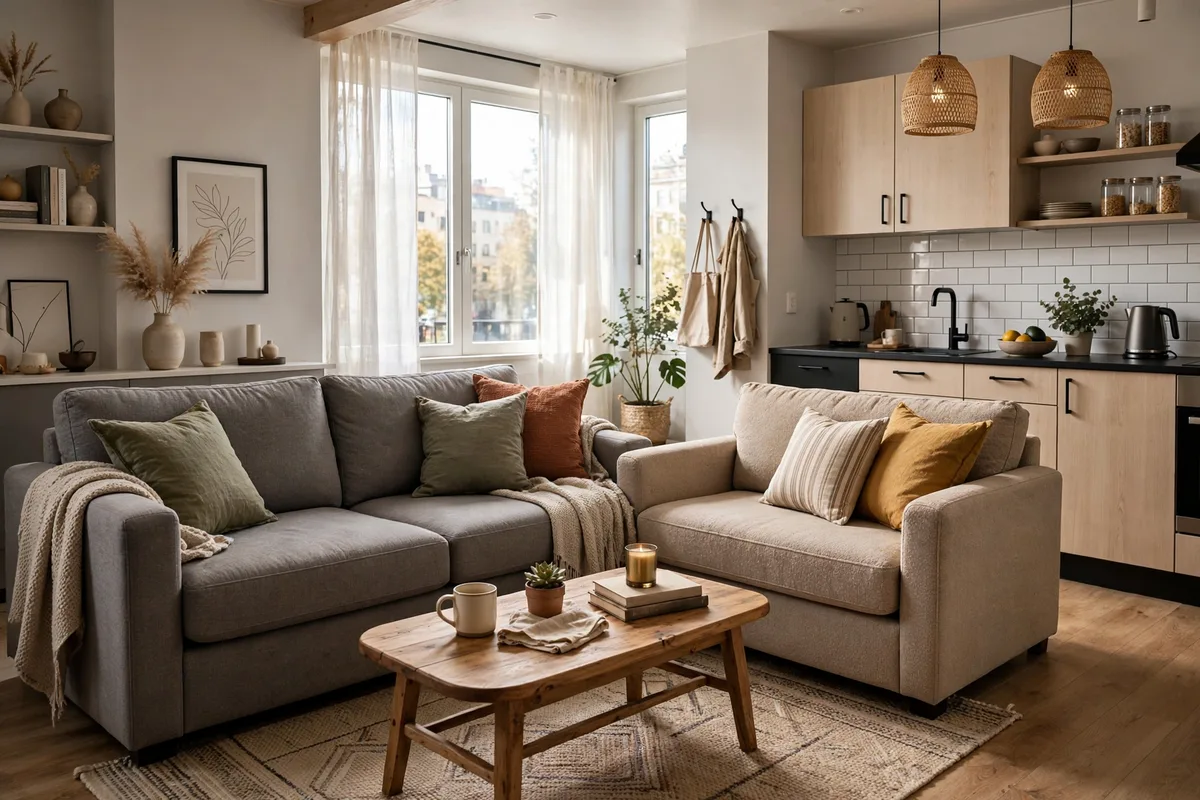
11. Leave Breathing Room Around Doors
Measure every door swing — entry, bathroom, closet — and keep furniture fully clear of the arc. A dresser that blocks the bathroom door by two inches will annoy you daily for a year. Pro tip: mark door swings on your floor-plan sketch with a quarter-circle so you never forget.
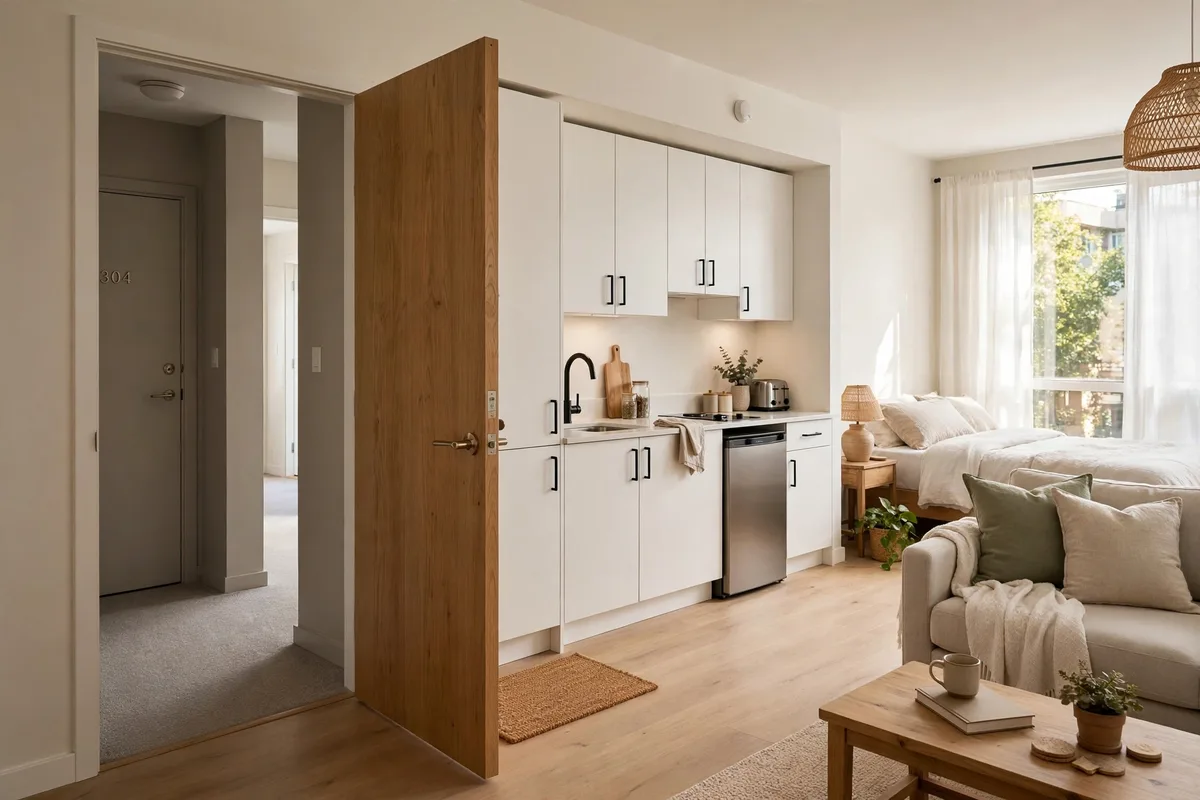
12. Symmetry Where It Counts, Asymmetry Where It Doesn’t
Use symmetry for calm: matching nightstands, a centered headboard, balanced shelves above the sofa. Use asymmetry for energy: an off-center gallery wall, one bold chair. Bedrooms love symmetry; living zones can play. Pro tip: if a zone feels chaotic, it’s usually an asymmetry problem — add one matching pair and watch it settle.
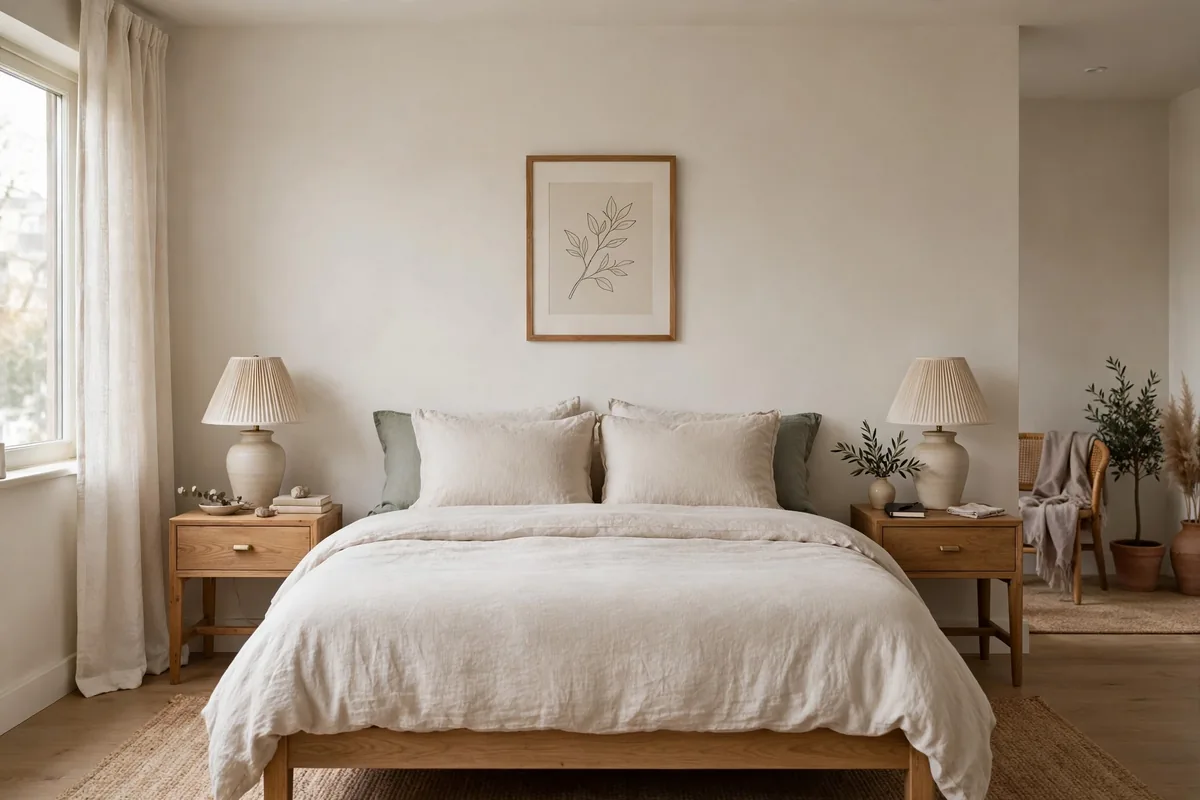
Bed Zone Layouts
Where the bed goes determines everything else — it’s the biggest piece and the hardest to move. Place it first, then build the studio around it. For ways to visually separate it once placed, see our guide on how to separate your bed in a studio apartment.
13. Tuck the Bed Into the Farthest Corner
Put the bed in the corner farthest from the front door. Guests see living space first, you get maximum privacy, and two walls do the enclosing work for free. Pro tip: corner placement also means only two sides need nightstands — one floating shelf on the wall side is enough.
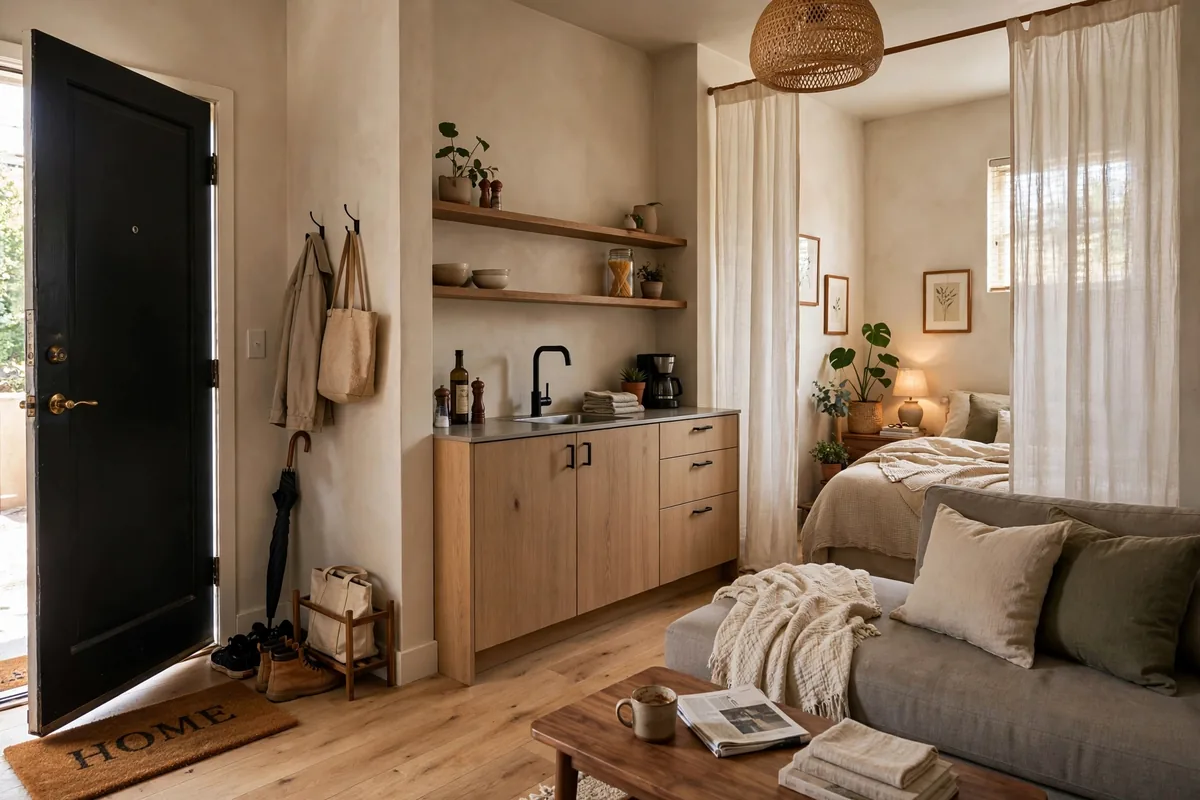
14. Sleep Parallel to the Longest Wall
In a classic rectangular studio, run the bed parallel to the long wall rather than jutting out into the room. This preserves the room’s longest sightline, which is what makes it feel spacious. Pro tip: leave at least 24 inches on the open side for comfortable getting in and out.
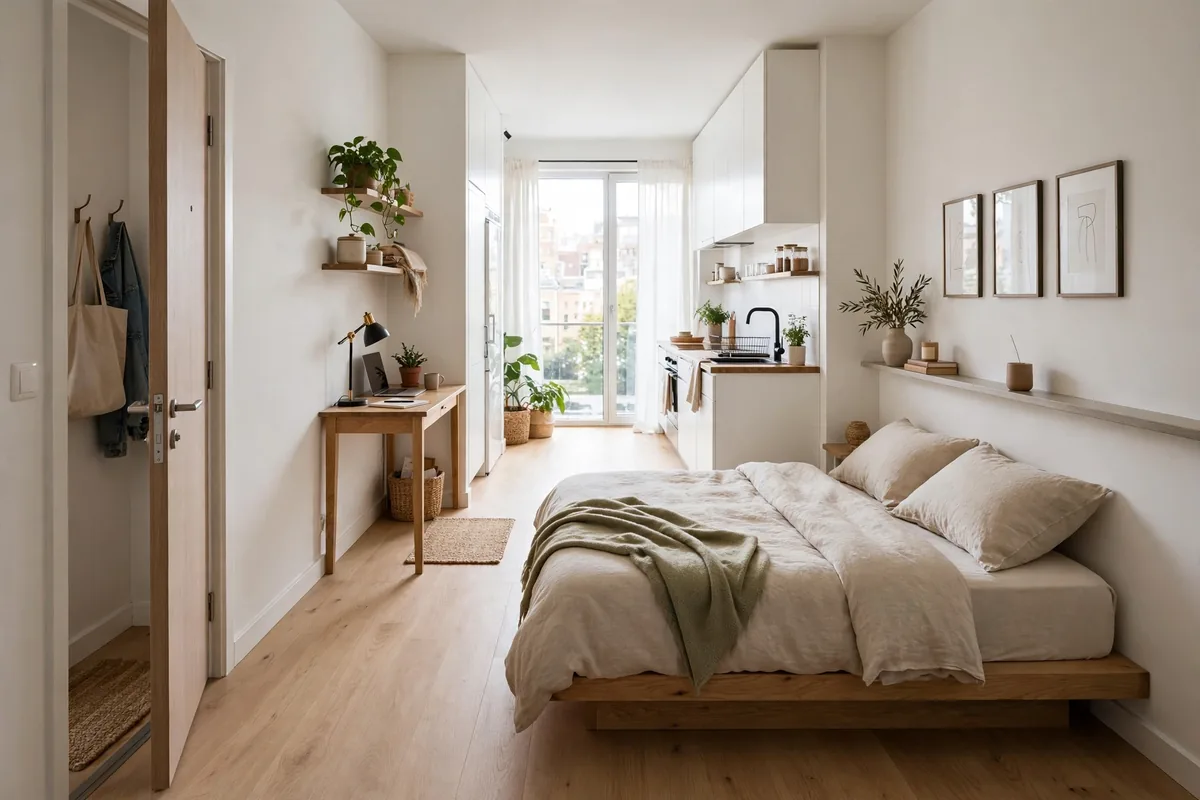
15. Give the Bed a “Headboard Wall”
Every bed needs a visual anchor: a headboard, a painted arch, peel-and-stick wallpaper, or even a large textile hung behind it. Without one, the bed looks like it drifted there by accident. Pro tip: a $30 peel-and-stick arch decal from Etsy delivers 90% of a headboard wall’s impact.
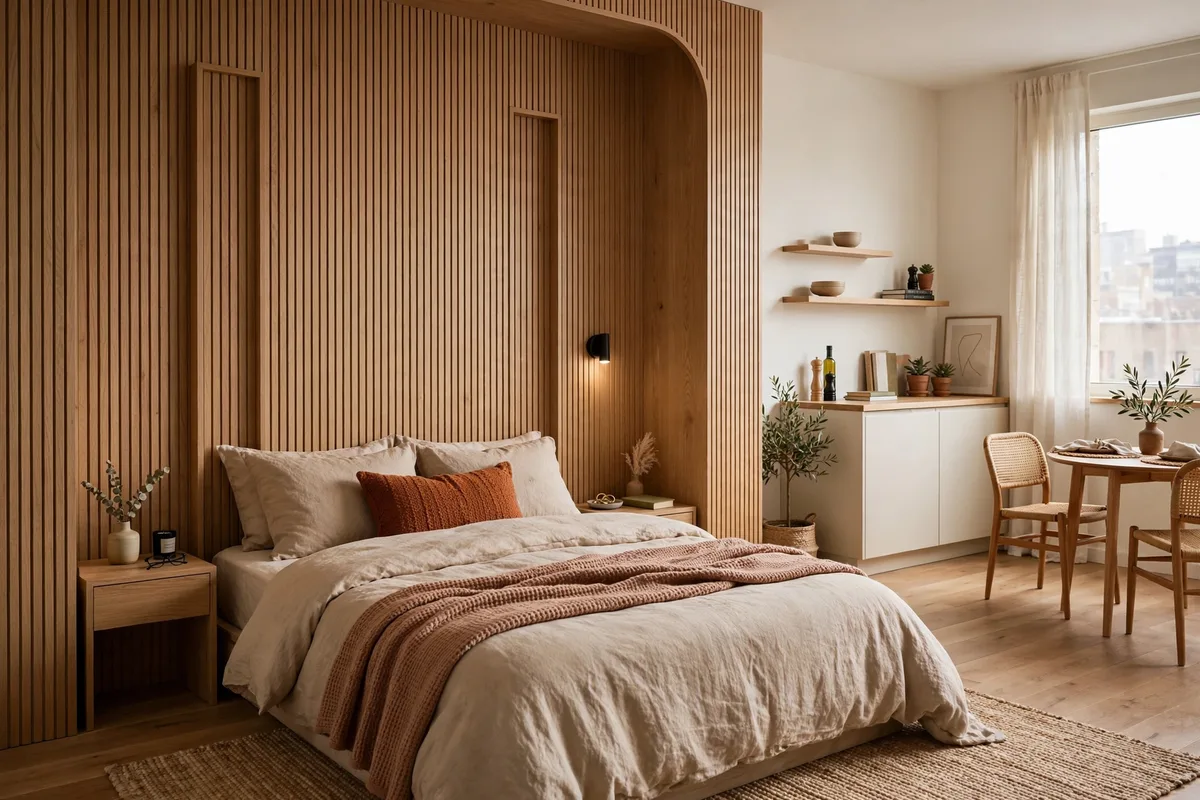
16. Face the Bed Away From the Kitchen
Nothing ruins rest like falling asleep staring at dirty dishes. Orient the bed so the kitchen is behind the headboard or out of the direct sightline — your brain will thank you at 11pm. Pro tip: if the layout won’t allow it, a folding screen between bed and kitchenette solves it for under $100.
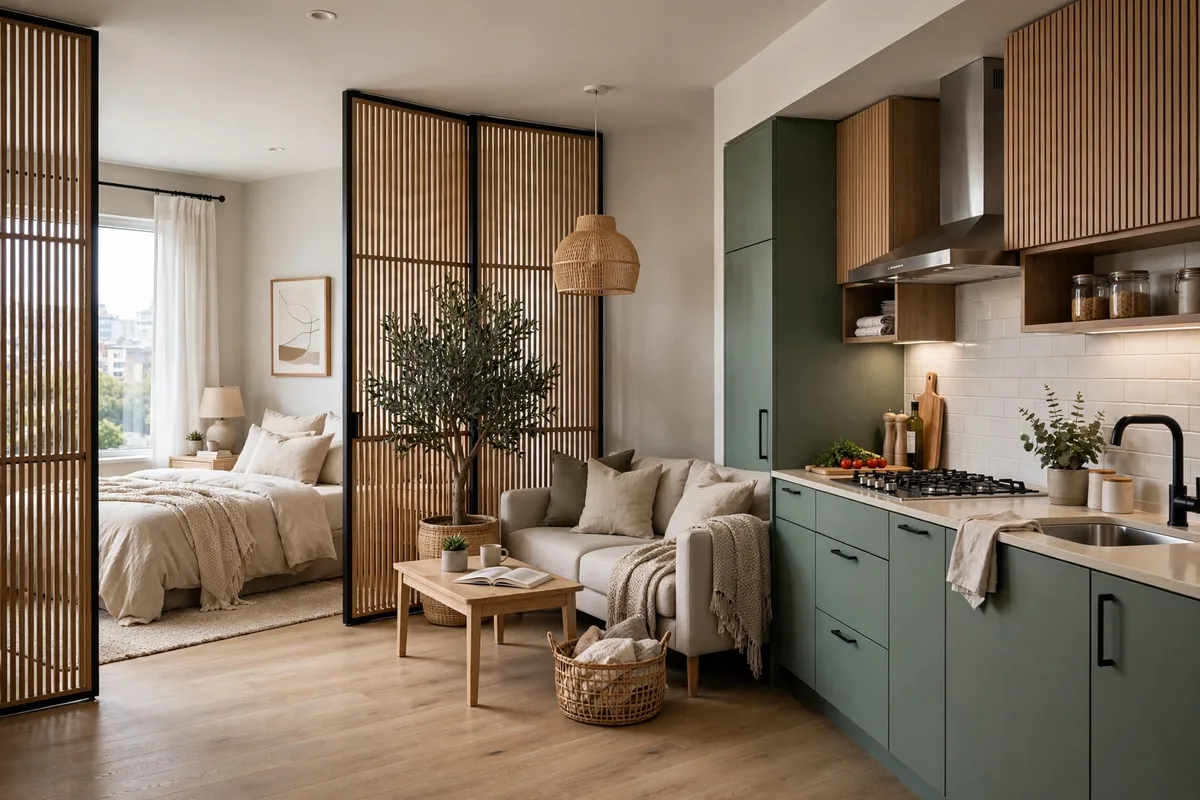
17. The Alcove Bed: Nature’s Bedroom
If your studio has any recess, hallway widening, or entryway indent, that’s your bedroom waiting to happen — slide the bed in and you get three walls of separation for free. Pro tip: measure the alcove before buying the frame; a bed that’s even 2 inches too wide turns a nook into a nightmare.
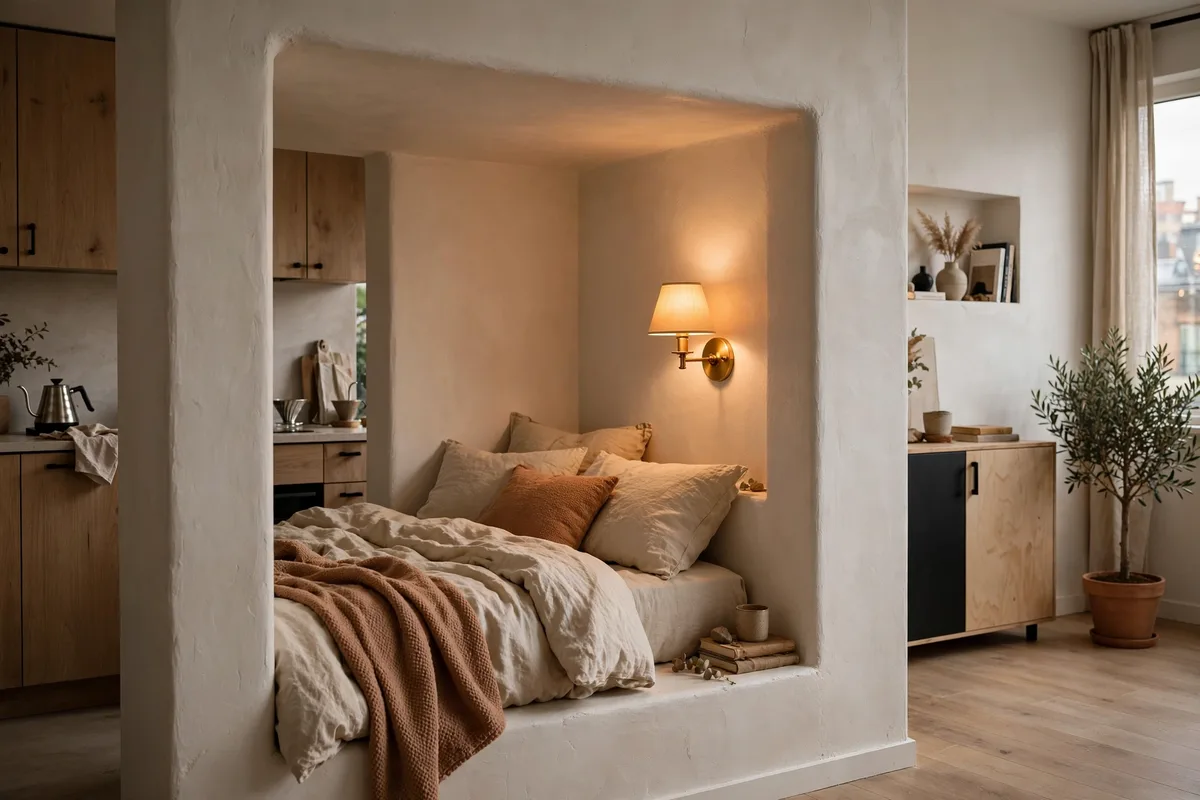
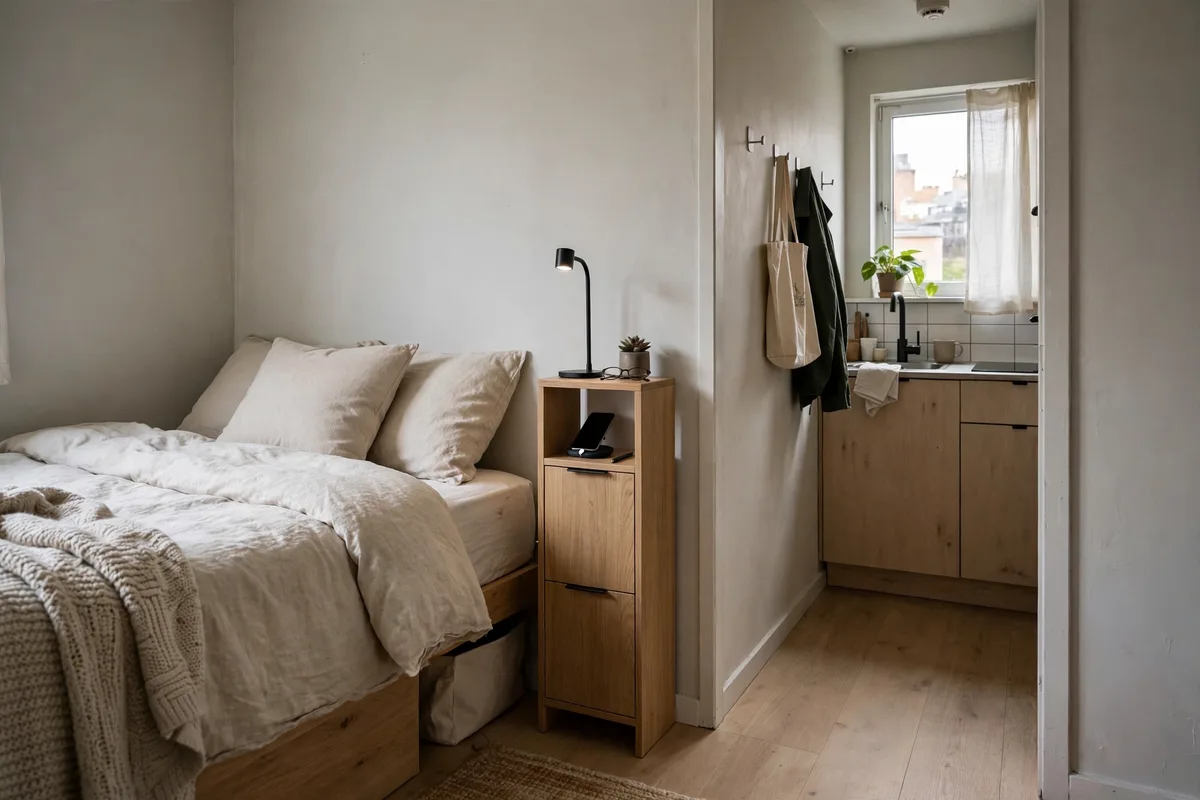
18. Nightstands That Don’t Eat the Floor
In tight bed zones, skip bulky nightstands: use wall-mounted floating shelves, a narrow IKEA LACK side table, or a clip-on headboard shelf. You keep the function (lamp, book, phone) without surrendering 4 square feet. Pro tip: a $10 headboard shelf from Amazon holds the phone and the book — that’s all a nightstand really does.
Living, Dining & Work Zones
The daytime half of your studio has to host relaxing, eating, and working — sometimes all in 200 square feet. The secret is furniture that defines zones by position, not by walls.
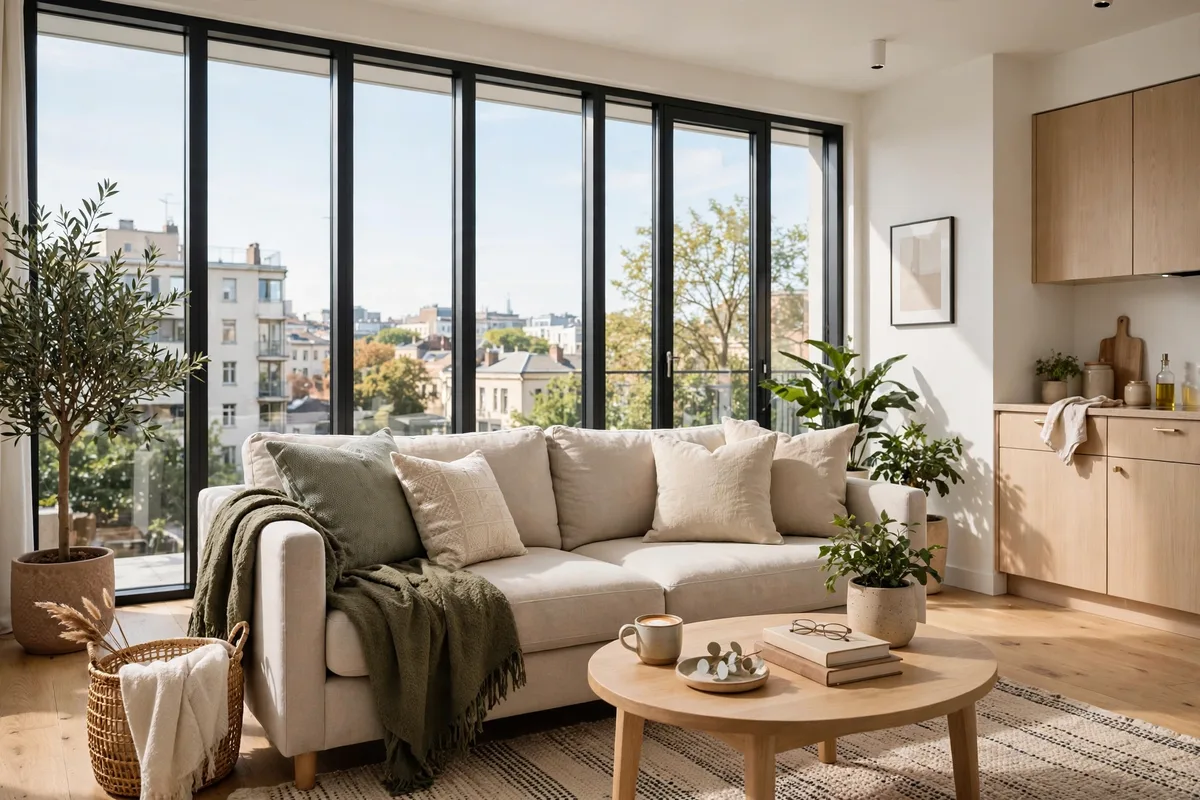
19. The Sofa-Faces-Window Living Room
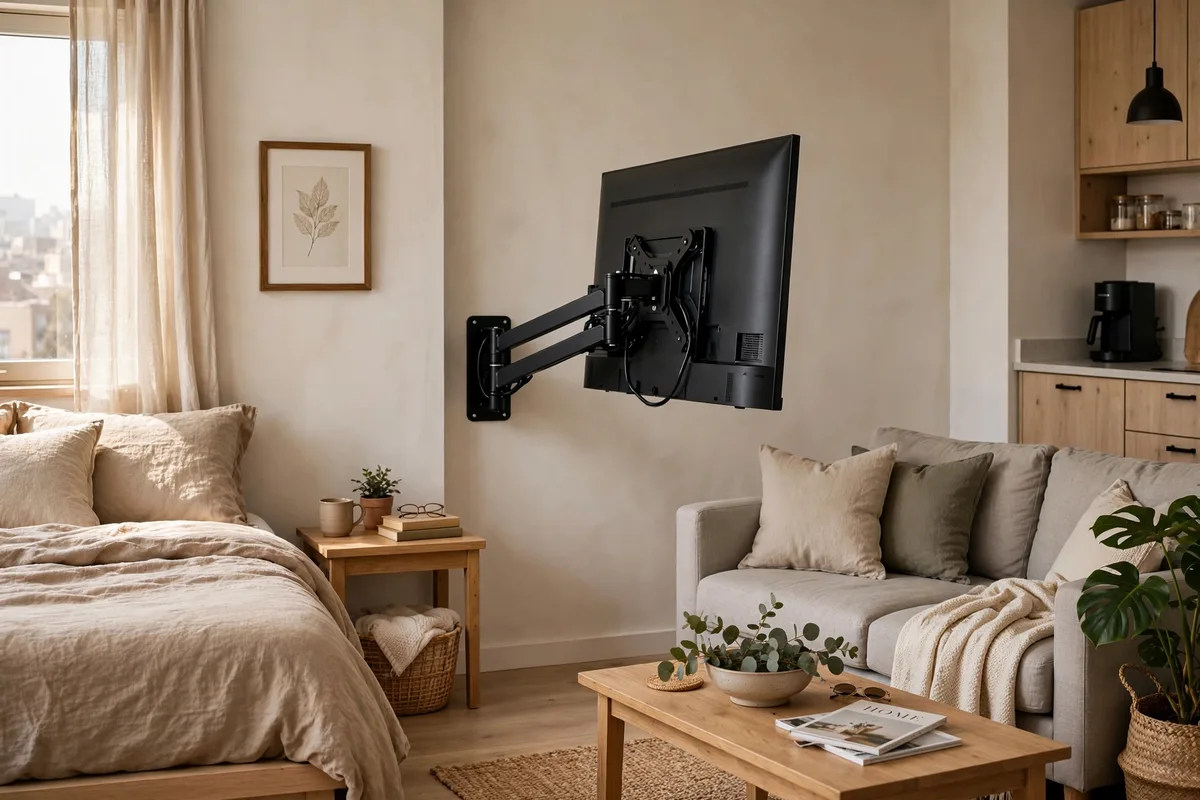
Arrange your main seating to face the window (or the room’s best view) rather than facing a wall with the TV. It makes the living zone feel expansive and gives you something pleasant to look at. Pro tip: put the TV on a swivel mount or low console to the side so movie nights still work.
20. Dining Table as a Zone Bridge
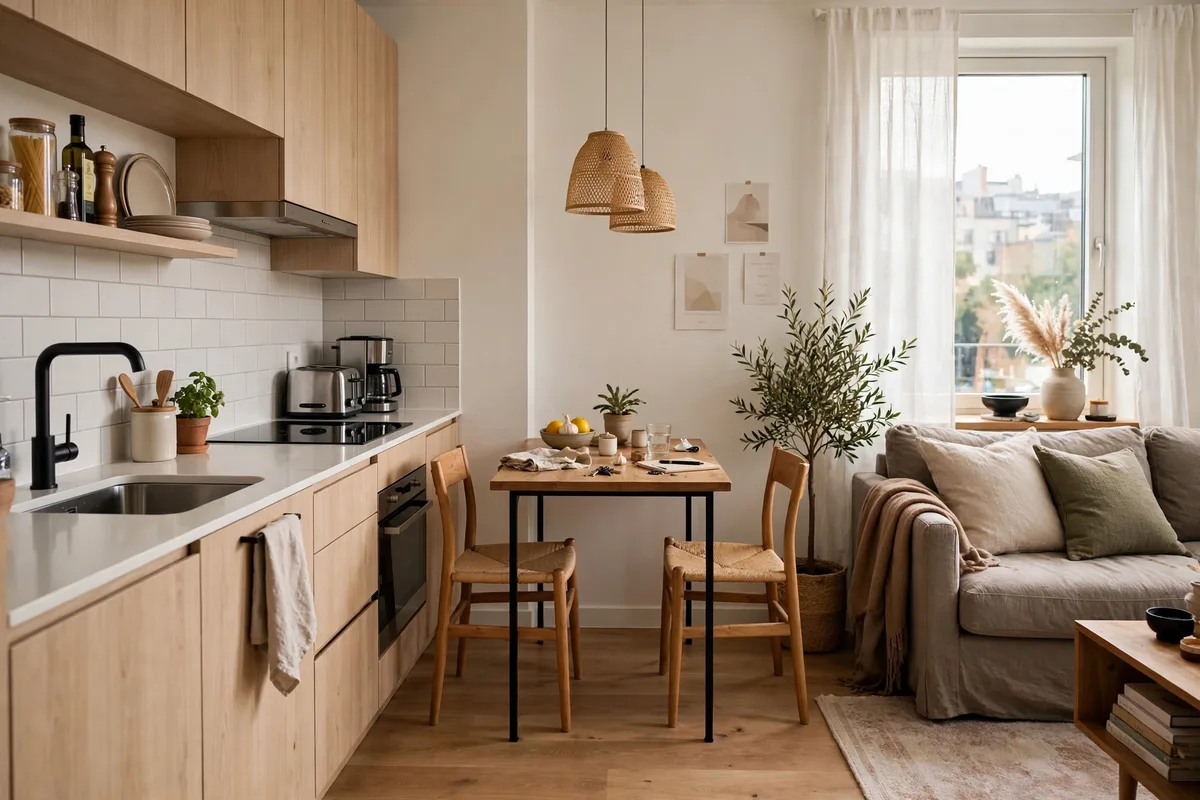
Place a small dining table (30 to 36 inches round) between the kitchen and living zones — it literally bridges the two and doubles as a work surface, craft table, or entry drop zone. Pro tip: a drop-leaf or gateleg table from IKEA (like the NORDEN) seats four when open and hugs the wall when closed.
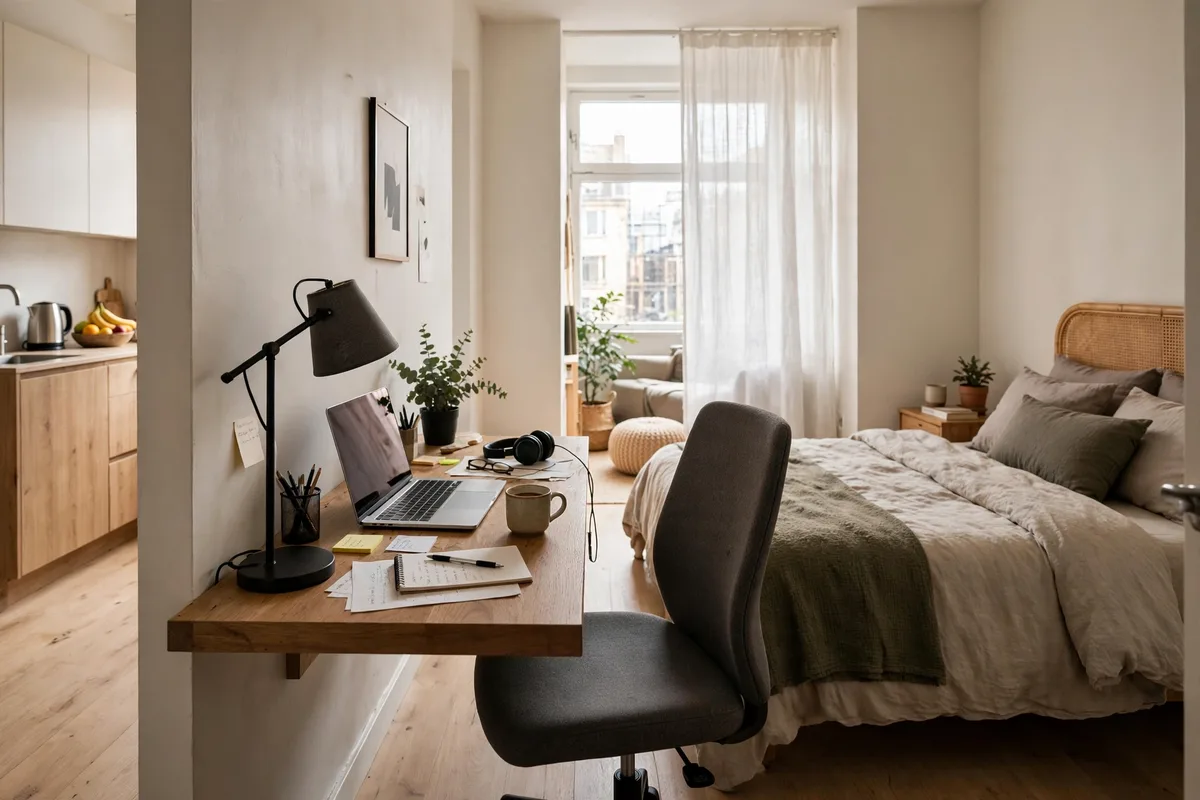
21. The Perpendicular Desk Trick
Place your desk perpendicular to the wall — sticking out into the room — with your chair facing away from the living area. The desk itself becomes the office boundary, and facing away kills the “working in the living room” feeling. Pro tip: add a small rug under the desk and chair to cement the office zone.
22. Coffee Table vs. Ottoman: Choose by Layout
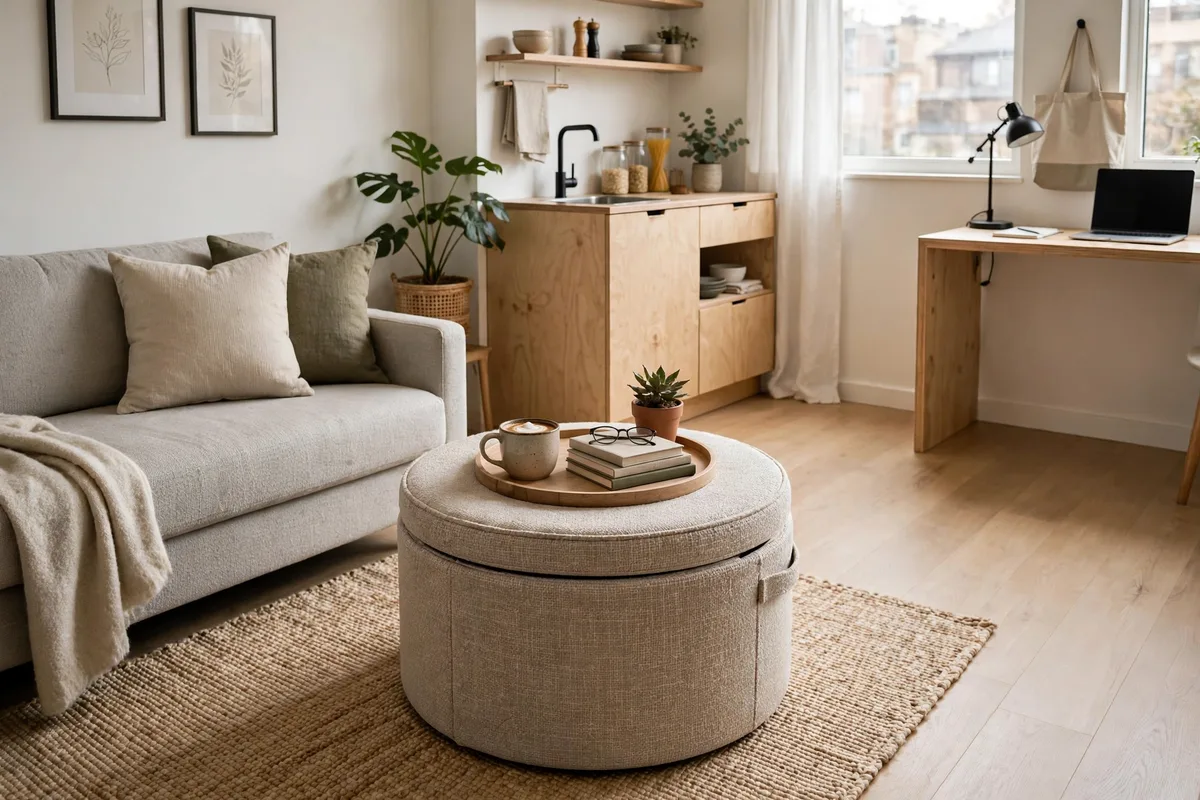
Tight traffic lane? Choose a storage ottoman instead of a coffee table — it doubles as seating and disappears visually. Generous space? A glass or open-frame coffee table keeps sightlines clear. Pro tip: whatever you pick, keep 16 to 18 inches between it and the sofa for comfortable legroom.
23. TV Placement Without the Cable Mess
Mount the TV on the wall or put it on a low console with a cable-management box — visible cables make a studio feel chaotic fast. Position it so it’s watchable from the sofa but not the first thing you see from the front door. Pro tip: a $15 cord cover painted wall-color makes cables vanish.
24. Reading Nook in Dead Space
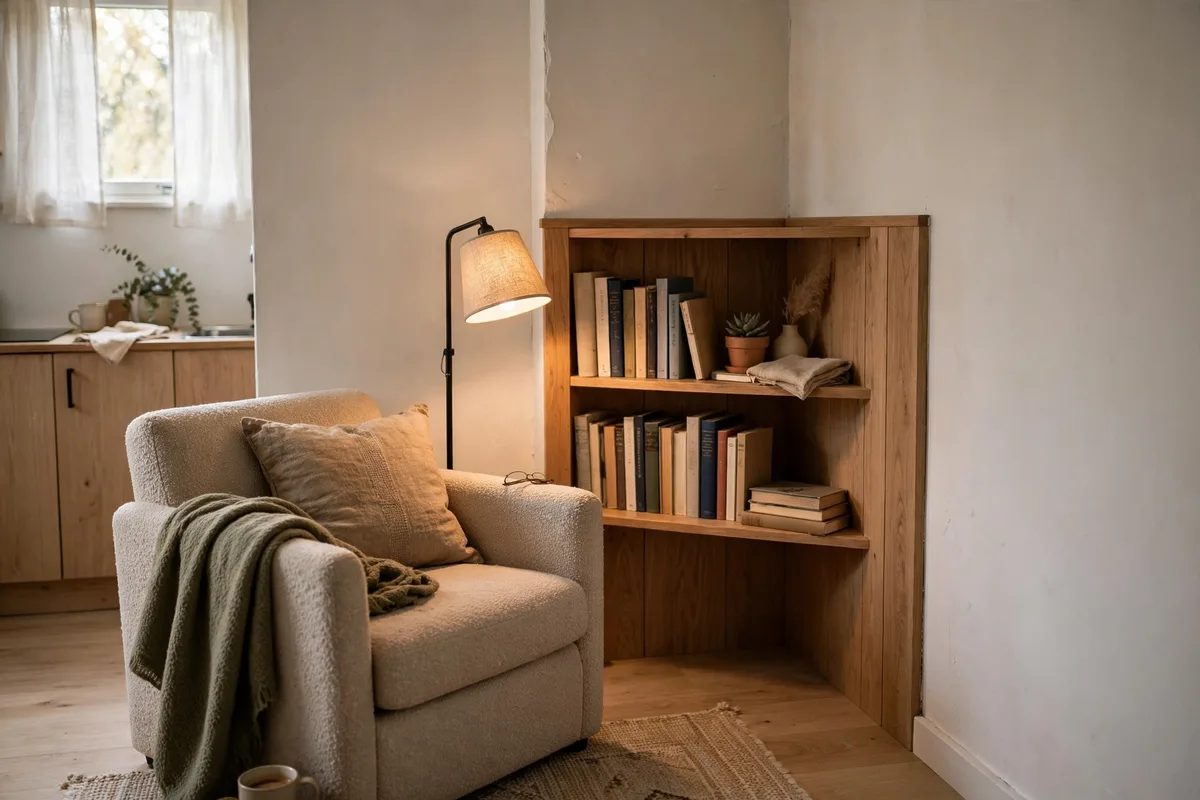
Every studio has one awkward corner — too small for real furniture, too big to ignore. Claim it: a comfortable chair (IKEA POÄNG is the classic at around $100), a floor lamp, a small side table. Instant reading nook, zero layout disruption. Pro tip: face the chair toward the room, not the wall — nooks should feel like lookouts, not time-outs.
Small Studio Tricks (Under 400 Sq Ft)
Under 400 square feet, every inch is negotiable and every piece must justify itself. These are the high-leverage moves — and most cost little or nothing, which is why they pair perfectly with our guide to decorate a studio apartment on a budget.
25. Go Vertical: The Loft Mindset
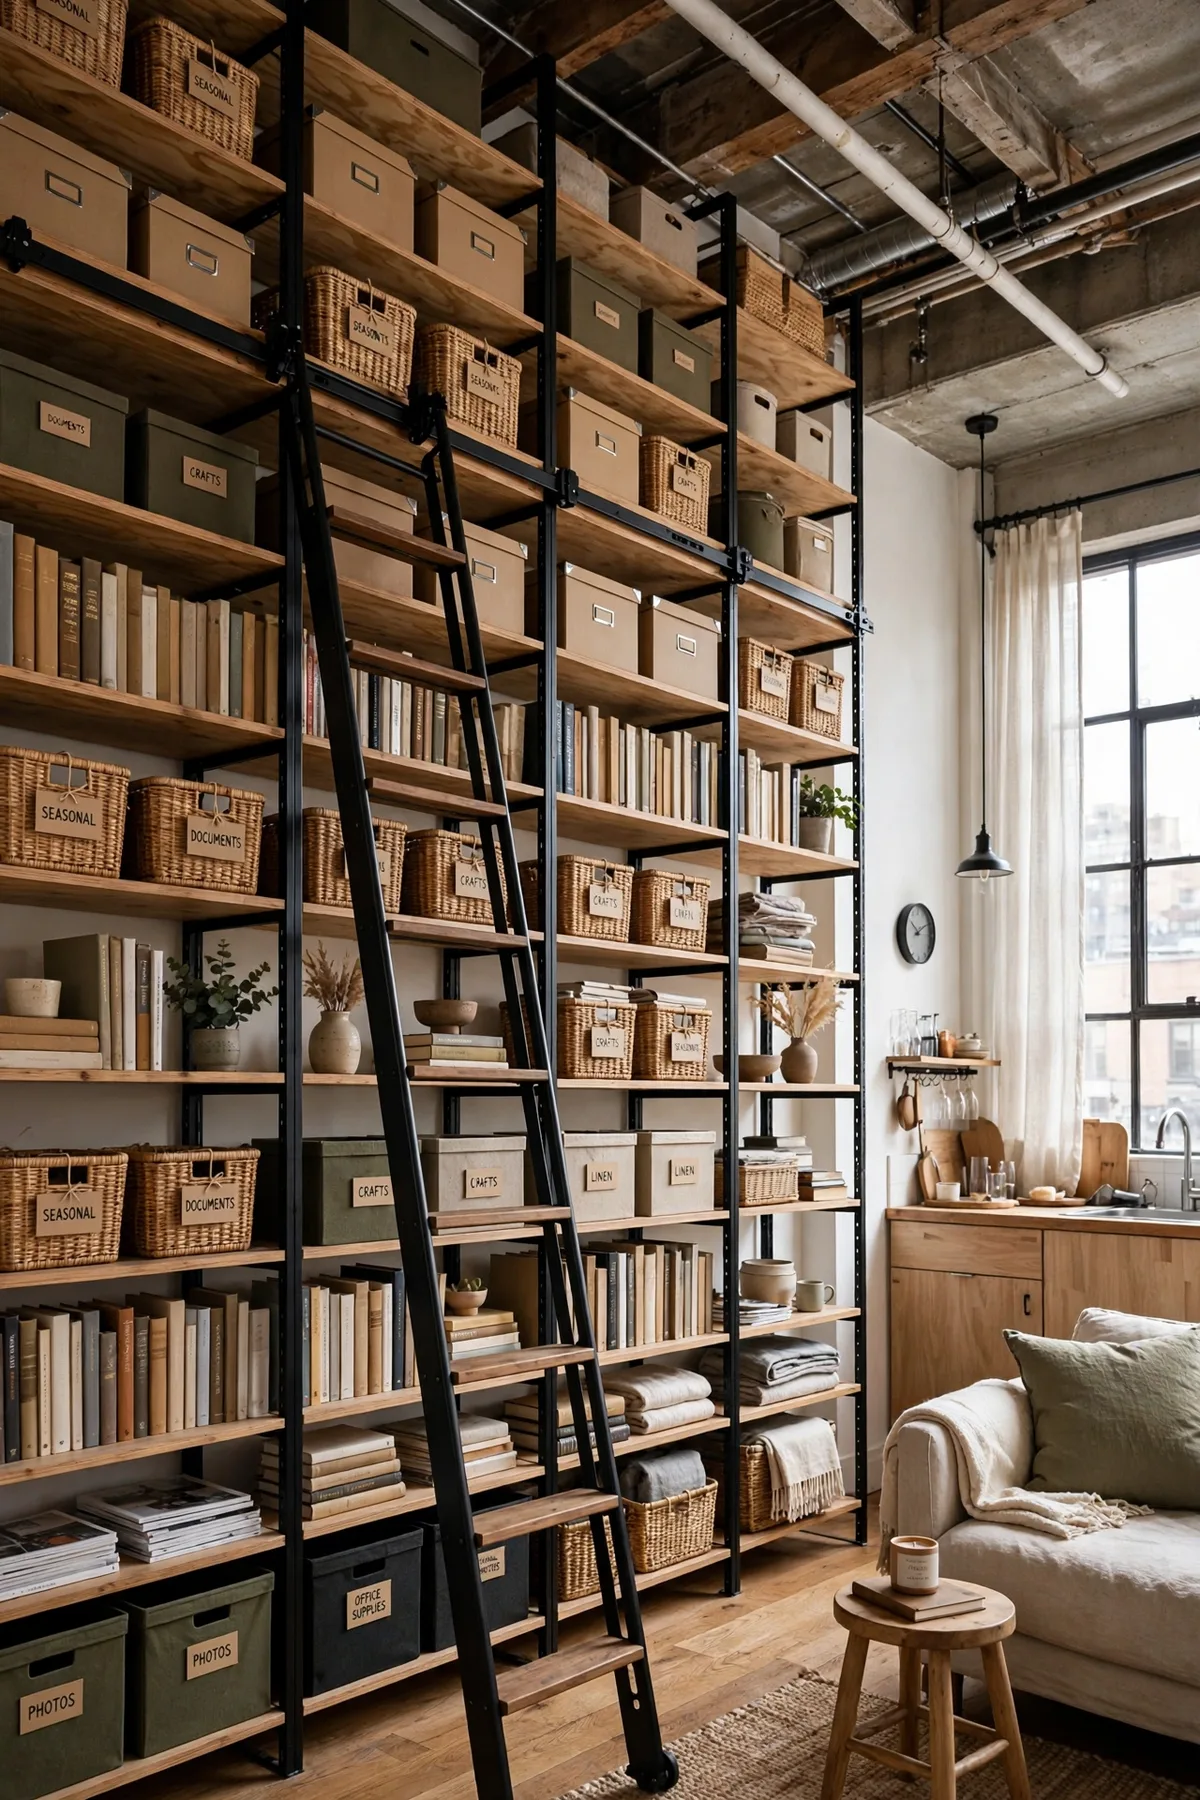
When floor space runs out, build up: tall bookcases, over-door storage, wall-mounted desks that fold down, shelves above the bed. Vertical storage can reclaim 20+ square feet of floor. Pro tip: keep daily-use items between knee and eye height; high shelves are for the stuff you touch twice a year.
26. The One-Wall Kitchen Rule
In tiny studios, keep all kitchen function on one wall — no island, no peninsula jutting into the room. A single-wall galley preserves the maximum open floor for living. Pro tip: a narrow rolling cart (IKEA RÅSKOG, about $35) gives you island-like prep space that rolls away when dinner’s done.
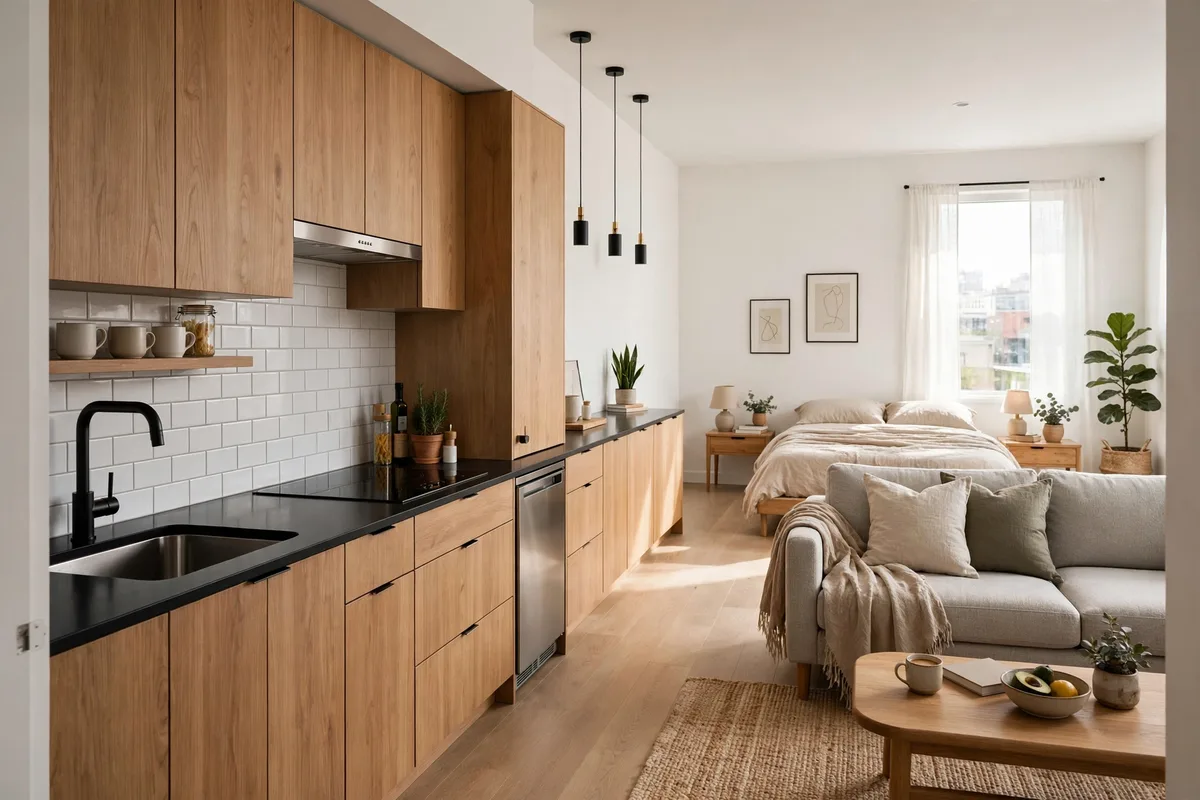
27. Murphy Thinking (Even Without a Murphy Bed)
You don’t need an $800 wall bed to think like one: choose pieces that transform or disappear — a drop-leaf table, nesting side tables, a daybed instead of a sofa-plus-bed, floor cushions that stack. Pro tip: count how many pieces serve two purposes; in a sub-400 studio, aim for at least half.
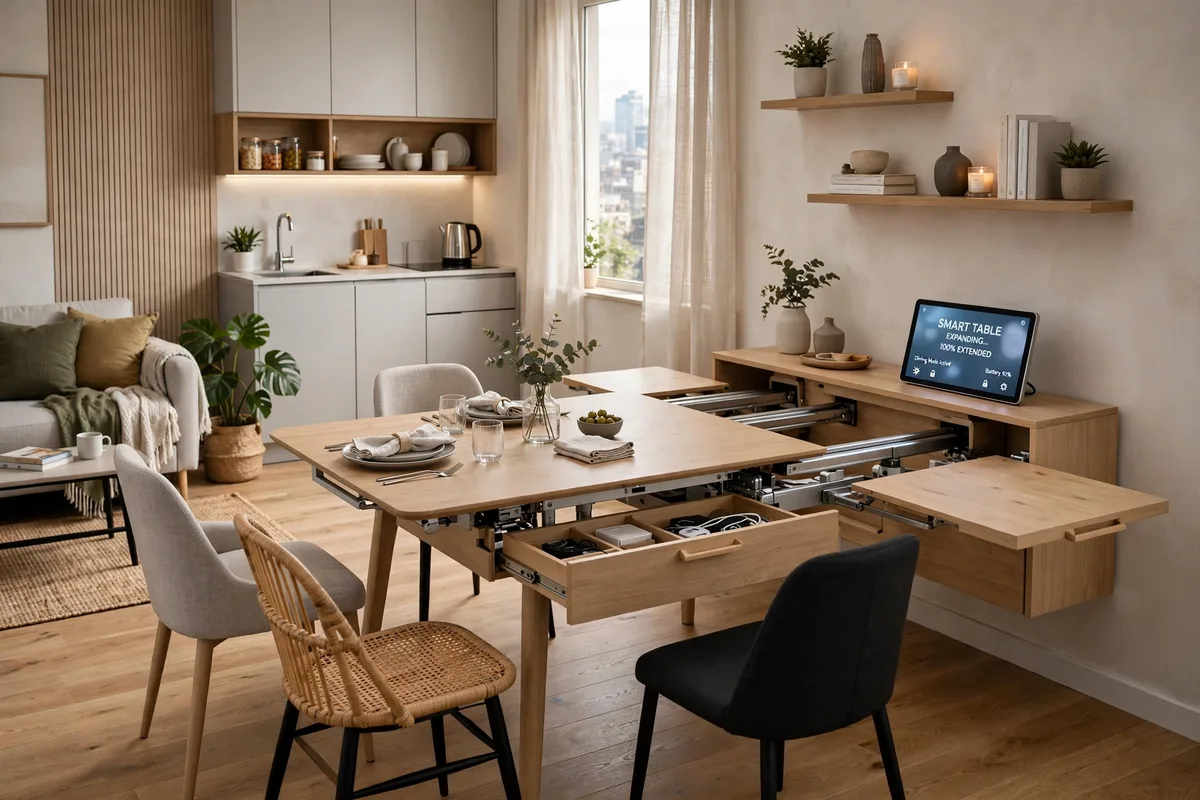
28. Sliding, Not Swinging Doors
If you have any say in the matter (or a handy weekend), replace swinging interior doors with sliding barn-door hardware or curtains — a swinging door eats 9+ square feet of floor arc. Pro tip: renters can fake it: remove a closet door entirely and hang a curtain; store the door flat under the bed.
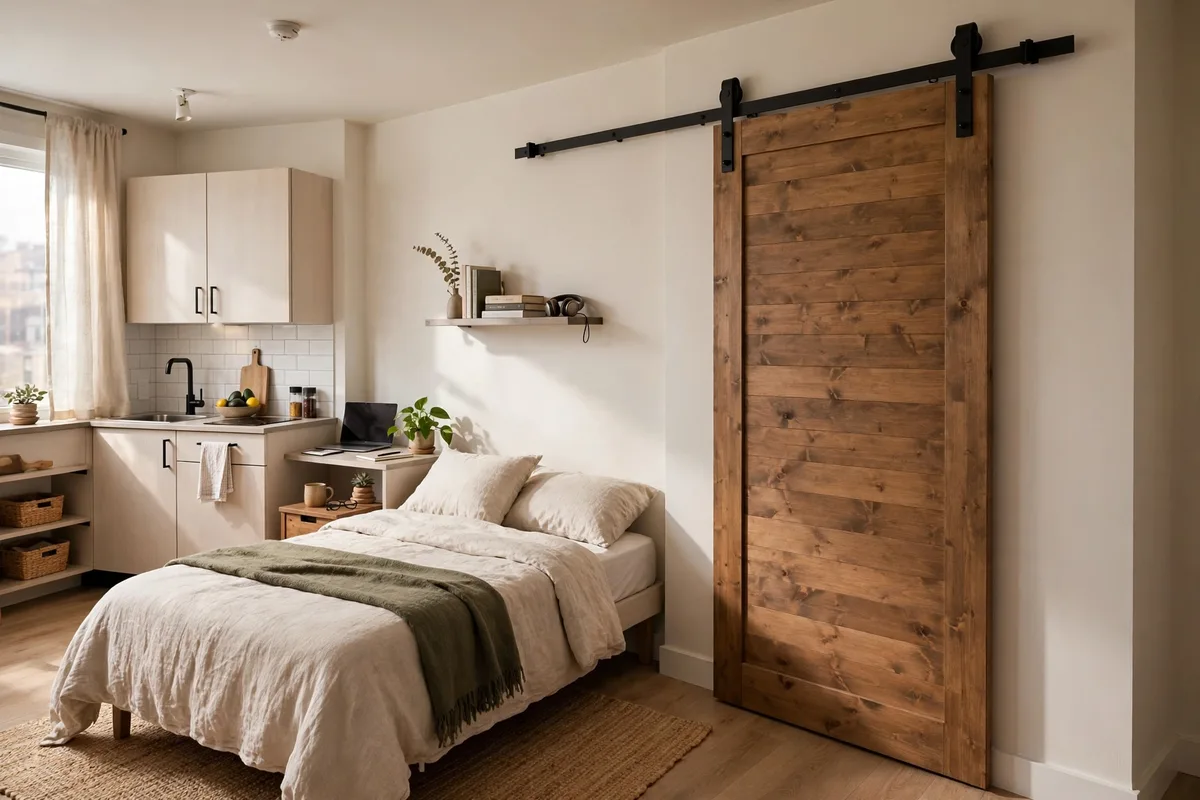
29. The 400-Square-Foot Galley Layout
The proven tiny-studio formula: bed zone at the far end, living zone in the middle, kitchen and entry at the front — all in a straight line with one clear traffic lane down the side. It sounds boring; it lives beautifully. Pro tip: this linear layout photographs terribly and lives wonderfully — don’t let Instagram talk you out of what works.
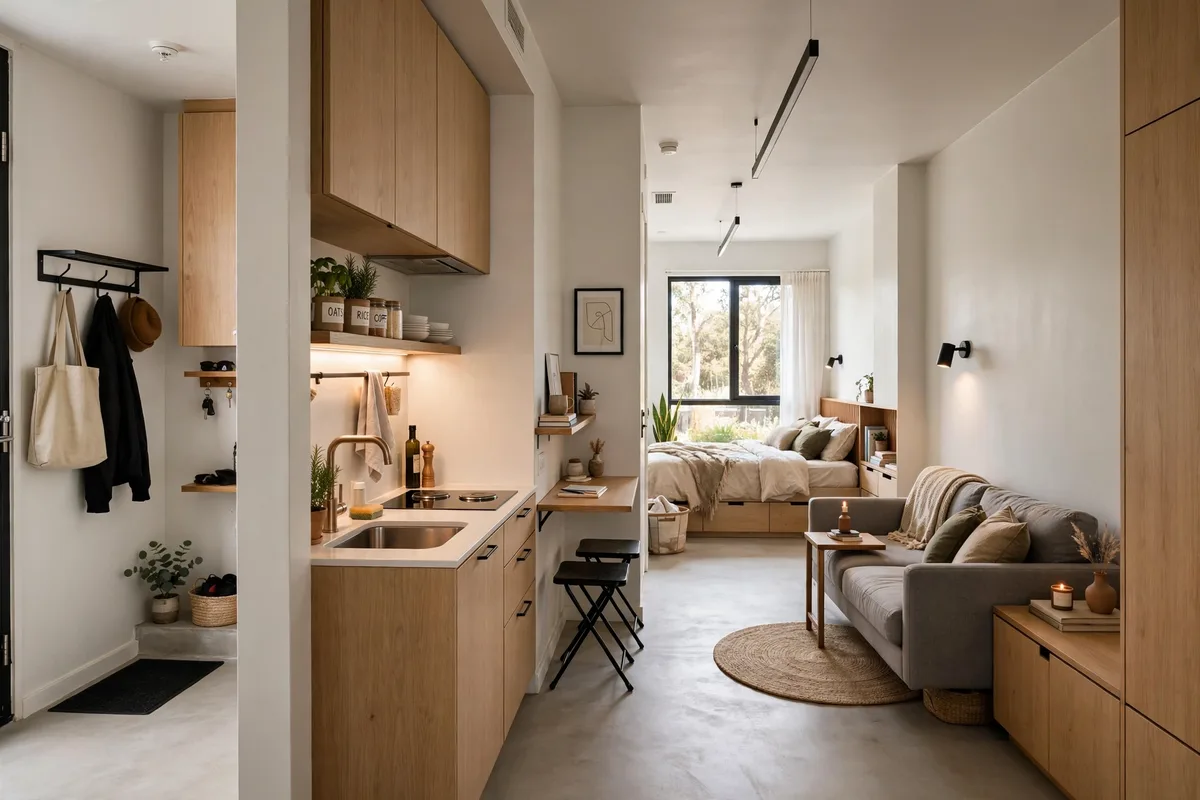
30. Mirror the Light Path
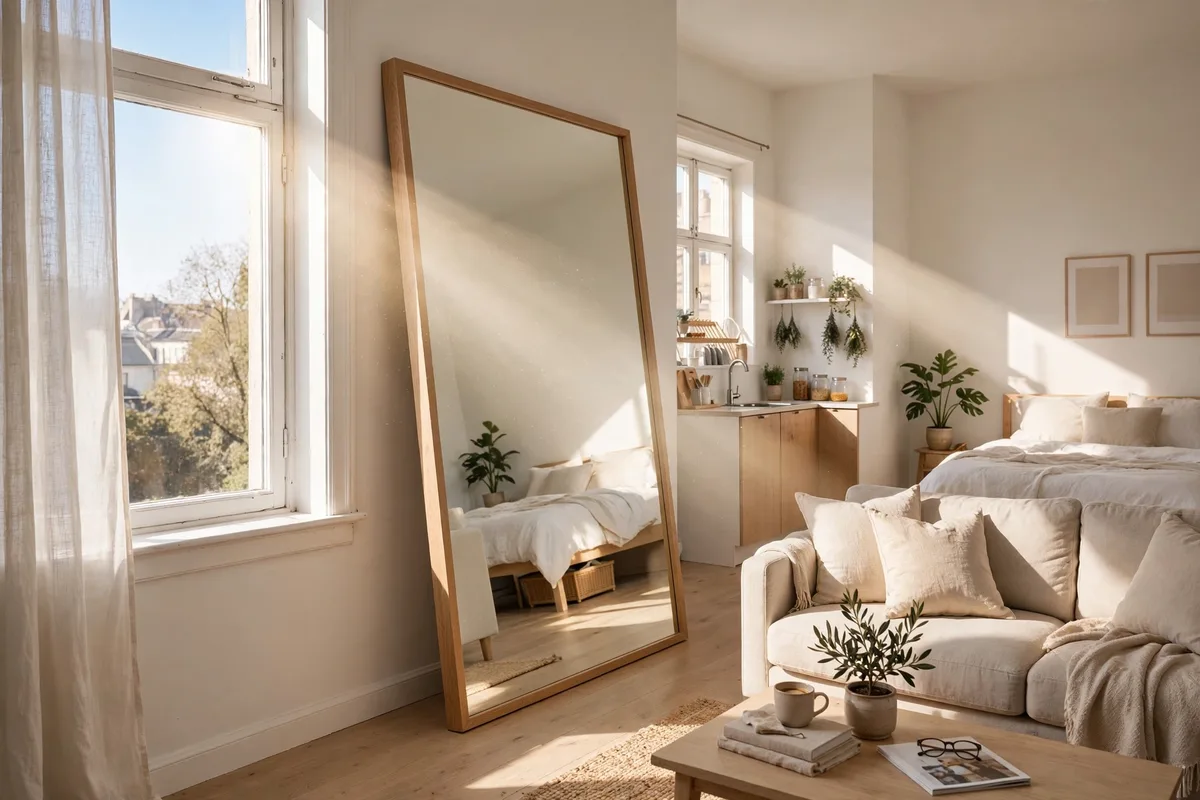
Place a large mirror on the wall opposite your window to bounce daylight down the length of the studio — it effectively doubles your light source and makes narrow layouts feel twice as wide. Pro tip: a leaning floor mirror (no holes!) from Target or IKEA runs $25–$50 and does the job.
Layout Details That Make It Feel Like Home
The zones are placed, the furniture fits, traffic flows. These final 6 ideas are the polish — the small layout decisions that make a studio feel designed instead of merely arranged.
31. Lighting Layers Per Zone
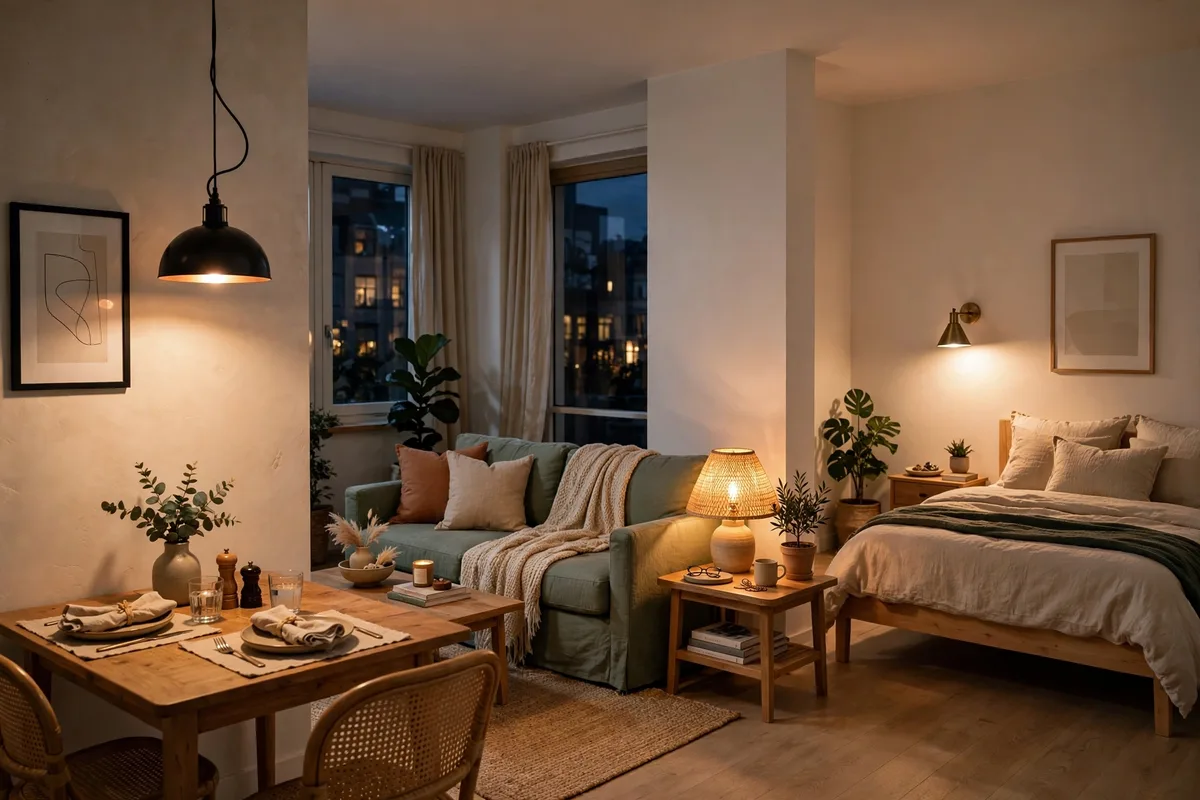
Give every zone its own light source: a pendant or floor lamp for living, a task lamp for the desk, a warm bedside lamp for sleep. When each zone glows independently, the studio reads as multiple rooms after dark. Pro tip: put bed-zone lighting on the warmest bulbs in the apartment (2700K) — it signals “rest” to your brain.
32. One Color Flow, Accents Per Zone
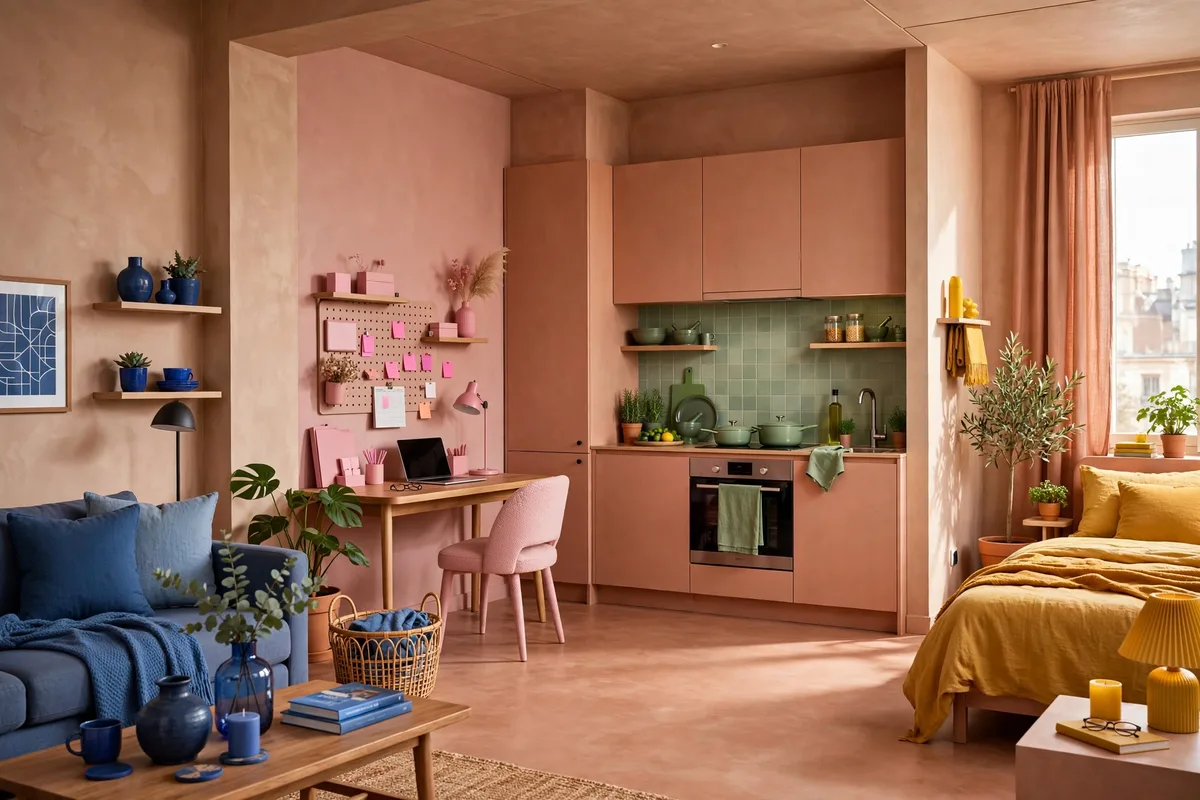
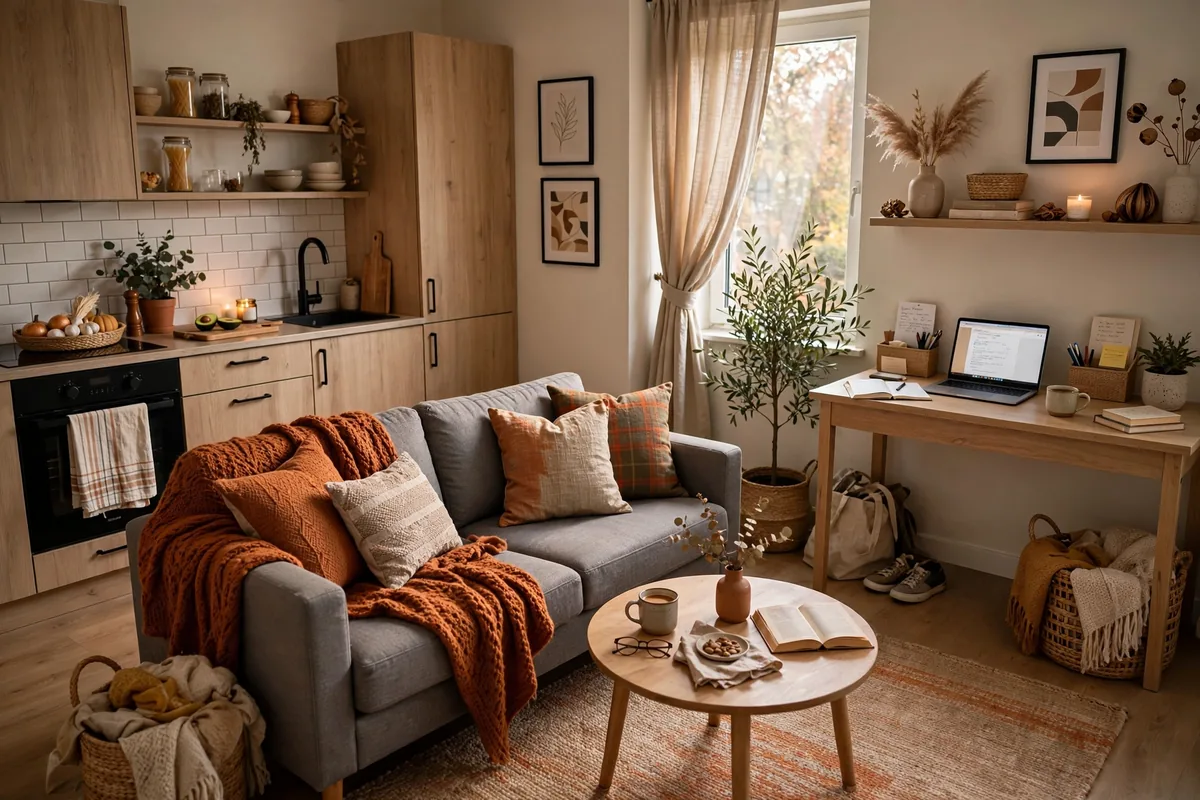
Keep walls, big furniture, and rugs in one flowing neutral palette so the studio reads as one calm space — then give each zone one accent color in pillows, art, or small decor. Cohesion plus personality. Pro tip: pick accents from the same color family (terracotta, ochre, rust) so zones harmonize instead of clash.
33. Hide the Clutter Lines
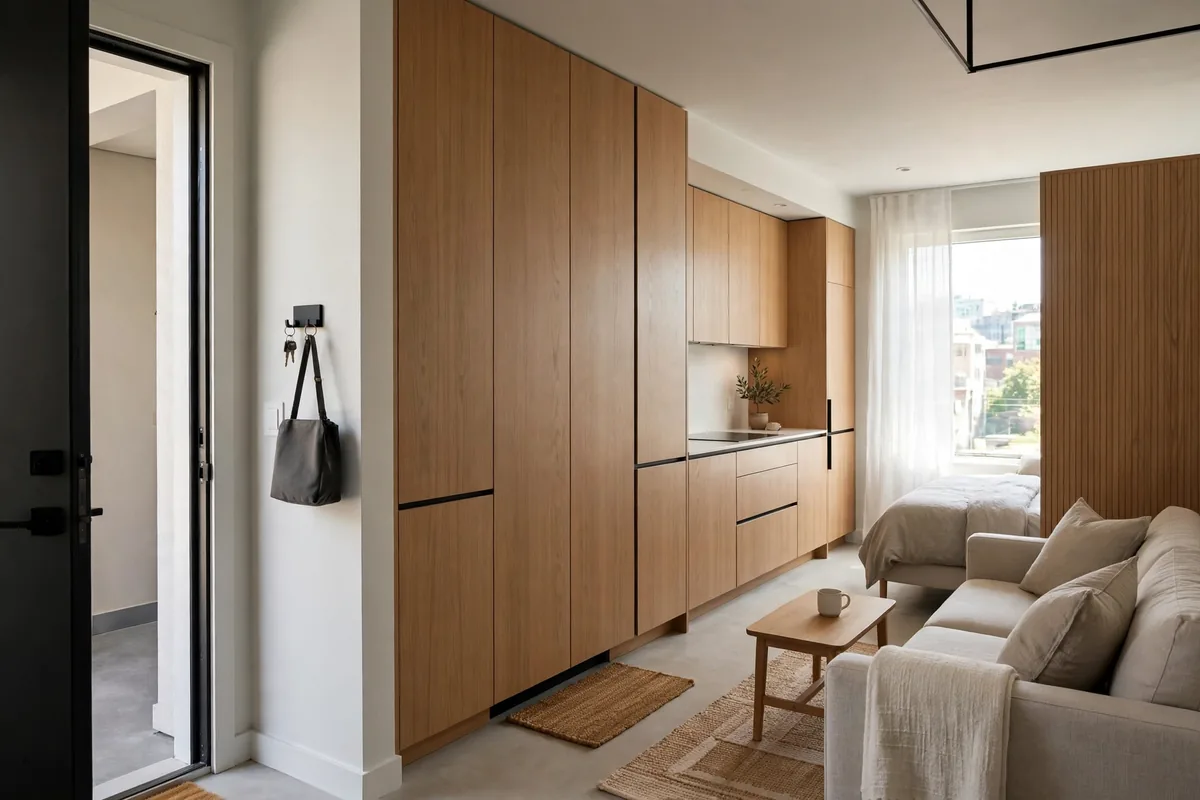
Stand in your doorway and note every sightline — then make sure none of them end at clutter. Put closed storage (baskets, cabinets, bins) on the sightlines and pretty open styling where eyes naturally land. Pro tip: the “doorway test” monthly keeps clutter creep in check.
34. Seasonal Layout Refresh
Twice a year, spend an hour re-evaluating: does the reading nook still get light? Is the desk still the best work spot? Small rotations — swapping the rug, moving one chair — keep the layout serving your actual life. Pro tip: do it when the clocks change; you’ll never forget.
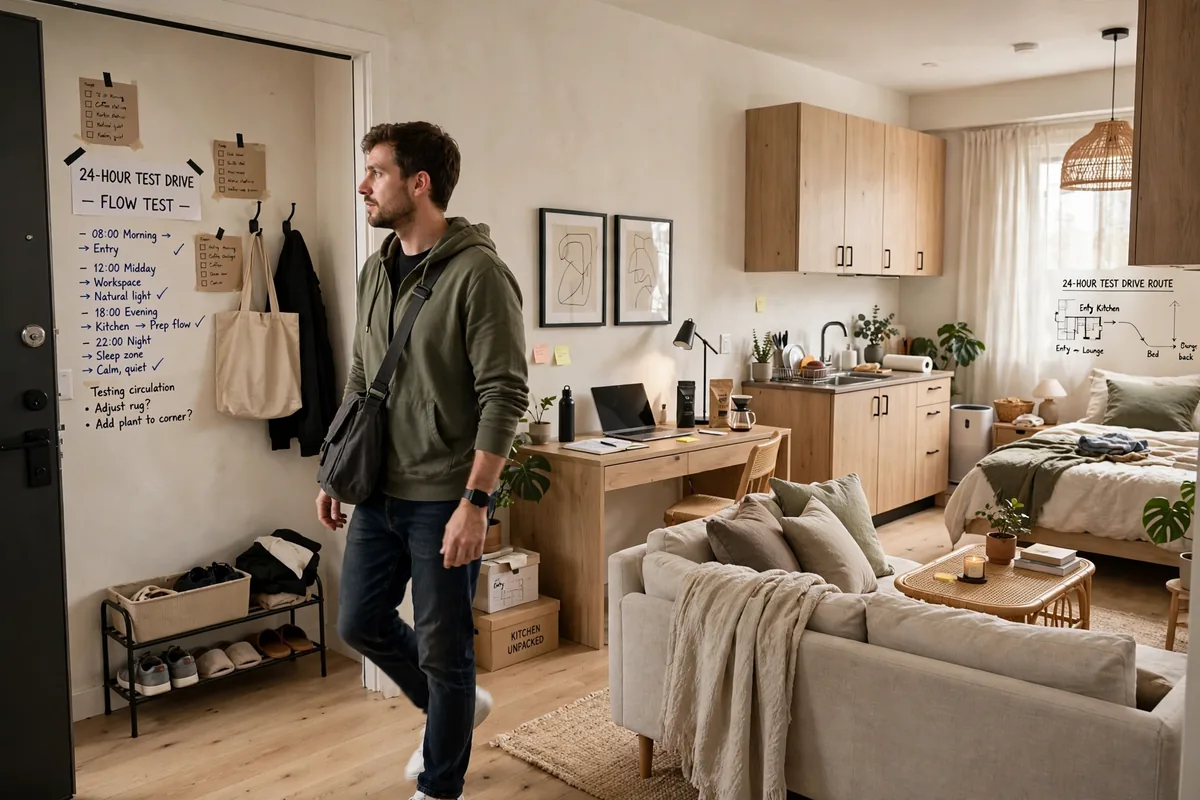
35. The 24-Hour Test Drive
After any big rearrange, live with it for a full day before declaring victory: cook a meal, work a day, watch a movie, sleep in the bed. Layout flaws reveal themselves in use, not in theory. Pro tip: keep the old arrangement photo on your phone — if the new one fails the test drive, you can restore it in an hour.
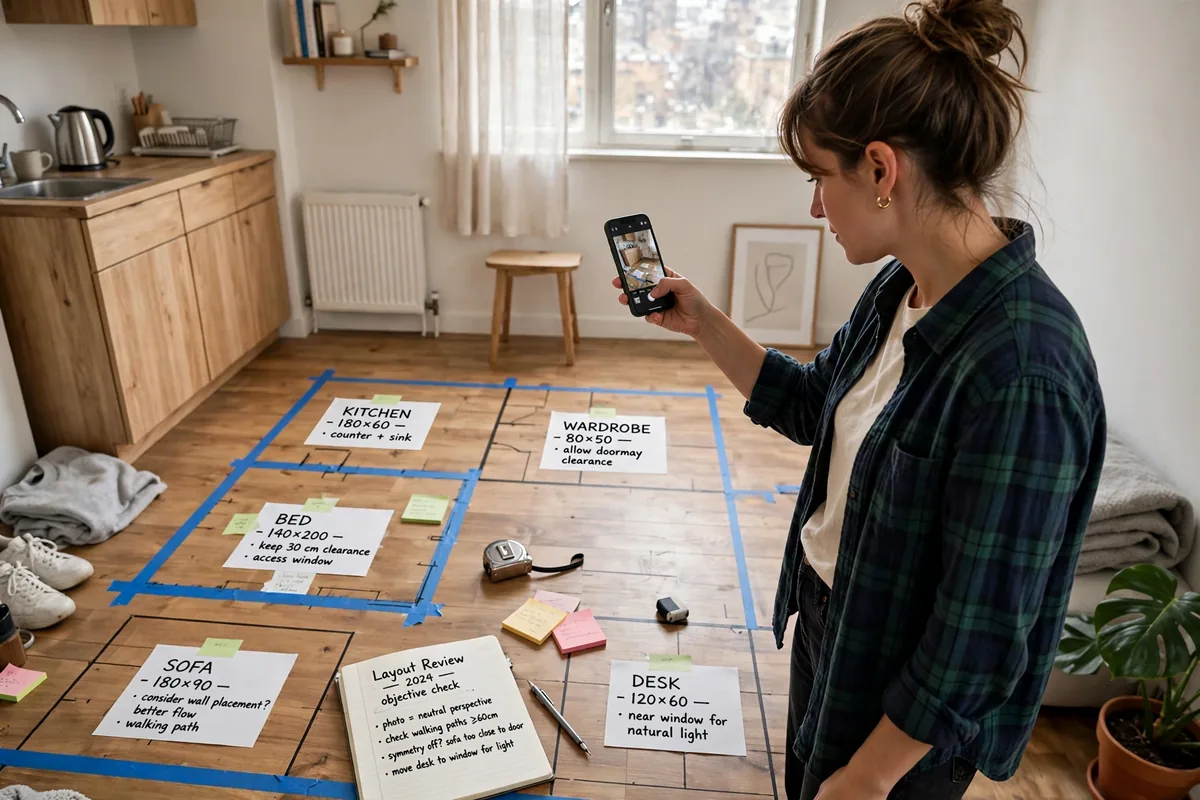
36. Photograph Your Layout
Take phone photos of your finished layout from the doorway and each corner. Photos reveal what eyes miss: awkward gaps, visual clutter, zones that blur together. Pro tip: compare the photos to your original zone sketch — if they match, you nailed the plan.
Frequently Asked Questions
What is the best layout for a studio apartment?
The best studio apartment layout zones the space into sleep, living, dining, and work areas with clear traffic flow between them. Put the bed in the farthest corner from the door, keep a 3-foot walking lane clear, and anchor each zone with its own rug. There is no single perfect floor plan — the best layout is the one that matches how you actually live.
How do you arrange furniture in a studio apartment efficiently?
Start with the bed (biggest piece, hardest to move), then place the sofa back-to-bed as a natural divider. Keep tall furniture on one wall, float seating slightly off walls, and make sure every door swing stays clear. Sketch it on paper first — ten minutes of planning saves a weekend of heavy lifting.
Where should the bed go in a studio apartment layout?
The farthest corner from the front door is ideal — it gives privacy, keeps the bed out of guests’ sightlines, and lets two walls do the enclosing work. Run it parallel to the longest wall to preserve sightlines, and face it away from the kitchen if possible.
How do you fit a living room, bedroom, and office in a studio?
Zone by position, not walls: bed in the far corner, living zone in the middle with the sofa back-to-bed, and a perpendicular desk with its own rug as the office boundary. A small dining table between kitchen and living doubles as extra workspace. Multifunctional furniture — storage ottomans, drop-leaf tables, daybeds — does the heavy lifting.
What is the biggest studio apartment layout mistake?
Pushing all furniture against the walls. It feels logical but makes the middle of the room a dead void and the edges cramped. Float key pieces even a few inches off the wall, define zones with rugs, and keep one clear traffic lane — those three fixes solve most bad studio layouts.
How can I make a small studio apartment feel bigger with layout alone?
Preserve long sightlines (don’t block the room’s longest view), keep window light flowing with low-profile furniture near glass, use mirrors opposite windows, and stick to a light, flowing color palette. Visually, “two defined zones” always feels bigger than “one cluttered box.”
Final Thoughts
A great studio apartment layout isn’t about having more space — it’s about making every square foot do its job. Zone first, place the bed with intention, let the sofa do double duty as a divider, keep traffic flowing, and give each zone its own light. Do that, and your studio stops feeling like one room you’re stuck with and starts feeling like a home you chose.
Sketch your zones this weekend, move one piece at a time, and test-drive the result for 24 hours. Your future self — the one who walks in the door and actually exhales — will thank you.