44 Studio Apartment Ideas That Make a Small Space Look Expensive
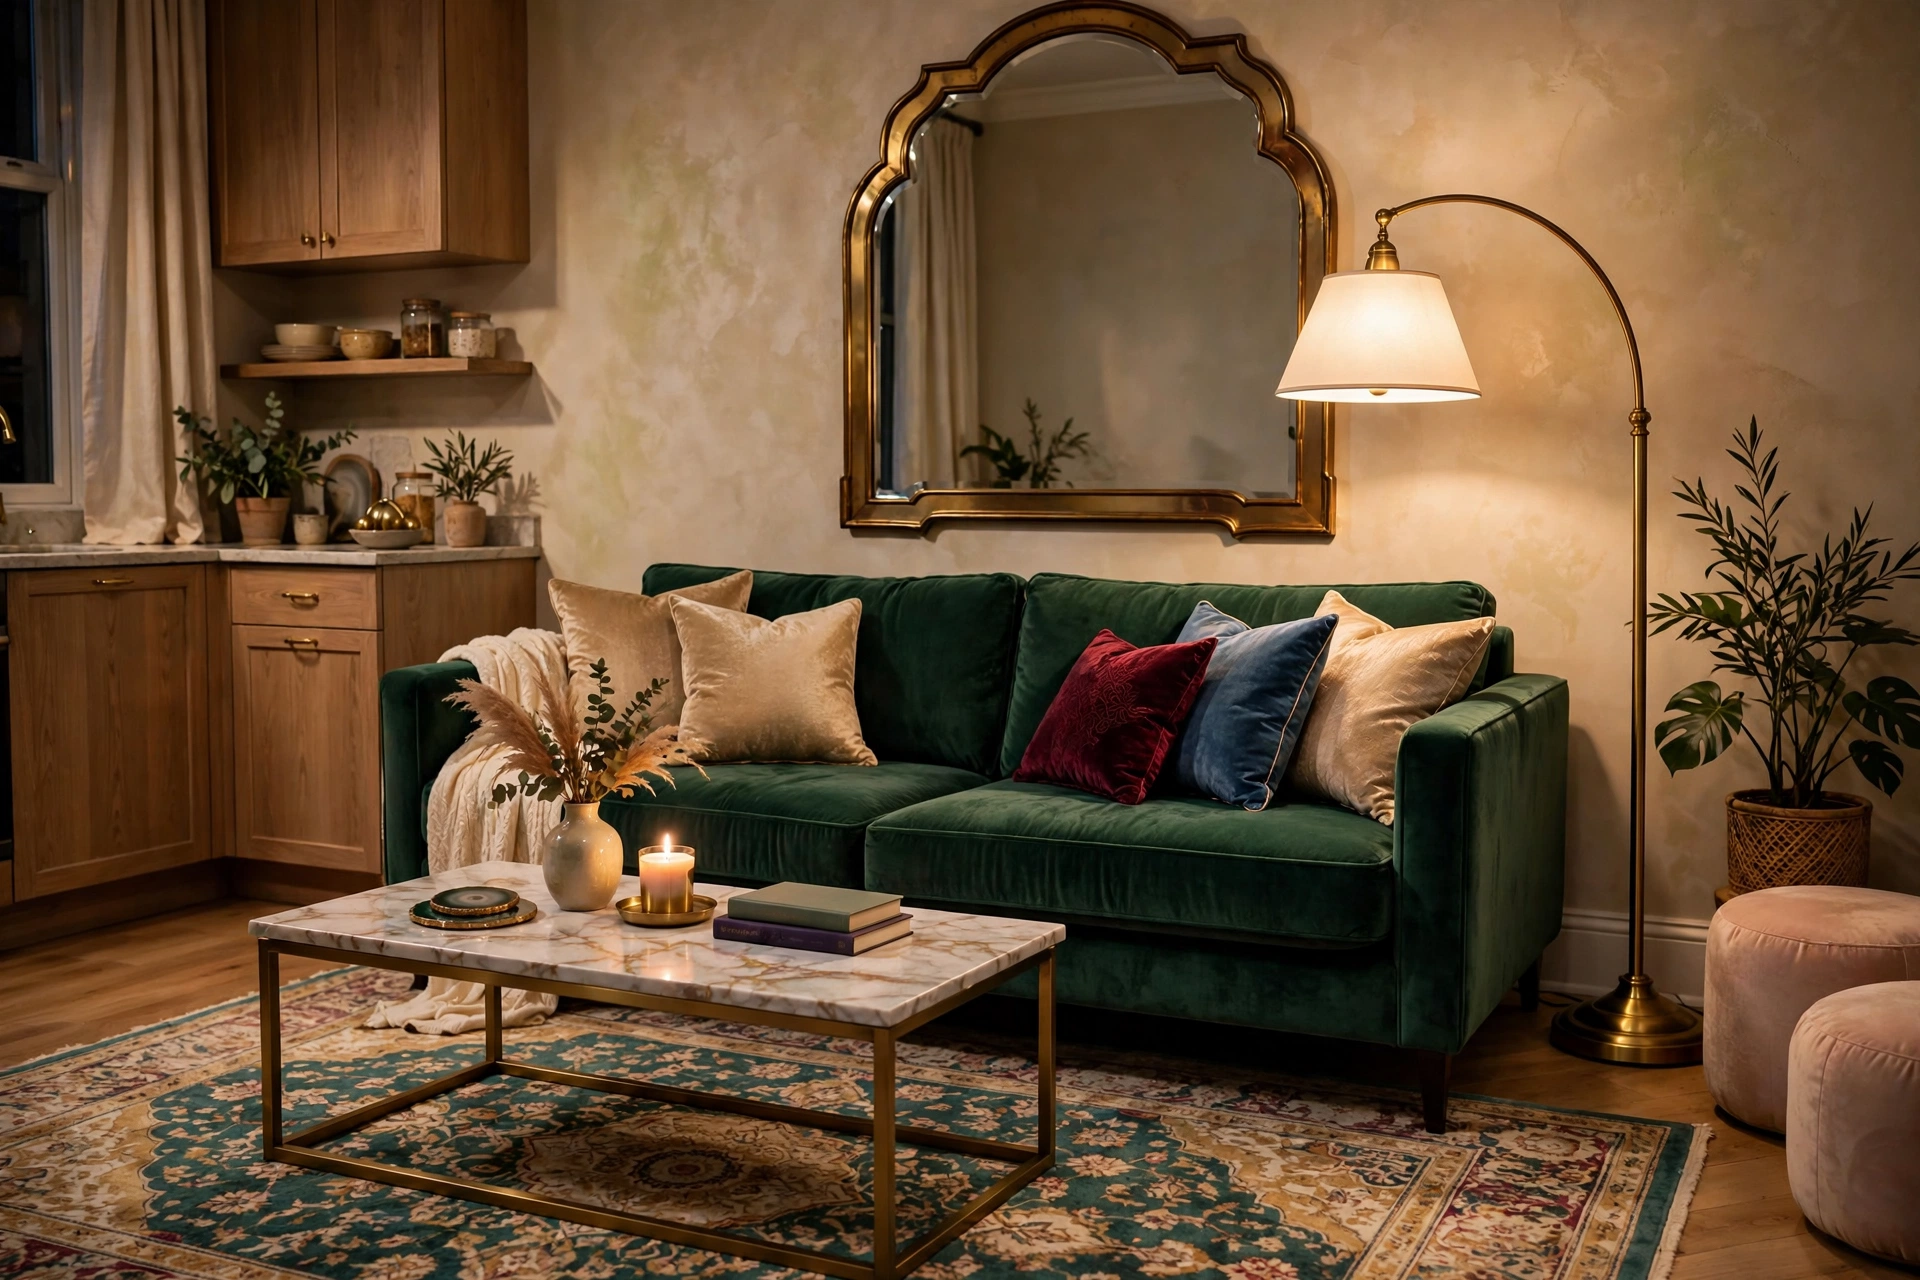
Here’s the open secret of interior design: expensive-looking rooms are rarely about expensive things. They’re about confident choices — a rich paint color, curtains hung like you mean it, lighting that flatters, and surfaces free of visual noise. In a studio apartment, these tricks work even harder, because every square foot is on display and every upgrade shows up in every photo.
This guide rounds up 44 studio apartment ideas that make a small space look expensive — from $10 hardware swaps to thrift-store furniture flips, layered textiles, designer lighting tricks, and faux-luxe finishes that fool everyone. Every idea includes realistic prices and a pro tip, so you can build a champagne look on a tap-water budget, one smart upgrade at a time.
Foundations That Fake Luxury
1. Paint One Wall a Rich, Moody Color
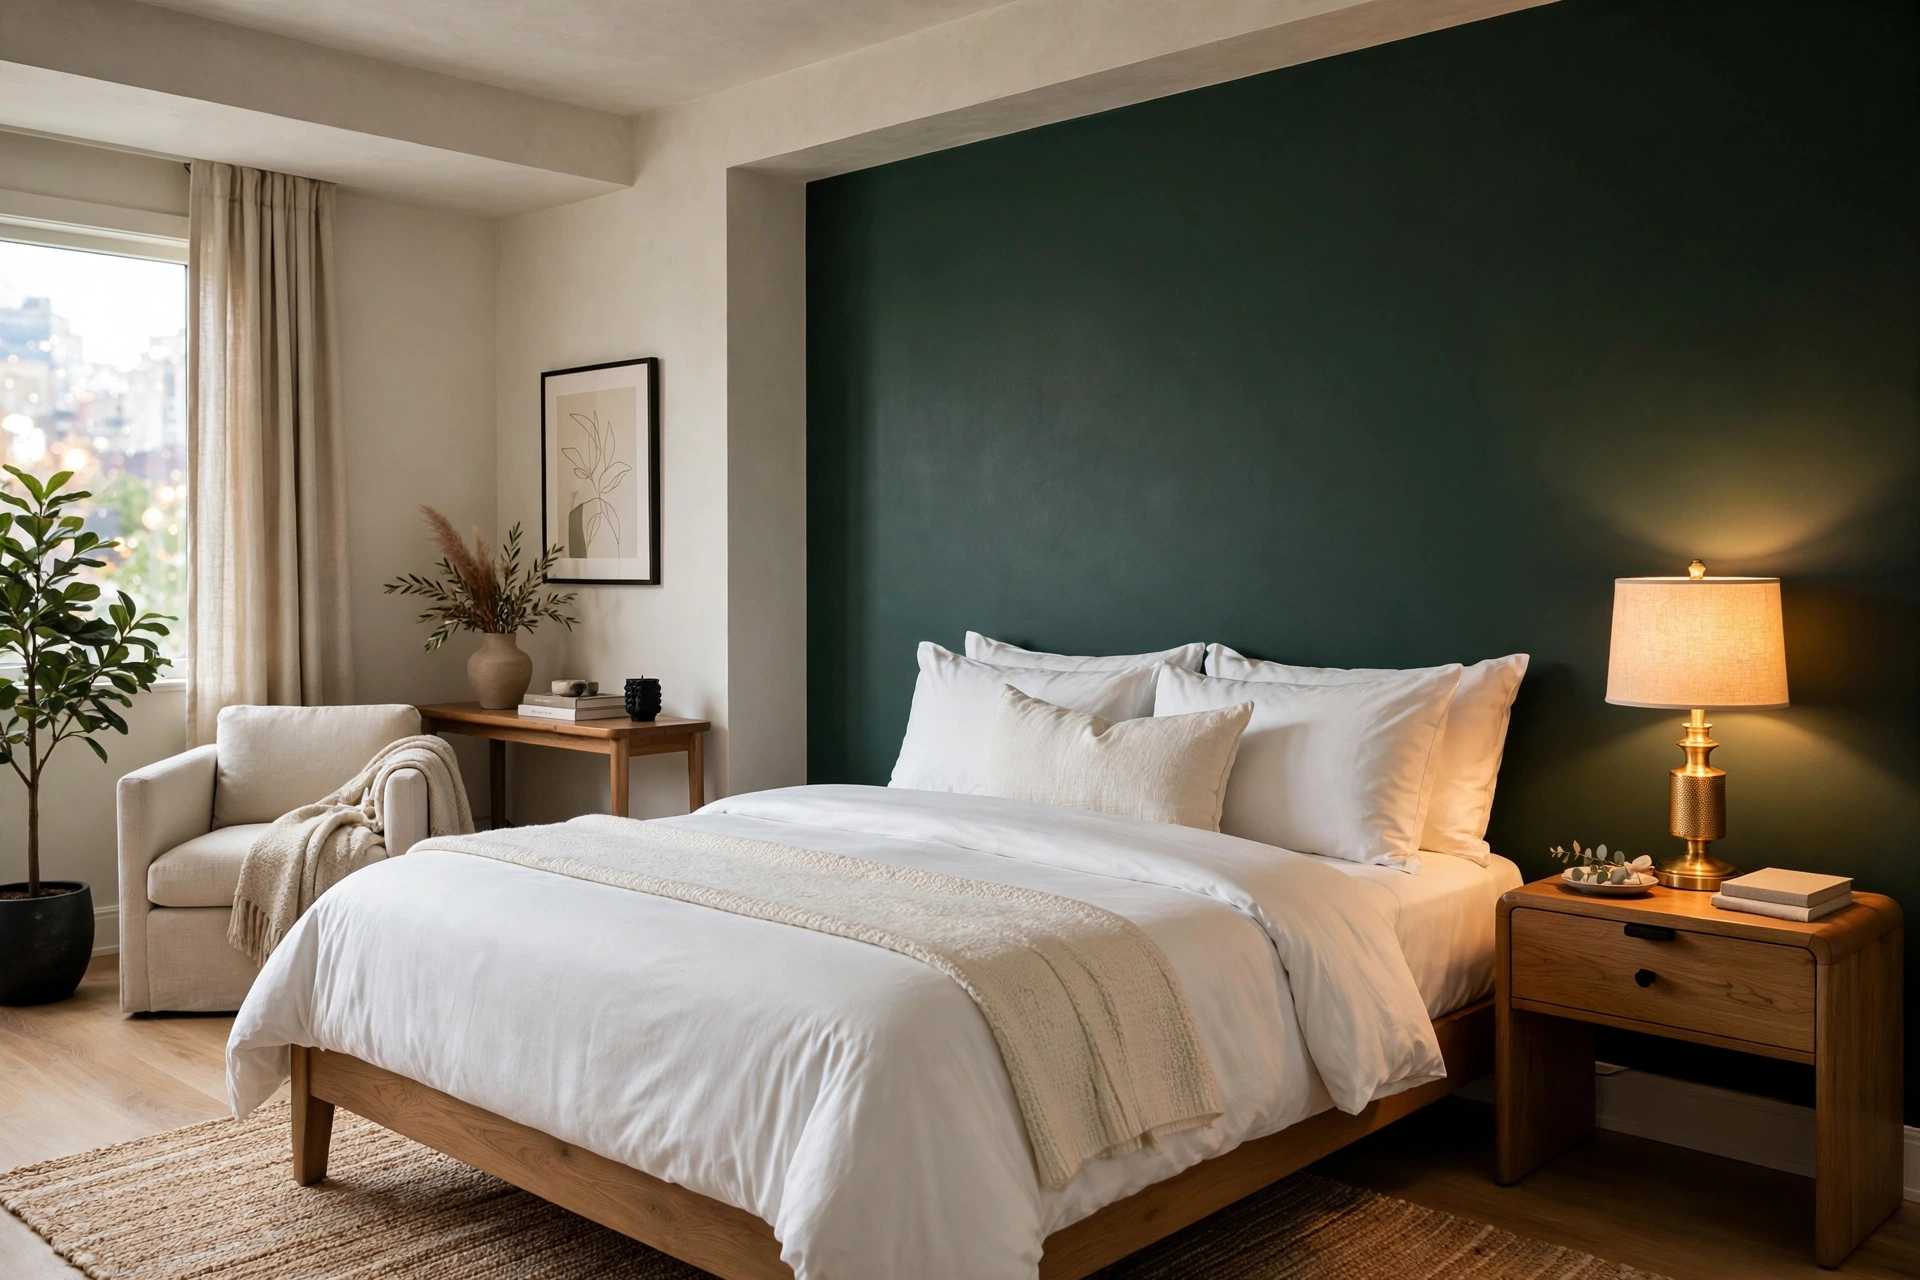
Nothing signals “designer” faster than a confident dark wall — deep forest green, inky navy, or warm charcoal behind the bed or sofa adds instant depth and drama. A gallon of quality paint runs $35–$55 and transforms the studio’s largest visual surface in a weekend. Dark walls also recede visually, which paradoxically makes small rooms feel larger. Pro tip: paint the wall with the least natural light — dark color plus low light reads as intentional and moody, while a dark wall in harsh sun can look flat.
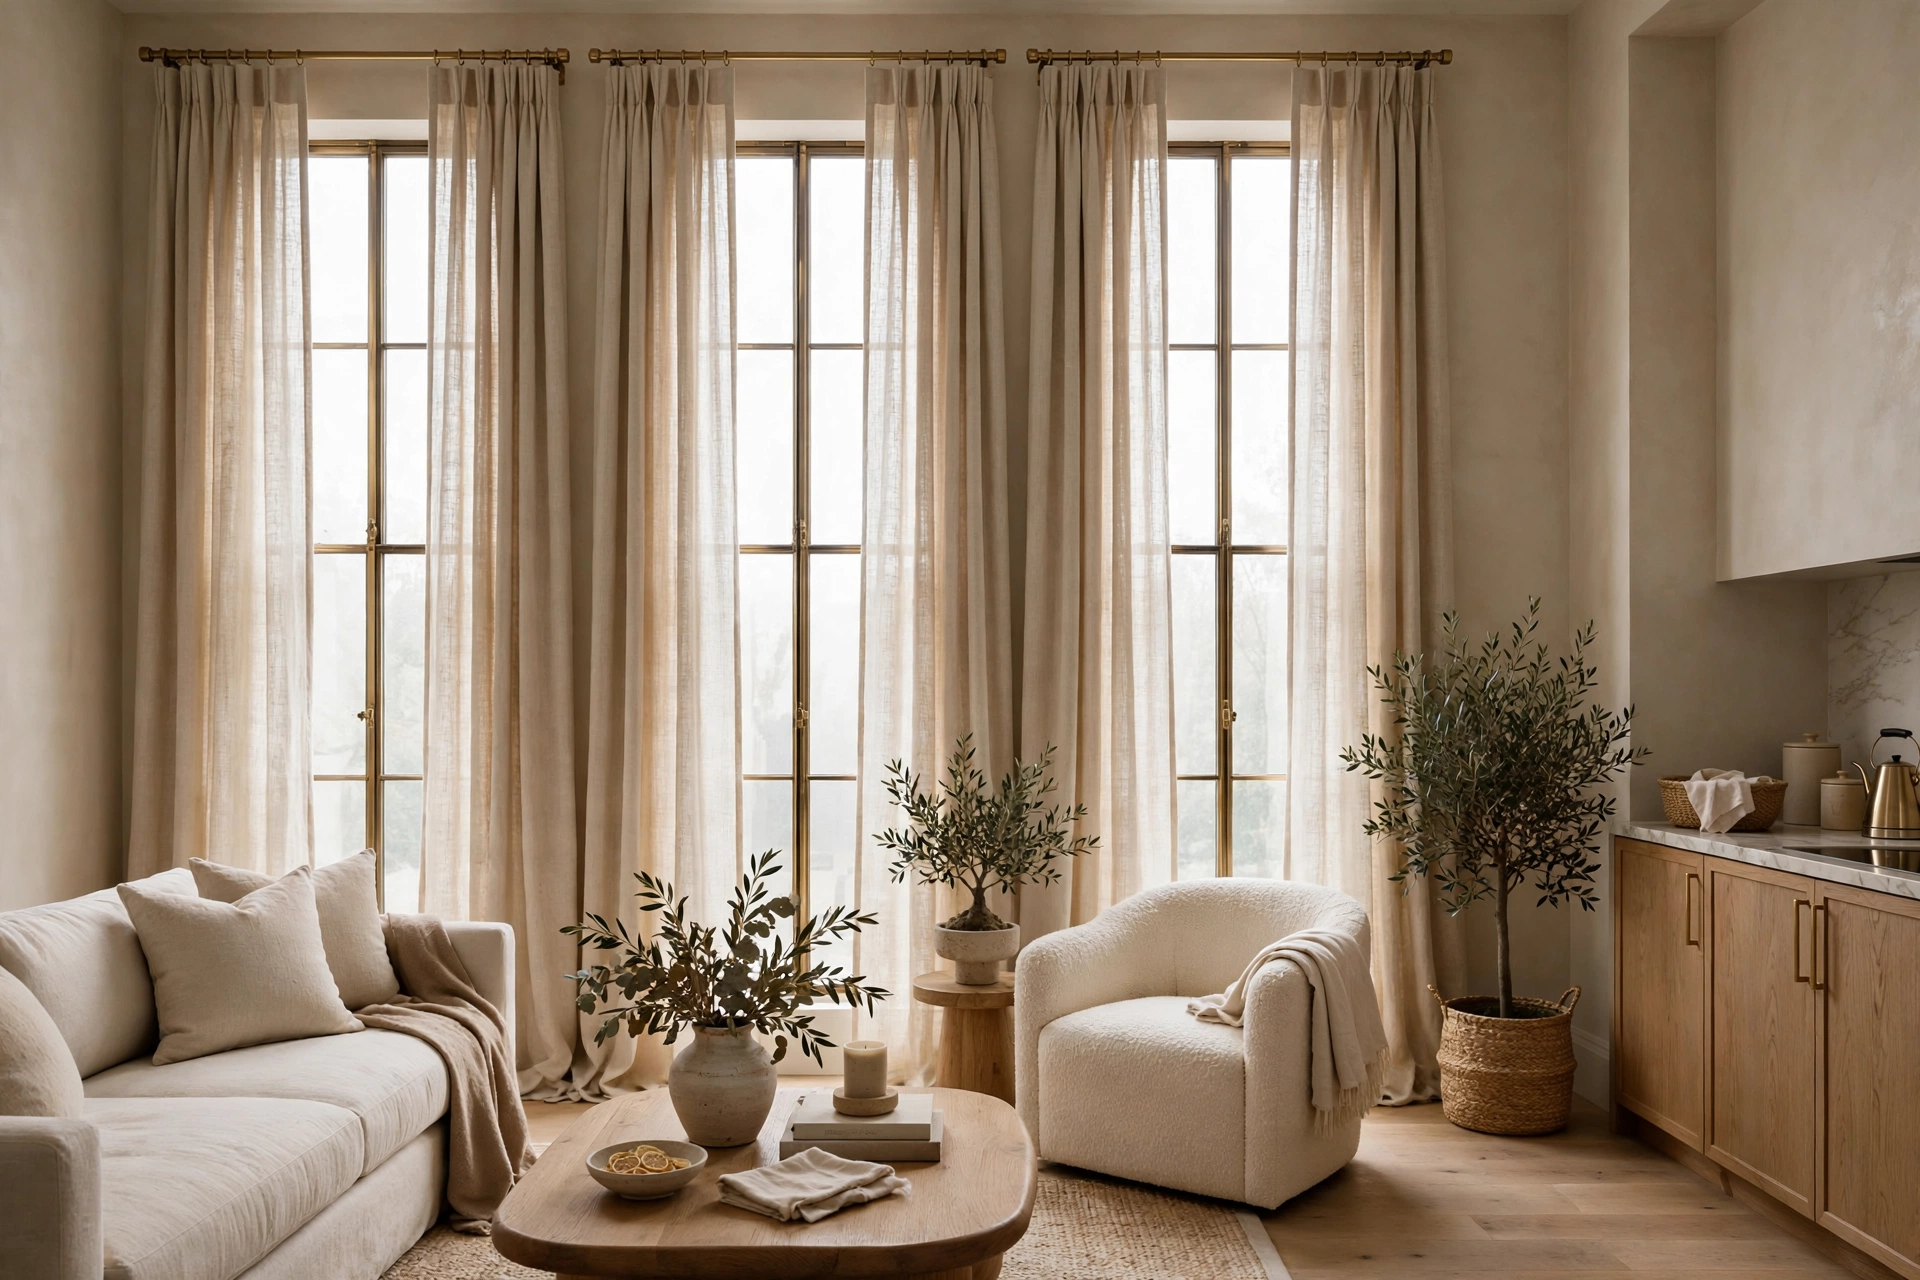
2. Hang Floor-Length Curtains High and Wide
Short, narrow curtains scream rental; tall, wide ones whisper penthouse. Mount the rod 4–6 inches above the window frame and 3–4 inches wider on each side, and let linen-look panels ($25–$50 per panel at IKEA) just kiss the floor. The high-and-wide trick makes windows look bigger and ceilings taller in one move. Our studio apartment curtain ideas cover no-drill methods for renters. Pro tip: buy curtains one length longer than you think you need and hem or use iron-on tape — pooling slightly looks far more expensive than floating an inch above the floor.
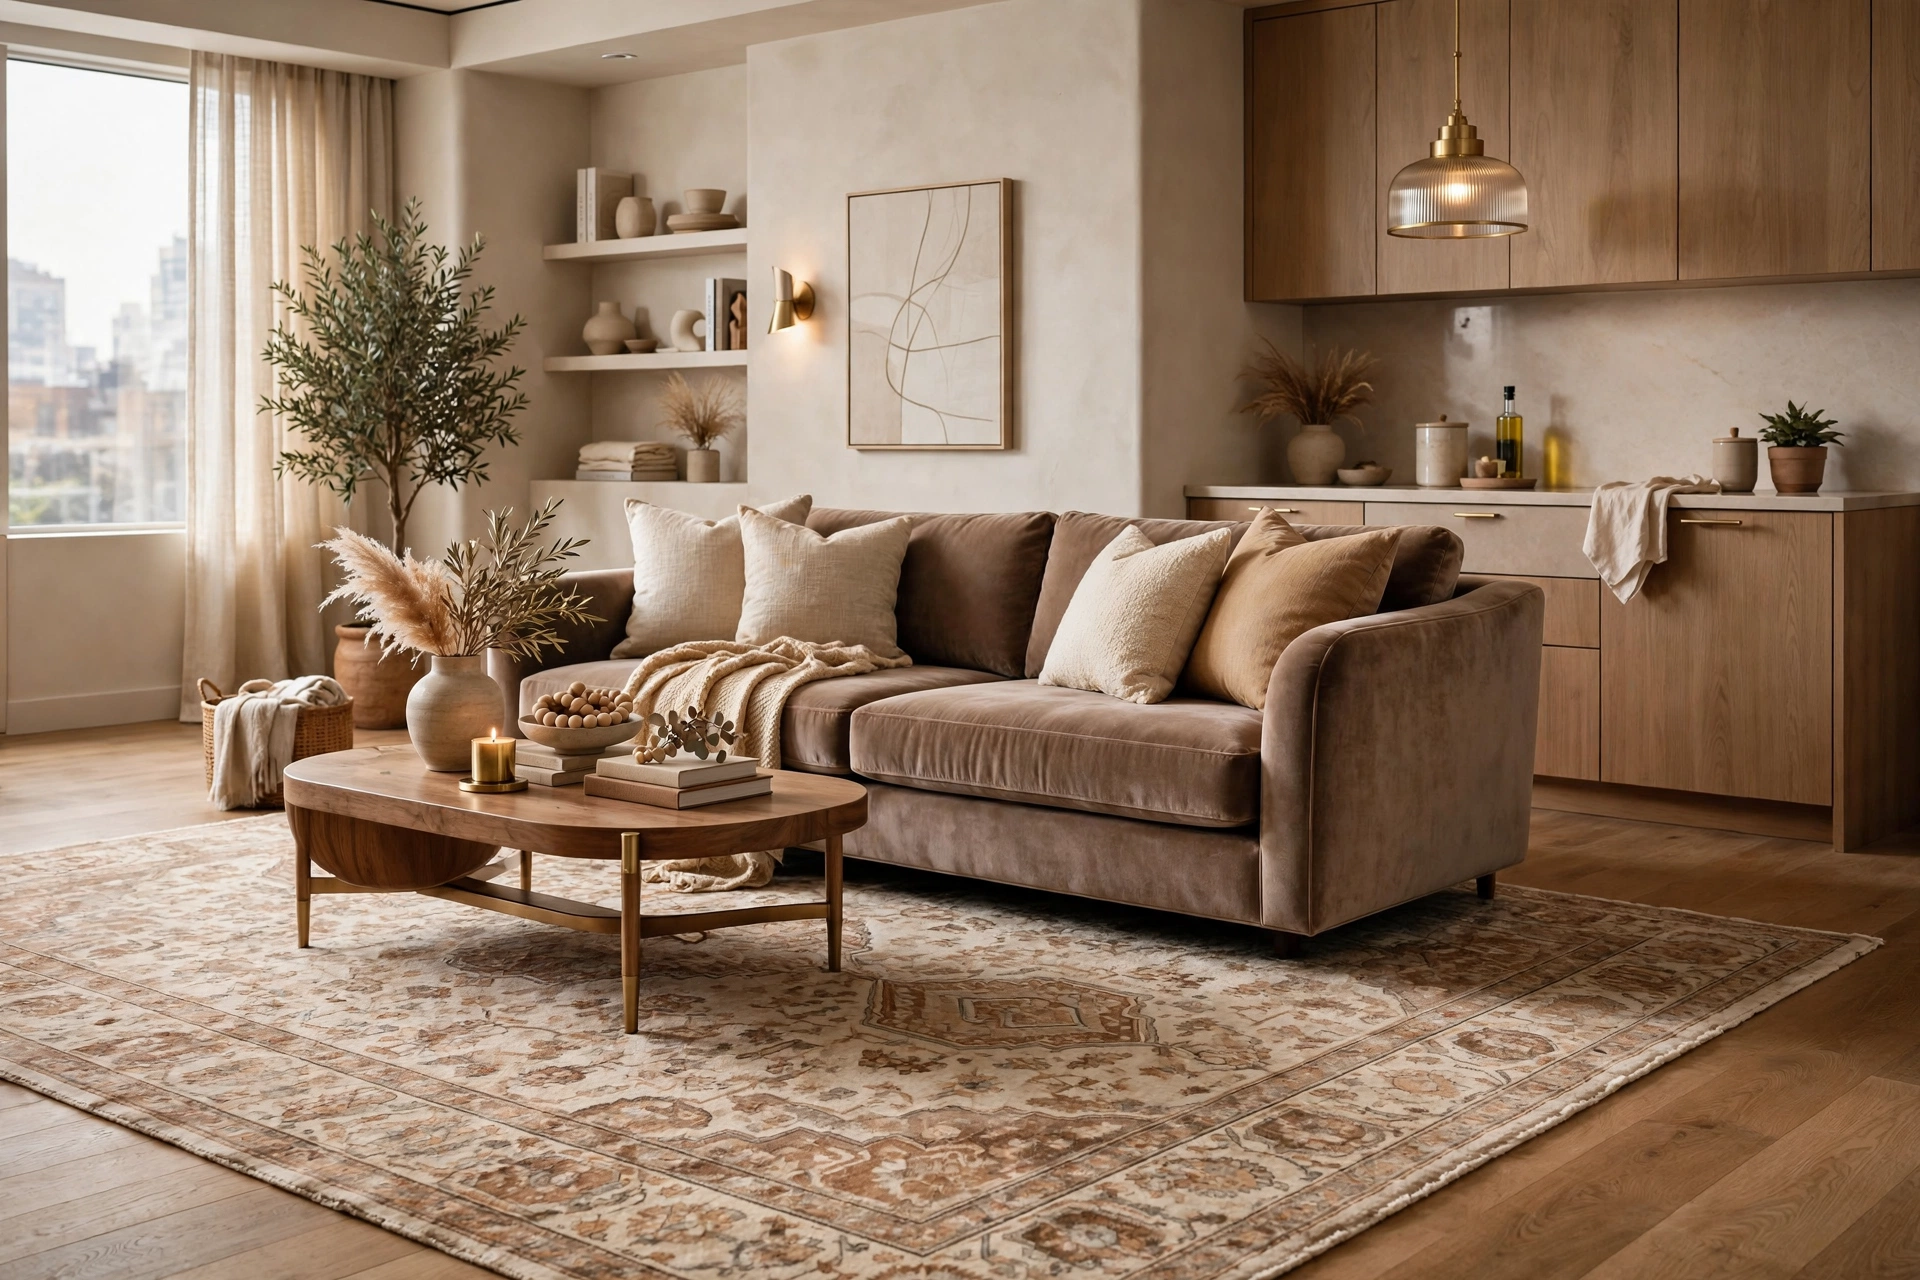
3. Lay One Large Area Rug
A rug that’s too small is the fastest way to make a room look cheap — it visually shrinks everything around it. One large rug ($90–$200 for an 8×10 at Rugs USA or IKEA) with the front legs of the sofa on it anchors the living zone and makes the whole studio feel generous. Choose a subtle pattern or rich solid in a tone that flatters your palette. Pro tip: layer a smaller vintage-look rug over a large jute base for the designer layered look at half the price of one statement rug.
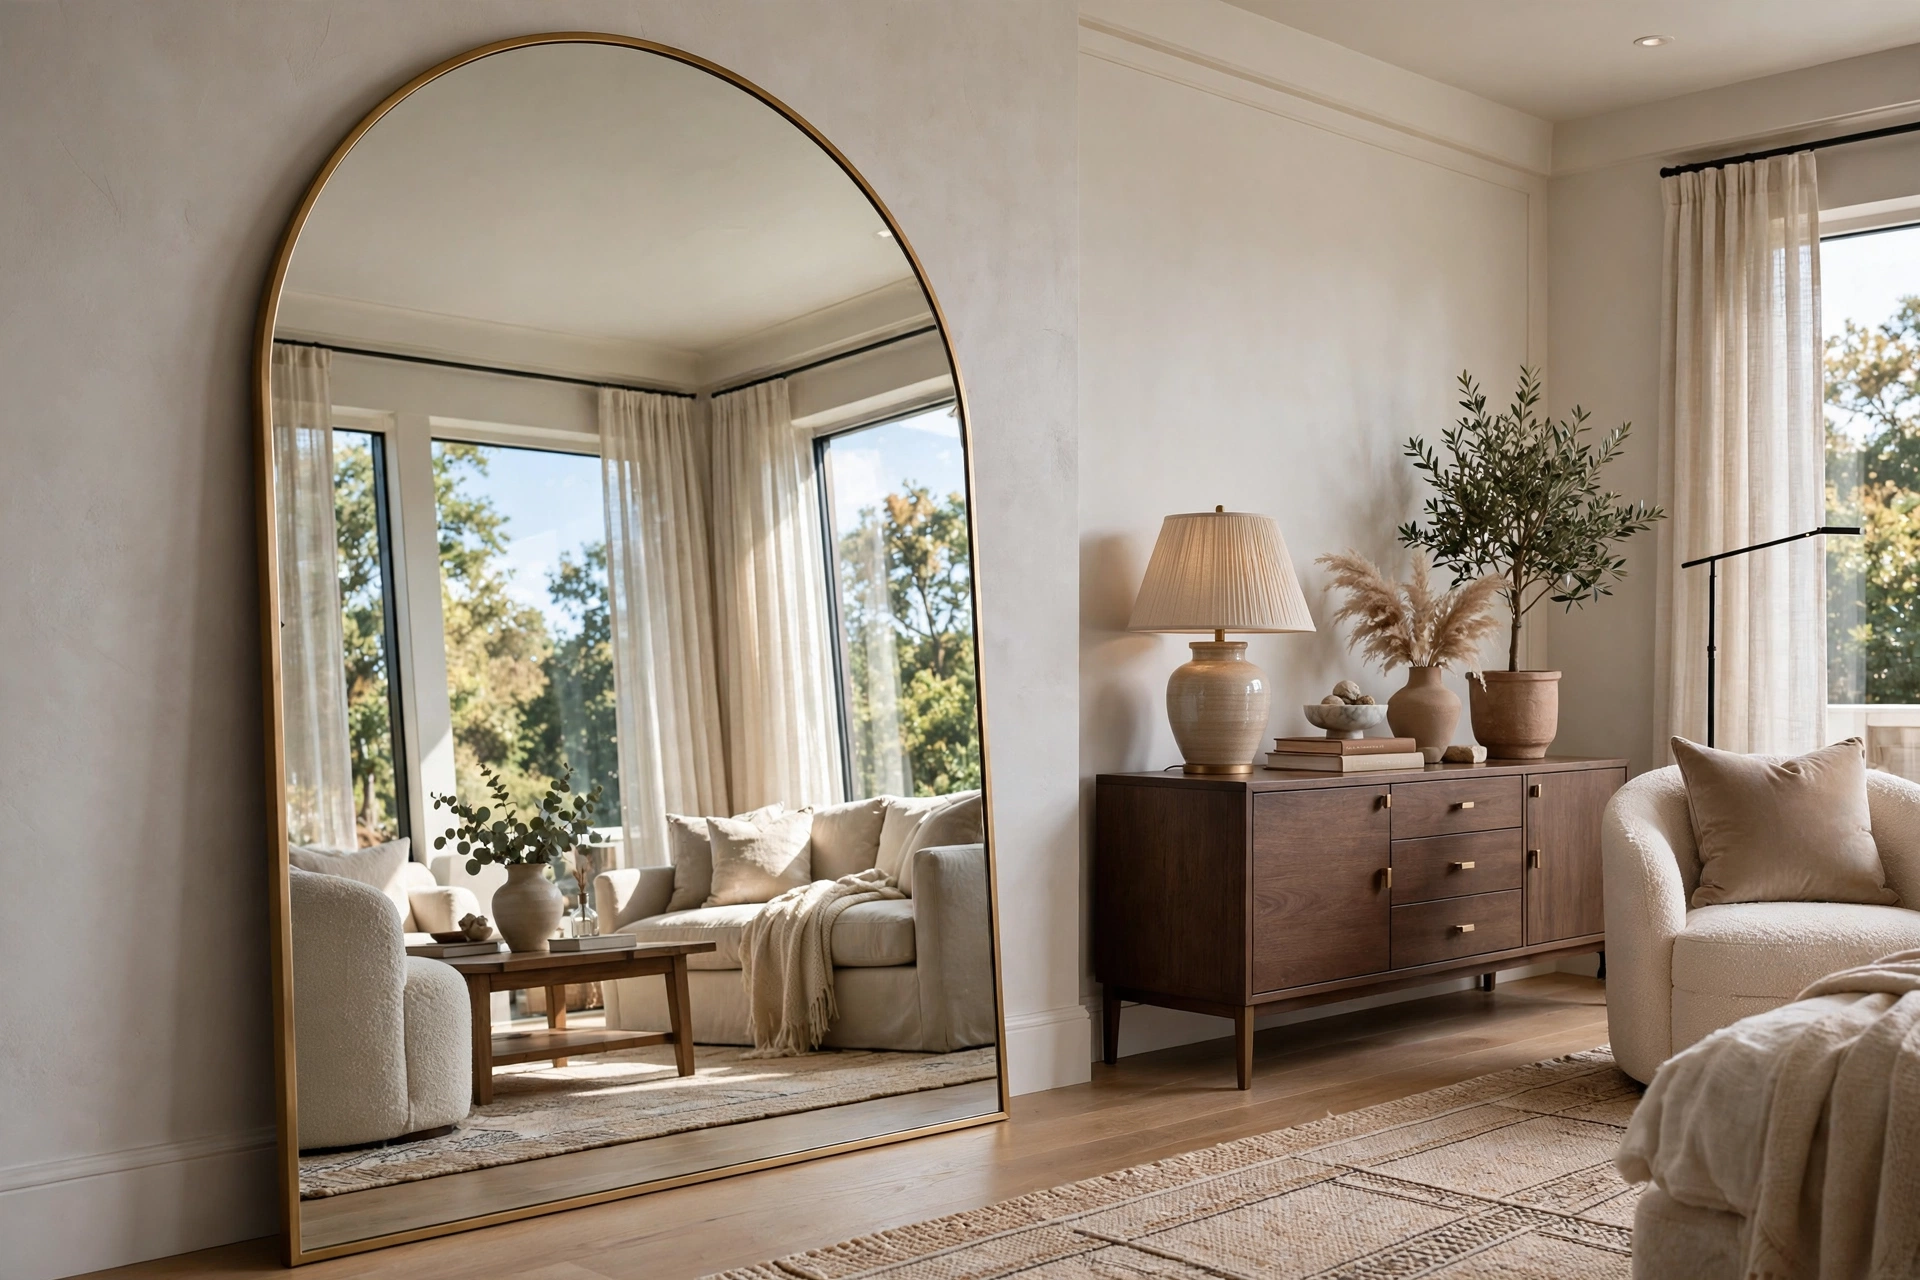
4. Add an Oversized Mirror
Designers call mirrors “the cheapest square footage you’ll ever buy” — a large leaning mirror ($80–$180 at Target or HomeGoods) doubles the light, doubles the view, and reads as a deliberate style statement. Lean a full-length arched or rectangular mirror against the wall opposite a window for maximum effect. Pro tip: a thin brass or black frame elevates a basic mirror instantly; skip ornate frames in small spaces, where simple shapes look more expensive.
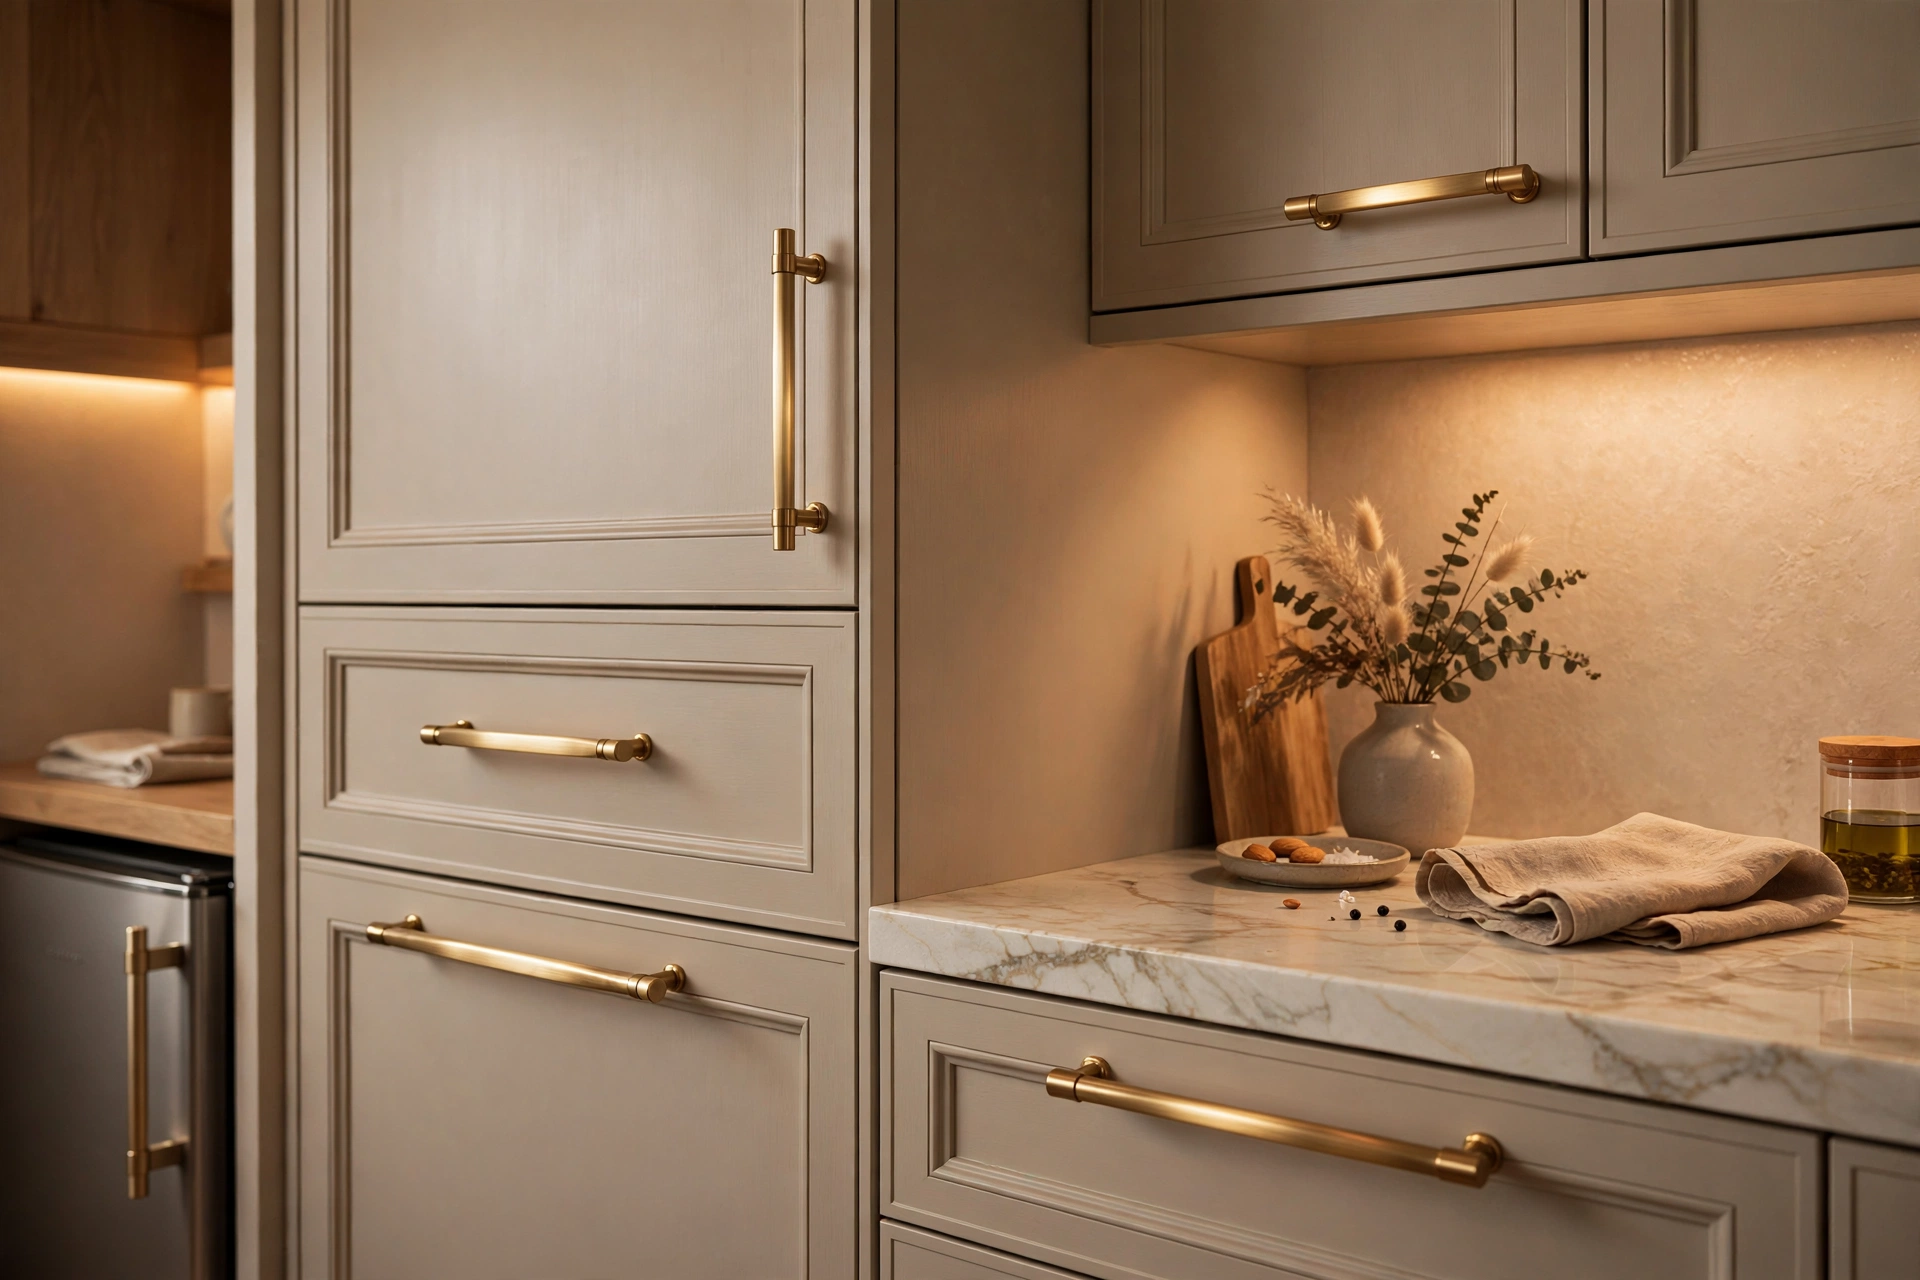
5. Swap Cabinet Hardware for Brass
Builder-grade knobs are the jewelry equivalent of plastic earrings — swap them and everything looks richer. Sleek brass or matte-black bar pulls ($2–$5 each on Amazon) transform kitchen cabinets and dressers in an afternoon with just a screwdriver. In a studio kitchenette, twelve pulls cost under $50 and change the entire feel of the room. Pro tip: measure the existing hole spacing before ordering (usually 3 or 3.75 inches) — matching it means zero new drilling and a 20-minute swap.
6. Put Every Light on a Dimmer
Expensive rooms glow; cheap rooms glare. Plug-in dimmers ($10–$15 each) or smart bulbs ($12–$25) let you drop every lamp to a warm golden level in the evening — the single fastest way to make a studio feel like a boutique hotel. Harsh overhead lighting at full blast is the enemy; dimmed, layered light is the whole game. Pro tip: set all your bulbs to 2700K warm white — mixed color temperatures (some cool, some warm) instantly cheapen a room, while consistent warmth reads as designed.
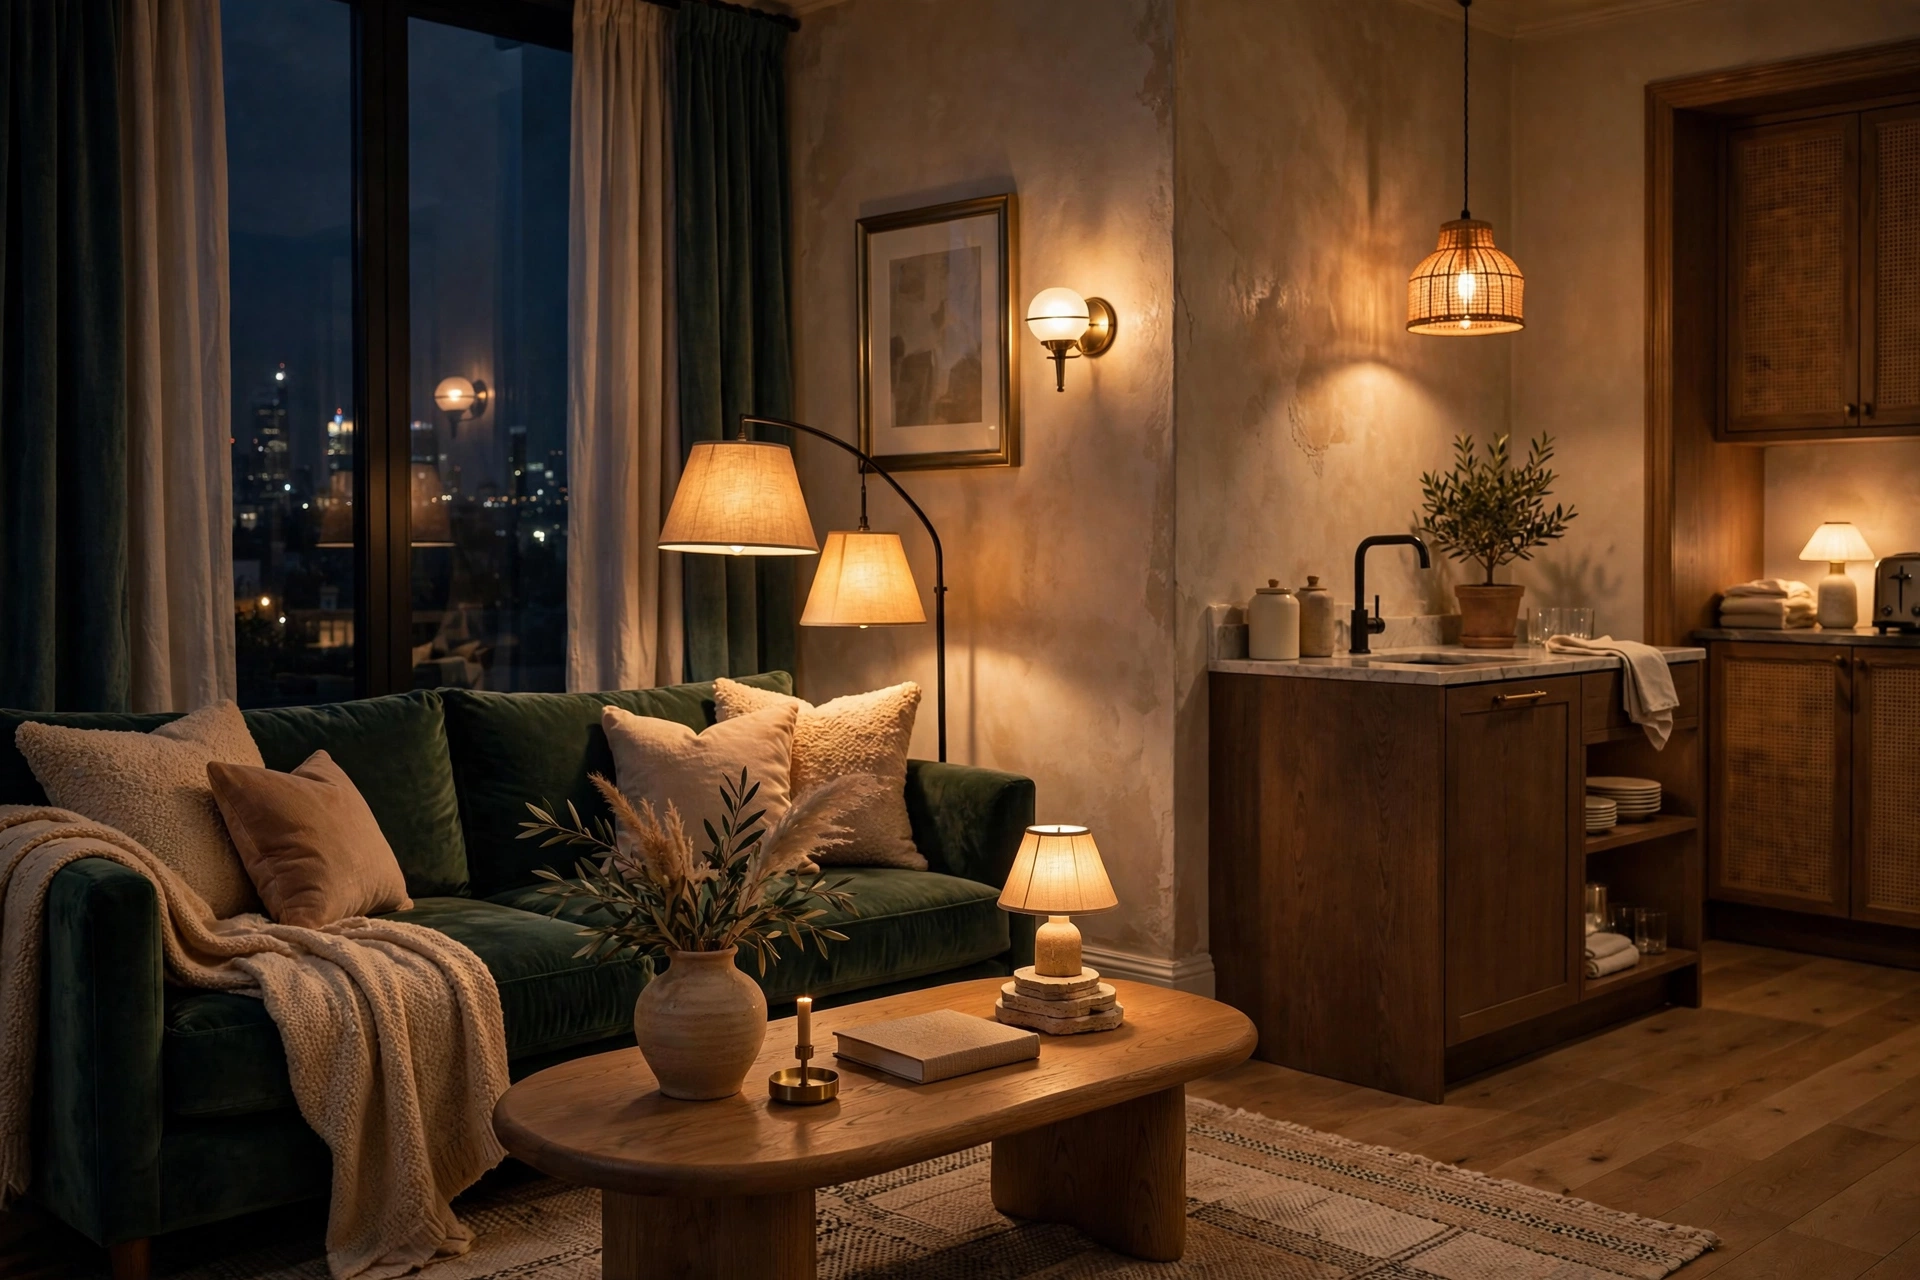
7. Add Simple Crown Molding
Crown molding is architectural jewelry — it makes even a basic rental box feel finished and custom. Peel-and-stick foam molding ($20–$40 per room) installs with adhesive in an afternoon, paints to match the walls, and removes cleanly at move-out. In a studio, one continuous line around the main room is enough. Pro tip: paint the molding the exact same color as the walls rather than contrasting white — tone-on-tone molding looks custom and modern, while white-on-color can read as dated.
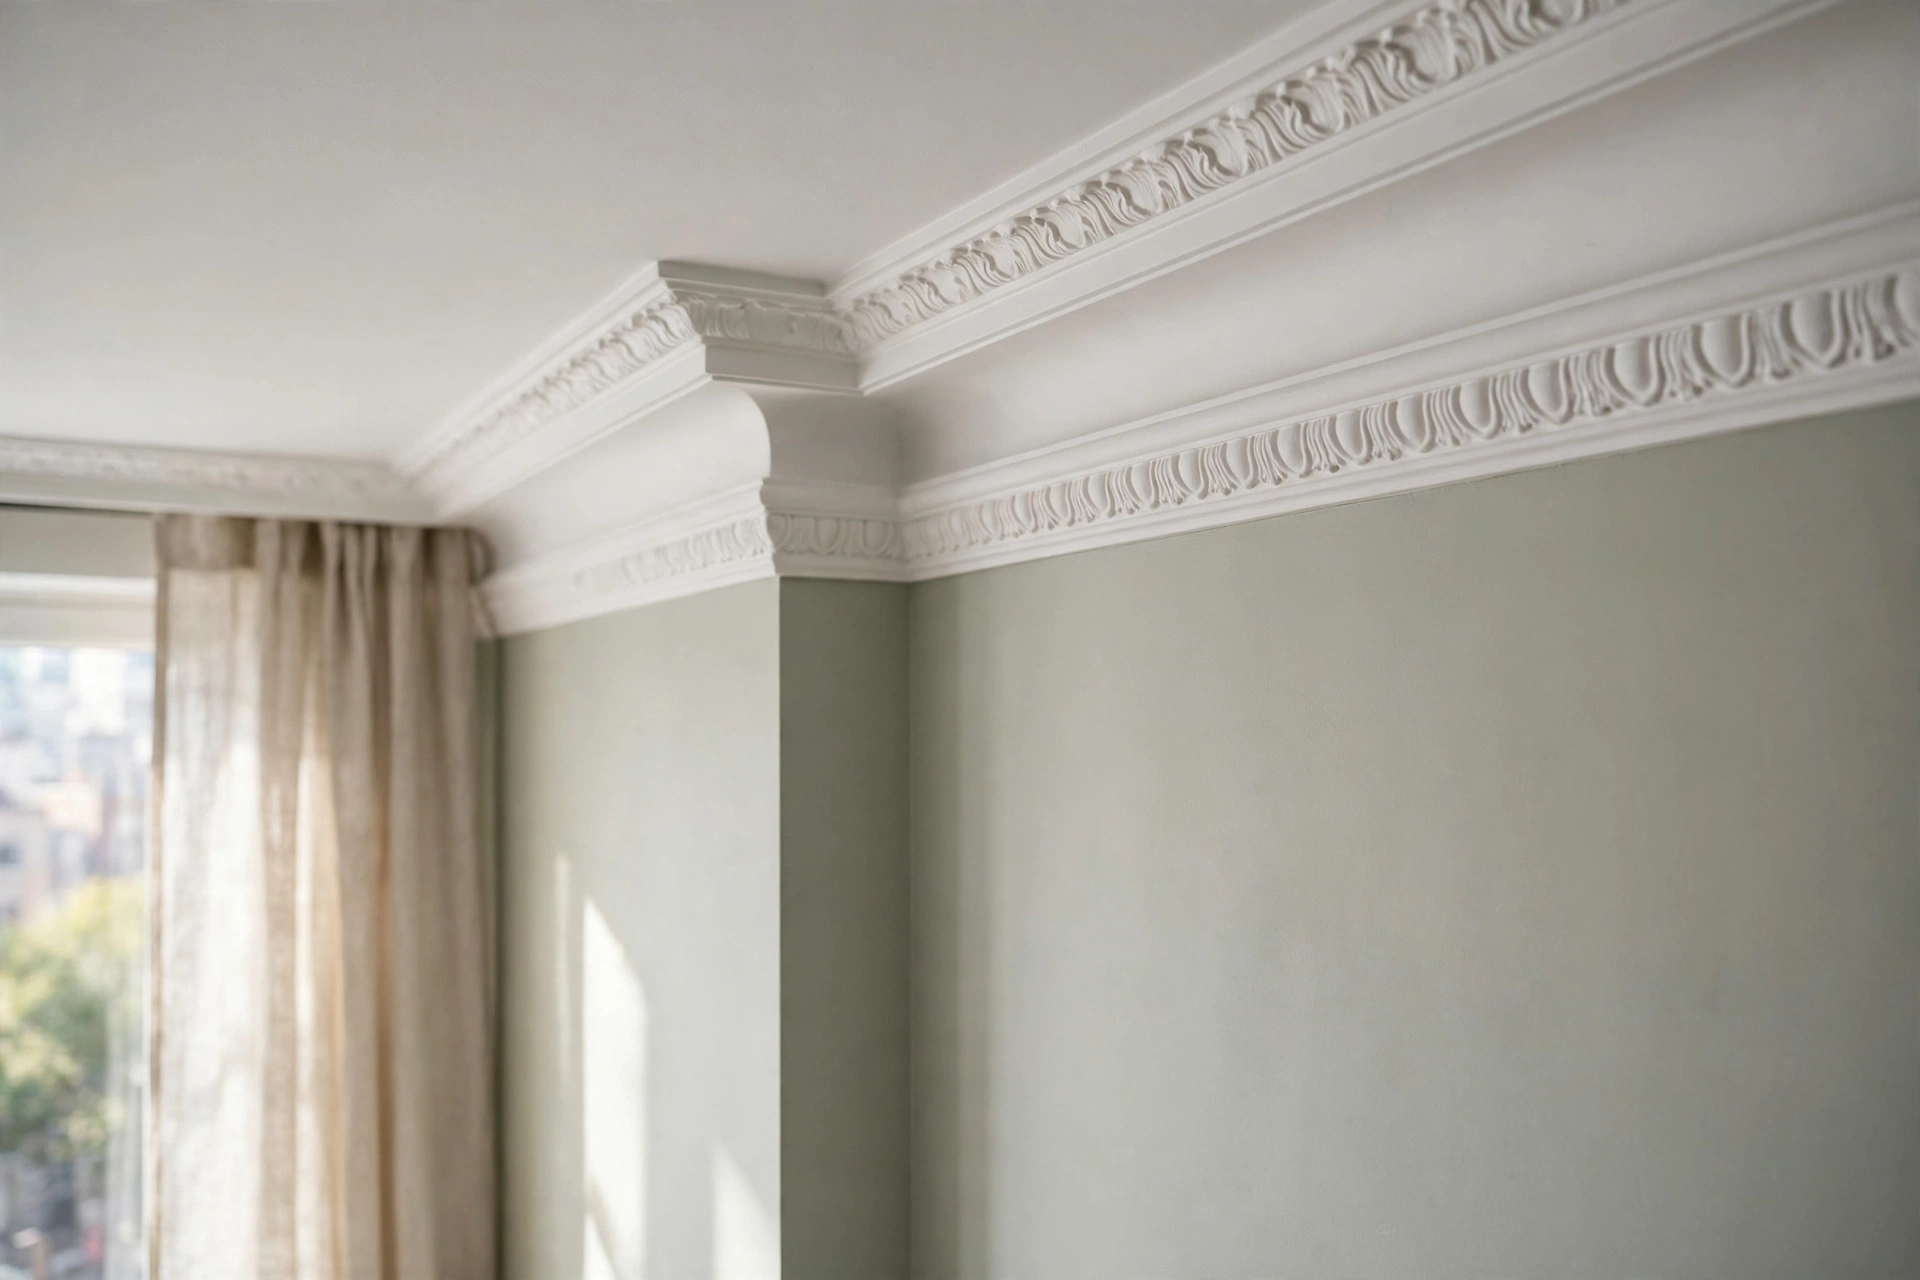
8. Upgrade Switch Plates and Outlets
Yellowed plastic switch plates are a tiny detail your eye registers as “old rental” — swap them for screwless matte plates ($3–$6 each) and the walls instantly look newer. While you’re at it, replace any almond-colored outlets with clean white or brass-finish ones ($4–$8 each). Pro tip: do every visible plate in the studio at once, including the bathroom — one forgotten yellowed plate ruins the illusion that the whole place was just renovated.
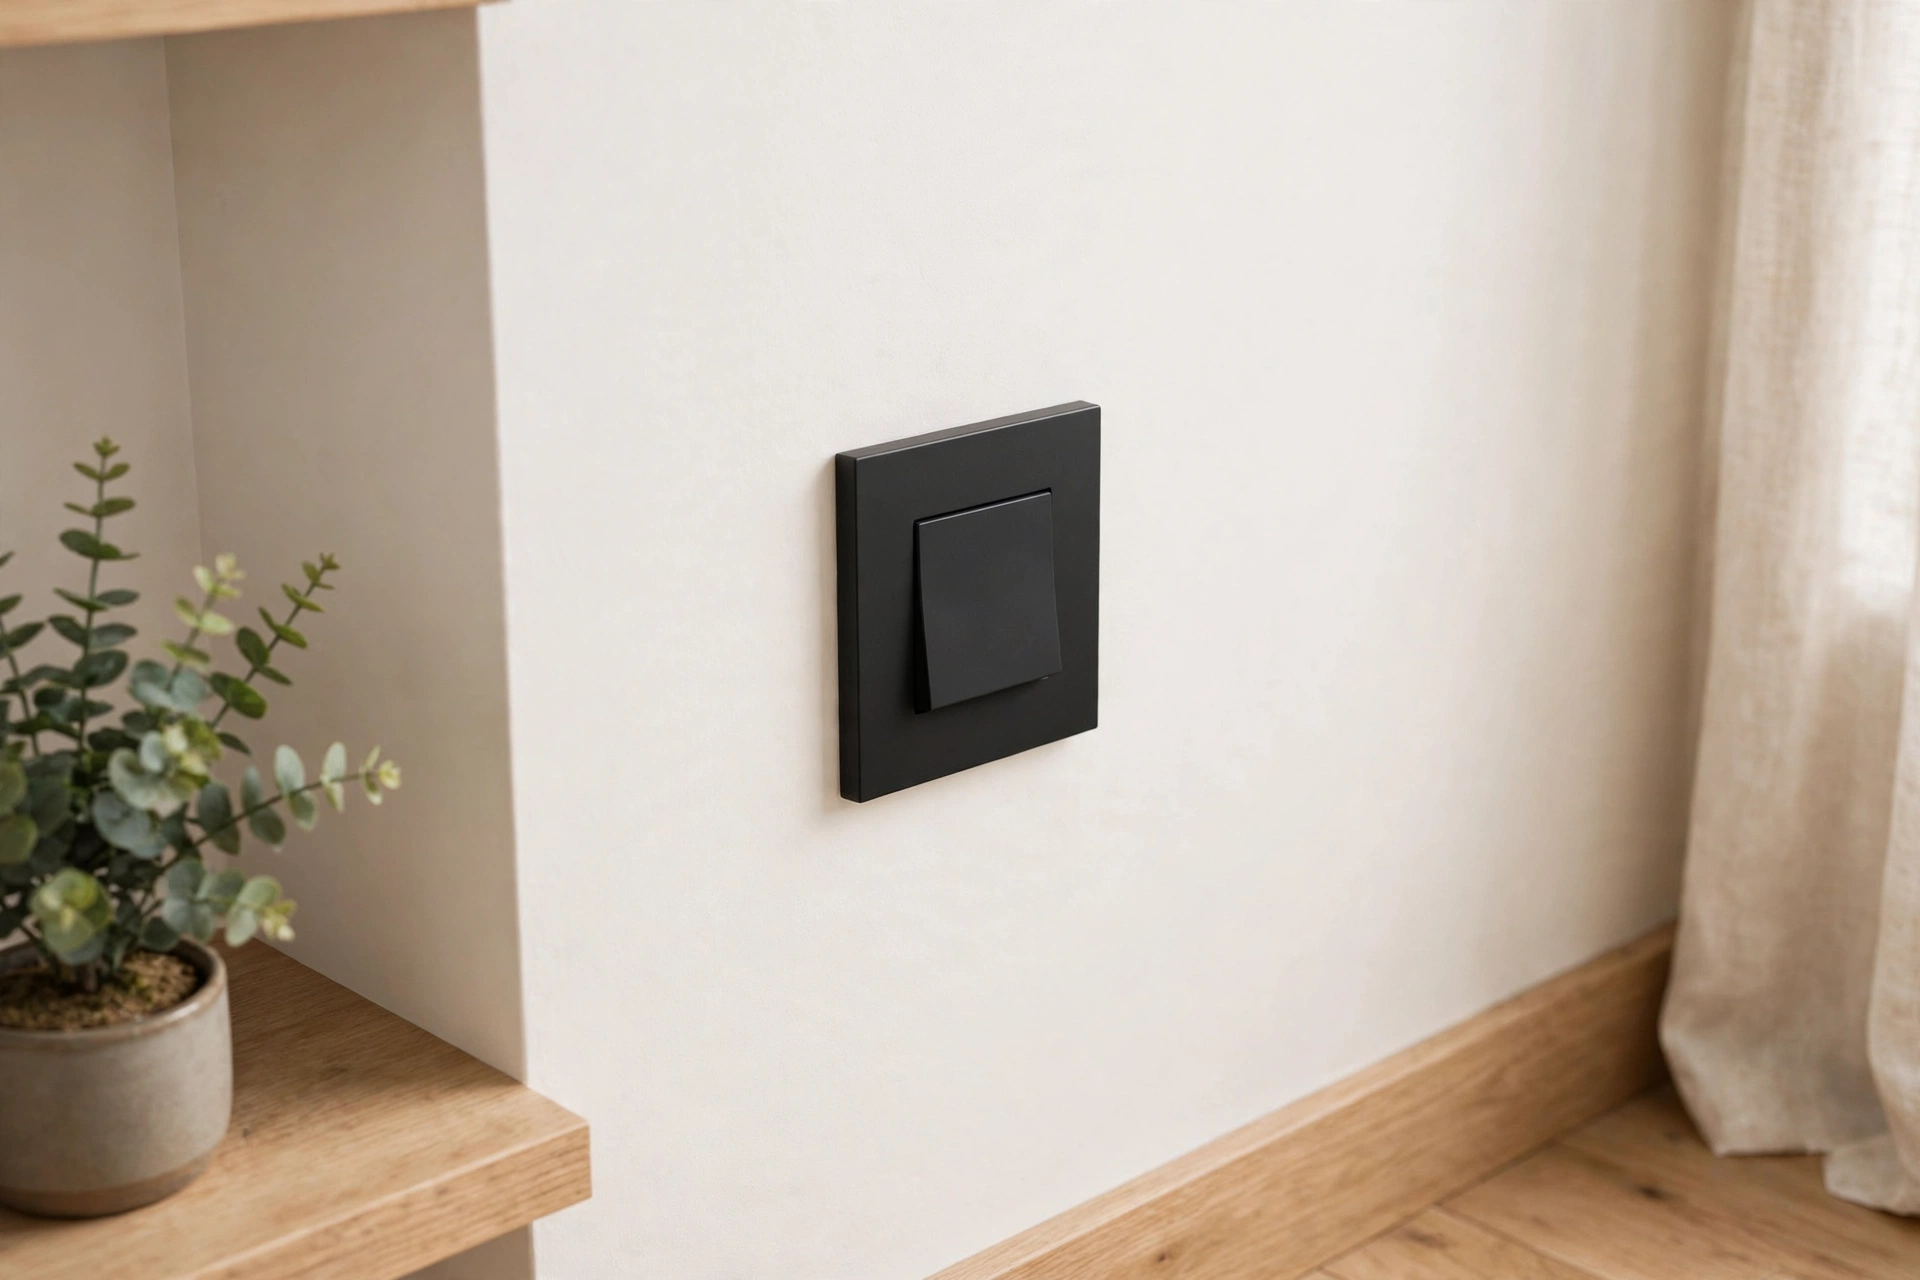
Furniture That Looks Designer
9. Slipcover the Sofa in Velvet
A tired sofa in a rich velvet slipcover ($60–$130 from IKEA or Amazon) looks like a $2,000 designer piece — velvet catches light in a way flat fabrics never do, adding depth and movement. Emerald, navy, or warm rust velvet reads especially luxurious against neutral walls. Pro tip: steam the slipcover after putting it on — wrinkles are what separate a $60 slipcover from a $600 reupholstery job in photos and in person.
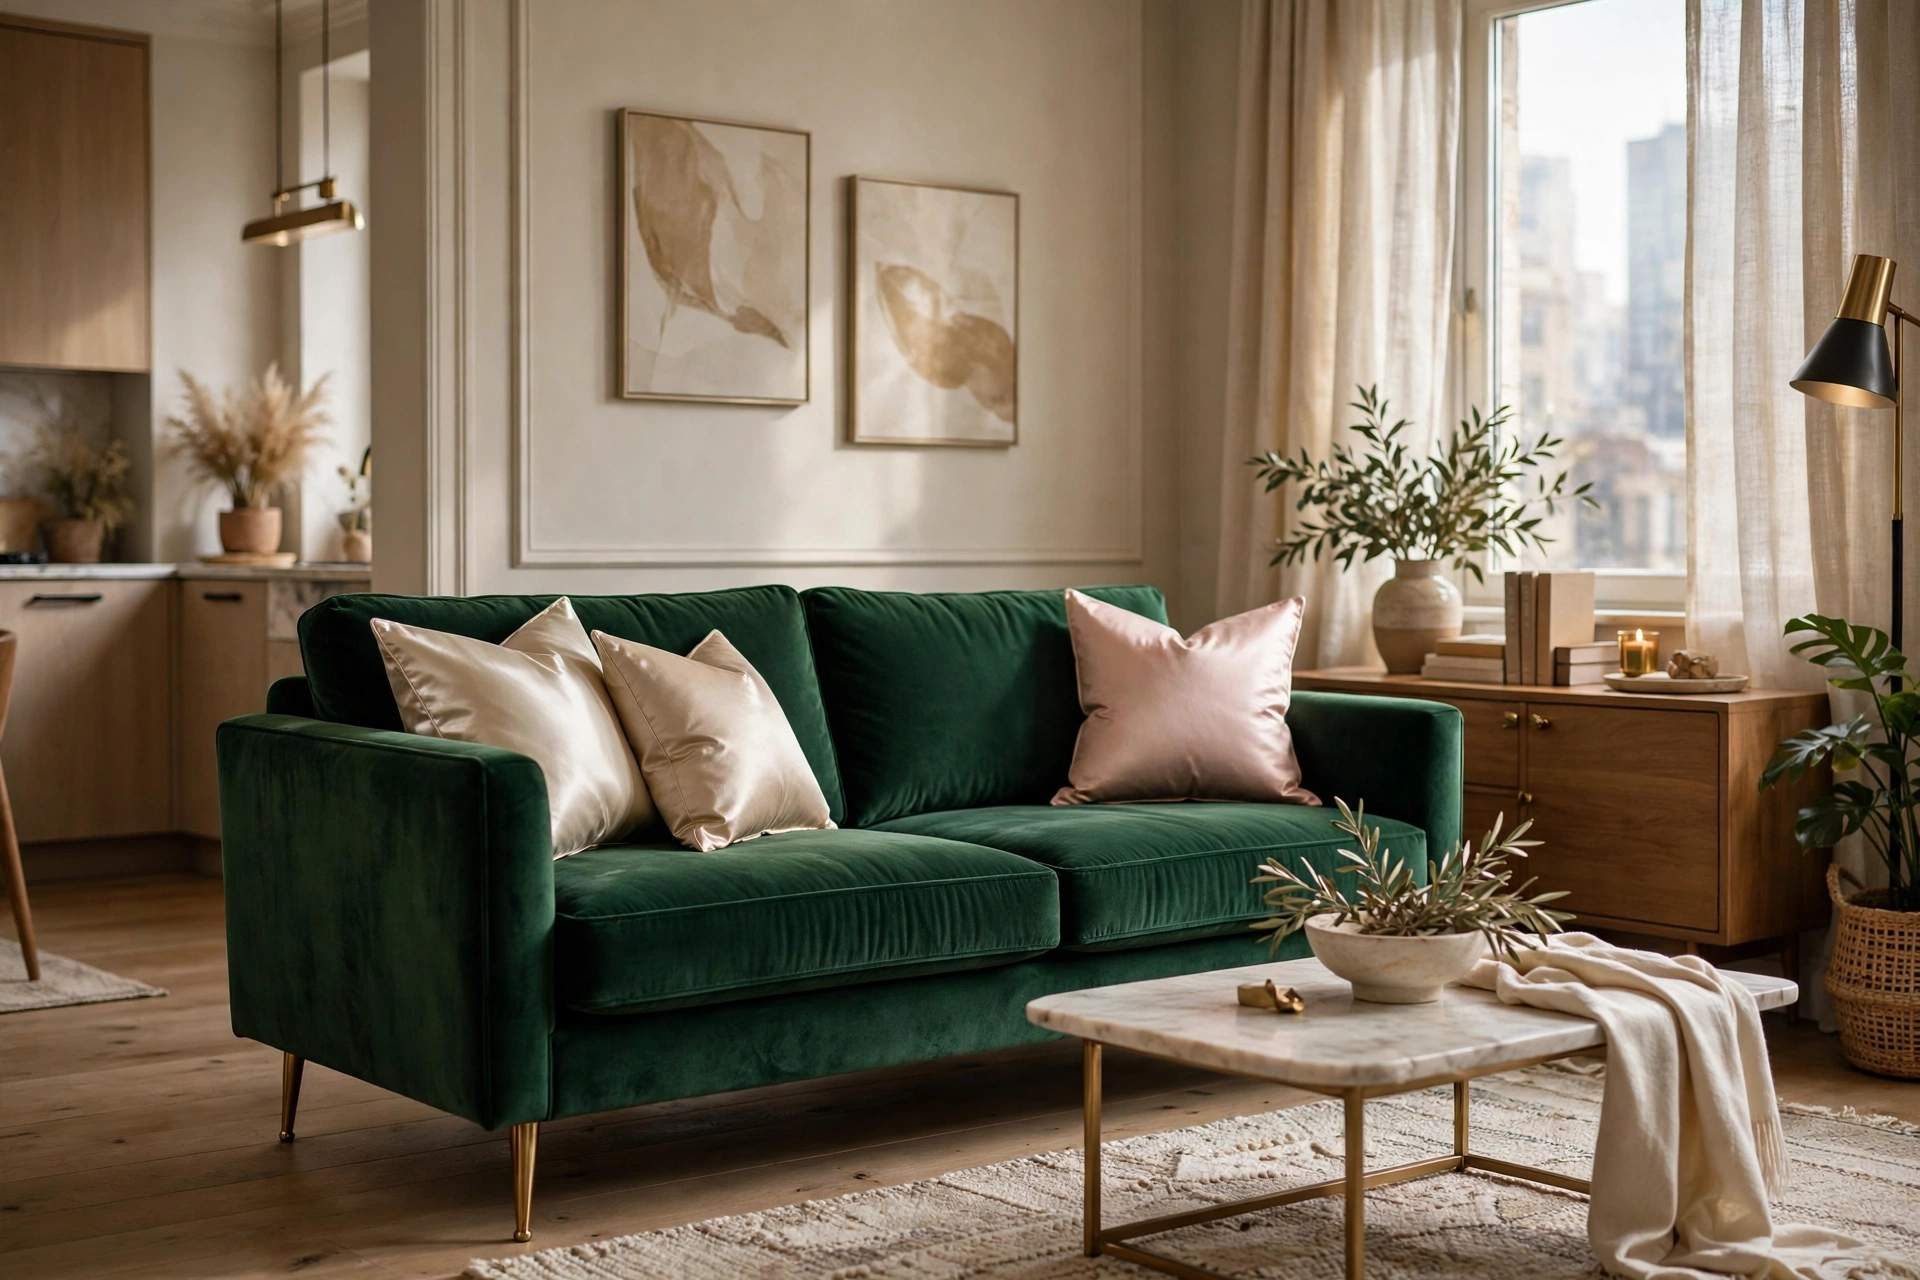
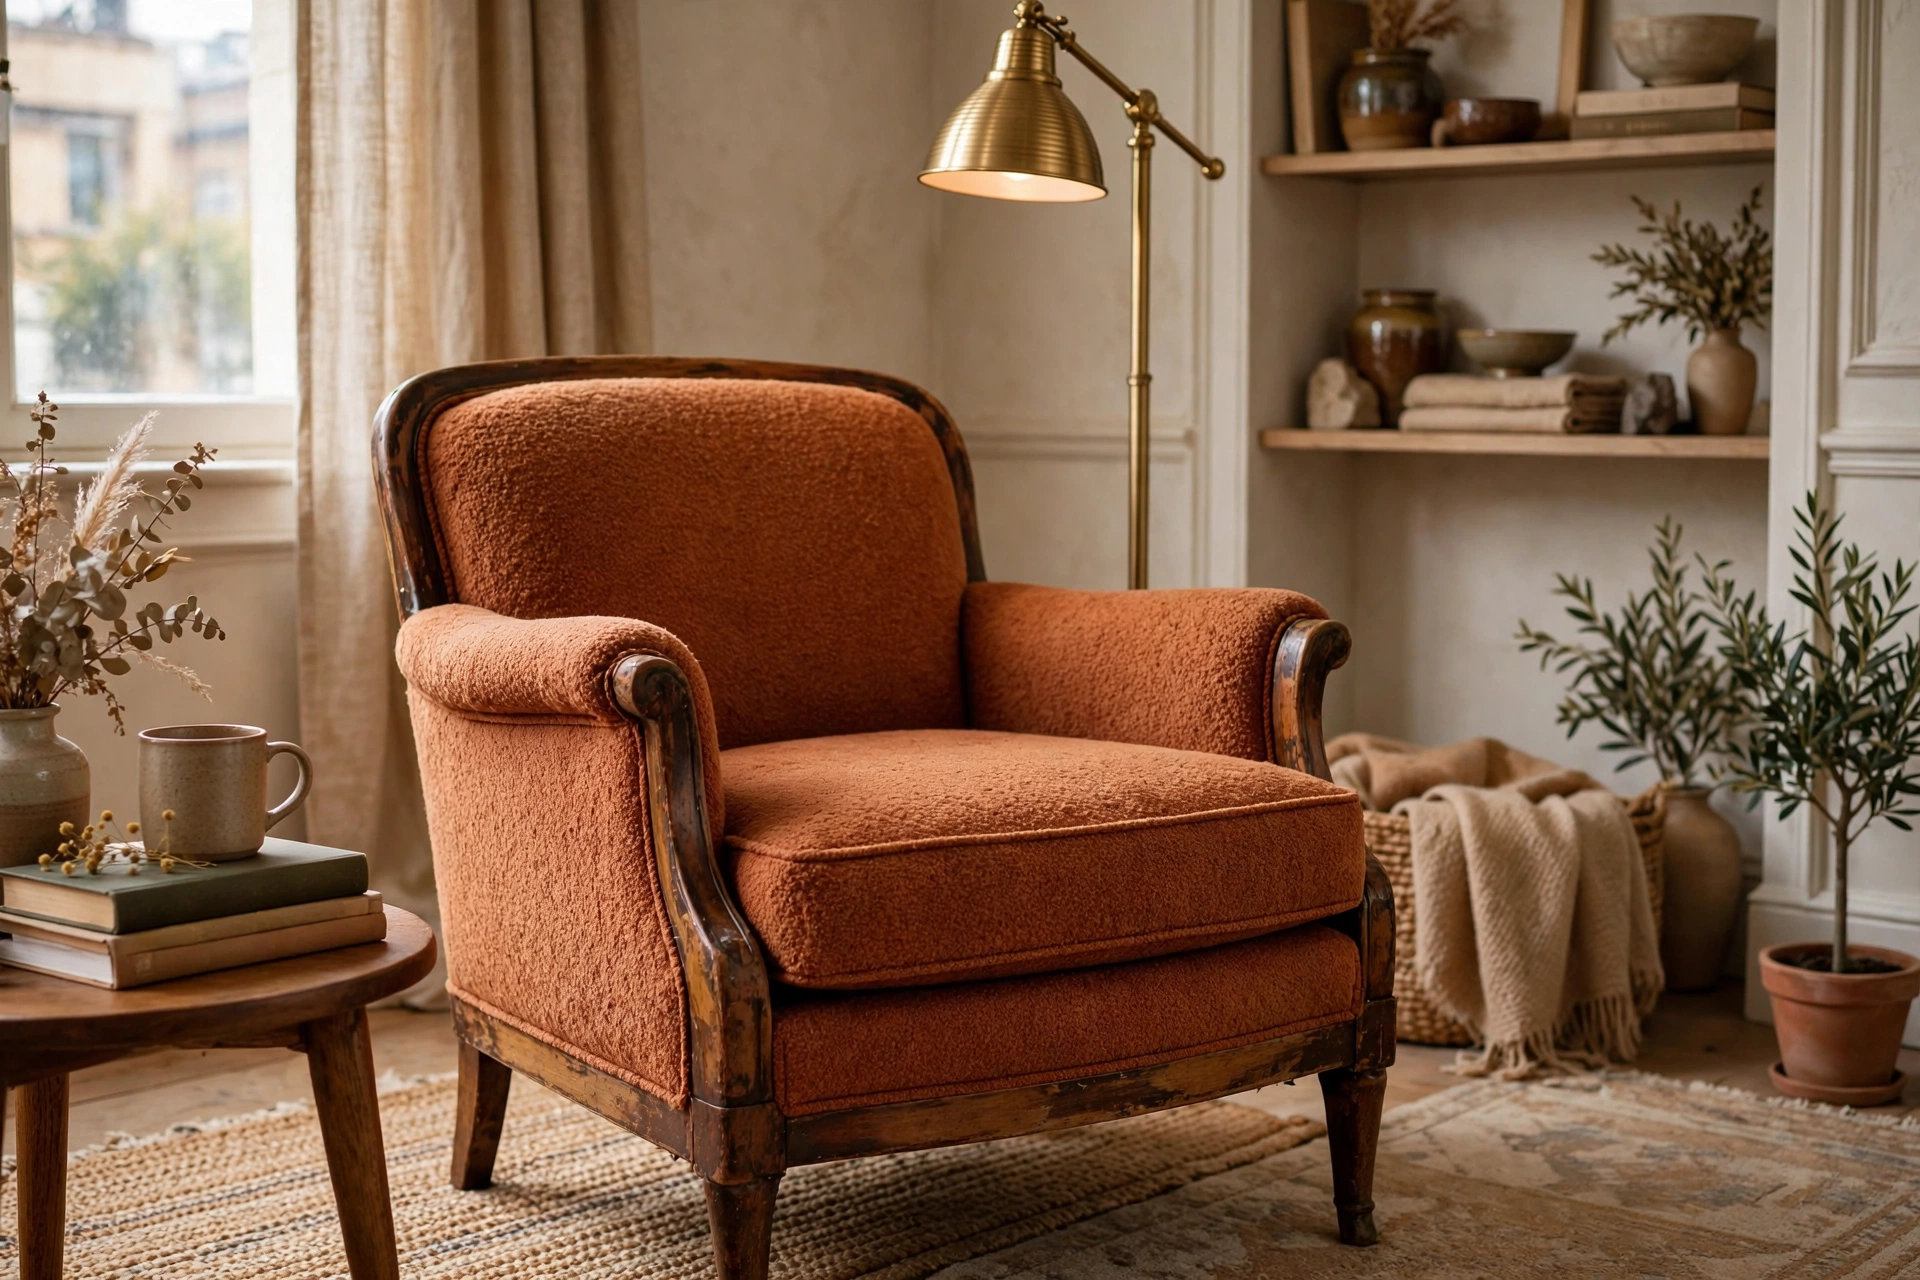
10. Score a Thrifted Accent Chair
The most expensive-looking rooms always have one piece with history — a $30–$60 thrifted armchair with good bones, recovered in a $25 cushion or throw, beats a $300 new chair every time. Look for solid wood frames, interesting silhouettes, and kilim or leather upholstery that just needs cleaning. Pro tip: check the chair’s “sit test” before the looks — a gorgeous chair nobody can sit in for more than ten minutes is a sculpture, not furniture, and guests will notice.
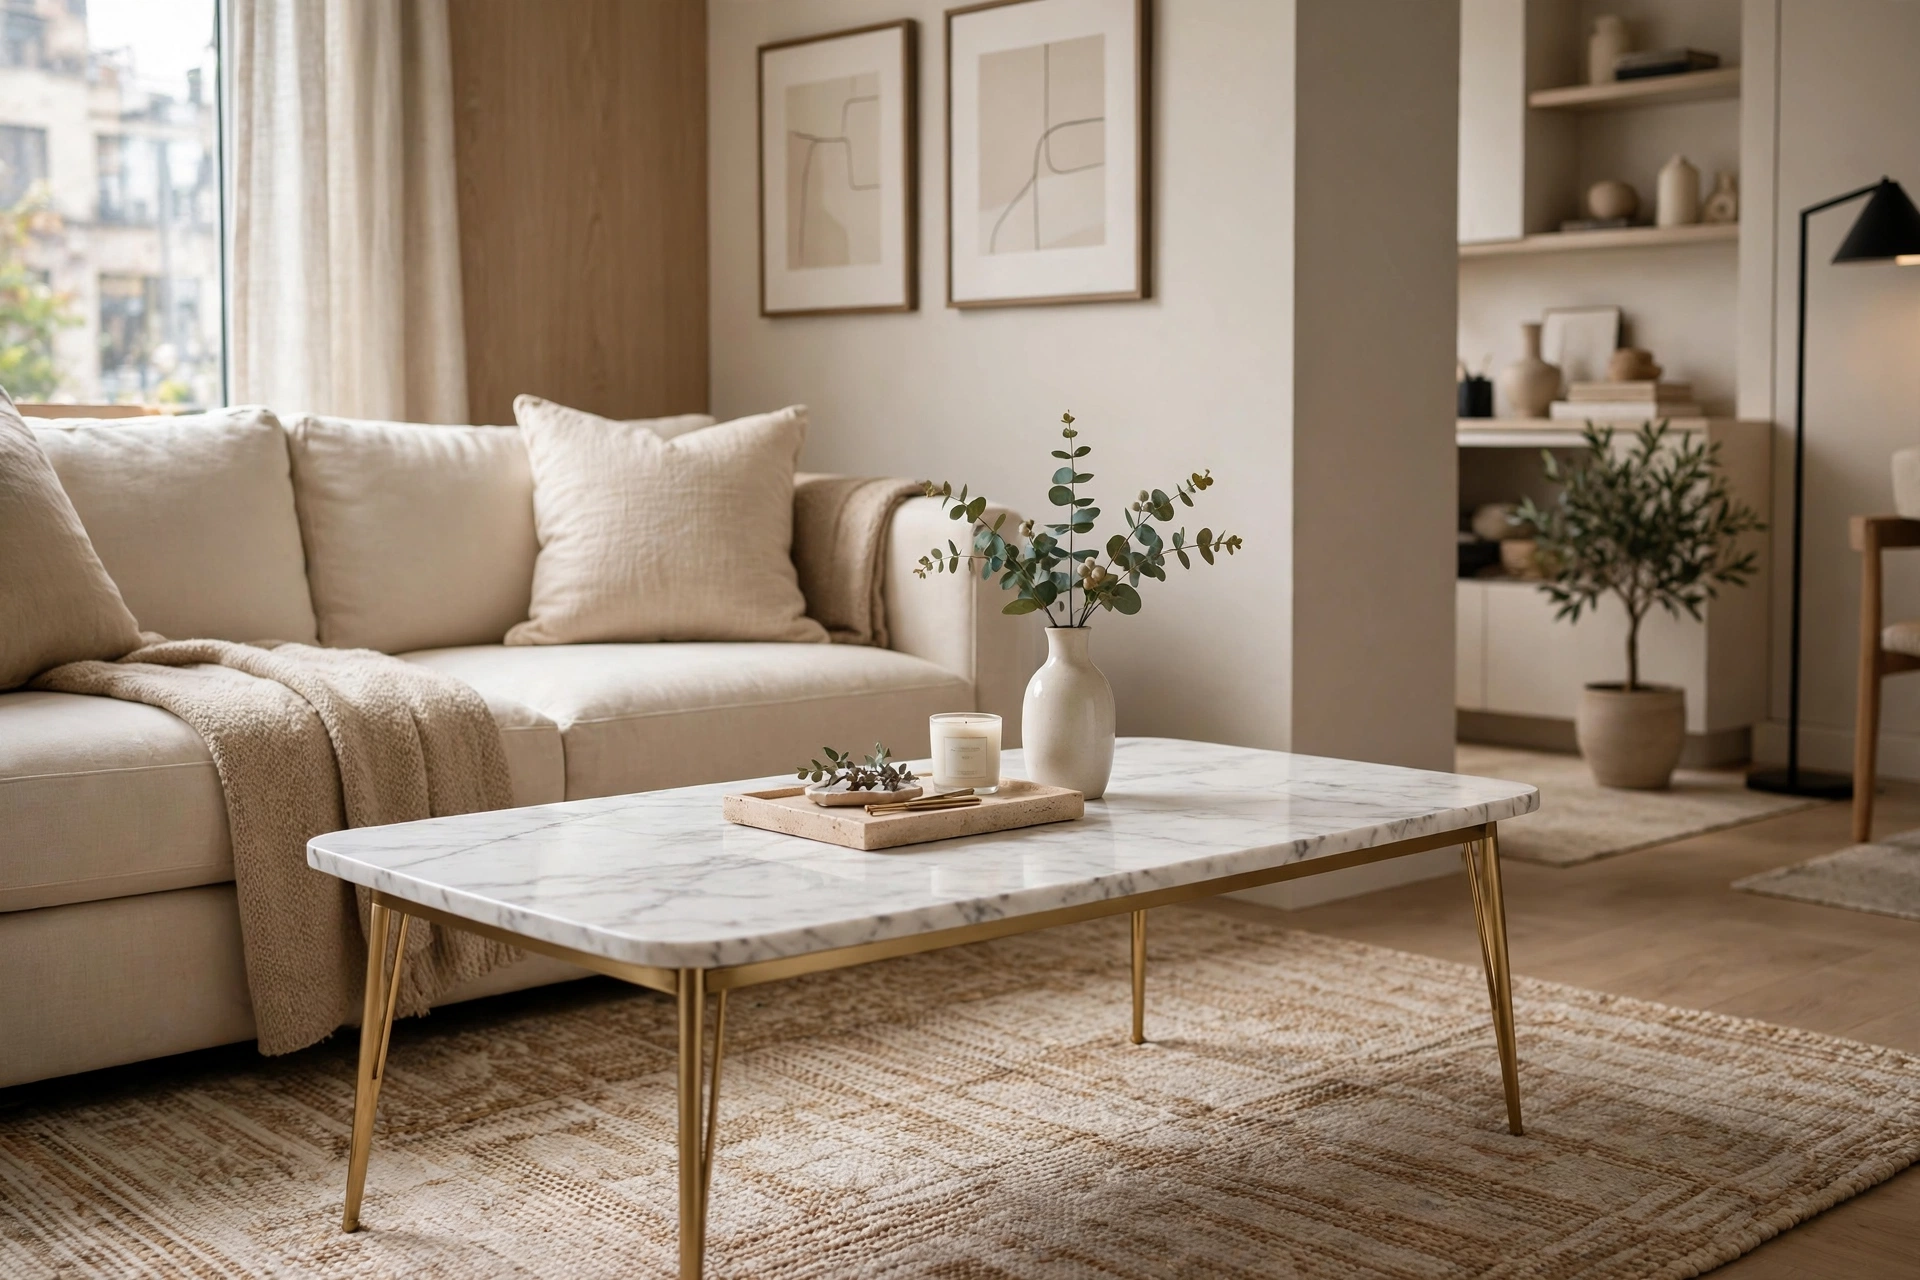
11. Add a Faux-Marble Coffee Table
Marble is the universal symbol of luxury, and nobody needs to know yours cost $70. Faux-marble-top coffee tables ($60–$120 at Target or Amazon) deliver the veined-stone look convincingly — or apply marble-look contact paper ($12–$20 a roll) to a plain table you already own. Pro tip: keep the styling minimal on a marble-look surface — one tray, one book, one object — because the stone pattern is the star and clutter fights it.
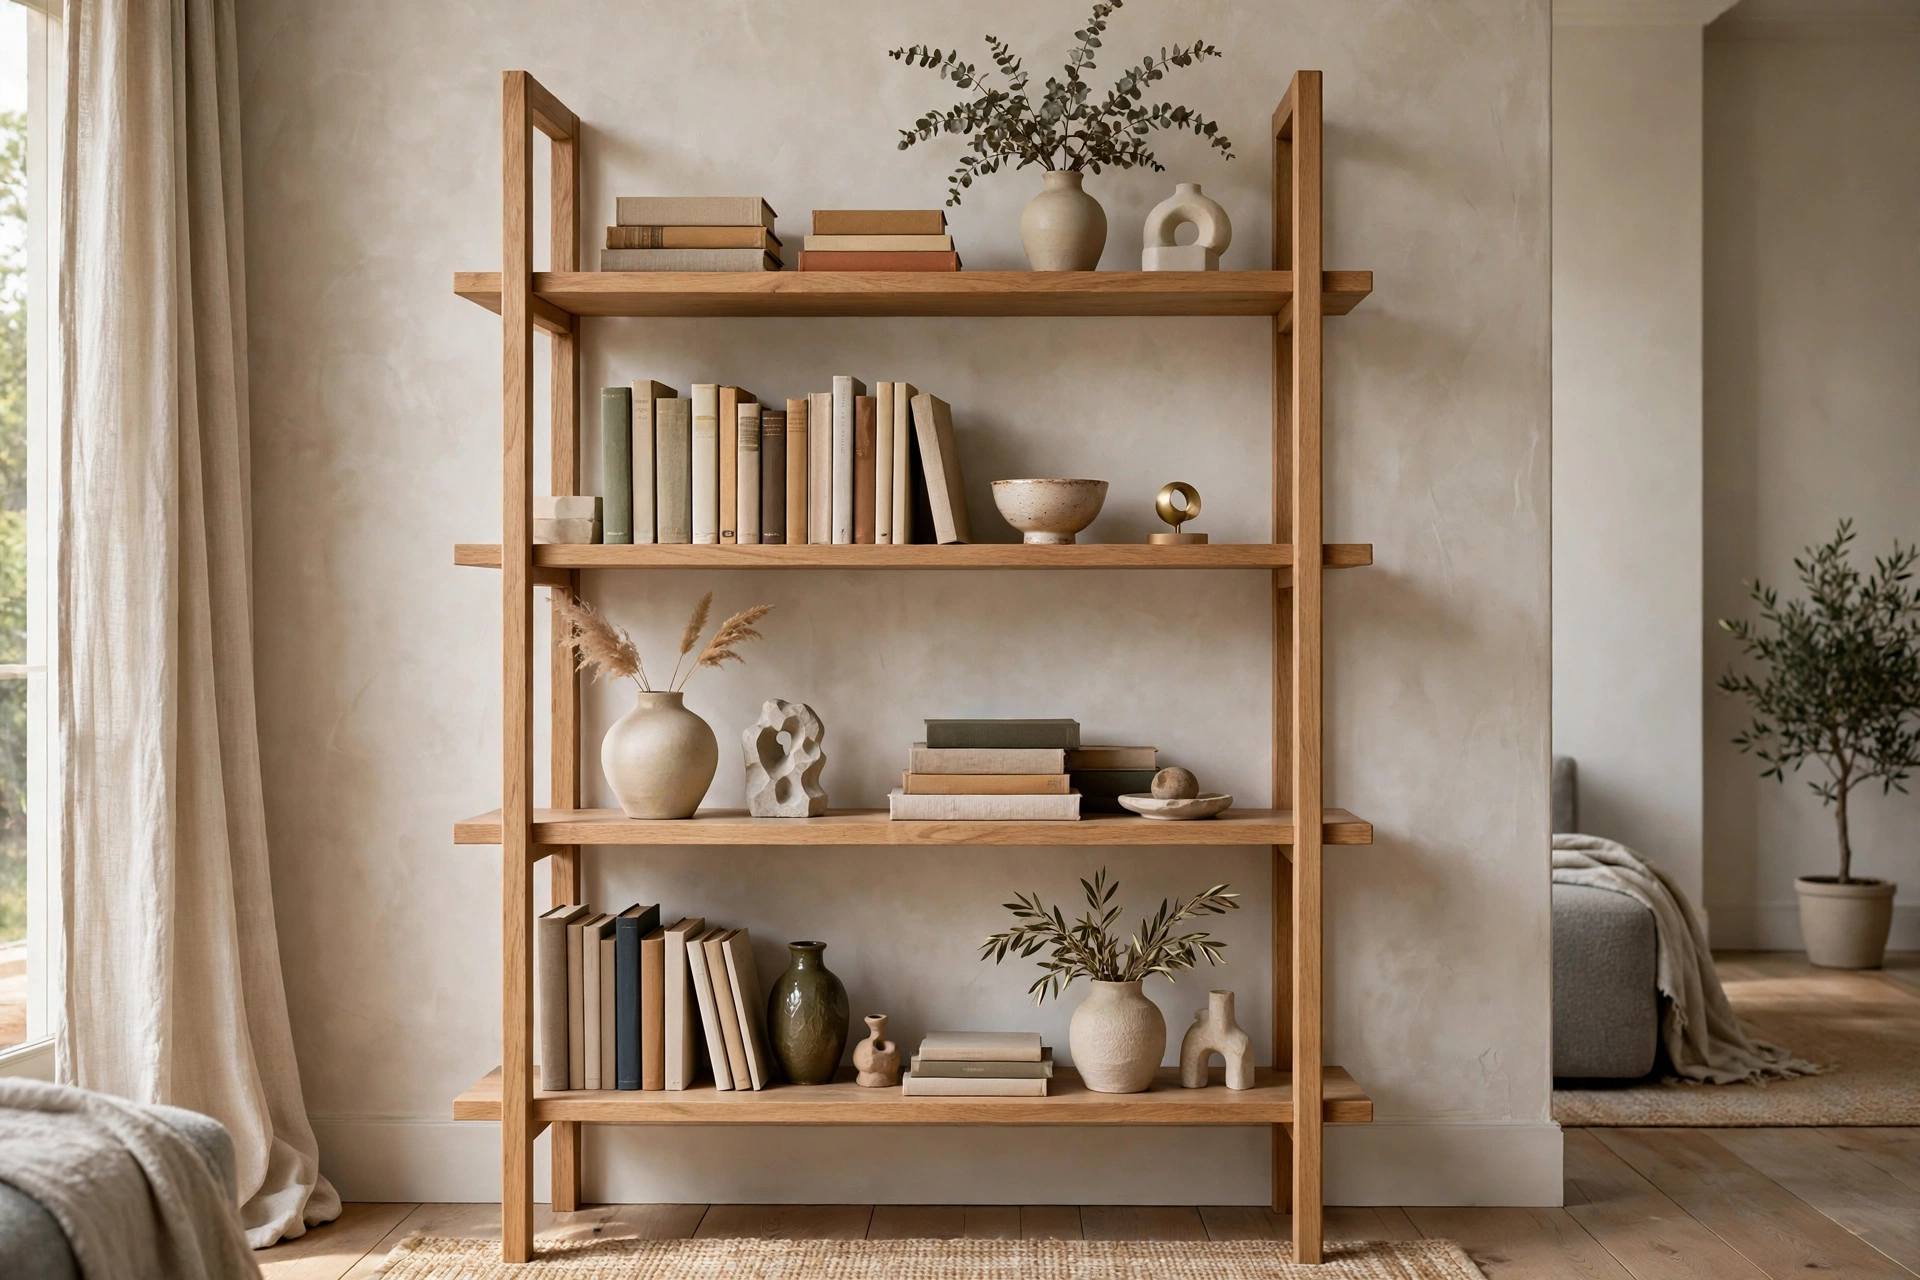
12. Style the Bookshelf Like a Boutique
A crammed bookshelf reads as storage; a styled one reads as a boutique display. Pull books forward to the shelf edge, stack some horizontally, leave 30% of each shelf empty, and intersperse one beautiful object per shelf — a vase, a framed photo, a candle. The same shelf, the same stuff, a completely different impression. Pro tip: turn paperbacks with ugly spines backward so the pages face out — the uniform cream pages look intentionally curated and very high-end.
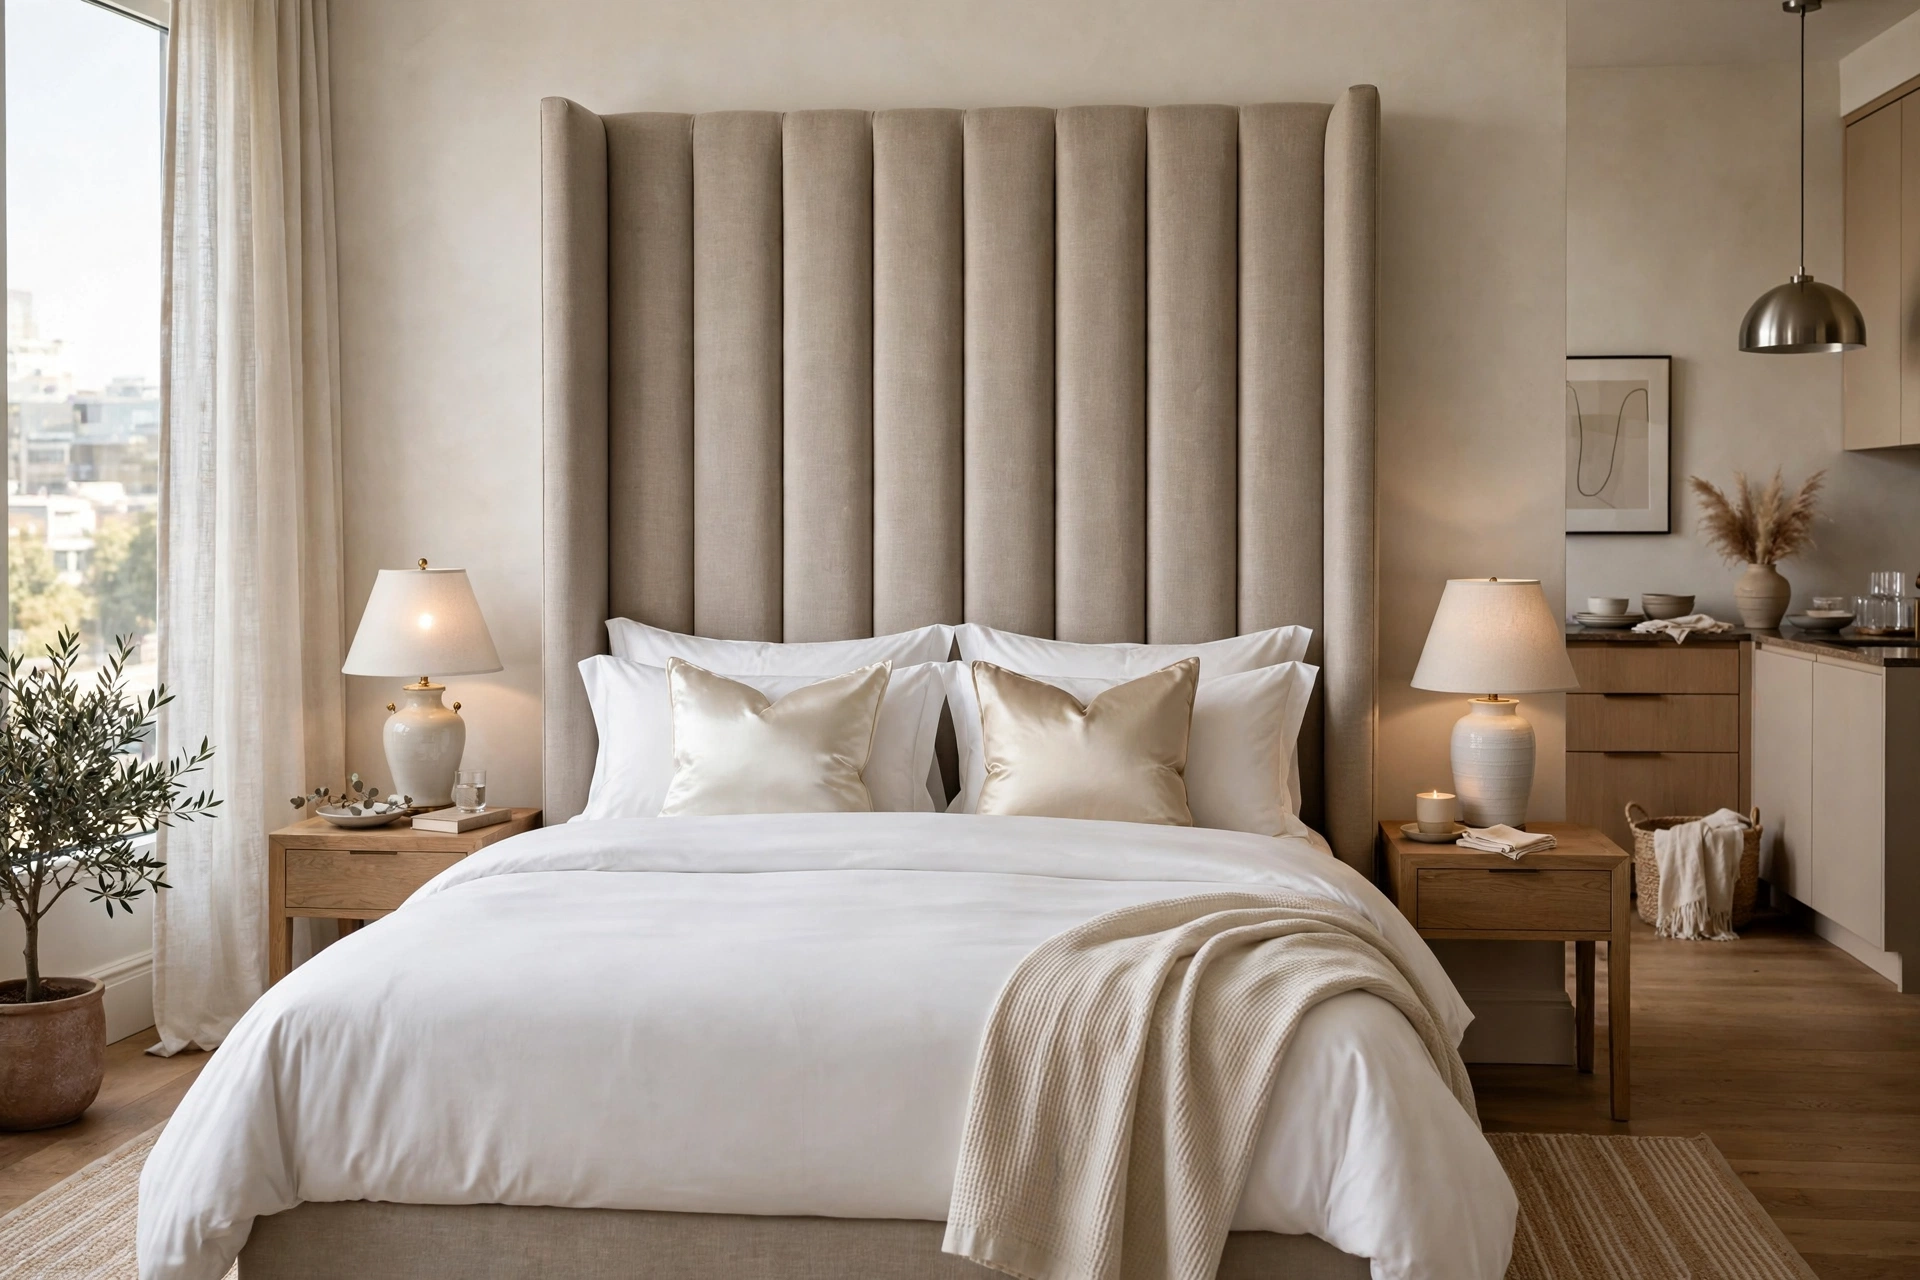
13. Upgrade to an Upholstered Bed Frame
The bed dominates a studio visually, so its frame sets the room’s price tag in your mind. A tall upholstered headboard frame ($180–$350 on Amazon or Wayfair) in linen or velvet instantly reads as a luxury hotel suite — compare that to a bare metal frame that reads as “first apartment.” Pro tip: choose a headboard at least 48 inches tall — short headboards disappear behind pillows, while a tall one creates the grand, expensive silhouette.
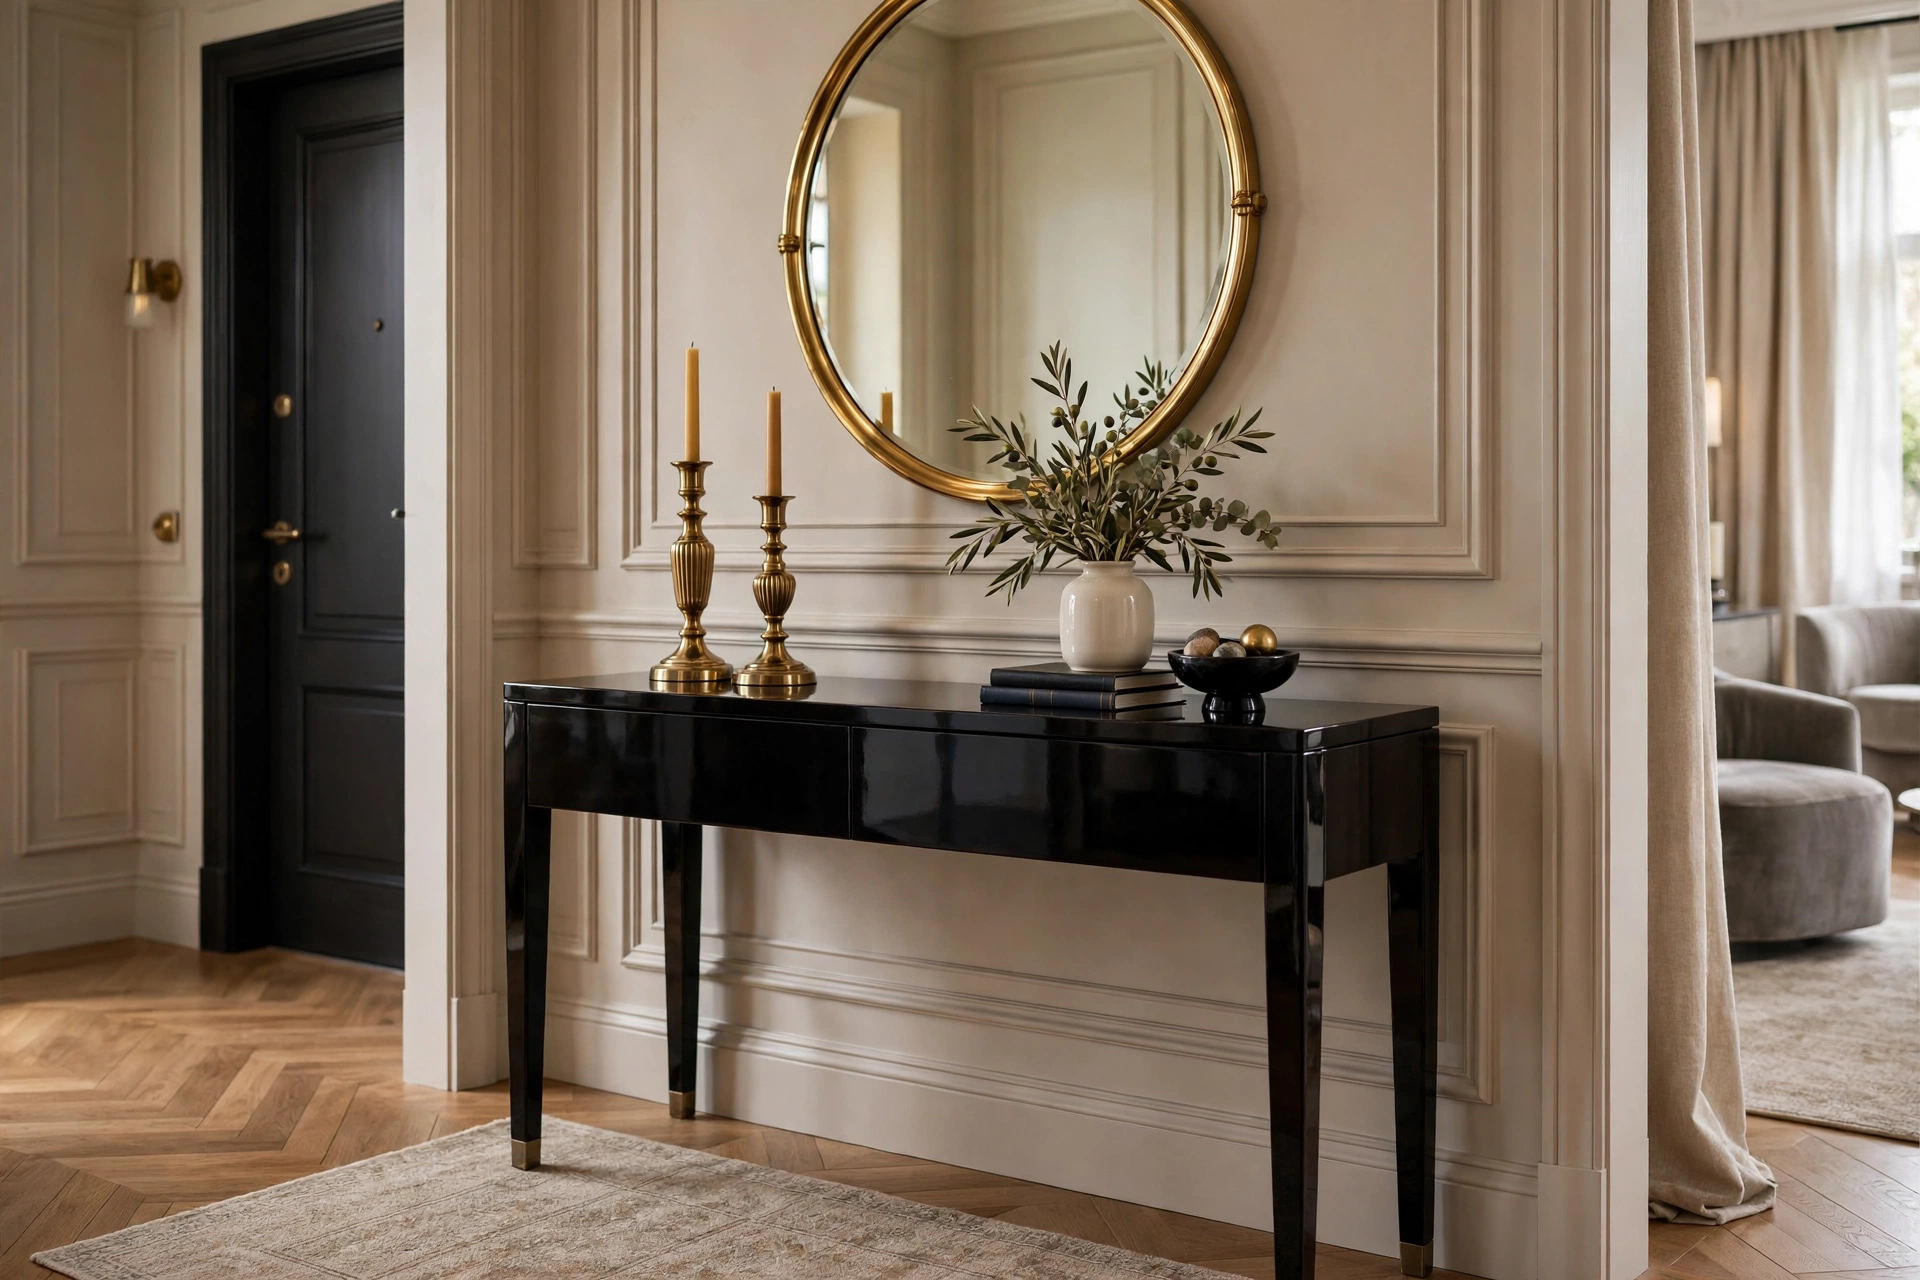
14. Lacquer a Thrifted Console Table
High-gloss lacquer is the finish of expensive furniture — and a $25 thrifted console plus a quart of high-gloss paint ($20–$30) gets you there. Black lacquer reads as Hollywood glam; deep green or navy lacquer reads as designer. Sand lightly, prime, and apply two thin coats for a glass-smooth finish. Pro tip: use a foam roller, not a brush, and sand with 220-grit between coats — brush strokes are what make DIY paint jobs look DIY.
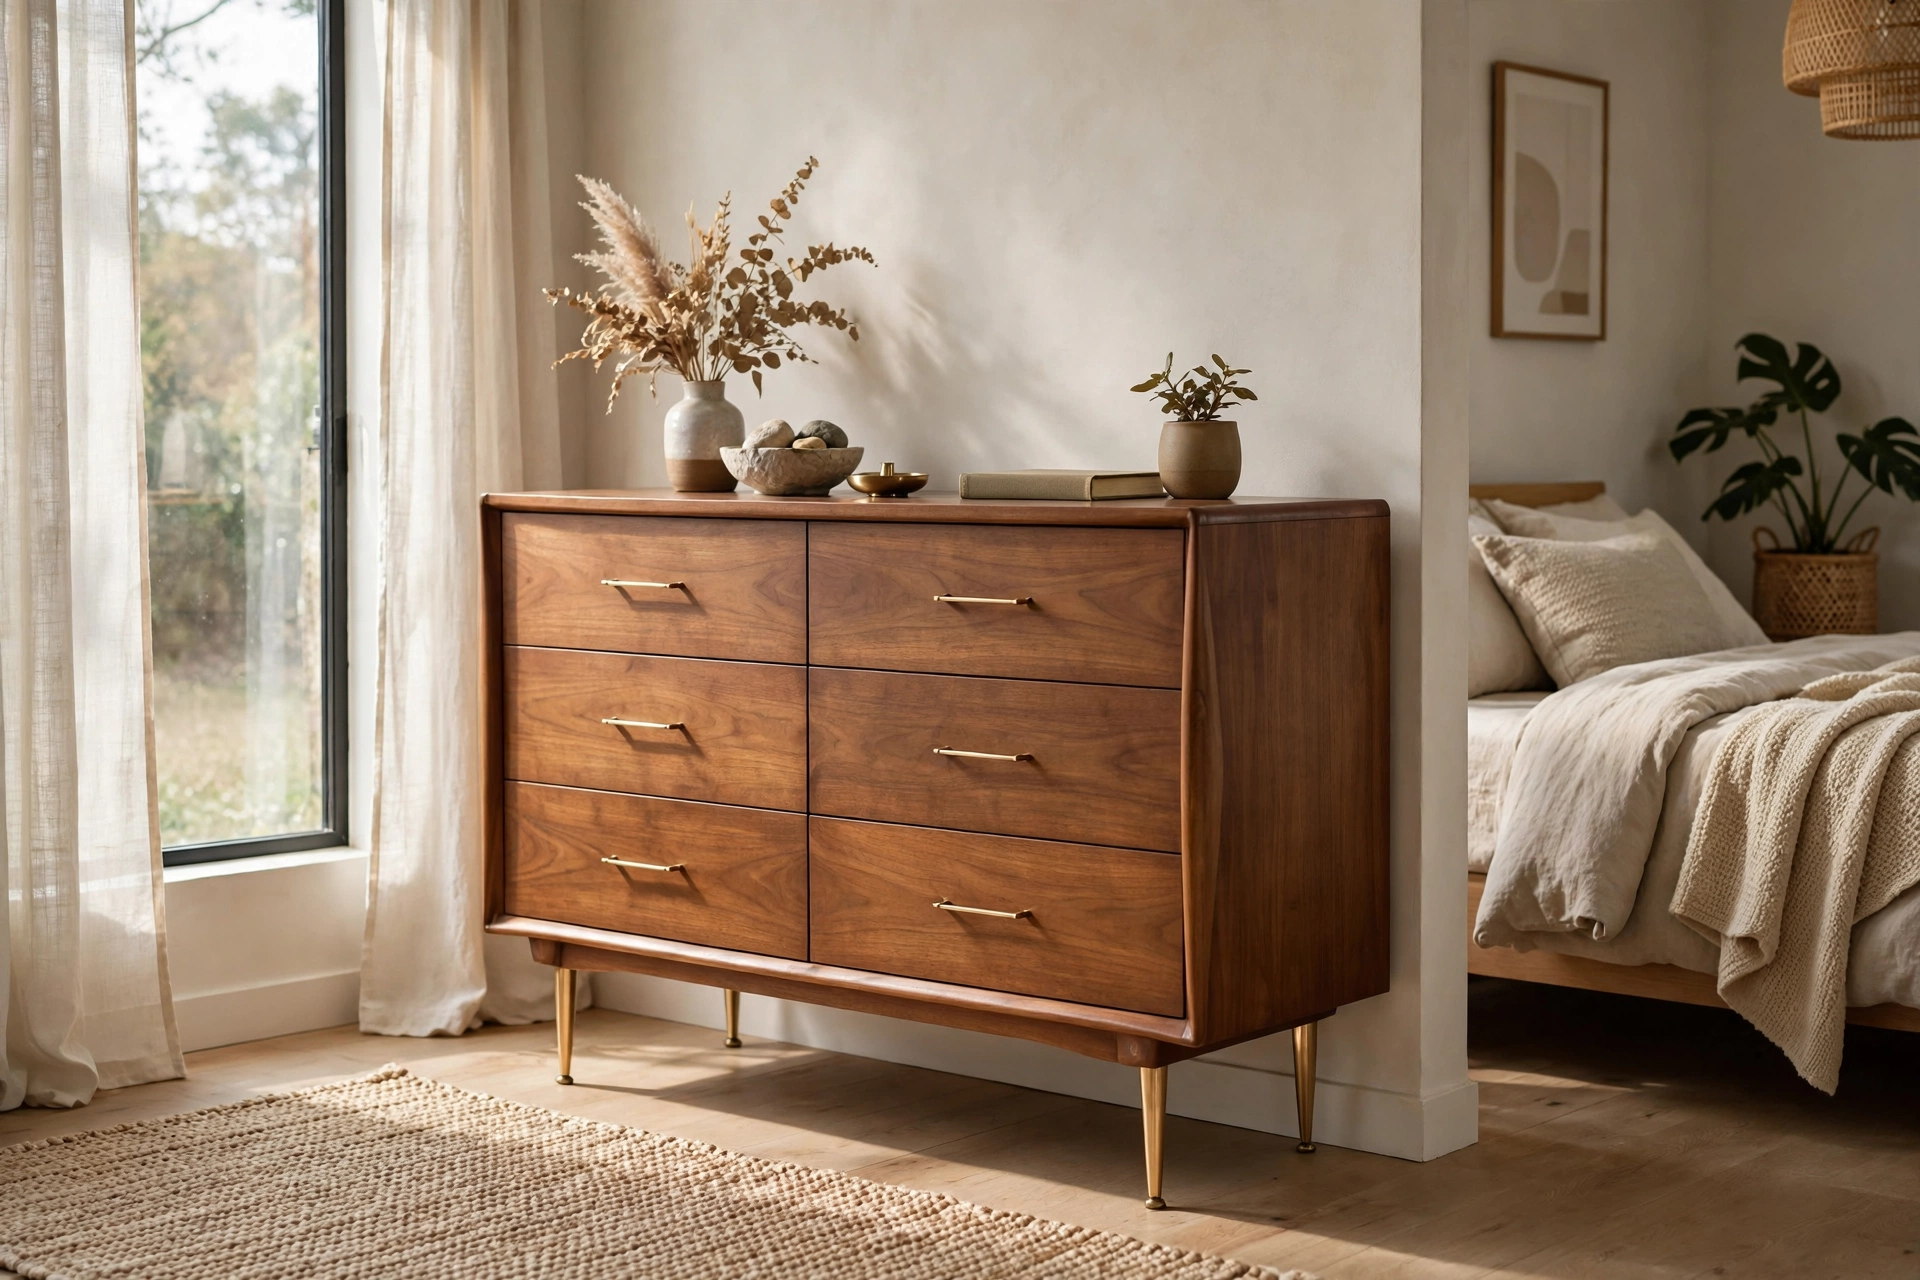
15. Add Tapered Legs to Boxy Furniture
Boxy flat-pack furniture sits on the floor like a brick — screw on mid-century tapered legs ($15–$30 for a set of four) and it suddenly floats with designer lightness. This works on dressers, nightstands, TV consoles, and even sofas. The angled-leg silhouette is visual shorthand for “curated.” Pro tip: match the leg finish to your hardware (brass legs with brass pulls) — the coordination is what makes the upgrade look factory-original instead of added-on.
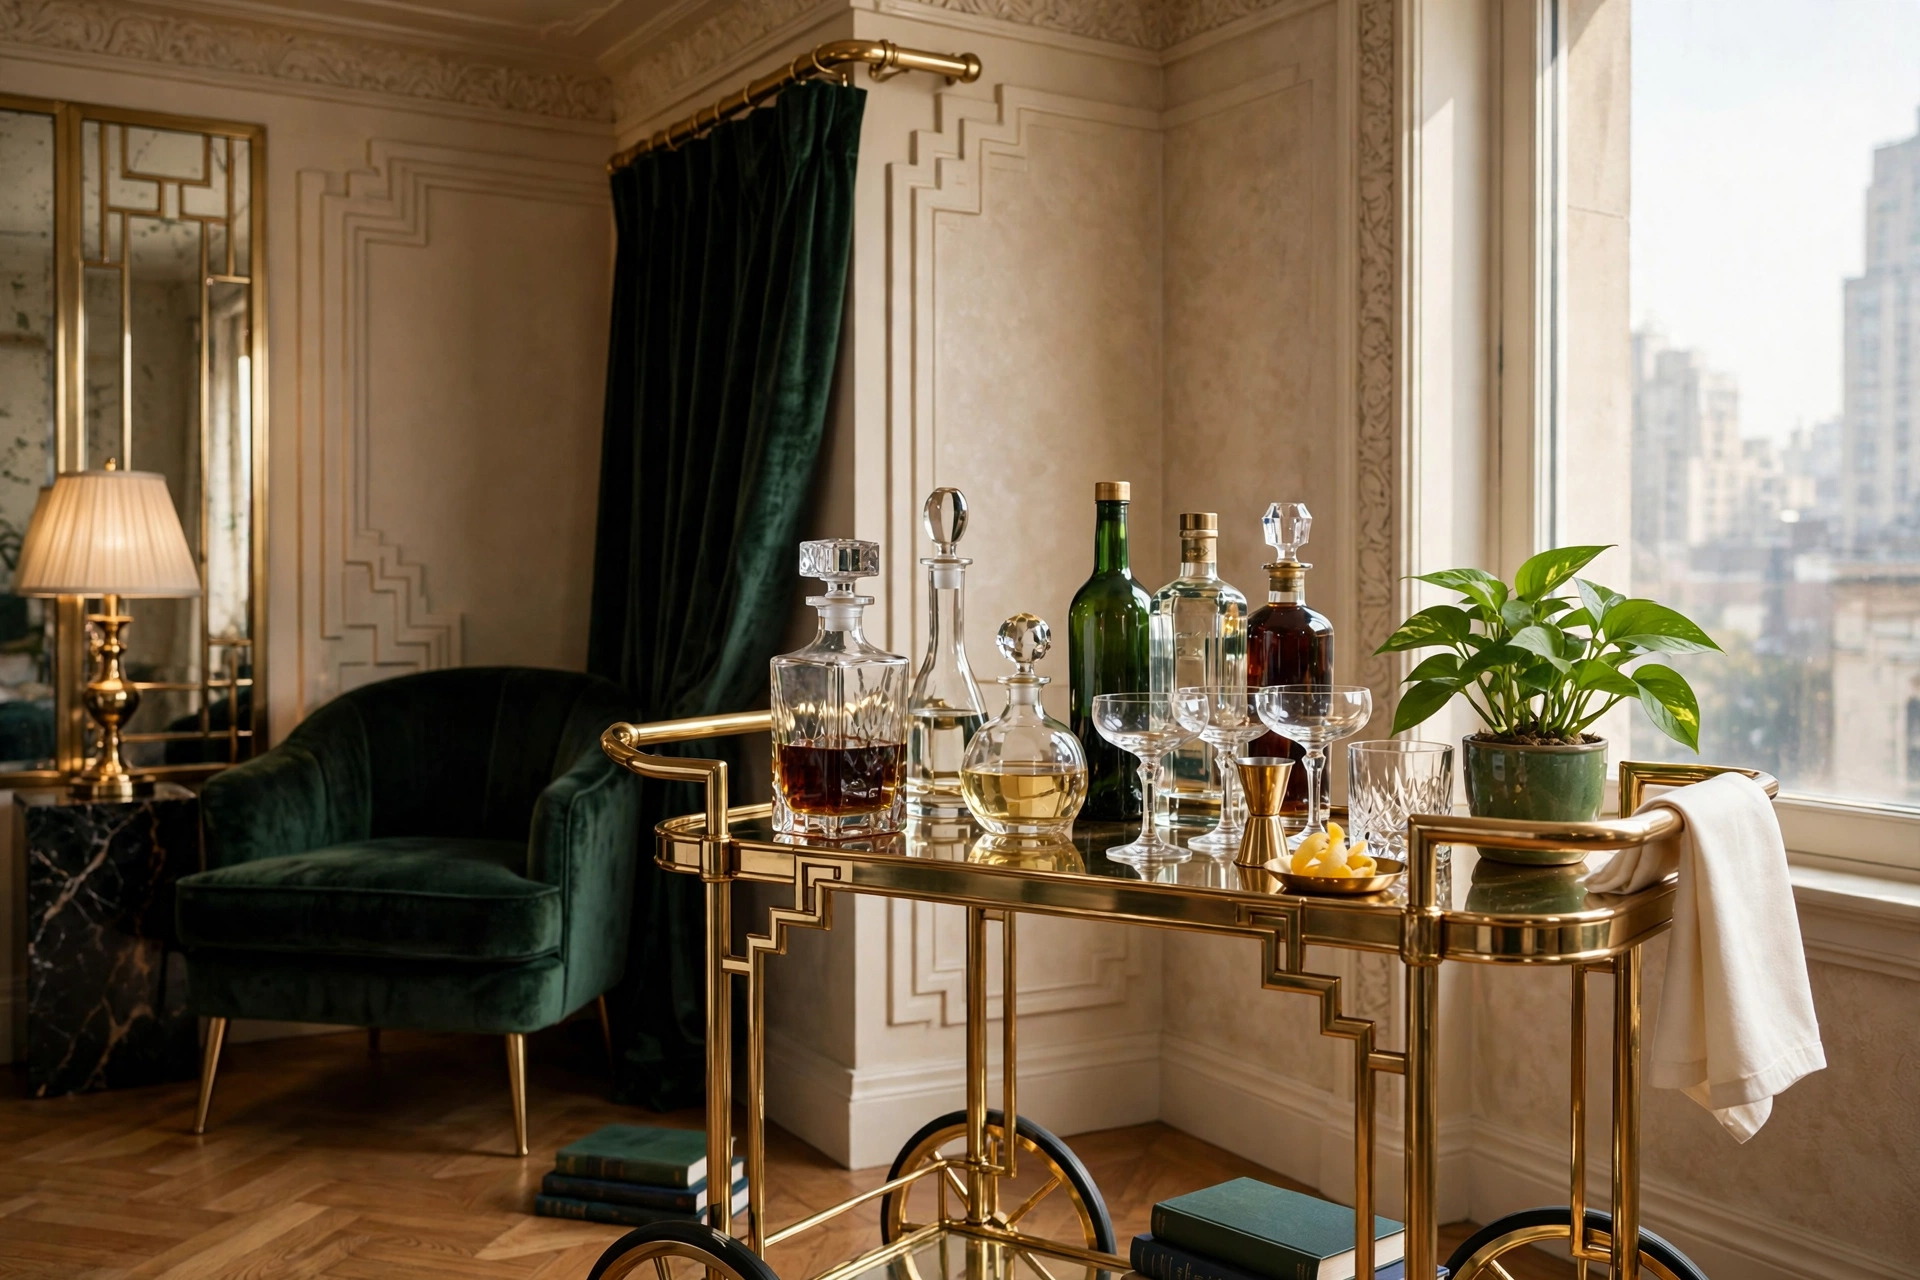
16. Style a Bar Cart as a Luxe Moment
A brass bar cart ($70–$150 at Target or IKEA) styled with decanters, pretty bottles, and a small plant is pure old-Hollywood glamour — it reads as entertaining-ready even if you only drink sparkling water. Keep the top curated (not crammed) and the lower shelf for backup bottles. Pro tip: decant cheap spirits into beautiful glass decanters ($15–$30) — the bottle is invisible, the presentation is everything, and guests assume top-shelf.
Textiles & Layers
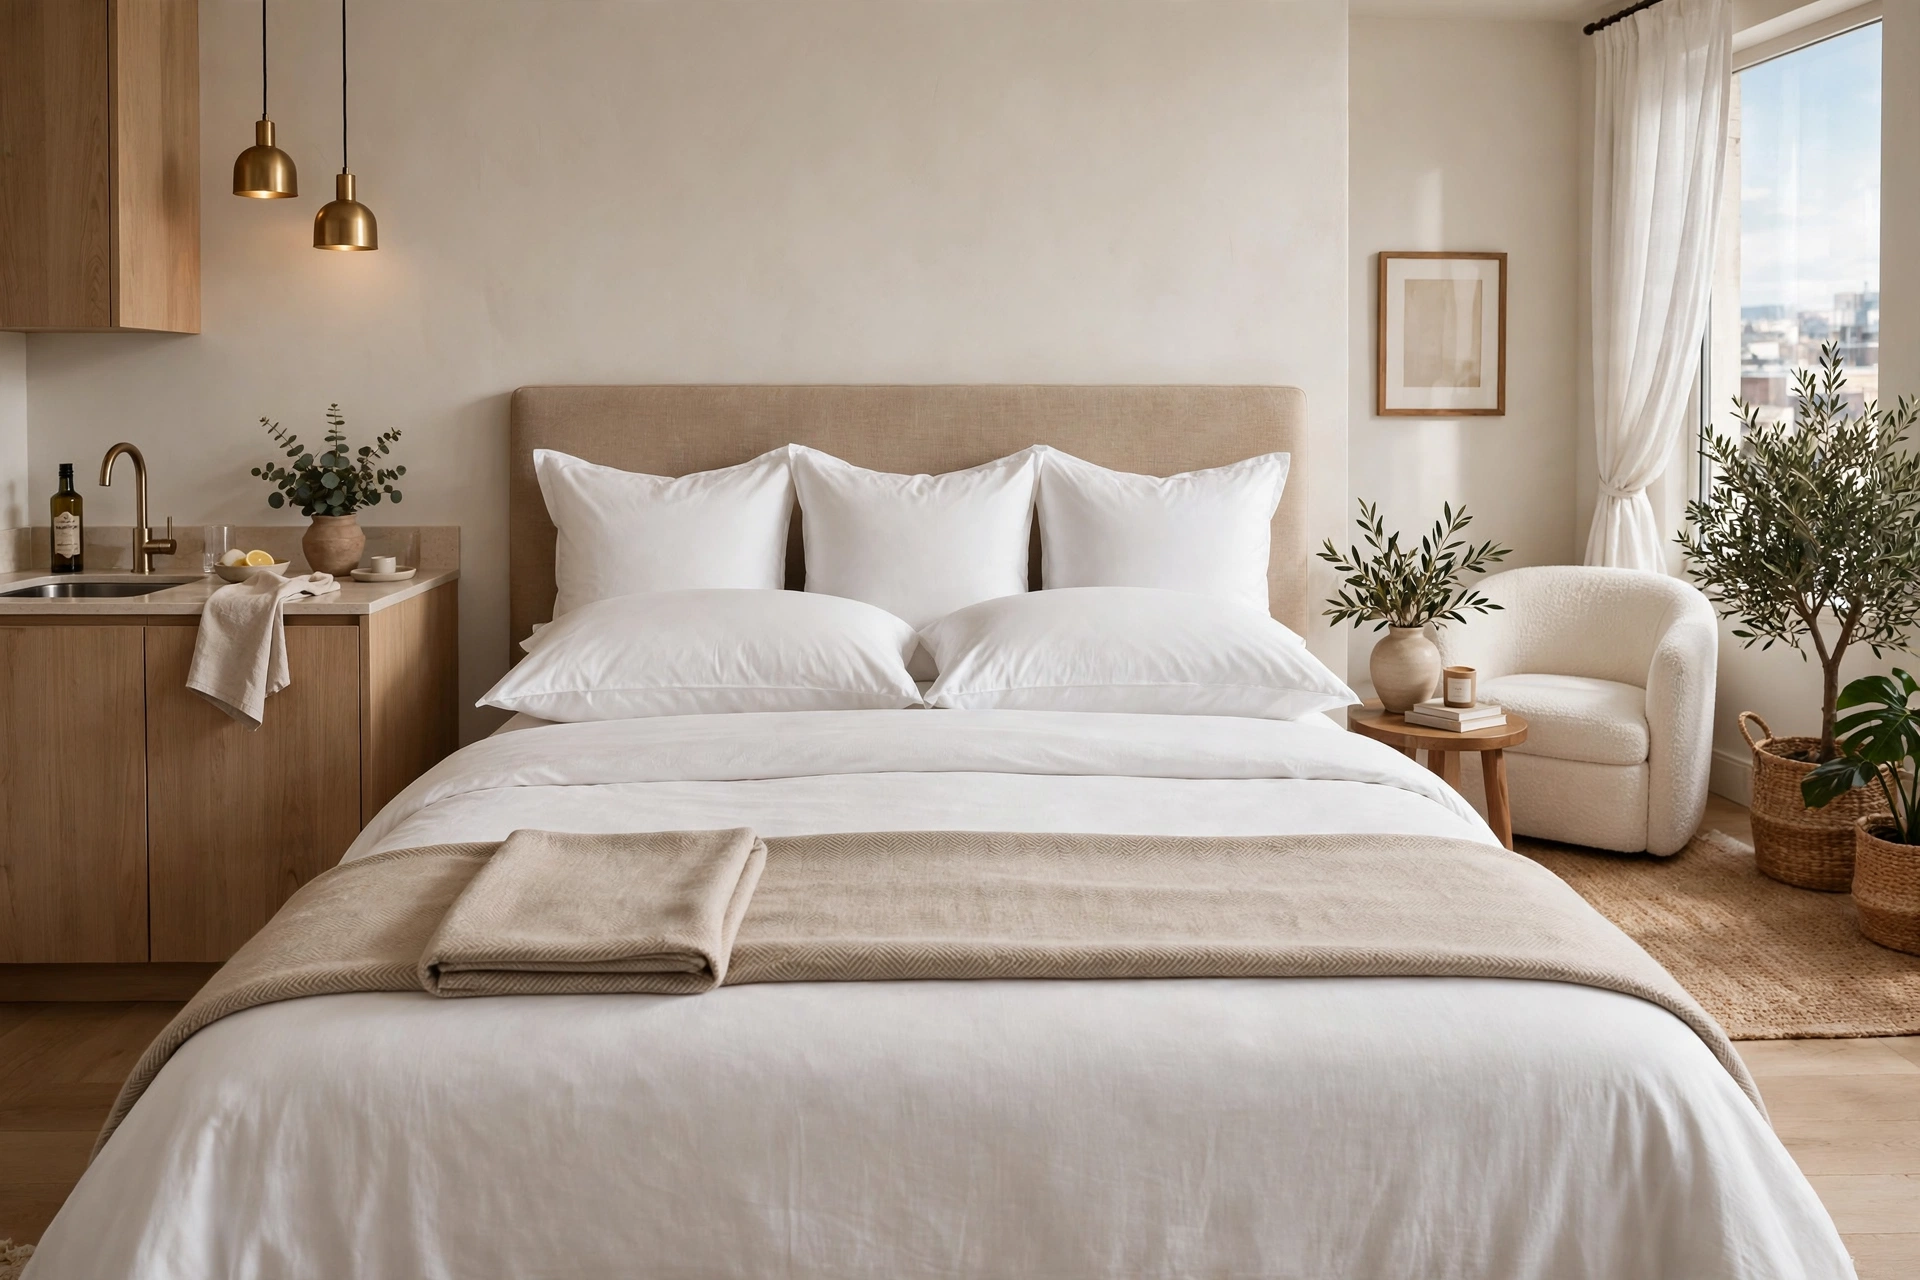
17. Layer Hotel-Style Bedding
Five-star hotels don’t use magic — they use layers: crisp white sheets, a duvet one size up for loft, two sleeping pillows plus two Euro shams, and a folded throw across the foot. A white duvet set ($50–$90) plus a $25 throw replicates the look exactly. White bedding also photographs brighter, which matters for a studio’s visual size. Pro tip: iron or steam the duvet cover’s top fold — that one crisp horizontal line across the bed is the entire difference between “made bed” and “hotel bed.”
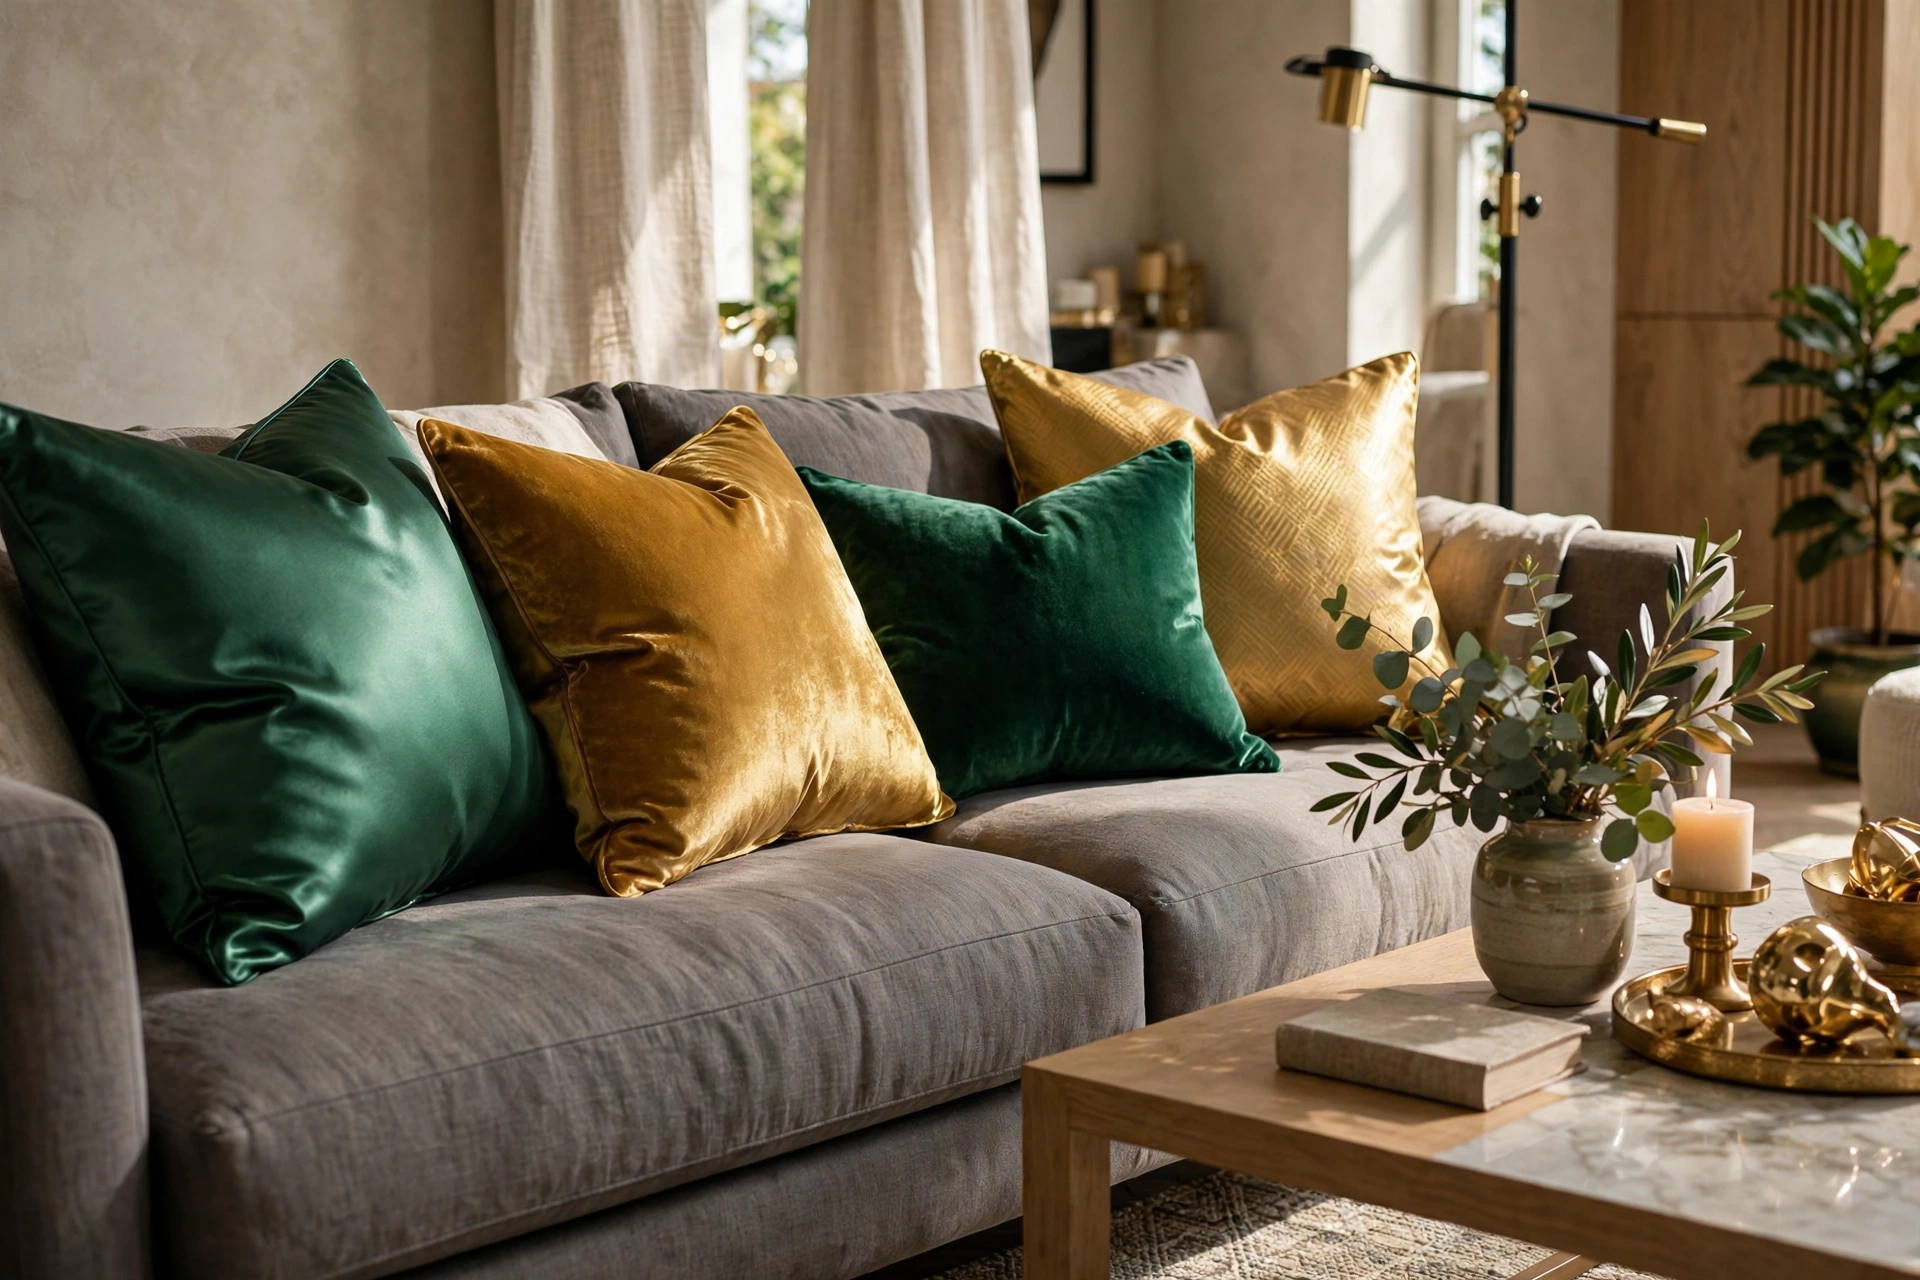
18. Mix Silk and Velvet Pillows
Lustrous fabrics catch light and the eye — a mix of silk-look and velvet pillow covers ($12–$25 each) in jewel tones or champagne neutrals makes a sofa look styled by a professional. The sheen variation between matte linen and glowing velvet is what creates that expensive layered look. Pro tip: do the karate-chop crease down the center of each pillow — that single dent is the universal stylist signal for “expensive throw pillows.”
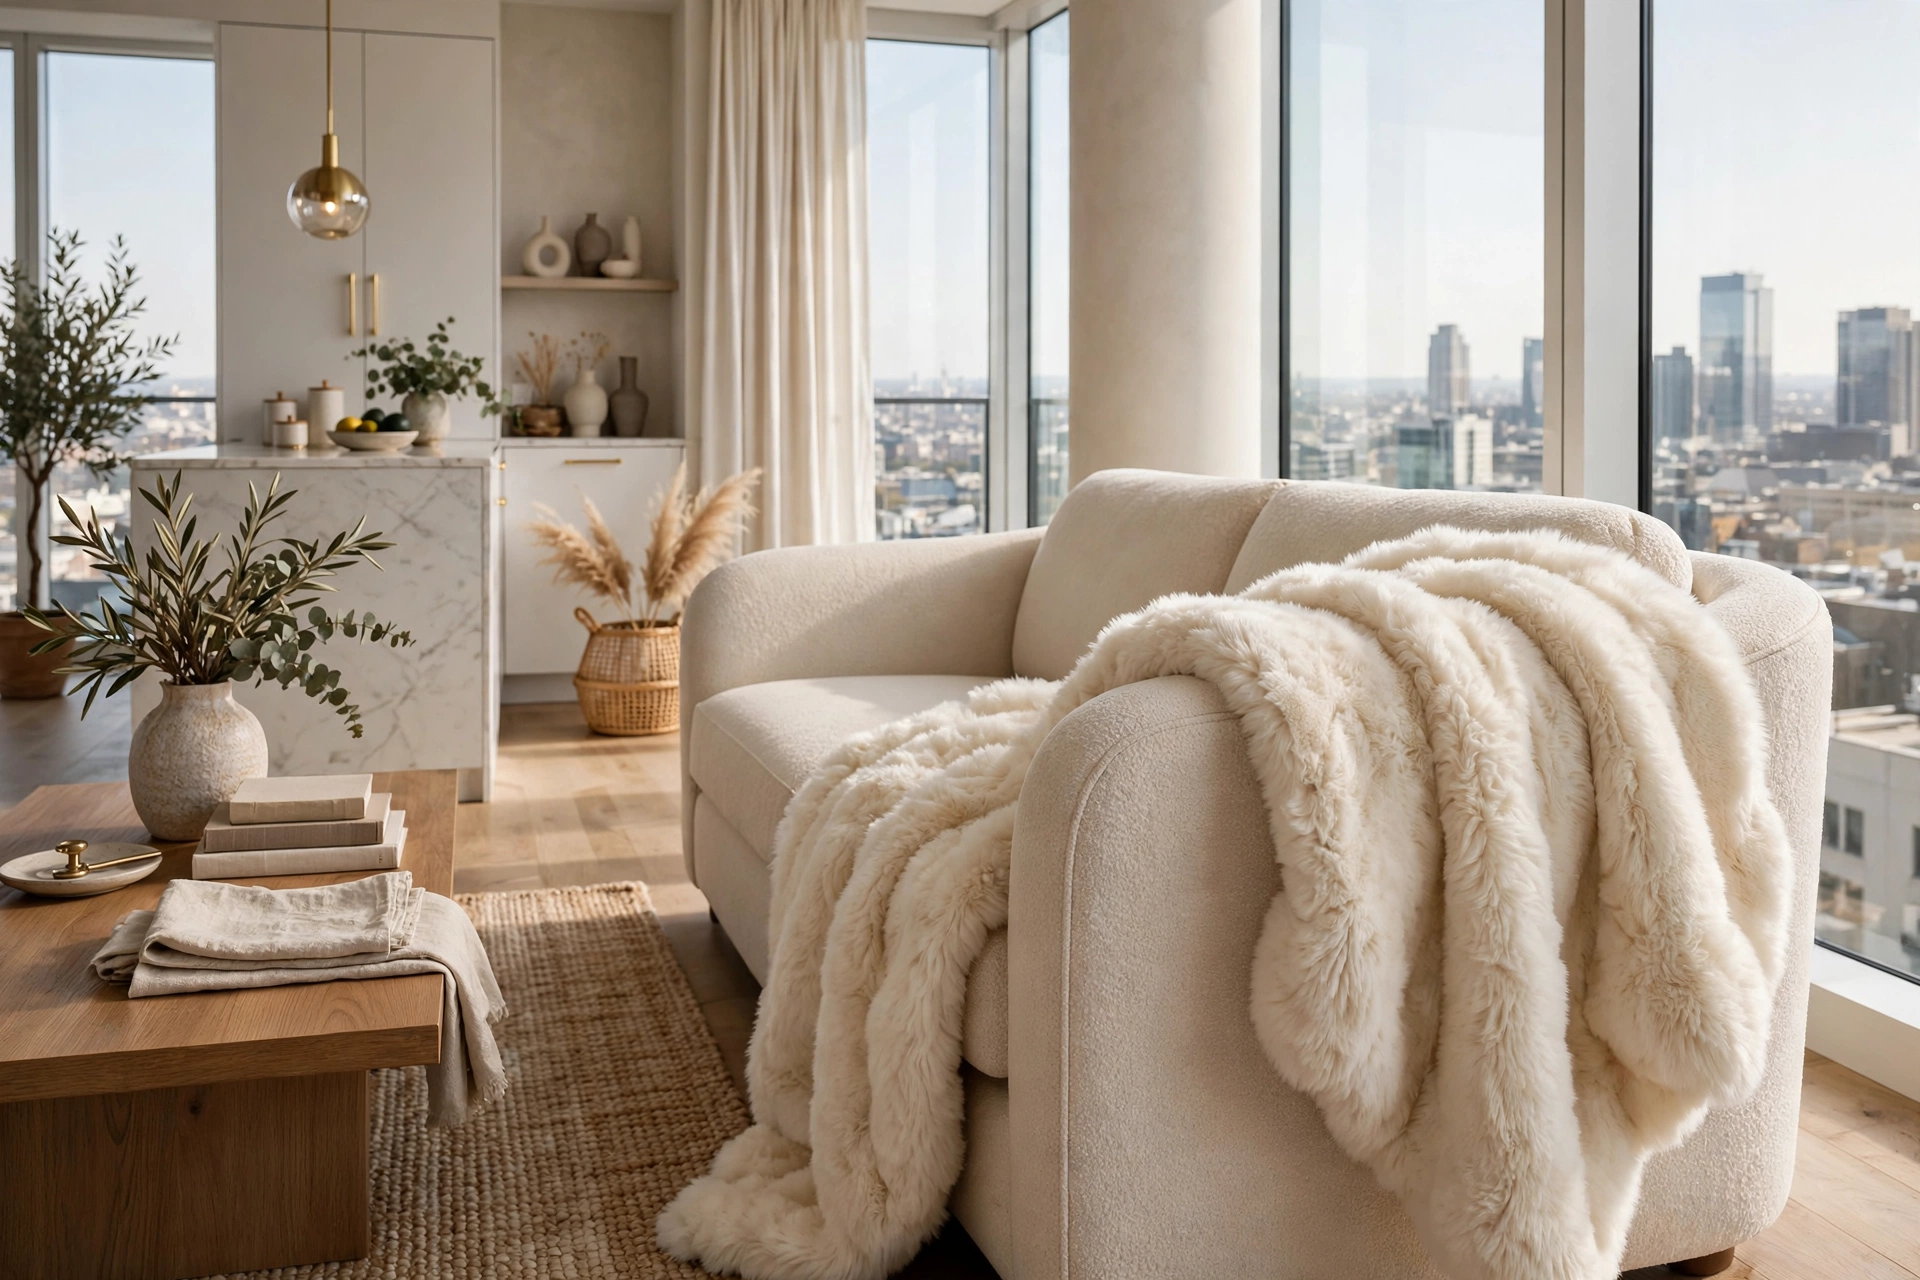
19. Drape a Faux-Fur Throw
Faux fur is the fastest texture upgrade in decorating — a $30–$60 throw tossed over a sofa arm or bed corner adds instant penthouse indulgence. Cream or champagne faux fur reads most expensive; avoid wild colors that tip into costume territory. Pro tip: shake the throw outside and brush it with a pet brush when it arrives — fluffed-up faux fur looks twice as plush and hides its budget origins completely.
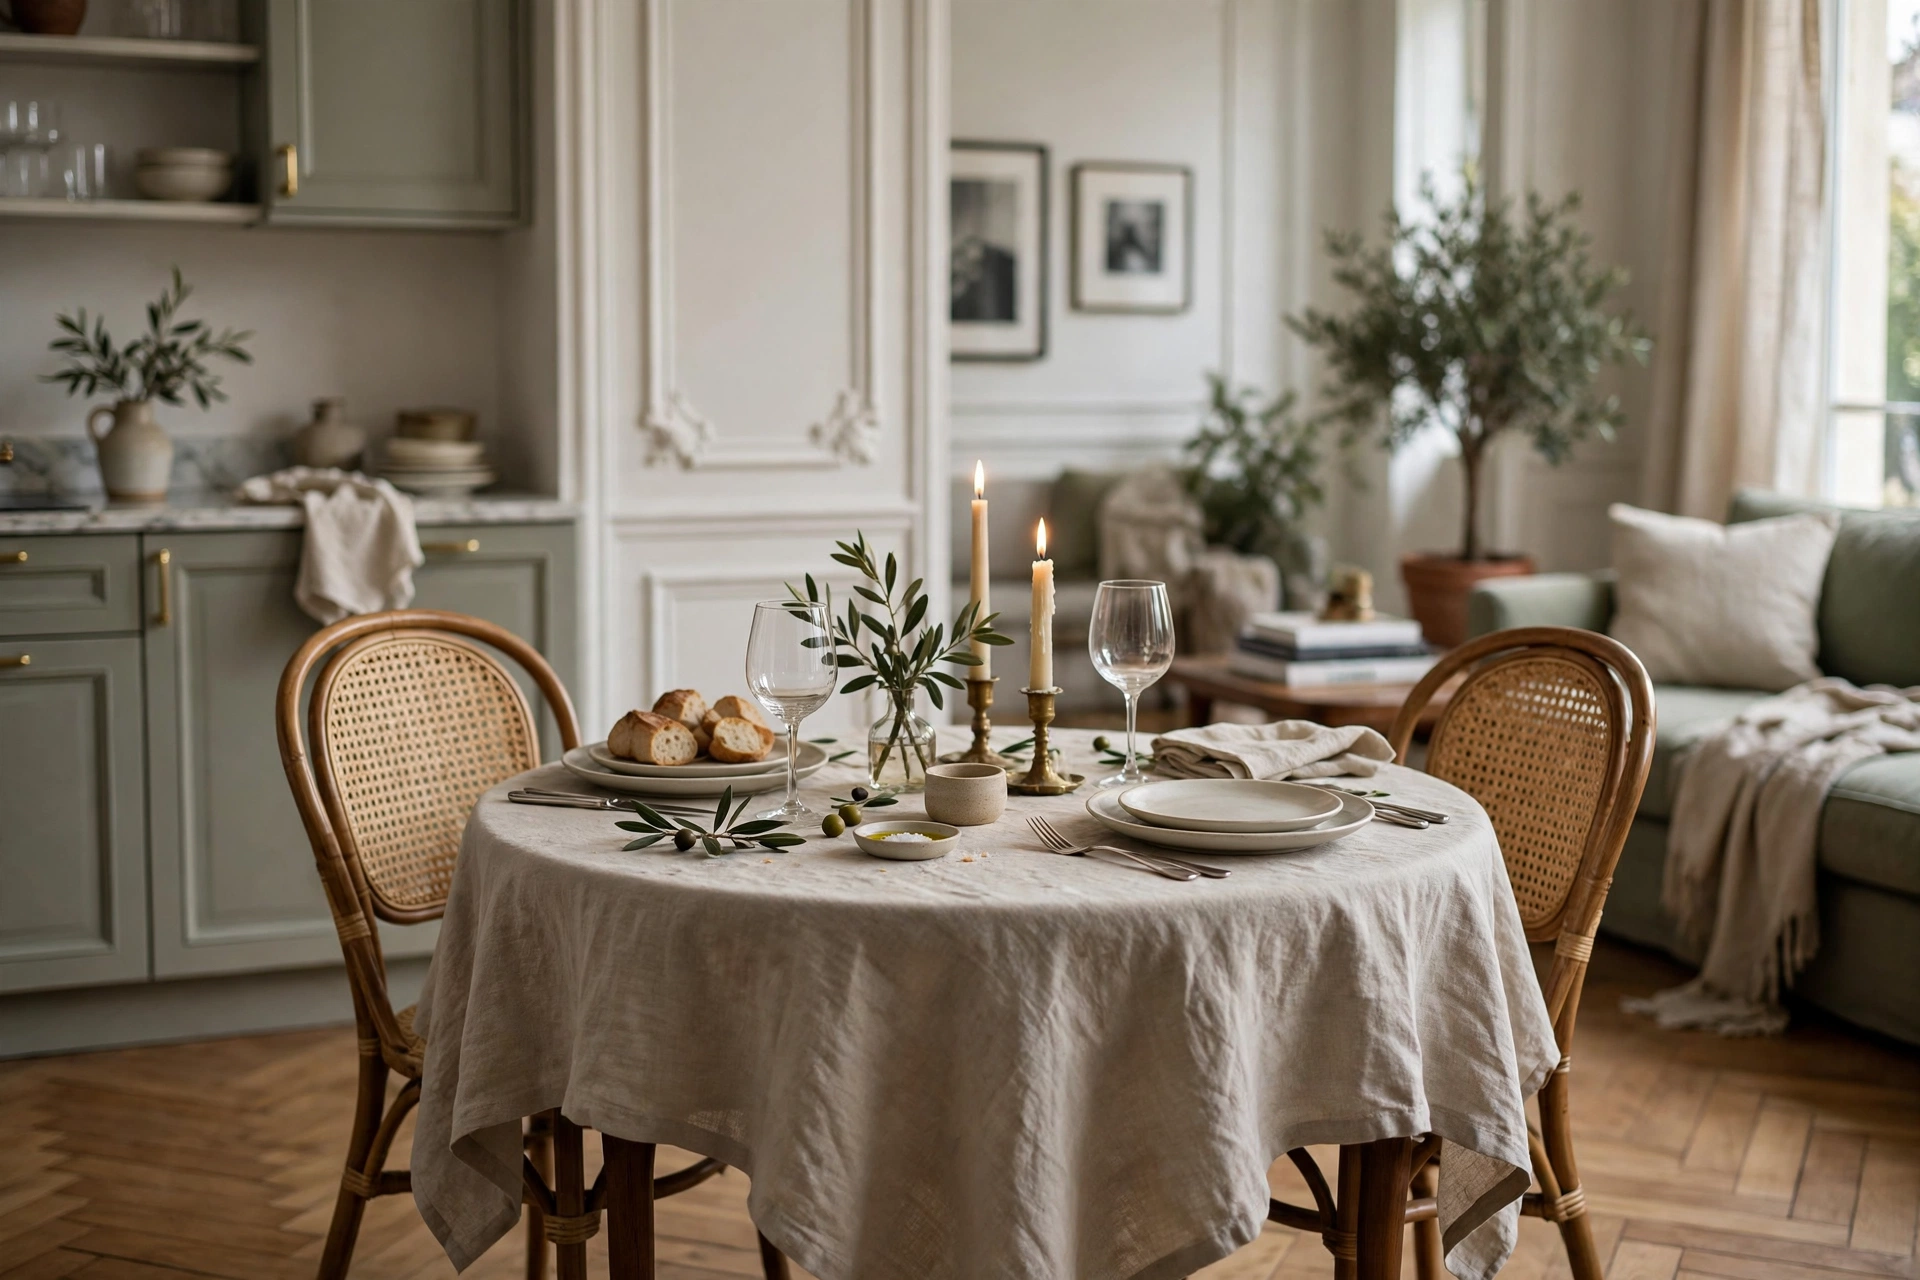
20. Dress the Table in Linen
A real linen tablecloth or runner ($25–$50) turns even a folding table into a dining room — the natural slub texture and soft drape signal “dinner party” the way a bare table never can. In a studio, the dining table is always visible, so dressing it pays off all day. Pro tip: embrace linen’s wrinkles — perfectly pressed linen looks like a banquet hall, but softly rumpled linen looks like a French bistro, which is the expensive one.
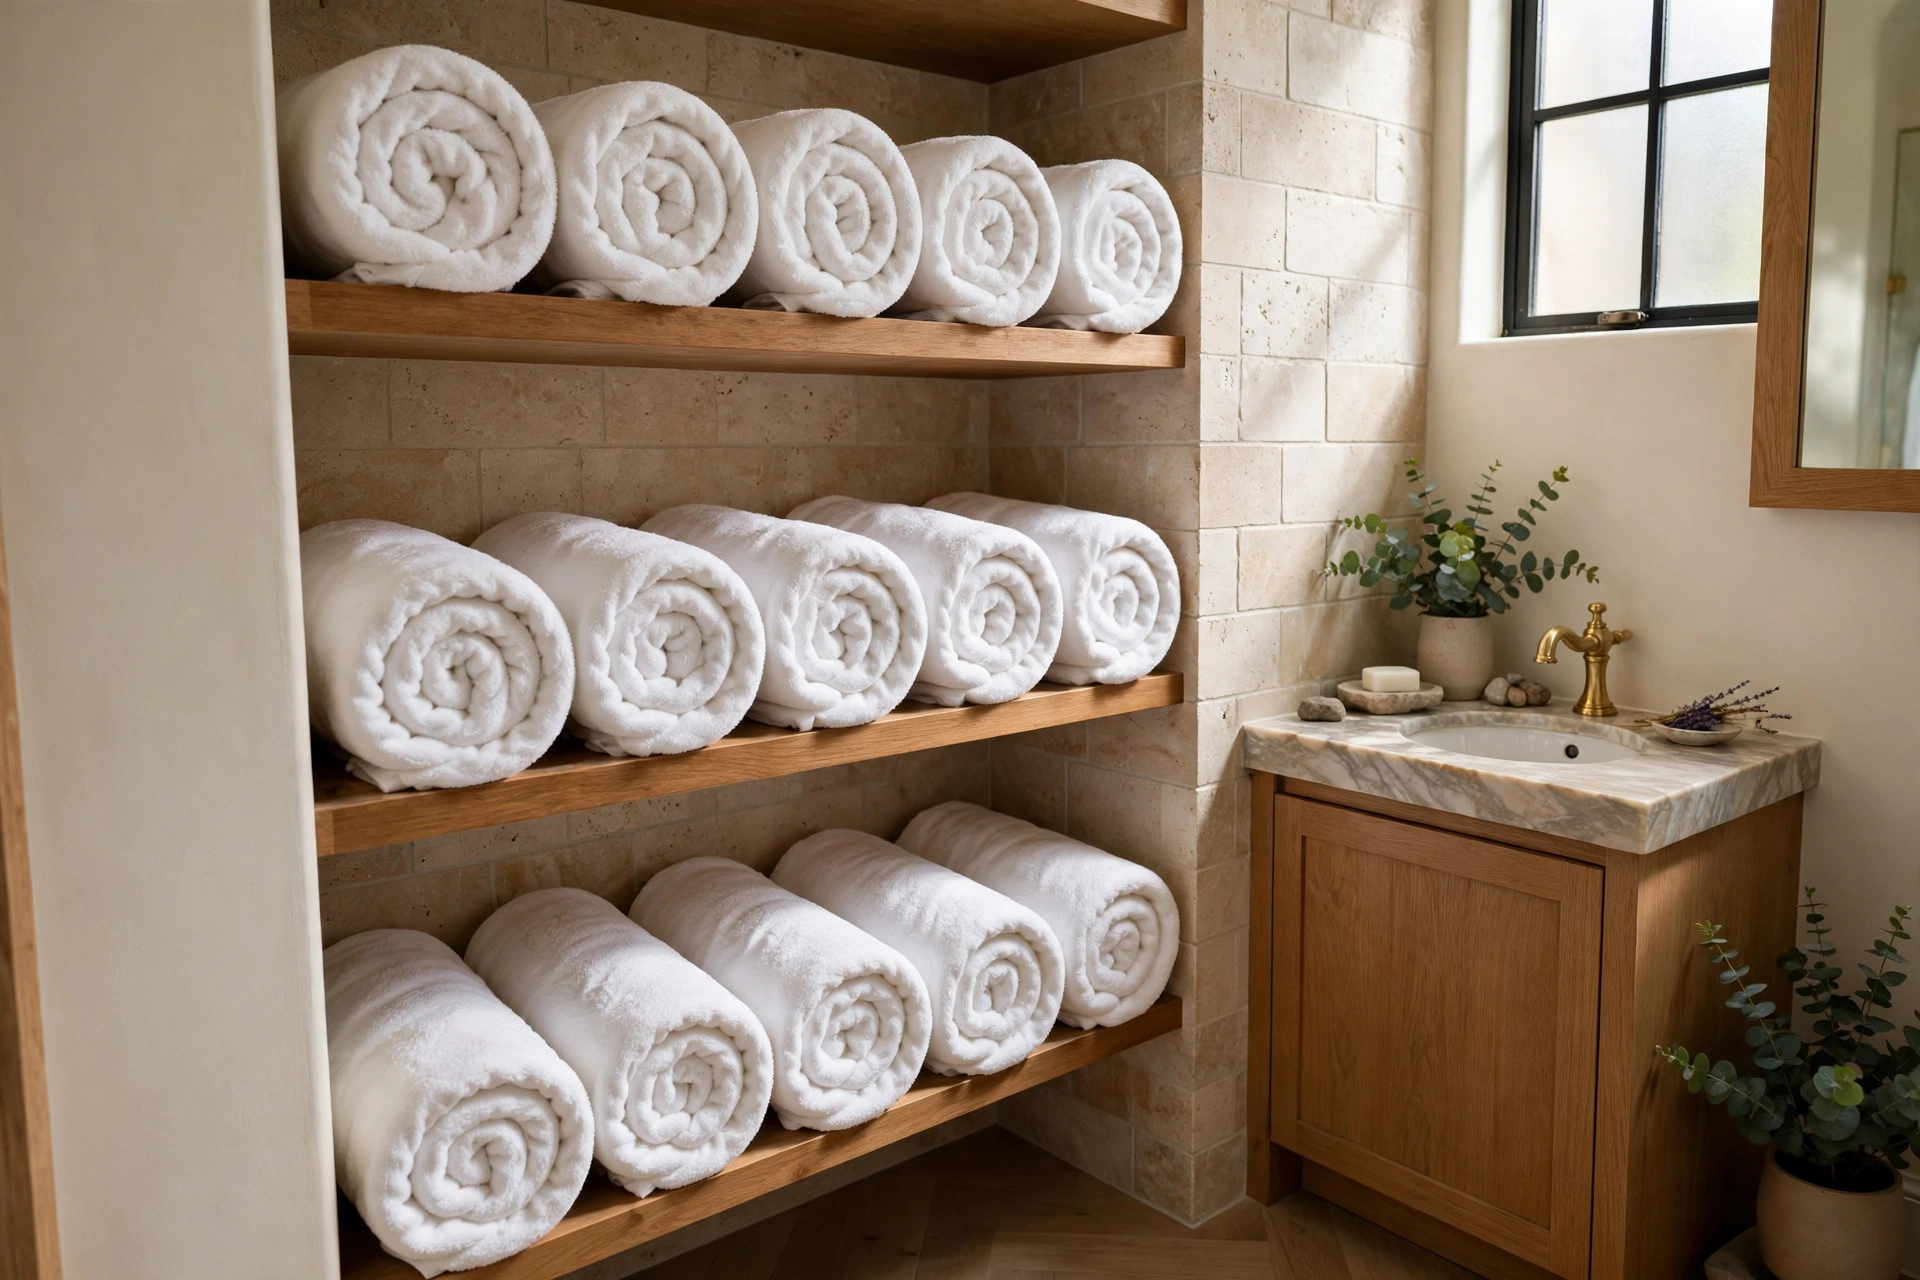
21. Roll Plush White Bath Towels
Hotel bathrooms display towels; cheap bathrooms hide them. Roll thick white bath towels ($8–$15 each) spa-style on an open shelf or in a basket — the uniform white rolls read as a luxury spa, even in a tiny studio bathroom. White is key: colored towels show wear, white towels show intention. Pro tip: fold bath towels in thirds lengthwise before rolling — the rolls come out perfectly cylindrical instead of lumpy, which is the whole visual trick.
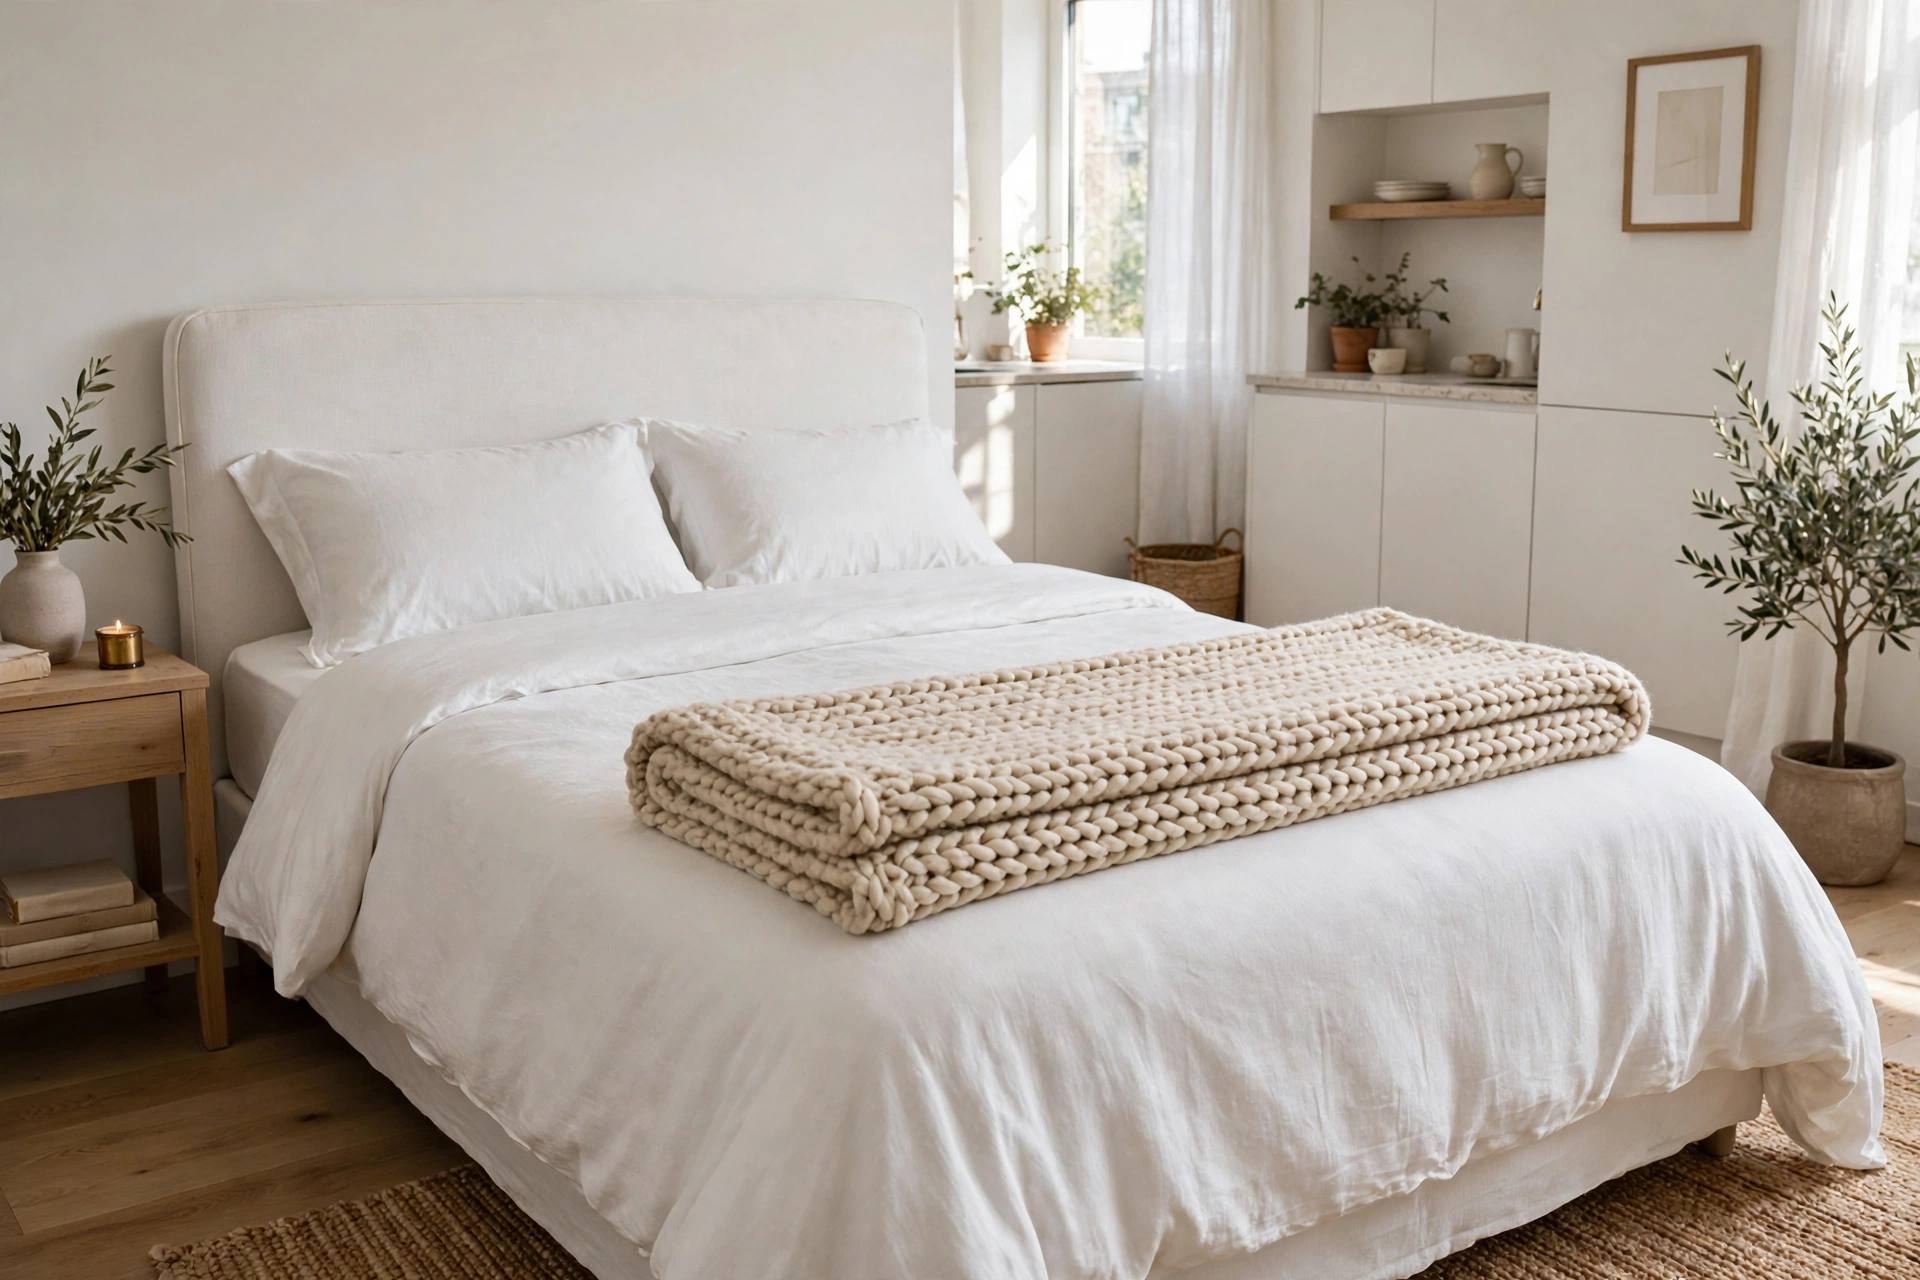
22. Layer a Textured Throw at the Foot of the Bed
That folded throw across the foot of the bed isn’t decoration — it’s a signal. A chunky knit or quilted throw ($30–$60) in a contrasting texture tells the eye “this bed was styled,” which the brain files under expensive. It also adds the third textile layer that separates flat bedding from dimensional bedding. Pro tip: fold the throw in thirds lengthwise and drape it across the lower third of the bed — the precise placement looks deliberate, while a tossed throw looks accidental.
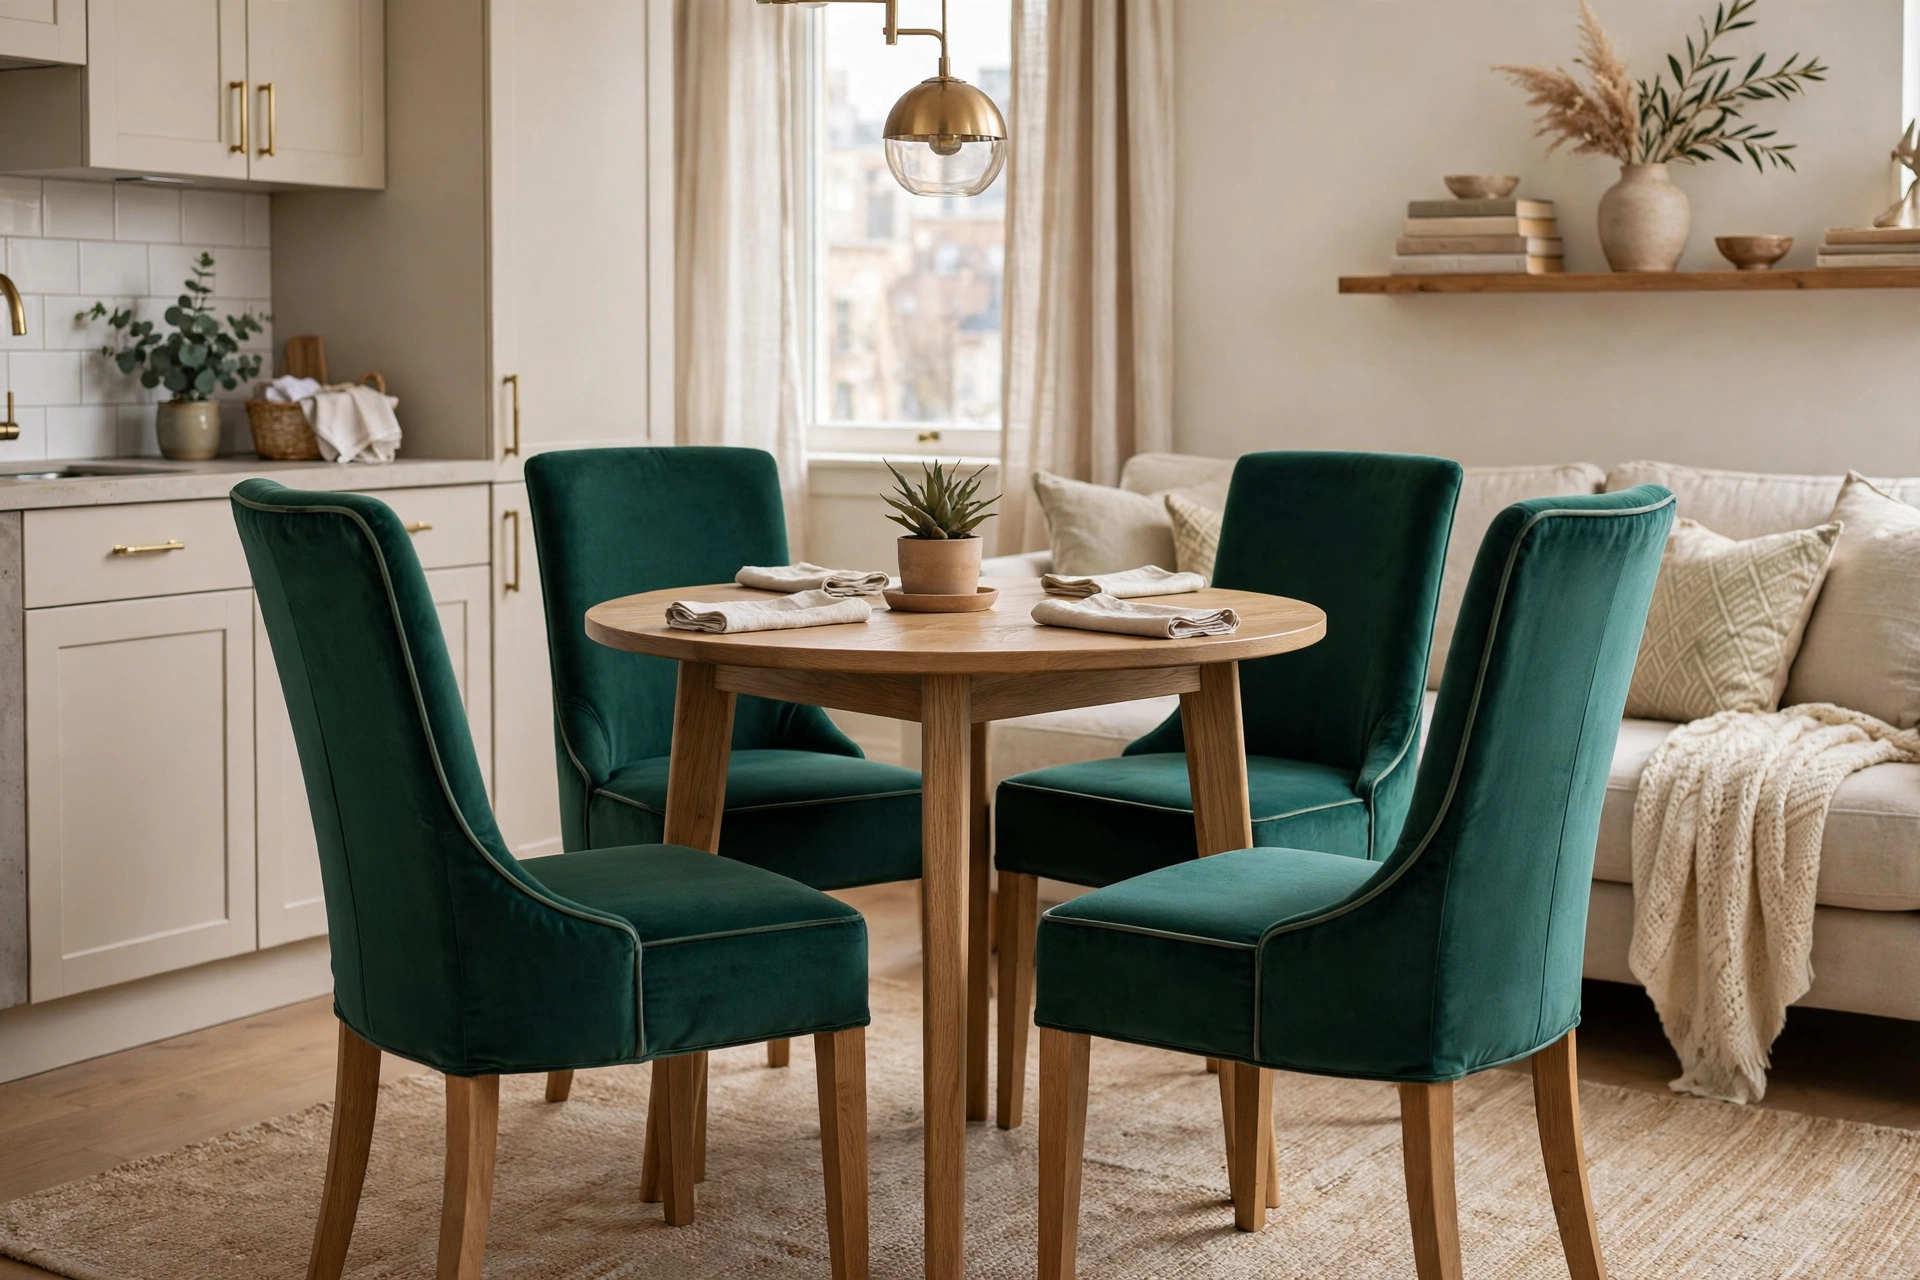
23. Slip Velvet Covers on Dining Chairs
Dining chairs are where budget shows first — thin pads and wobbly legs. Velvet slipcovers ($15–$30 per chair) transform even basic IKEA chairs into banquet seating, and the rich fabric makes the whole dining zone feel formal. In a studio, the dining chairs sit in sight all day, so the upgrade works overtime. Pro tip: choose covers with elasticized backs rather than ties — ties read as country-casual, while smooth fitted covers read as tailored and expensive.
Lighting & Ambience
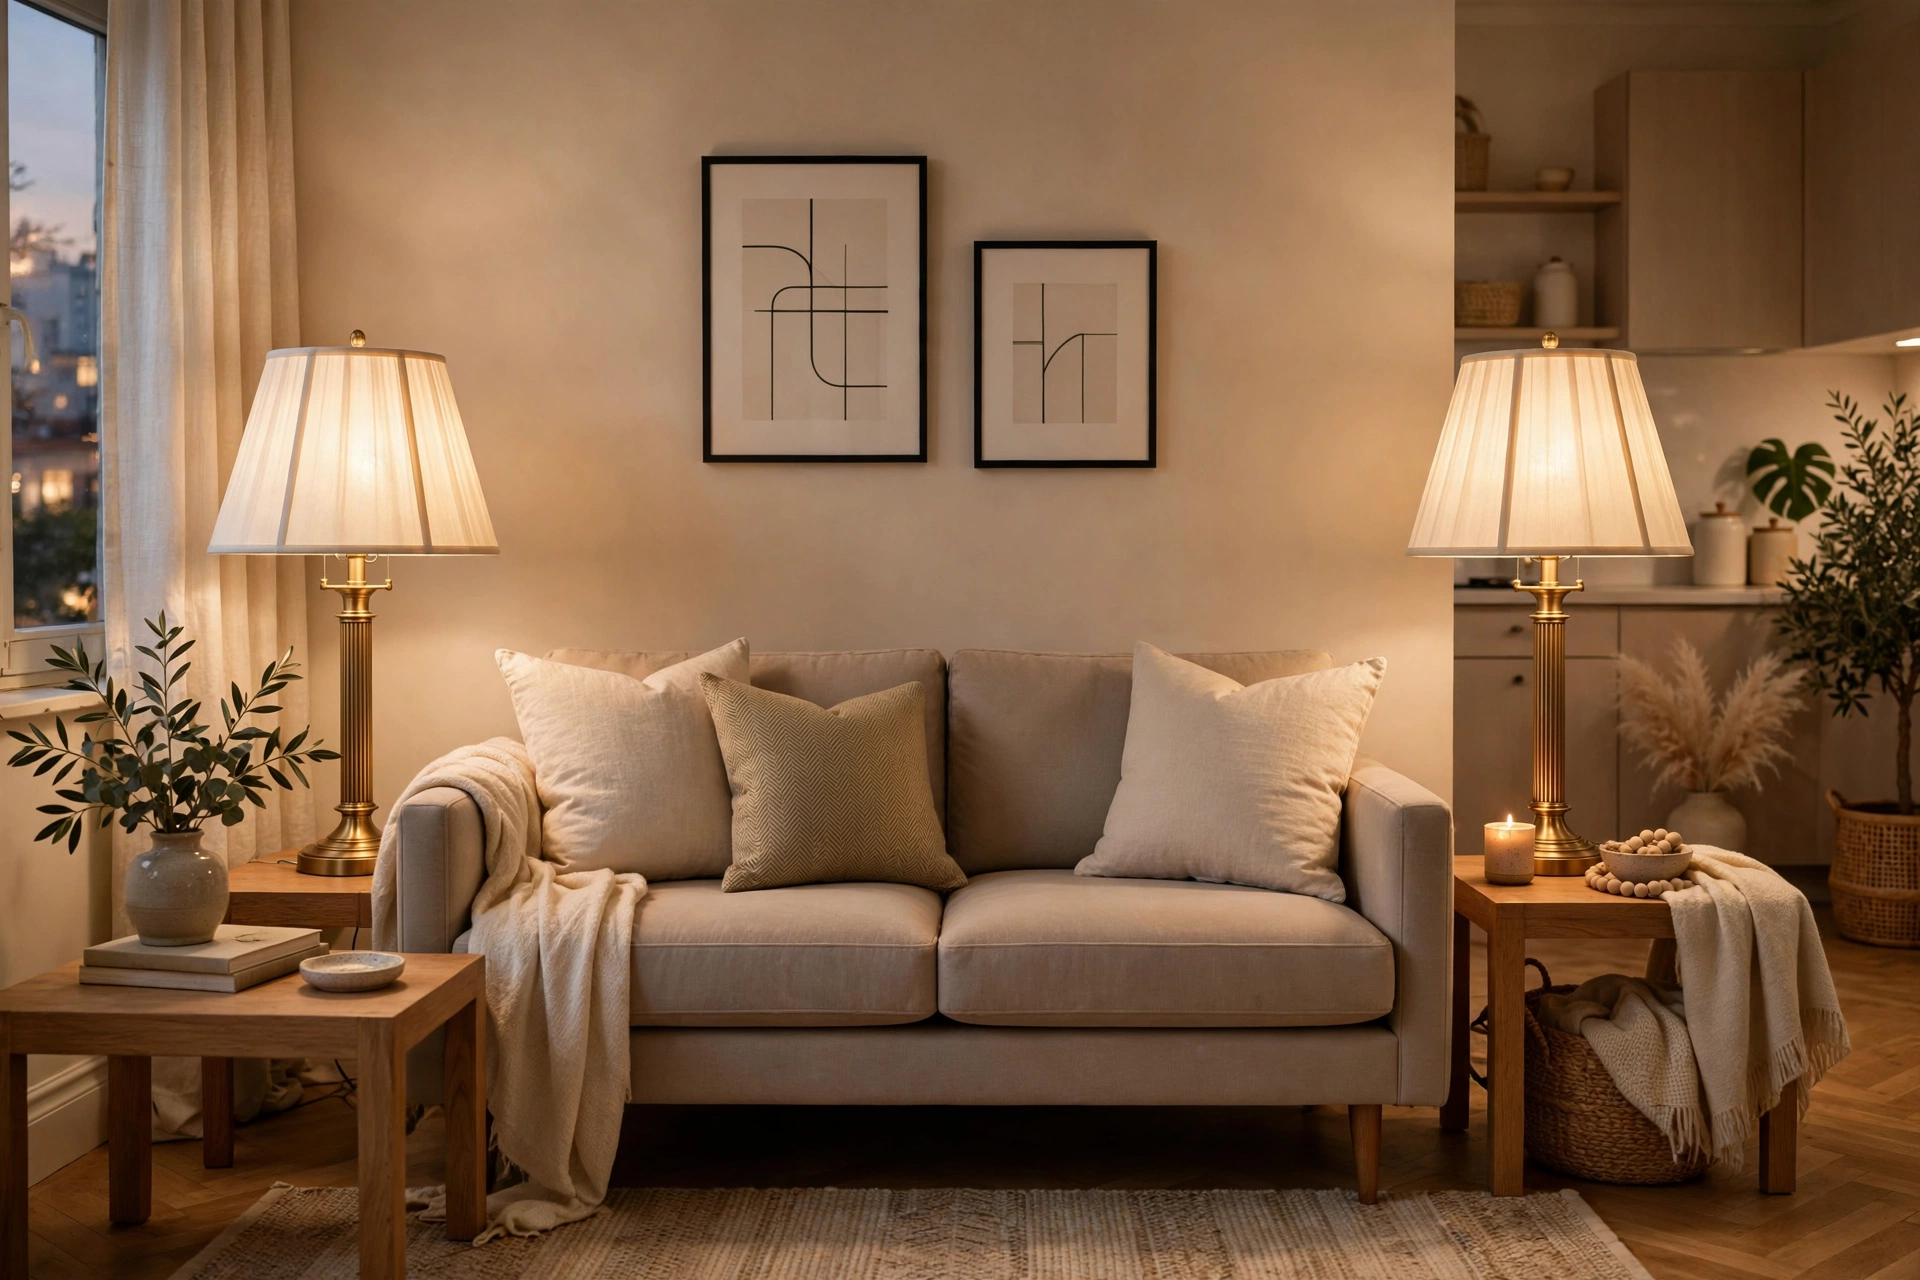
24. Layer Table Lamps in Matching Pairs
Symmetry reads as intentional, and intentional reads as expensive — matching table lamps ($30–$60 each) flanking the sofa or bed create the balanced, designed look of a styled interior. Two smaller lamps also light a studio more flatteringly than one big overhead. This layered approach is the core of our studio apartment lighting ideas. Pro tip: match the lamp bases but vary the shades slightly (same shape, one in linen and one in silk) — the subtle difference looks collected rather than showroom-matched.
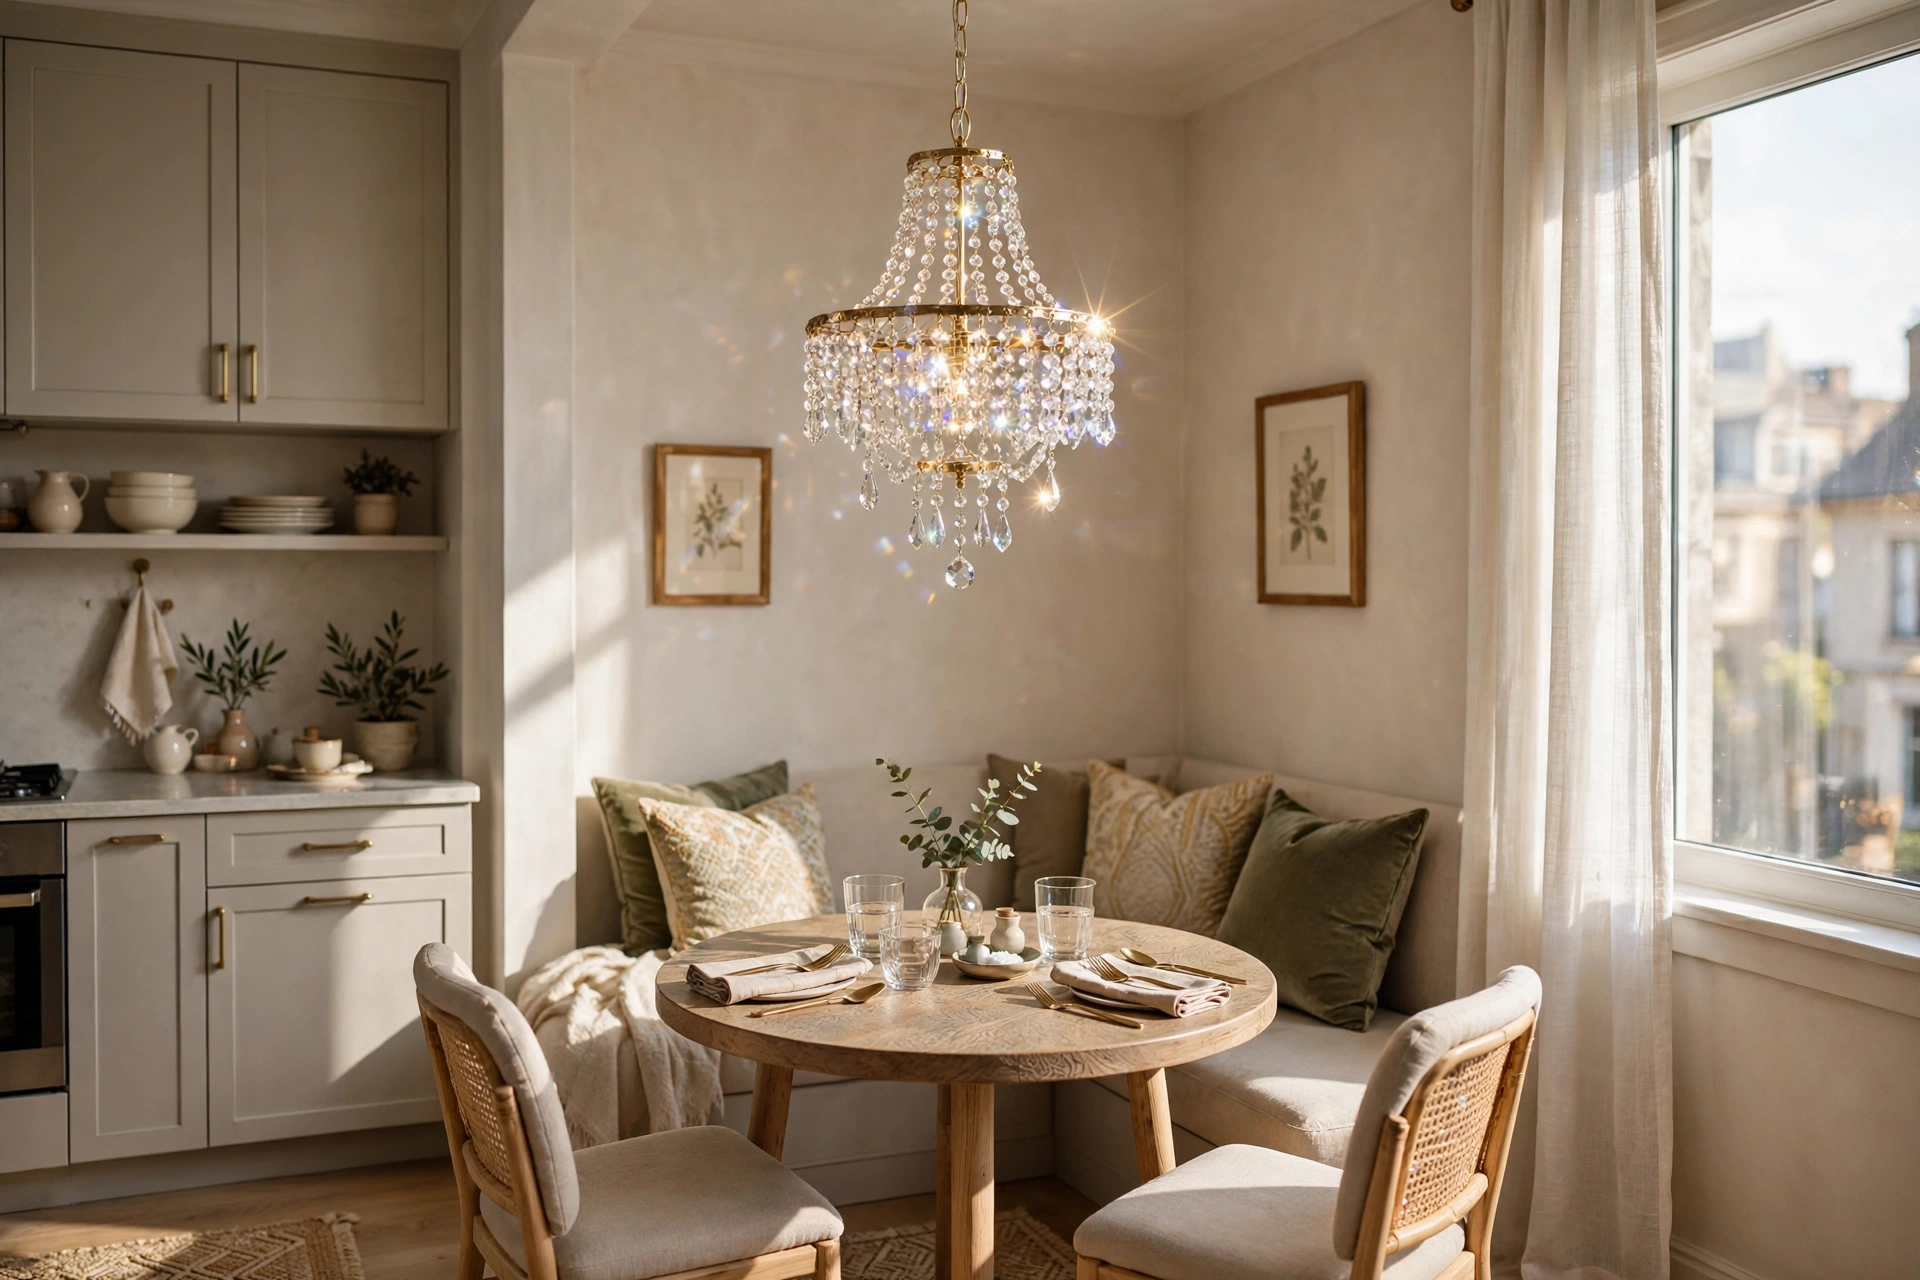
25. Hang a Crystal-Look Chandelier Dupe
A chandelier in a studio sounds extravagant — that’s exactly why it works. Crystal-look mini chandeliers ($60–$130 on Amazon) plug into the existing ceiling box and instantly make the room feel grand; the sparkle catches light all day. Choose a 12–16 inch diameter so it suits the small scale. Pro tip: hang it over the dining table or reading corner rather than centered in the room — anchoring it to a zone looks deliberate, while a floating-centered chandelier in a studio can look lost.
26. Cluster Candles on Mirrored Trays
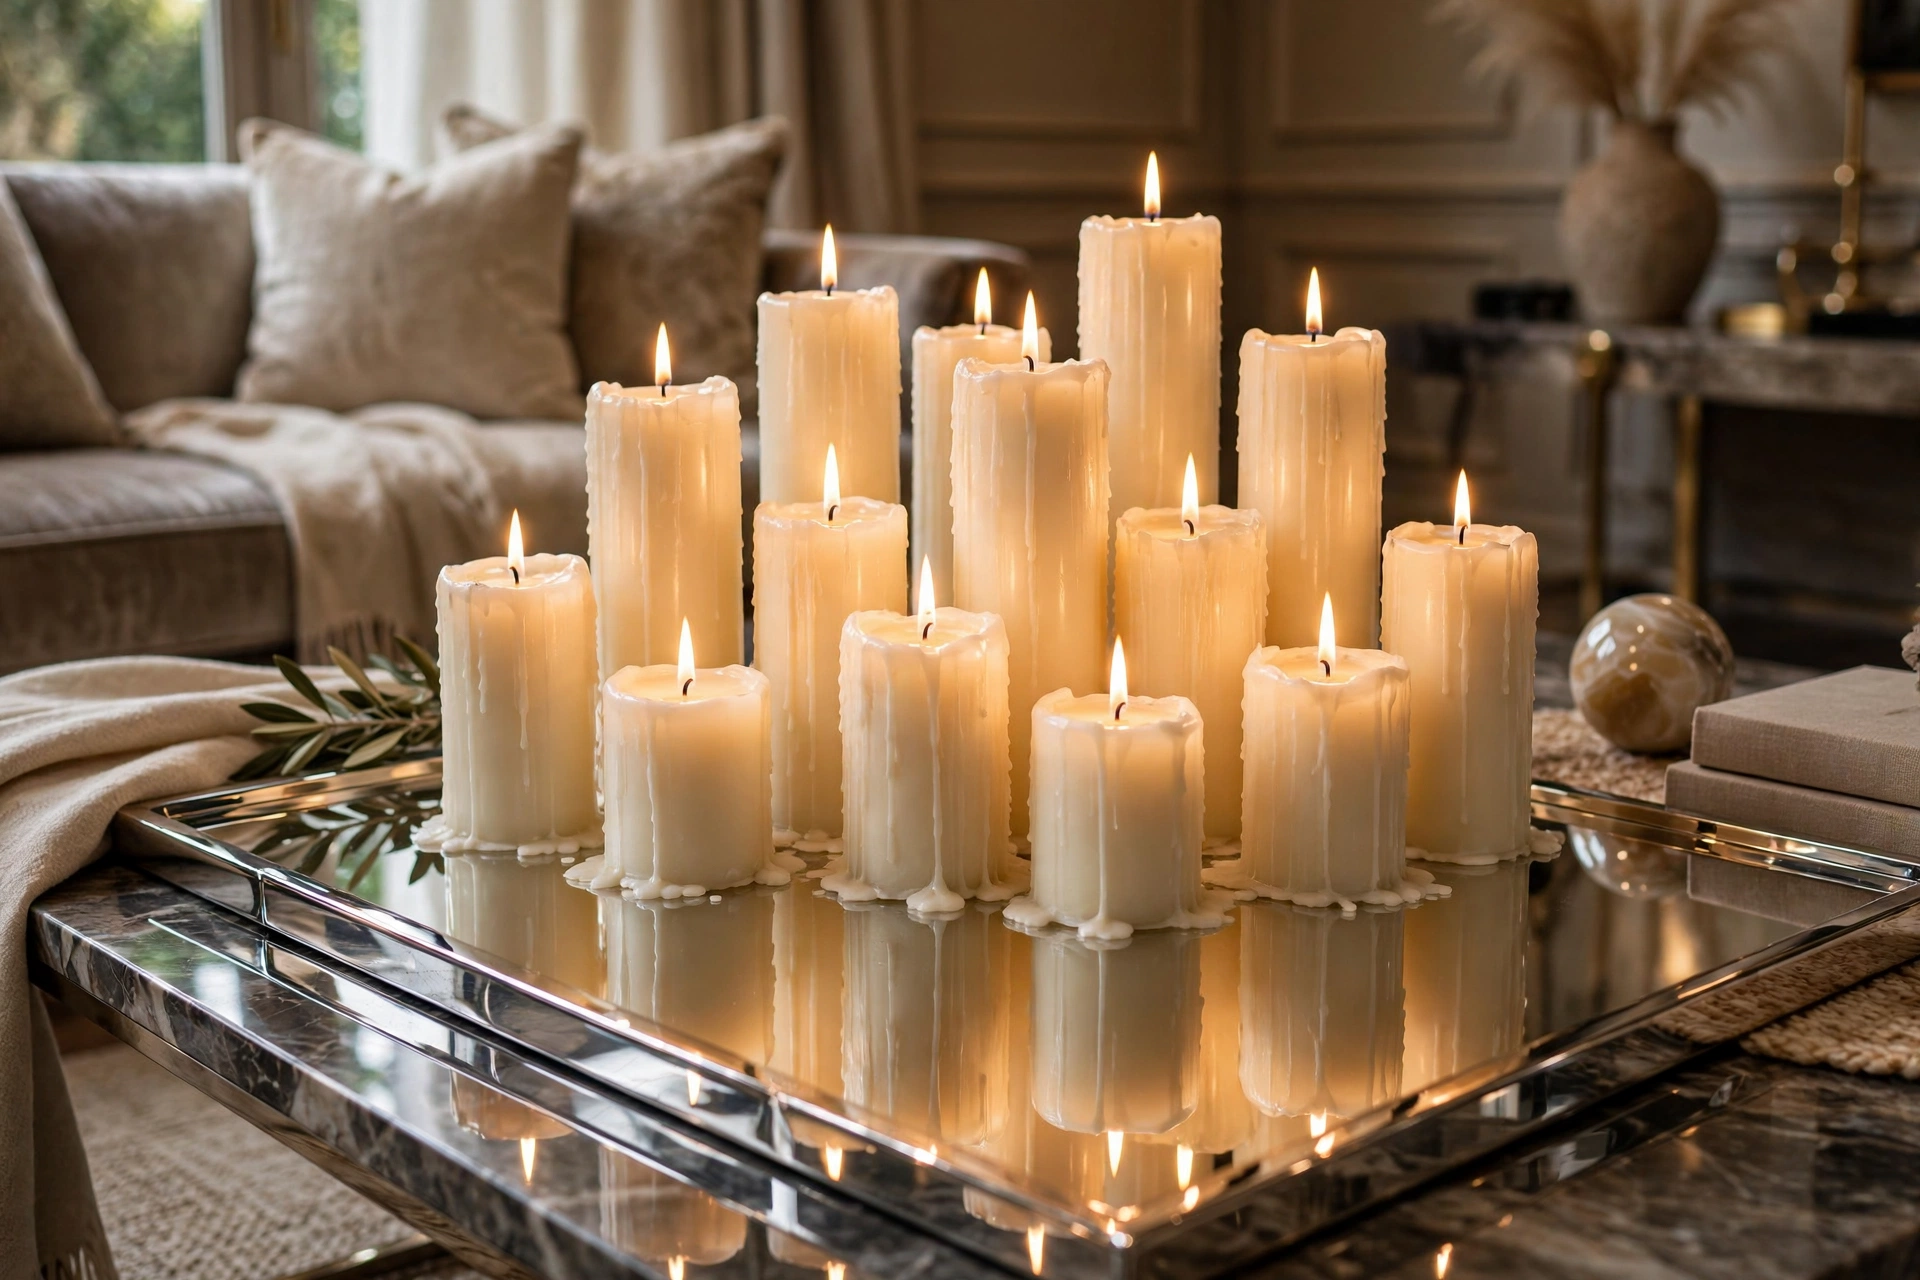
A mirrored tray ($15–$30 at HomeGoods) doubles every candle flame it holds — the reflection multiplies the glow and the perceived luxury simultaneously. Group pillar candles in odd numbers at varying heights on the tray for a centerpiece that looks like it cost ten times more. Pro tip: use unscented pillars in the cluster and one scented candle elsewhere in the room — mixed fragrances in a small studio create a confusing, cheap-smelling cloud.
27. Add an Arc Floor Lamp
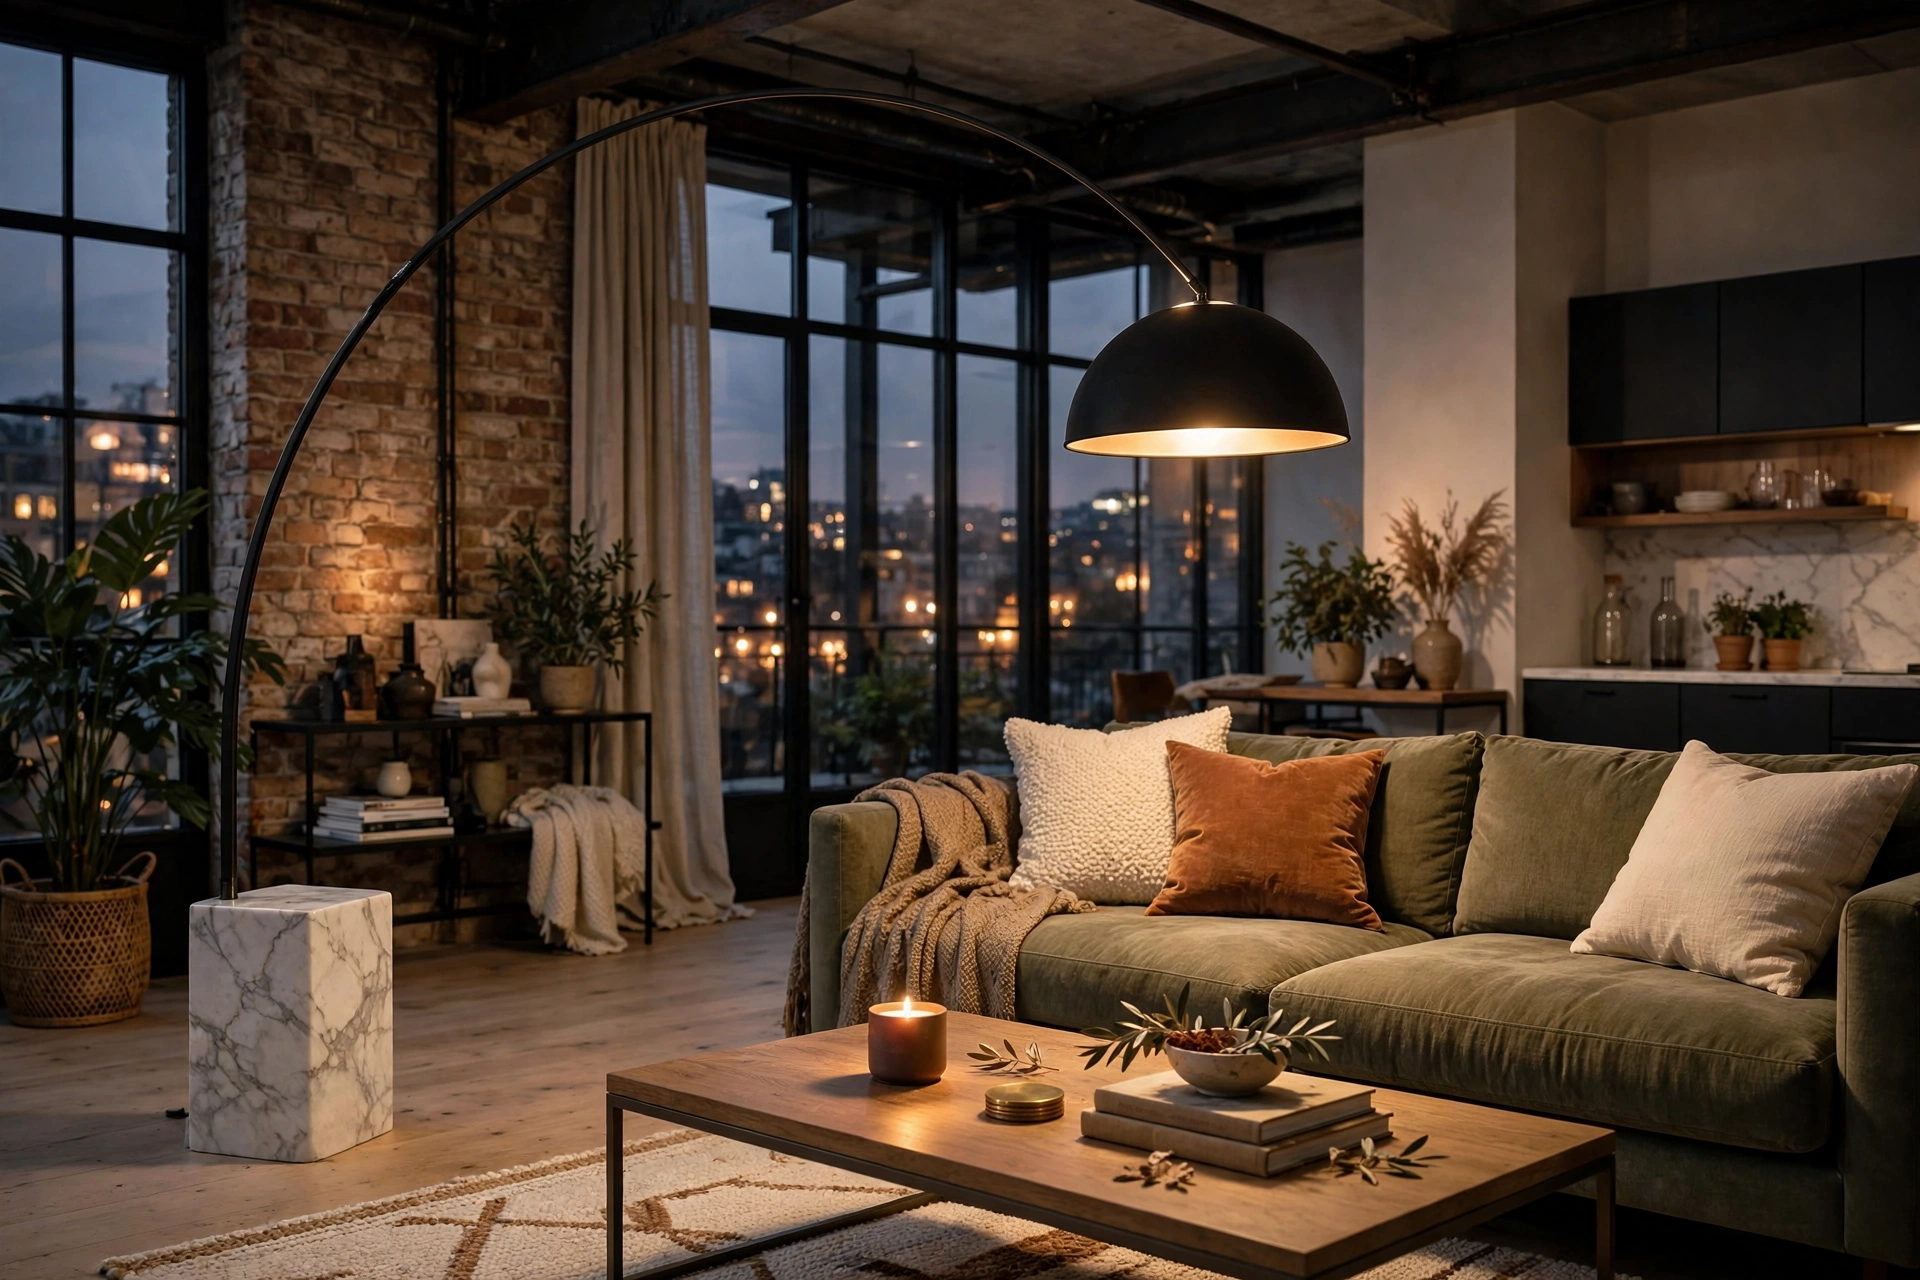
The arc floor lamp is the silhouette of expensive lofts — its dramatic curve brings overhead light to the seating area without any wiring. Decent arc lamps run $90–$180, and the marble base alone signals quality. In a studio, it defines the living zone architecturally. Pro tip: position the arc so the shade hangs over the coffee table, not over heads — light falling on the table’s styling looks intentional; light glaring into eyes looks like a mistake.
28. Install a Picture Light Over Art
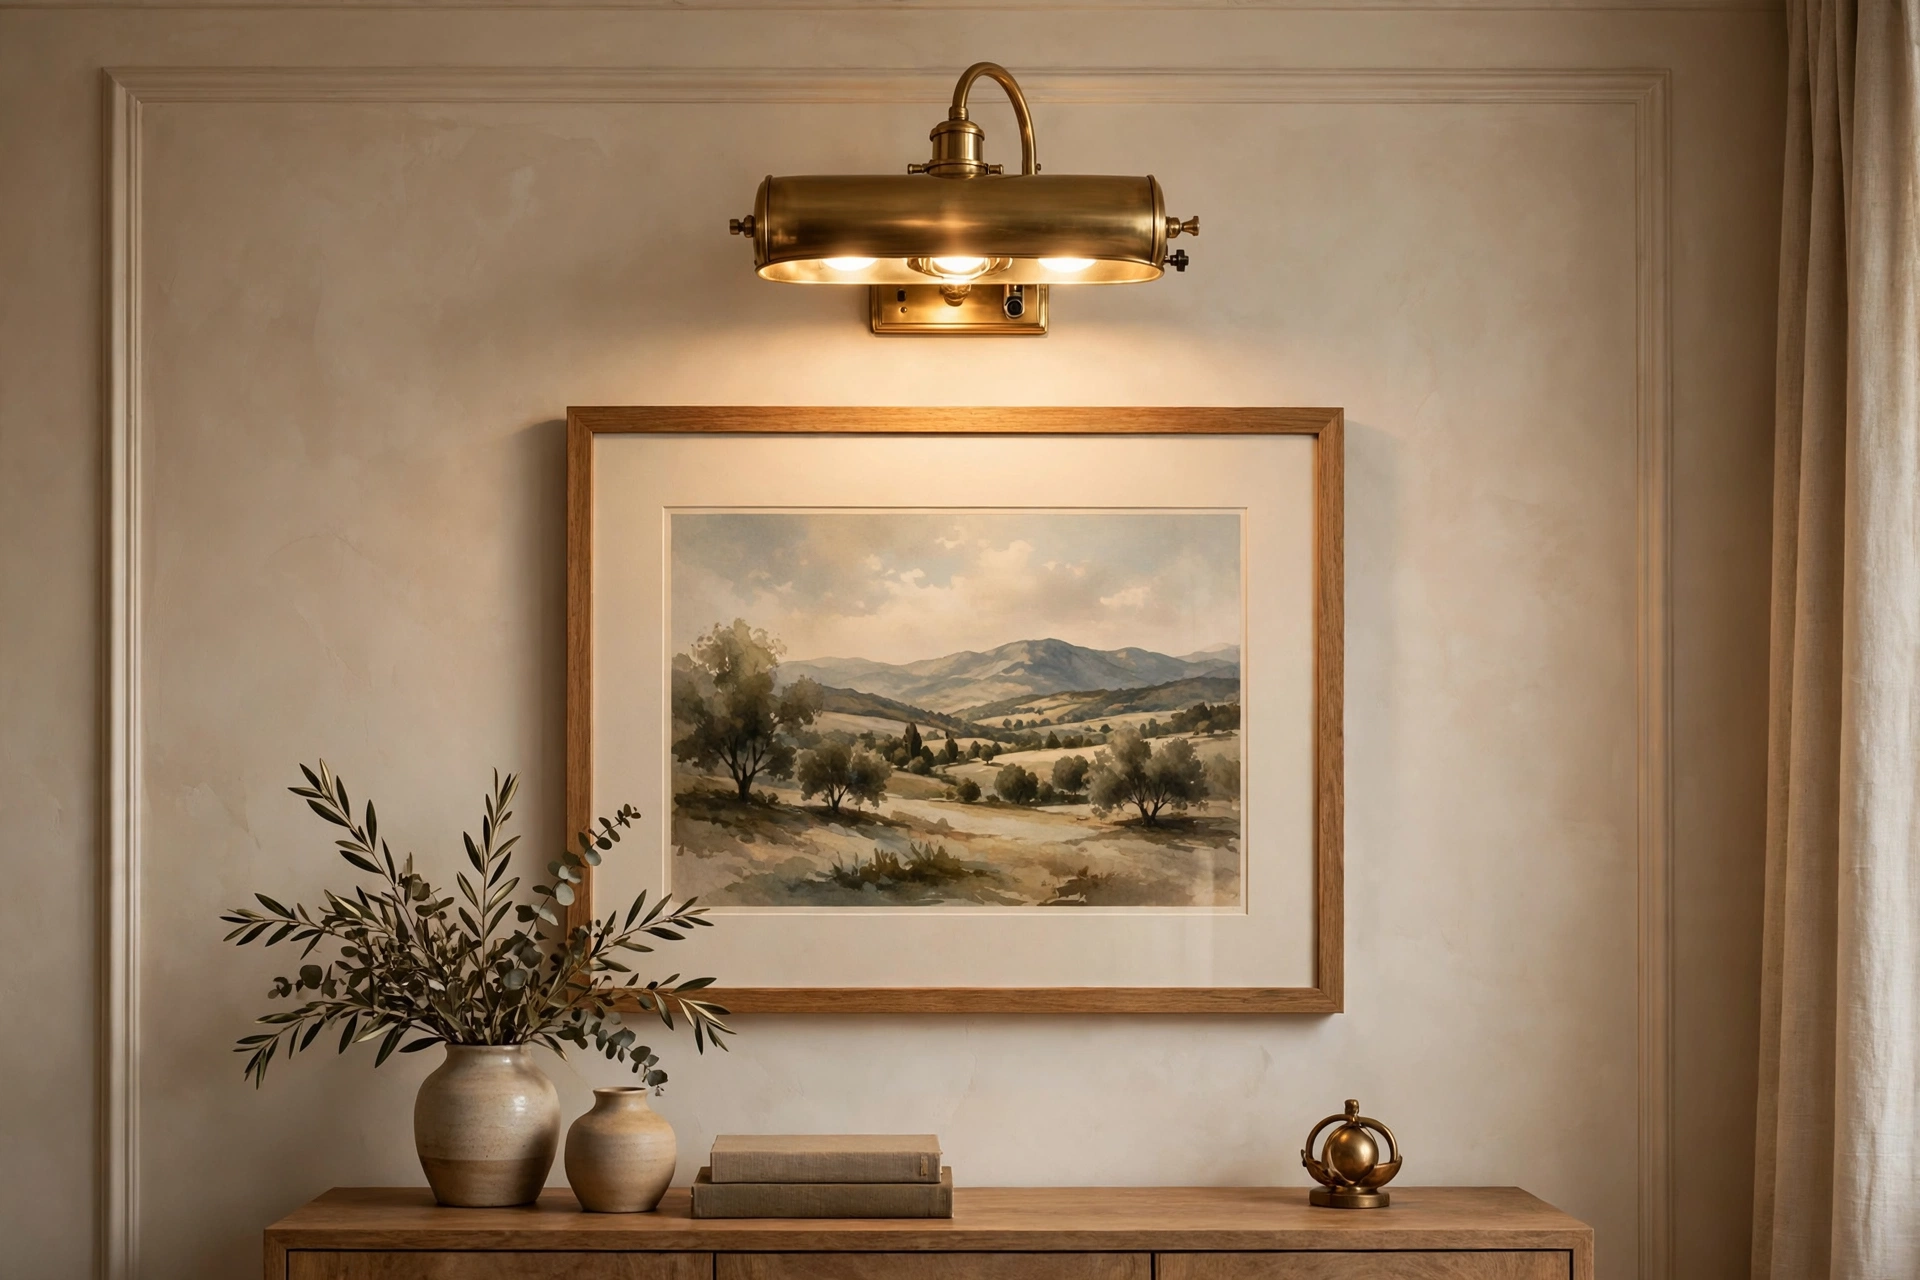
Museums light their art — so should you. A battery-powered brass picture light ($25–$50) mounted above your best framed print creates a gallery moment that elevates both the art and the entire wall. The warm wash of light makes even an inexpensive print look important. Pro tip: choose a light roughly half the width of the frame — too wide looks commercial, too narrow looks timid, and half-width looks like it was specified by a designer.
29. Mount Plug-In Wall Sconces
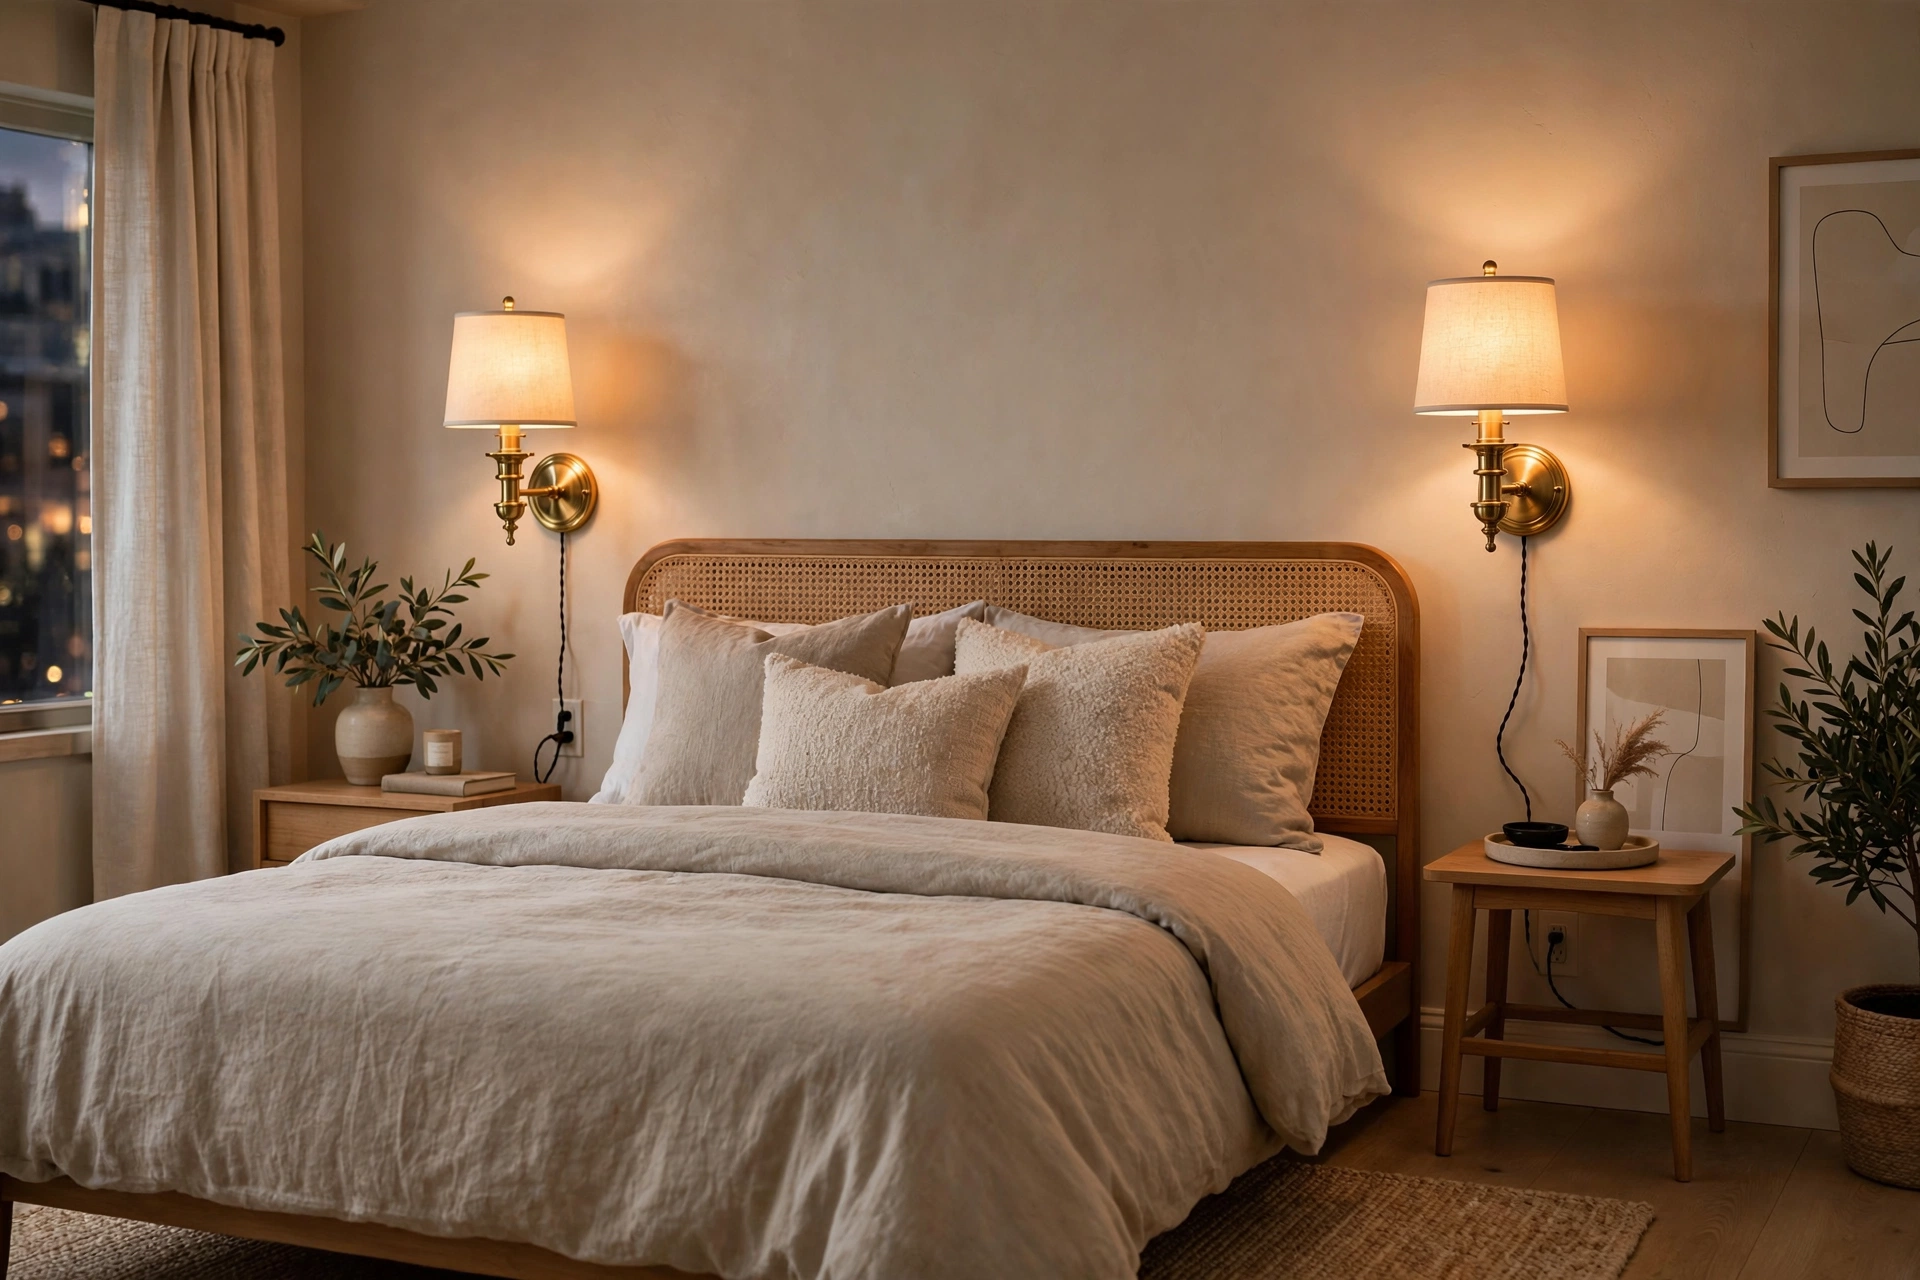
Wall sconces are the lighting of fancy hotels — and plug-in versions ($30–$70 each) need no electrician, just a hook and an outlet. Flank the bed, the mirror, or a piece of art with a pair for instant architectural lighting. The cords can be hidden with $8 cord covers painted to match the wall. Pro tip: mount sconces at eye level (about 60 inches from the floor) — too high and they light the ceiling, too low and they glare; eye level flatters faces and walls equally.
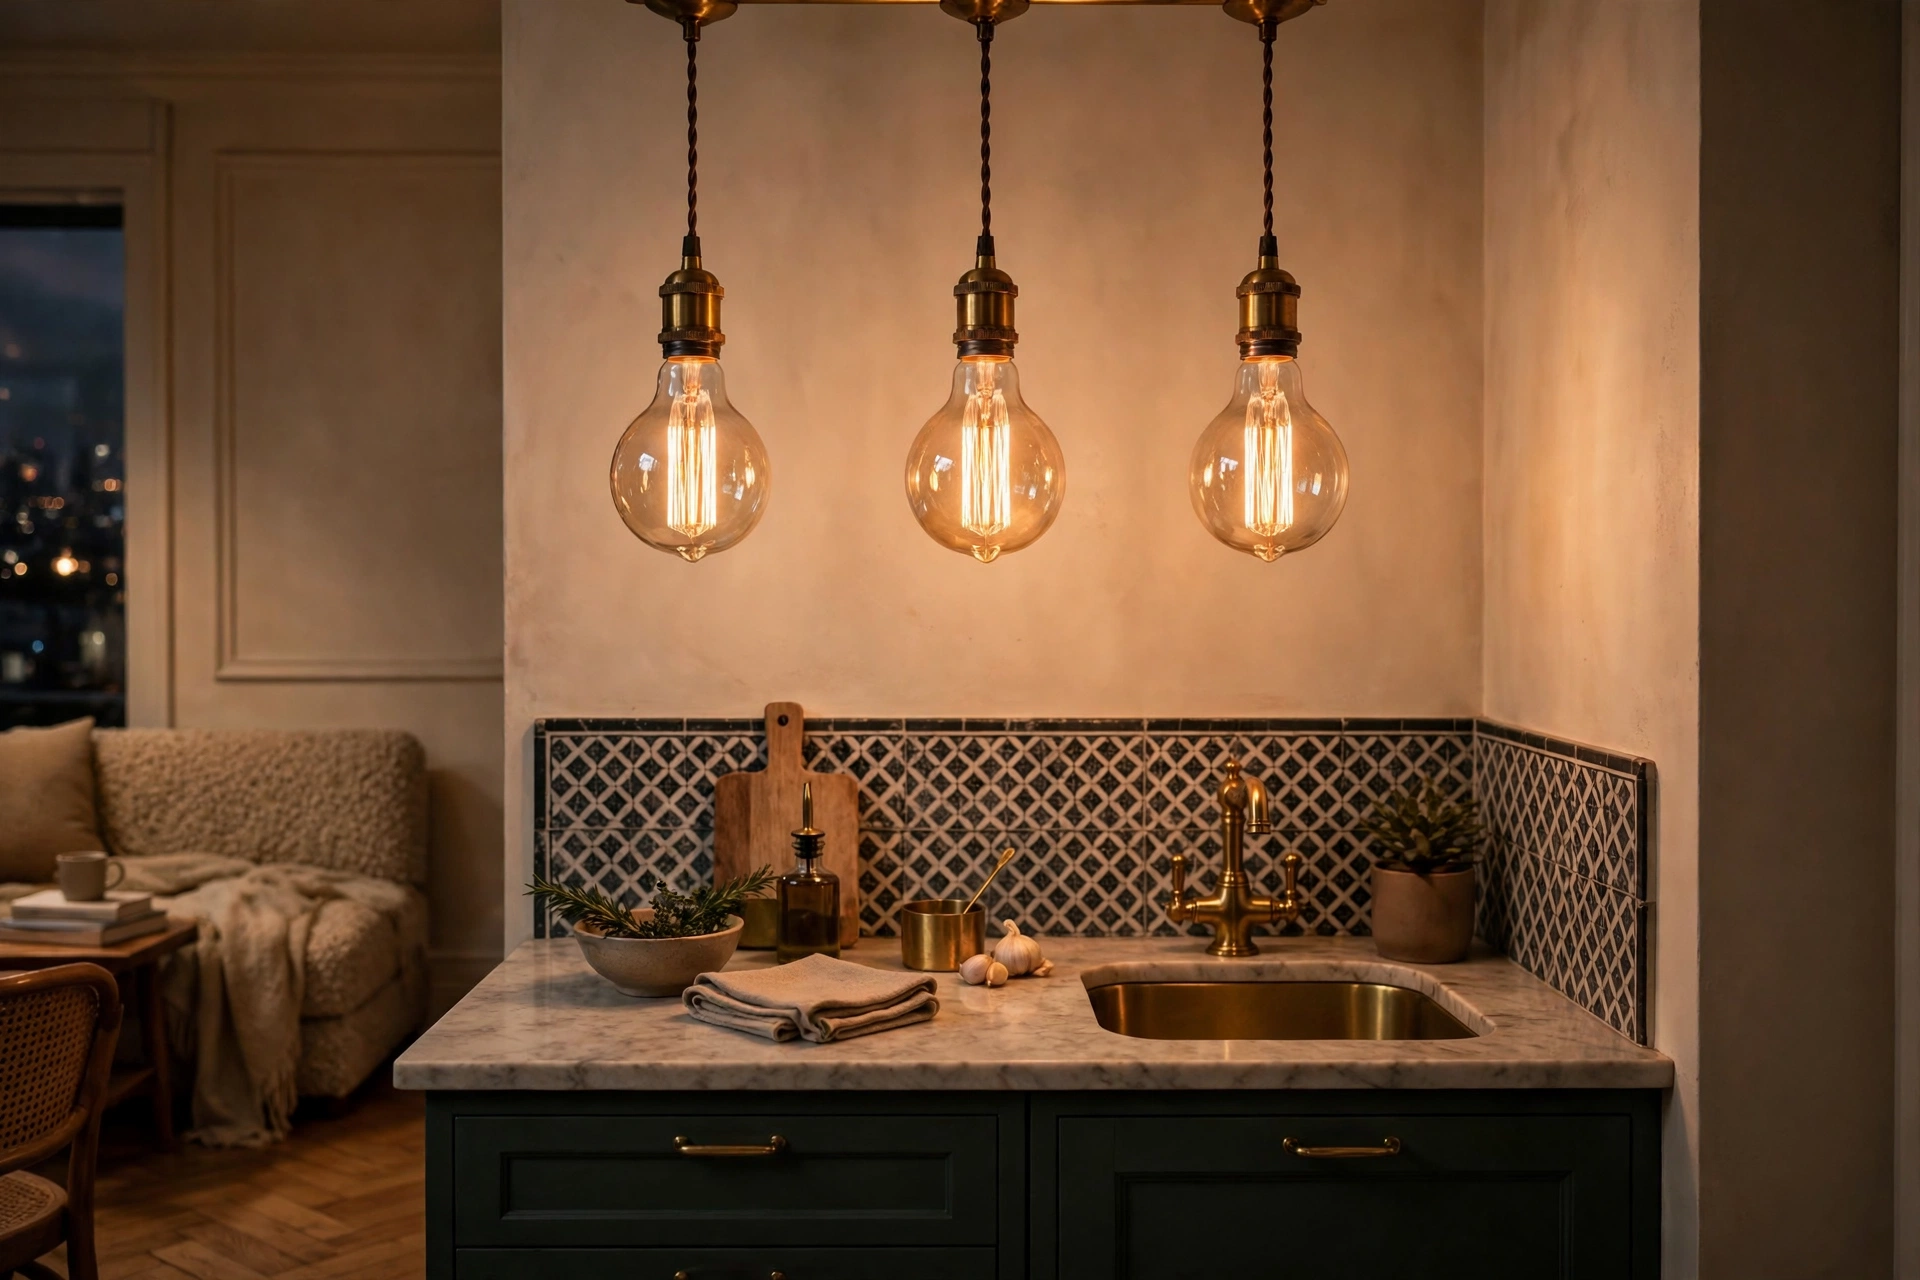
30. Swap In Edison-Bulb Pendants
Bare-bulb pendants with vintage Edison bulbs ($20–$45 per pendant) are bistro-luxe — the warm amber glow and visible filament read as intentional design, not missing shades. Hang two over the kitchen counter or dining table at staggered heights. Pro tip: use LED Edison bulbs, not incandescent — they give the same amber look without the heat, and in a small studio every degree of heat matters.
Details & Styling Tricks
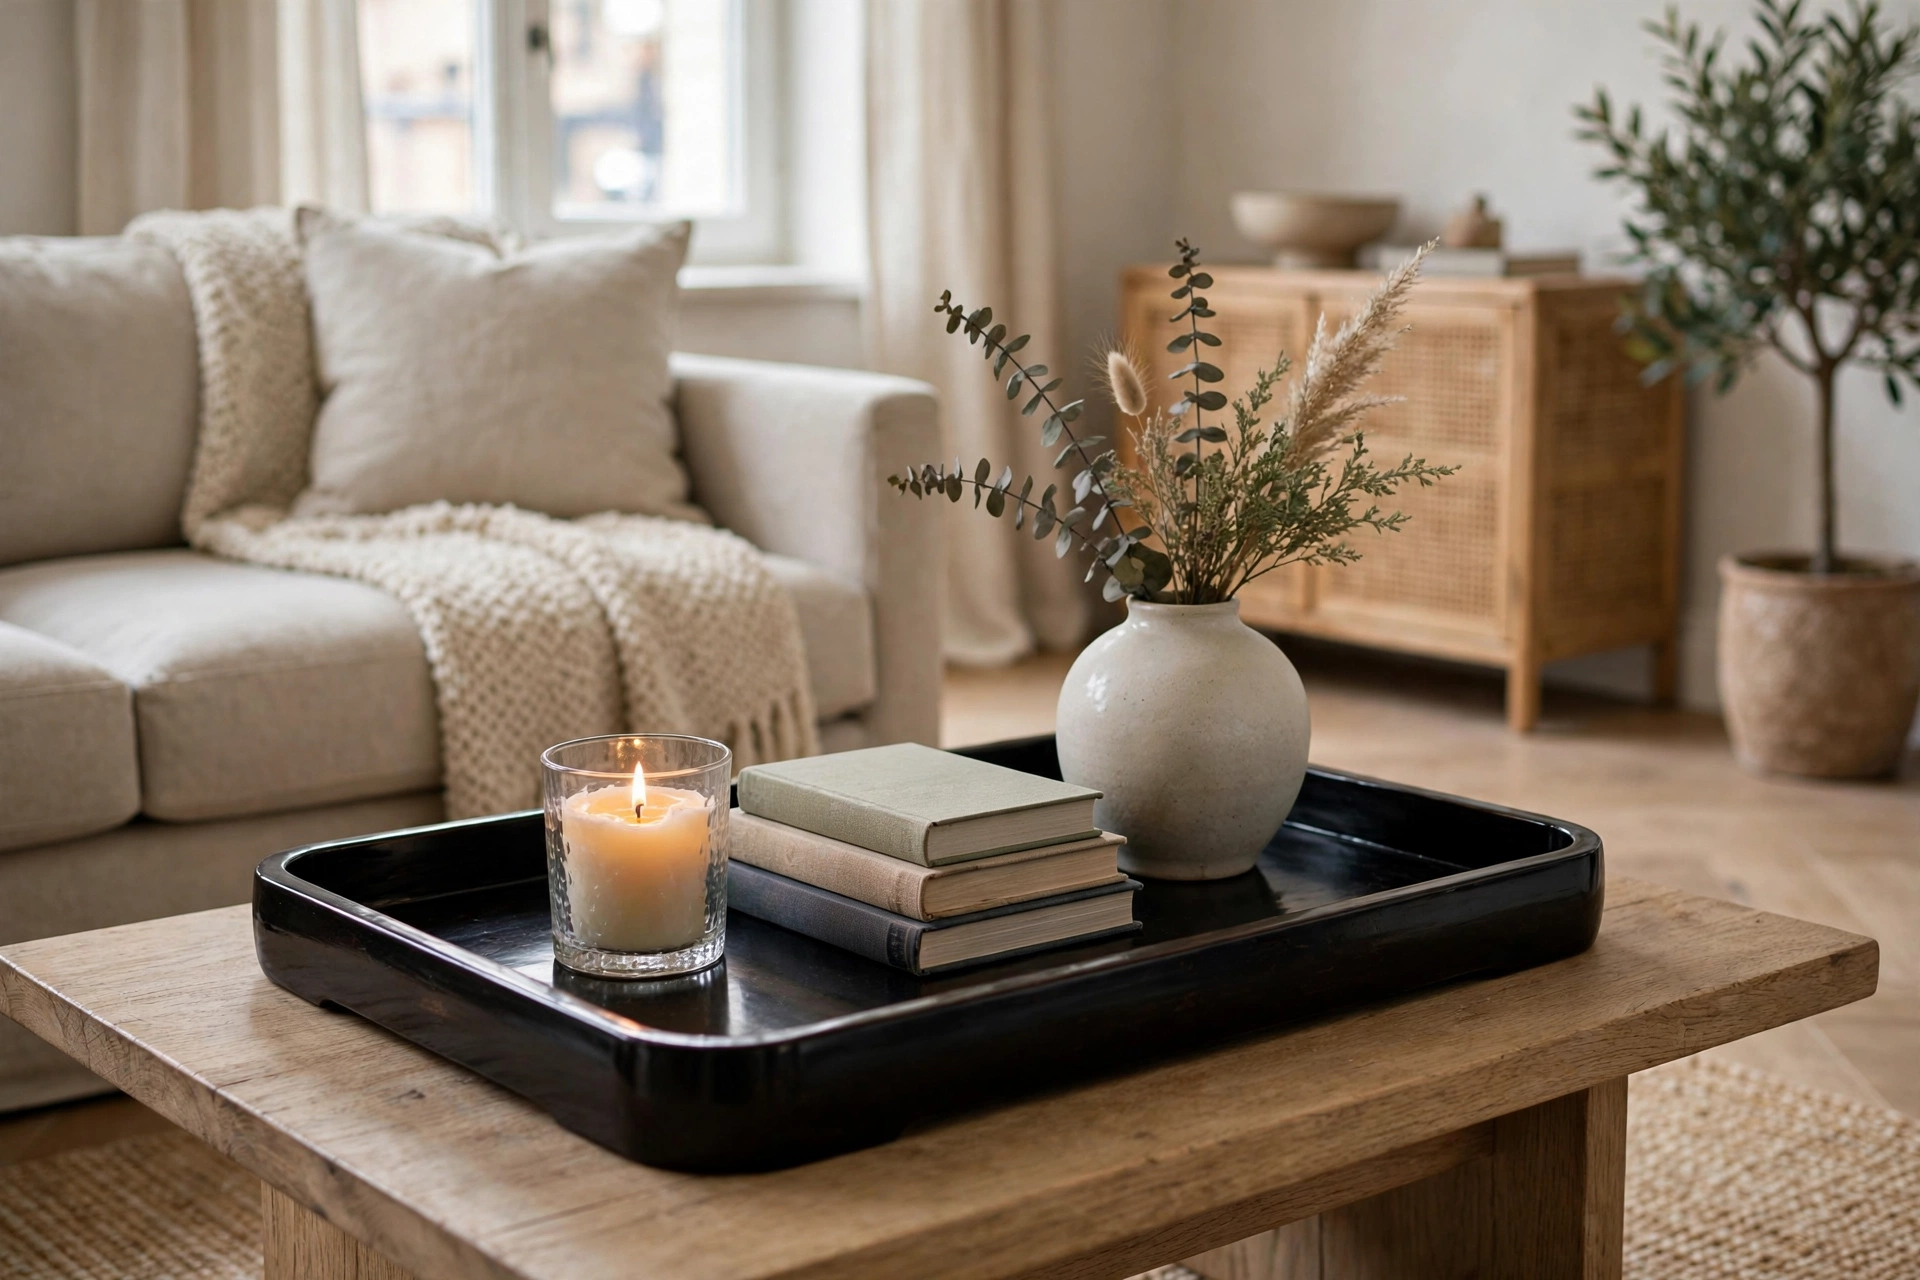
31. Style a Coffee-Table Tray
A tray turns clutter into a vignette — corral the remote, coasters, and candle on a lacquered or mirrored tray ($15–$35) and the coffee table goes from messy to styled in seconds. The tray’s boundary is what creates the “designed” feeling; without it, the same objects look scattered. Pro tip: follow the rule of three — one tall object (vase or candle), one medium (stack of coasters or small plant), one low (books) — the height variation is what makes trays look professional.
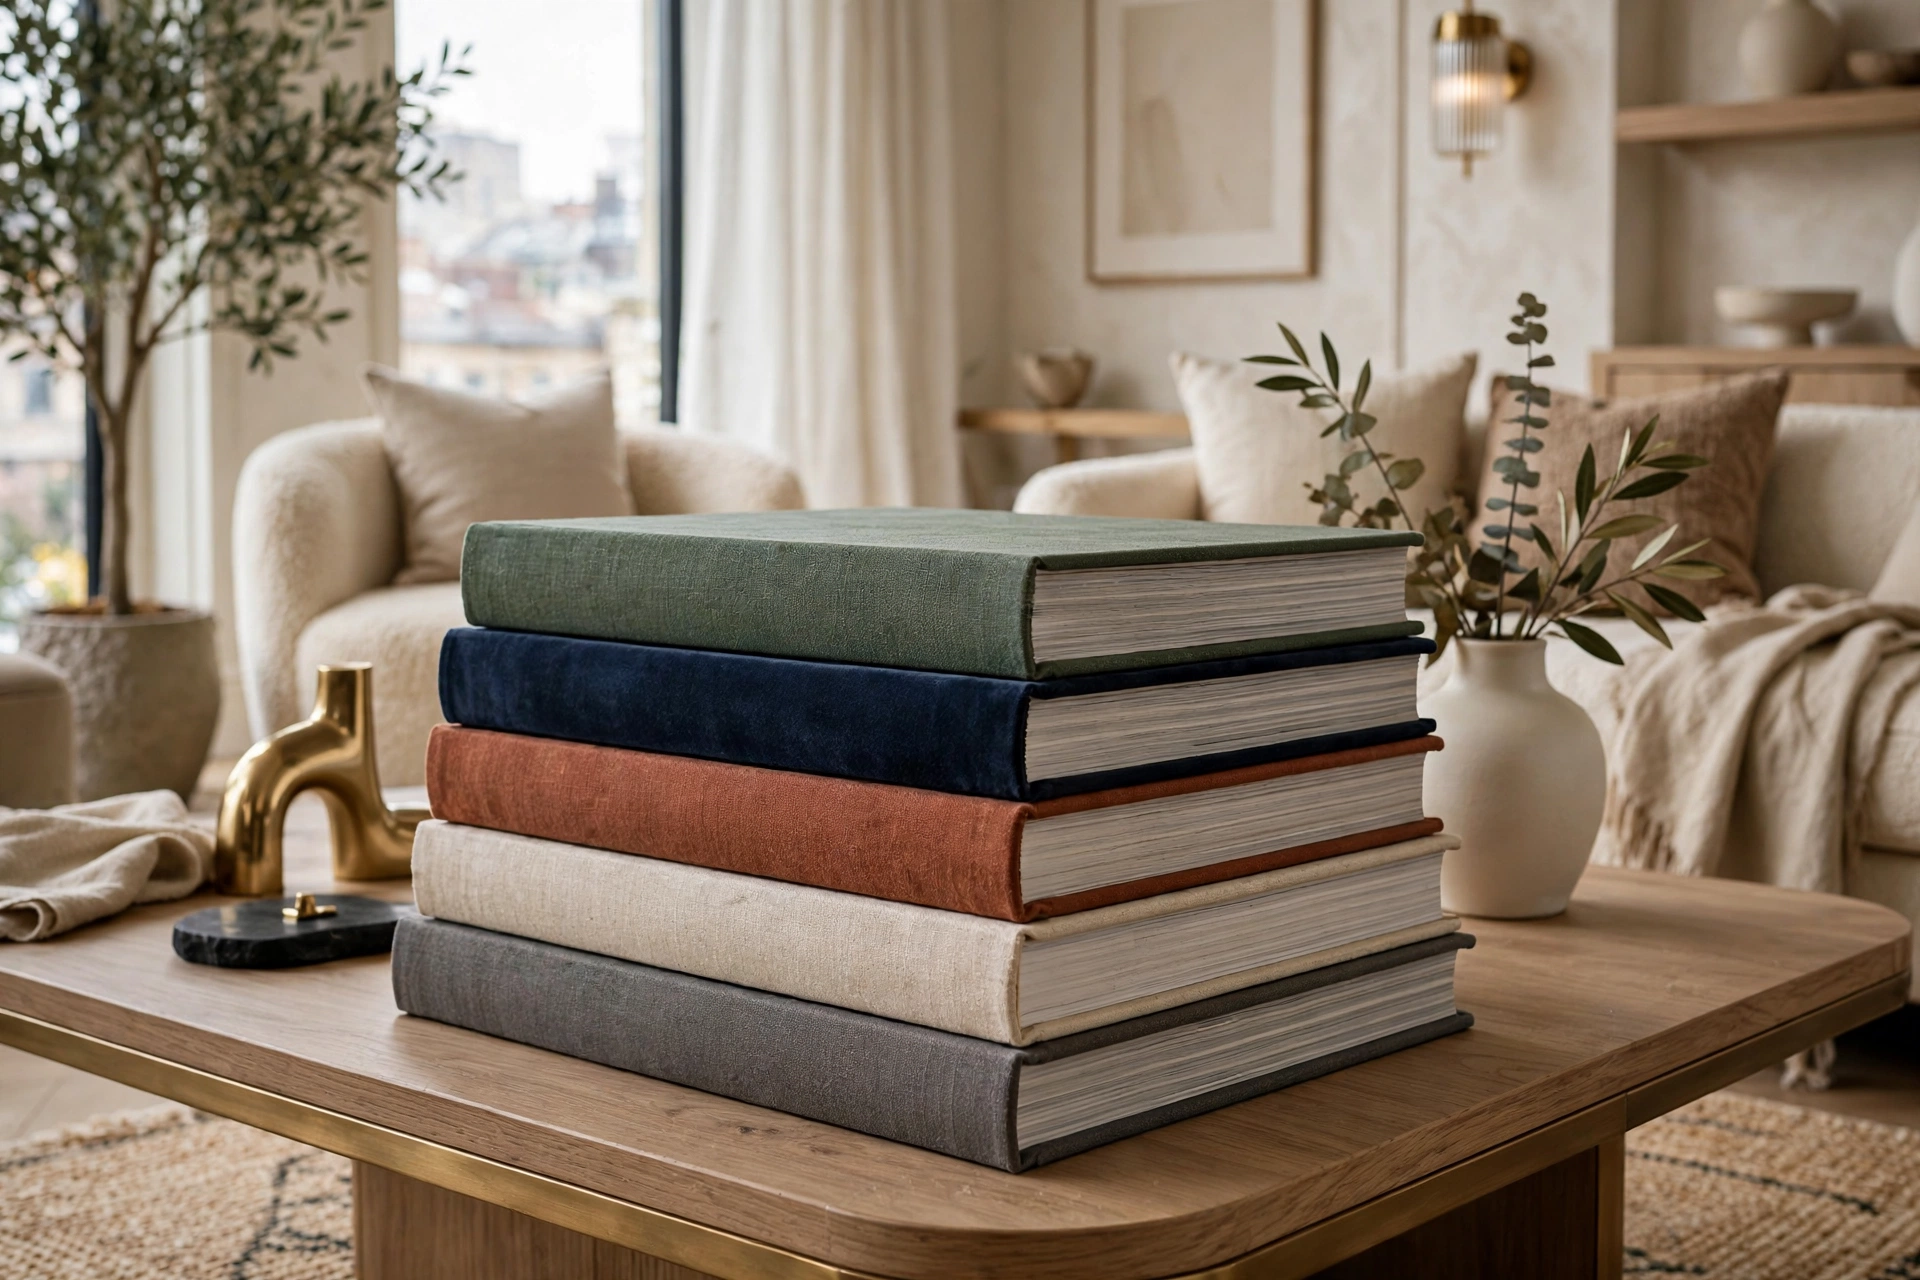
32. Stack Oversized Design Books
Big art and design books ($15–$40 each at thrift stores or remainder tables) are the props of every expensive-looking interior — stack two or three on the coffee table or console and the room instantly reads as cultured. The covers’ typography and imagery do the decorating work for you. Pro tip: remove the dust jackets — the cloth-bound book underneath is almost always more beautiful and more expensive-looking than the glossy jacket.
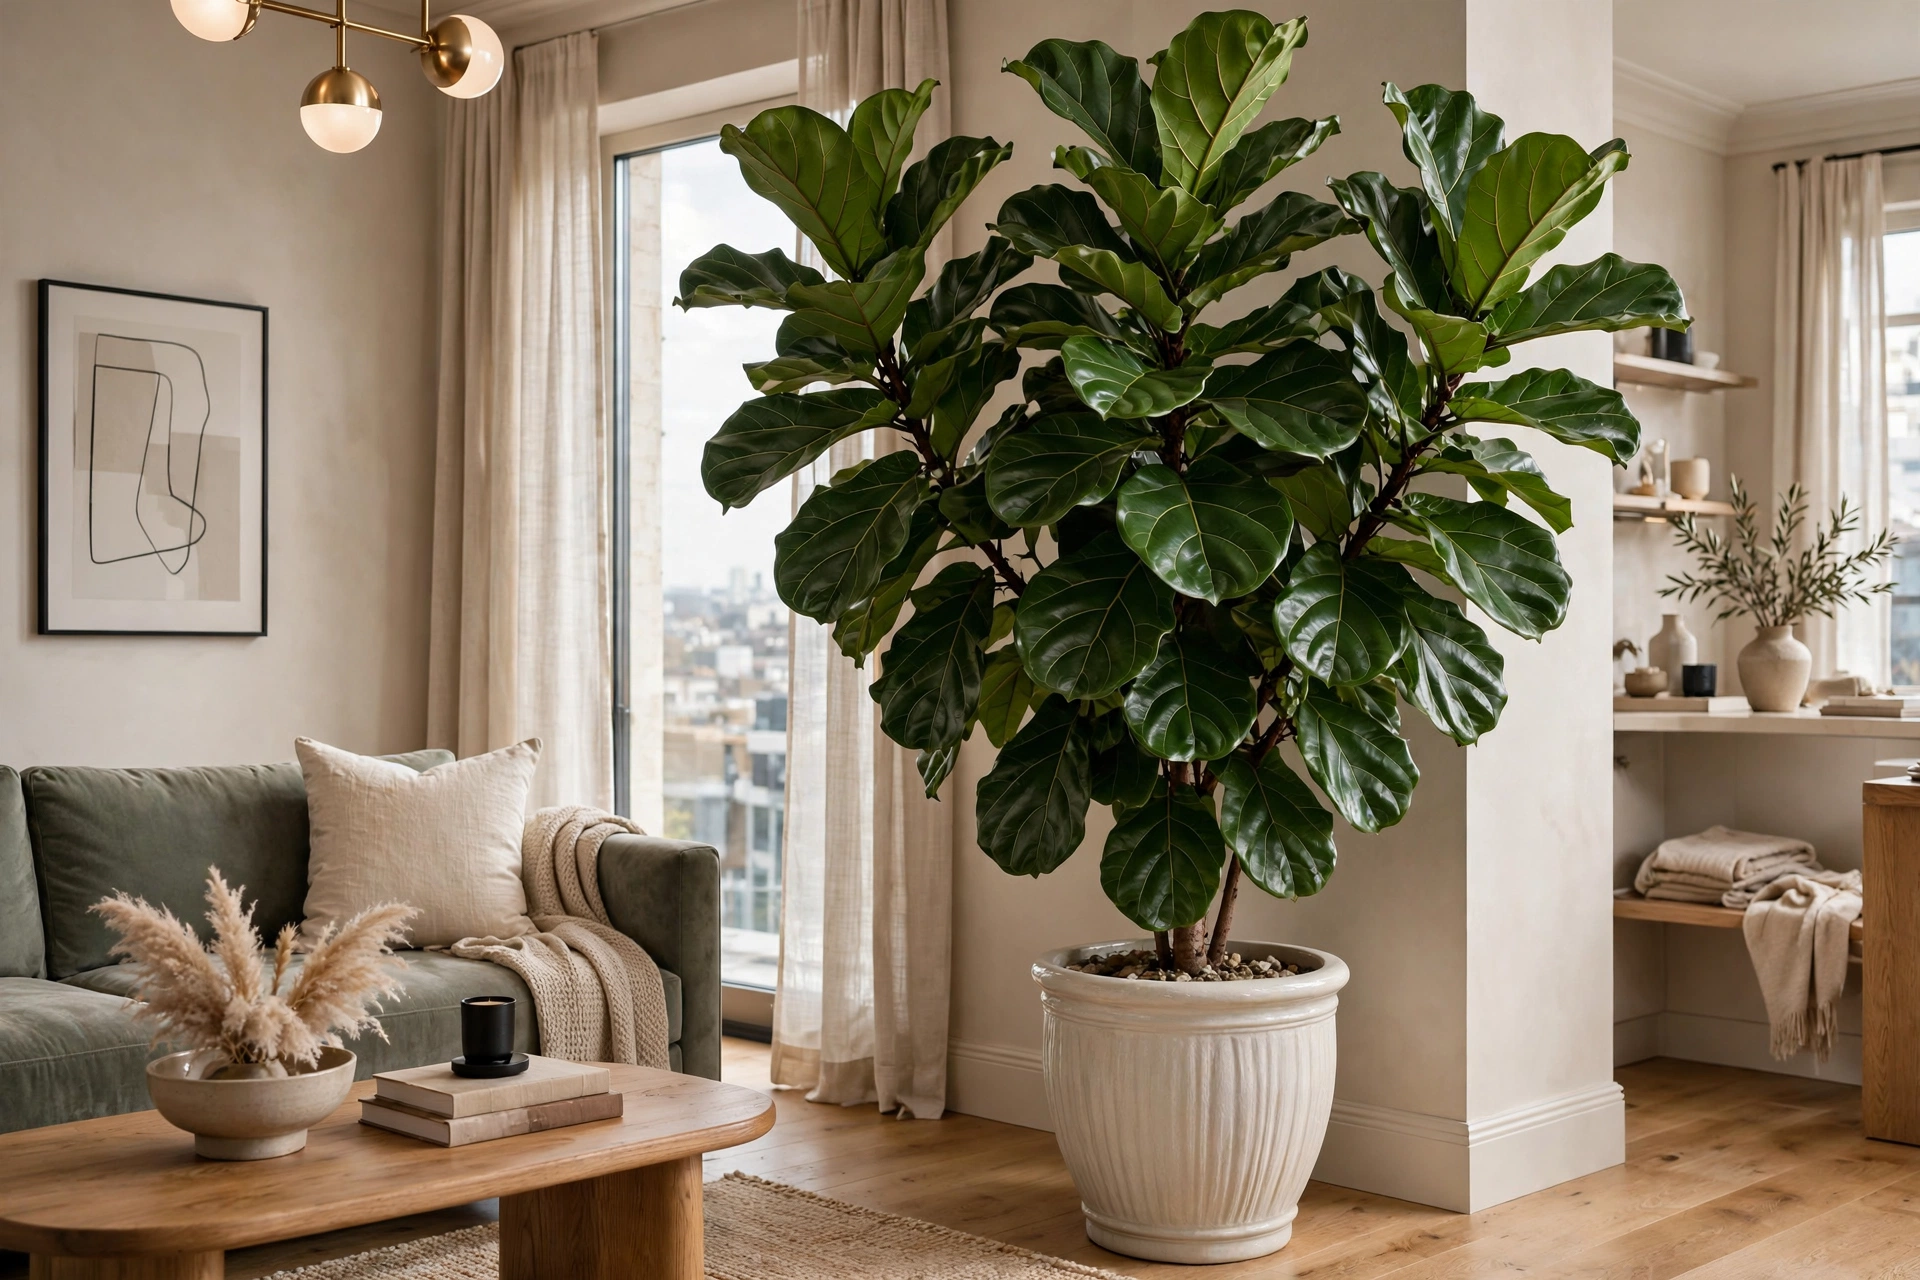
33. Add One Dramatic Plant
One large, healthy plant — a fiddle-leaf fig, olive tree, or bird of paradise ($40–$100) — does more for perceived luxury than a dozen small succulents. Big plants signal “someone tends this home,” and the scale fills awkward corners architecturally. Set it in a woven basket or ceramic planter ($20–$35), never the plastic nursery pot. Pro tip: wipe the leaves monthly with a damp cloth — dusty leaves read as neglected, while glossy clean leaves read as a home that’s cared for down to the details.
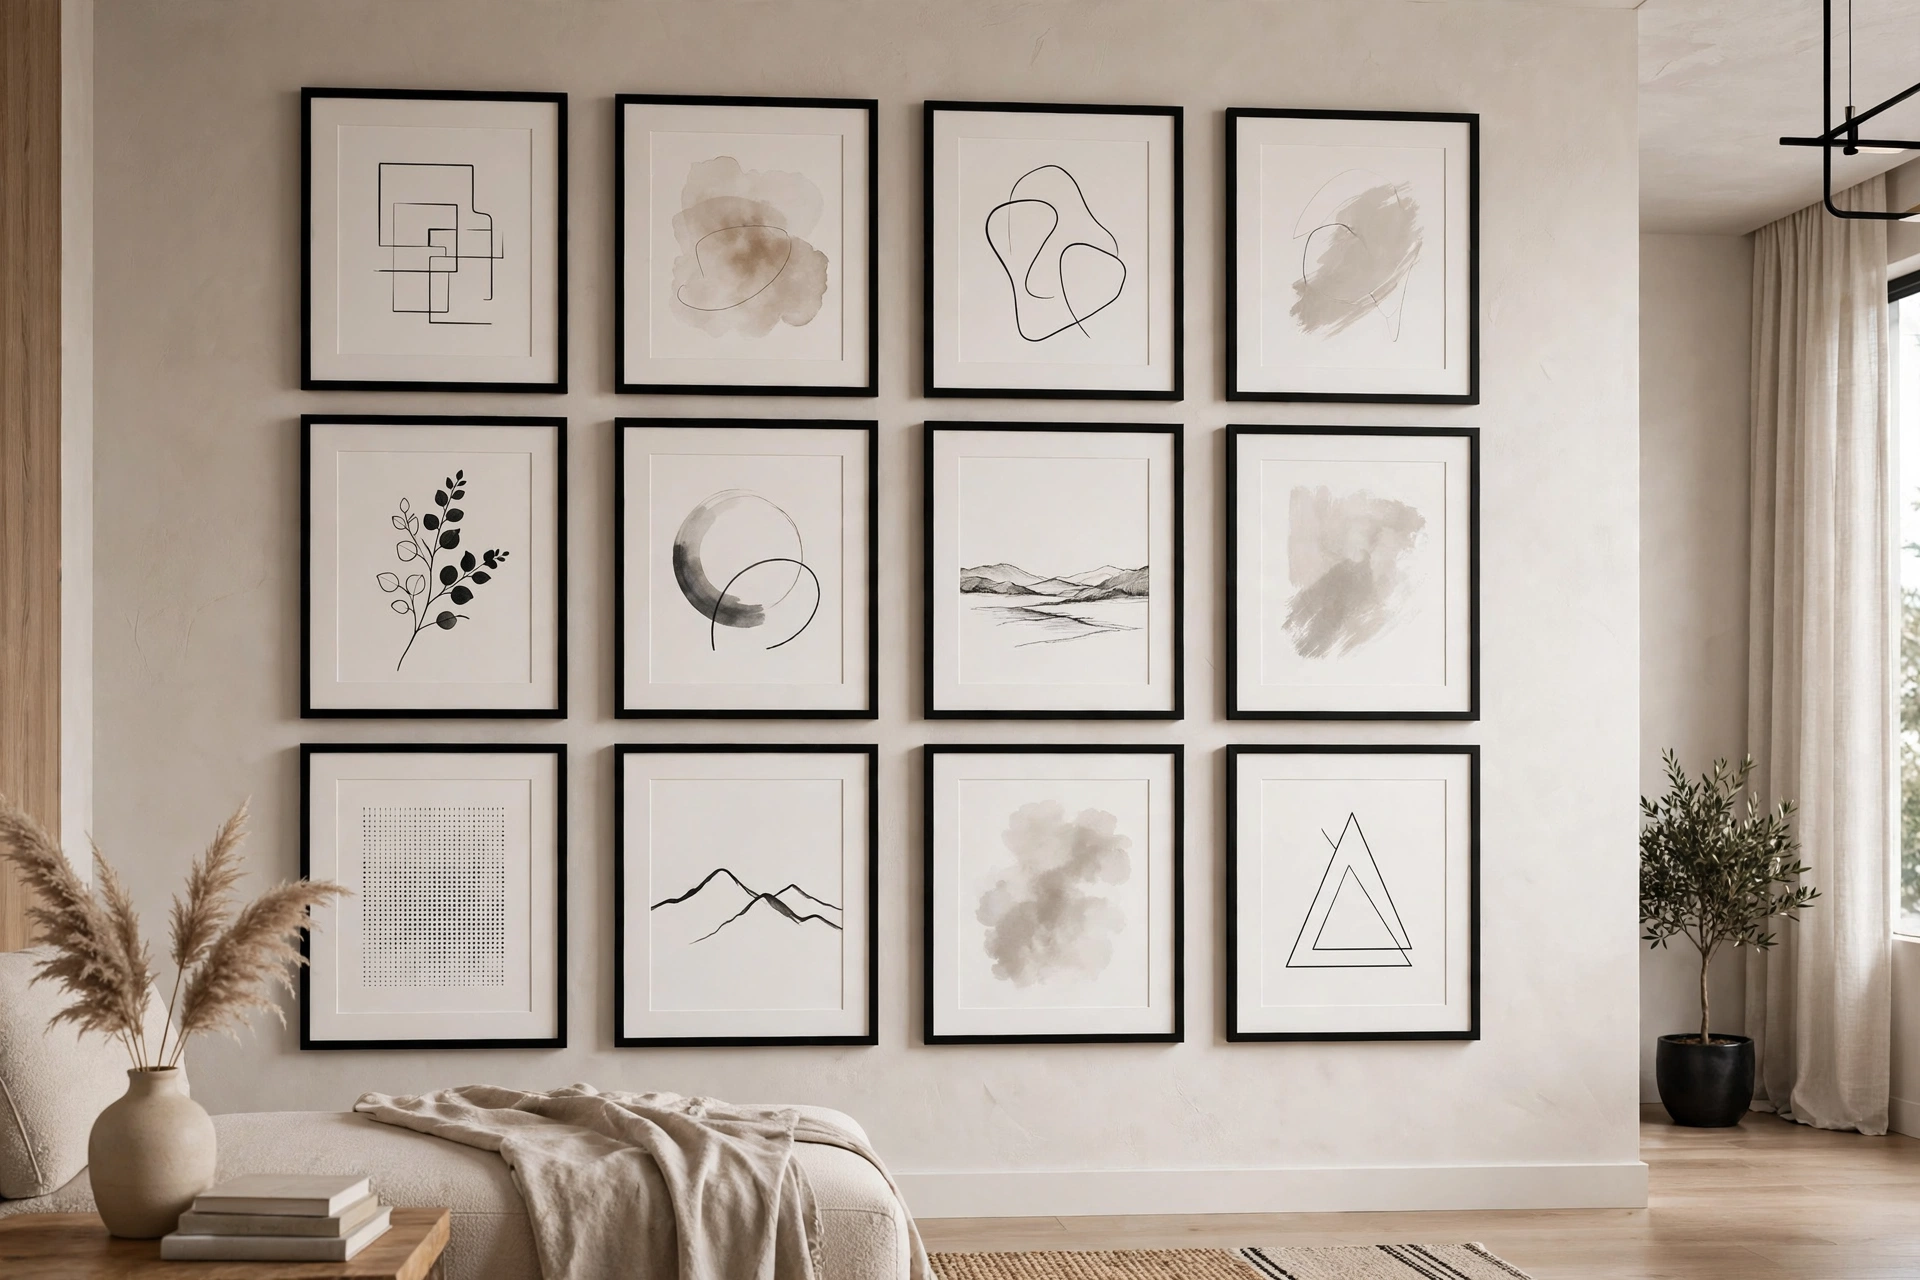
34. Hang a Matching-Frame Gallery Wall
A gallery wall in mismatched frames can look charming or chaotic — but matching frames ($8–$15 each at IKEA) always look expensive. The uniformity lets the art vary wildly while the wall stays disciplined. Mix photography, prints, and one textile piece for depth. Our studio apartment wall art ideas have 34 more ways to style small walls. Pro tip: use the same mat width in every frame — consistent white mats are the quiet detail that makes a gallery wall look professionally hung.
35. Choose a Signature Scent
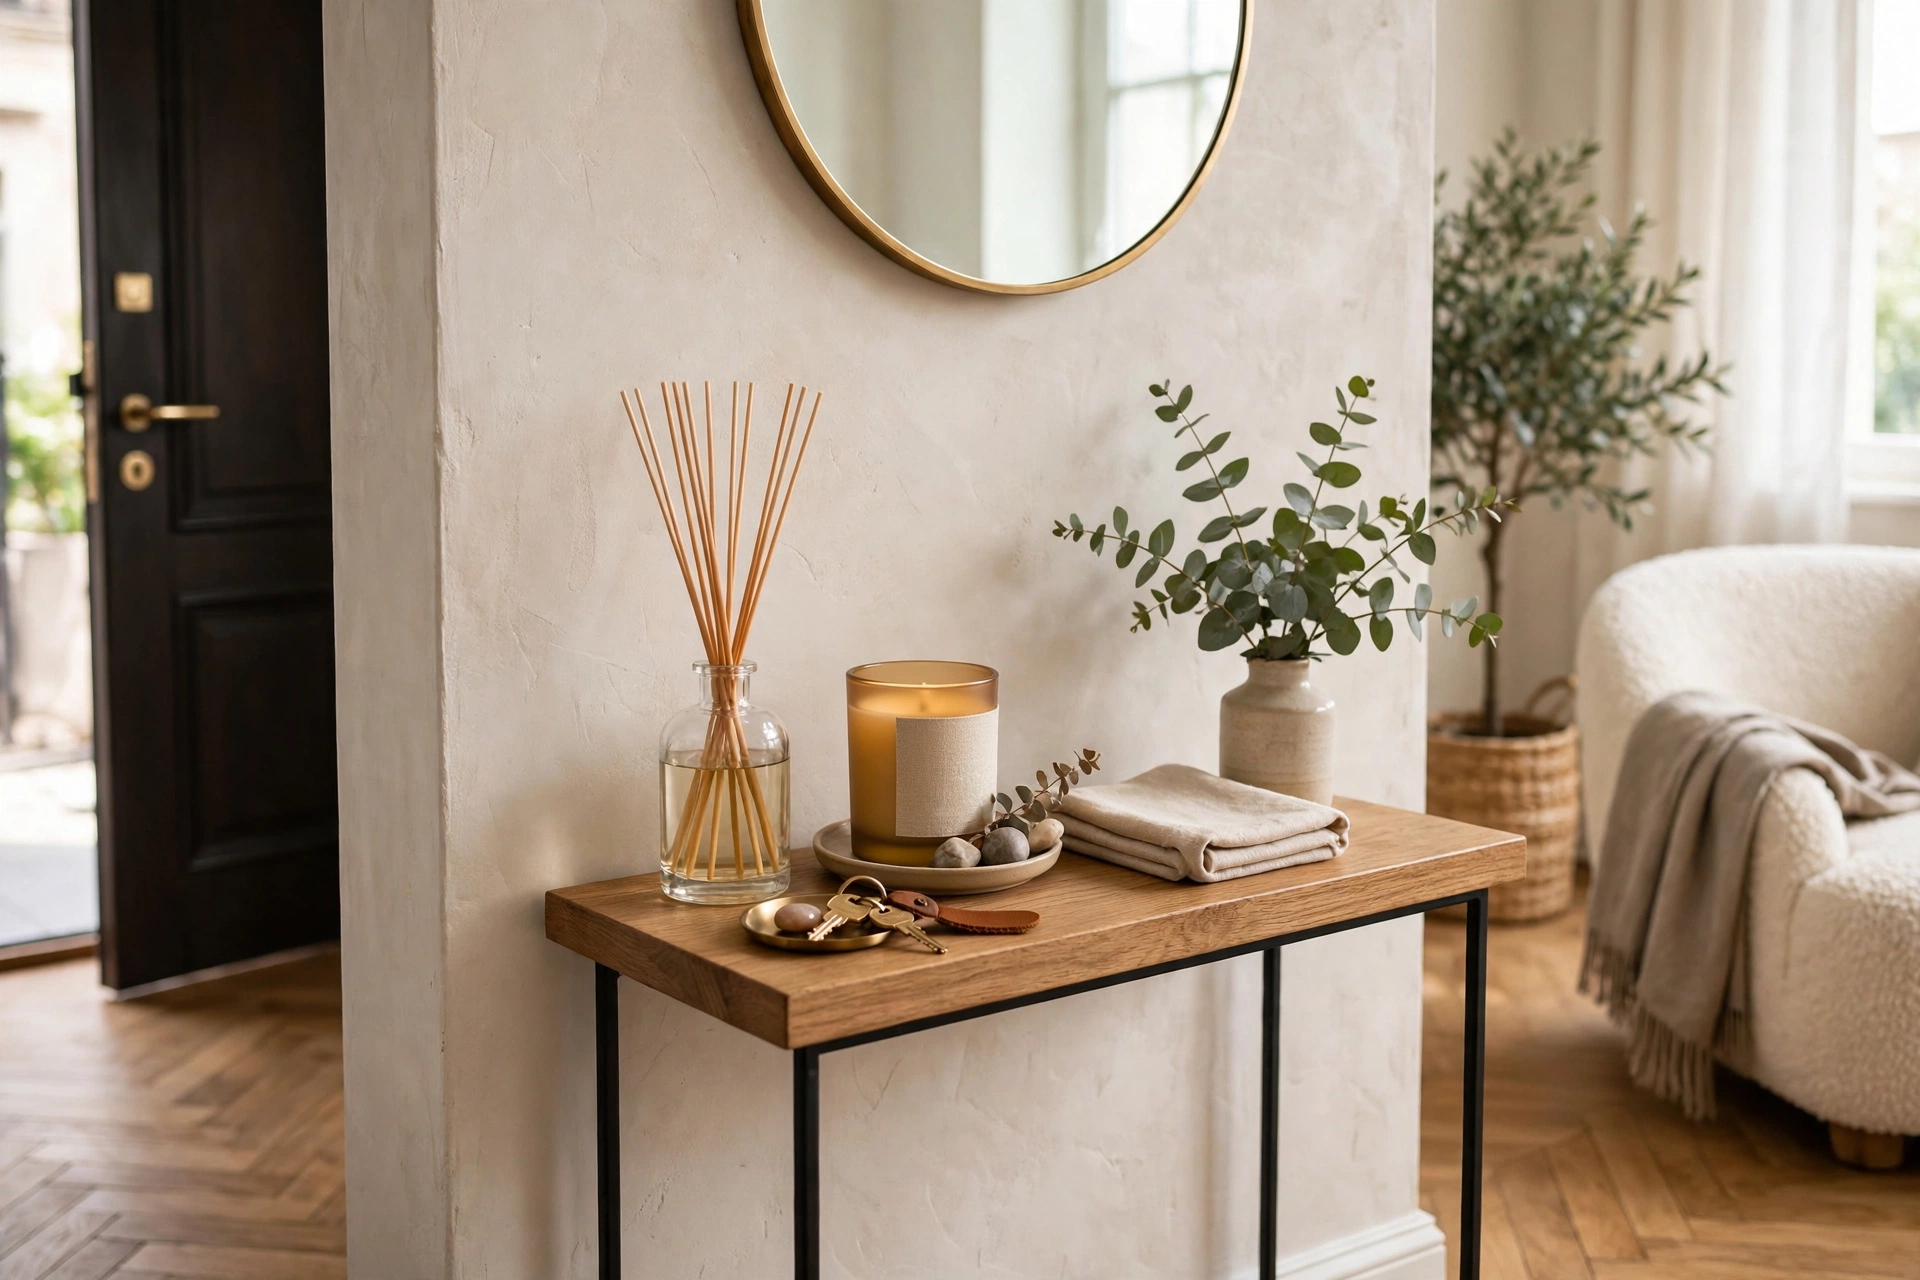
Luxury hotels all smell like something — and your studio should too. One signature reed diffuser or candle ($20–$40 for brands like Capri Blue or Nest) in the entry creates an invisible first impression of expense. Scent is processed by the brain’s emotion center before logic kicks in, so guests literally feel luxury before they see it. Pro tip: stick to one scent family throughout the studio — layered competing fragrances in a small space smell like a candle shop explosion, not a boutique hotel.
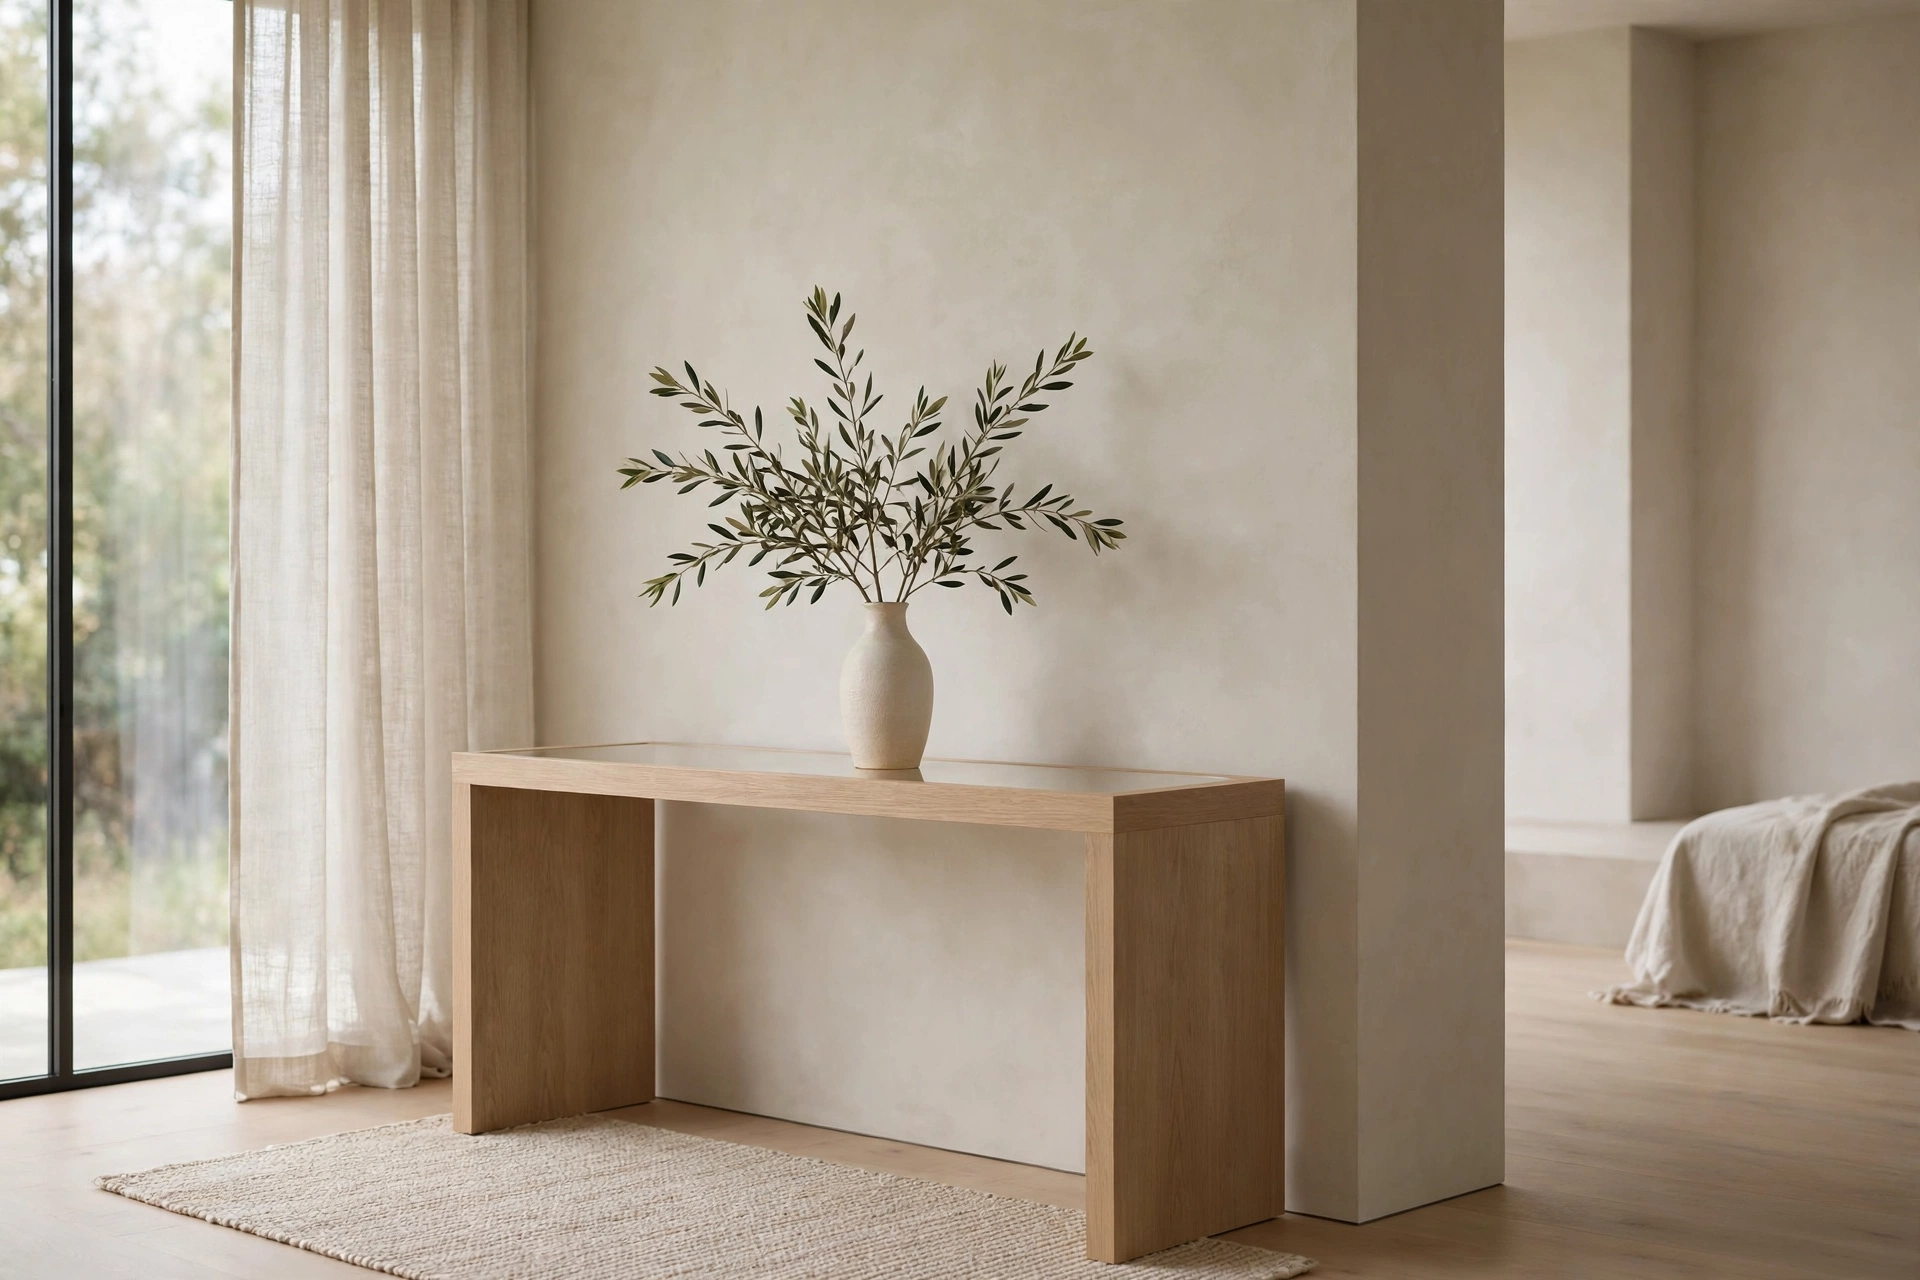
36. Declutter Every Visible Surface
The cheapest luxury upgrade costs nothing: clear surfaces. Expensive rooms show restraint — a few beautiful objects with breathing room, not every possession on display. Walk through with a box and remove half of what’s on every surface; store the overflow in closed baskets and cabinets. Pro tip: apply the “hotel test” — if you wouldn’t see it on a hotel nightstand, it doesn’t belong on yours. Mail piles, chargers, and half-read paperbacks all fail the test.
37. Display Fresh Orchids
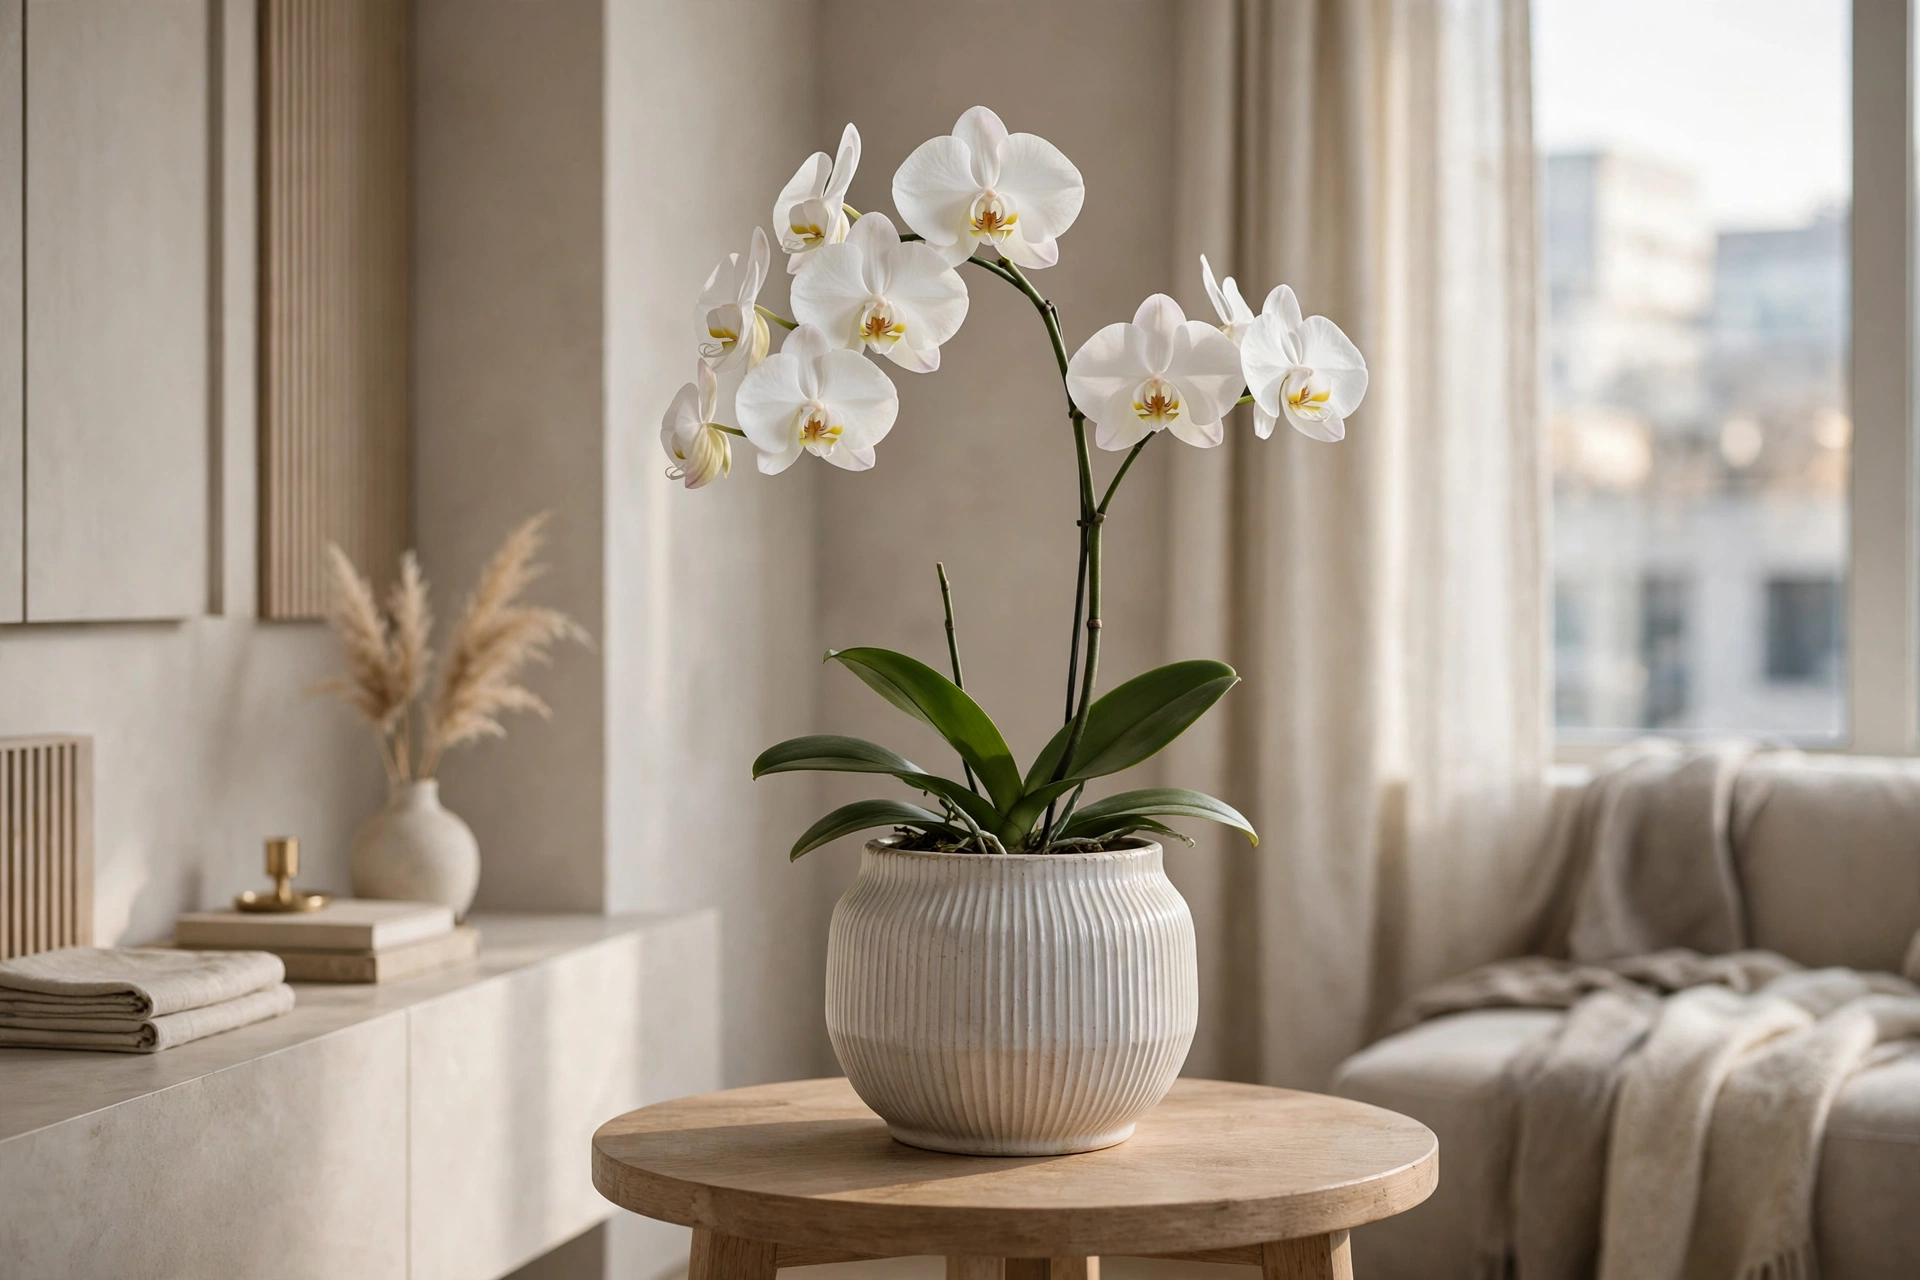
A $15 grocery-store orchid in a ceramic pot looks like a $60 florist arrangement — orchids are nature’s luxury flower, and their architectural blooms last for months with minimal care. One orchid on the dining table or bathroom counter elevates the entire room. Pro tip: give the orchid three ice cubes a week instead of watering — the slow melt is the perfect dose, and the plant will rebloom for years with this simple routine.
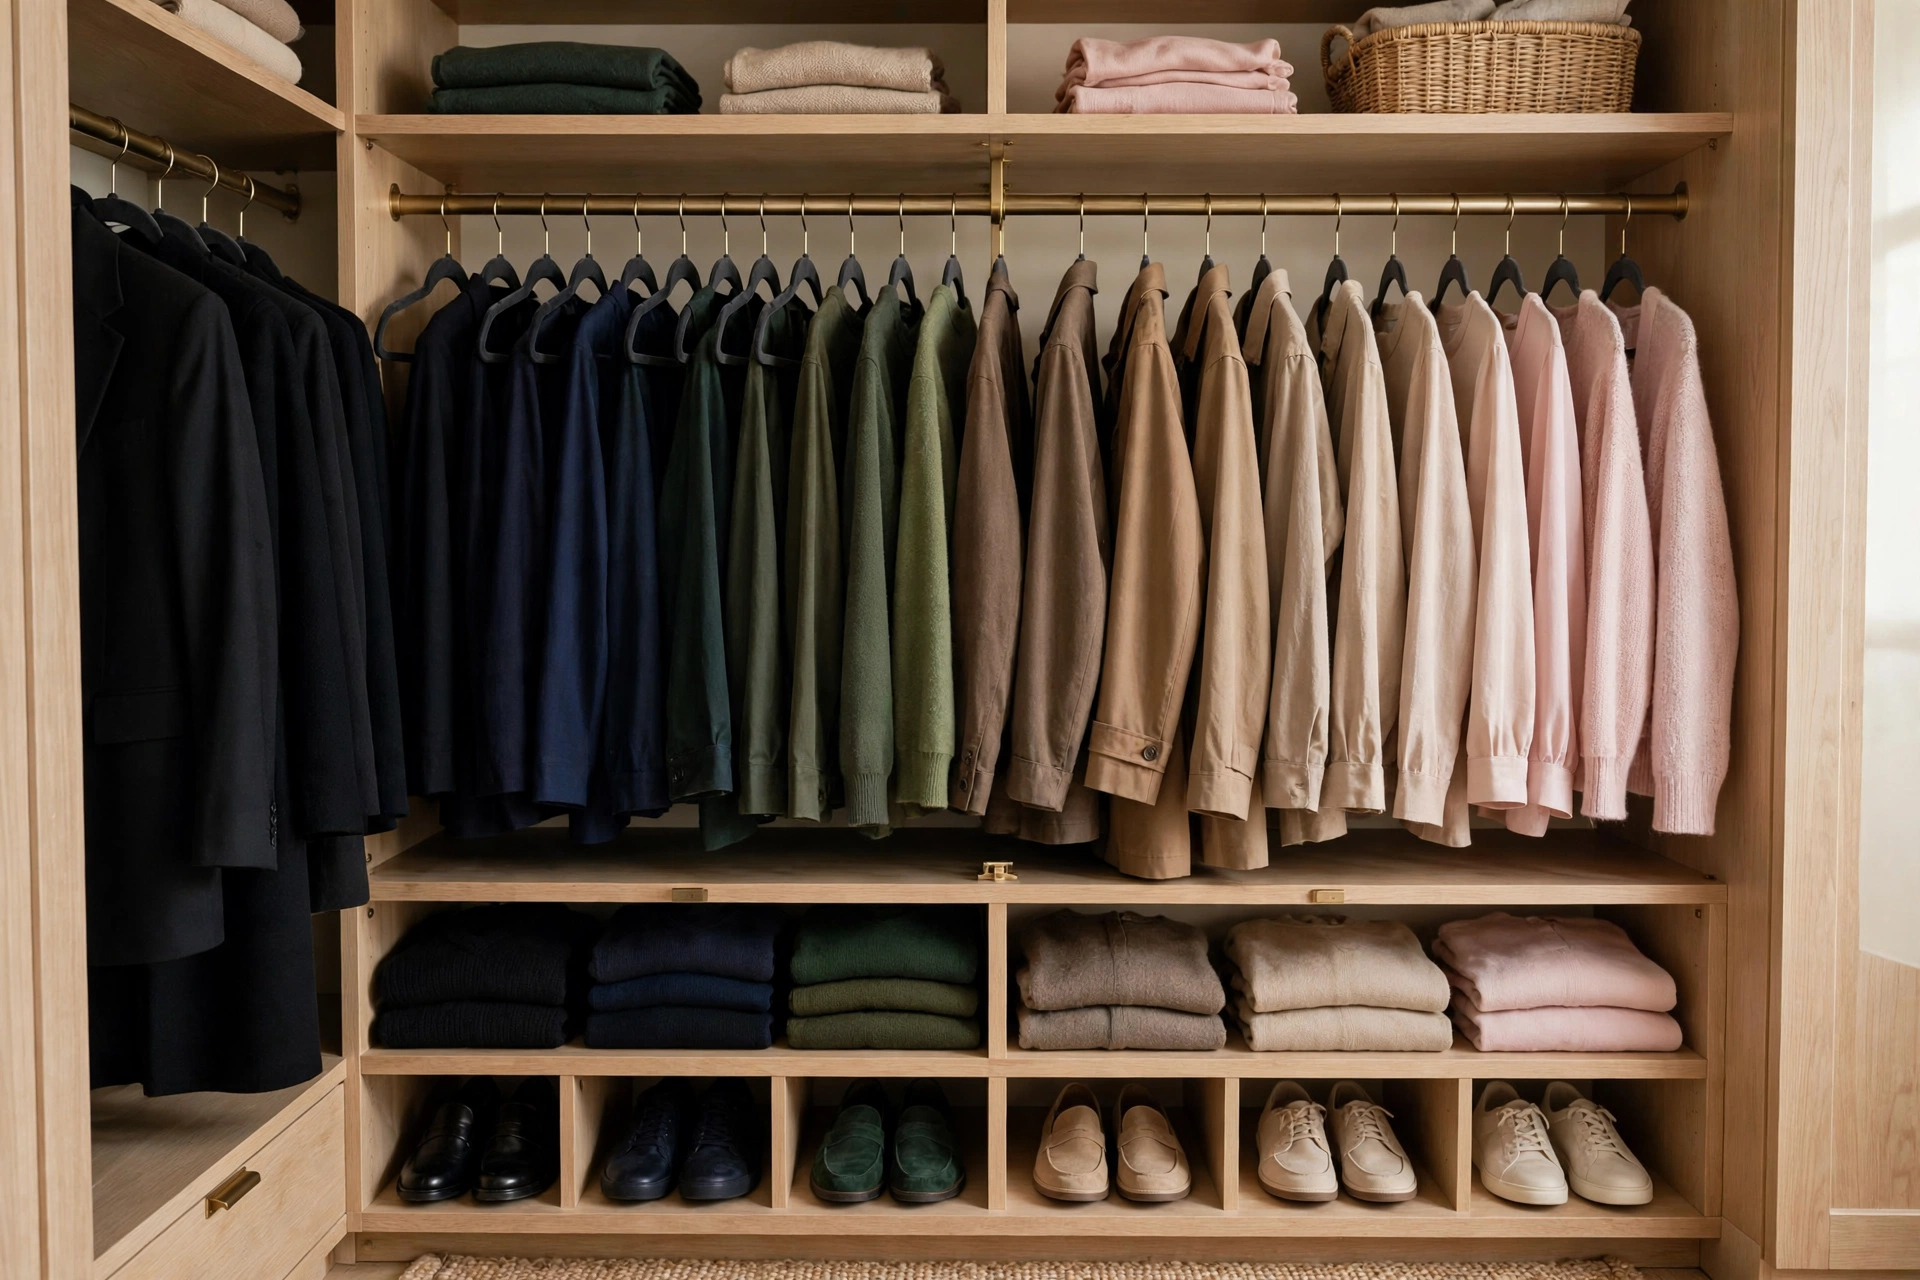
38. Match Every Hanger in the Closet
Open your closet and it should look like a boutique, not a yard sale — matching slim velvet hangers ($15–$25 for a 30-pack) create instant visual order that reads as wealth. If your closet is visible from the studio’s main room (as many are), this $20 upgrade is visible luxury. Pro tip: face every hanger the same direction and arrange clothes by color gradient — the rainbow flow looks stunning and makes getting dressed faster.
Faux-Luxe Finishes
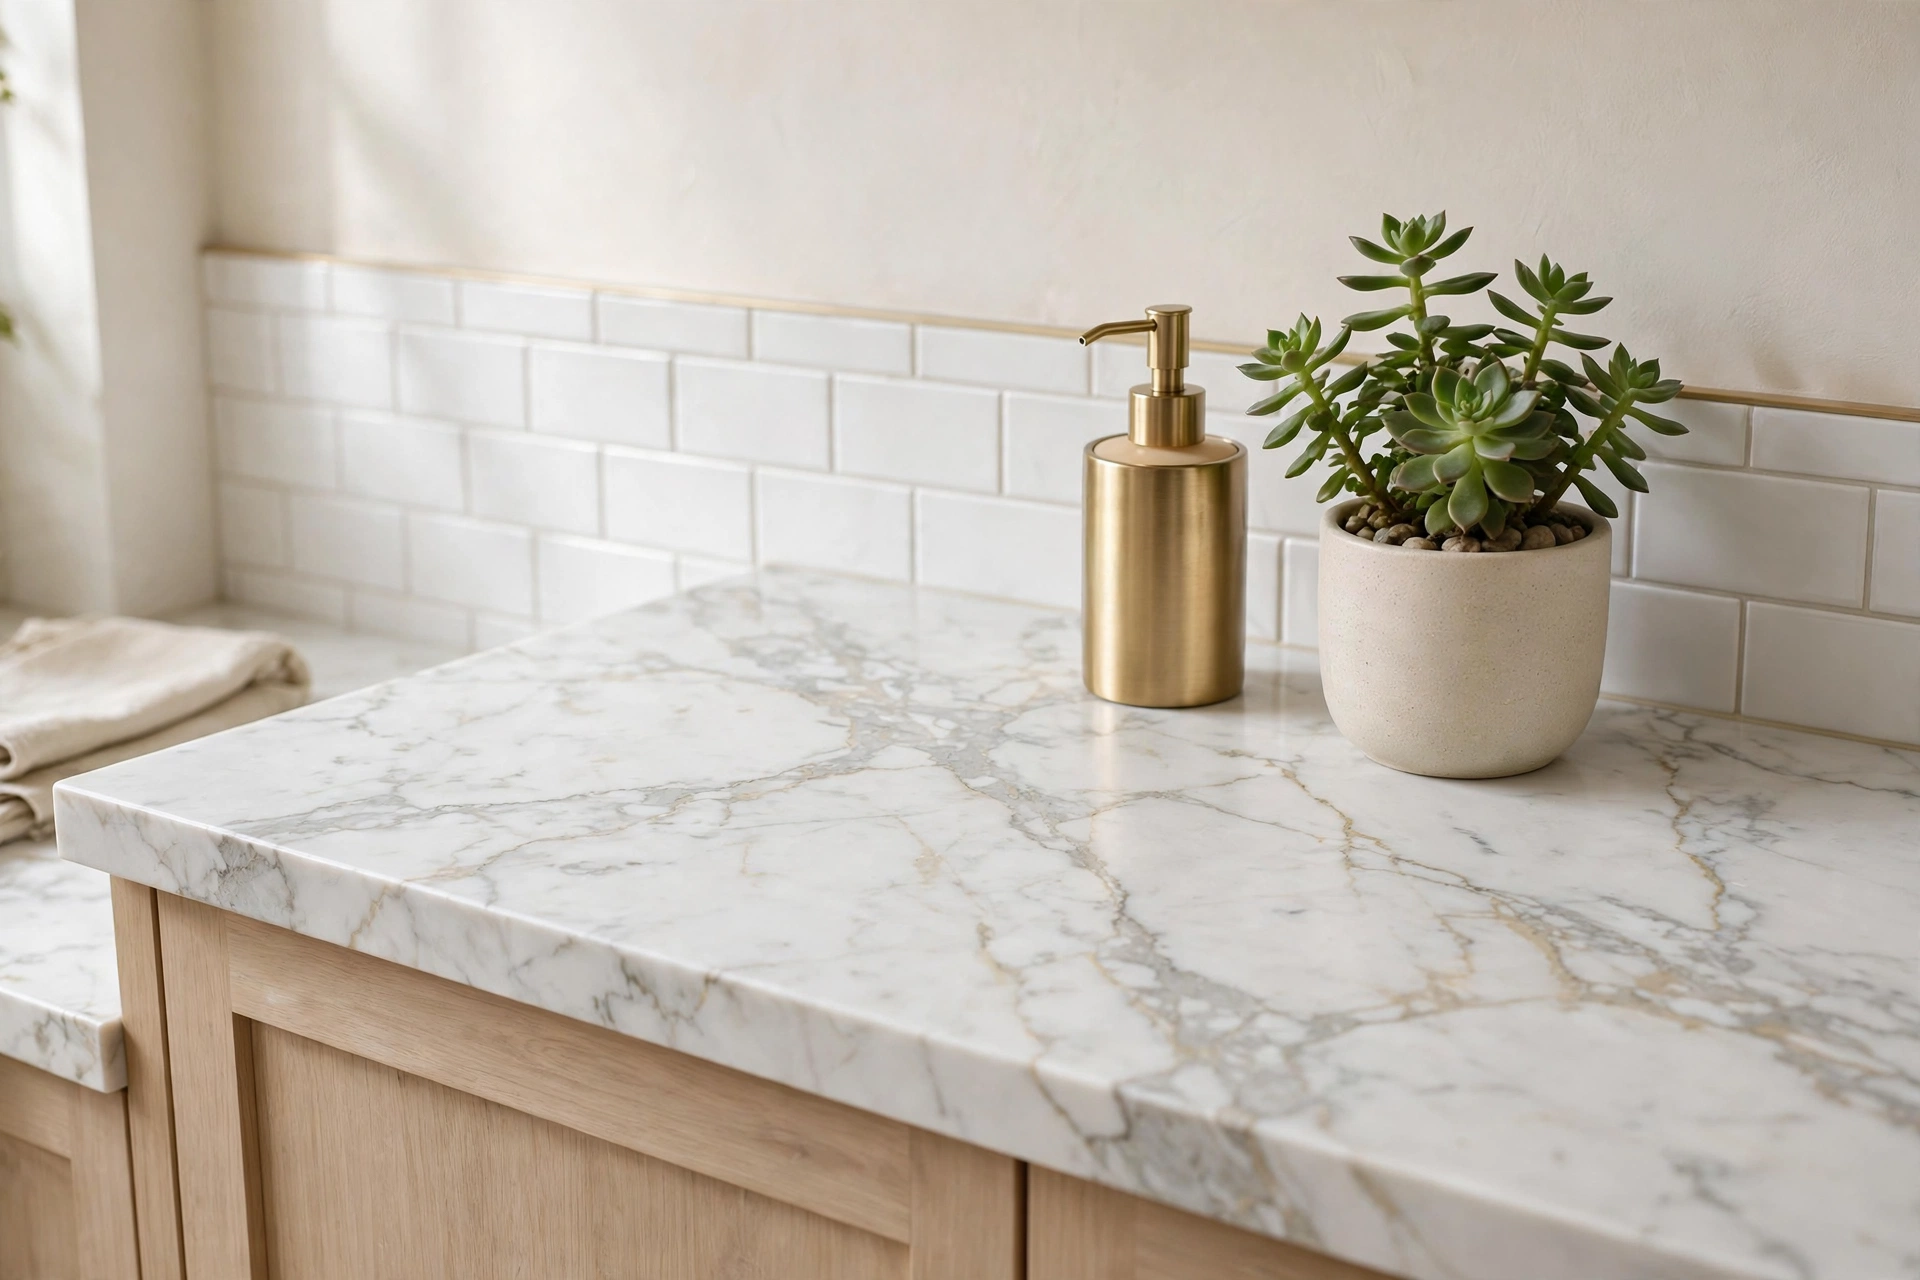
39. Apply Faux-Marble Contact Paper
Rental countertops are where budget shows most — dated laminate or tile screams “cheap” no matter how pretty the rest of the room. Marble-look adhesive contact paper ($15–$25 a roll) applied carefully to counters or a tabletop fools the eye completely in photos and at a glance. It’s removable, so the deposit stays safe. Pro tip: use a credit card to smooth out bubbles as you go, working from the center outward — and wrap the paper around the counter’s front edge for a realistic thick-slab look.
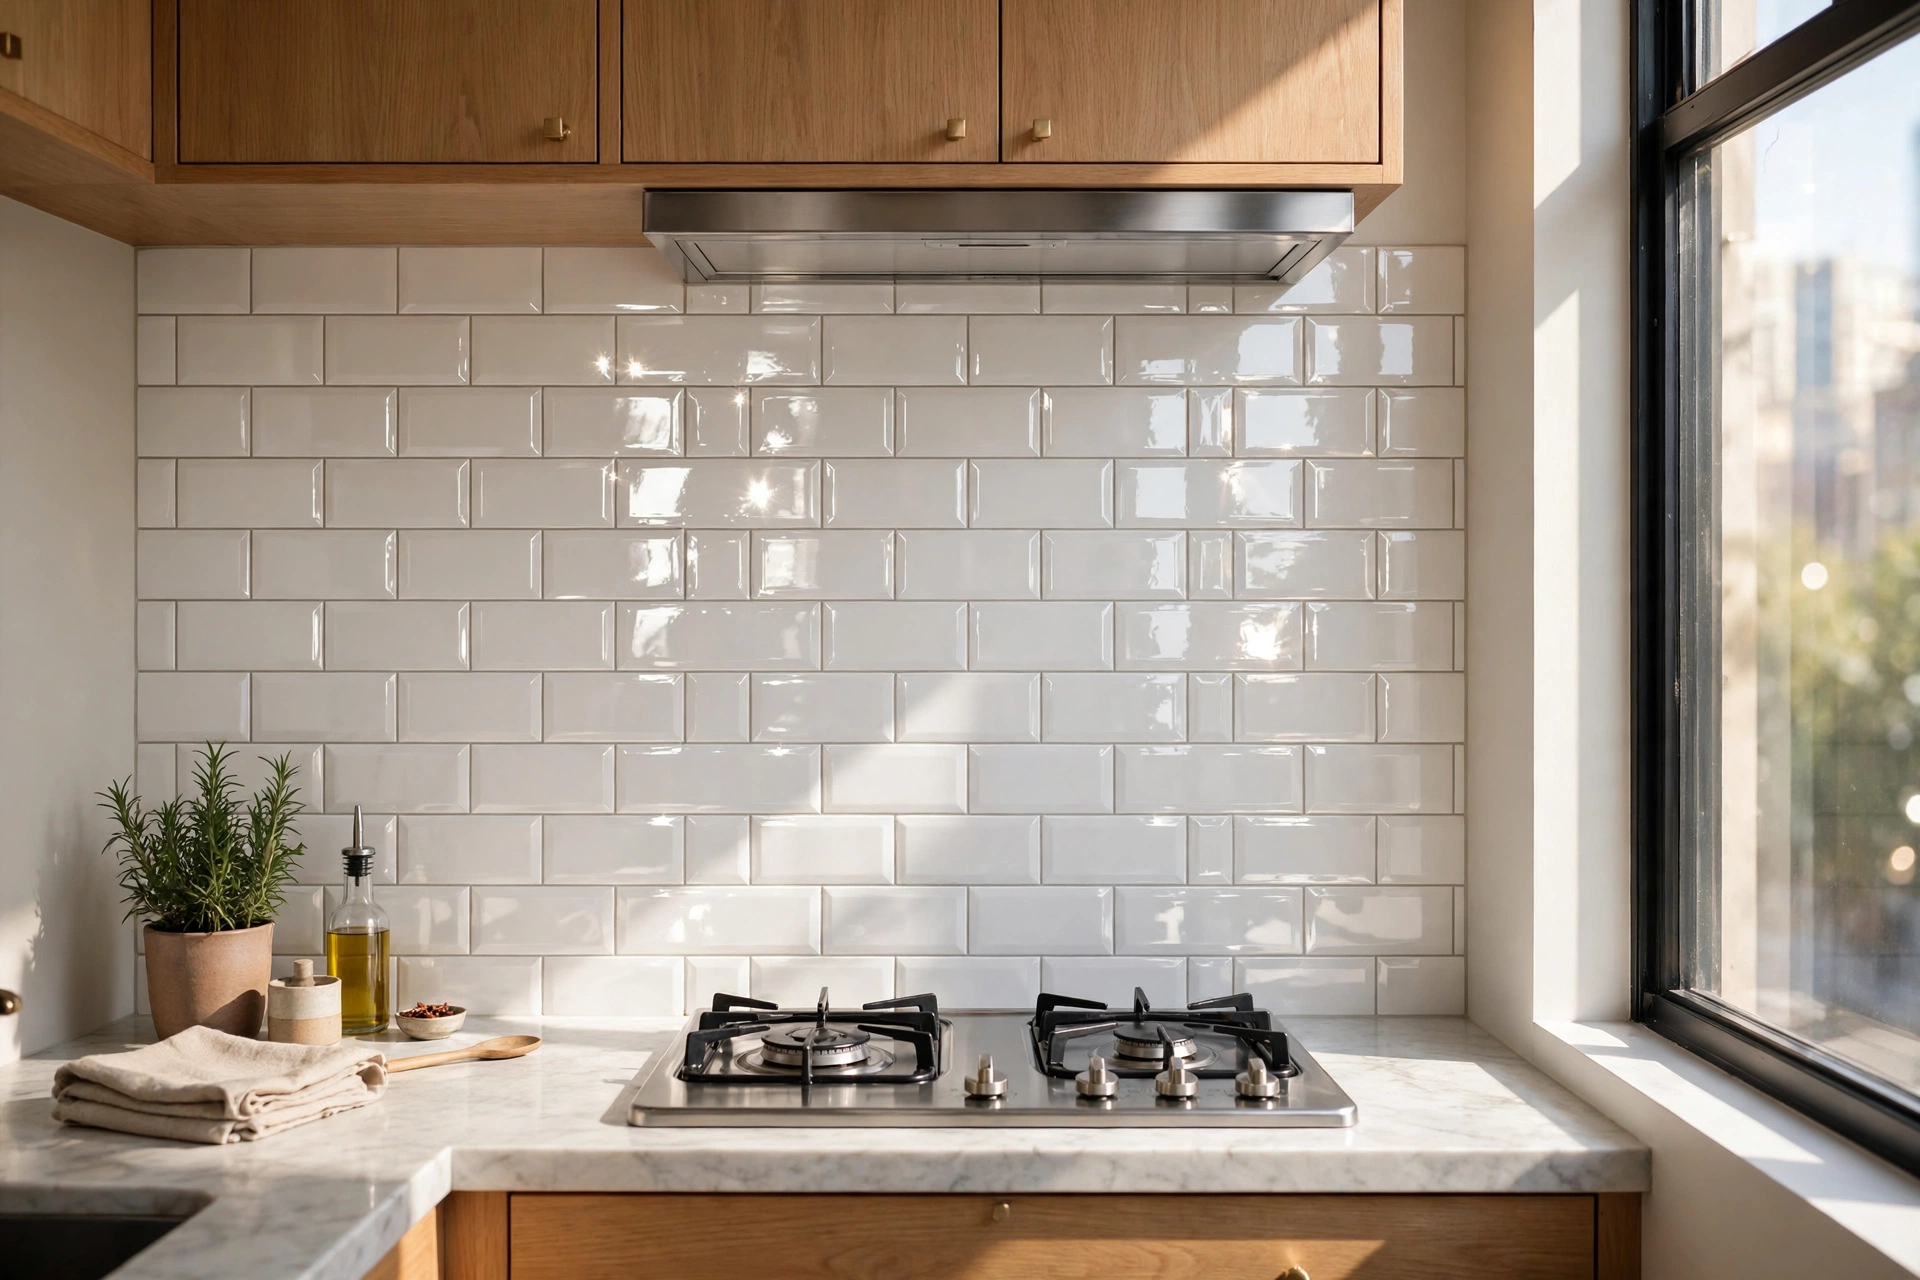
40. Install Peel-and-Stick Backsplash
A tile backsplash is the jewelry of the kitchen — and peel-and-stick subway or mosaic tiles ($25–$50 for a studio kitchenette) install in an afternoon with no grout, no mess, and no landlord issues. The reflective surface bounces light and adds the finished detail that separates basic kitchens from designed ones. Pro tip: start tiling from the visual center (usually behind the stove or sink) and work outward — cut tiles hide best at the edges where the eye doesn’t land first.
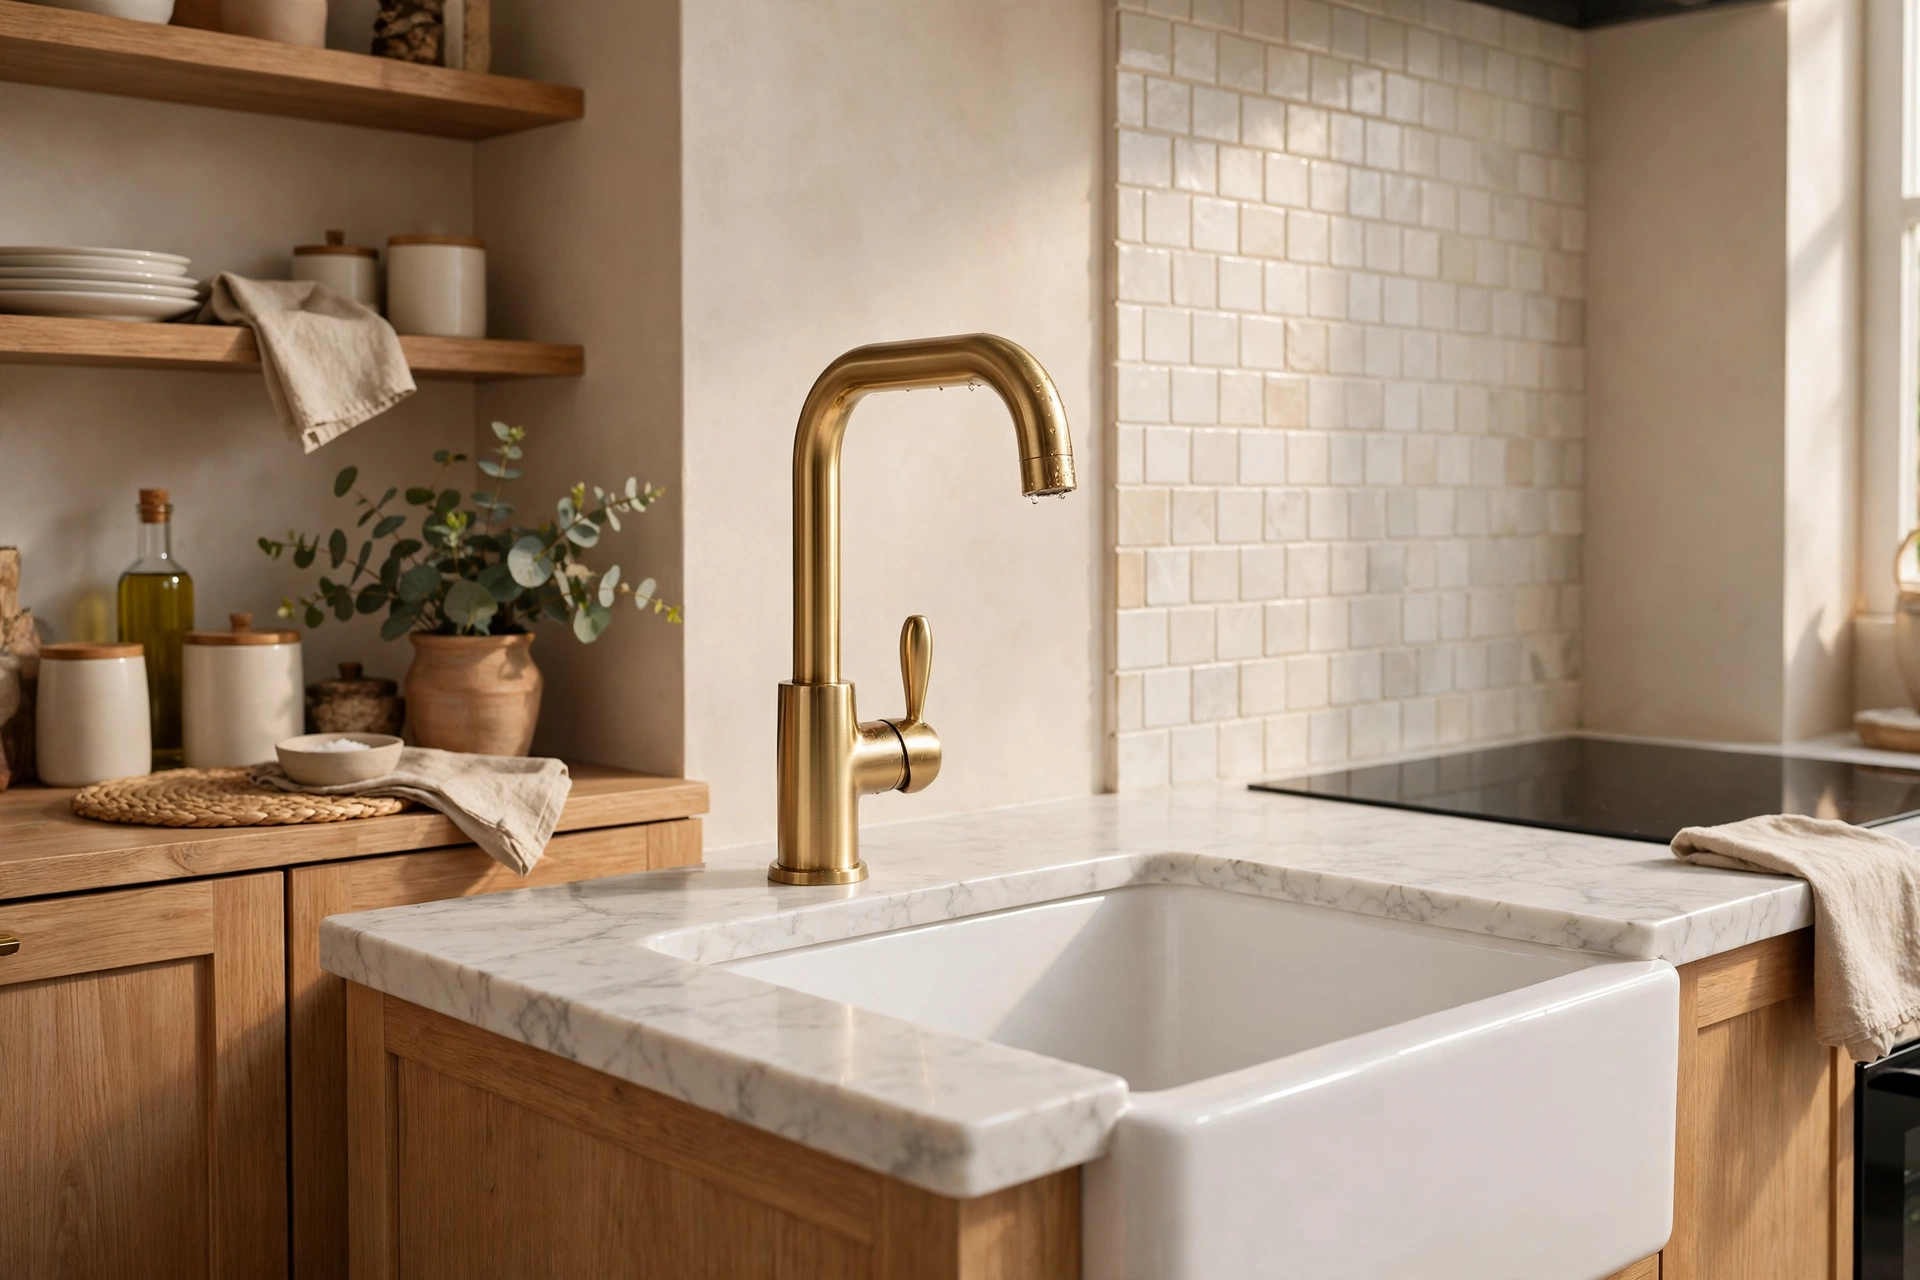
41. Add Brass Faucet Accents
Chrome builder faucets are fine; brass faucets are jewelry. A brushed-brass kitchen or bathroom faucet ($60–$120) is the single fixture swap with the highest luxury-per-dollar ratio — it catches light, warms the room, and photographs like a renovation. Most install with basic tools in under an hour. Pro tip: match the faucet finish to your cabinet hardware and light fixtures — mixed metals can work, but matched warm metals in a small space read as a deliberate, expensive scheme.
42. Build a Board-and-Batten Accent Wall
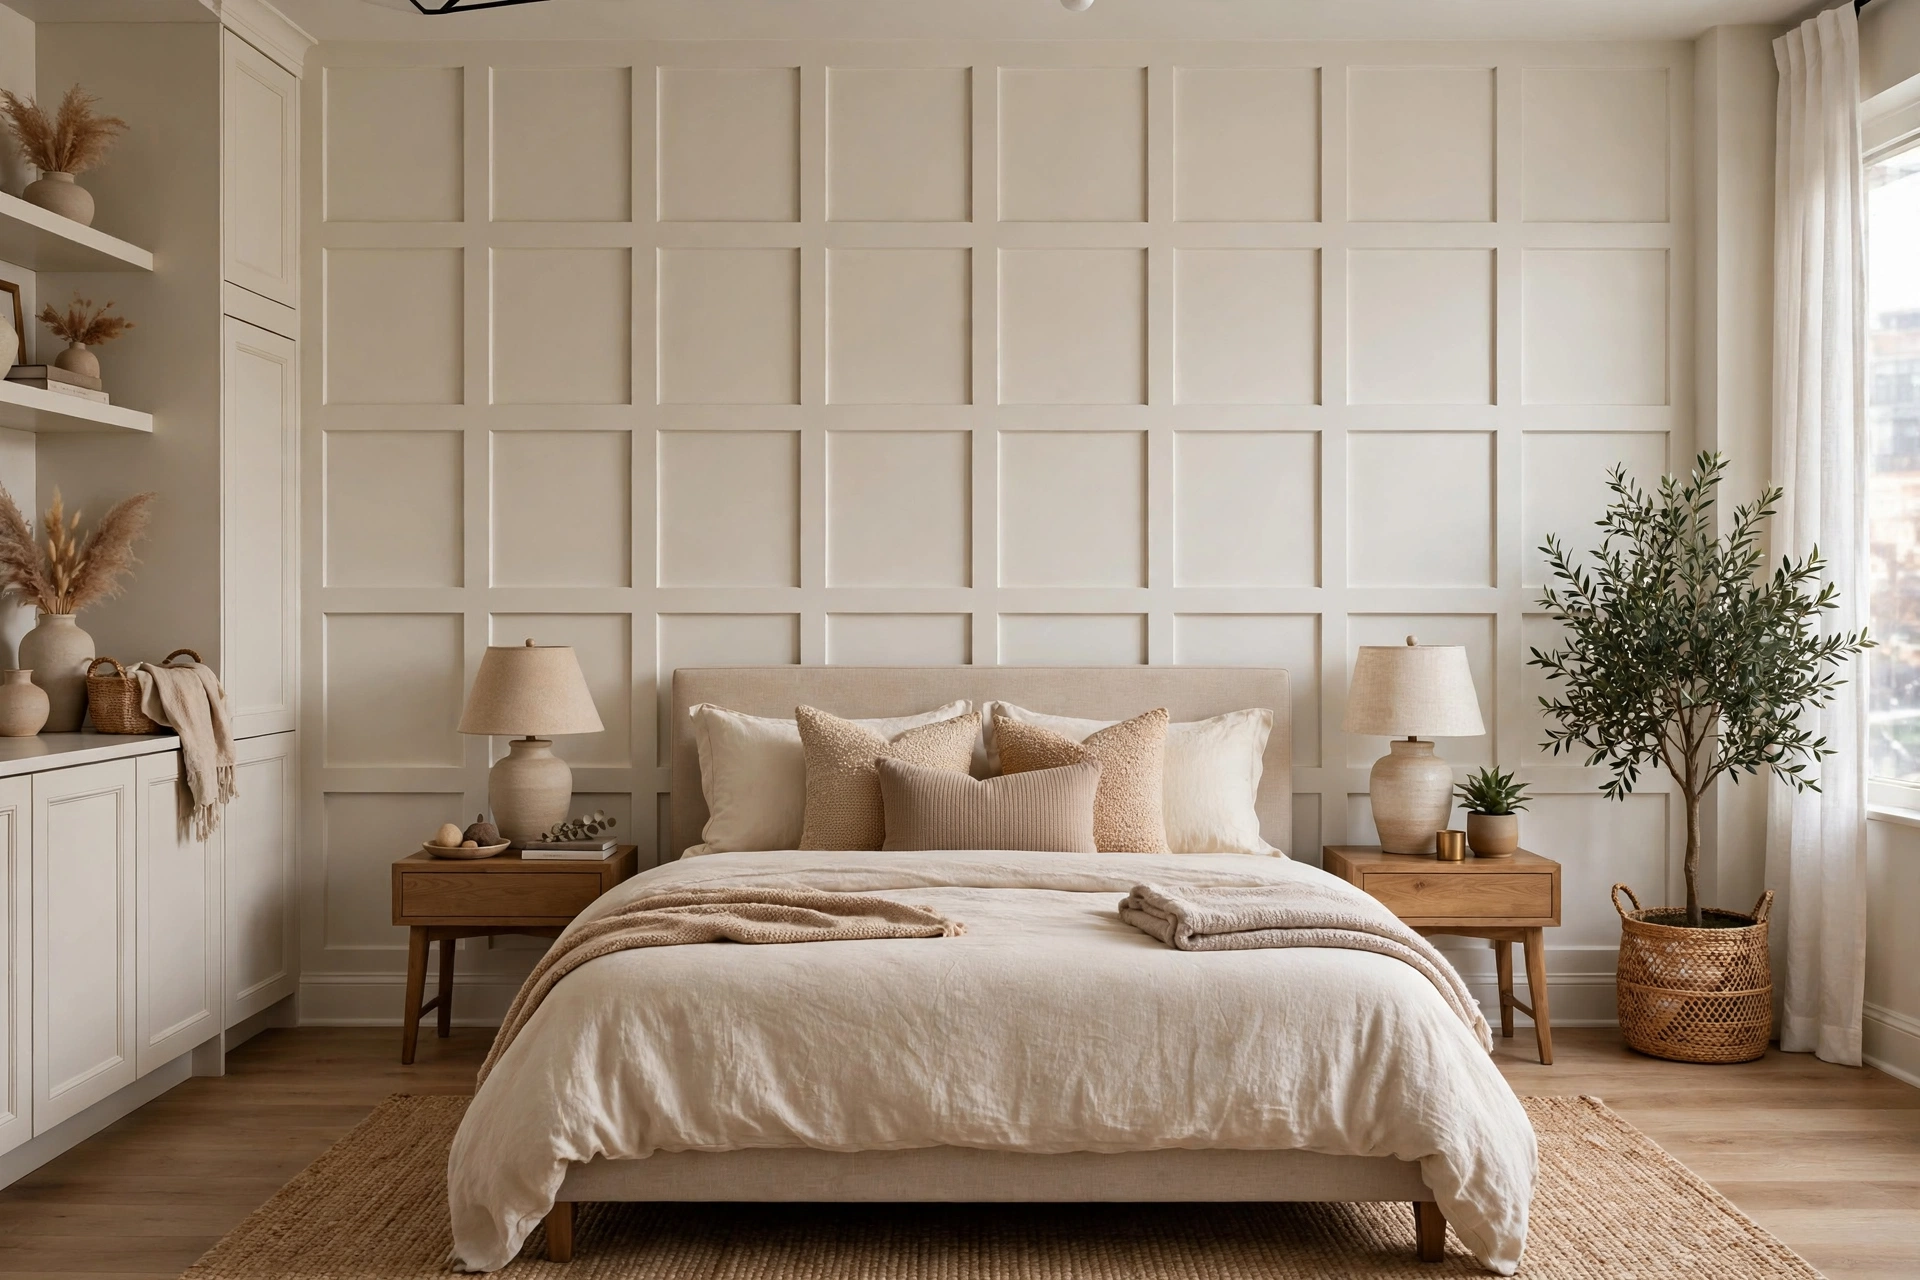
Board-and-batten wainscoting is millwork magic — thin trim boards ($30–$60 in materials for one wall) arranged in a grid pattern and painted the wall color add architectural depth that reads as custom craftsmanship. In a studio, one batten wall behind the bed or sofa is enough to transform the room’s perceived value. Pro tip: use a laser level or a level app for the horizontal pieces — even slightly crooked battens destroy the custom-millwork illusion instantly.
43. Paint Dated Kitchen Cabinets
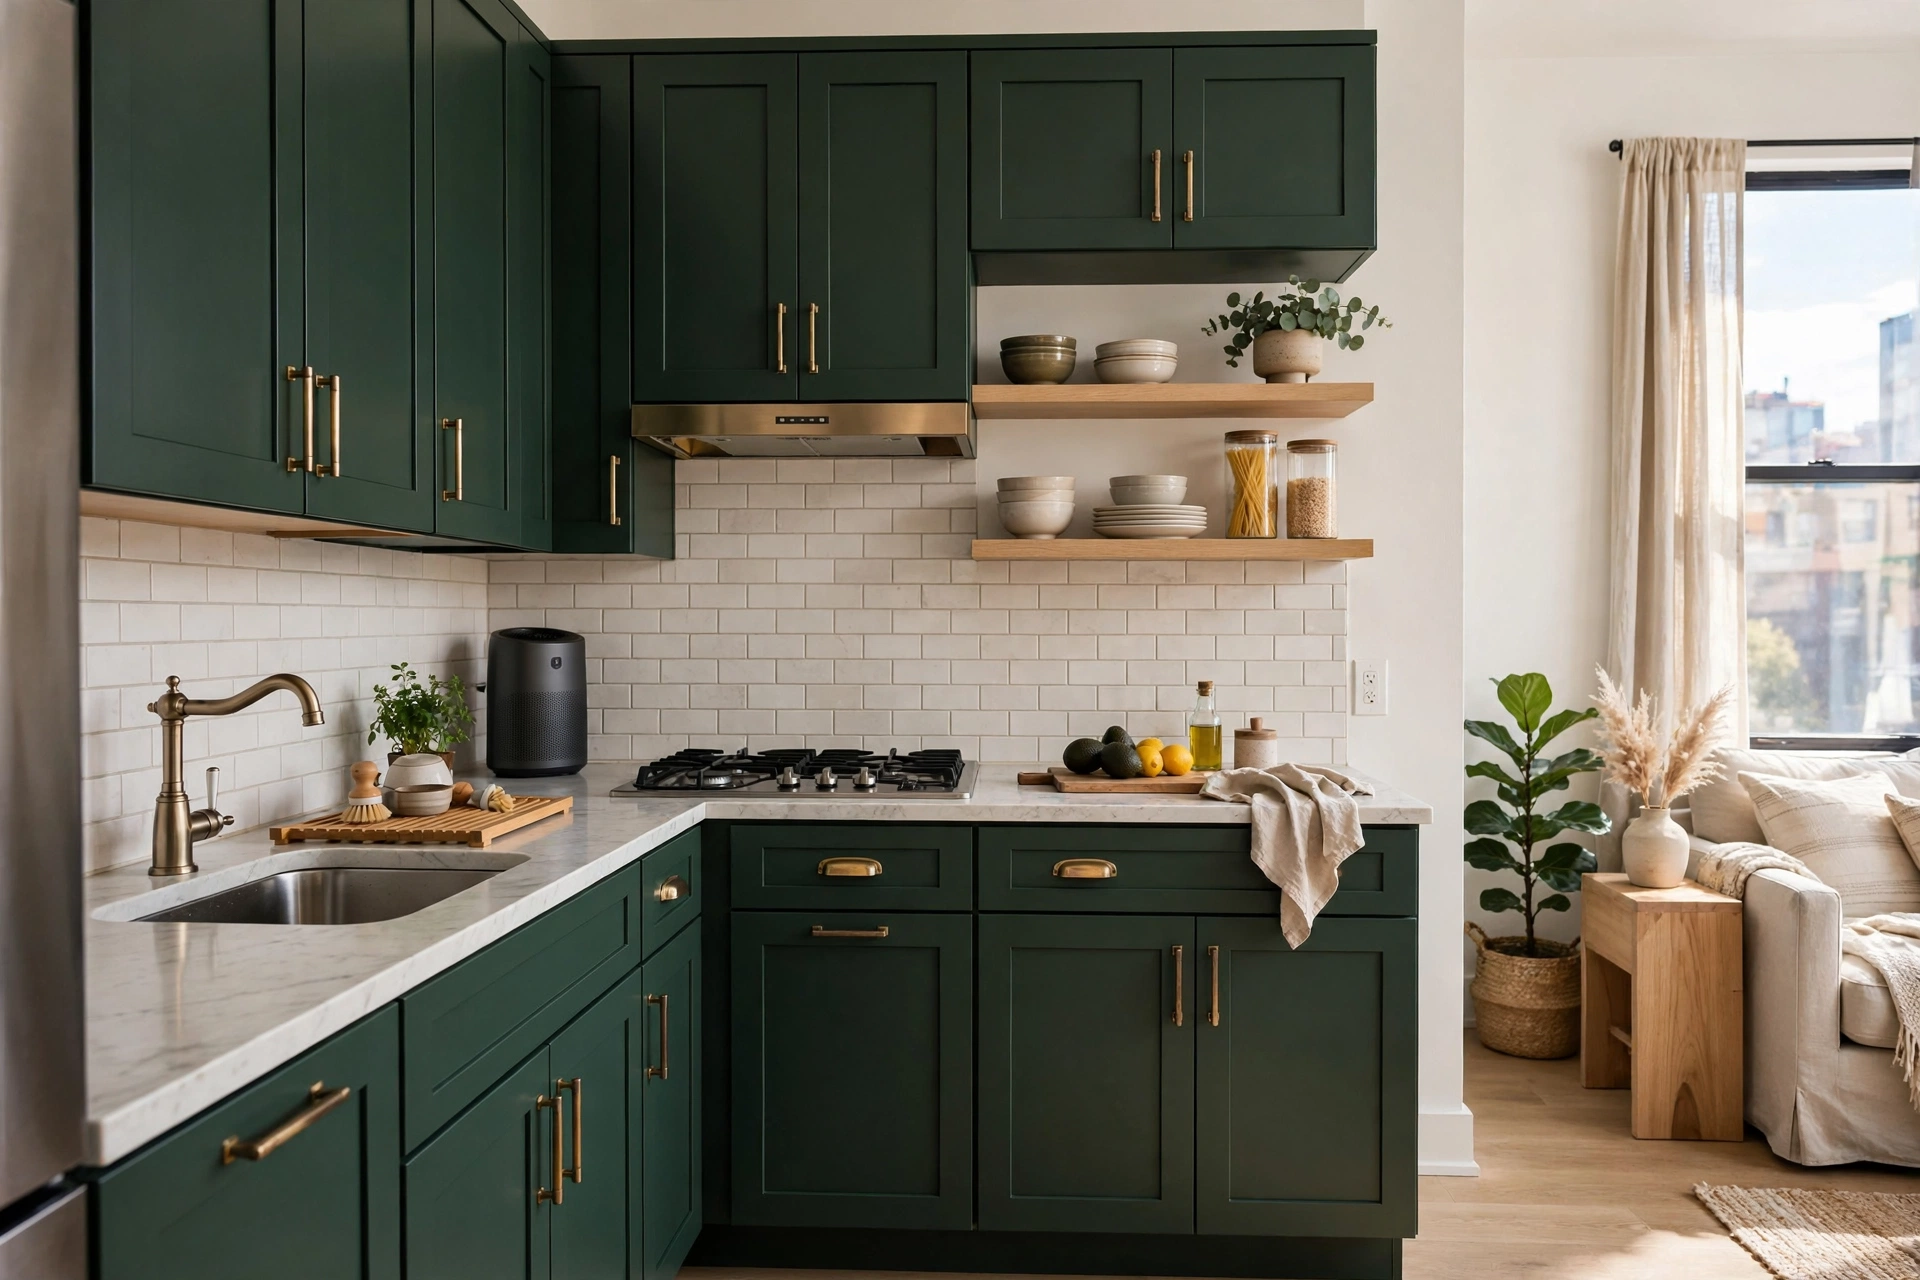
Oak 90s cabinets drag down the whole studio — but a weekend, a quart of cabinet paint ($30–$45), and new hardware can take them from dated to designer. Deep green, navy, or warm greige cabinets with brass pulls look like a $10,000 renovation for under $100. (Check your lease first, or use this trick on a thrifted freestanding cabinet instead.) Pro tip: remove the doors and hardware and spray or roll them flat in a ventilated space — painting doors while hung guarantees drips, and drips guarantee a DIY look.
44. Upgrade the Entry: Mat, Hardware, Scent
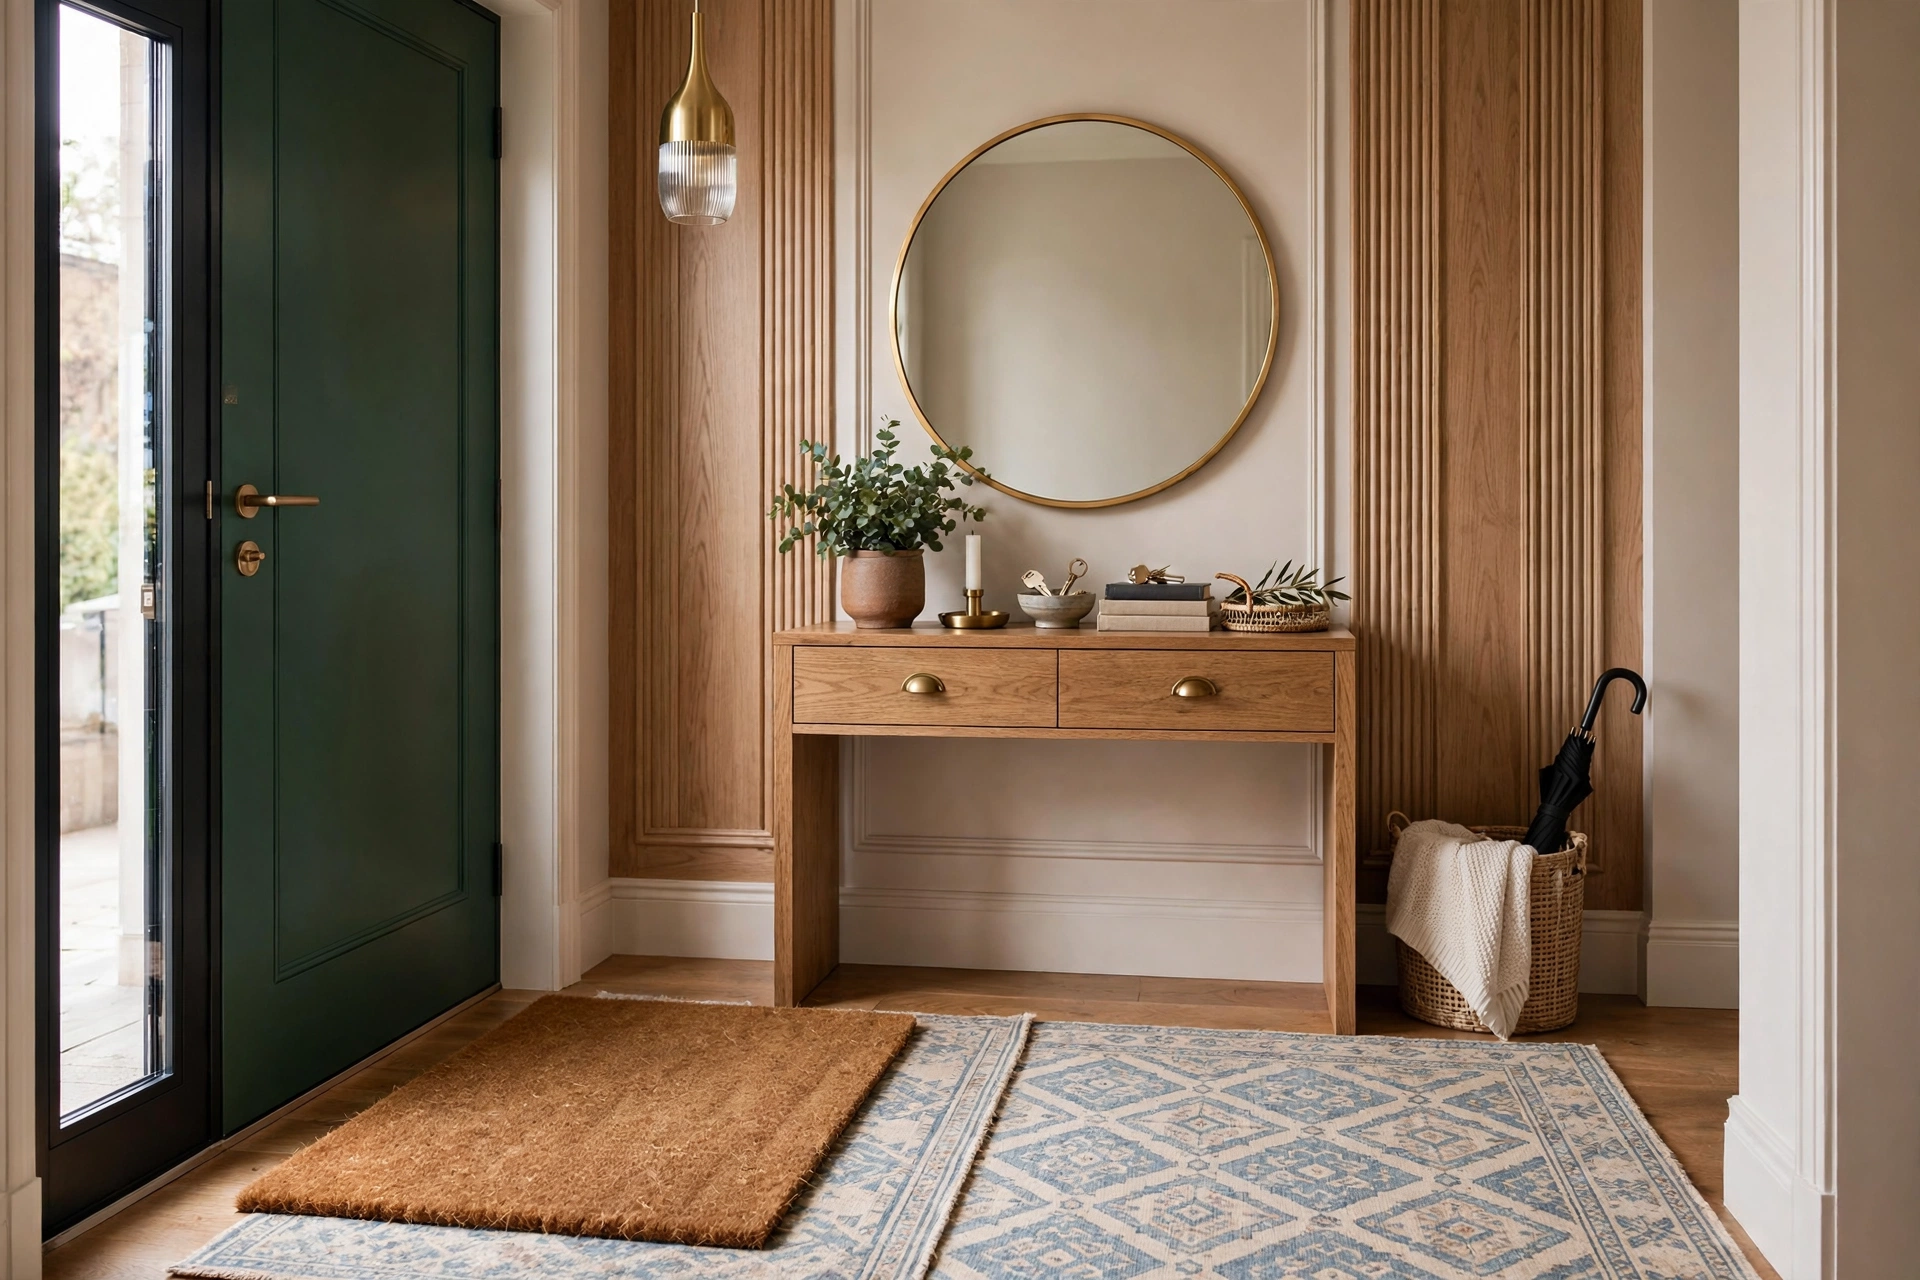
First impressions set the price tag in a visitor’s mind — a quality coir doormat ($20–$35), a polished door handle or knocker ($25–$50), and that signature scent from idea 35 create a luxury arrival sequence for under $100 total. Even in an apartment building, your front door’s immediate zone is yours to elevate. Pair these finishing touches with the full-budget playbook in our budget studio apartment decorating ideas. Pro tip: layer a patterned indoor rug just inside the door over the building’s flooring — the double-mat look is a classic designer entry trick that defines your threshold beautifully.
Frequently Asked Questions
How can I make my studio apartment look expensive on a budget?
Focus on the high-impact cheap wins: paint one wall a rich color ($35–$55), hang curtains high and wide ($25–$50), swap cabinet hardware for brass ($2–$5 per pull), put lights on dimmers ($10–$15), and declutter every surface (free). These five changes cost under $200 total and transform how expensive the whole space feels — because luxury is about confident, consistent choices, not price tags.
What colors make a small apartment look more expensive?
Rich, saturated colors read as expensive: deep forest green, inky navy, warm charcoal, and chocolate brown — especially on one accent wall or on cabinetry. Pair them with warm whites, brass tones, and natural textures. Avoid the all-beige-everything look, which can read as bland rather than luxe; expensive rooms have contrast and at least one bold, confident color moment.
What is the cheapest way to make a rental look luxurious?
Decluttering (free), dimmers on every lamp ($10–$15 each), matching velvet hangers ($15–$25), and a signature scent ($20–$40) deliver the most luxury per dollar. Then add one large mirror ($80–$180) and floor-length curtains ($25–$50 per panel). None of these require landlord permission, and together they create the layered, intentional, glowing look that defines expensive interiors.
How do I style a studio apartment like a designer?
Designers follow formulas: symmetry (matching lamp pairs), the rule of three on trays and shelves, odd-number groupings, consistent hardware finishes, and breathing room on every surface. Style in layers — large furniture, then textiles, then lighting, then objects — and photograph each vignette to check it objectively. The camera reveals what your eyes miss, and it’s how professionals quality-check their own work.
Can renters make upgrades that look expensive without losing the deposit?
Absolutely — the best luxe-on-a-budget tricks are fully reversible: peel-and-stick backsplash and wallpaper, marble-look contact paper, plug-in sconces and dimmers, tension-rod curtains, matching frames hung on adhesive strips, and freestanding furniture upgrades. Keep the original hardware and fixtures in a labeled box so you can restore everything at move-out in one afternoon.
What mistakes make a studio apartment look cheap?
The top offenders: a too-small rug floating in the middle of the floor, curtains that are too short or too narrow, harsh overhead lighting with no dimmers, visible clutter on every surface, mixed light-bulb color temperatures, and builder-grade hardware left as-is. Fix these six and most studios jump an entire perceived price bracket — they’re all cheap or free to correct.
Final Thoughts
An expensive-looking studio apartment isn’t about the price tags — it’s about the decisions. One confident paint color, curtains hung with intention, lighting that glows instead of glares, hardware that gleams, and surfaces with room to breathe: these are the moves that separate rooms that look decorated from rooms that look designed. Every idea in this guide shares one principle — spend where it shows, fake it where it doesn’t, and never let a small space be an excuse for small thinking.
Start with the five under-$200 wins this weekend: the accent wall, the curtains, the hardware, the dimmers, and the great declutter. Then layer in the textiles, the lighting, and the finishes one paycheck at a time. Before long, guests will be asking who your designer was — and you’ll get to smile, because the designer was you, and the whole transformation cost less than one designer pillow.