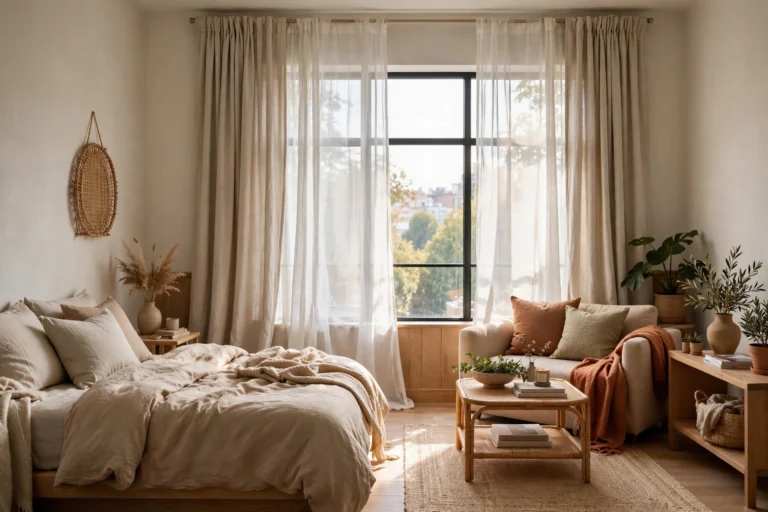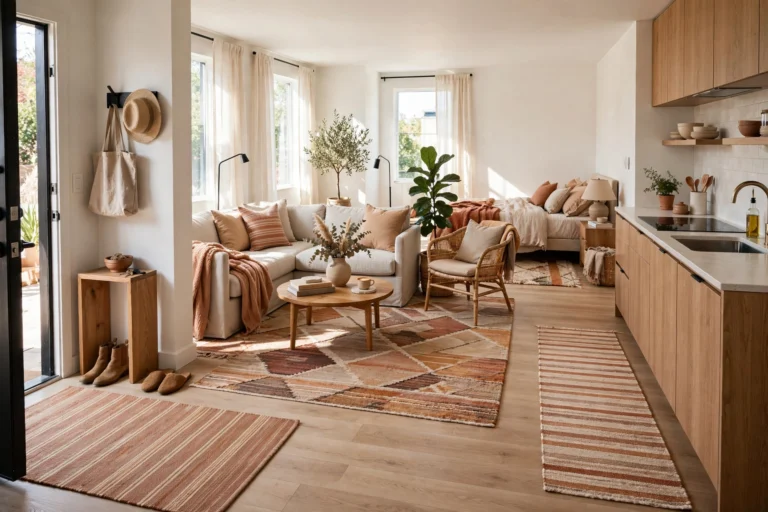
31 Studio Apartment Lighting Ideas for Every Corner and Mood
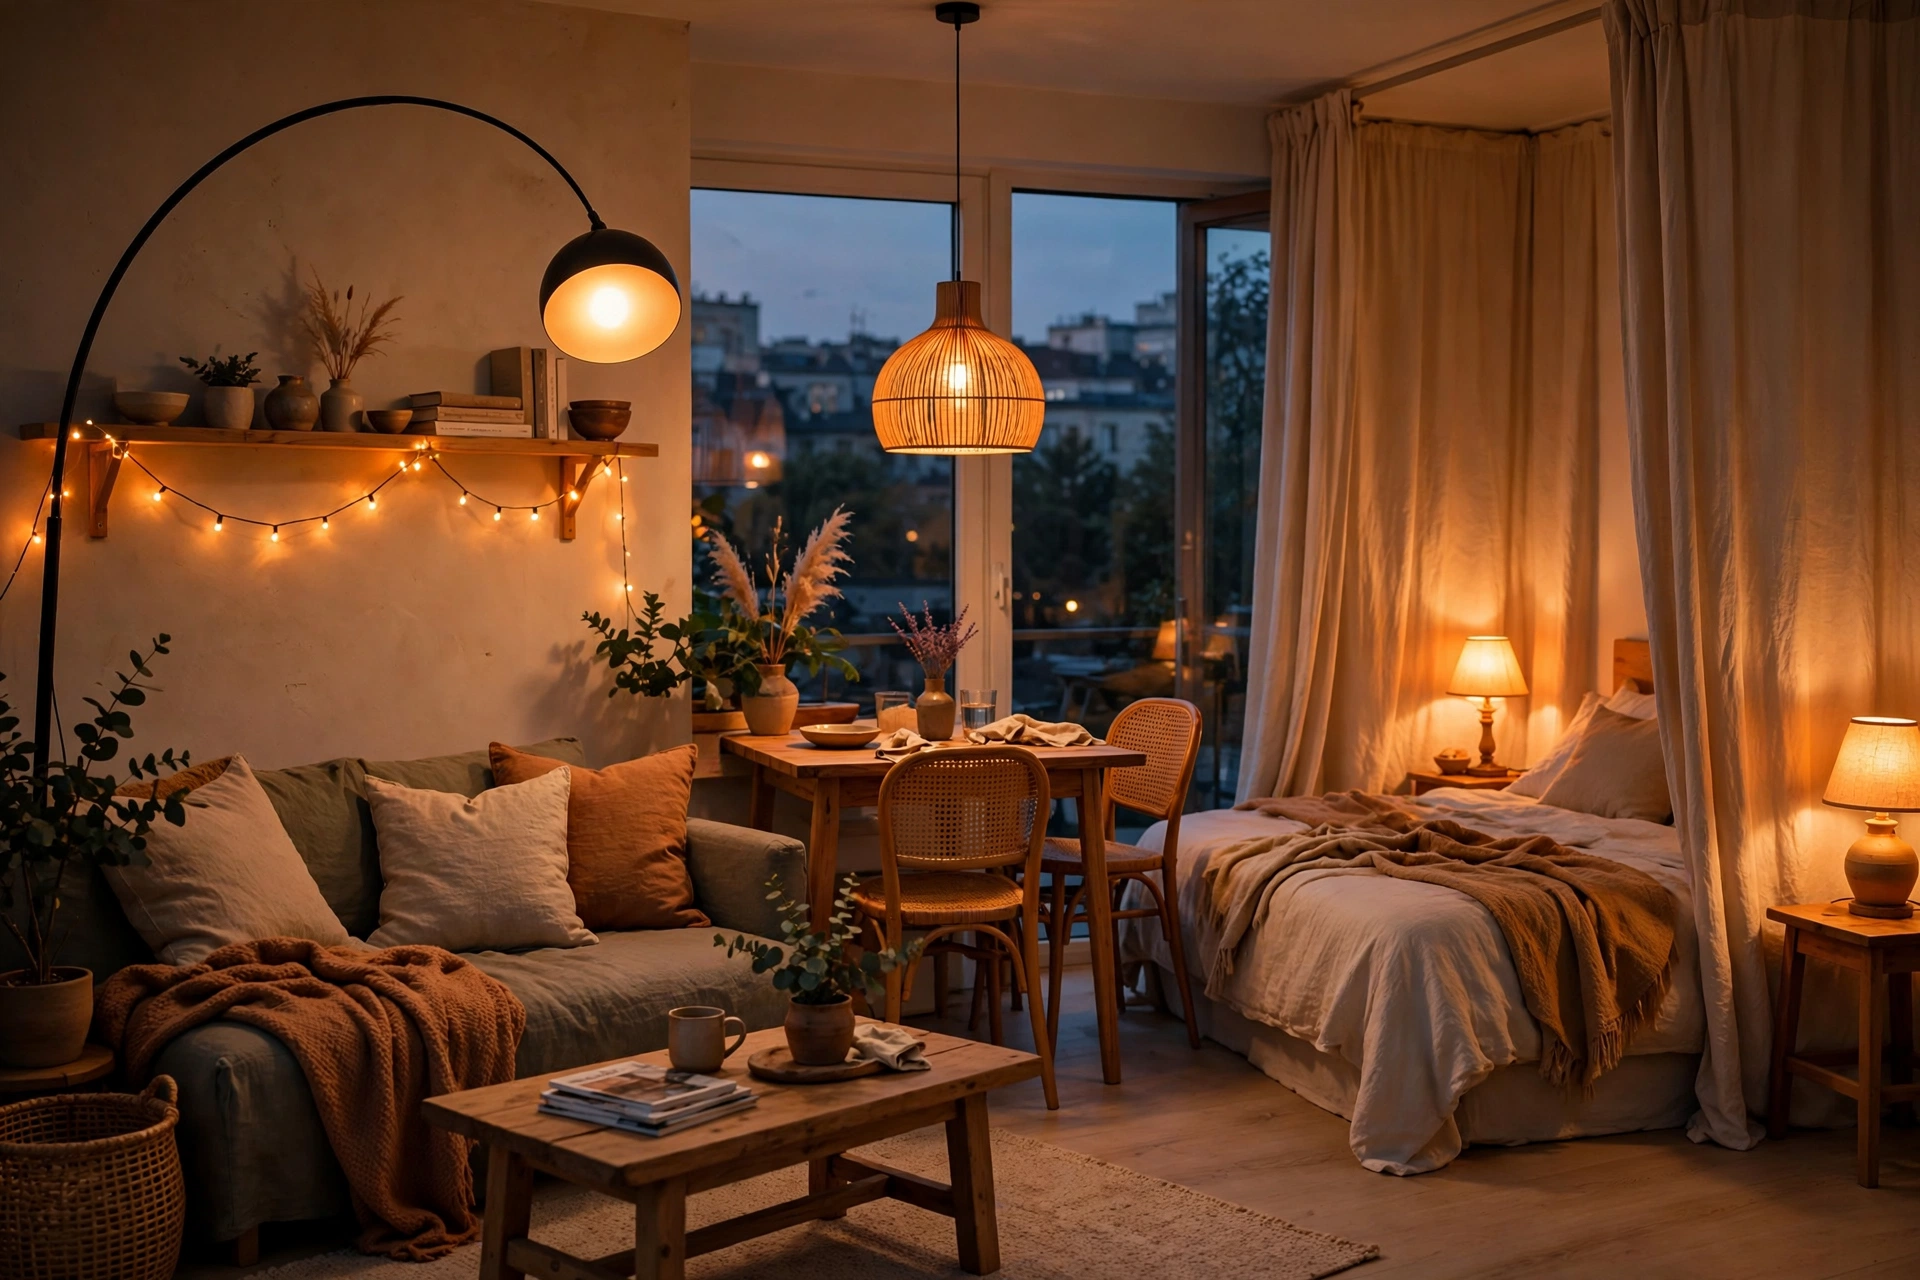
Lighting can make or break a studio apartment. One harsh overhead bulb flattens everything — it erases the “rooms” you’ve worked so hard to carve out and makes even a beautifully decorated space feel cold. But layer in a few warm, well-placed light sources and the same square footage suddenly feels bigger, calmer, and infinitely more intentional. Good lighting is the cheapest square-footage illusion you own.
This guide walks you through 31 studio apartment lighting ideas — from the classic 3-layer rule to renter-friendly installs that need zero hardwiring. Every idea works in a single room that does double (or triple) duty as living room, bedroom, and dining space, and every recommendation is budget-friendly and lease-safe. Pair these ideas with cozy apartment living room ideas for the full effect, and you’ll never dread flipping the switch again.
Layering Basics: The 3-Layer Rule
1. Layer Ambient, Task, and Accent Light
Every well-lit room — even one that does everything — needs three types of light working together. Ambient light is your general glow (a ceiling fixture or floor lamp), task light is focused brightness for reading or cooking, and accent light highlights art, plants, or architectural details. In a studio, the trick is assigning each layer to a zone: a warm ceiling glow overall, a bright task lamp at your desk or reading chair, and a small accent light behind the TV or on a shelf. Aim for 3–5 total light sources minimum; interiors pros consistently name layered lighting the single biggest small-space upgrade. Pro tip: If your studio has just one ceiling fixture, kill it with a dimmer switch and build the real lighting from lamps instead.
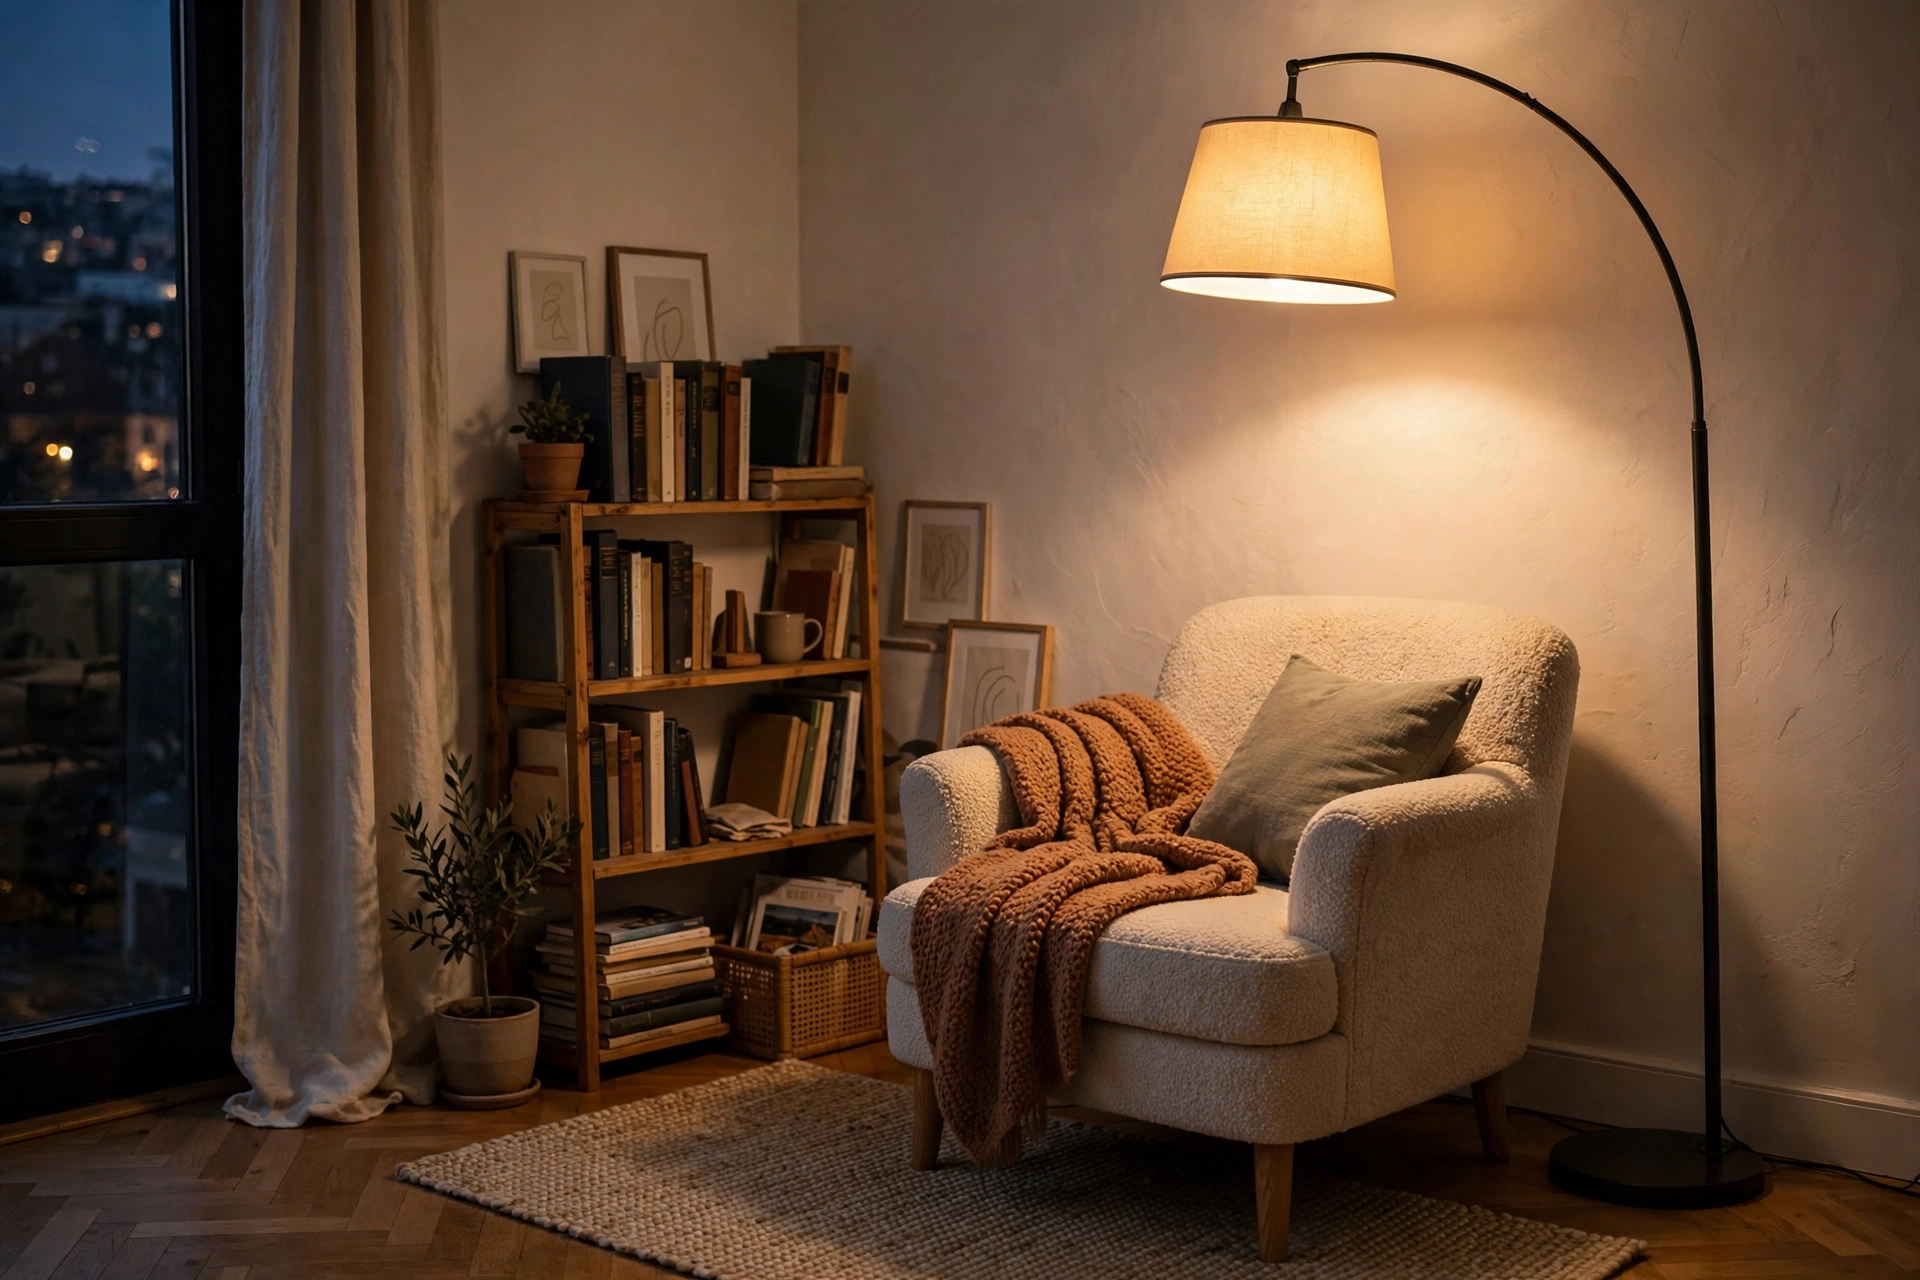
2. Put a Floor Lamp in Every Dark Corner
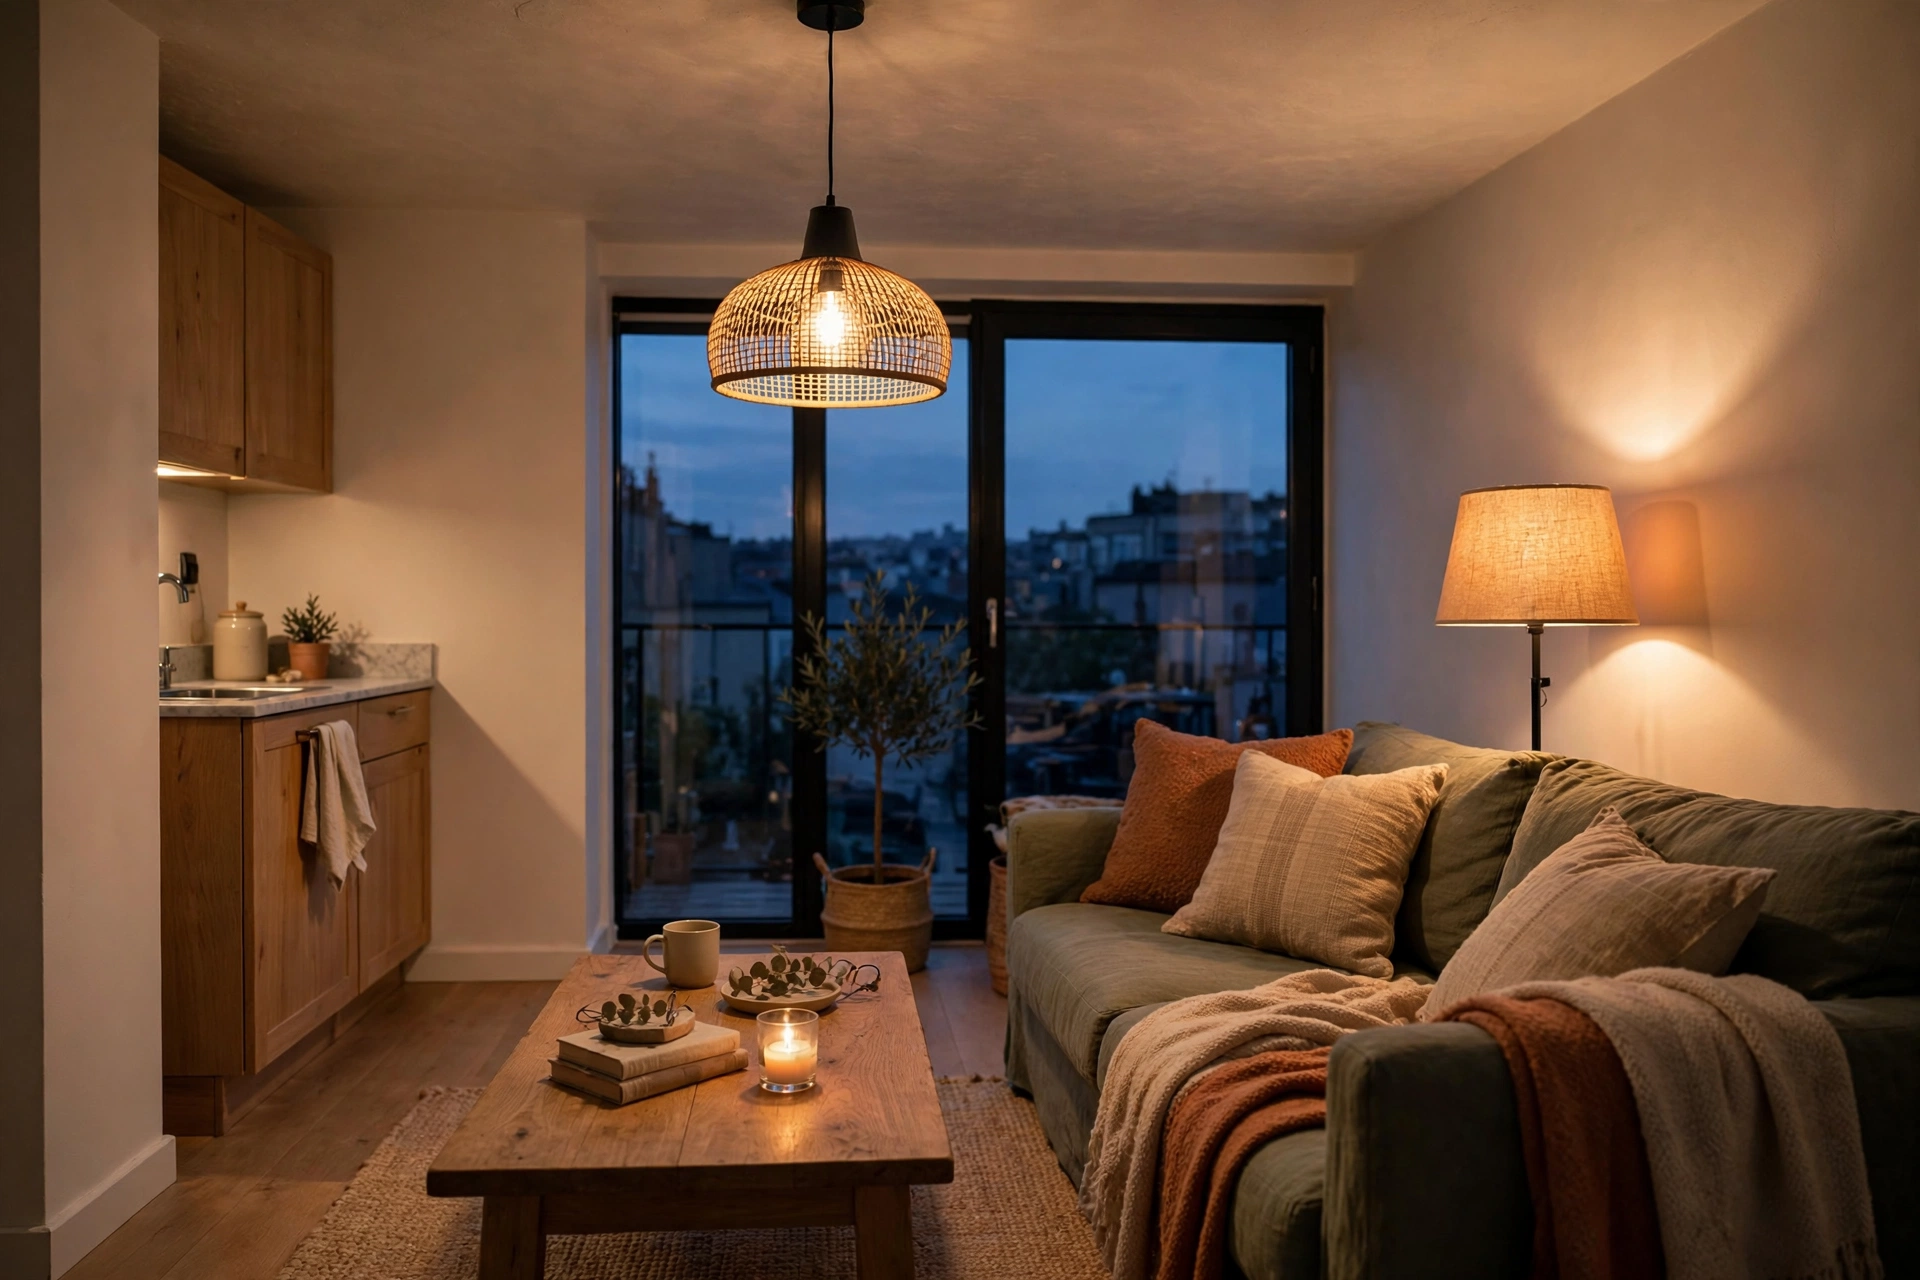
Dark corners make a studio feel smaller than it is — shadows visually shrink walls inward. A simple arc or torchiere floor lamp in the gloomiest corner instantly expands the room’s apparent footprint. The IKEA NOT or Brightech torchiere-style lamps run about $40–$70 and wash warm light up toward the ceiling, which makes 8-foot ceilings feel taller. Place one in the corner opposite your windows to balance the daylight falloff. Pro tip: Point an uplight (torchiere) at the ceiling in the darkest corner — bouncing light off the ceiling is the fastest way to fake spaciousness.
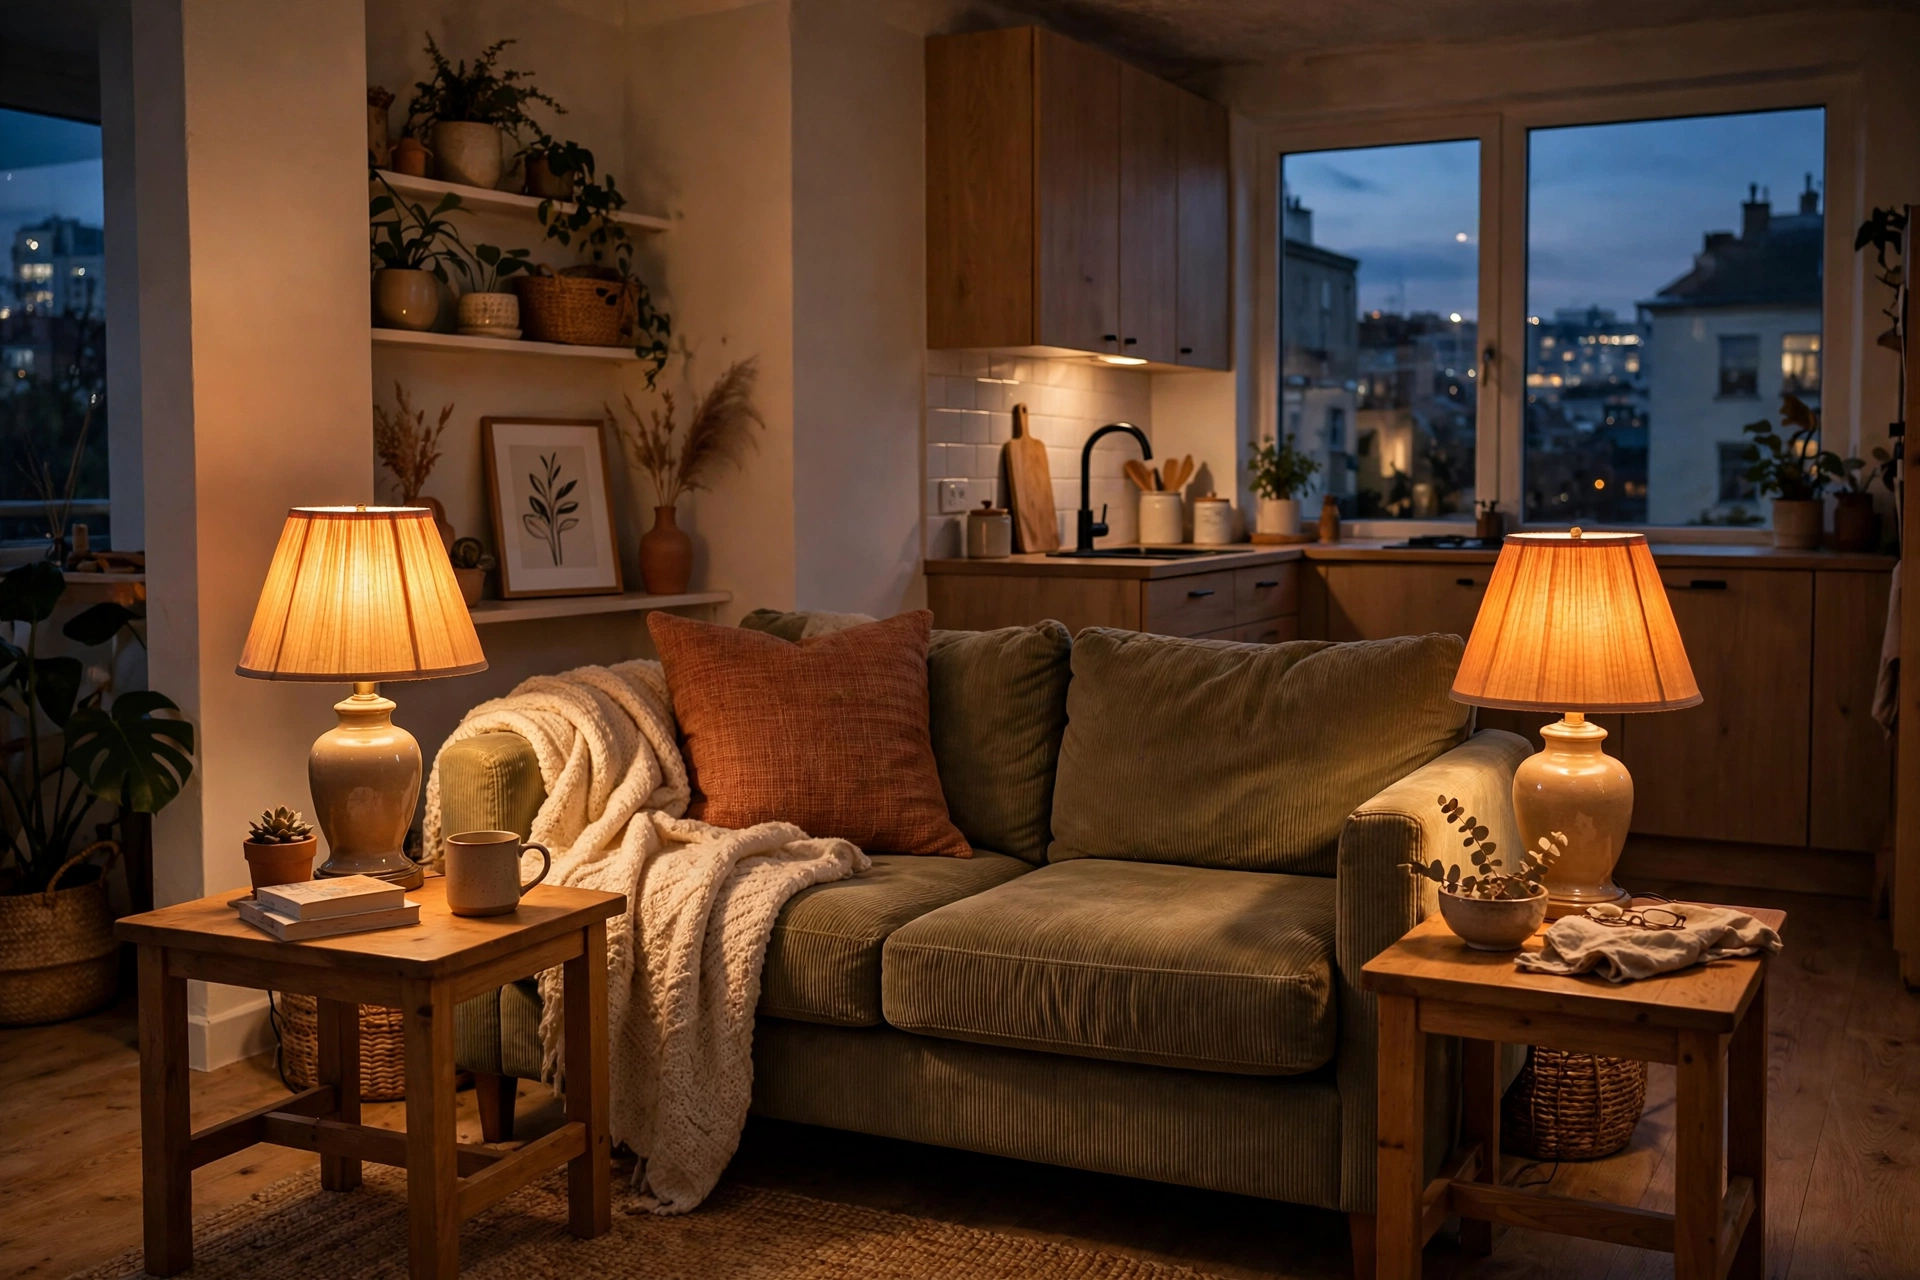
3. Flank the Sofa with Table Lamps
A matching pair of table lamps on either side of your sofa creates instant symmetry — a classic interior designer move that makes even a budget couch look styled. Small ceramic or linen-shade lamps in the $25–$45 range each (Target’s Studio McGee line or IKEA lamps are perfect) add soft pools of light at seated eye level, which is the most flattering height for evening conversation. In an open studio, that symmetrical glow also quietly marks “this is the living room.” Pro tip: Match the lamp bases but vary the shade heights slightly for a collected, not cookie-cutter, look.
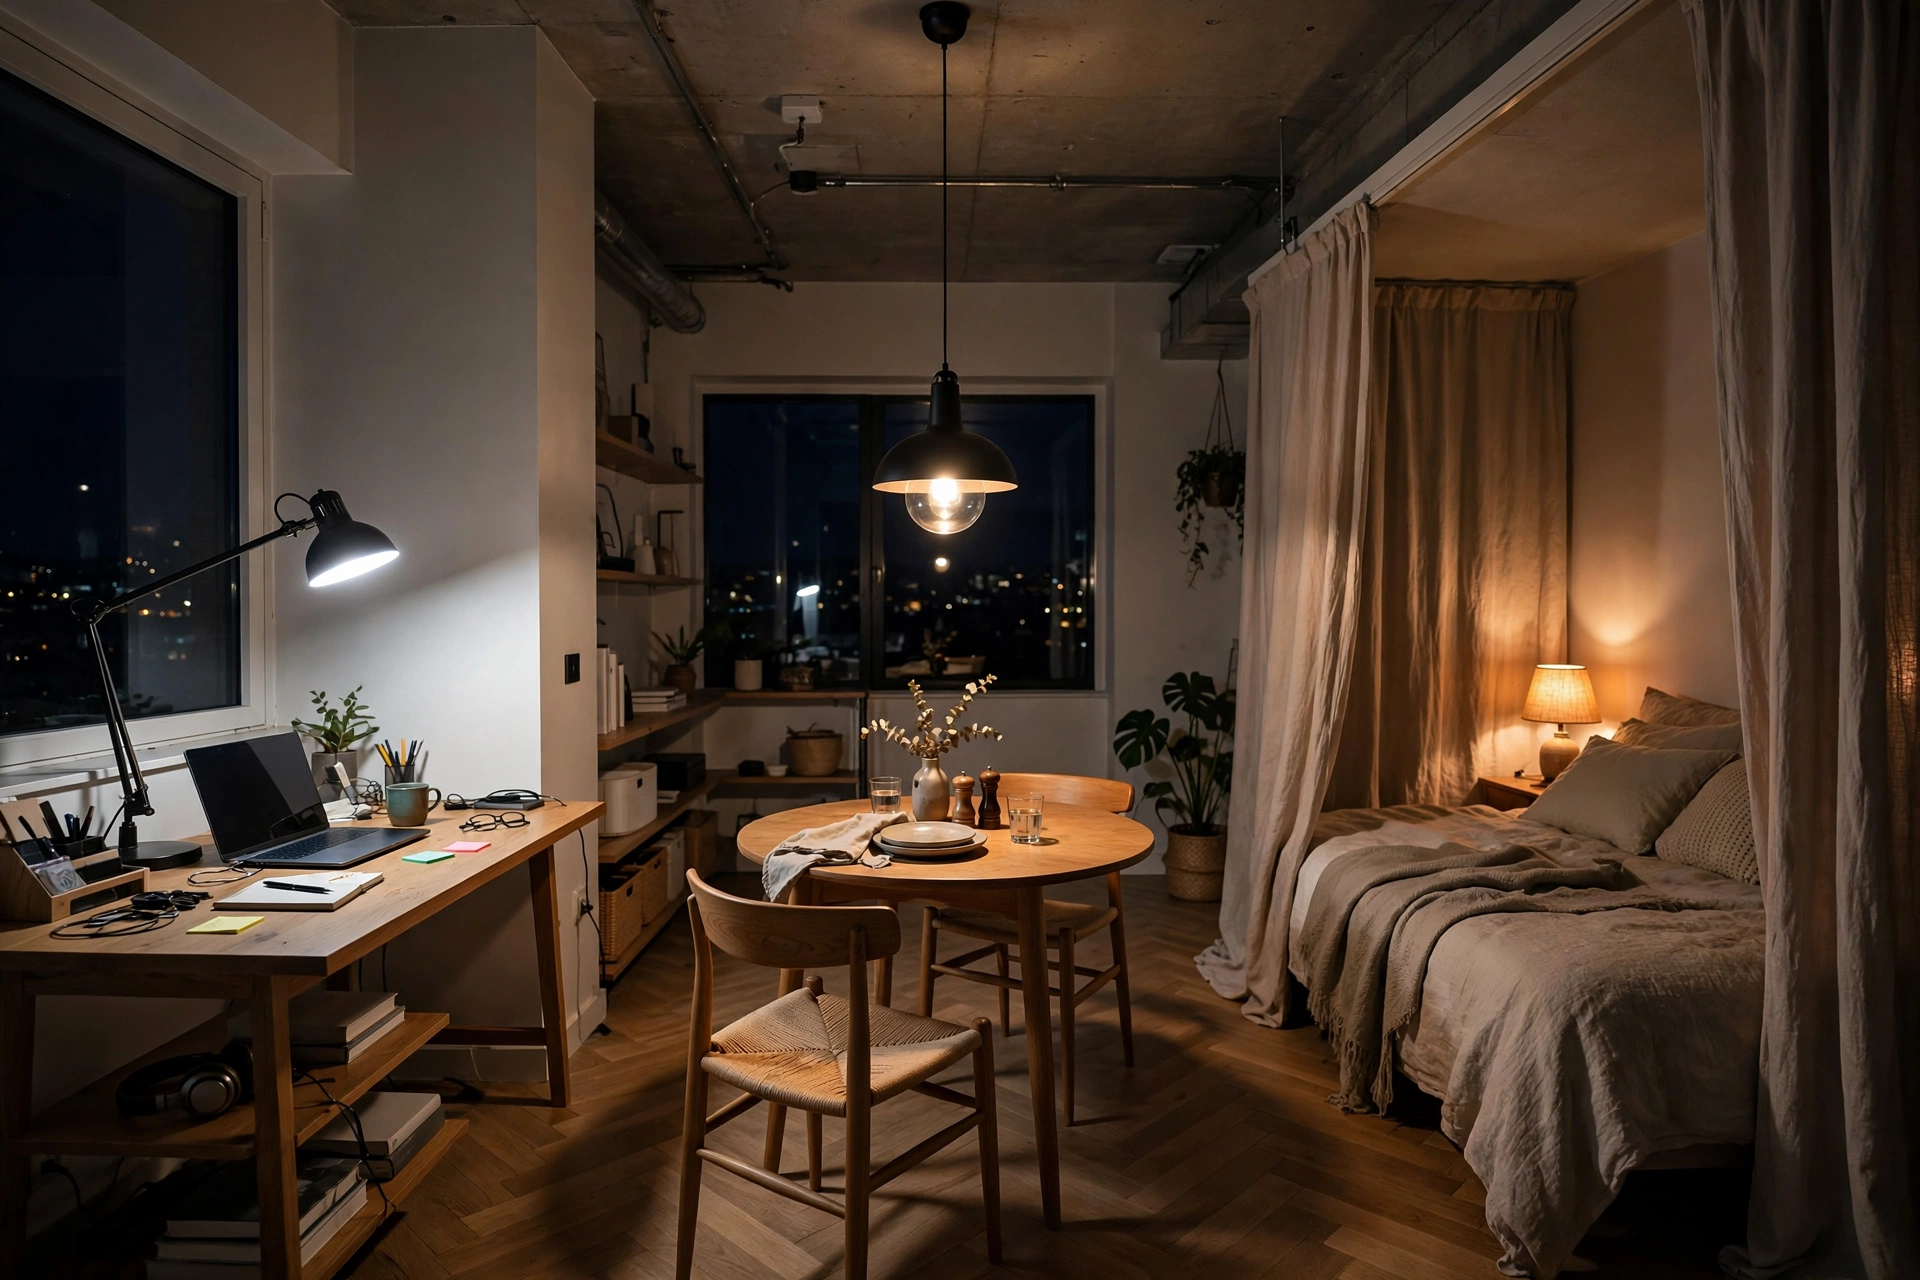
4. Give Each Zone Its Own Light Source
When your living room, bedroom, and dining area share one ceiling, separate light sources act like invisible walls. A pendant over the dining table, a floor lamp by the reading chair, and a bedside lamp by the bed each tell your brain “new zone.” This zoning-through-light trick is why apartment decorating mistakes to avoid lists a single overhead bulb as mistake number one. Give each source its own switch so you can light only the zone you’re using — cozy and energy-smart. Pro tip: Assign each zone a switch you can reach from its main seat — independence is what makes zones feel real.
Living Zone Lighting
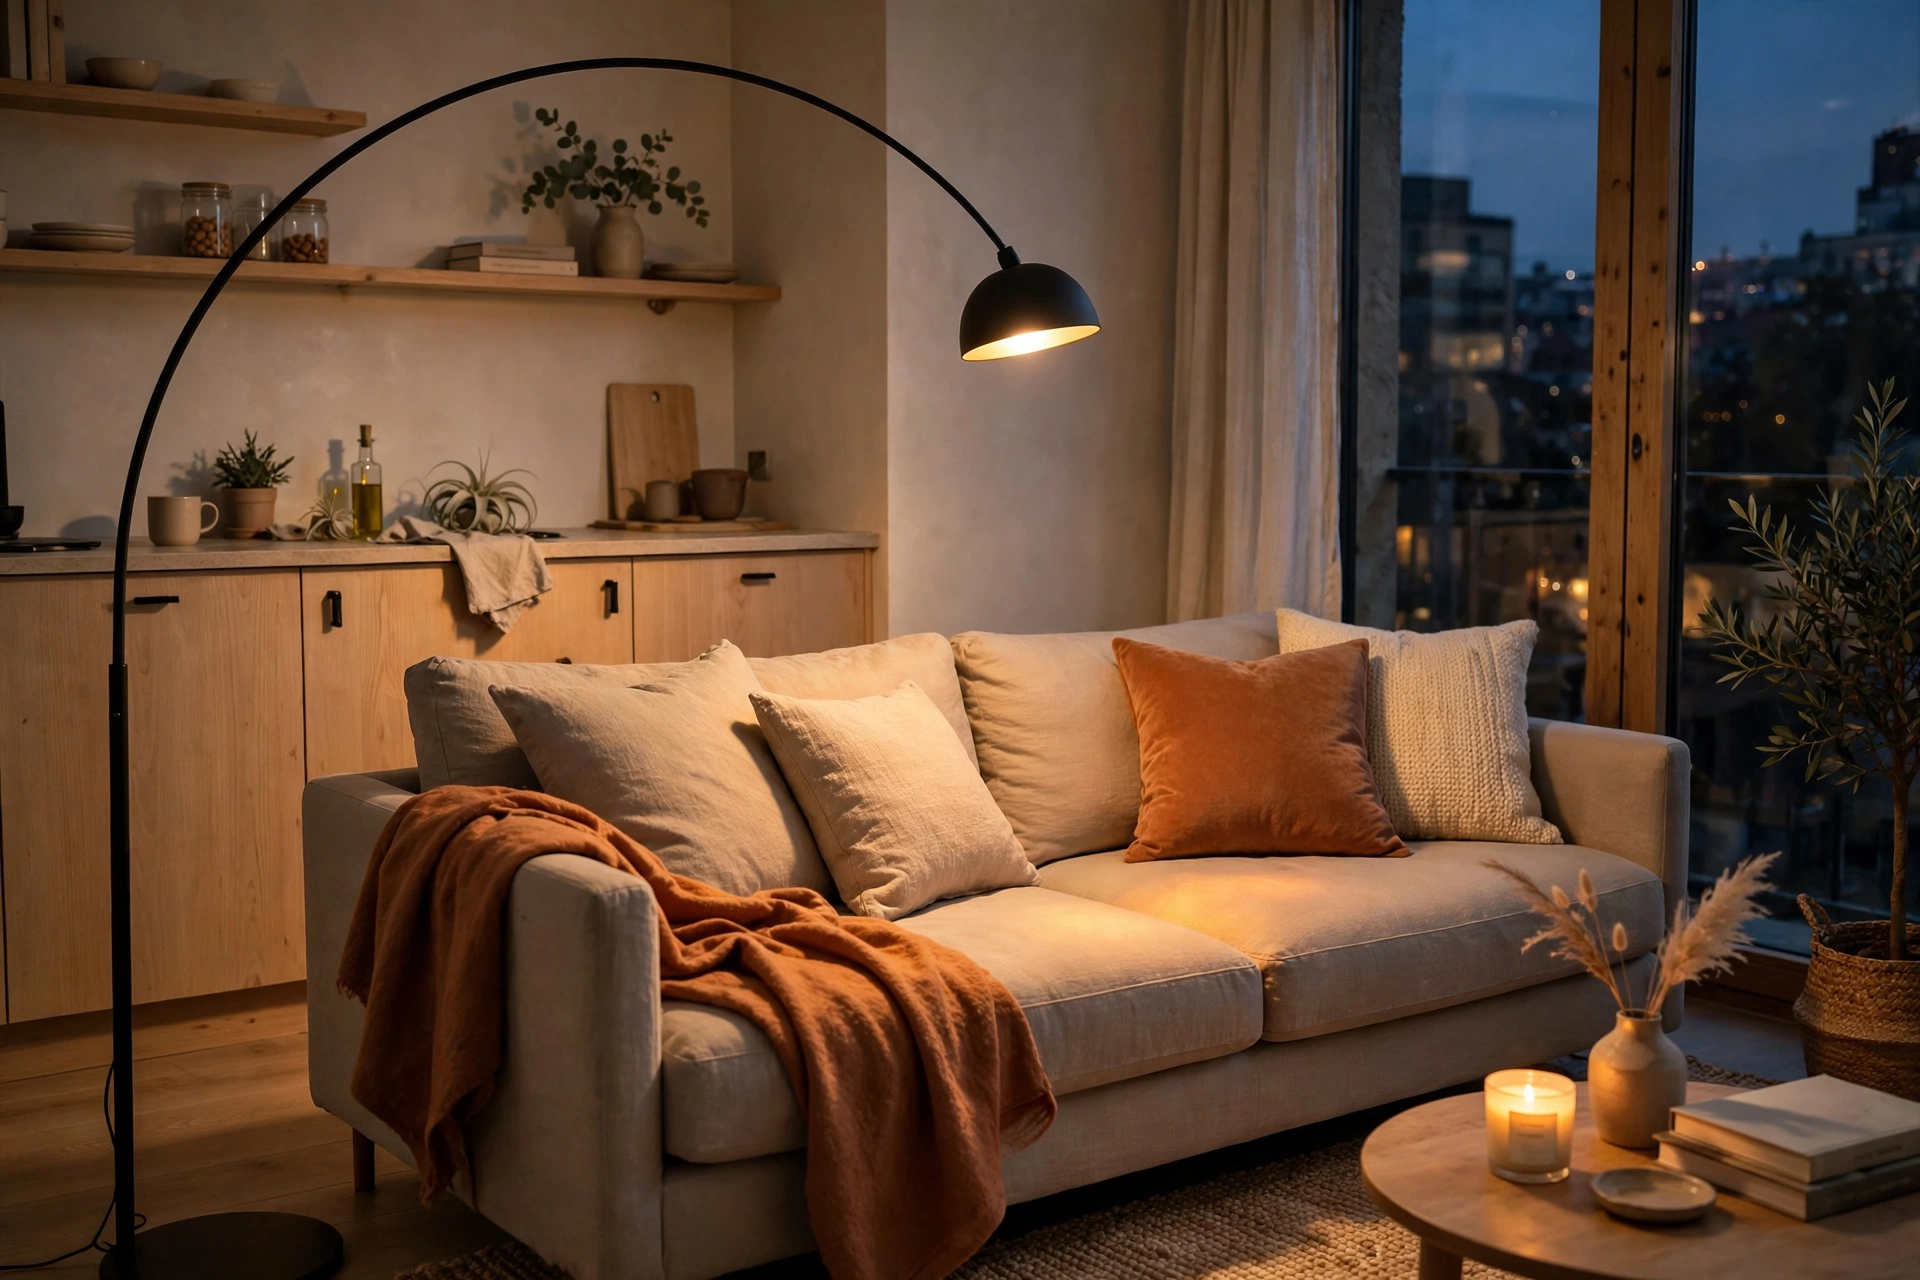
5. Hang an Arc Lamp Over the Sofa
An arc floor lamp curves over your sofa like a statement chandelier — no ceiling hooks required. The classic IKEA BÅGÅNÄS or Amazon mid-century arc lamps cost $60–$120 and deliver both drama and a perfectly aimed reading pool. The arched silhouette also draws the eye upward, adding vertical interest that studios desperately need. Anchor it behind the sofa’s corner and let the head hover over the middle cushion. Pro tip: Choose an arc with a marble or weighted base — top-heavy arcs tip easily in tight spaces.
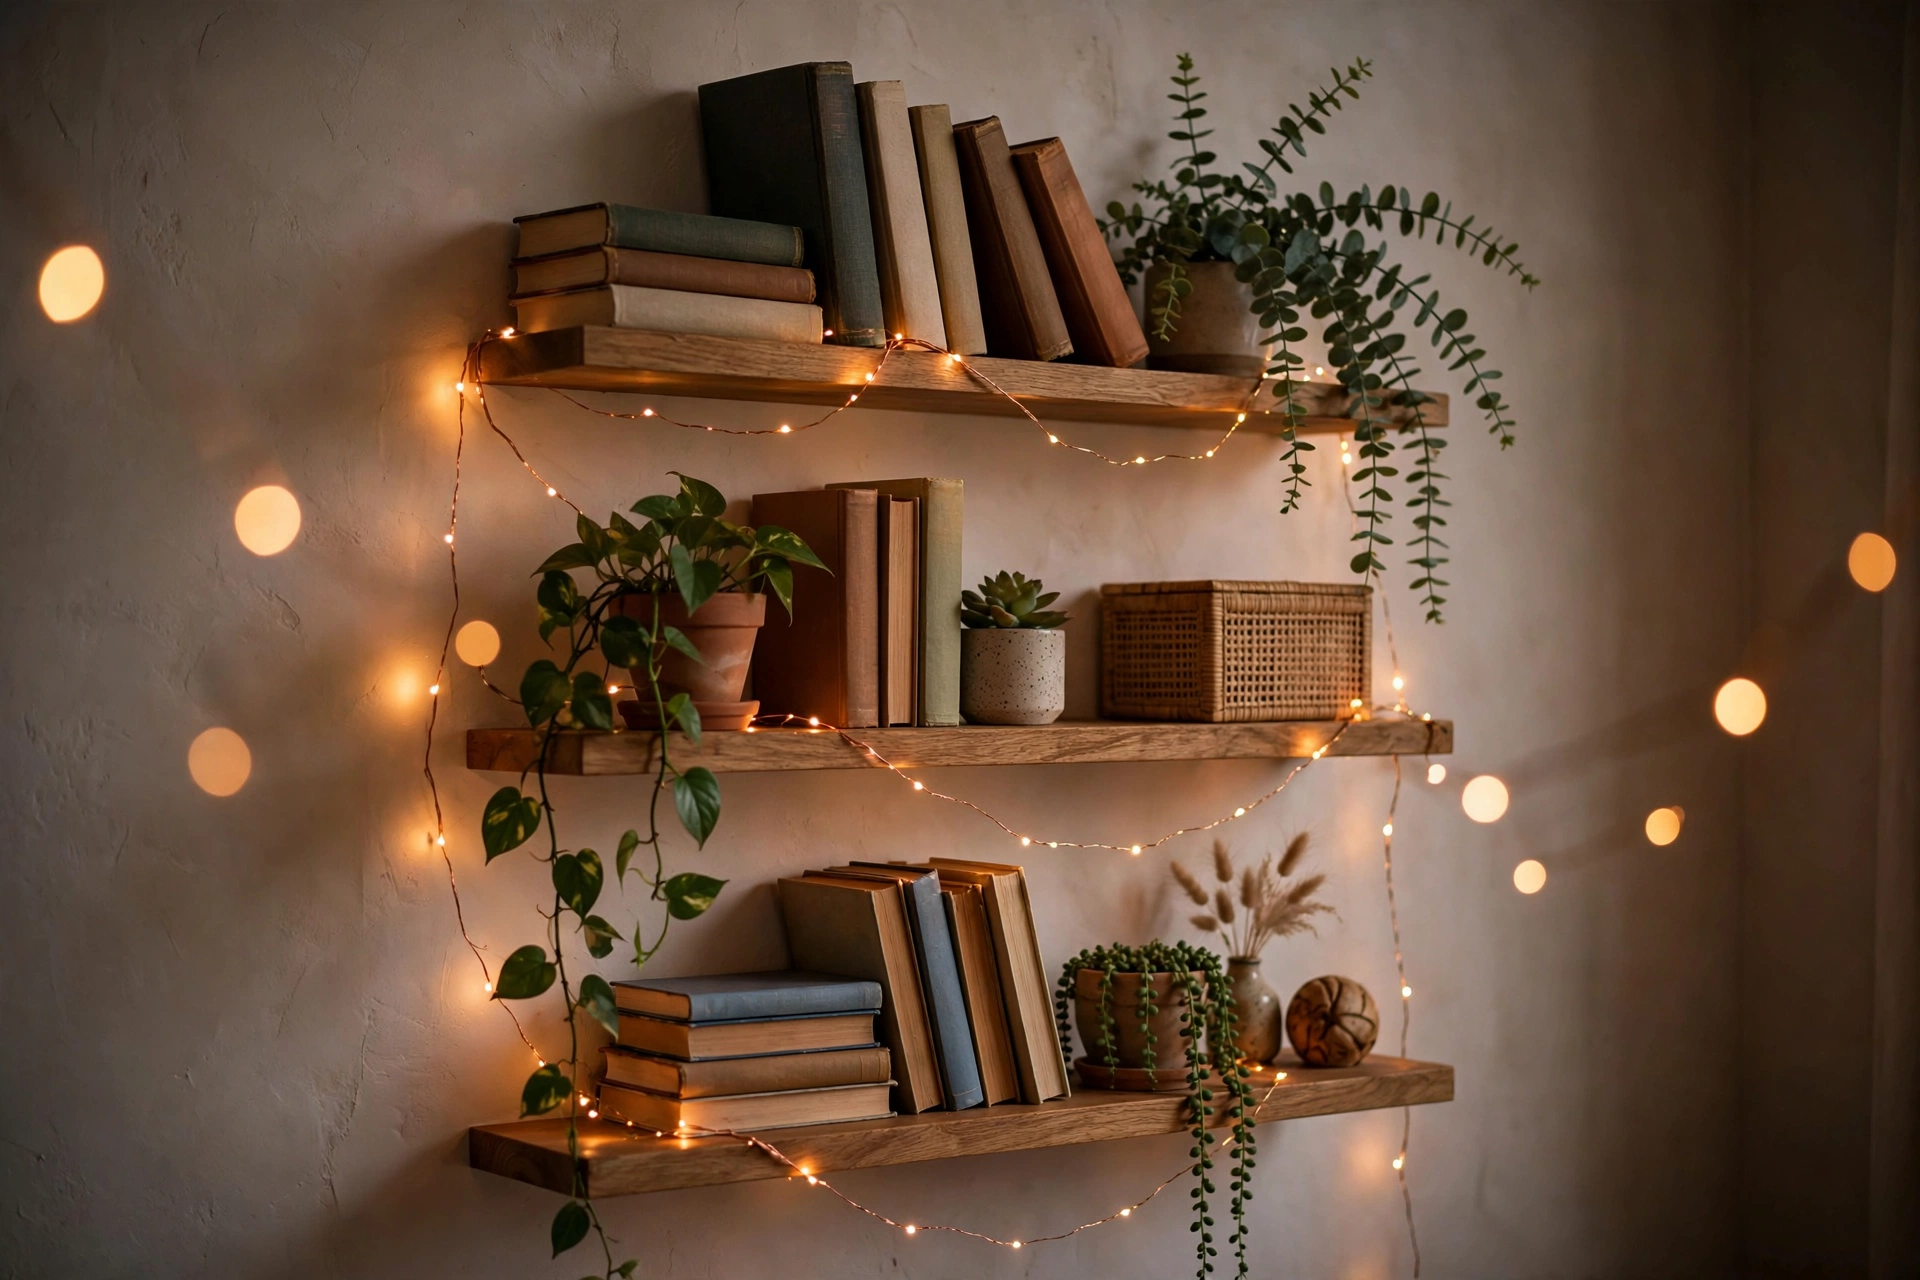
6. Drape Fairy Lights Along a Shelf
Copper-wire fairy lights are the cheapest mood upgrade in existence — a 33-foot strand costs $8–$12 and turns a plain bookshelf into a glowing feature wall. Weave them through plants, stack them in a glass jar, or outline a floating shelf’s edge. Their warm 2700K-ish glow is the Pinterest-famous “fairy light bedroom” effect that photographs beautifully. Choose battery-operated strands with a timer so they switch off on their own. Pro tip: Warm white only — “multicolor” or cool-white fairy lights instantly cheapen the look.
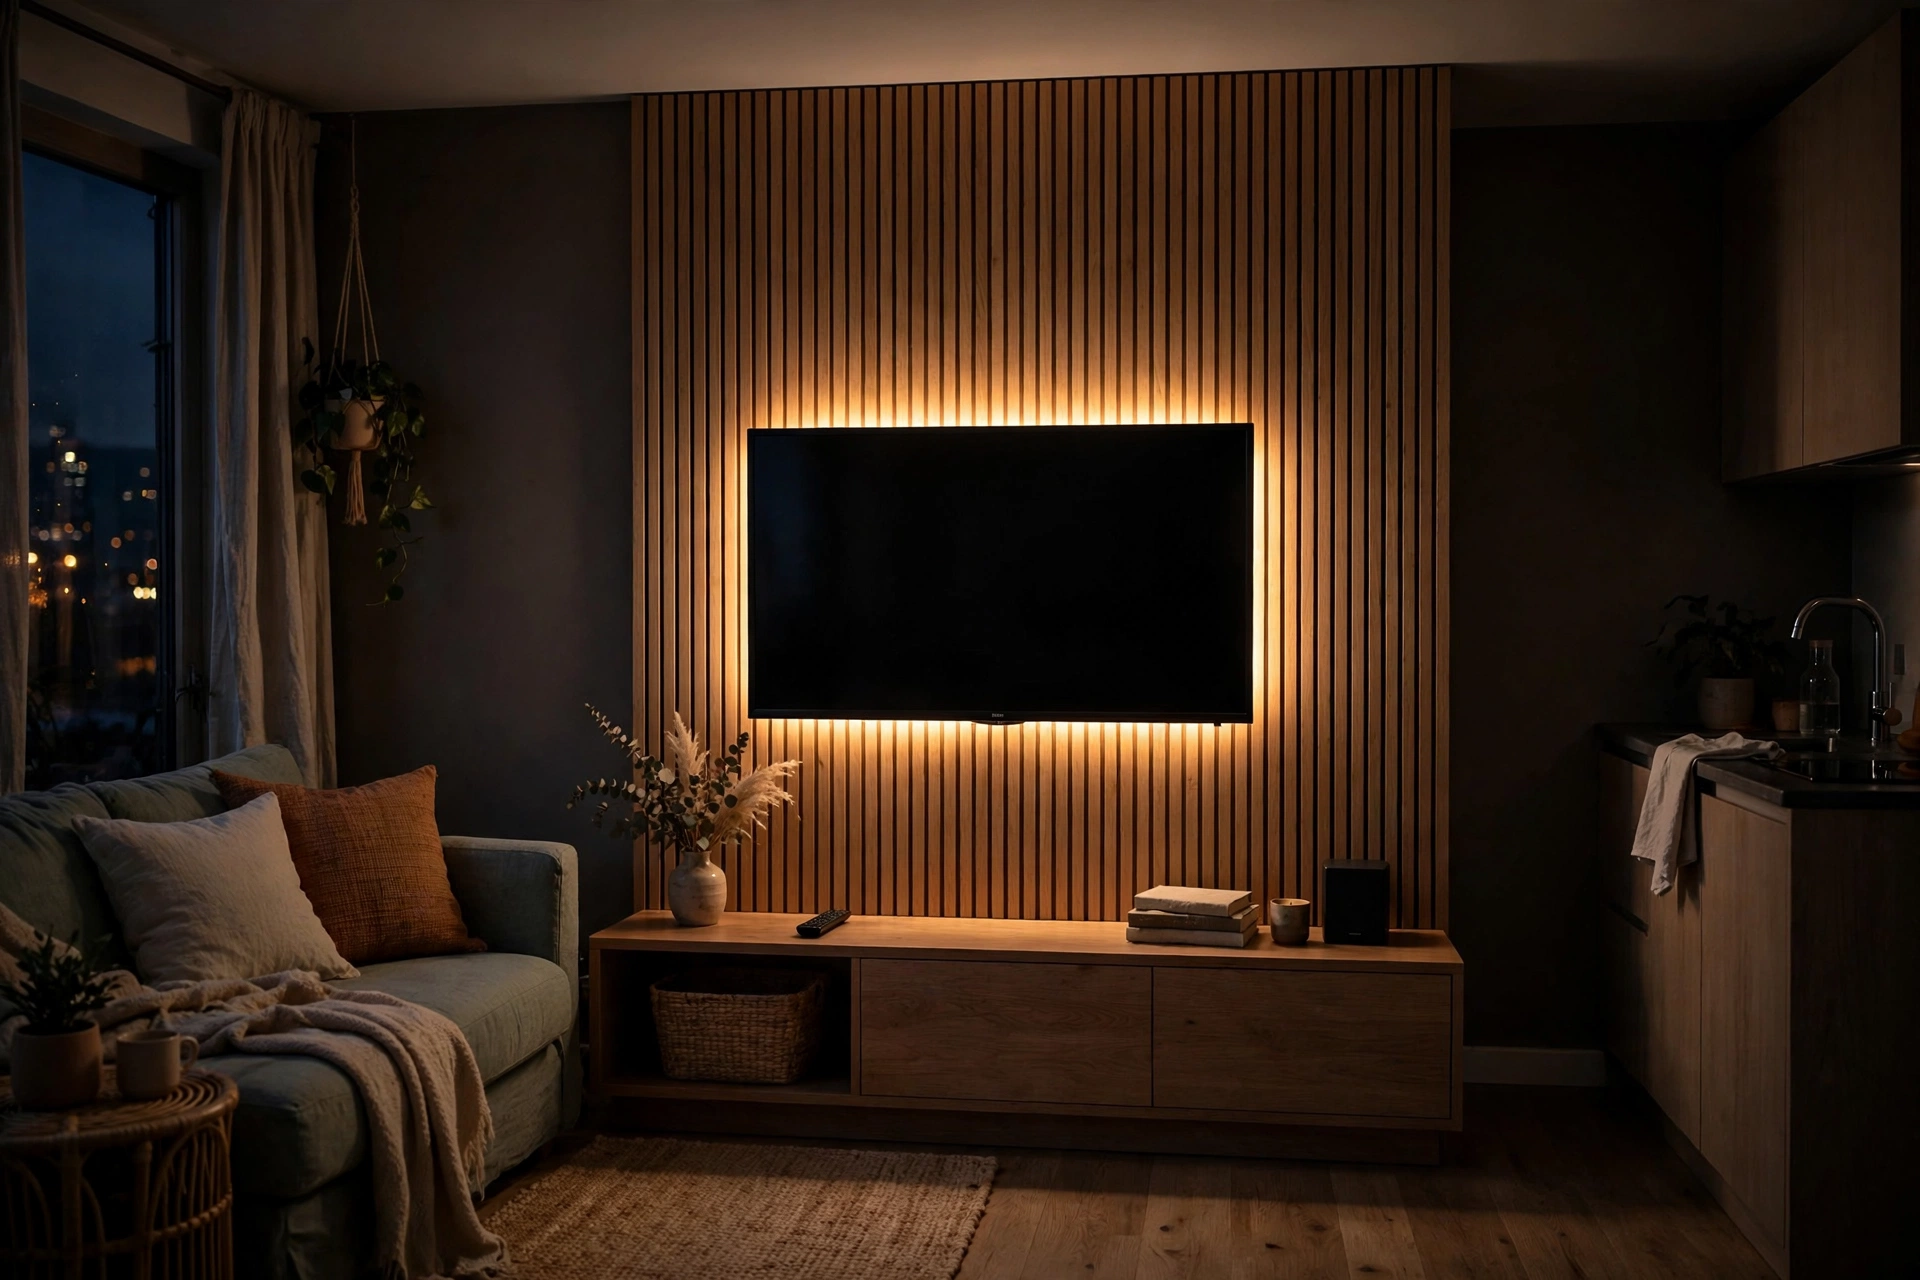
7. Add an LED Strip Behind the TV
Bias lighting — an LED strip stuck to the back of your TV — reduces eye strain during movie nights and makes the screen look bigger against a softly lit wall. A USB-powered Govee or generic strip runs $15–$25, plugs into the TV’s USB port so it turns on automatically, and adds serious cinema vibes. In a studio where the TV sits in the living zone, this one strip doubles as ambient evening lighting. Pro tip: Set the strip to warm white for shows, not the default rainbow — your eyes will thank you after a two-hour binge.
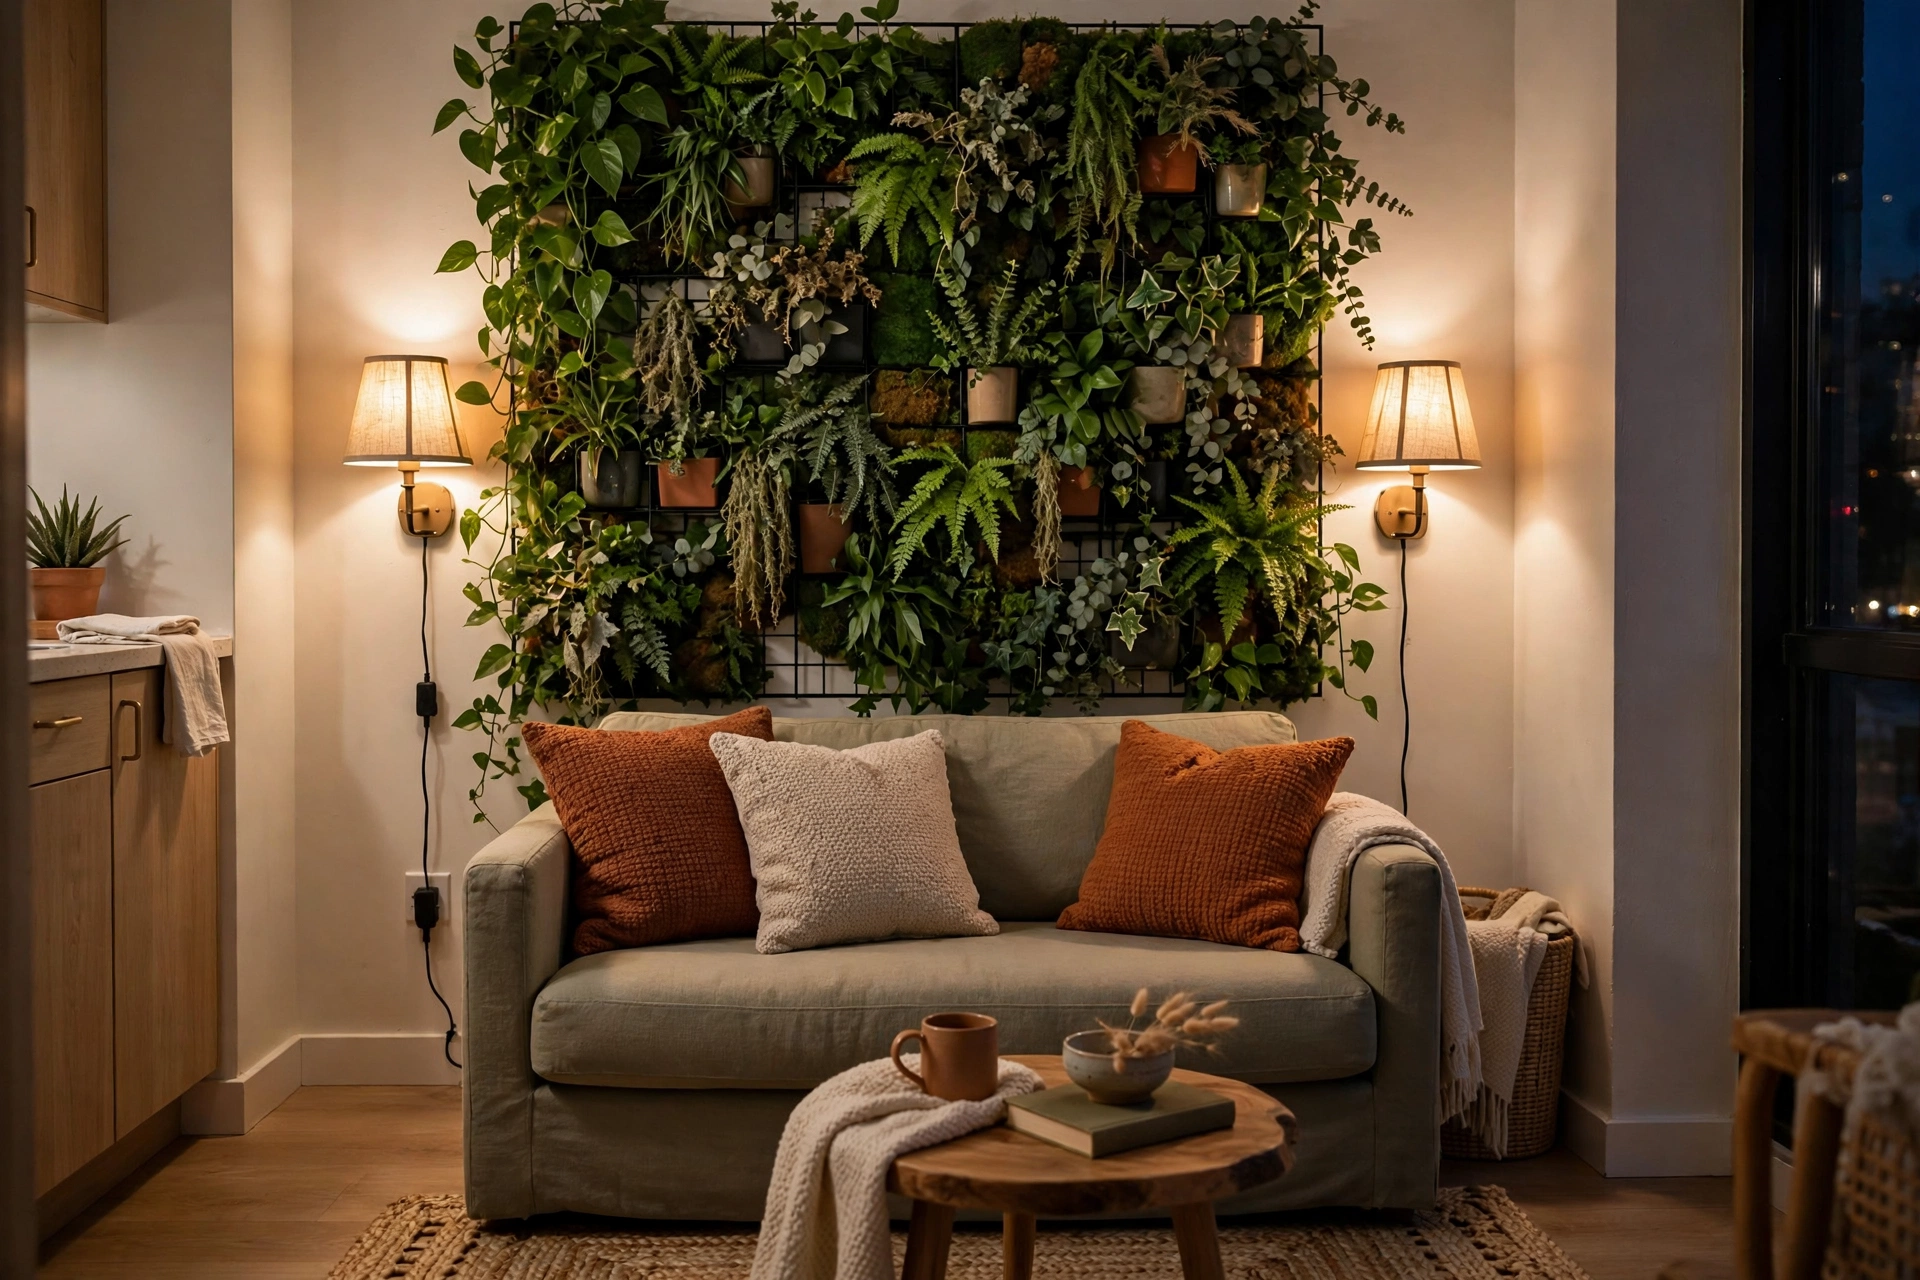
8. Mount Plug-In Sconces Beside the Sofa
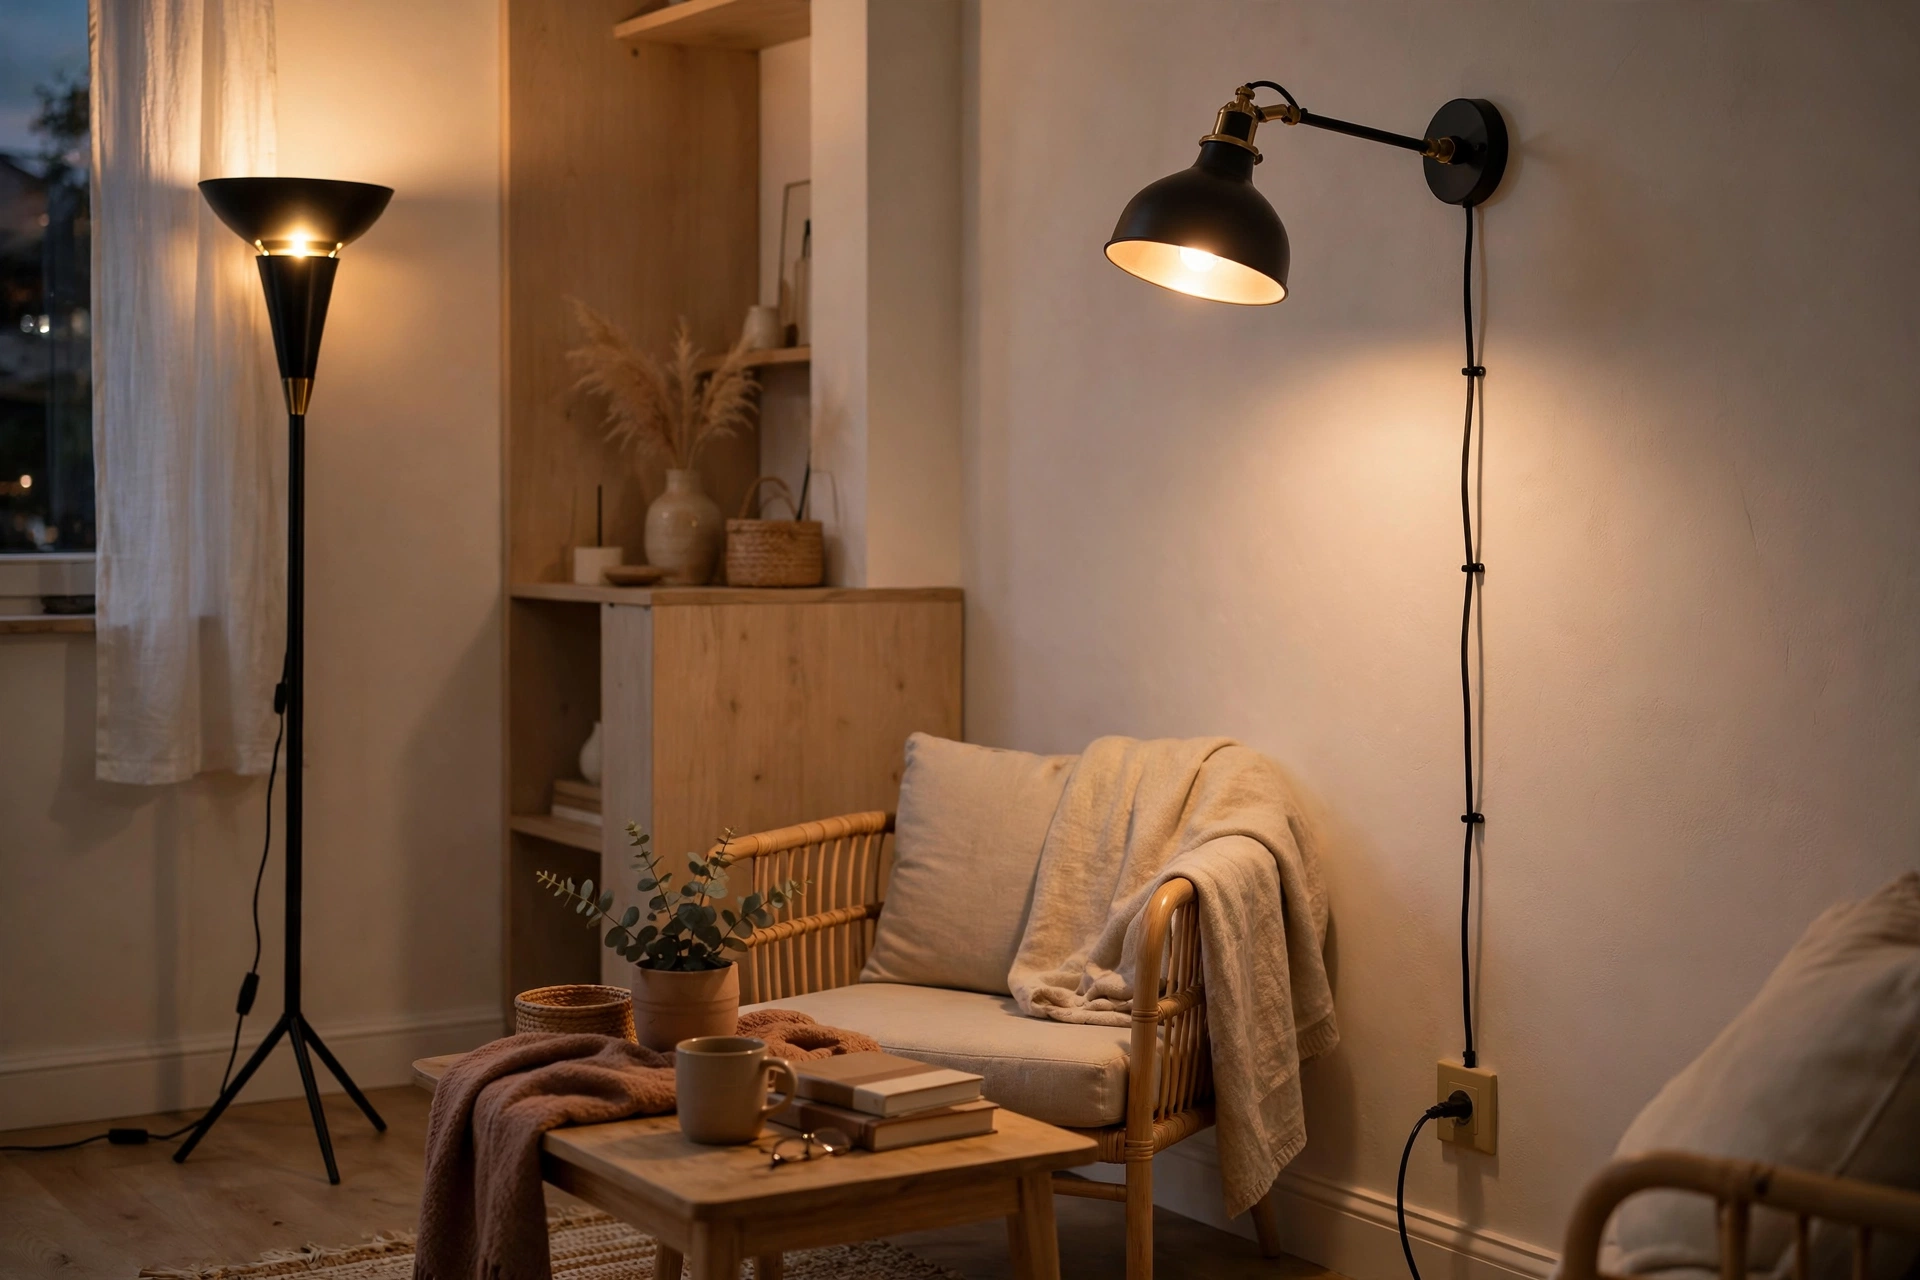
Plug-in wall sconces give you the built-in look of hardwired lighting with zero electrician bills. Swing-arm styles ($35–$60 each on Amazon or West Elm) mount with two screws and a cord that drops discreetly to the nearest outlet, freeing up side-table space your lamps would eat. Aim one at the wall for a soft wash or swing it down for reading. In a rental, they’re the closest you’ll get to custom lighting. Pro tip: Run the cord through an adhesive cable channel painted to match the wall — it disappears completely.
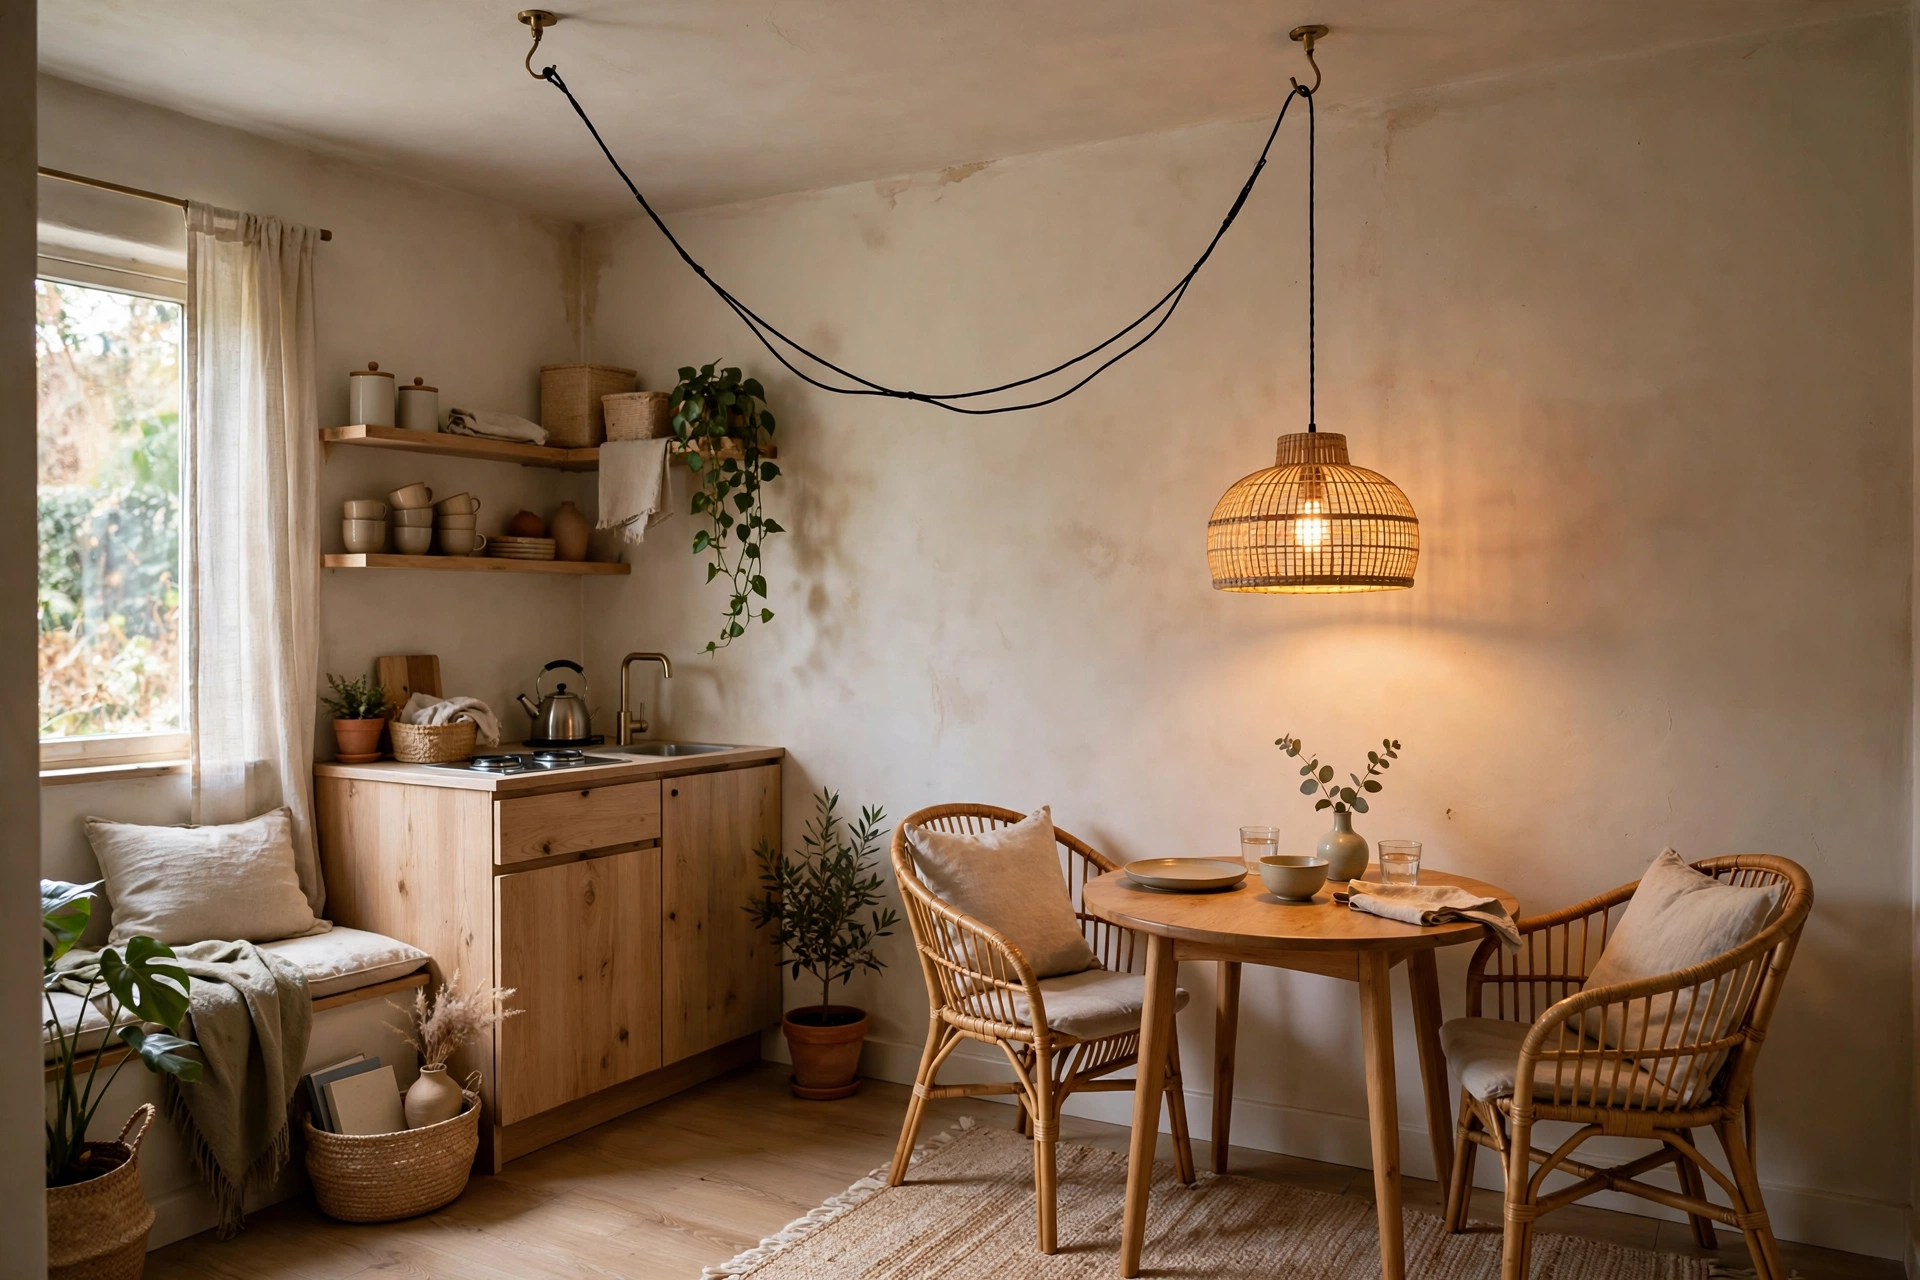
9. Swag a Pendant as a Faux Chandelier
Swagging — hanging a plug-in pendant from a ceiling hook and draping the cord in a gentle curve to the wall — fakes a chandelier anywhere. IKEA HEMMA cord sets ($8) plus a paper or rattan shade ($20–$40) hung over the coffee table or dining spot create a focal point that rentals almost never have. The draped cord itself becomes a design detail when you let it sweep gracefully. Use a swag hook with adhesive backing if your lease bans ceiling holes. Pro tip: Hang the shade 30–36 inches above a coffee table — lower than you think feels cozier and more intentional.
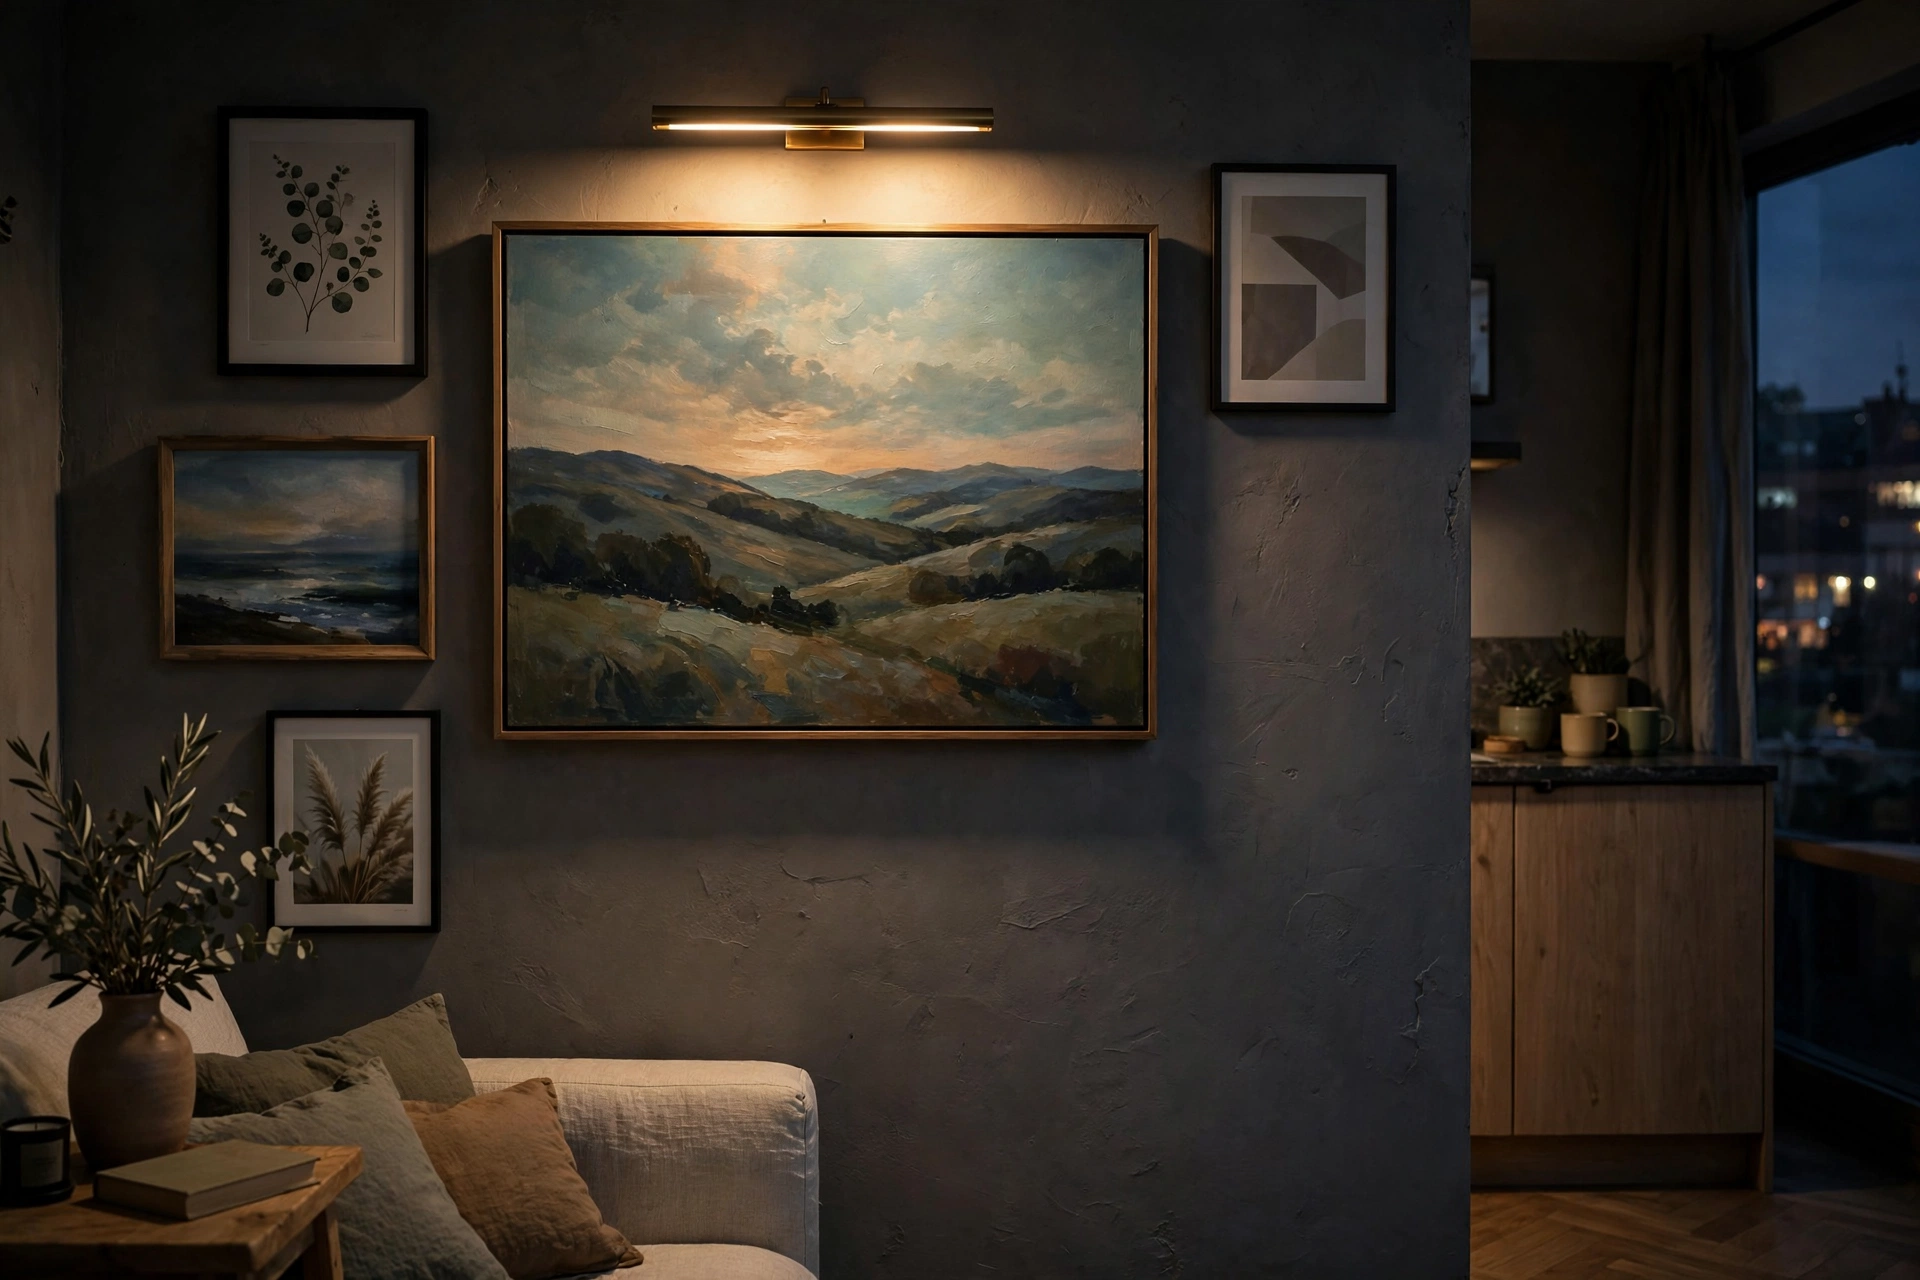
10. Spotlight Art with a Picture Light
A picture light turns even a $15 thrift-store print into gallery art. Battery-operated brass picture lights ($25–$50, like the ones from Westinghouse or Homesick-style brands) clip or mount above a frame and wash it in warm, even light — no wiring needed. In a studio, lighting one piece of art over the sofa or bed creates a high-end focal point that distracts from the room’s size. Rechargeable models last weeks between charges. Pro tip: Position the light so the beam hits the art’s center, not the top — a 30-degree tilt avoids glare on glass.
Sleep Zone Lighting
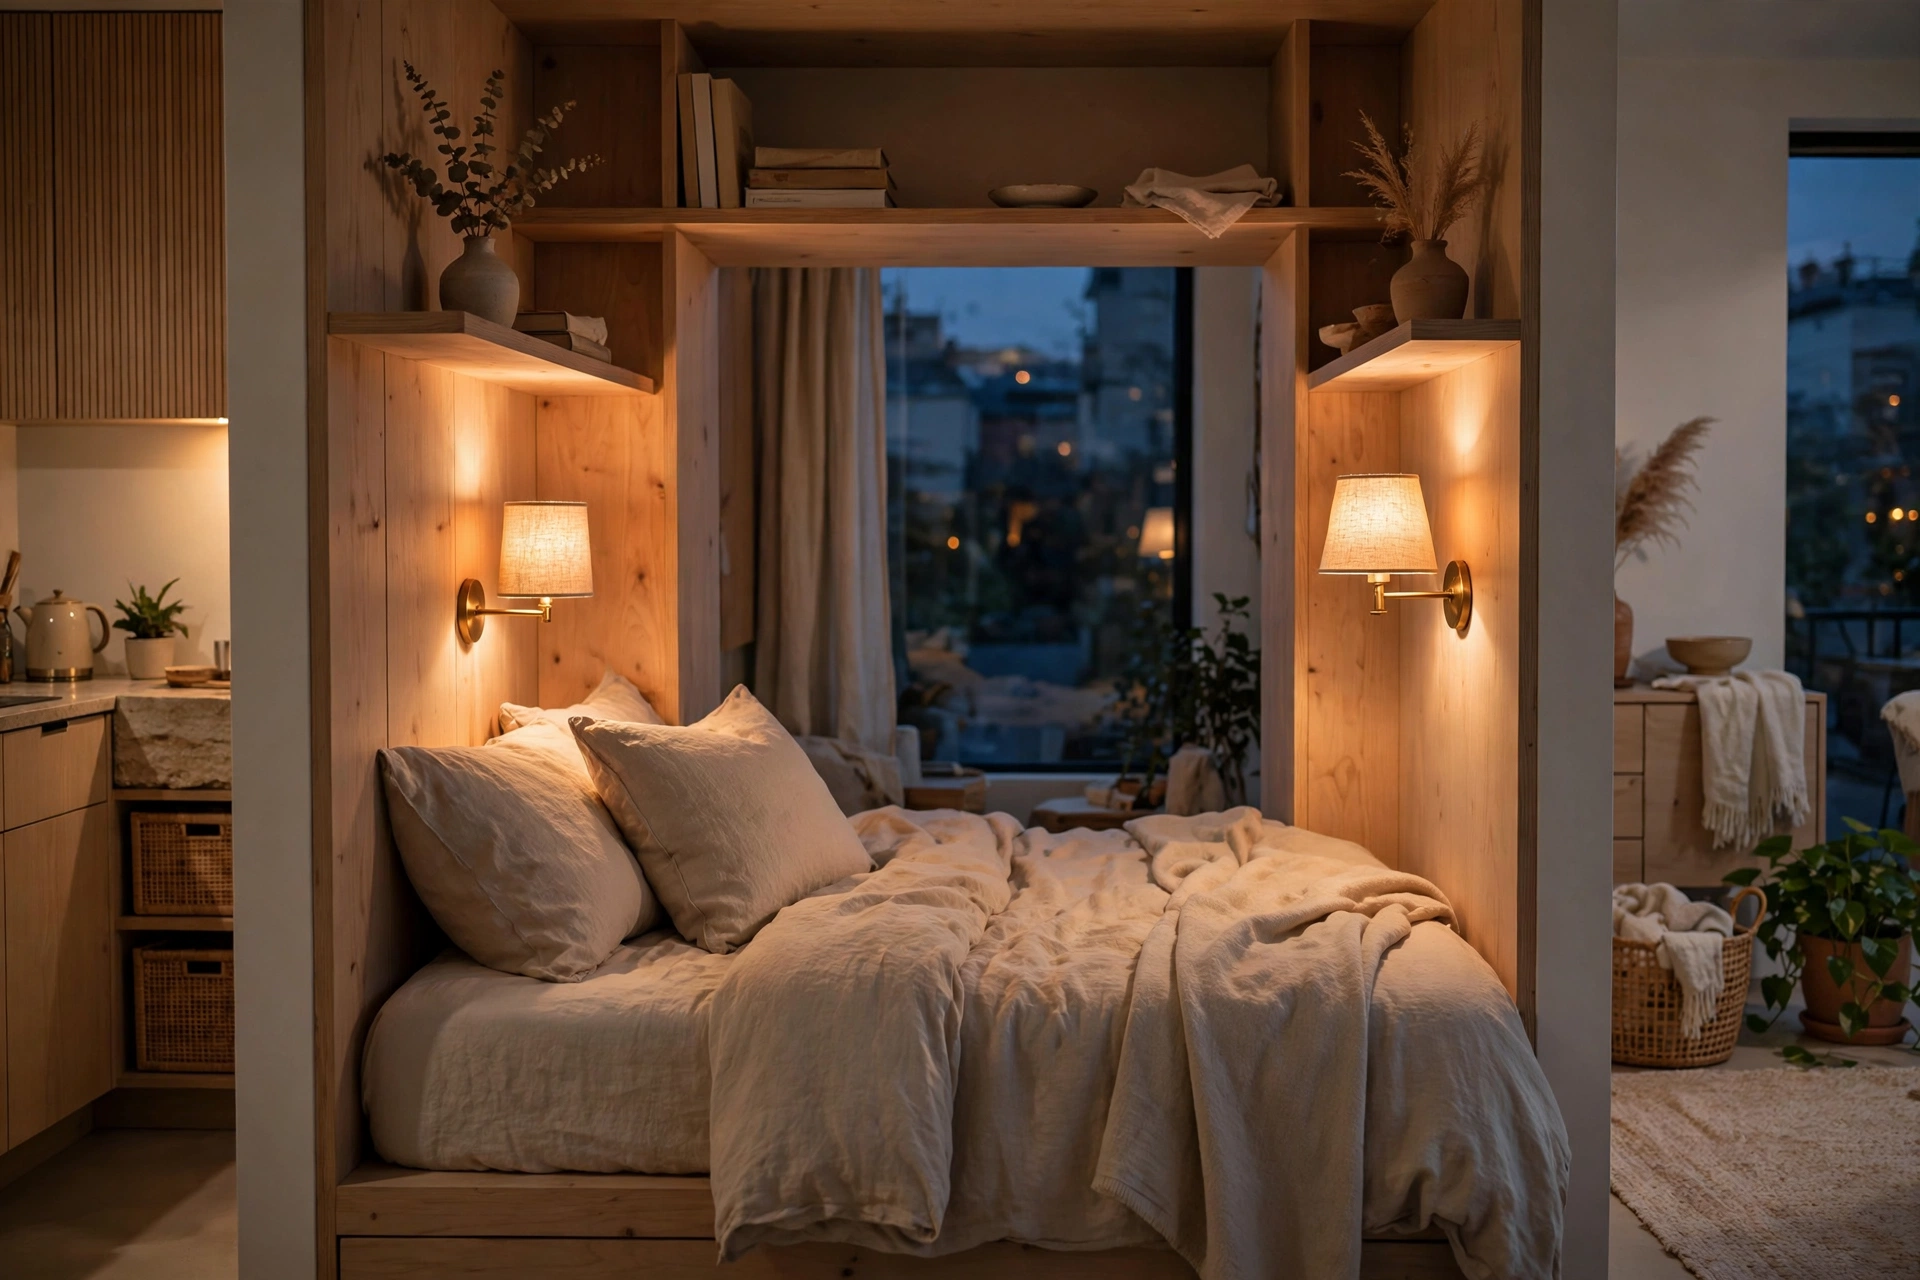
11. Choose Warm Bedside Lamps
Your bedside lamp sets the tone for your entire evening wind-down, so make it warm — 2700K bulbs in small linen or fabric shades ($30–$50 each) create the soft, flattering glow that overhead lighting never can. If you only have room for one nightstand, one lamp is enough; two is pure luxury. Pair with small studio bedroom ideas like layered bedding to make the sleep corner feel like a boutique hotel. Pro tip: Use a 3-way bulb or plug-in dimmer on bedside lamps so the last light of the night can go extra dim.
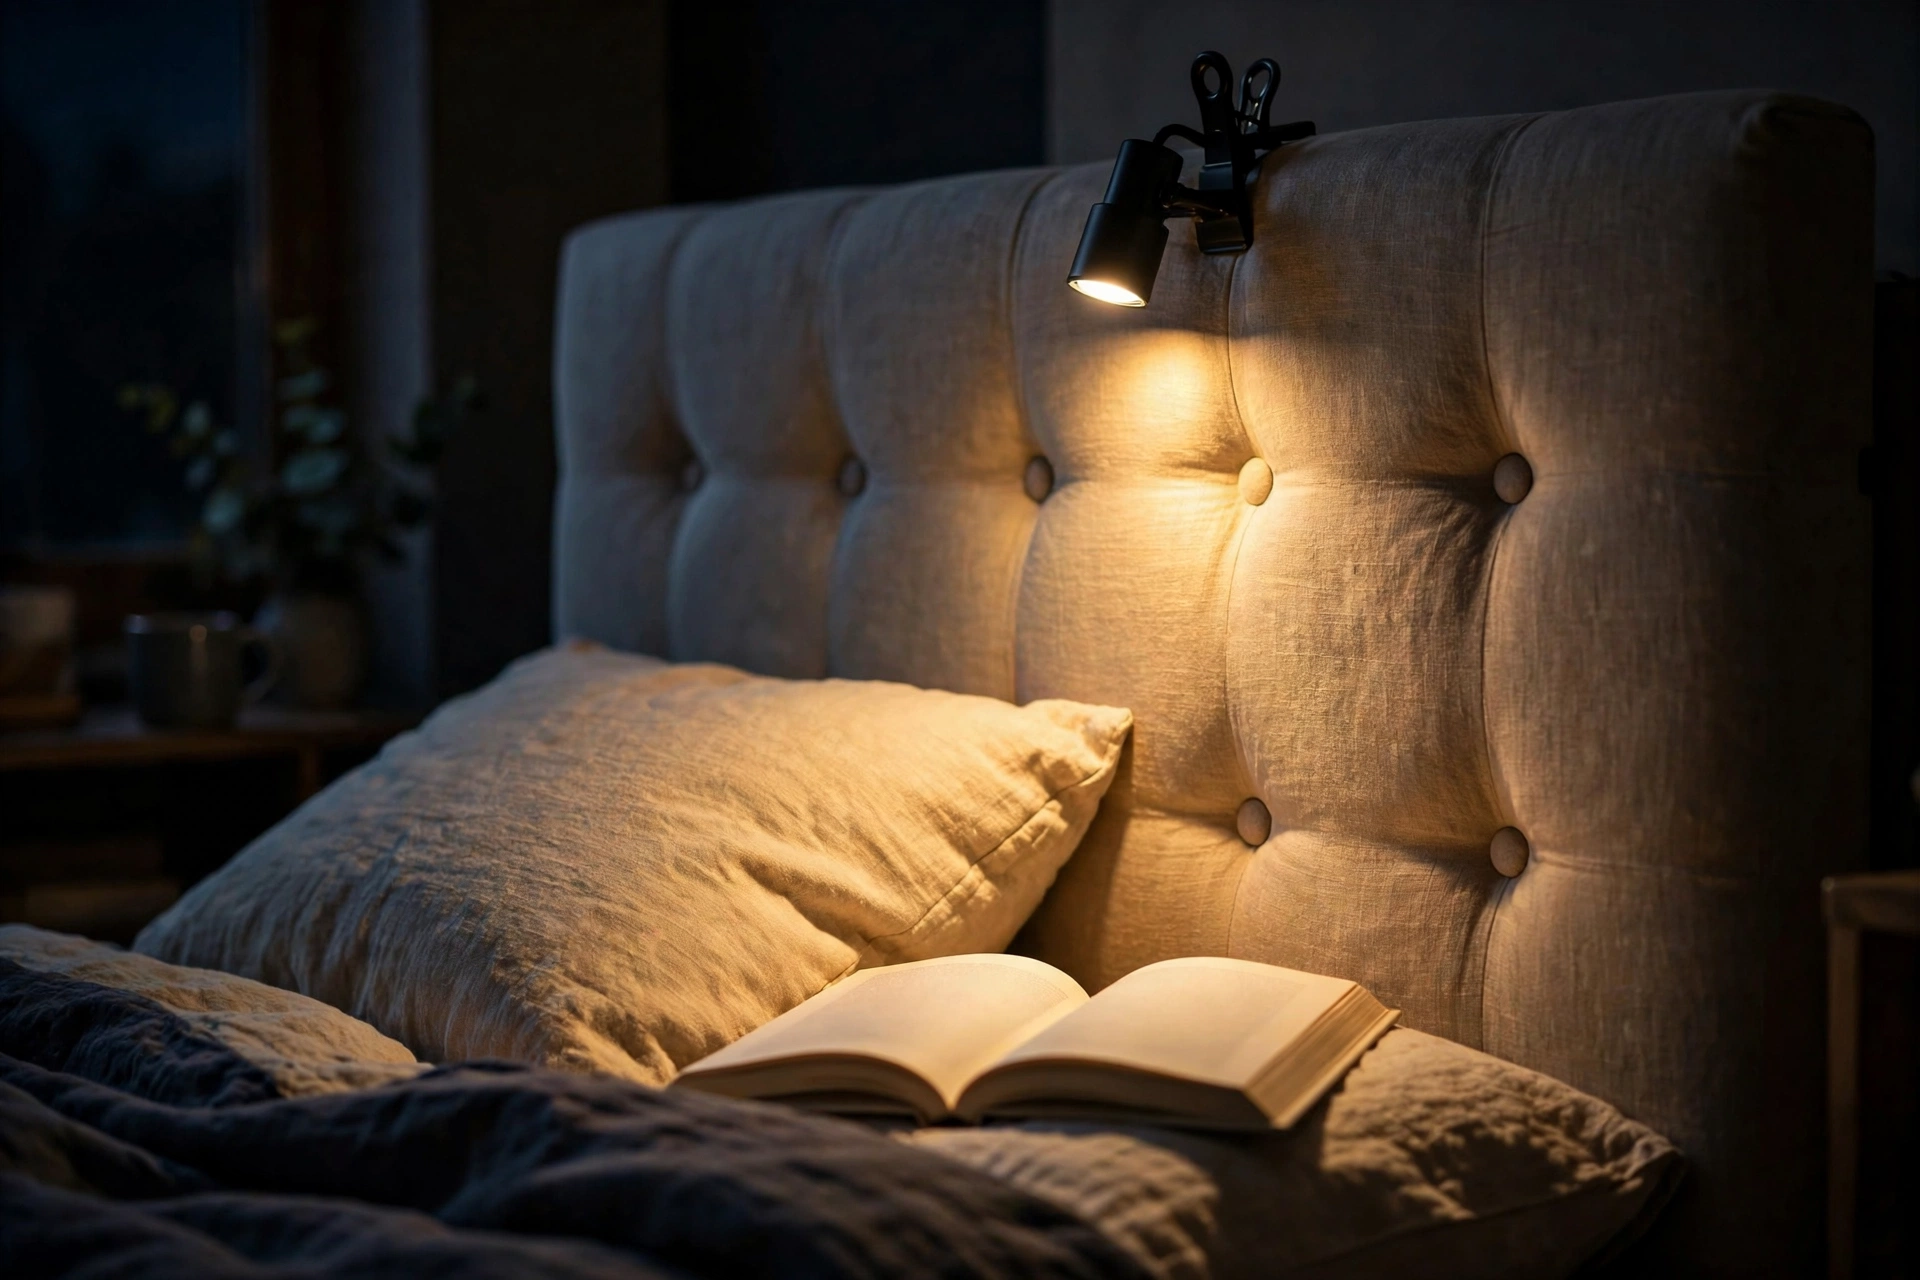
12. Clip a Reading Light to the Headboard
No room for a nightstand? A clip-on reading light solves bedtime lighting in inches of space. LED gooseneck clip lights ($15–$25, rechargeable) clamp to headboards, shelves, or even the bed frame and aim a focused pool exactly at your book — perfect when your “bedroom” is a nook. Choose one with adjustable color temperature so you can switch from bright white for daytime to warm amber before sleep. Pro tip: A model with a USB-C rechargeable battery beats plug-in versions — one less cord tangling with your charging cable.
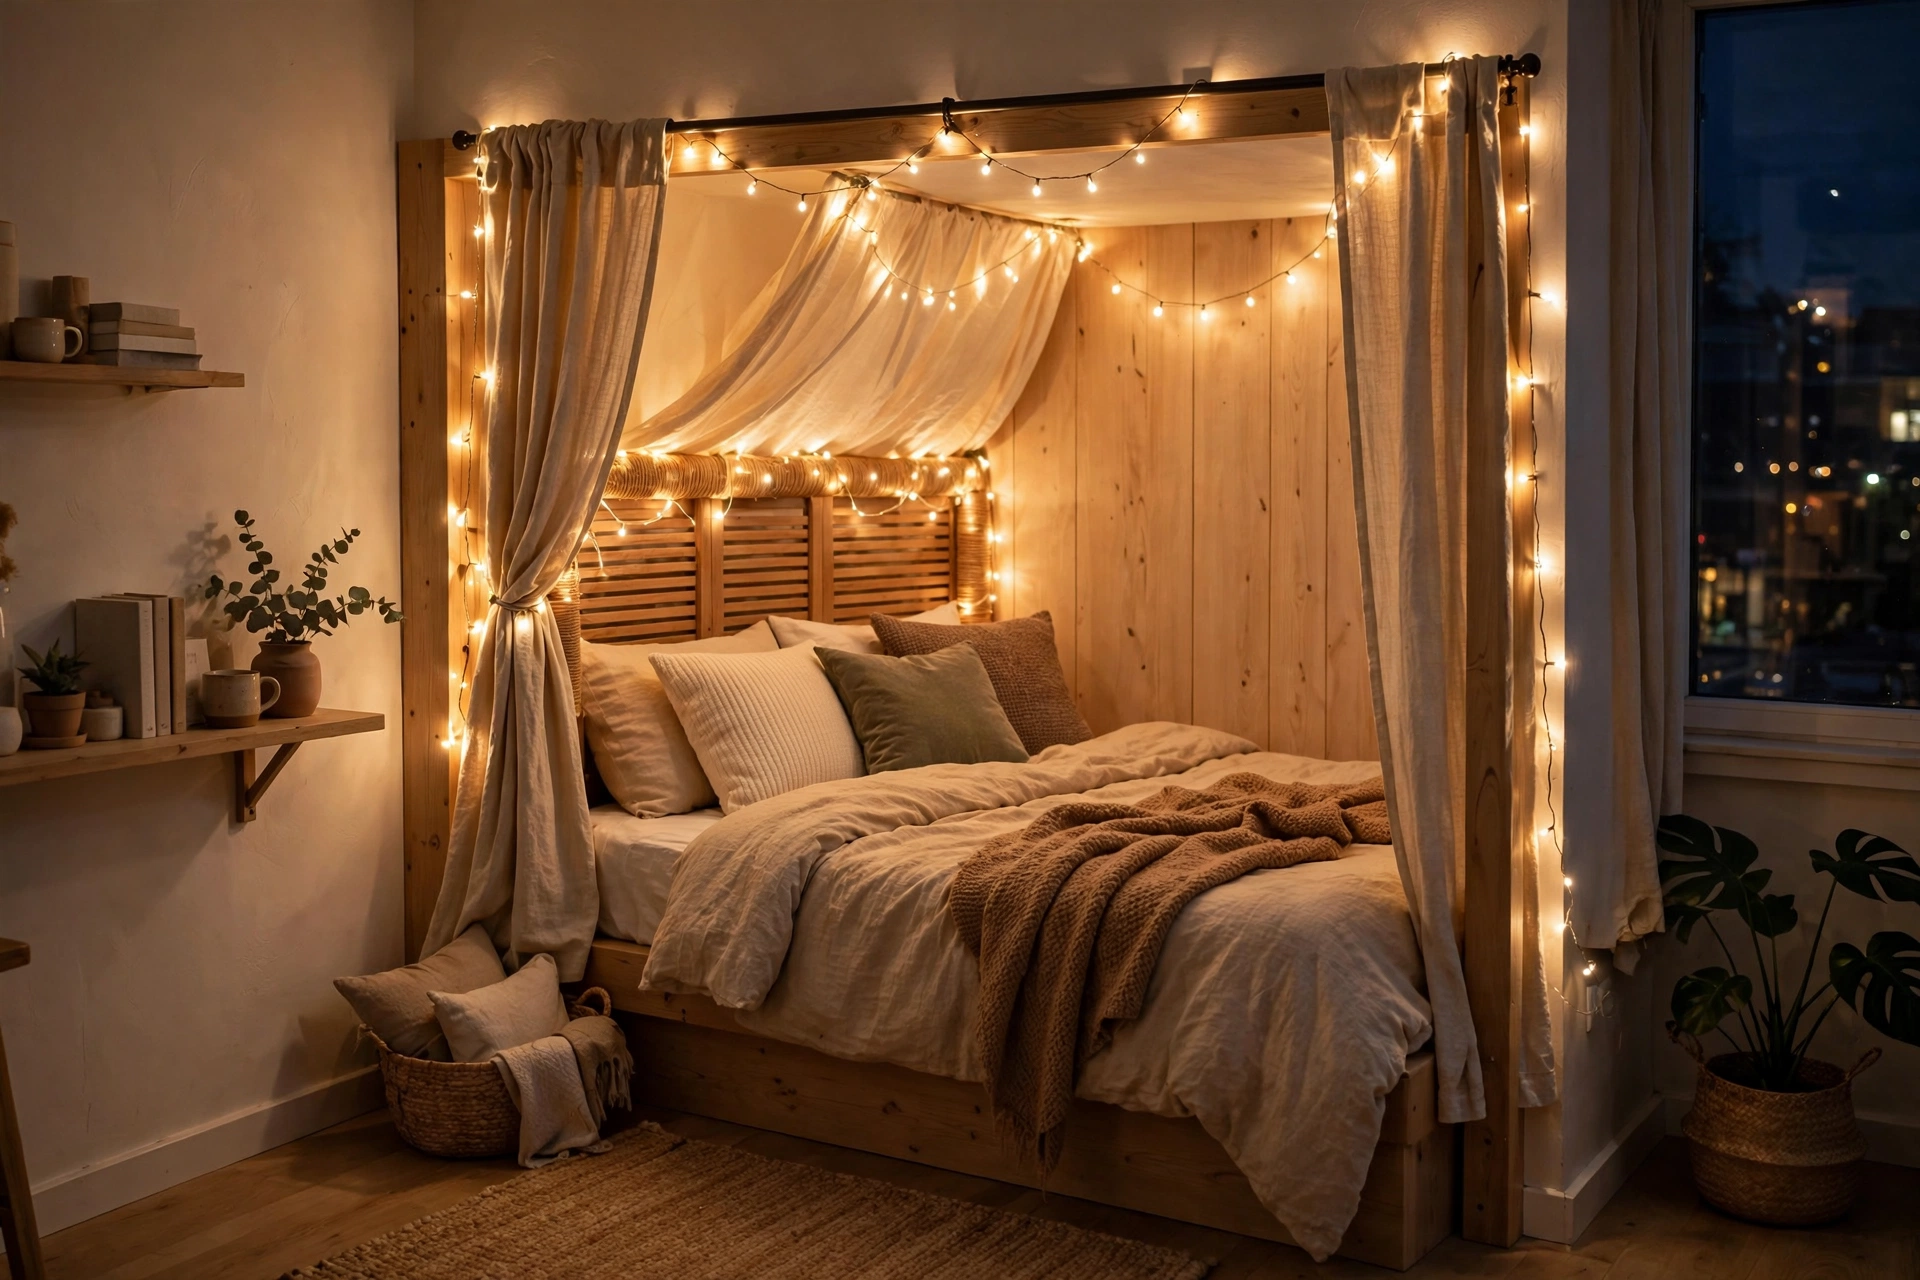
13. String Lights Around the Bed Nook
Wrapping warm string lights around a canopy frame, a headboard, or the edge of a room divider turns the bed zone into a glowing cocoon. Unlike fairy lights on shelves, this application defines the sleep zone itself — a visual cue that says “bedtime starts here.” Globe-style Edison string lights ($18–$30) give a dreamier, larger glow than micro fairy lights. Drape them loosely so they puddle a little; tight, tense lines look dorm-room, not dreamy. Pro tip: Plug them into a smart plug on a schedule — lights on at 9pm, off at midnight, zero effort.
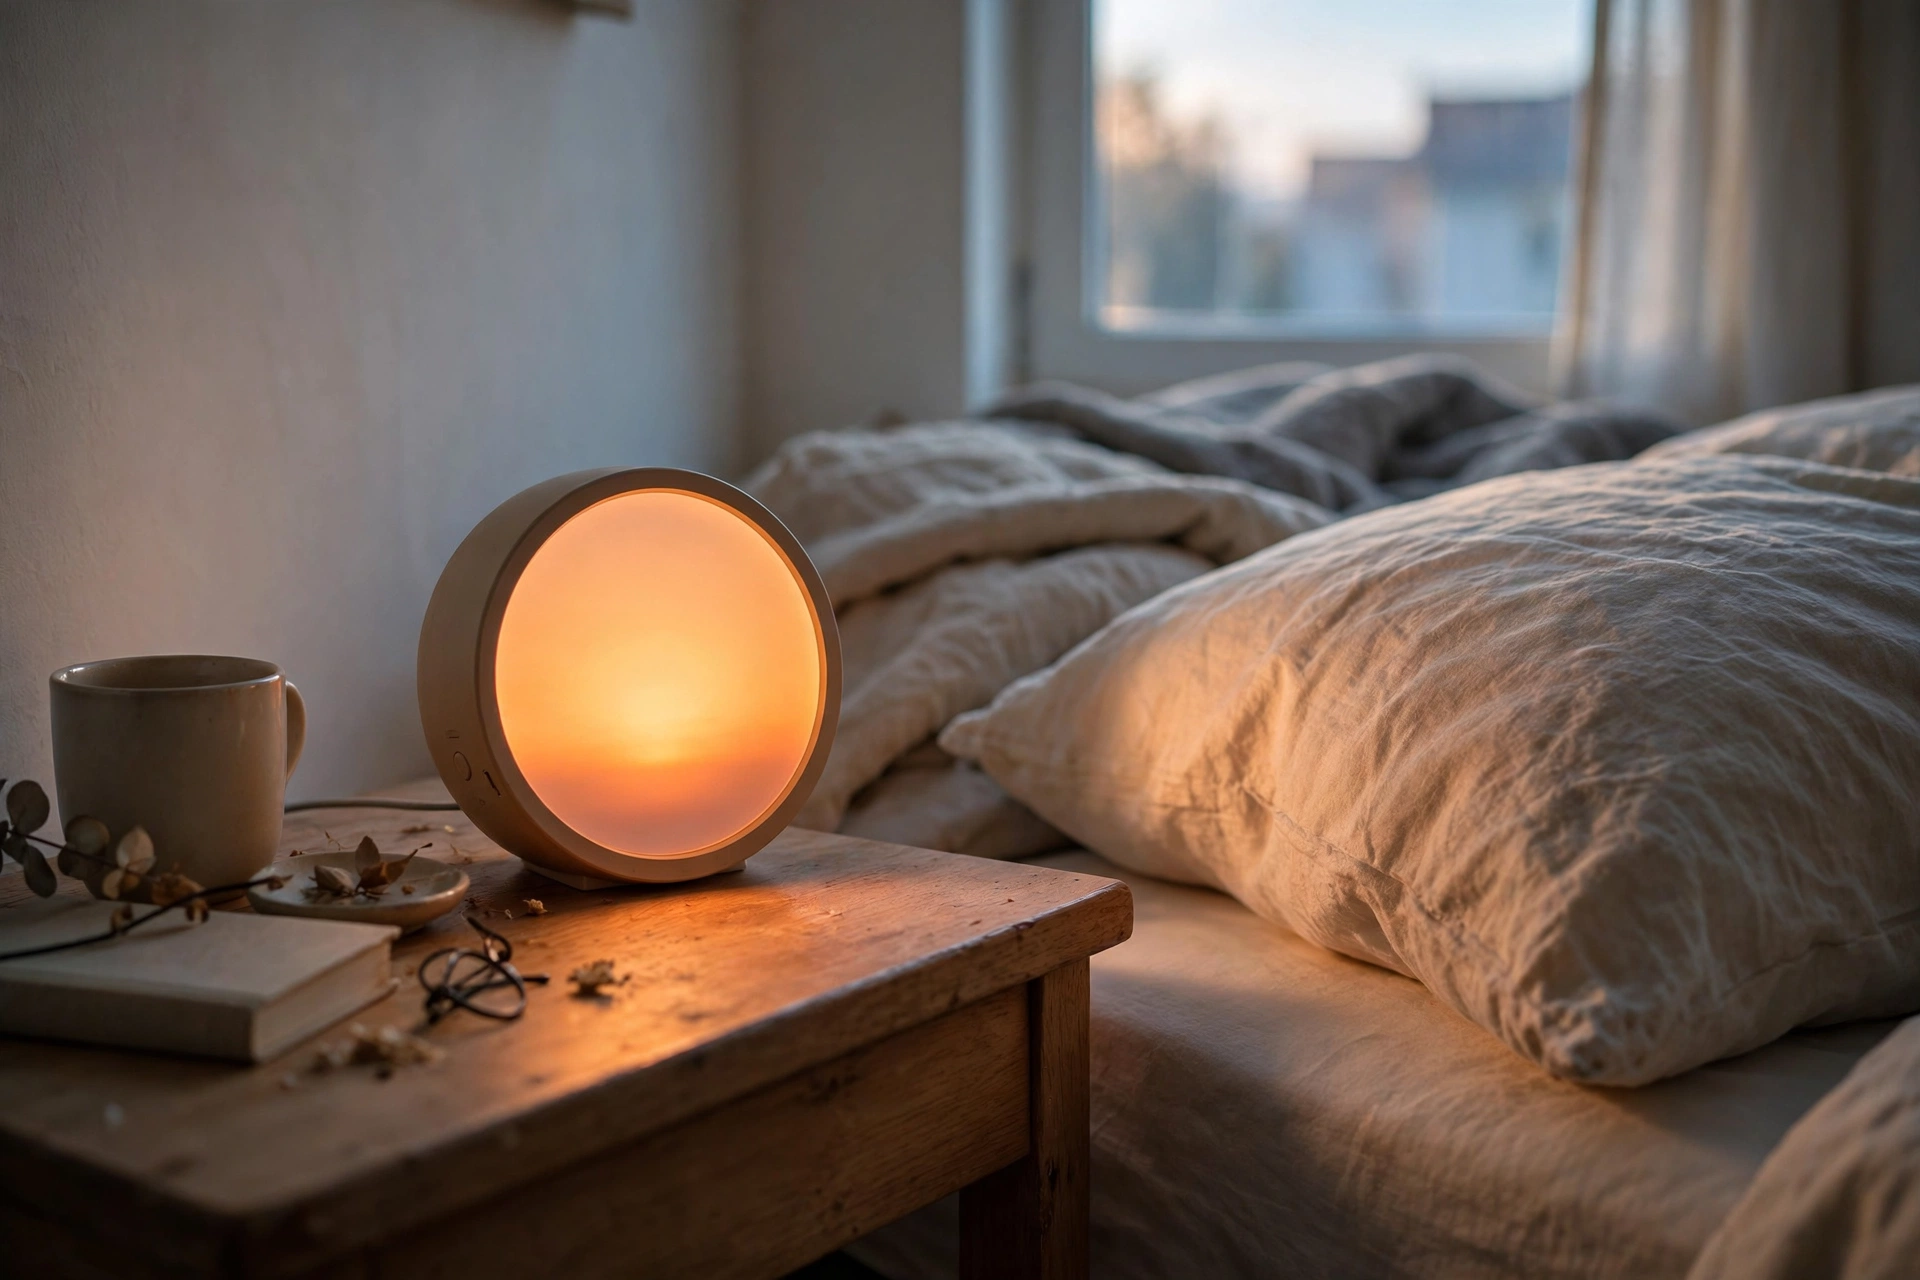
14. Wake Up to a Sunrise Alarm Clock
In a studio where morning light hits your desk but not your bed (or vice versa), a sunrise alarm clock simulates dawn with gradually brightening light. Models like the Philips SmartSleep or Hatch Restore ($100–$170) ease you awake more gently than a phone alarm — and doubling as your bedside clock and sound machine saves precious nightstand space. Users consistently report easier wake-ups in dark apartments. Pro tip: Set the sunrise to begin 30 minutes before your alarm time — the gradual ramp is what makes it work.
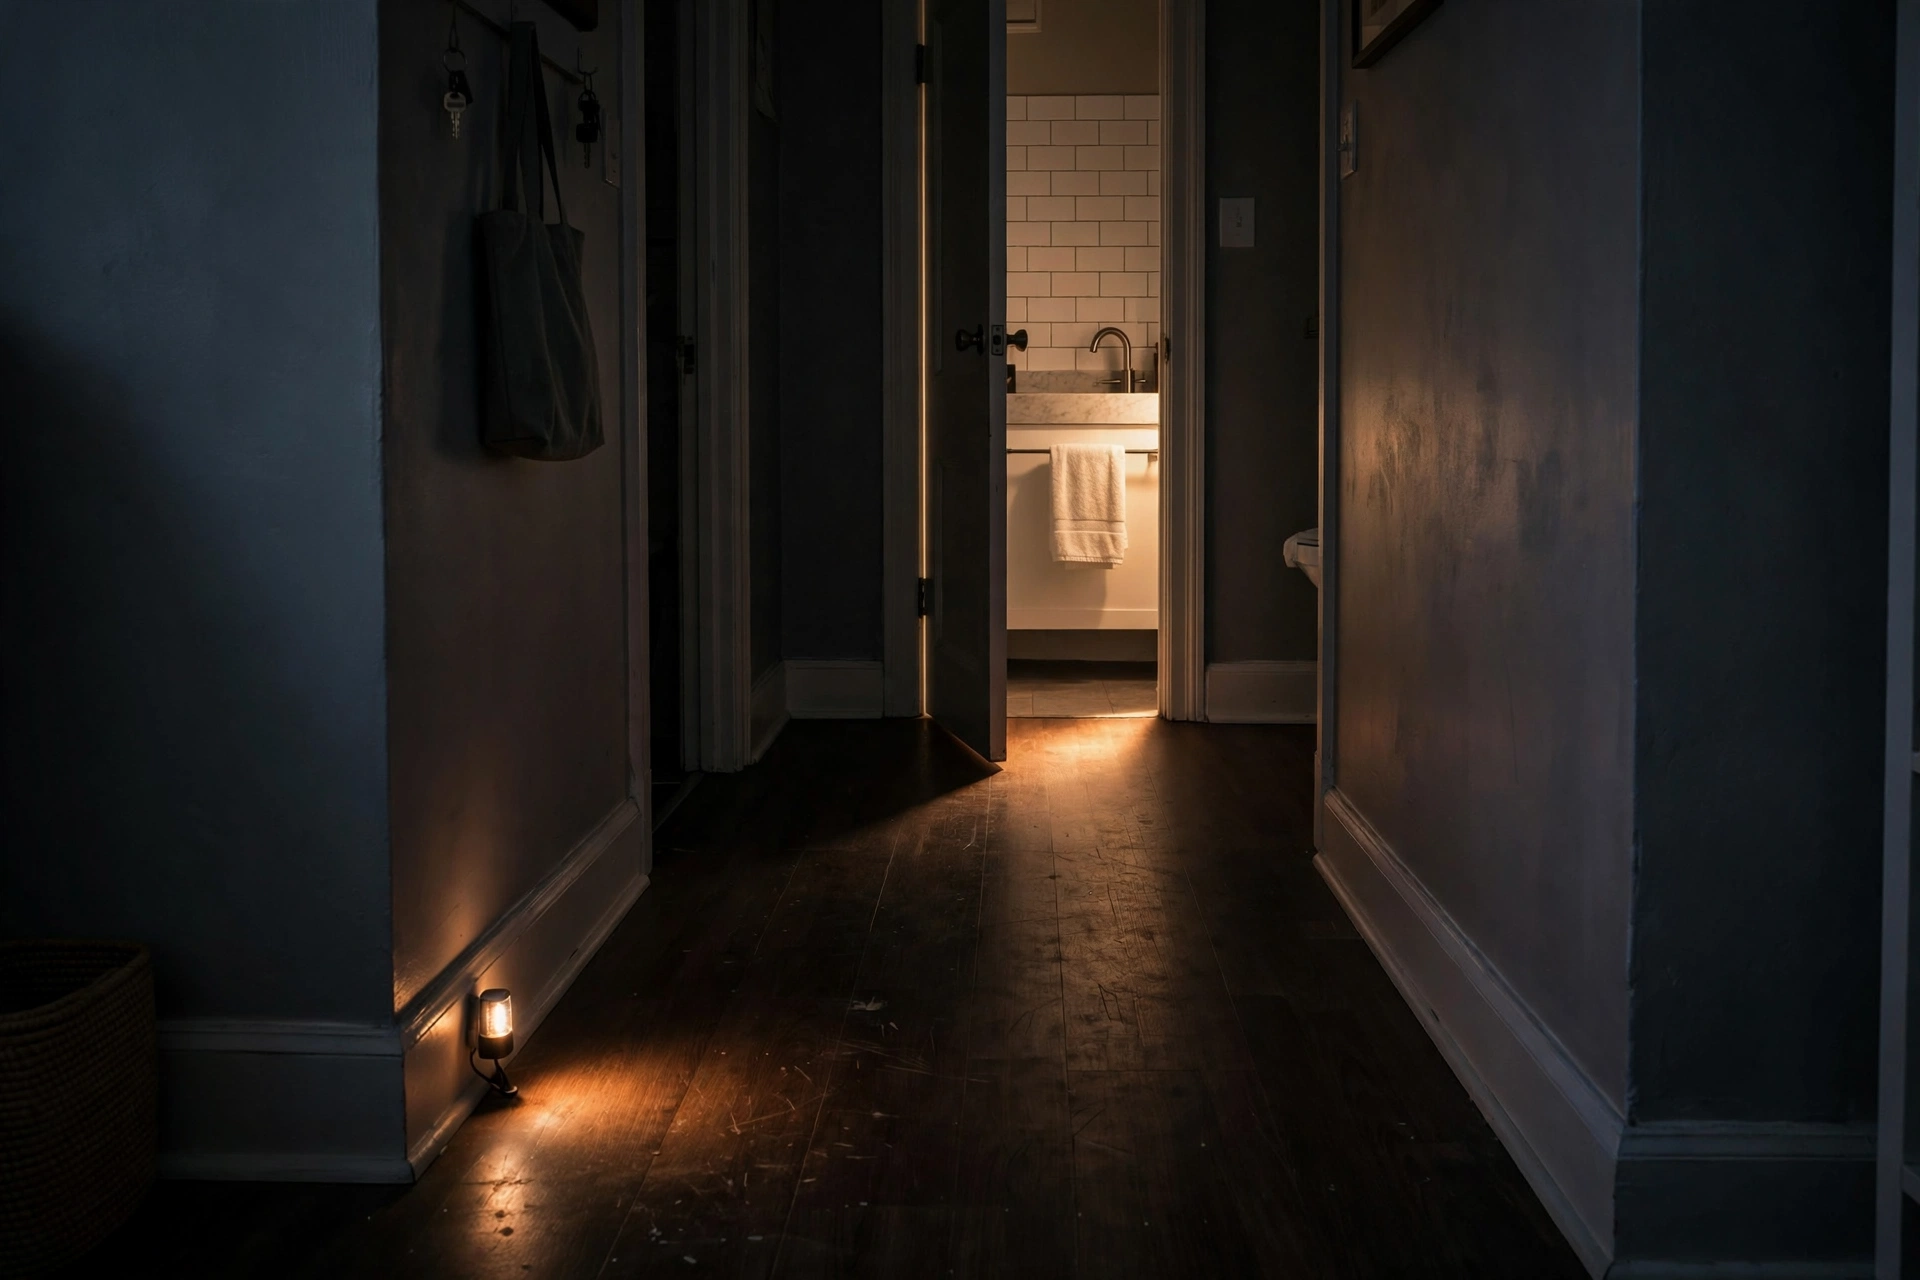
15. Add a Motion-Sensor Night Light
Nobody wants to blast the overhead light for a 3am bathroom trip in a studio where the bed is six feet from everything. A warm motion-sensor night light ($10–$15 for a multi-pack) in the hallway path or bathroom corner glows only when you move, then fades out. Rechargeable ones with magnetic mounts stick anywhere and never need an outlet — ideal for renters. Pro tip: Choose warm-white (not blue-white) motion lights — cool sensors glow like a convenience store.
Kitchen & Dining Lighting
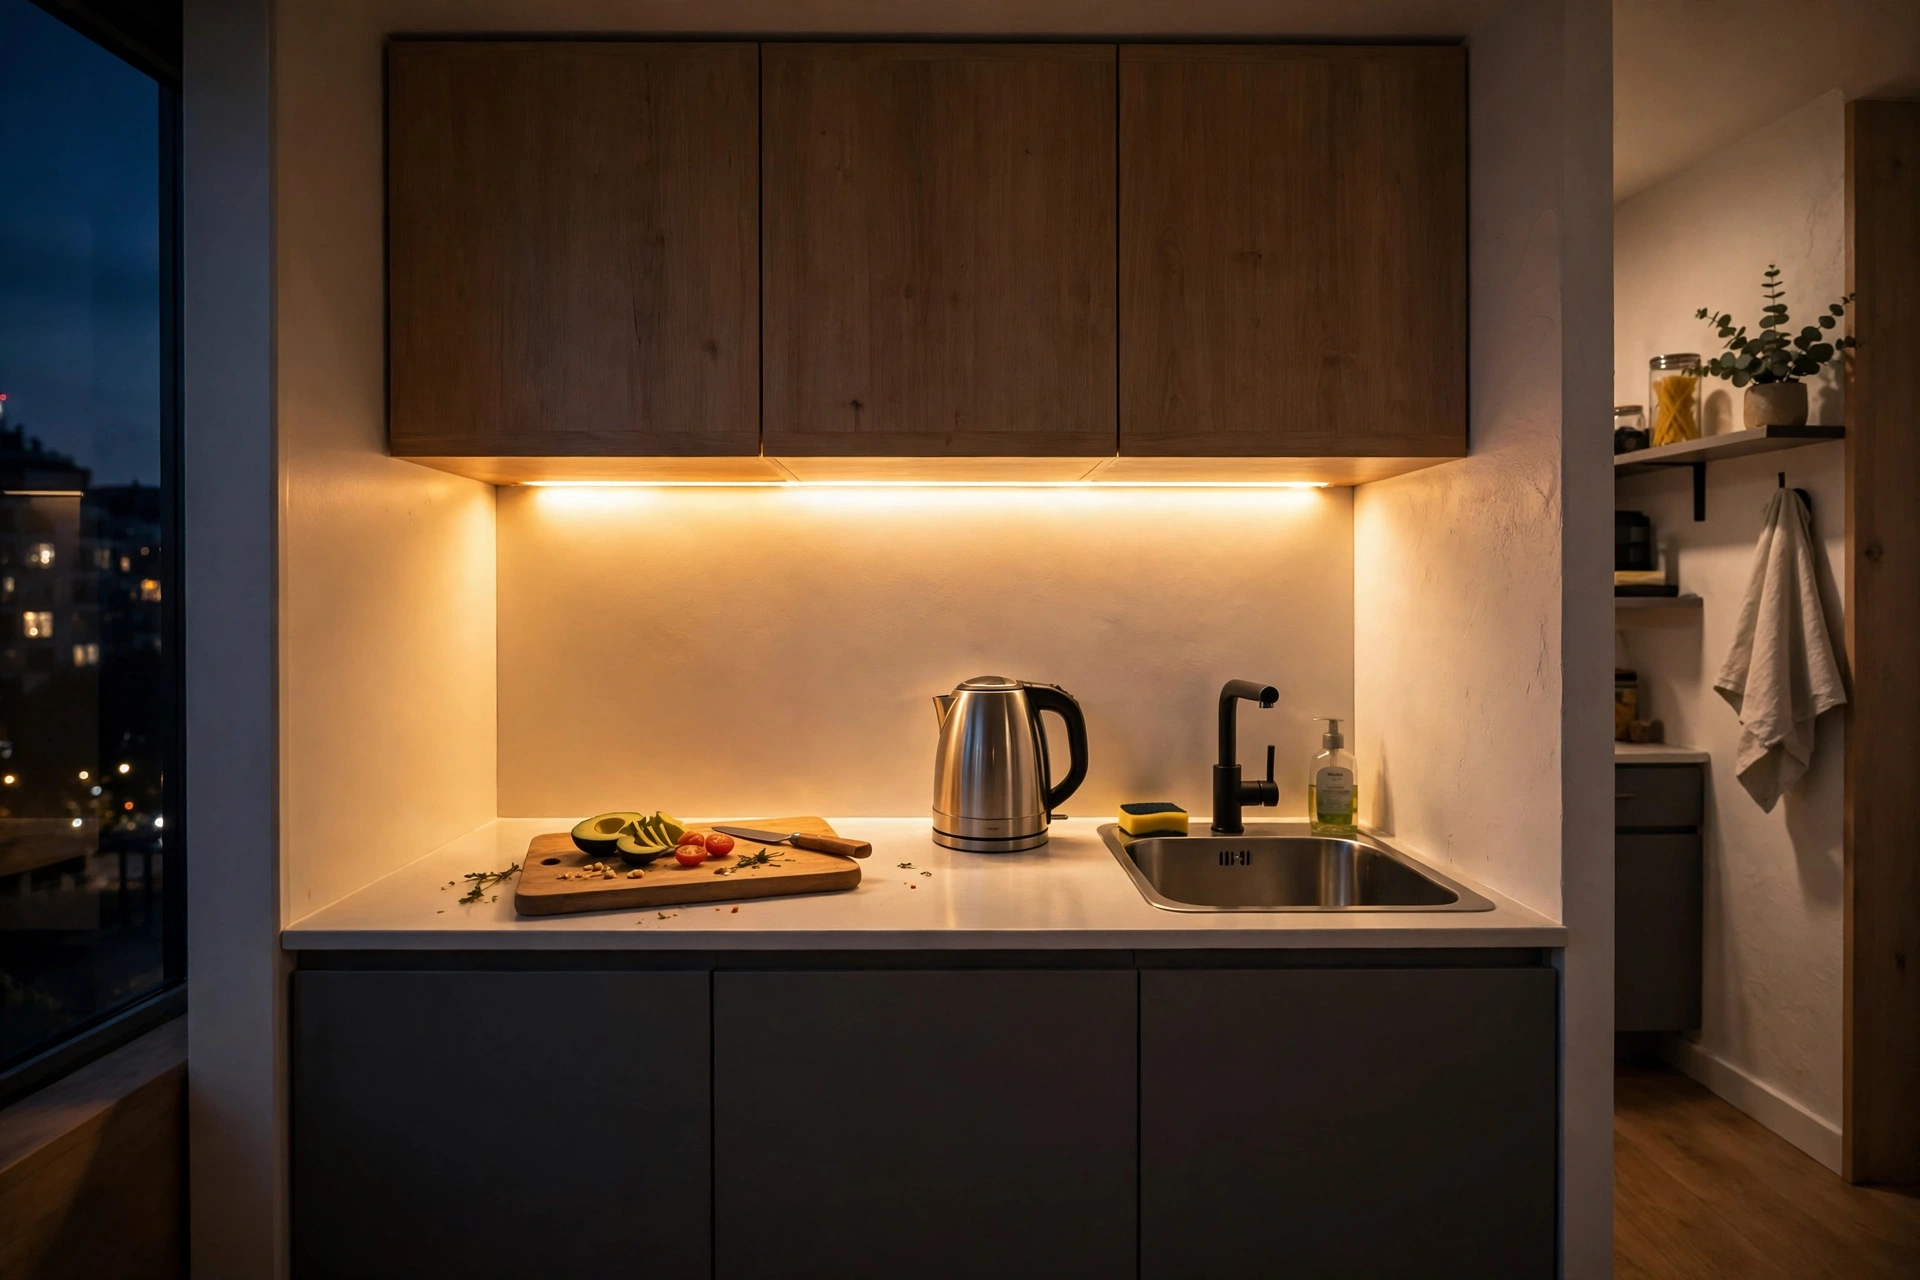
16. Stick Under-Cabinet LED Strips in the Kitchenette
Studio kitchenettes live in shadow — the upper cabinets block the ceiling light exactly where you chop. Adhesive under-cabinet LED strips ($20–$35 for a kit with a dimmer) stick to the cabinet bottoms in minutes and flood the counter with task light. Motion-activated or remote-controlled versions mean no reaching for a switch with messy hands. This is the single highest-impact lighting upgrade for a galley-style studio kitchen. Pro tip: Mount the strip toward the front edge of the cabinet bottom, not the back — front placement throws light across the whole counter.
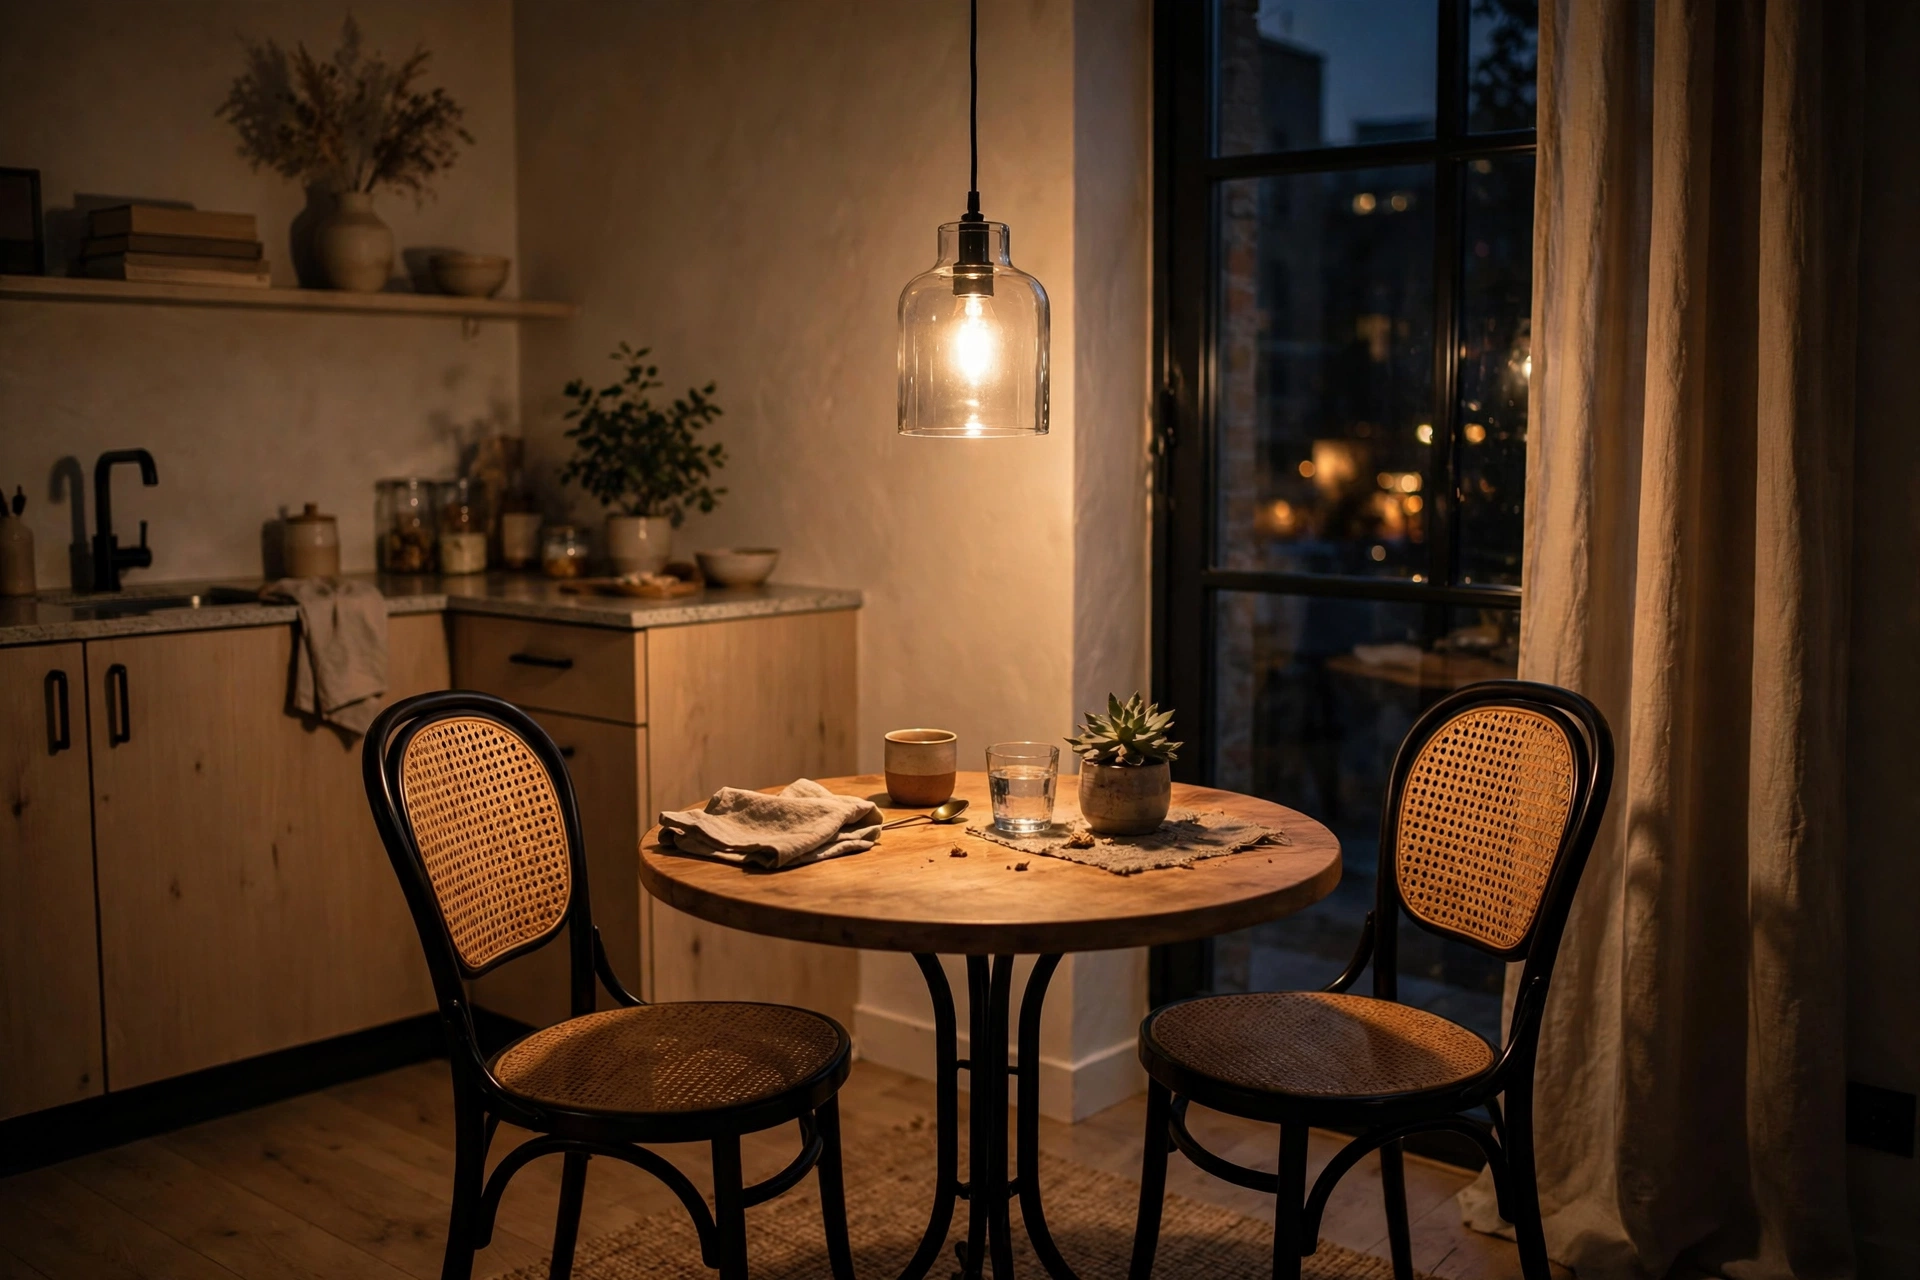
17. Hang a Pendant Over the Dining Spot
A pendant over the dining table — even a two-person bistro table — announces “this is where we eat” in an open plan. A plug-in or swagged pendant ($40–$80) hung 28–34 inches above the tabletop creates an intimate pool of light that makes weeknight takeout feel like a restaurant. Woven rattan, smoked glass, or matte black domes all suit studio scale. Pro tip: Use a dimmable bulb here — bright for weeknight homework, low for dinner dates.
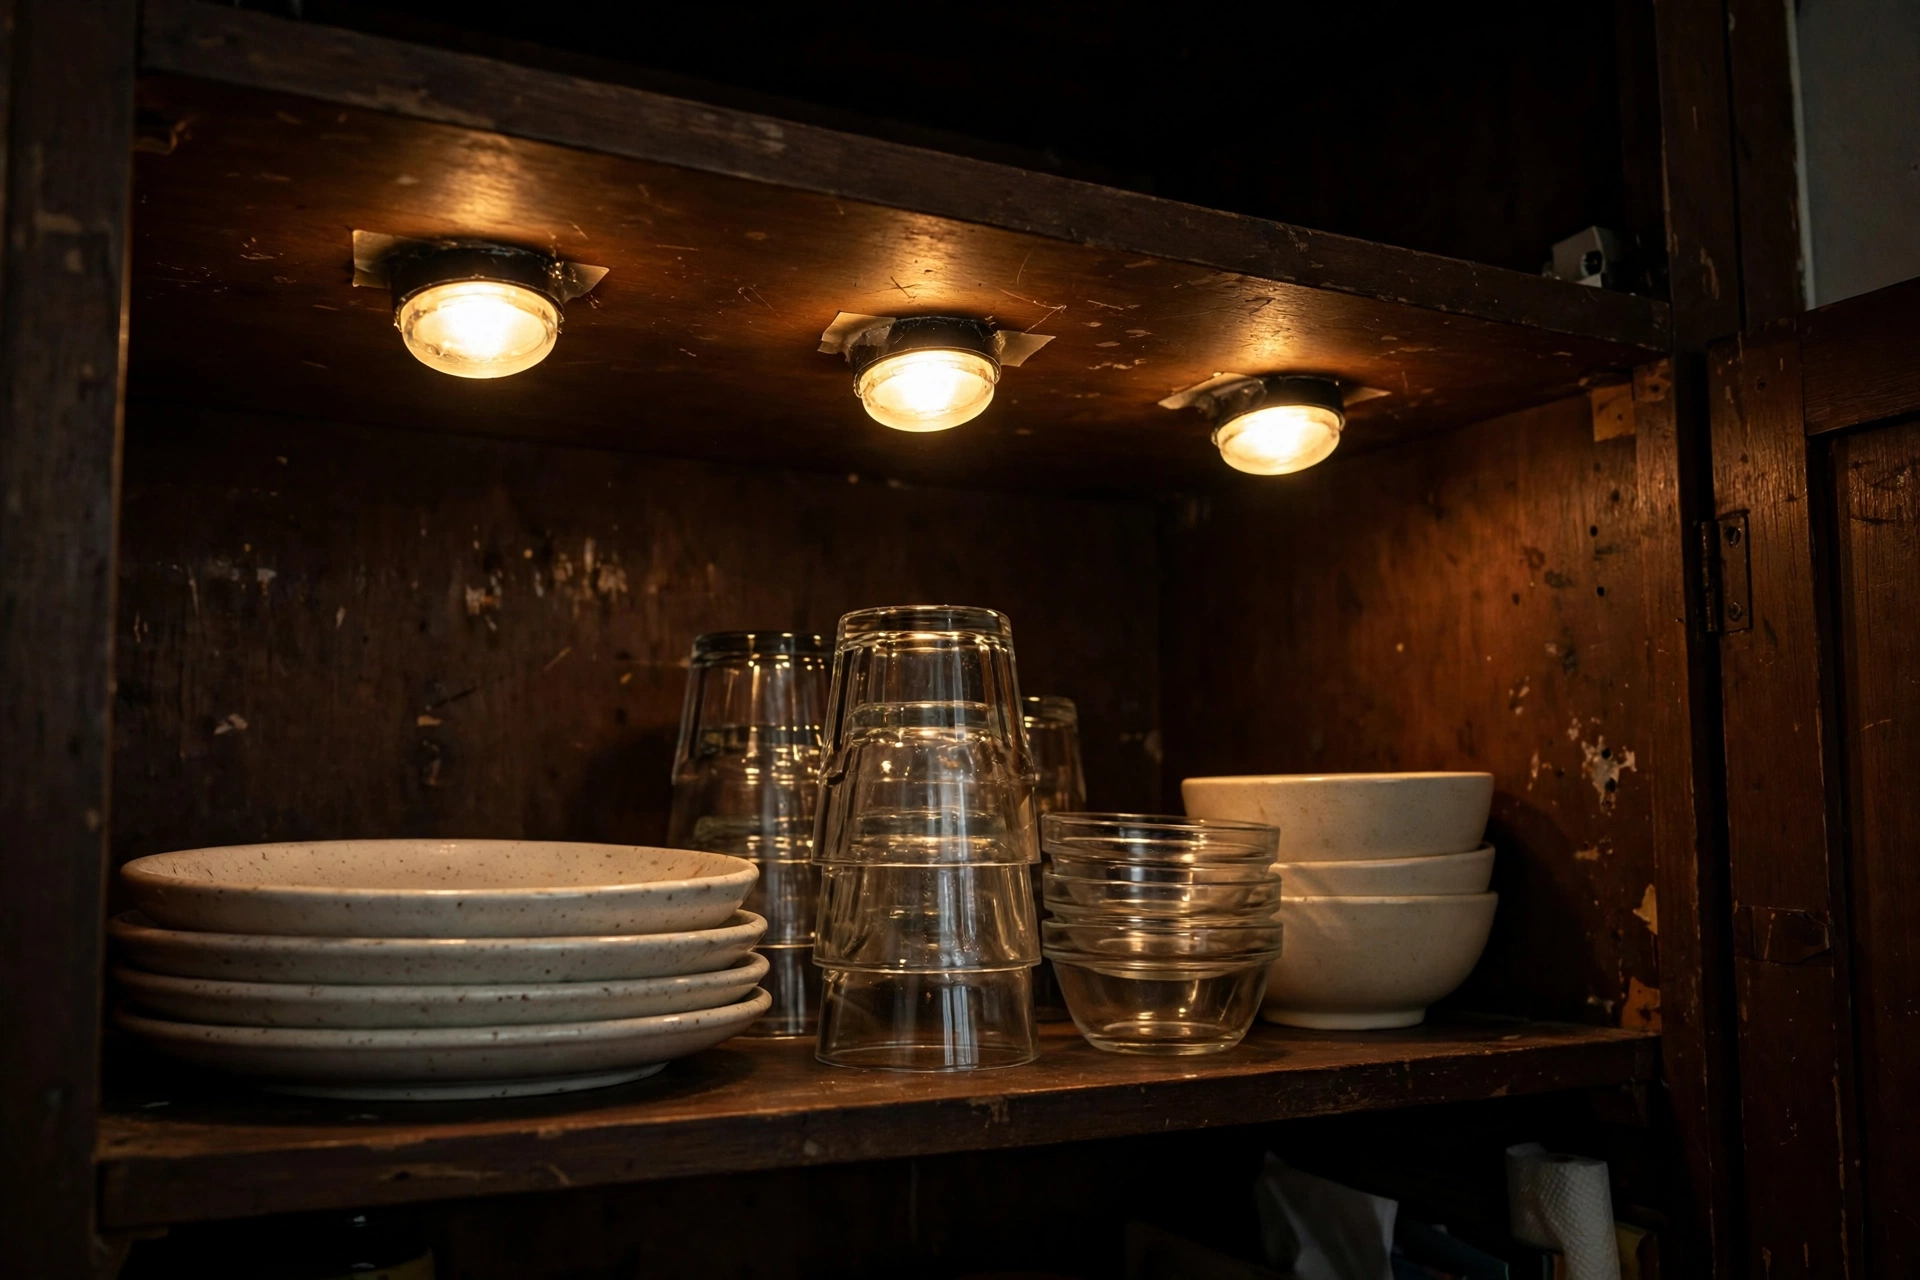
18. Drop Battery Puck Lights in Dark Cabinets
The inside of studio cabinets is a black hole — puck lights fix that for about $12–$20 for a six-pack. These coin-sized LED discs stick with adhesive or tiny magnets, turn on with a tap or remote, and make finding the turmeric at midnight genuinely easy. Put them in the pantry cabinet, under the bathroom sink, and inside the coat closet. They’re also perfect for renters since removal takes seconds and leaves no marks. Pro tip: Get the remote-controlled multipack — one remote runs every puck in the apartment.
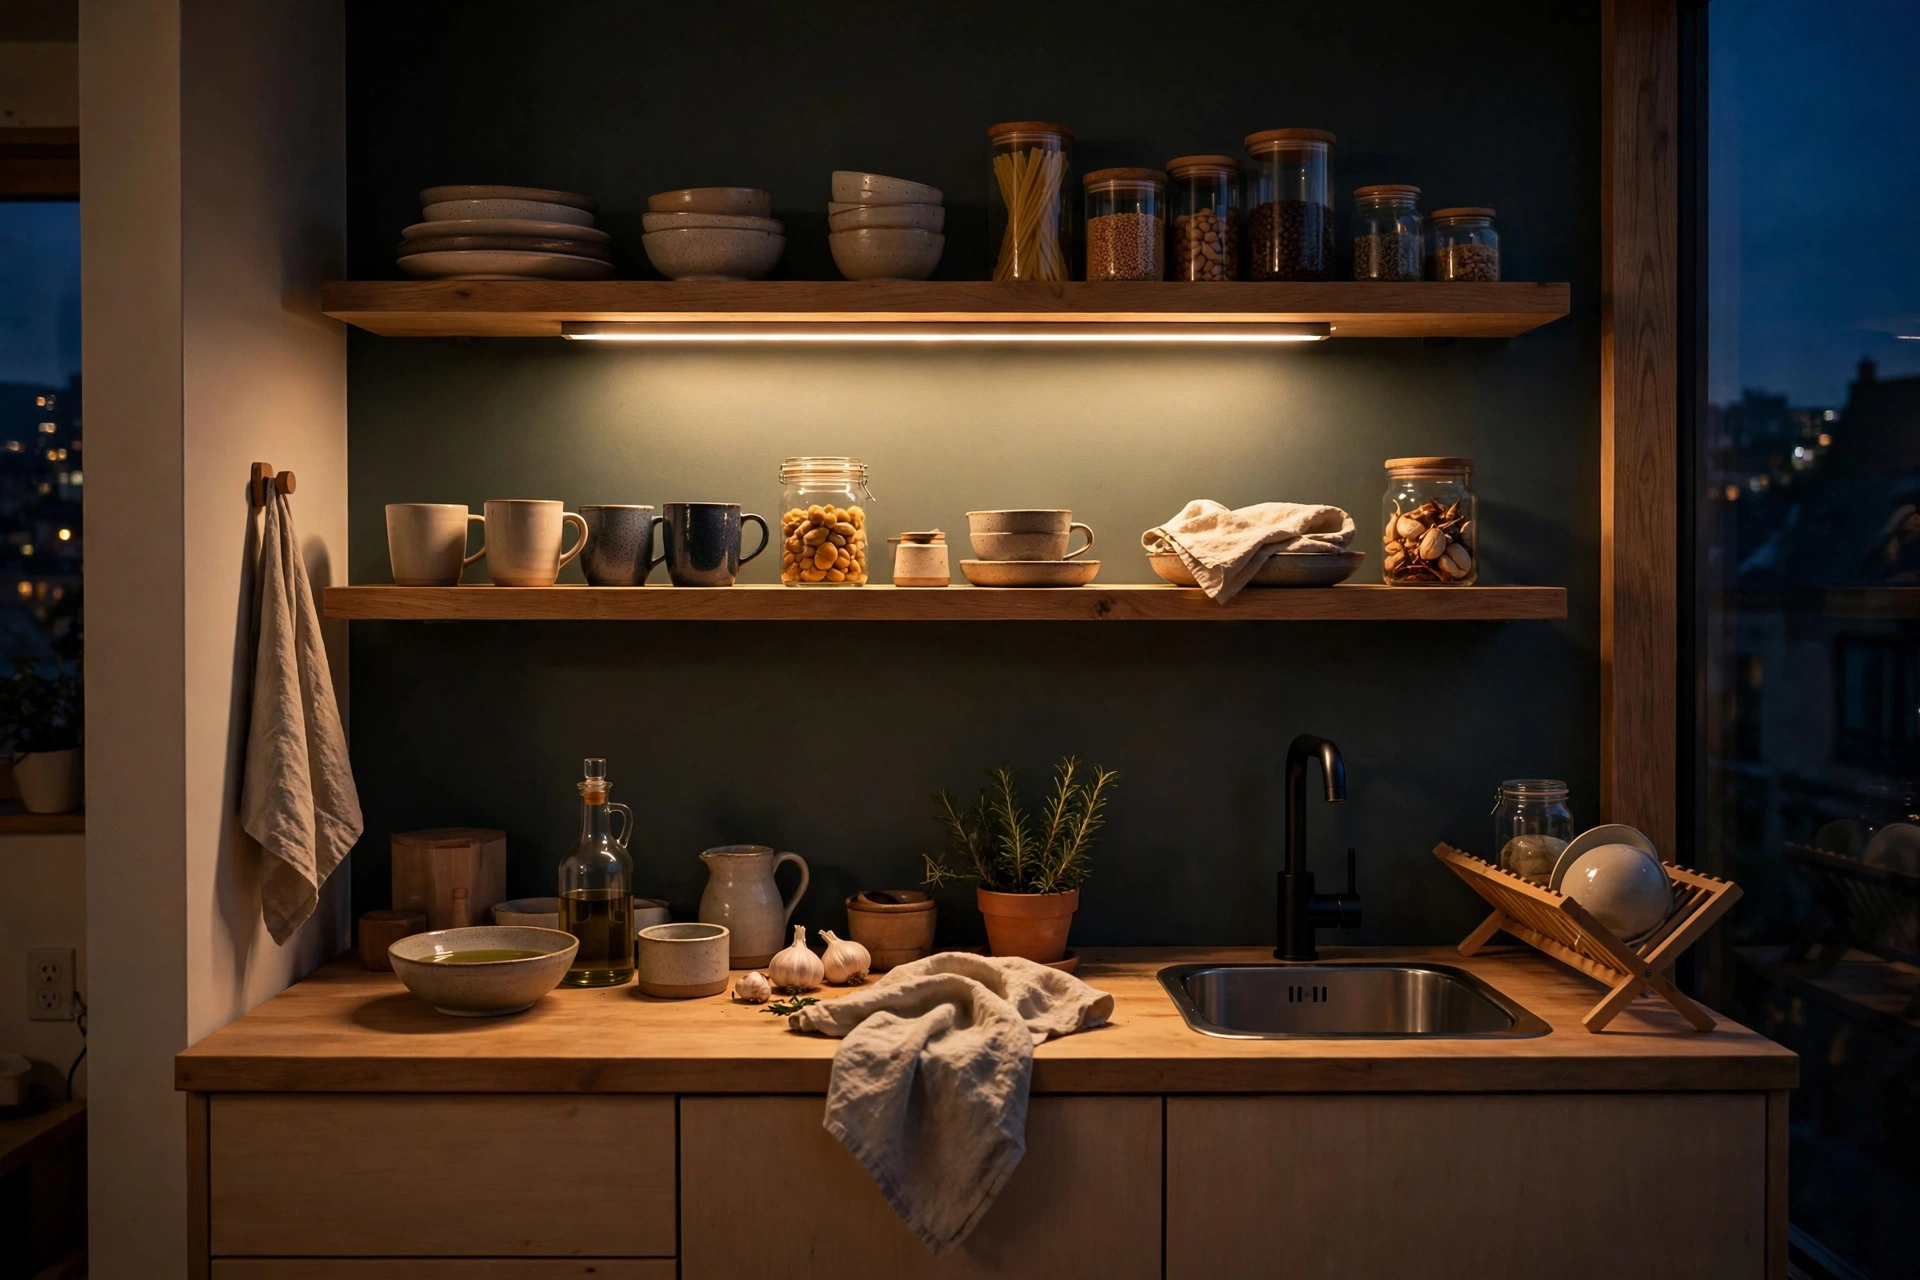
19. Light Open Shelves with a Strip or Sconce
Open kitchen shelving is a studio staple — lighting it makes your dishes look like a display. A slim LED strip tucked under each shelf ($15–$25) washes plates and glassware in a soft glow, while a tiny battery sconce aimed down from the top shelf creates a café feel. This accent lighting also adds a warm layer to the kitchen zone after dark, so the cooking corner doesn’t go pitch black at night. Pro tip: Warm 2700K strips flatter wood and ceramics; cooler strips make dishware look sterile.
Entryway, Bathroom & Outdoor Corners
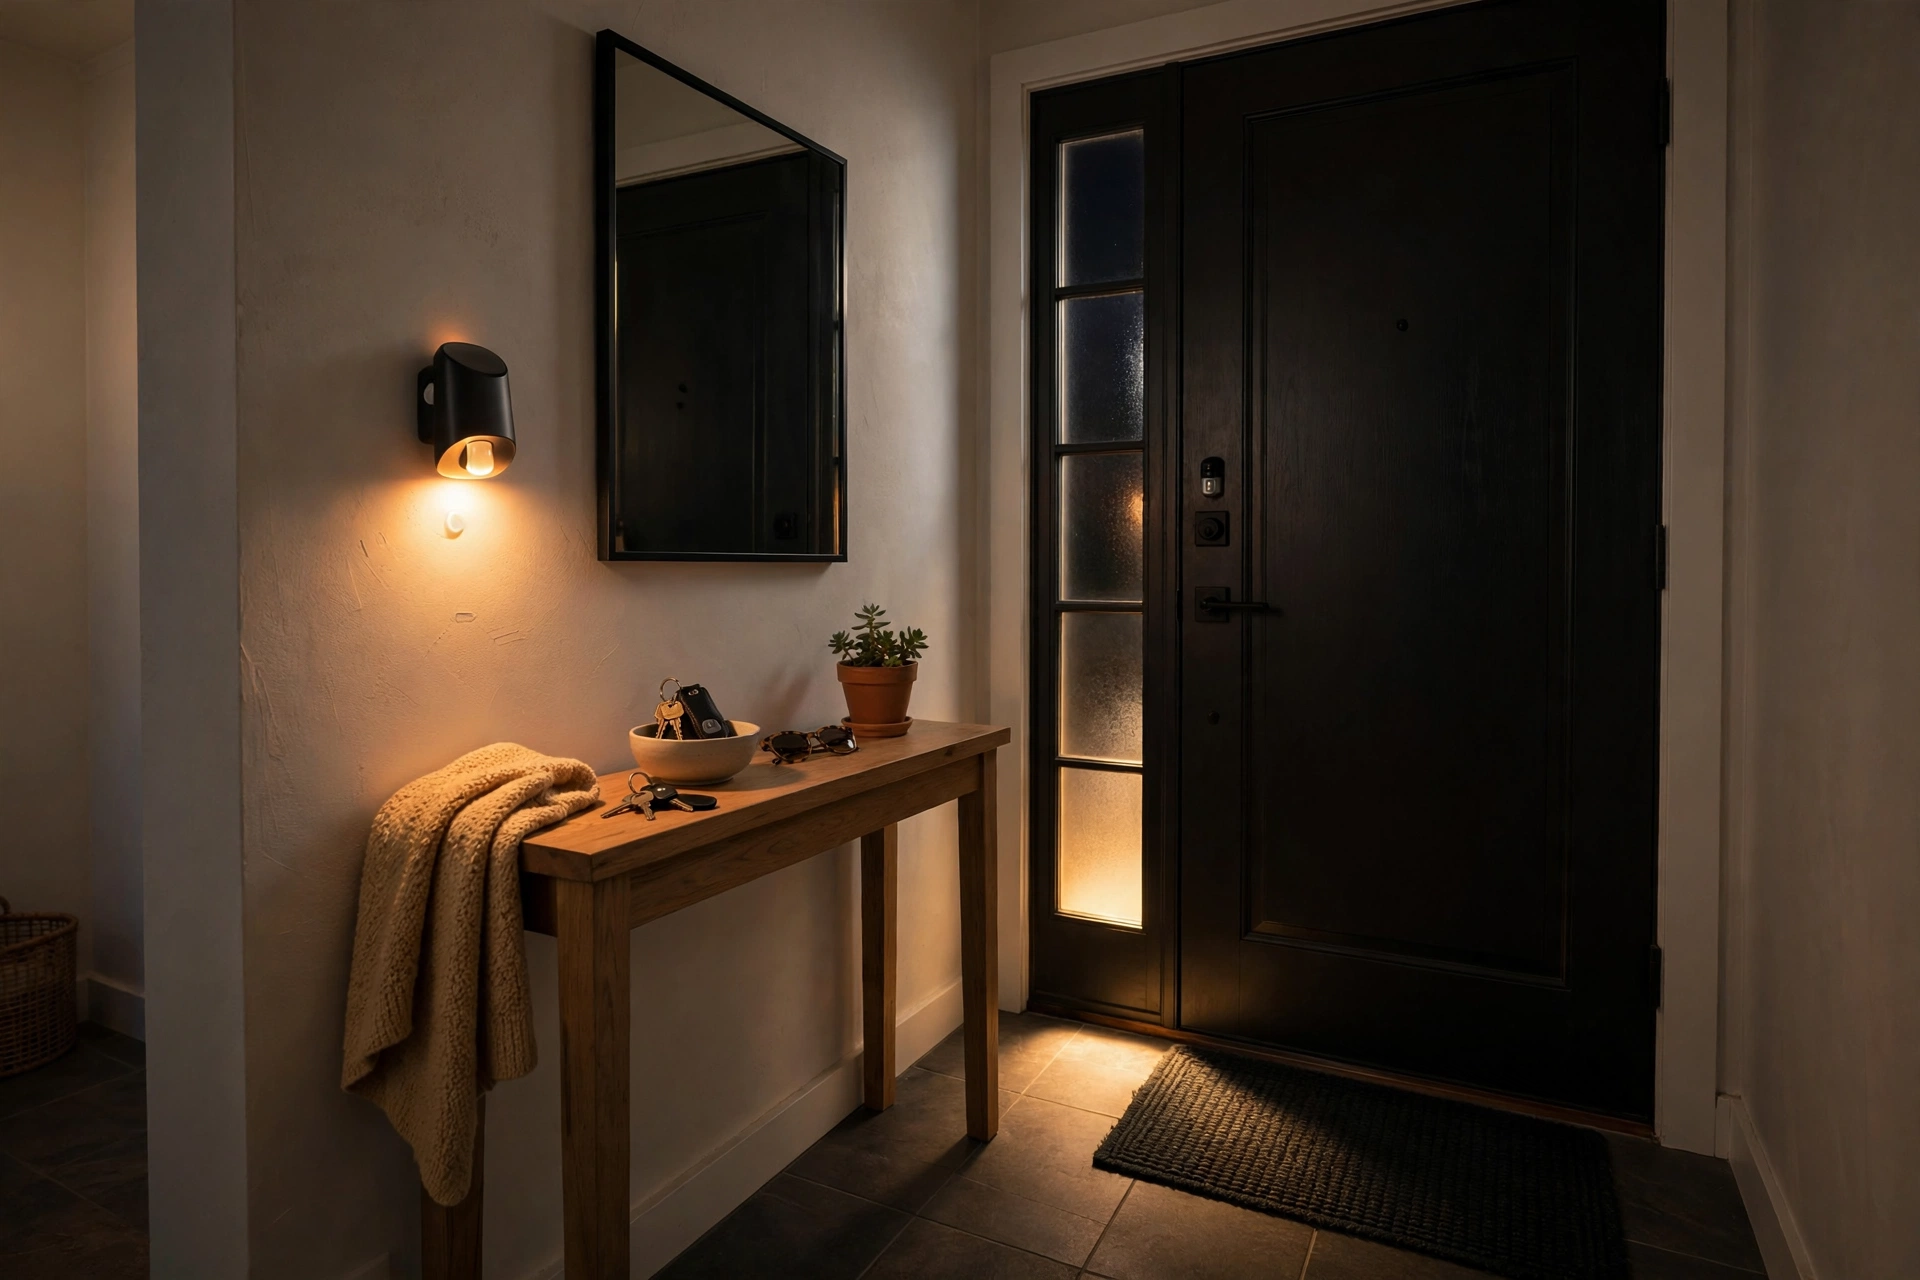
20. Greet Yourself with Entryway Motion Lights
Studio entryways are usually a dark sliver by the door — a motion-activated light there means you never fumble for keys in the dark. Stick-on LED bars ($15–$25 for a two-pack) above the door or along the entry wall sense your arrival and fade after 30 seconds. Choose rechargeable models so you’re not feeding them batteries. It’s a small touch that makes coming home feel welcoming instead of cave-like. Pro tip: Mount the sensor bar at shoulder height facing the door — ankle-height placement triggers on pets, not people.
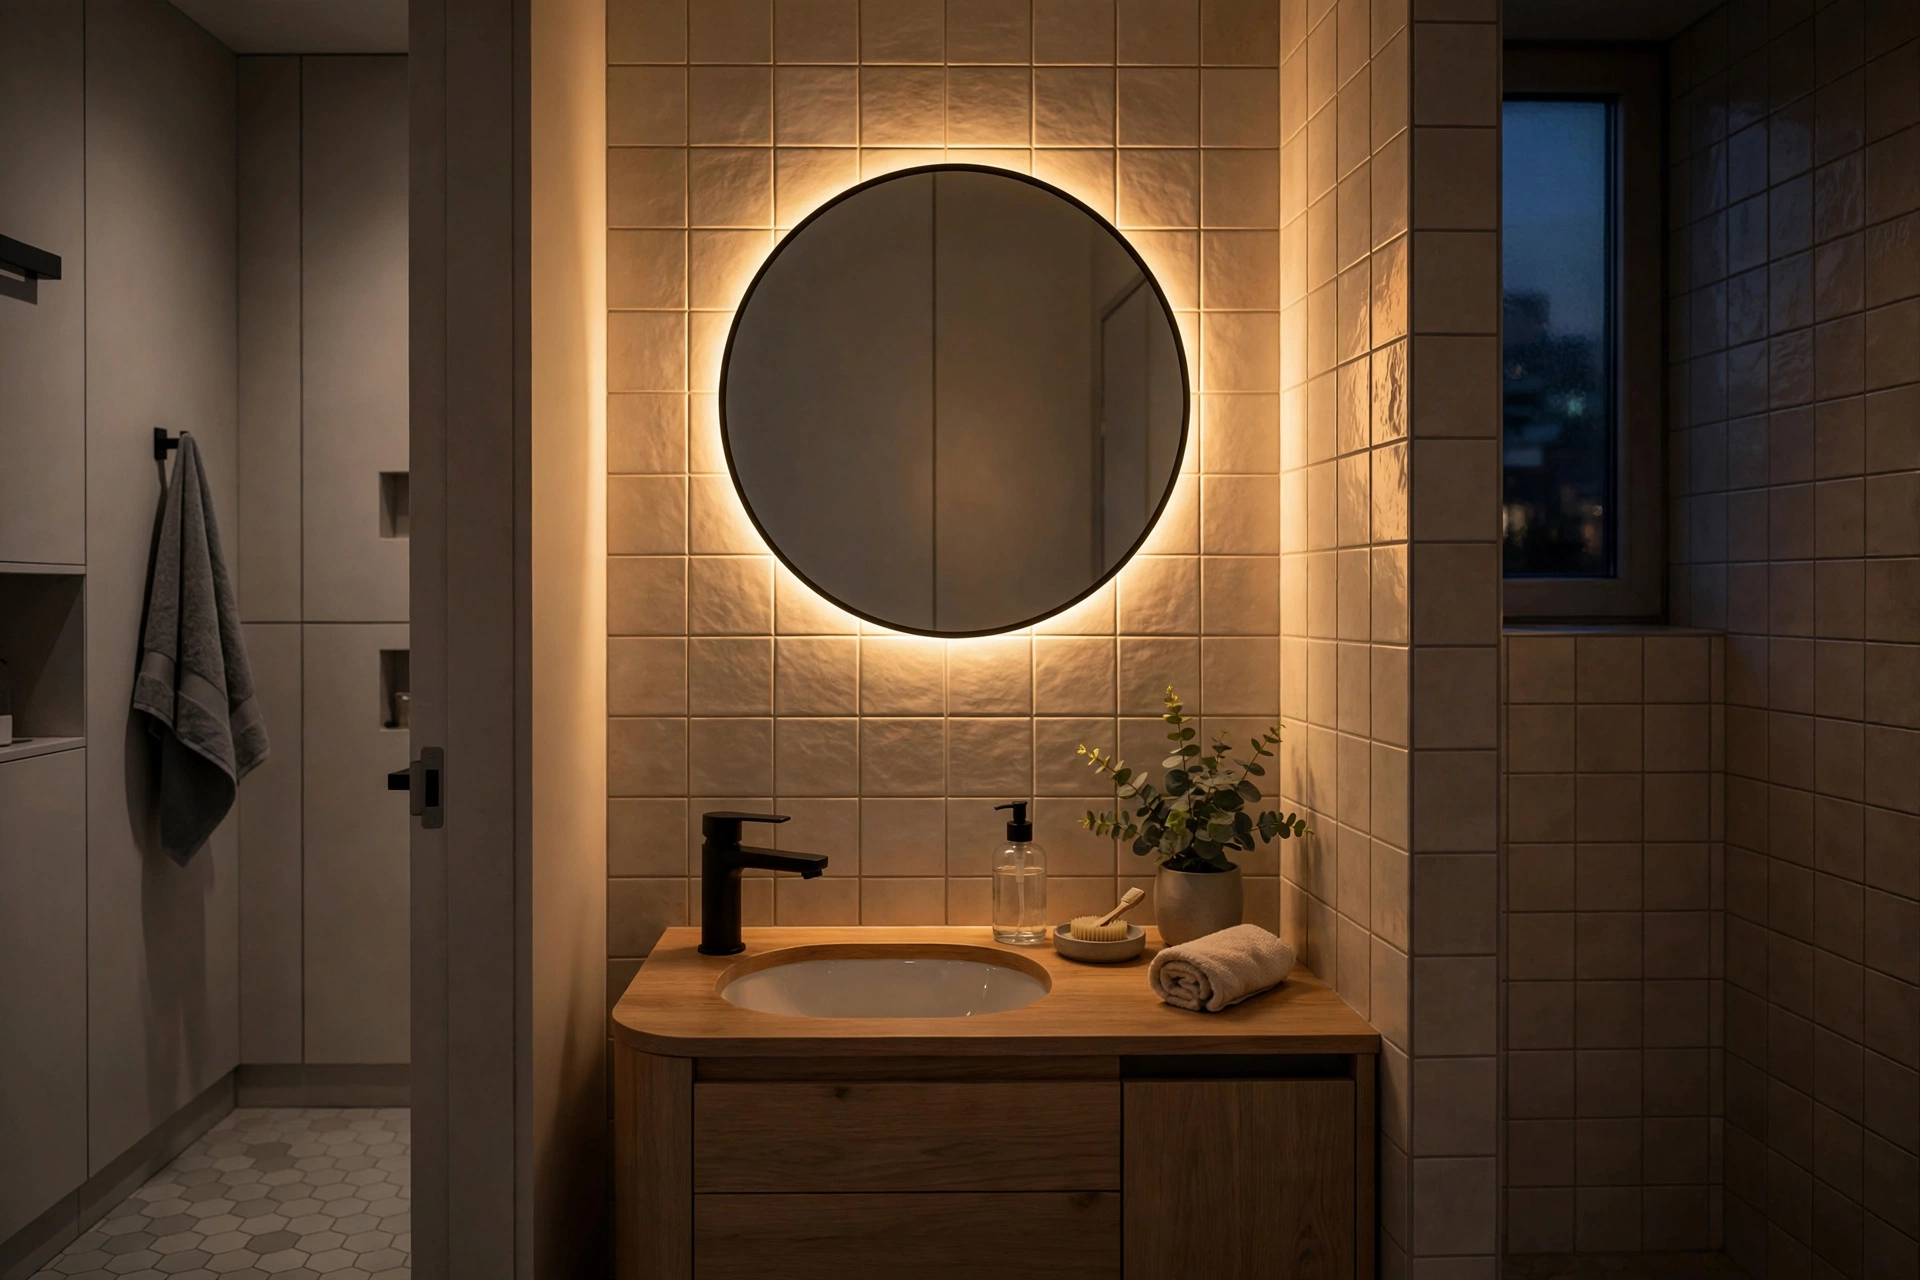
21. Upgrade to a Backlit Bathroom Mirror
Most studio bathrooms have one brutal overhead light that casts raccoon shadows on your face. A backlit LED mirror ($80–$150 on Amazon or IKEA) adds flattering, shadow-free light exactly where you need it for makeup or shaving — and the halo glow makes a tiny bathroom feel twice as luxe. Renter workaround: stick an LED mirror light strip ($20) around your existing mirror for 80% of the effect with zero replacement. Pro tip: Look for a mirror with a defogging pad too — studio bathrooms steam up fast.
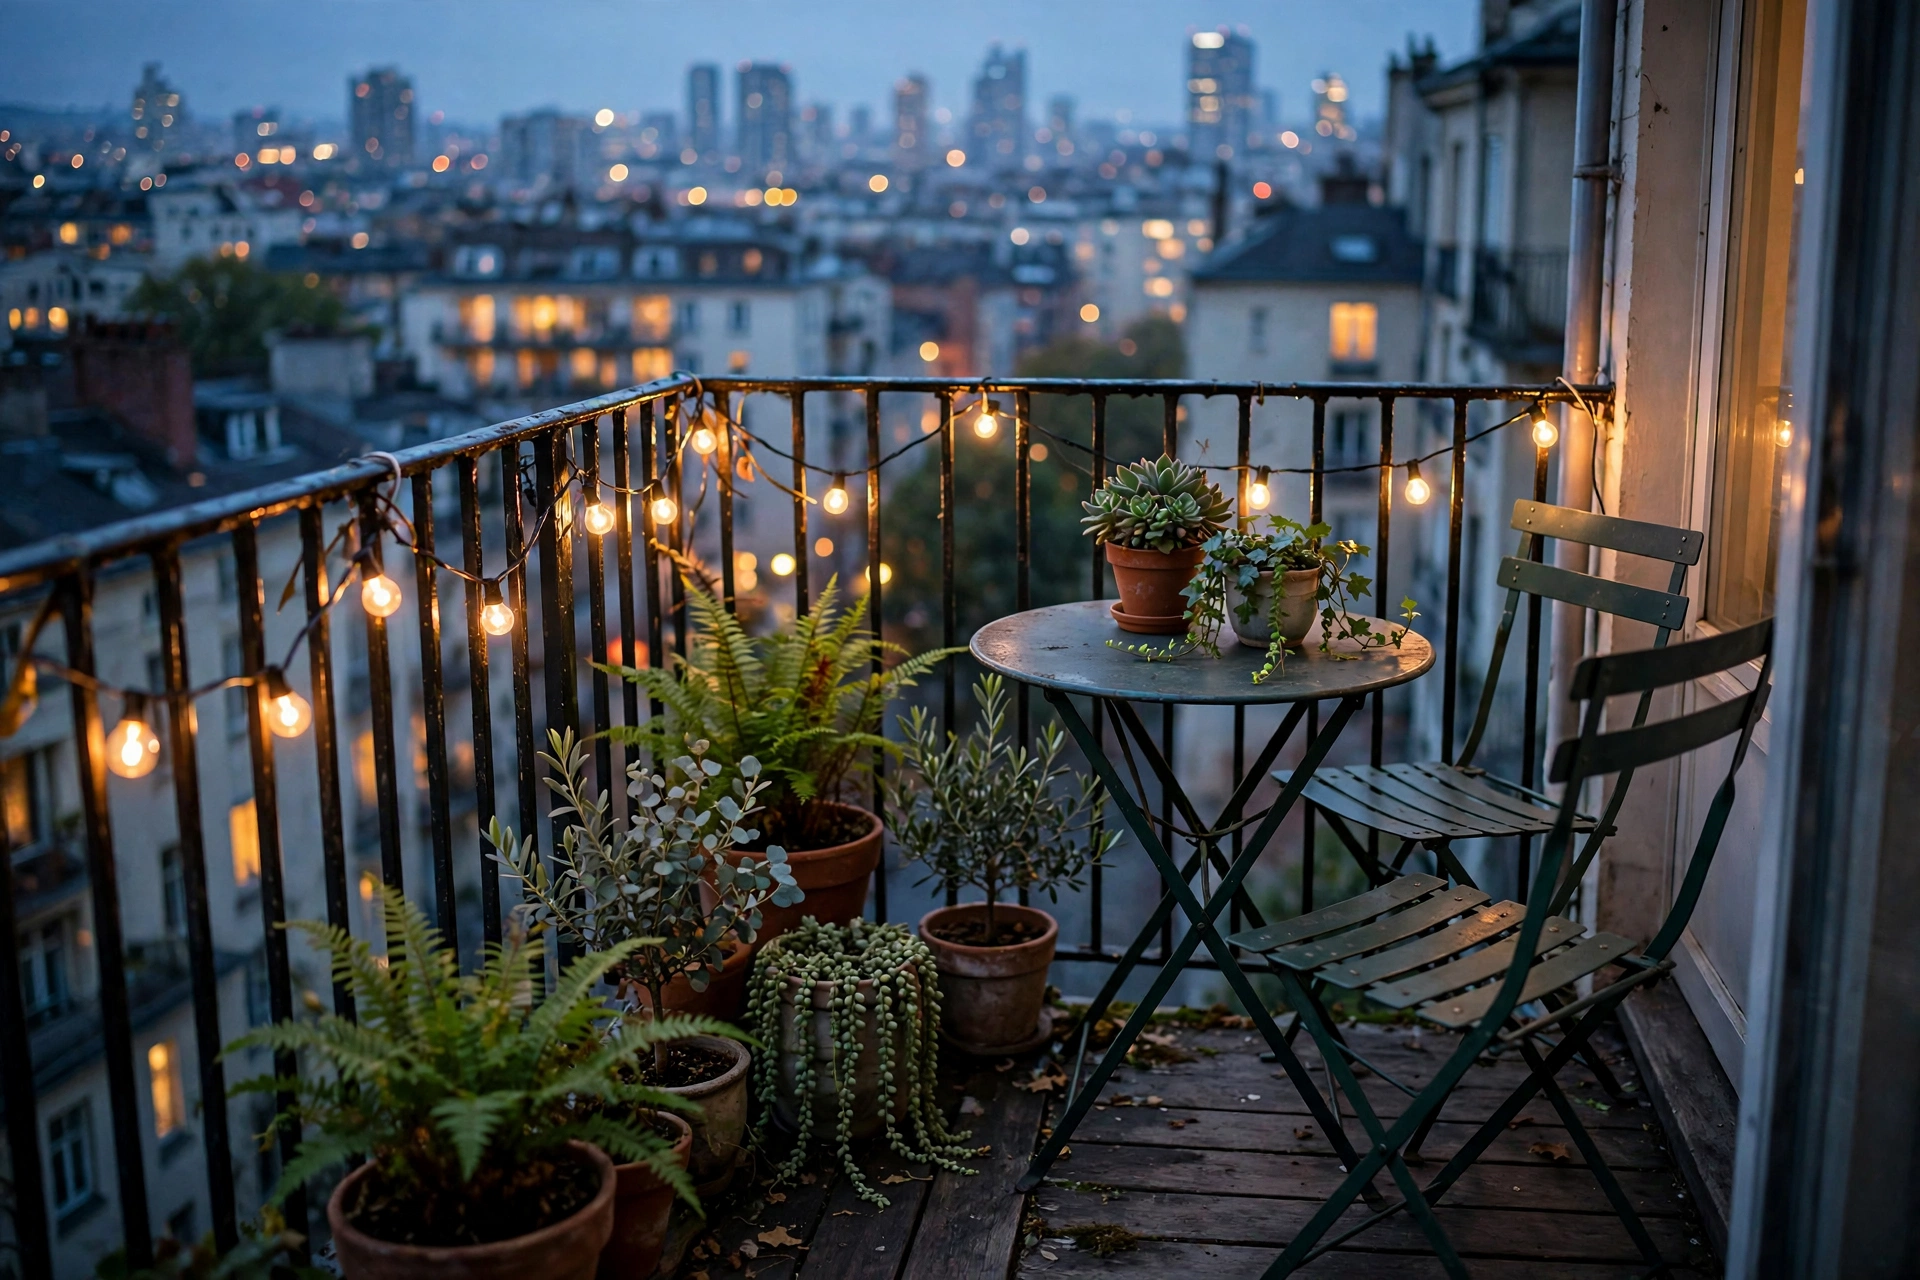
22. String Lights on the Balcony or Windowsill
If your studio has even a Juliet balcony or a wide windowsill, outdoor string lights extend your living space after dark. Weatherproof Edison strands ($25–$40) draped along the railing or across the window frame turn the glass into a glowing backdrop — the Pinterest dream, honestly. Solar-powered versions need no outlet at all, though plug-in strands glow brighter and longer. Pro tip: Hang lights on the OUTSIDE of the glass so the window reflects them back in — double the glow for free.
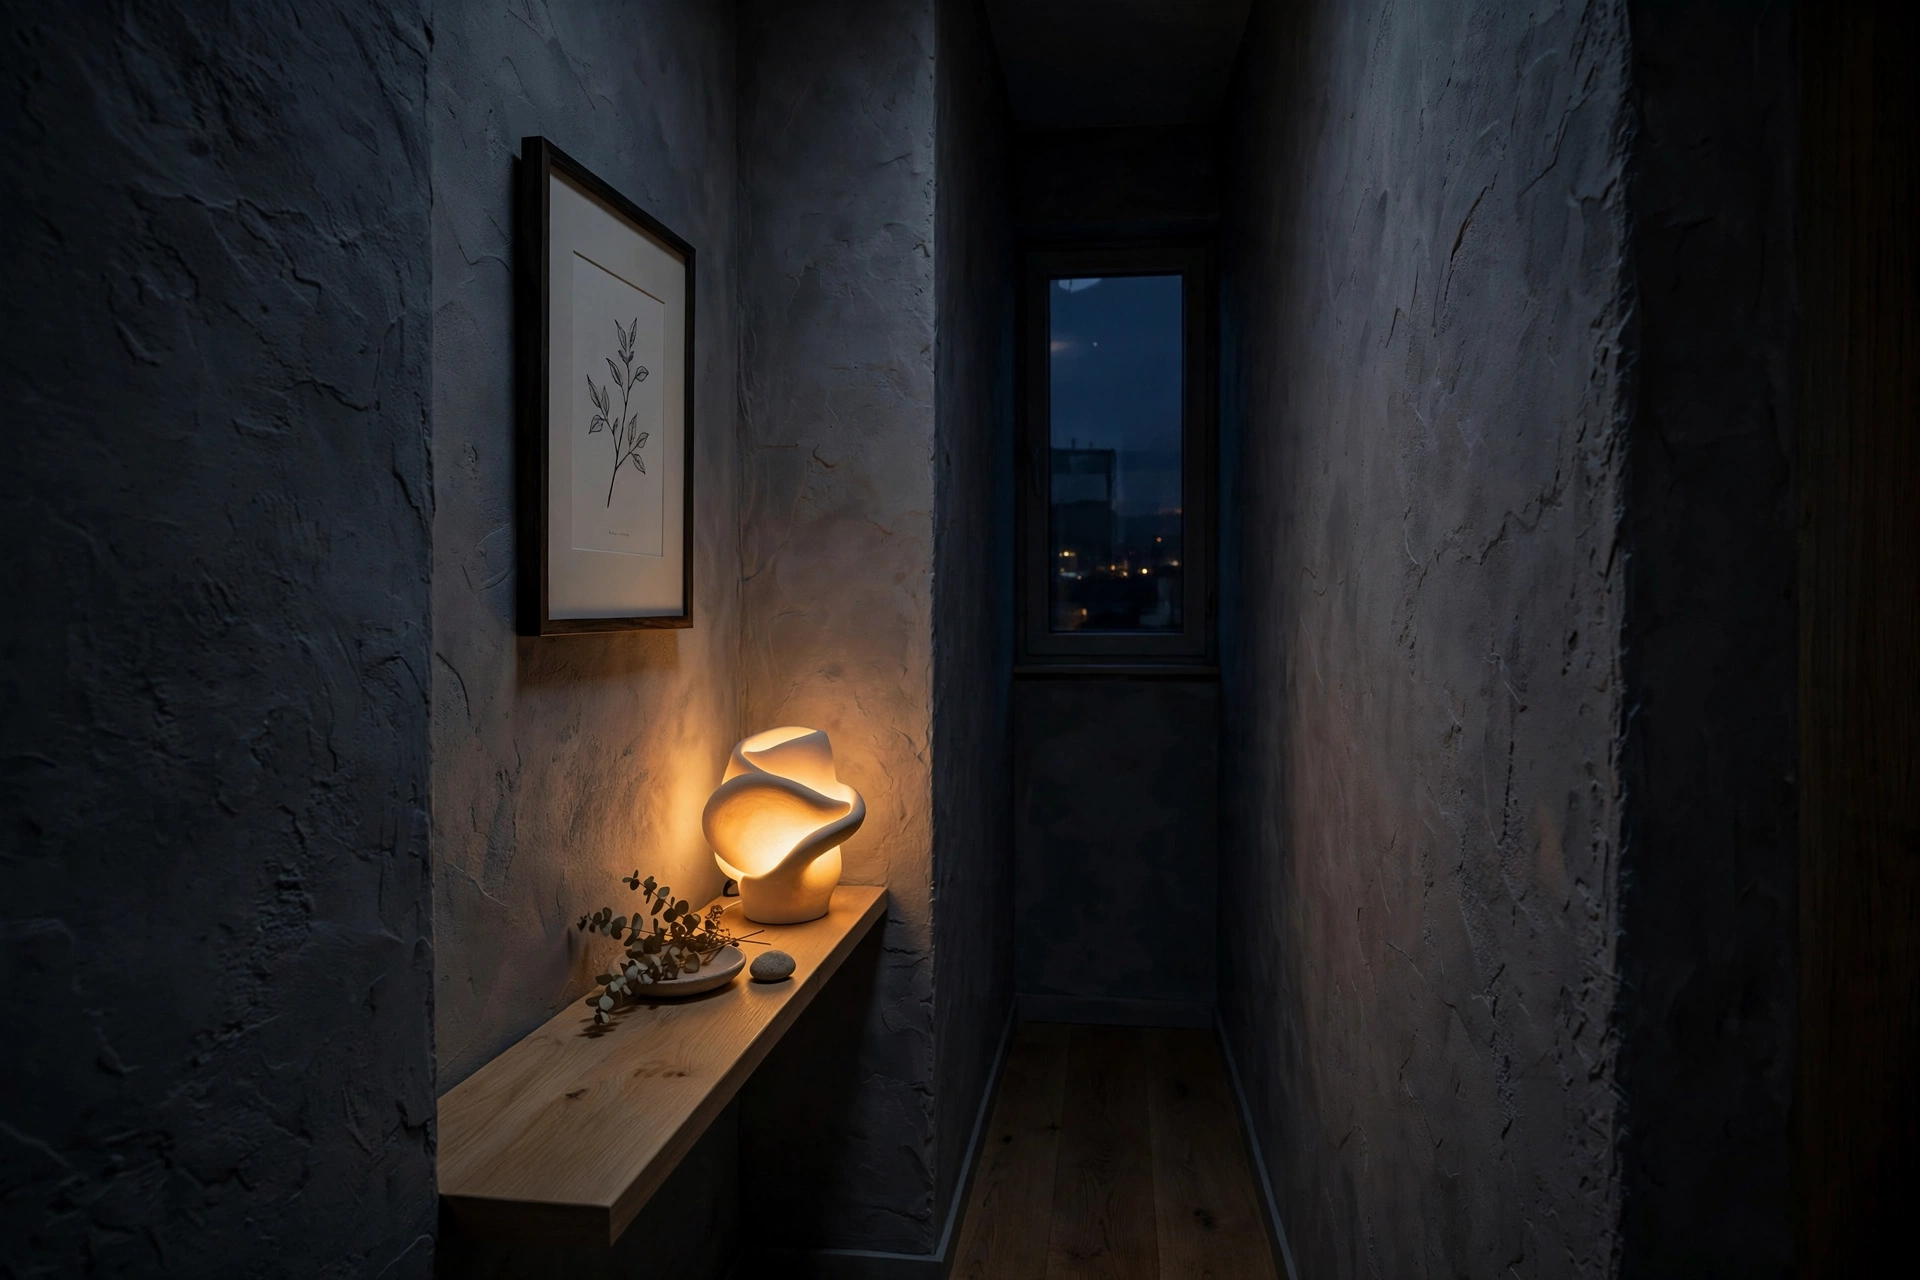
23. Tuck a Small Lamp in the Hallway
That awkward hallway stretch between the door and the main room deserves light too — a mini accent lamp on a narrow console or wall shelf ($20–$35) keeps the transition zone from feeling like a tunnel. Tiny ceramic lamps, salt lamps, or even a lantern-style LED candle all work. It also gives guests a warm first impression before they see the whole studio. Pro tip: Put this lamp on the same smart plug schedule as your entryway light so the whole arrival sequence runs itself.
Renter-Friendly Installs
24. Go All Plug-In, Skip the Hardwiring
Here’s the renter’s lighting manifesto: if it plugs in, it’s fair game. Plug-in pendants, sconces, chandeliers, and picture lights deliver 95% of the hardwired look with 0% of the landlord drama. Retailers from IKEA to Lamps Plus now sell plug-in versions of nearly every fixture style, typically $30–$80. When you move, they all come with you. Pro tip: Keep the original ceiling fixture’s parts in a labeled bag so move-out day takes ten minutes.
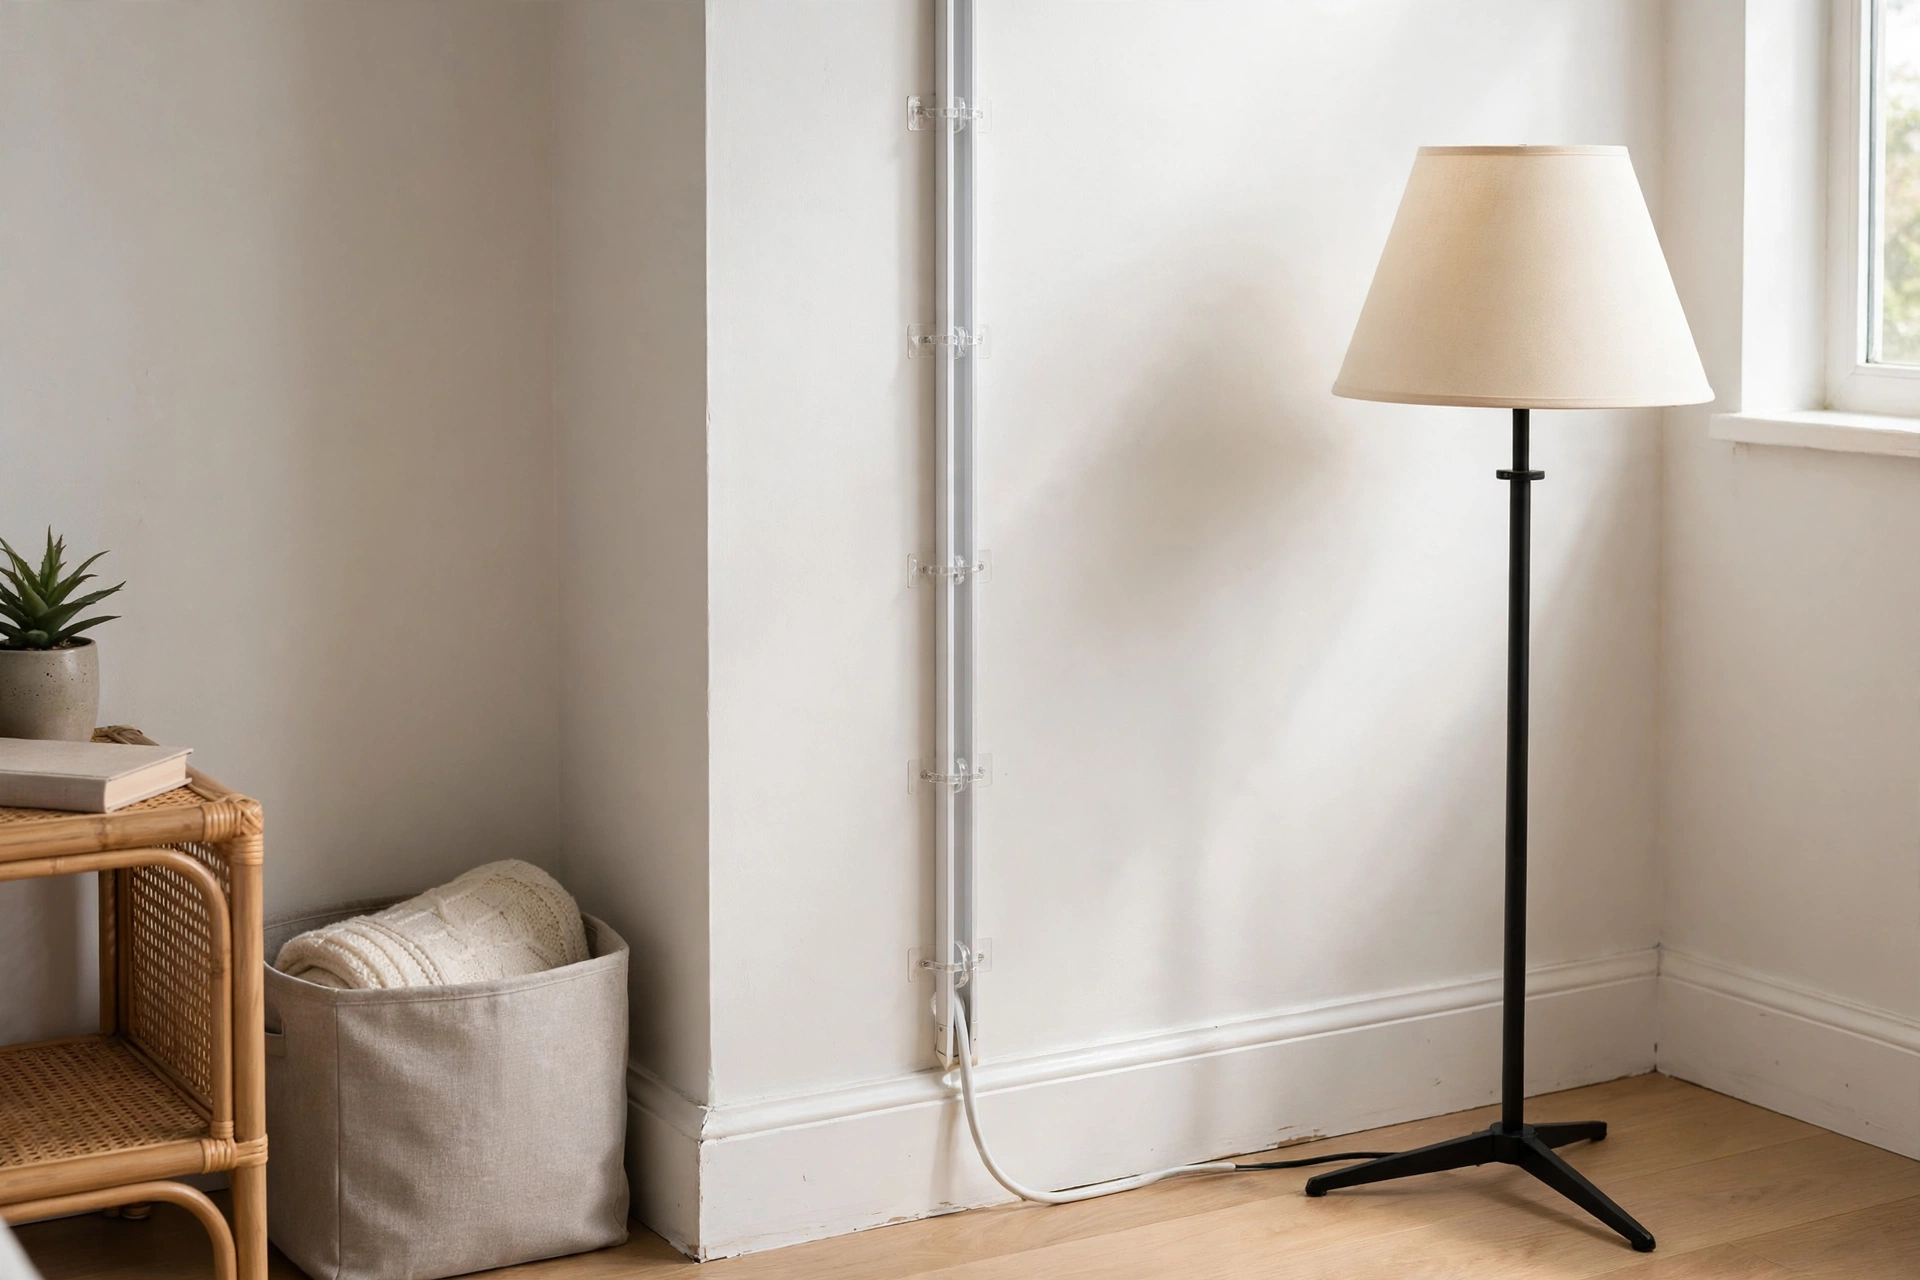
25. Hide Cords with Covers and Hooks
Nothing ruins good lighting faster than cord spaghetti. Paintable cord covers ($10–$15 for a six-foot kit), adhesive cable clips, and clear Command hooks route every plug-in cord neatly along baseboards and up walls. In a studio where you see everything at once, cord management isn’t optional — it’s the difference between “styled” and “dorm.” Spend an hour on it once and forget it forever. Pro tip: Paint cord covers the exact wall color BEFORE sticking them up — wet paint on the wall gets messy.
26. Try Battery-Operated Sconces and Candles
Battery sconces are the ultimate no-commitment lighting — mount with adhesive strips, control with a remote, done. Modern LED sconces ($30–$55 for a pair) look convincingly like wired fixtures and run for weeks on a charge. Pair them with flameless LED candles ($15–$25 for a set) on shelves and the coffee table for layered candlelight with zero fire risk — a must when your bed is ten feet from your “dining room.” Pro tip: Set all your battery lights to the same warm tone so the room reads as one cohesive glow.
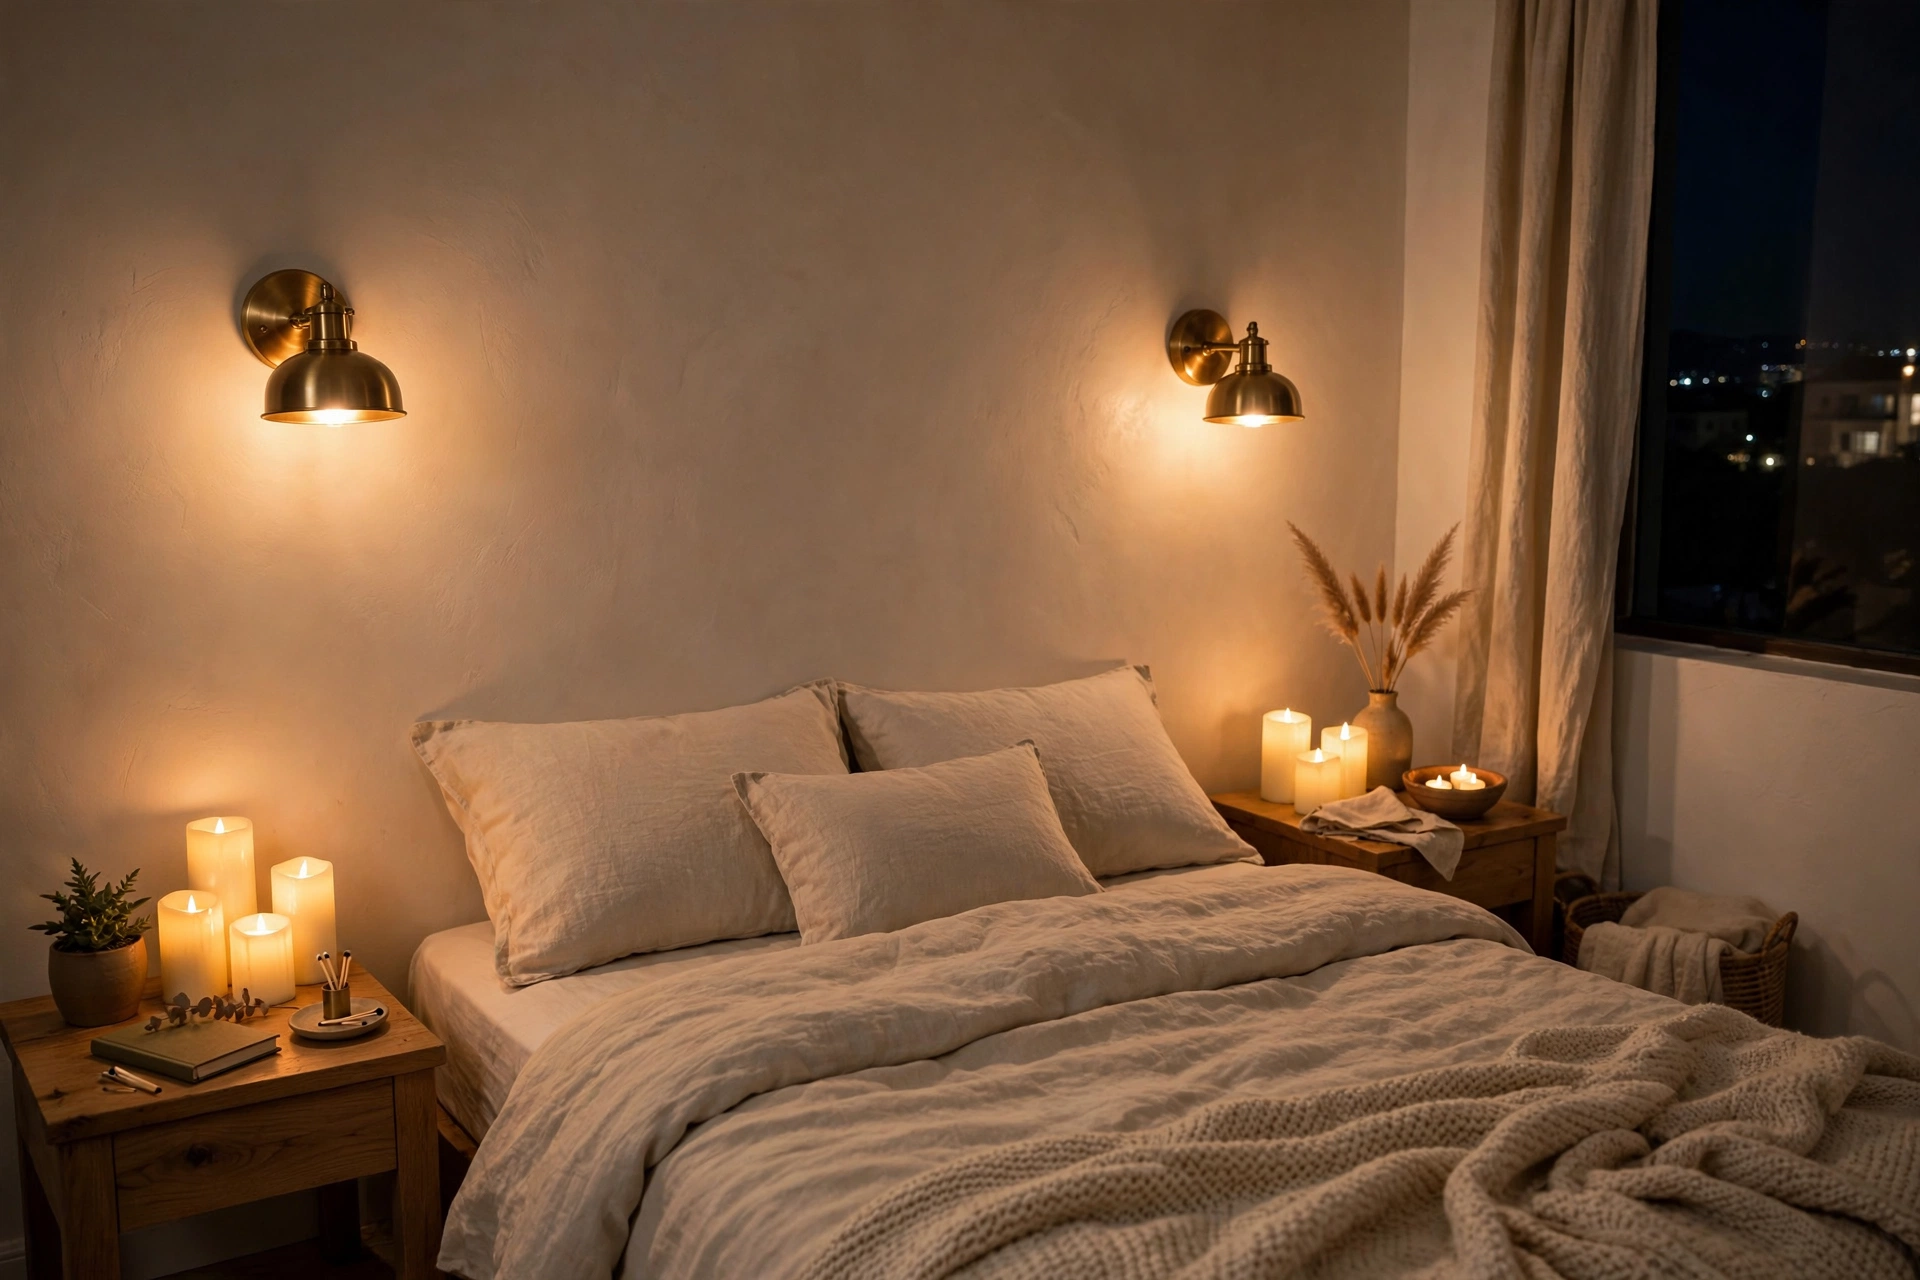
27. Soften Daylight with Sheers and Film
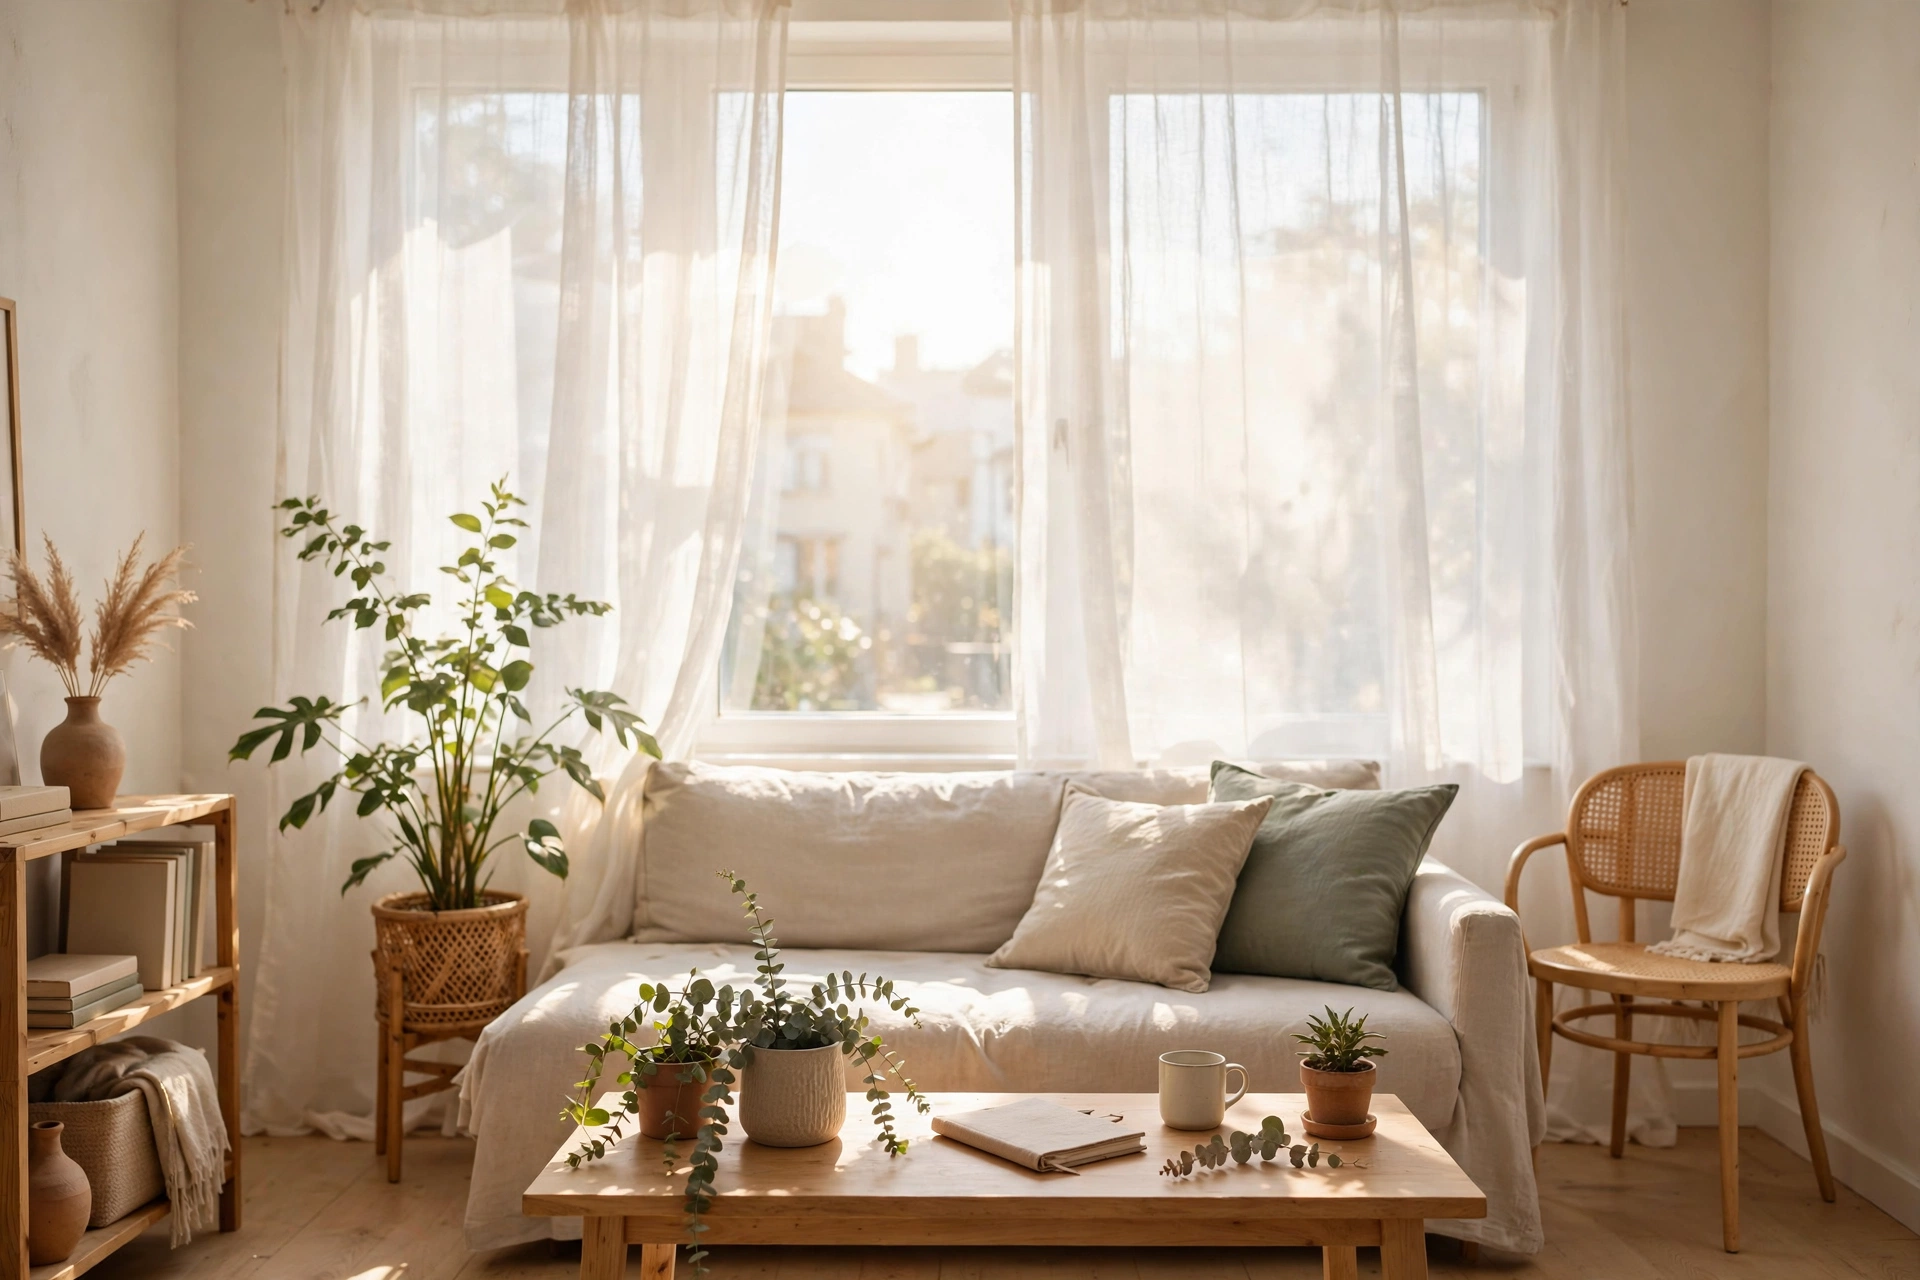
Lighting isn’t only about bulbs — controlling daylight matters just as much in a studio where one window lights everything. Sheer white curtains ($20–$40 a panel) diffuse harsh sun into a soft, even glow that flatters every corner, while static-cling privacy film ($15–$25) softens street-facing windows without blocking light. Both are renter-safe and double as privacy. Pro tip: Hang sheers as close to the ceiling as possible — it makes the window (and the light) feel grander.
Bulbs, Dimmers & Smart Controls
28. Swap Every Bulb to Warm 2700K
The fastest lighting upgrade costs under $20: replace every bulb in your studio with warm 2700K LEDs. Most rentals come with harsh 4000–5000K “daylight” bulbs that make skin look sallow and walls look gray. A 4-pack of warm white LEDs costs $8–$12 and instantly makes the whole apartment feel cozier — it’s the same warm tone high-end restaurants use. Check every fixture, including the bathroom and kitchen. Pro tip: Buy one extra bulb and label the box — when one dies, you’ll match the tone instead of mixing.
29. Plug Dimmers into Existing Lamps
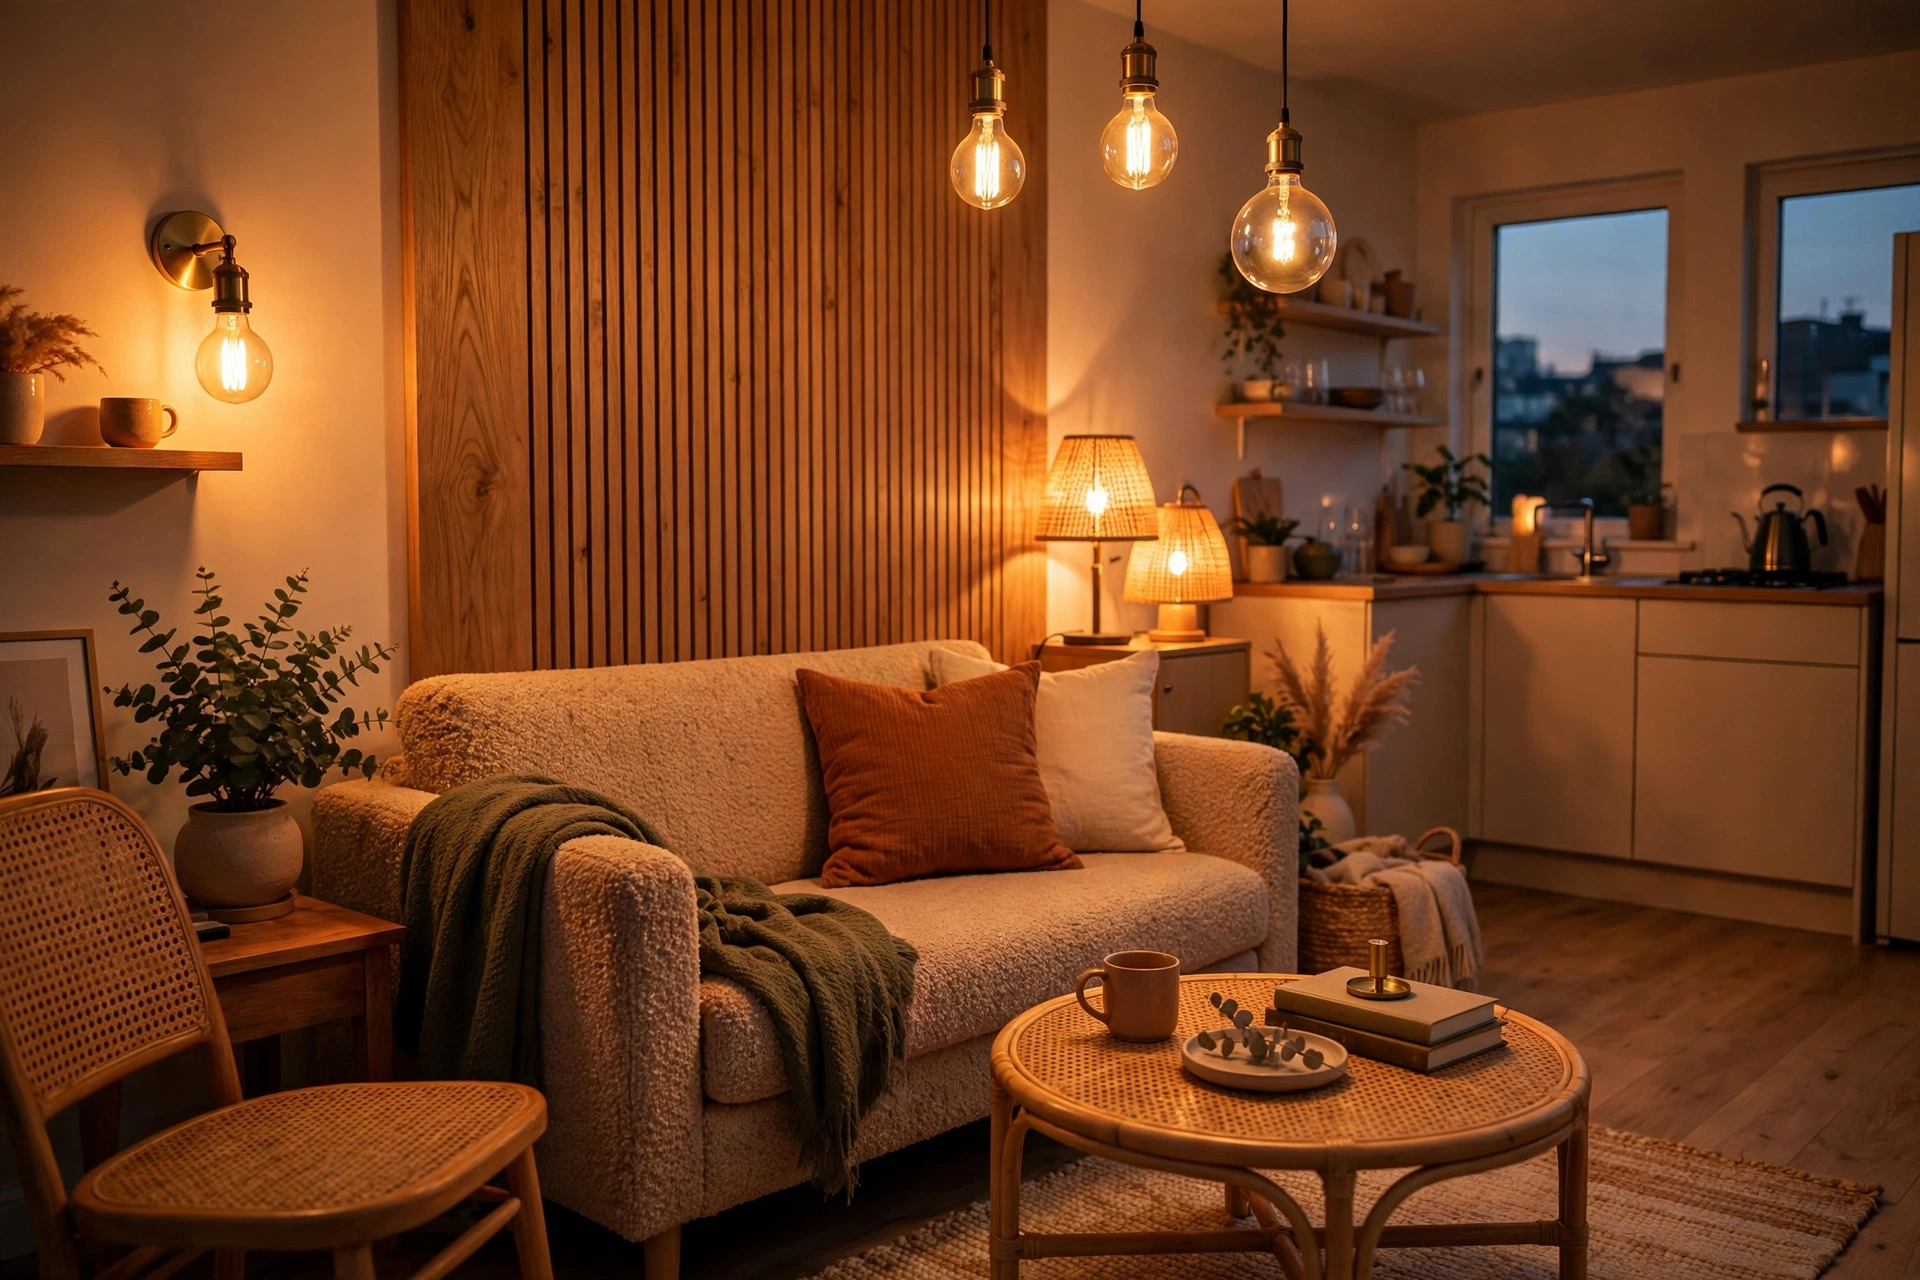
You don’t need an electrician for dimmers — plug-in lamp dimmers ($12–$18 each) sit between the outlet and any lamp cord and give you a slider or touch control. Dimming a $40 floor lamp to 30% creates instant movie-night mood, and dimmed bulbs last years longer. For overhead fixtures, a plug-in smart dimmer on a swagged pendant does the same trick. Pro tip: Dim all evening lamps to about 40% an hour before bed — it cues your brain for sleep better than any app.
30. Set Scenes with Smart Bulbs
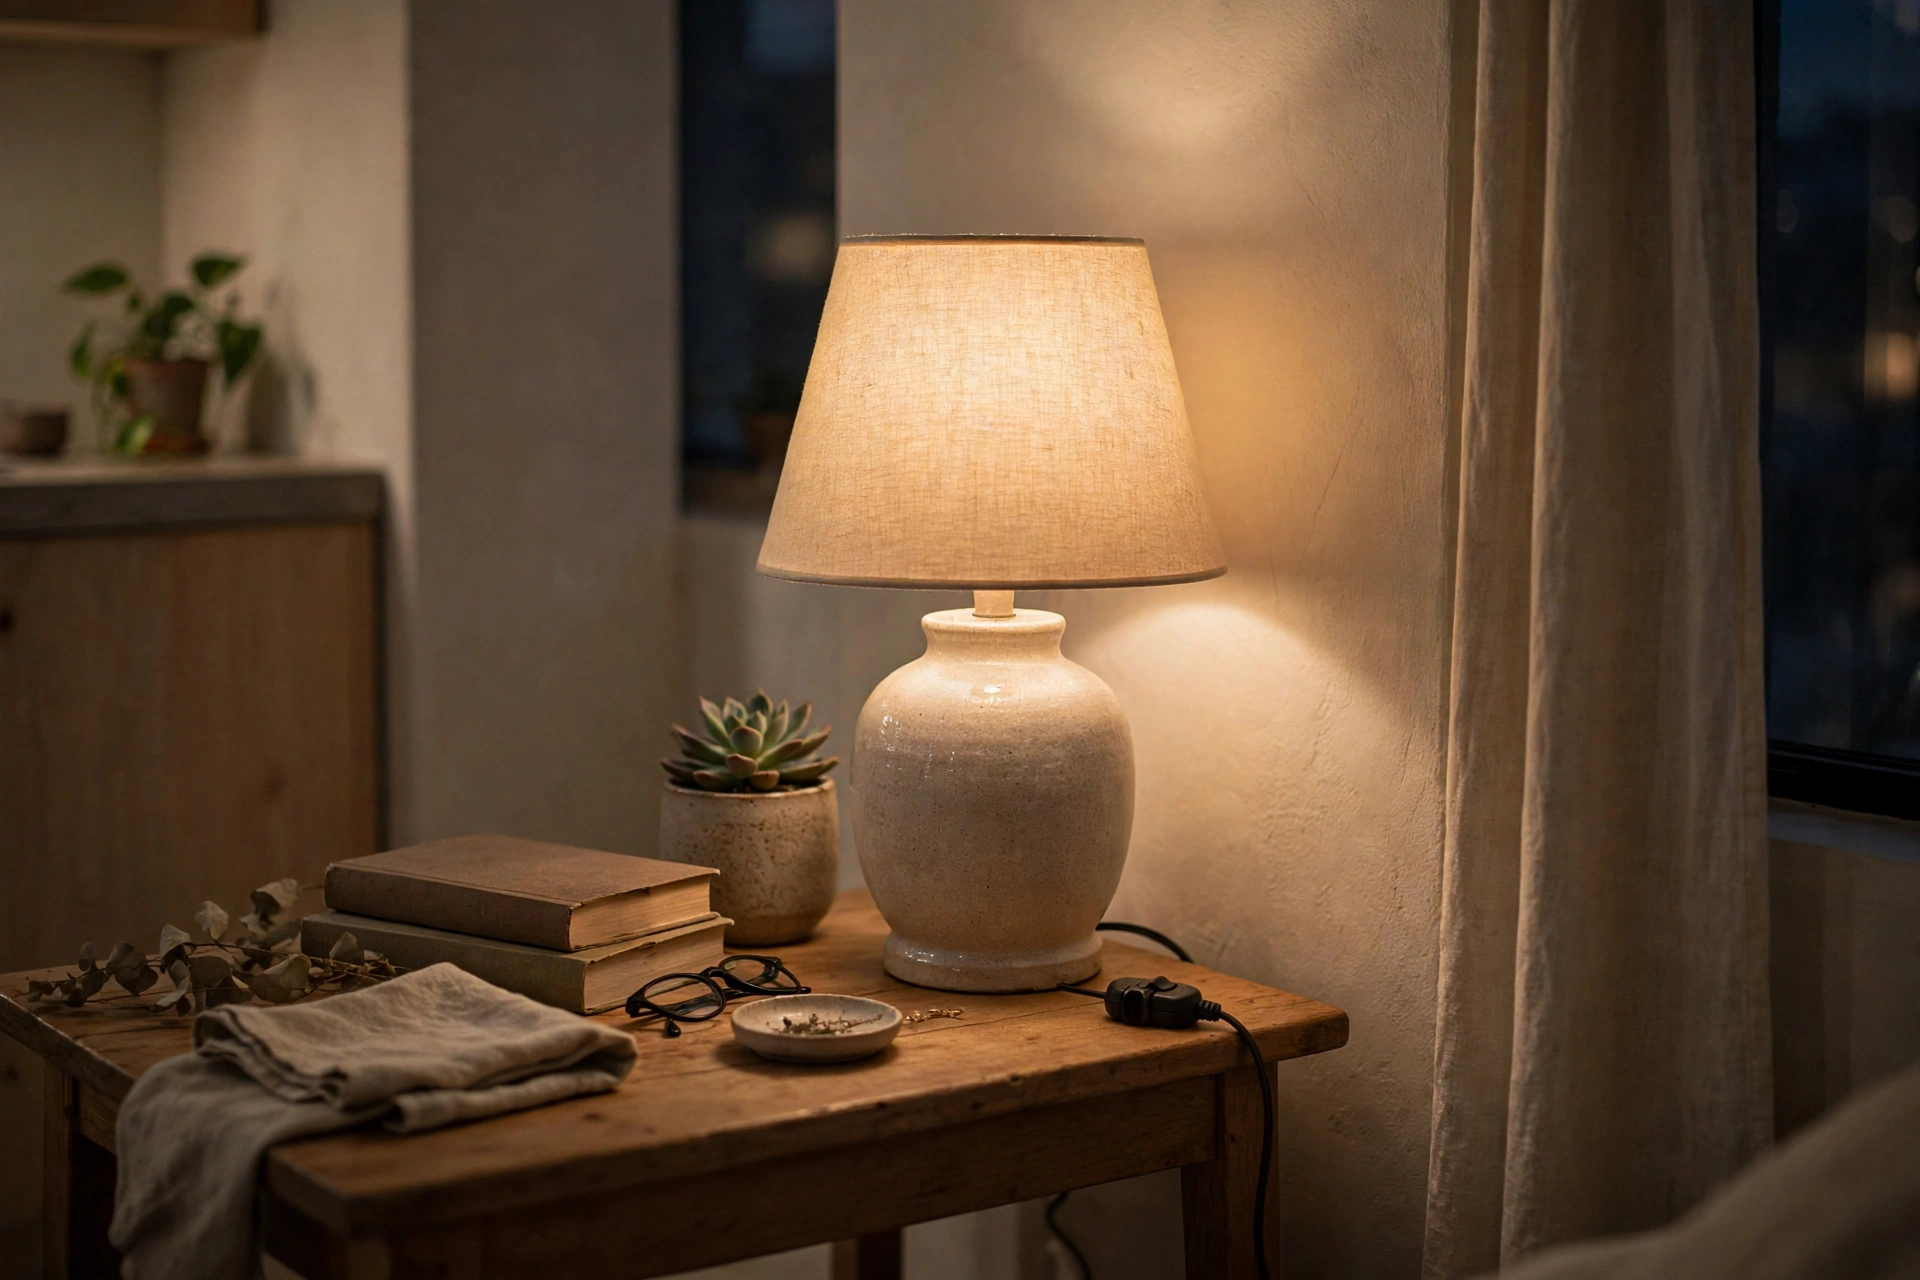
Smart bulbs (Philips Hue, Govee, or Tapo at $10–$25 per bulb) let one lamp play many roles: bright white for morning focus, warm amber for dinner, deep dim for movie night. In a studio, scenes are transformative — tap “Work” and the desk zone brightens; tap “Relax” and the whole apartment glows candle-warm. Start with two or three bulbs in your most-used lamps; you don’t need to smarten everything. Pro tip: Name scenes by activity (“Cook,” “Read,” “Date night”) not by color — you’ll actually use them.
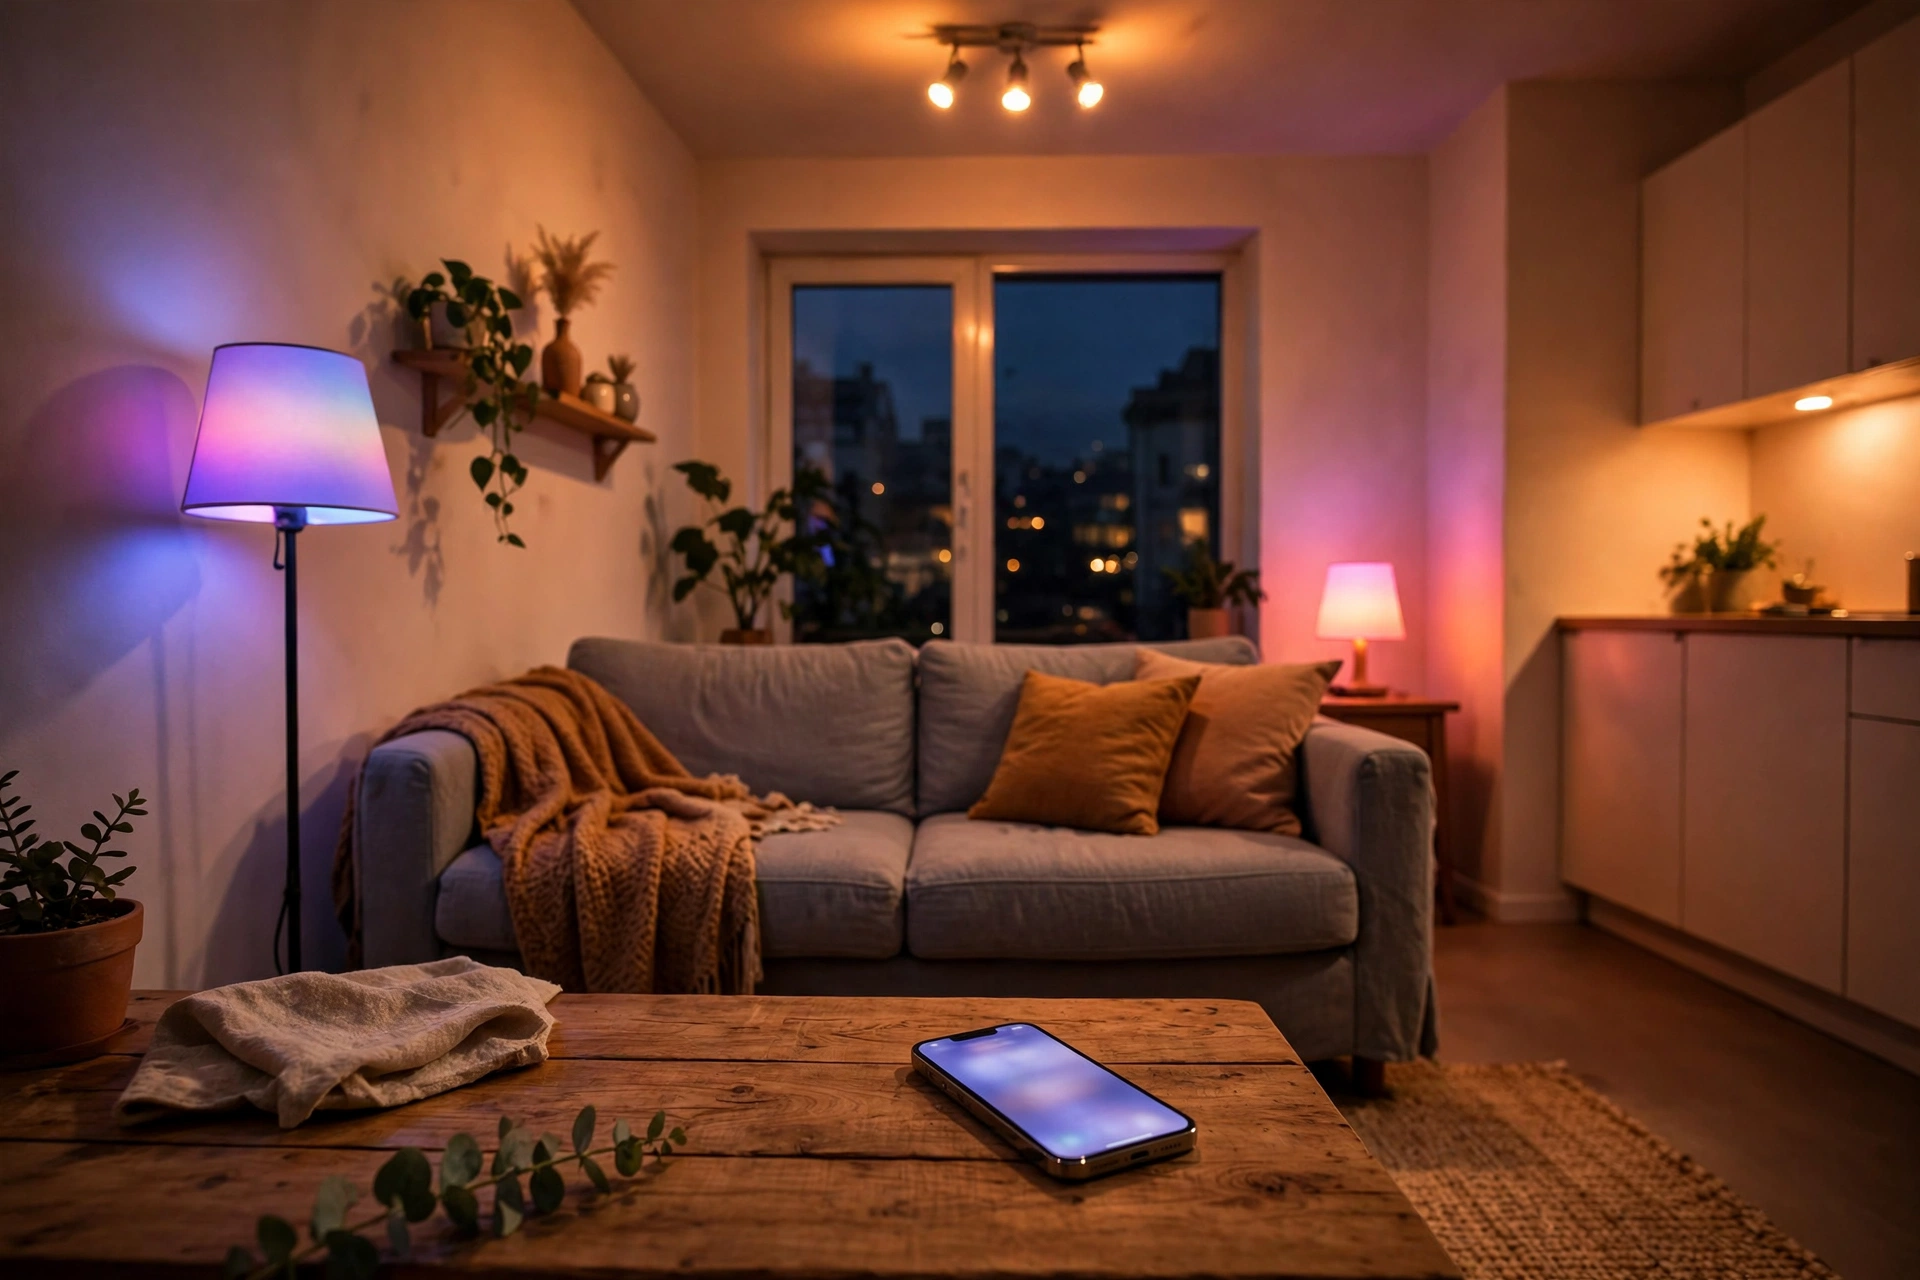
31. Automate a “Goodnight” Light Routine
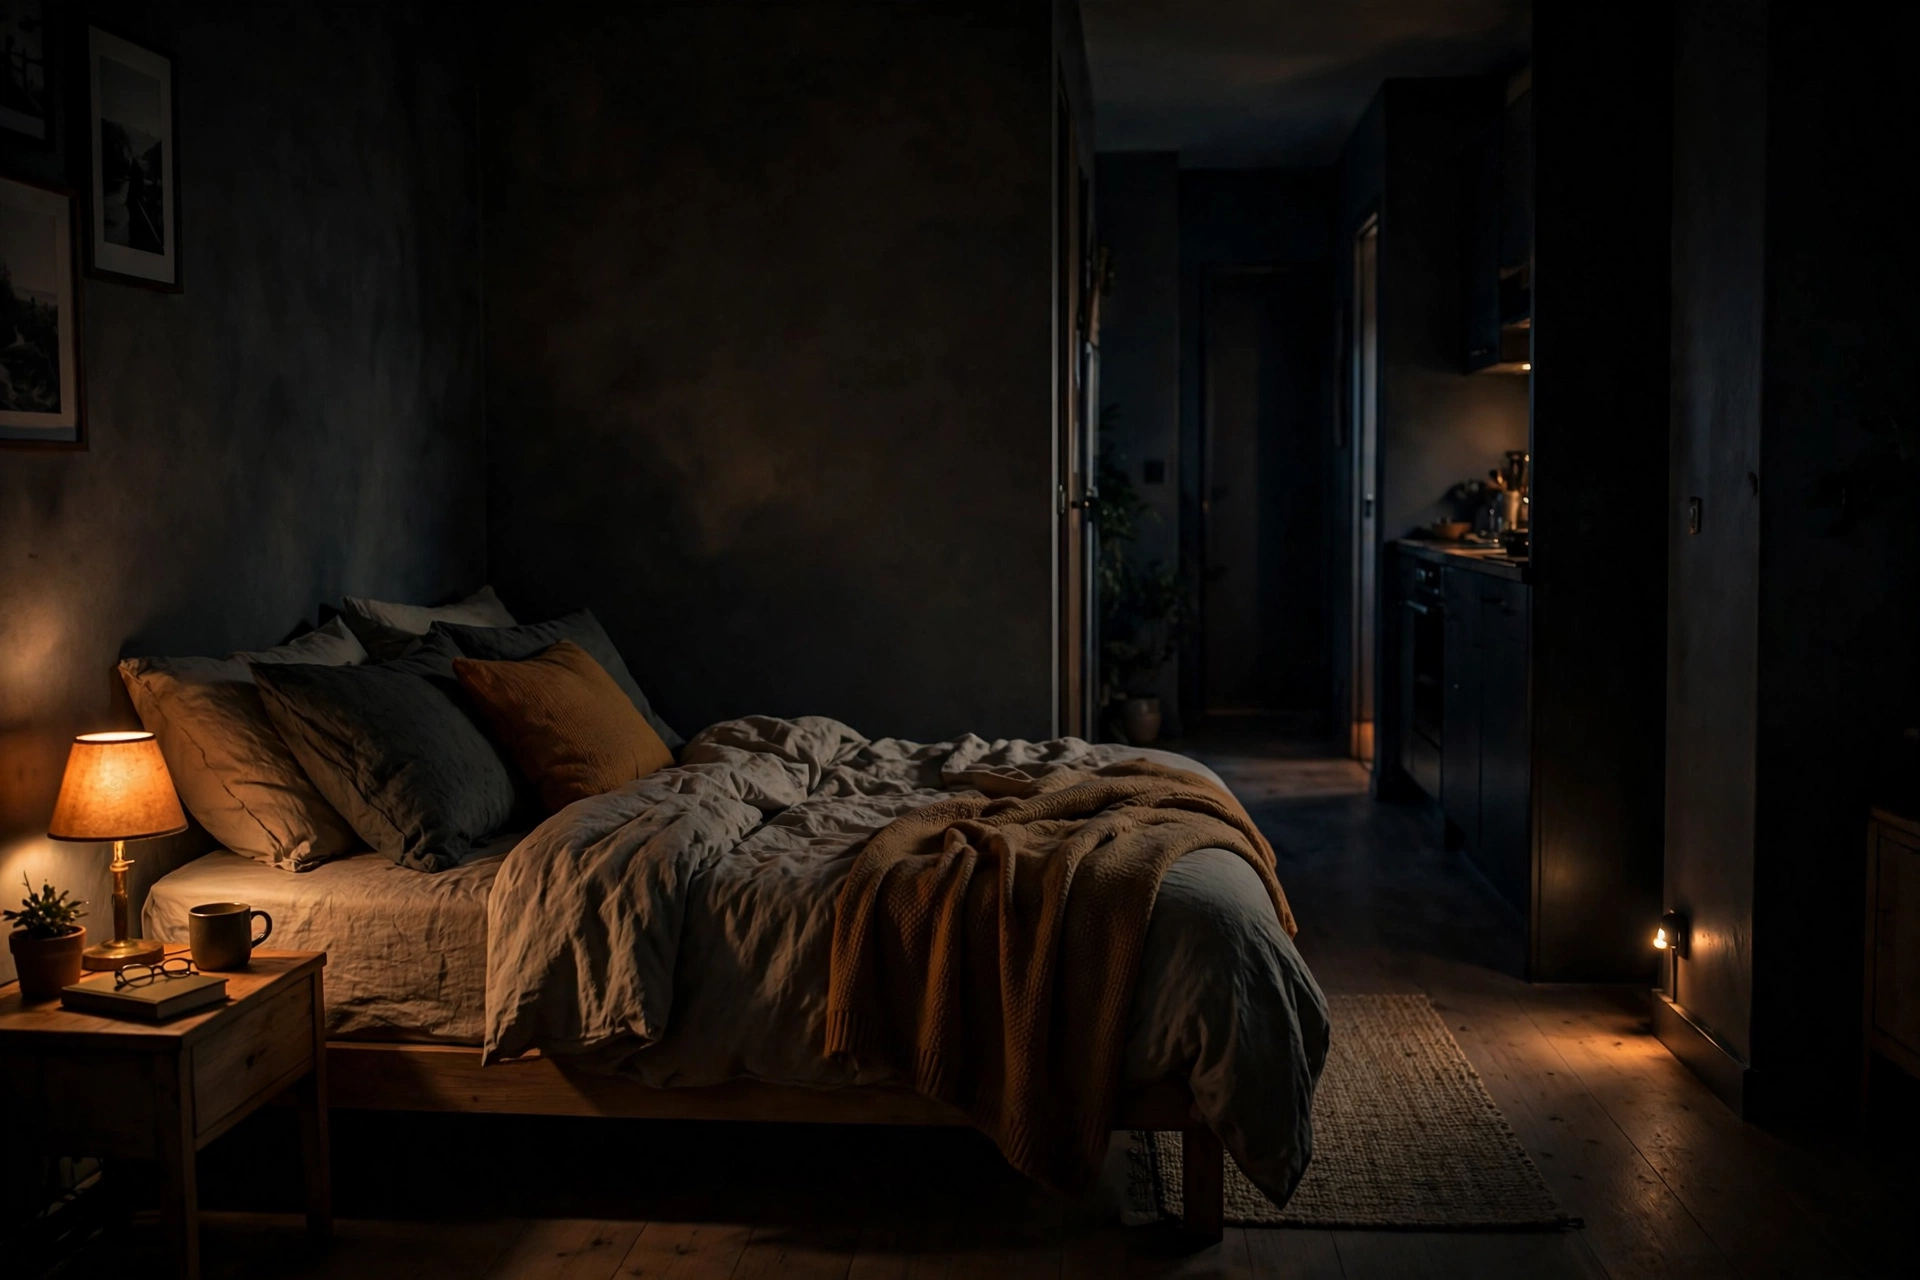
The ultimate studio lighting flex: one command — “goodnight” — that dims every lamp to off except a faint hallway glow, locks in your sunrise alarm, and arms the motion night light. A couple of smart plugs ($10–$15 each) plus any voice assistant or app routine handles it with zero rewiring. In a one-room home, walking the apartment flipping six switches every night gets old fast; automation makes small-space living feel luxurious. Pro tip: Add a 15-minute fade to the routine — lights that melt out feel far more premium than ones that snap off.
Frequently Asked Questions
How many light sources does a studio apartment need?
Plan for at least 3–5 light sources in a typical 400–600 sq ft studio: one ambient source, one or two task lights, and one or two accents. The real rule is one light source per zone — living, sleeping, dining, and entry — so each area can be lit independently. More small, warm sources always beat one big bright one.
What is the best color temperature for a studio apartment?
Warm white at 2700K is the sweet spot for living and sleeping zones — it flatters skin tones, makes small spaces feel cozy, and supports evening wind-down. Use 3000K in the kitchenette if you want slightly crisper task light, but avoid 4000K+ daylight bulbs in living areas; they read as office-harsh. When in doubt, match your studio apartment color scheme with equally warm light.
How can renters add lighting without hardwiring?
Stick to plug-in, battery-operated, and adhesive-mounted lighting: plug-in sconces and pendants, swagged fixtures, battery puck lights, LED strips, and rechargeable motion lights. Mount with adhesive strips, Command hooks, or tension rods instead of screws where your lease requires it, and hide cords with paintable covers. Everything in this guide’s renter section comes with you on moving day.
Should a studio apartment have overhead lighting?
Overhead lighting alone is the most common studio mistake — a single ceiling fixture flattens zones and casts unflattering shadows. Keep the overhead if you have one, but put it on a dimmer and treat it as background, not the star. Build the real lighting design from lamps, sconces, and strips at multiple heights; eye-level and low light is what makes a studio feel like home.
How do I light a studio apartment on a budget?
Start with the two cheapest moves: swap every bulb to warm 2700K LEDs ($10–$15 total) and add one $40 floor lamp to the darkest corner. Then layer in $10–$25 wins — fairy lights, puck lights, plug-in dimmers, LED strips — one per paycheck. A fully layered studio lighting setup is very achievable for $200–$300 total, spread over time.
Can smart lighting work in a rental?
Absolutely — smart bulbs and smart plugs need no wiring changes at all. Screw a smart bulb into any existing lamp, plug a smart plug into any outlet, and you get scenes, schedules, and voice control with zero landlord approval. Everything unscrews and unplugs on moving day, so your investment travels with you.
Final Thoughts
Great studio lighting isn’t about buying the most expensive fixtures — it’s about distributing warm, layered light so every corner earns its keep. Start with the 3-layer rule, give each zone its own source, swap to 2700K bulbs, and hide the cords. Those four moves alone will transform how your studio feels at 8pm, which is when you actually live in it.
Pick three ideas from this list to try this weekend — a corner floor lamp, under-cabinet strips, and plug-in dimmers are a perfect starter trio — and watch your studio shift from flat and fluorescent to warm and intentional. Your one room does everything; now its lighting can too.