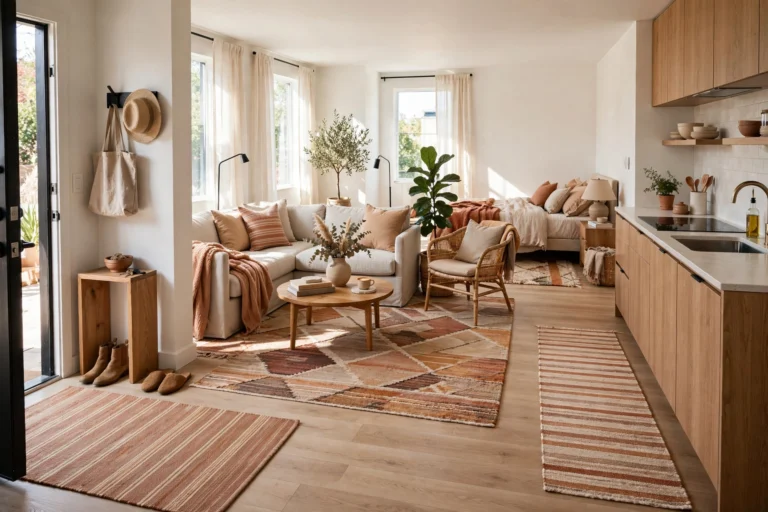
30 Small Studio Apartment Kitchen Ideas That Maximize Every Inch
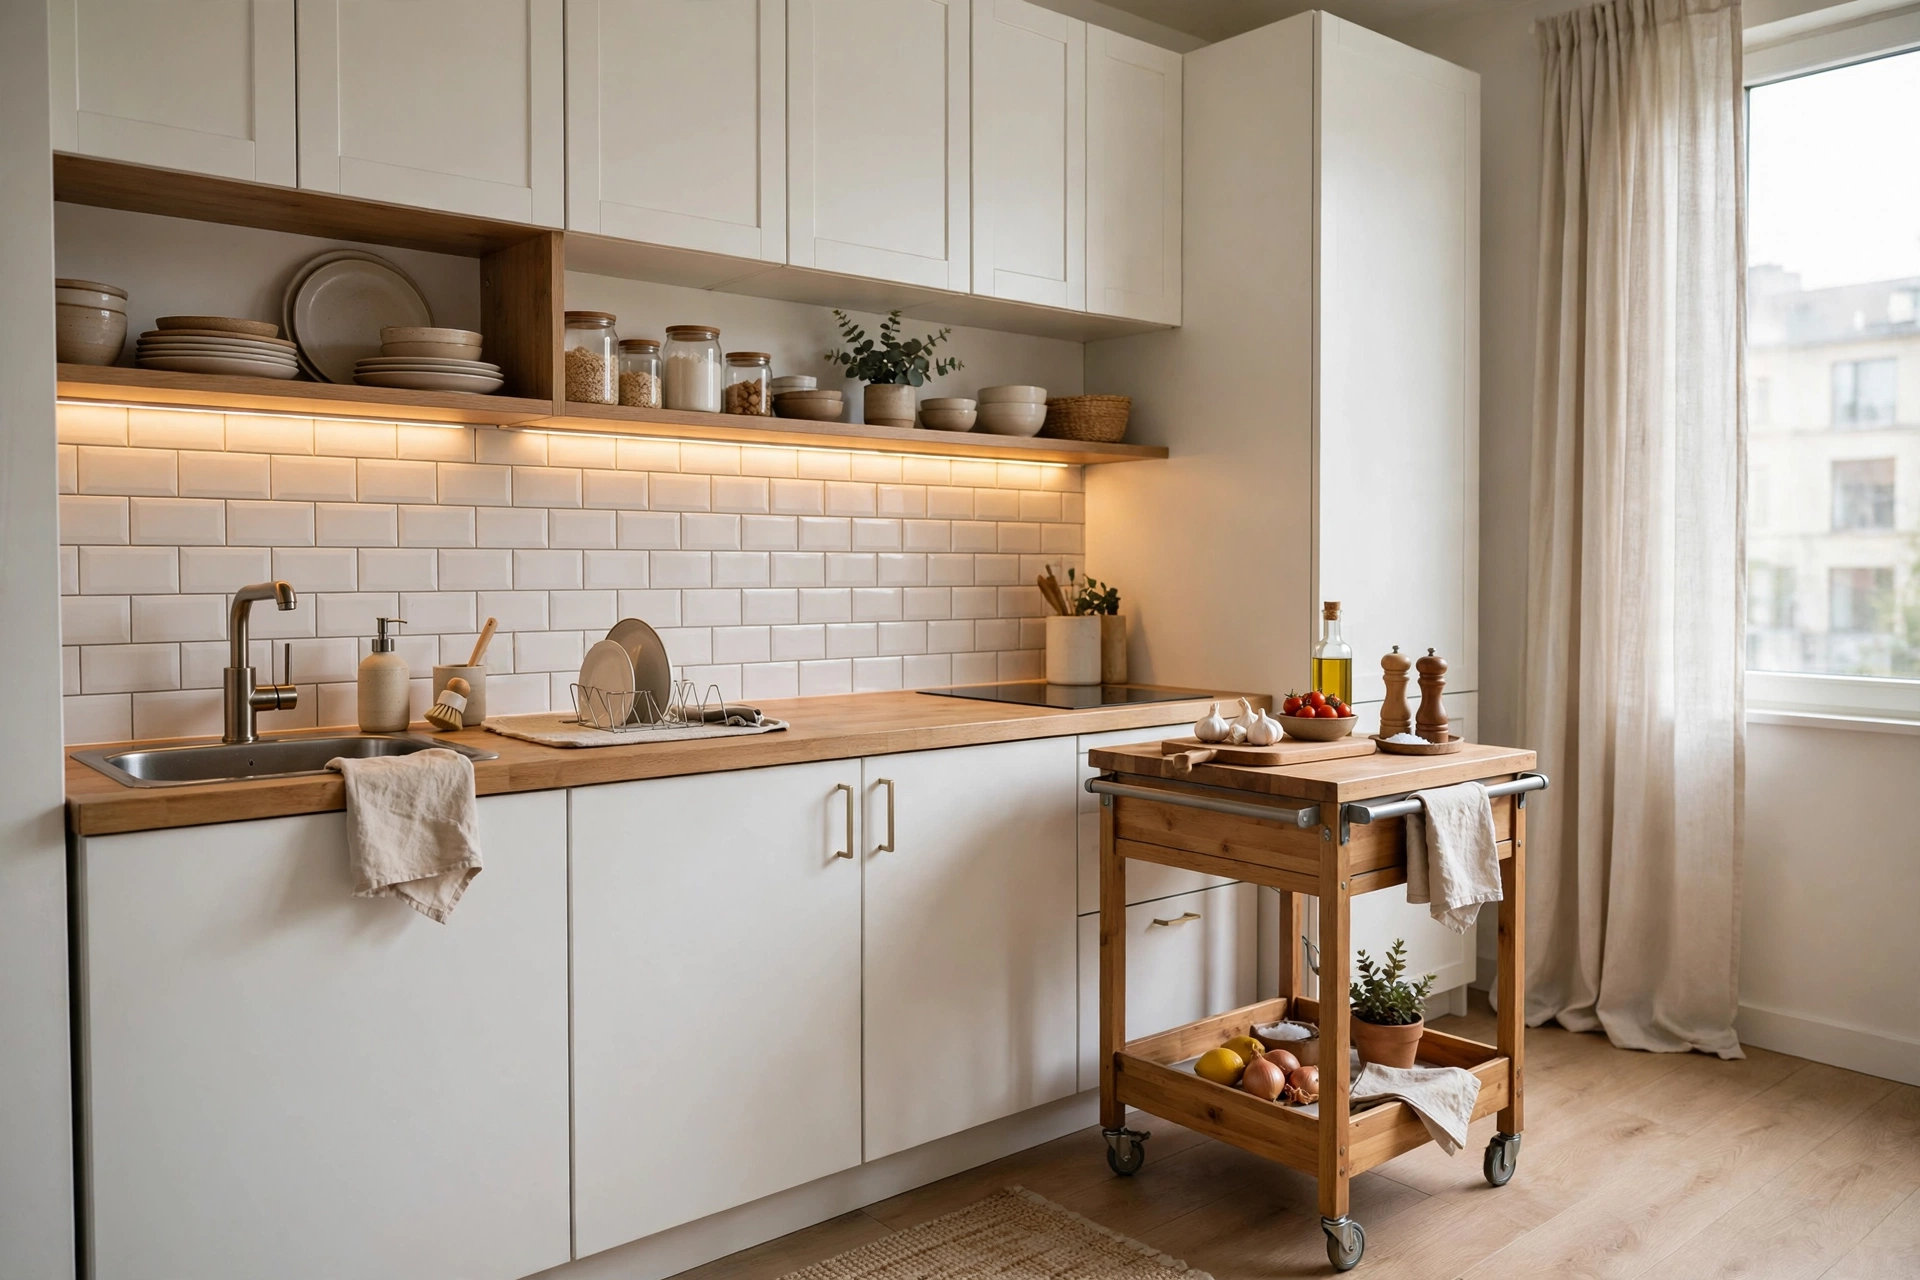
In a studio apartment, the kitchen is usually the smallest “room” in the house — and the hardest-working. It’s where you cook, eat, store half your belongings, and somehow keep it all looking calm while the living room sits ten feet away with a full view of your dirty dishes. A studio kitchen can’t hide behind a closed door, so every inch has to earn its keep.
This guide covers 30 small studio apartment kitchen ideas that maximize every inch: layout tricks that make a galley feel generous, vertical storage that goes up instead of out, compact appliances that actually cook, countertop strategies for near-zero counter space, and ventilation tips that keep cooking smells from taking over your whole apartment. Every idea includes realistic prices and a pro tip so you can start this weekend.
Layout & Workflow
1. Respect the Galley Triangle
Even a 6-foot galley kitchen has a work triangle — sink, stove, fridge — and keeping the path between them clear is the single biggest efficiency win. Don’t park the trash can, the dish rack, or a stool in that lane. In a one-wall kitchen, arrange the sequence as fridge → prep counter → sink → stove so you move in one direction without backtracking. This costs nothing and saves hundreds of frustrated steps a week. Pro tip: stand in your kitchen and mime cooking a full meal — wherever you bump into something is where your triangle is broken.
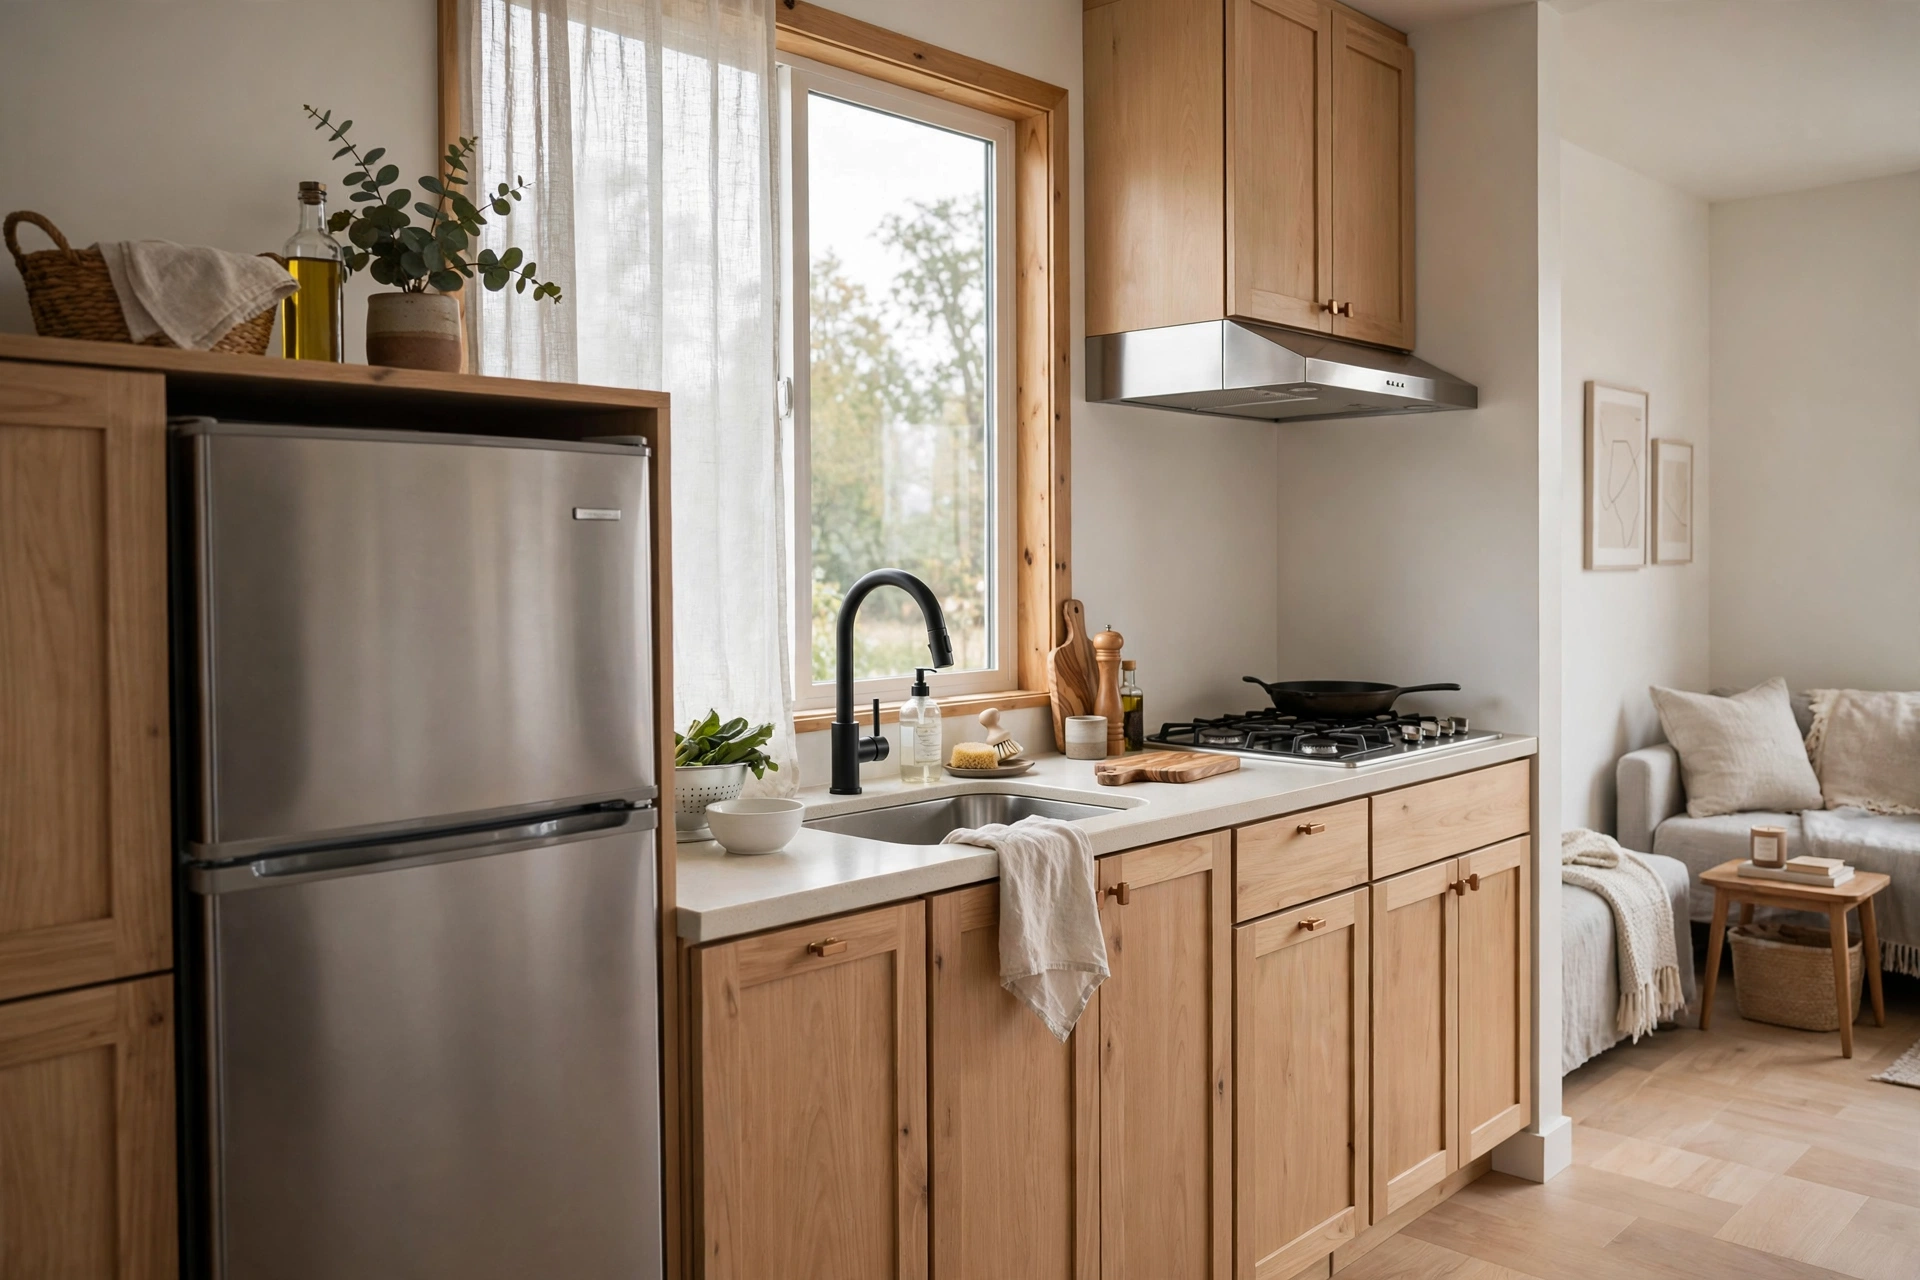
2. Add a Rolling Cart as a Movable Island
A rolling kitchen cart is the studio cook’s secret weapon: extra counter space when you need it, extra storage always, and it rolls against the wall when dinner’s done. Look for one with a butcher-block top (for chopping), open shelves below, and locking casters — IKEA’s RIMFORSA and BEKVÄM carts run $60–$130, and narrow 15-inch-wide versions fit even the tightest galleys. Pro tip: park the cart perpendicular to your counter to create a temporary L-shape while cooking, then roll it back — you get island workflow without permanent floor space.
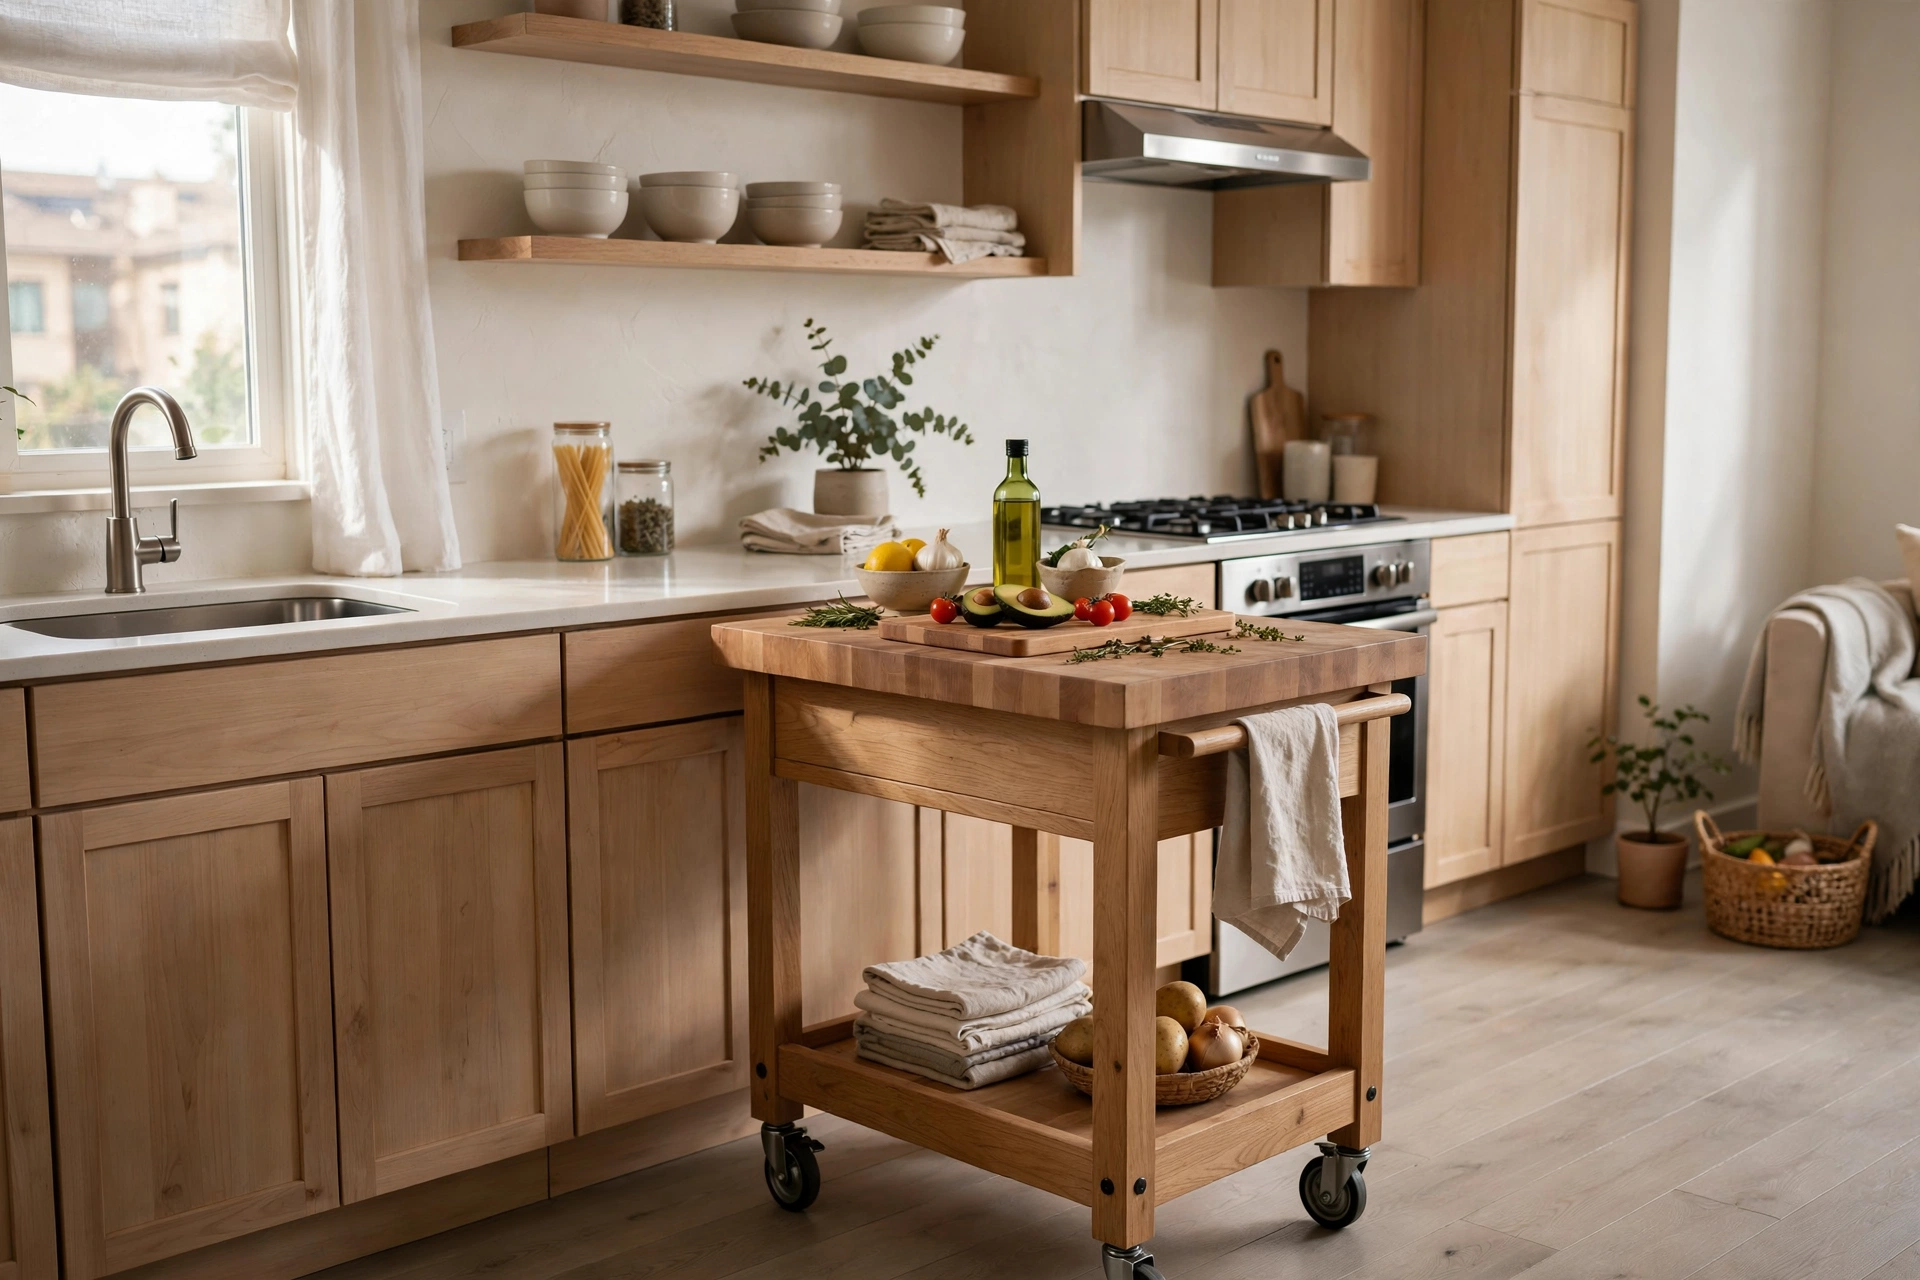
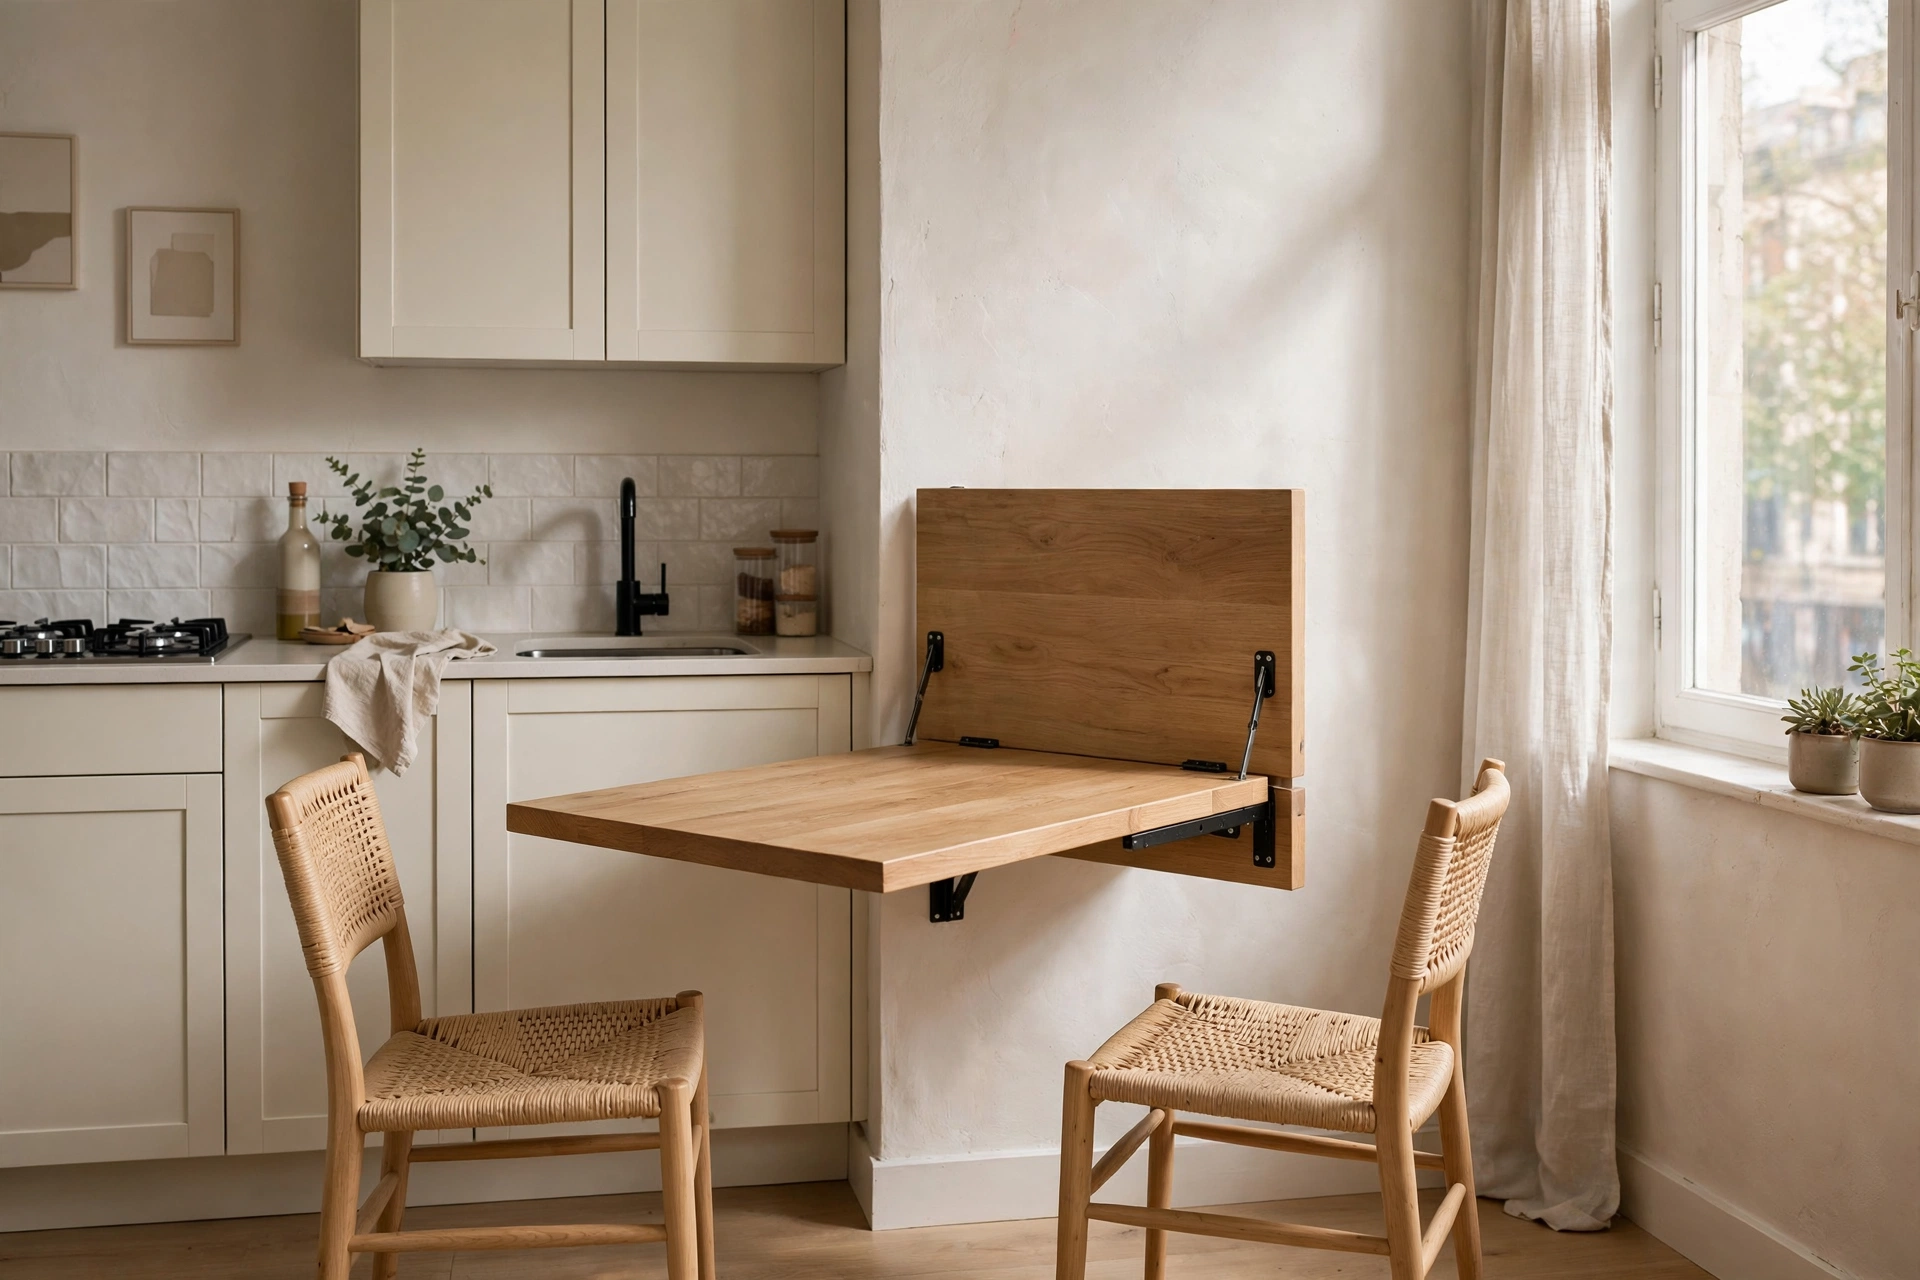
3. Mount a Fold-Down Table on the Wall
When there’s no room for a dining table, a wall-mounted drop-leaf table gives you a real eating and prep surface that disappears flat against the wall. IKEA’s BJURSTA wall-mounted drop-leaf ($79) or NORBERG ($49) seats two when up and takes zero floor space when down — perfect for studios where the “dining room” is also the hallway. Pro tip: mount it at standard table height (29–30 inches) near an outlet so it doubles as a laptop or coffee station, not just a meal spot.
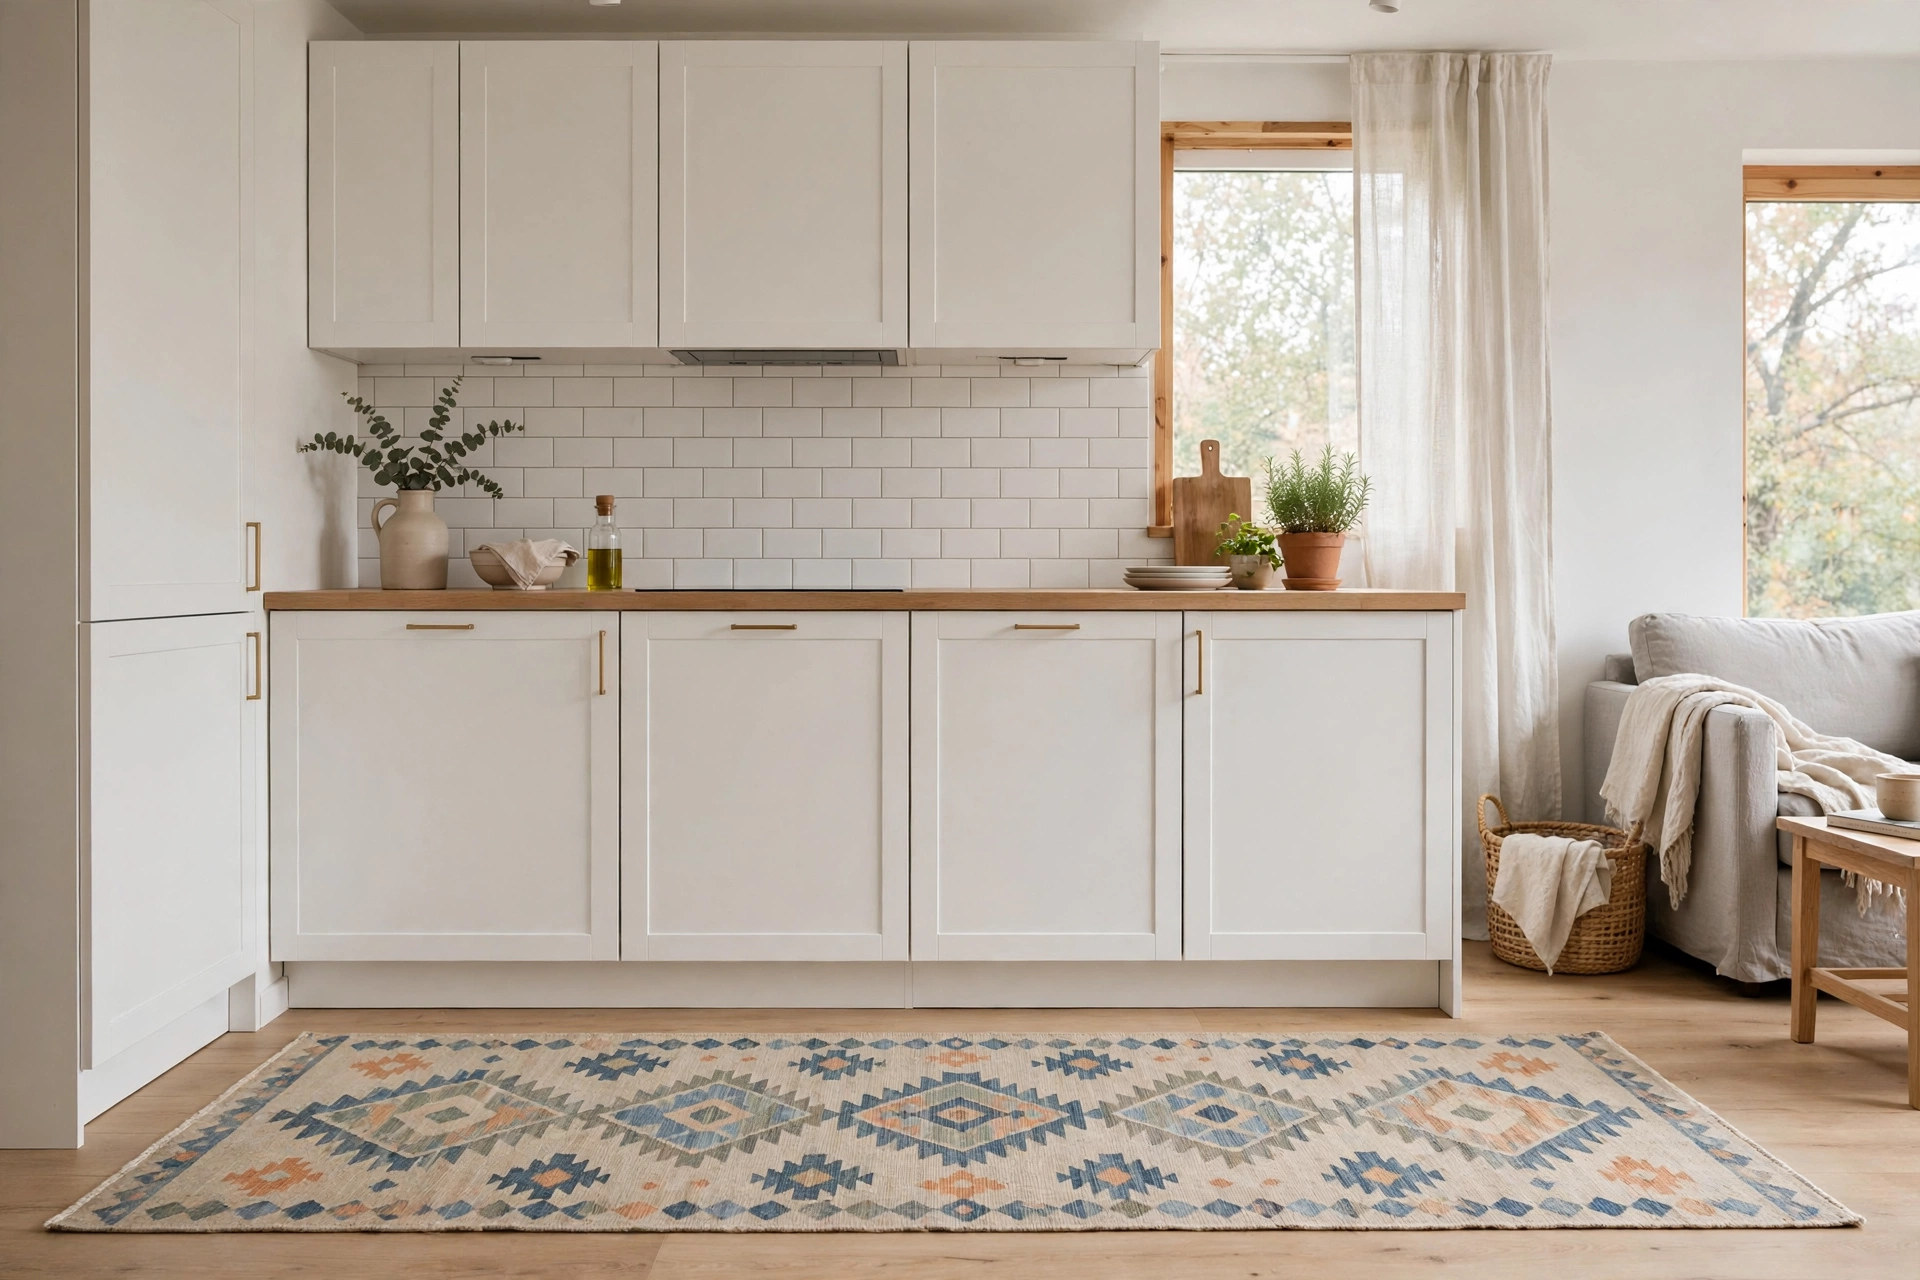
4. Define the Kitchen with a Washable Runner
In an open-plan studio, the kitchen bleeds into the living area — a washable runner draws the line. It cushions your feet during long cooking sessions, catches spills before they hit the main floor, and goes straight in the washing machine when it gets grimy. A 2.5×7 washable runner runs $60–$150, and a busy pattern hides everything between washes. This is the same zone-defining trick behind our studio apartment rug ideas — one rug per zone, kitchen included. Pro tip: choose a low-pile runner so the rolling cart from idea 2 glides over it without catching.
Vertical Storage That Goes Up, Not Out
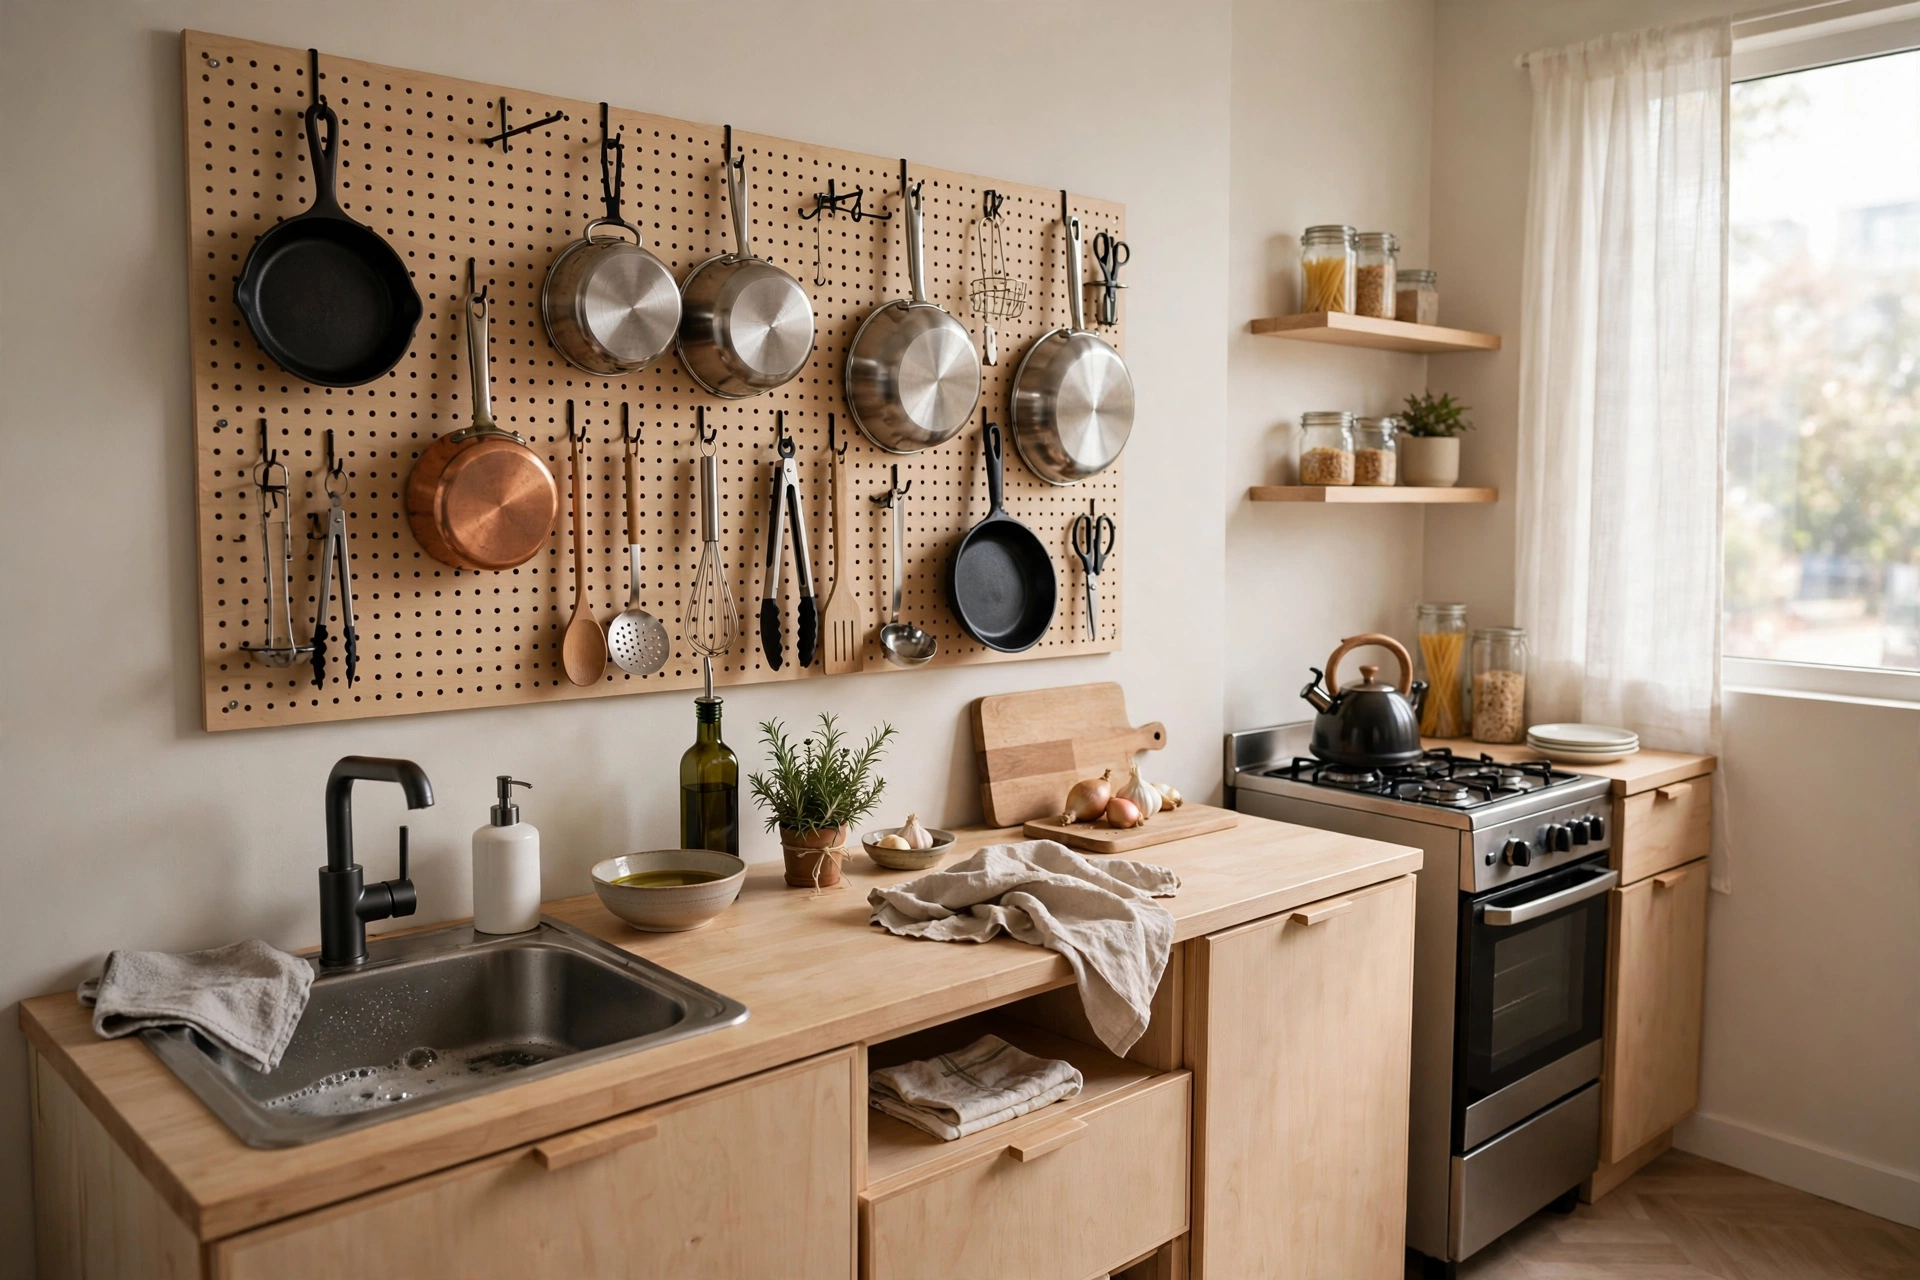
5. Hang a Pegboard for Pots and Utensils
Wall space is free real estate in a studio kitchen. A pegboard panel ($20–$40 from IKEA SKÅDIS or a hardware store) with hooks holds pots, pans, measuring cups, and utensils that would otherwise eat two cabinets — and everything stays visible so you actually use it. Mount it on the wall beside the stove or on the inside of a pantry door. Pro tip: trace each tool’s outline on the pegboard with a marker — it looks intentional, and you’ll instantly notice when something’s missing.
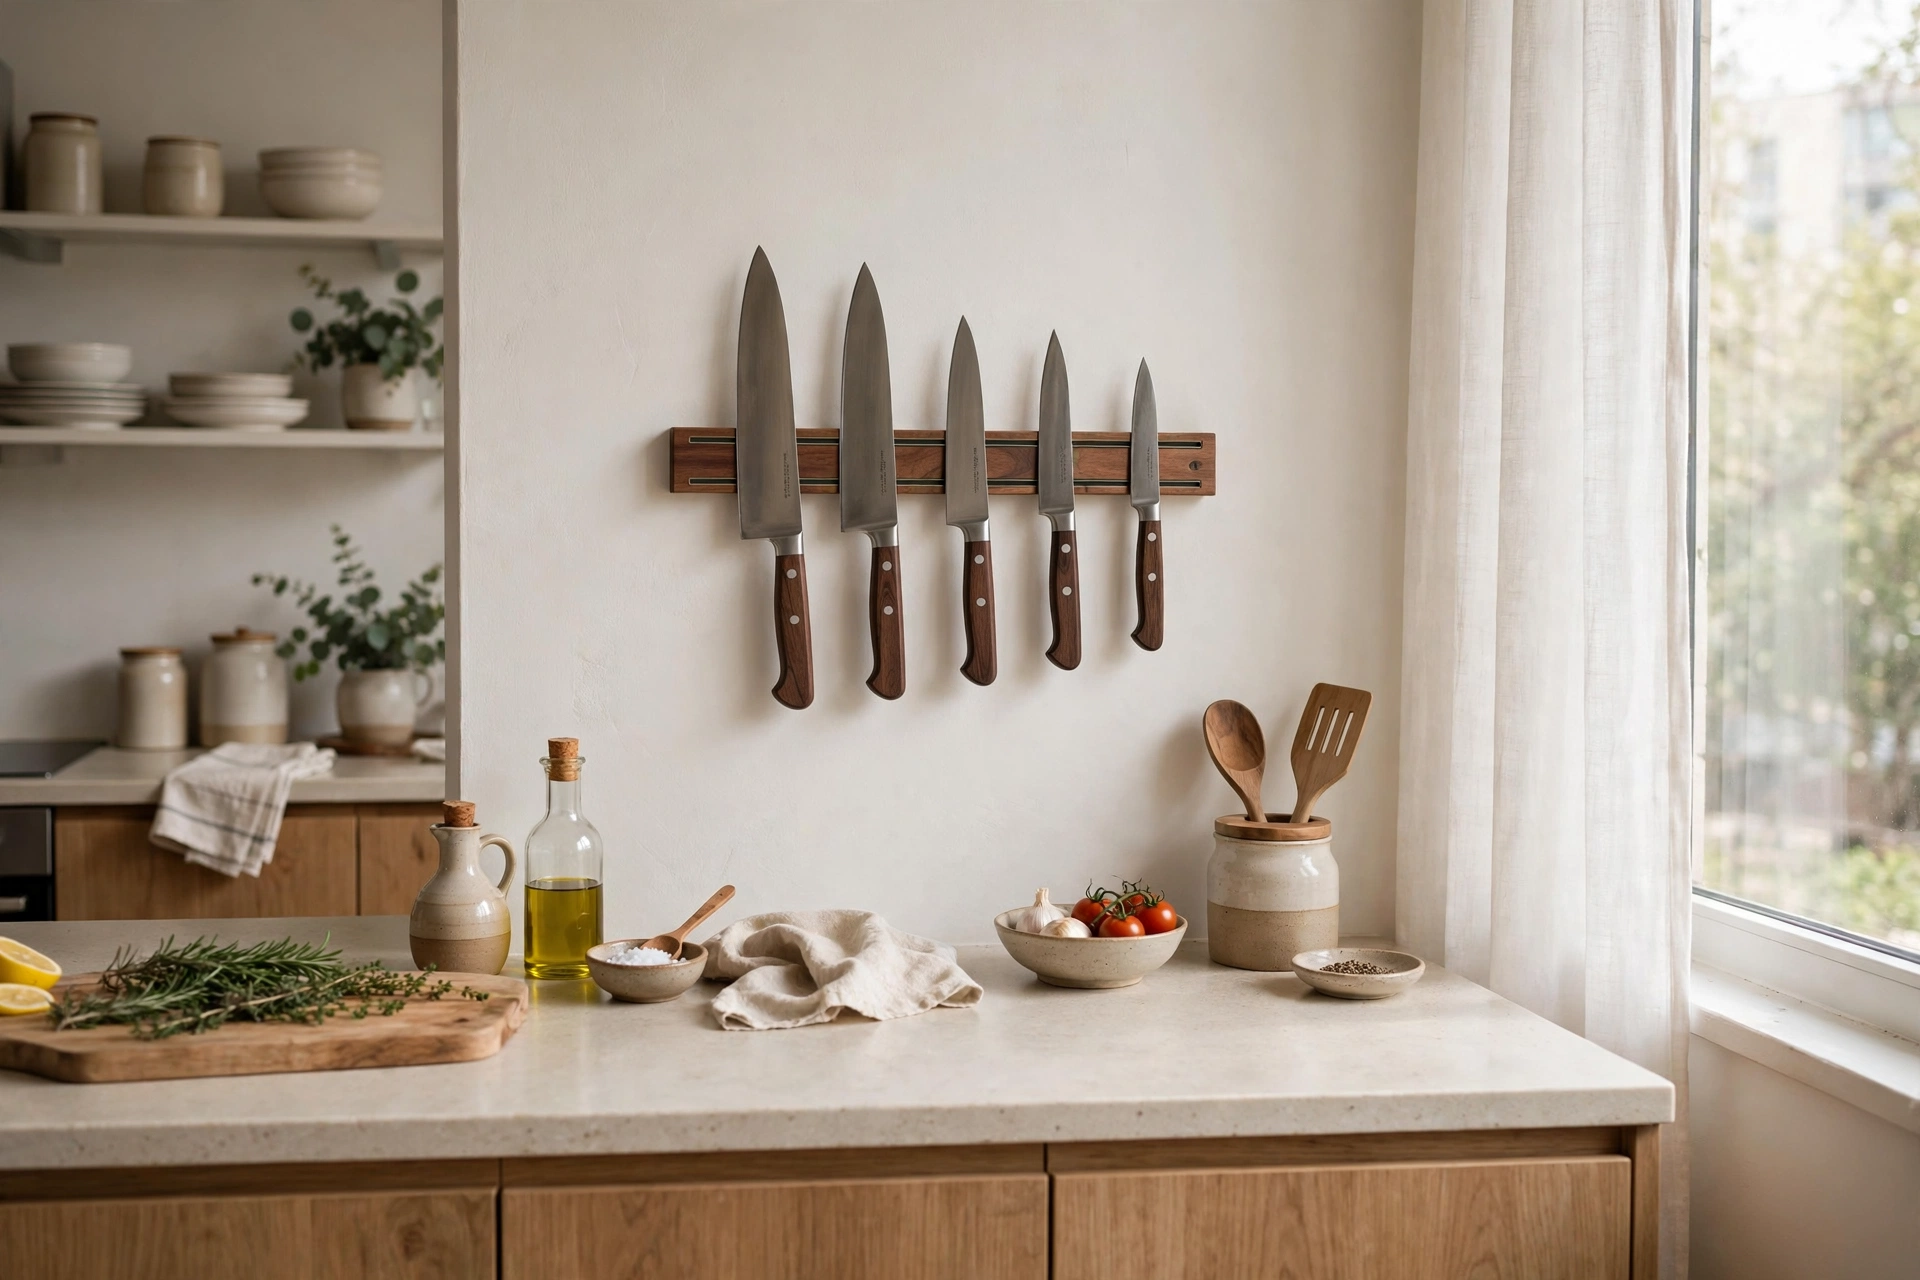
6. Stick a Magnetic Knife Strip on the Wall
A knife block eats a full square foot of precious counter — a magnetic wall strip holds the same knives in zero counter space and keeps blades sharper (no rattling around in a drawer). A 16-inch beechwood magnetic strip costs $15–$30 and mounts with two screws or heavy-duty adhesive for renters. Pro tip: mount it at eye level near your main prep spot, and keep the strip for knives only — overloading it with scissors and peelers looks cluttered and weakens the magnetic hold.
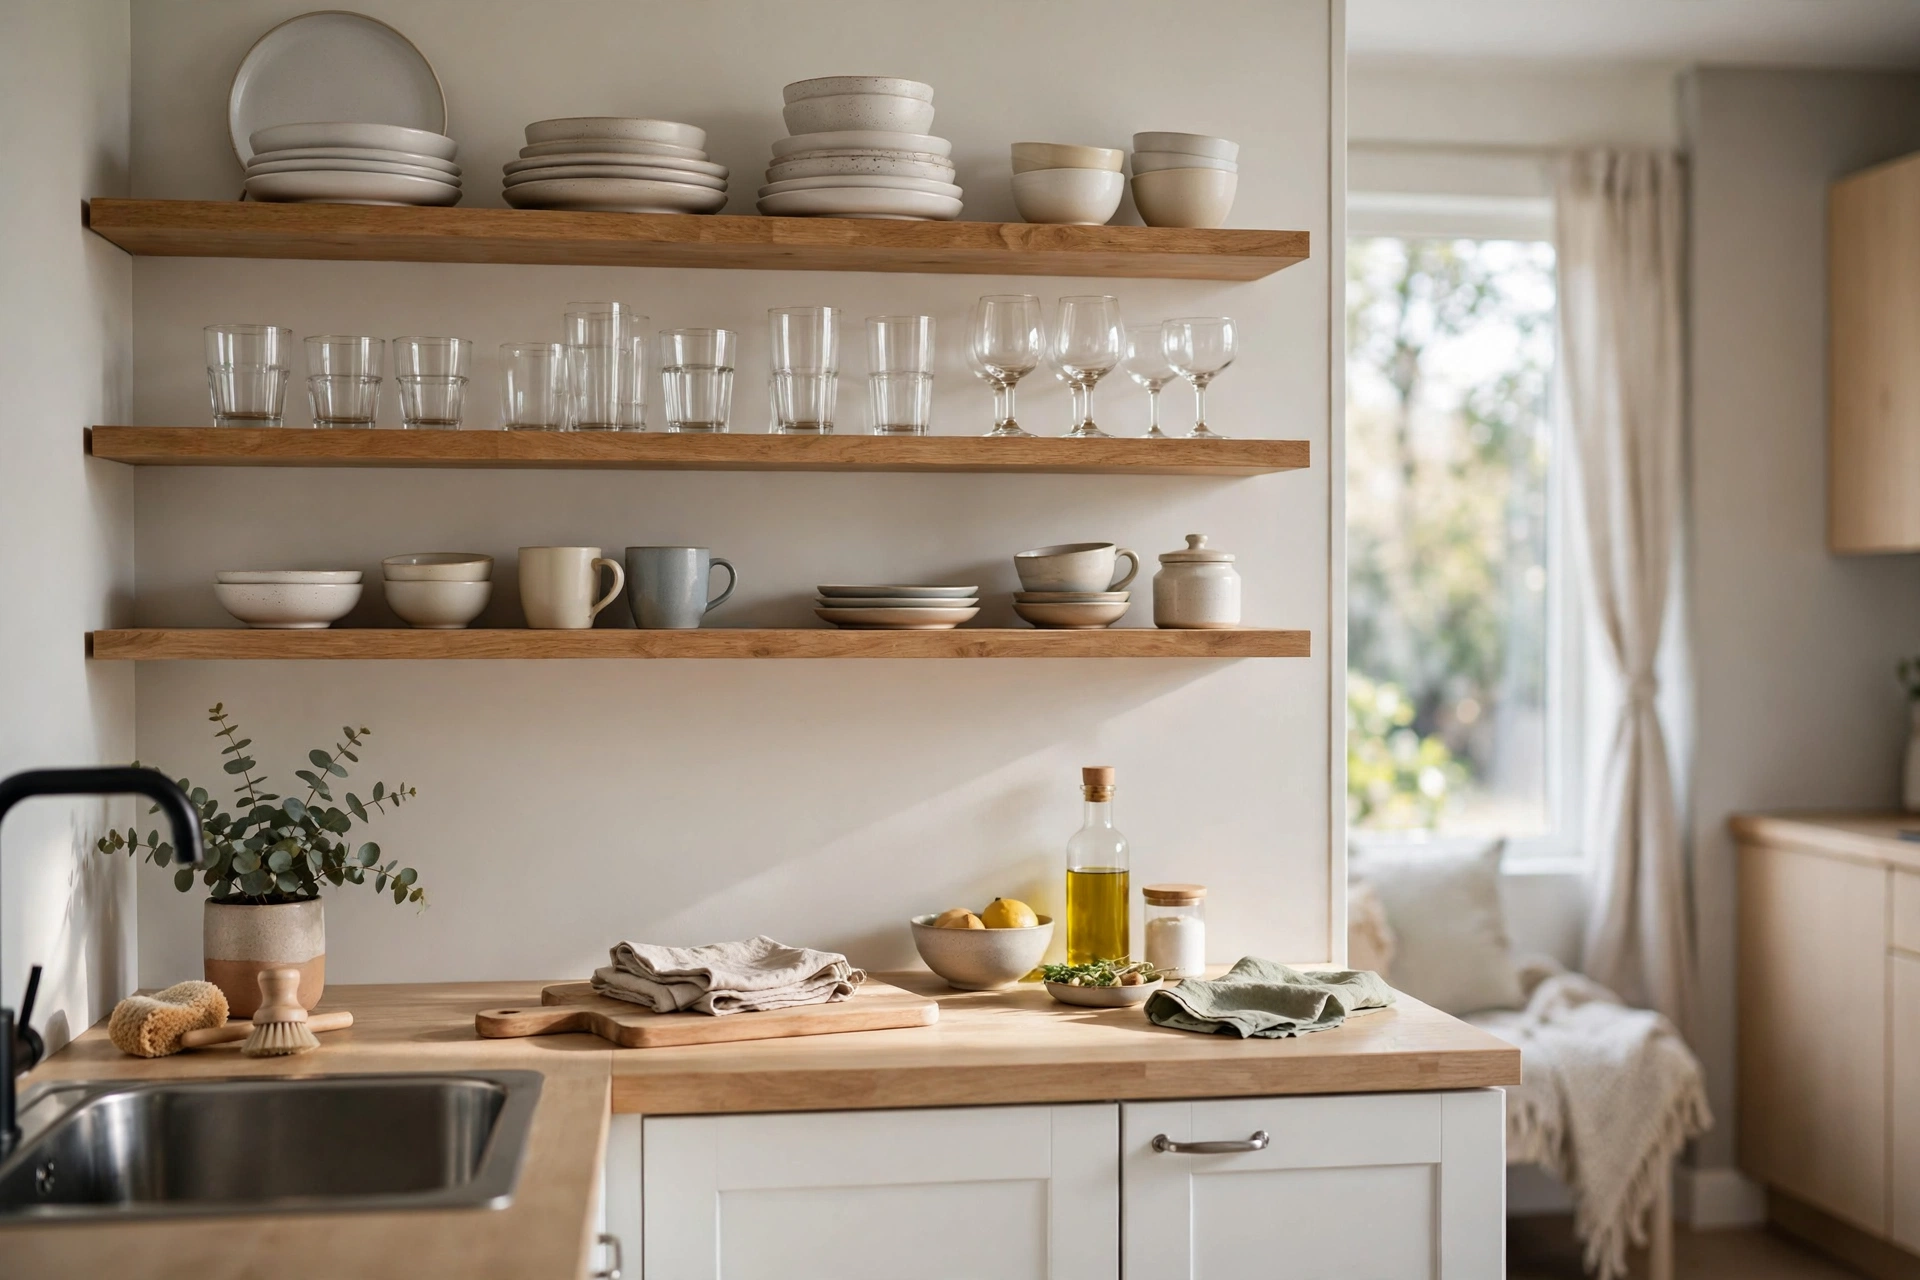
7. Swap Upper Cabinets for Open Floating Shelves
If your studio kitchen feels like a cave, replacing one run of upper cabinets with open floating shelves instantly adds air and light — and forces you to keep only the dishes you actually love. Two 36-inch solid-wood shelves with brackets run $40–$80 total. Style them with everyday dishes, glasses, and one or two pretty objects; hide the ugly stuff below. Pro tip: open shelves need a weekly 30-second wipe in a kitchen (grease dust is real) — keep a microfiber cloth in the nearest drawer so it actually happens.
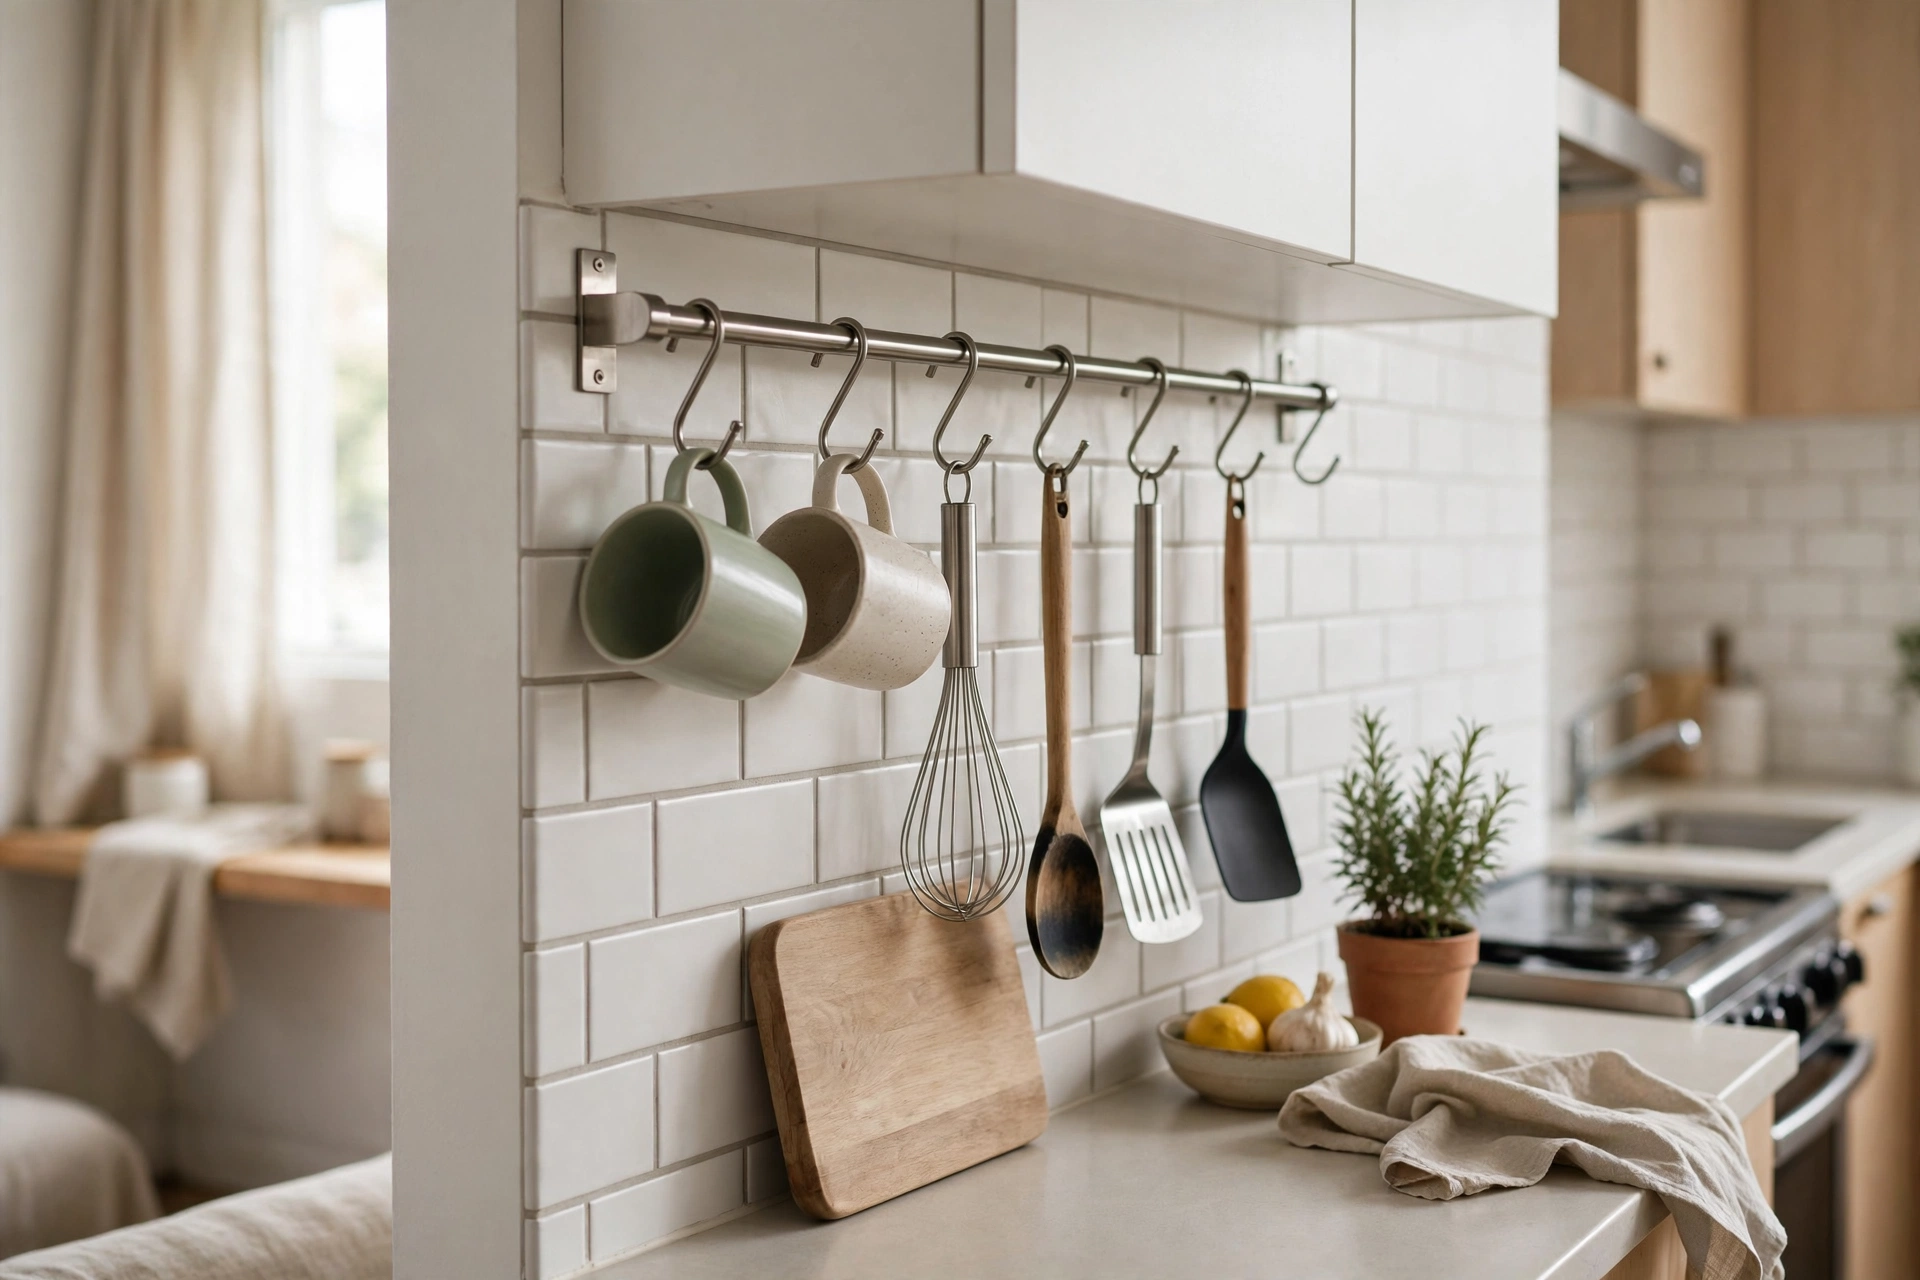
8. Run a Kitchen Rail with S-Hooks
An IKEA KUNGSFORS-style wall rail ($10–$20) with S-hooks turns any blank backsplash stretch into hanging storage for mugs, spatulas, small baskets, and even a paper-towel holder. It’s renter-friendly (two small screws or adhesive mounts), endlessly reconfigurable, and keeps daily tools at arm’s reach instead of buried in drawers. Pro tip: group by task — cooking tools near the stove, mugs near the coffee maker — so the rail works like a visual workflow map.
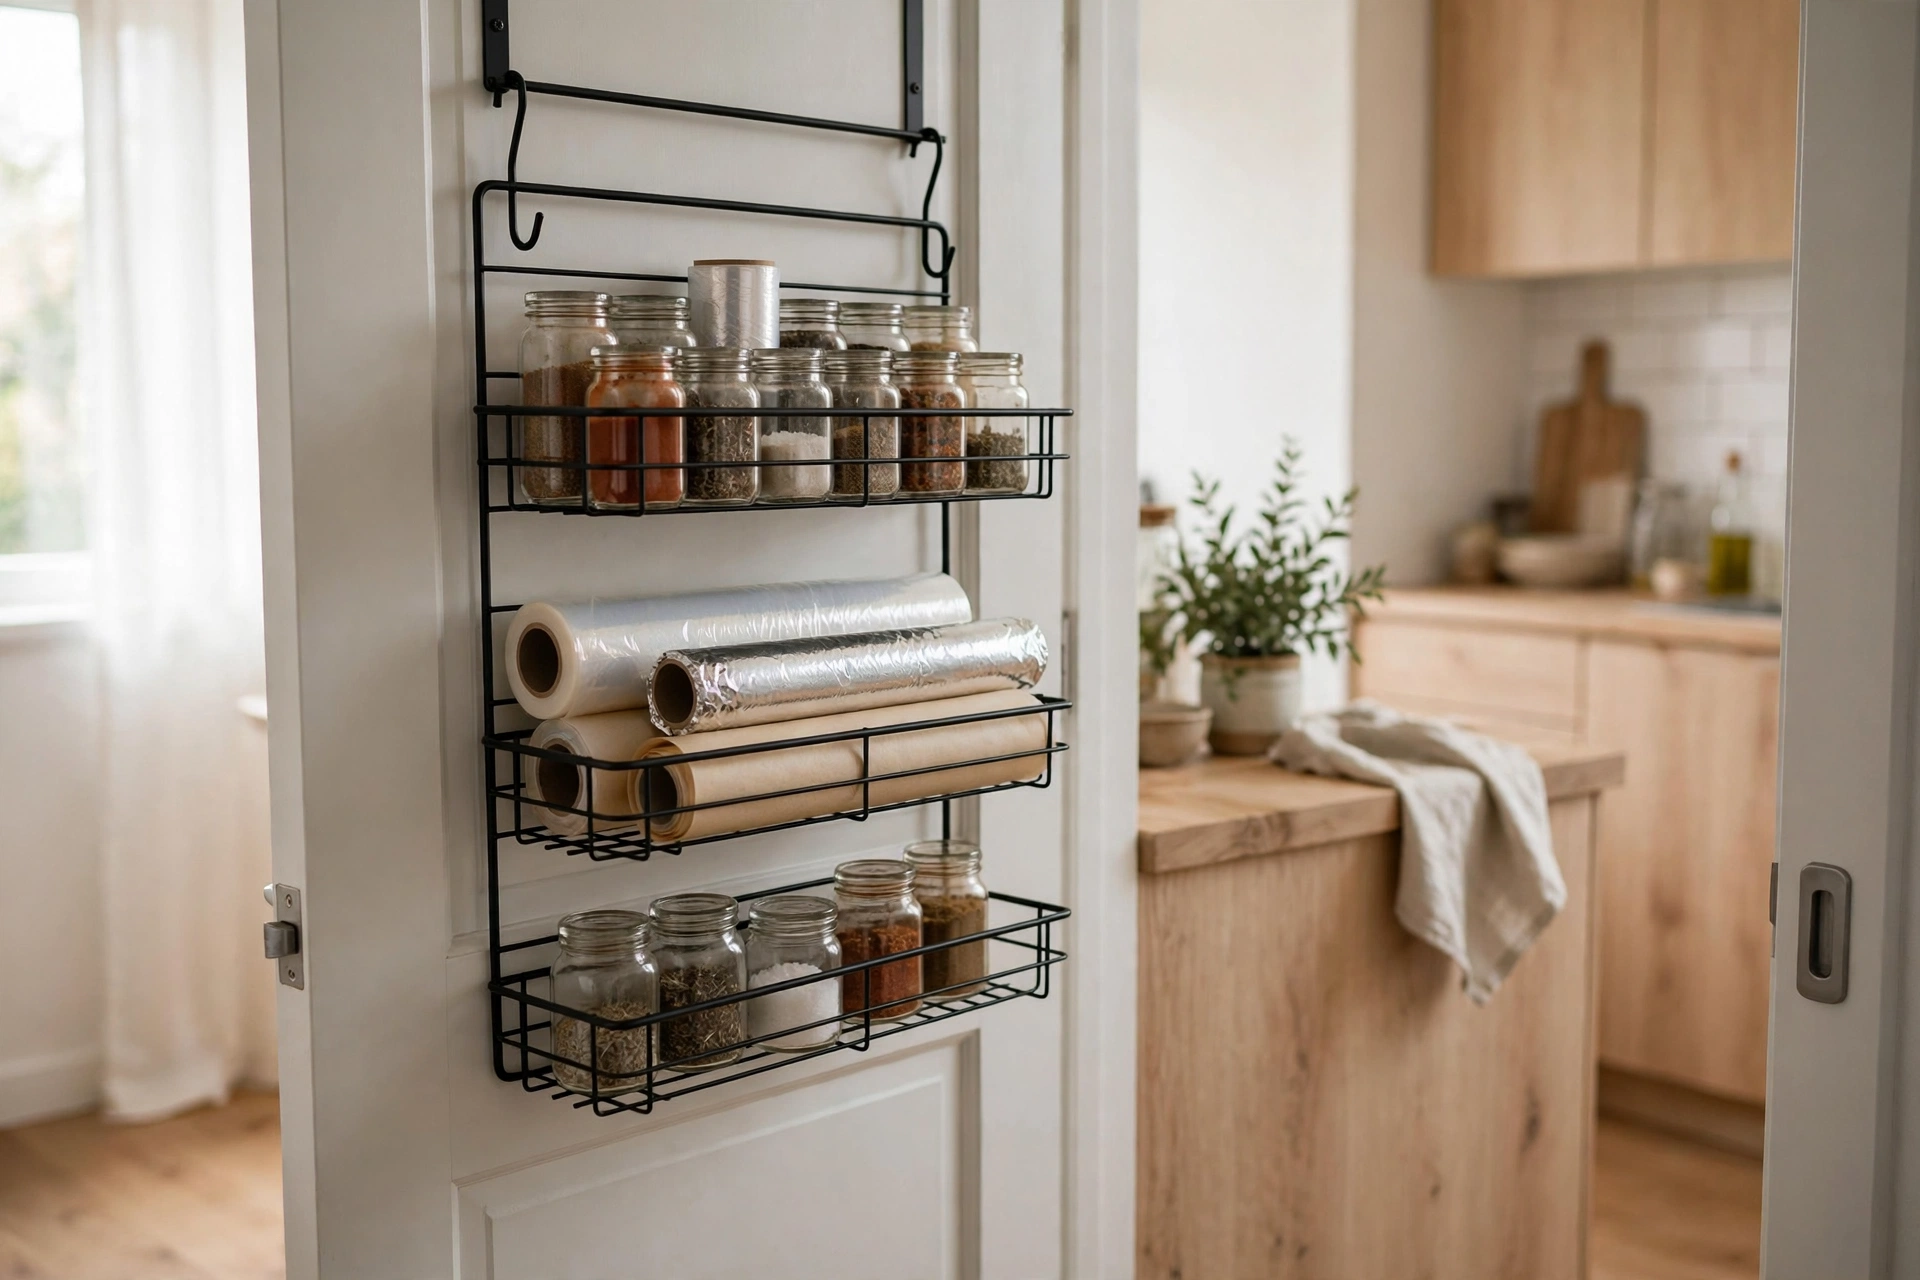
9. Claim the Back of the Pantry Door
The inside of a pantry or cabinet door is a full extra shelf hiding in plain sight. Over-the-door wire racks ($15–$30) hold spices, wraps, foil, and small bottles; adhesive-mounted mini shelves work for lighter loads. In a studio where every cabinet is double-booked, door storage can free an entire shelf for bigger items. Pro tip: measure the door’s clearance before buying — the rack must clear the cabinet frame when the door closes, so slim 3-inch-deep organizers beat chunky ones.
Compact Appliances That Earn Their Footprint
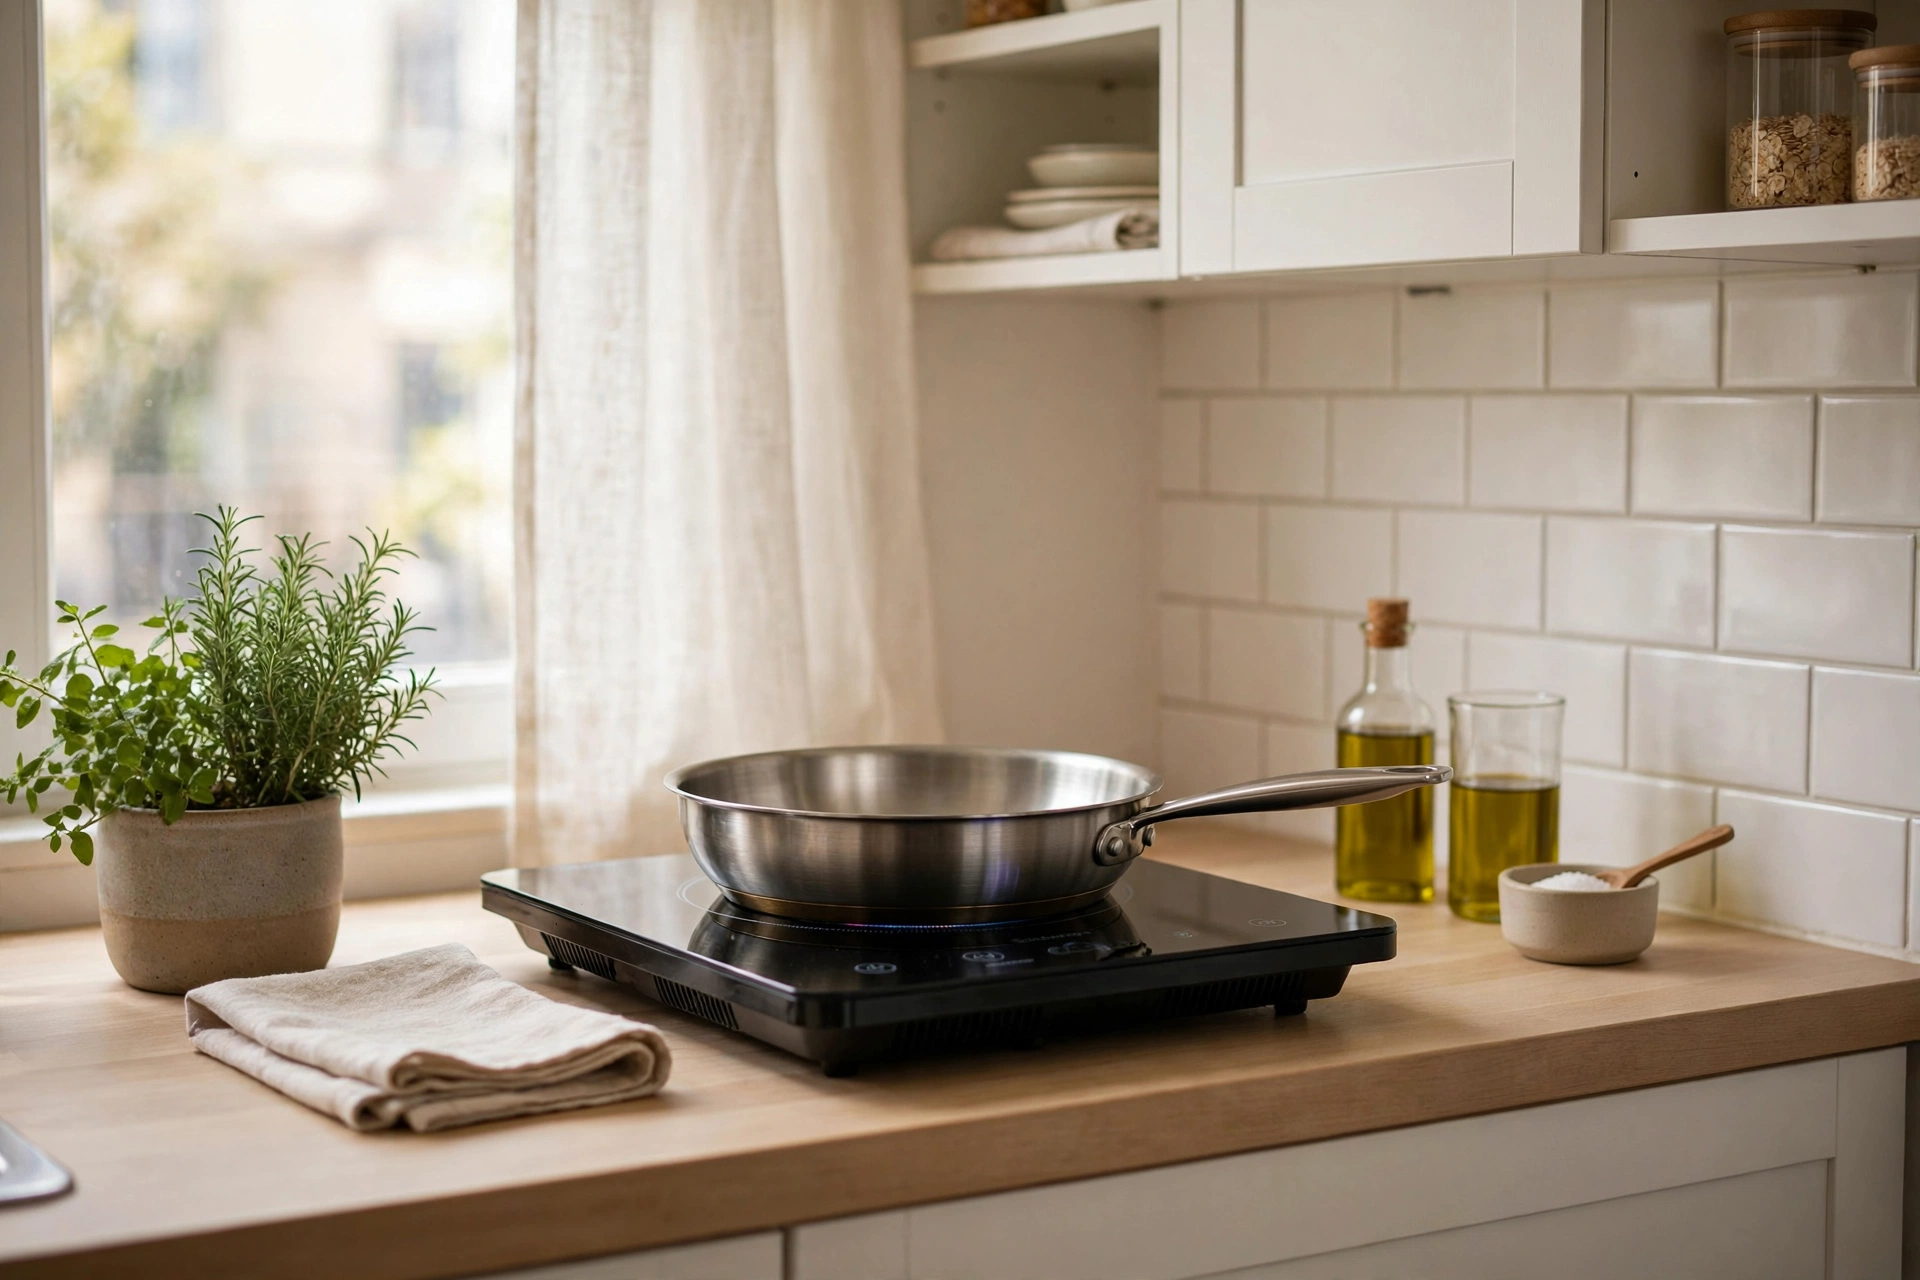
10. Cook on a Portable Induction Burner
No full stove — or a stove you don’t trust? A portable induction burner ($60–$120) boils water faster than gas, stays cool to the touch, and stores in a drawer when you’re done. It’s the perfect primary or backup cooktop for studios with a two-burner apartment range or no range at all — just pair it with one induction-compatible pan. Pro tip: induction needs magnetic cookware (cast iron or stainless) — test your pans with a fridge magnet before buying the burner.
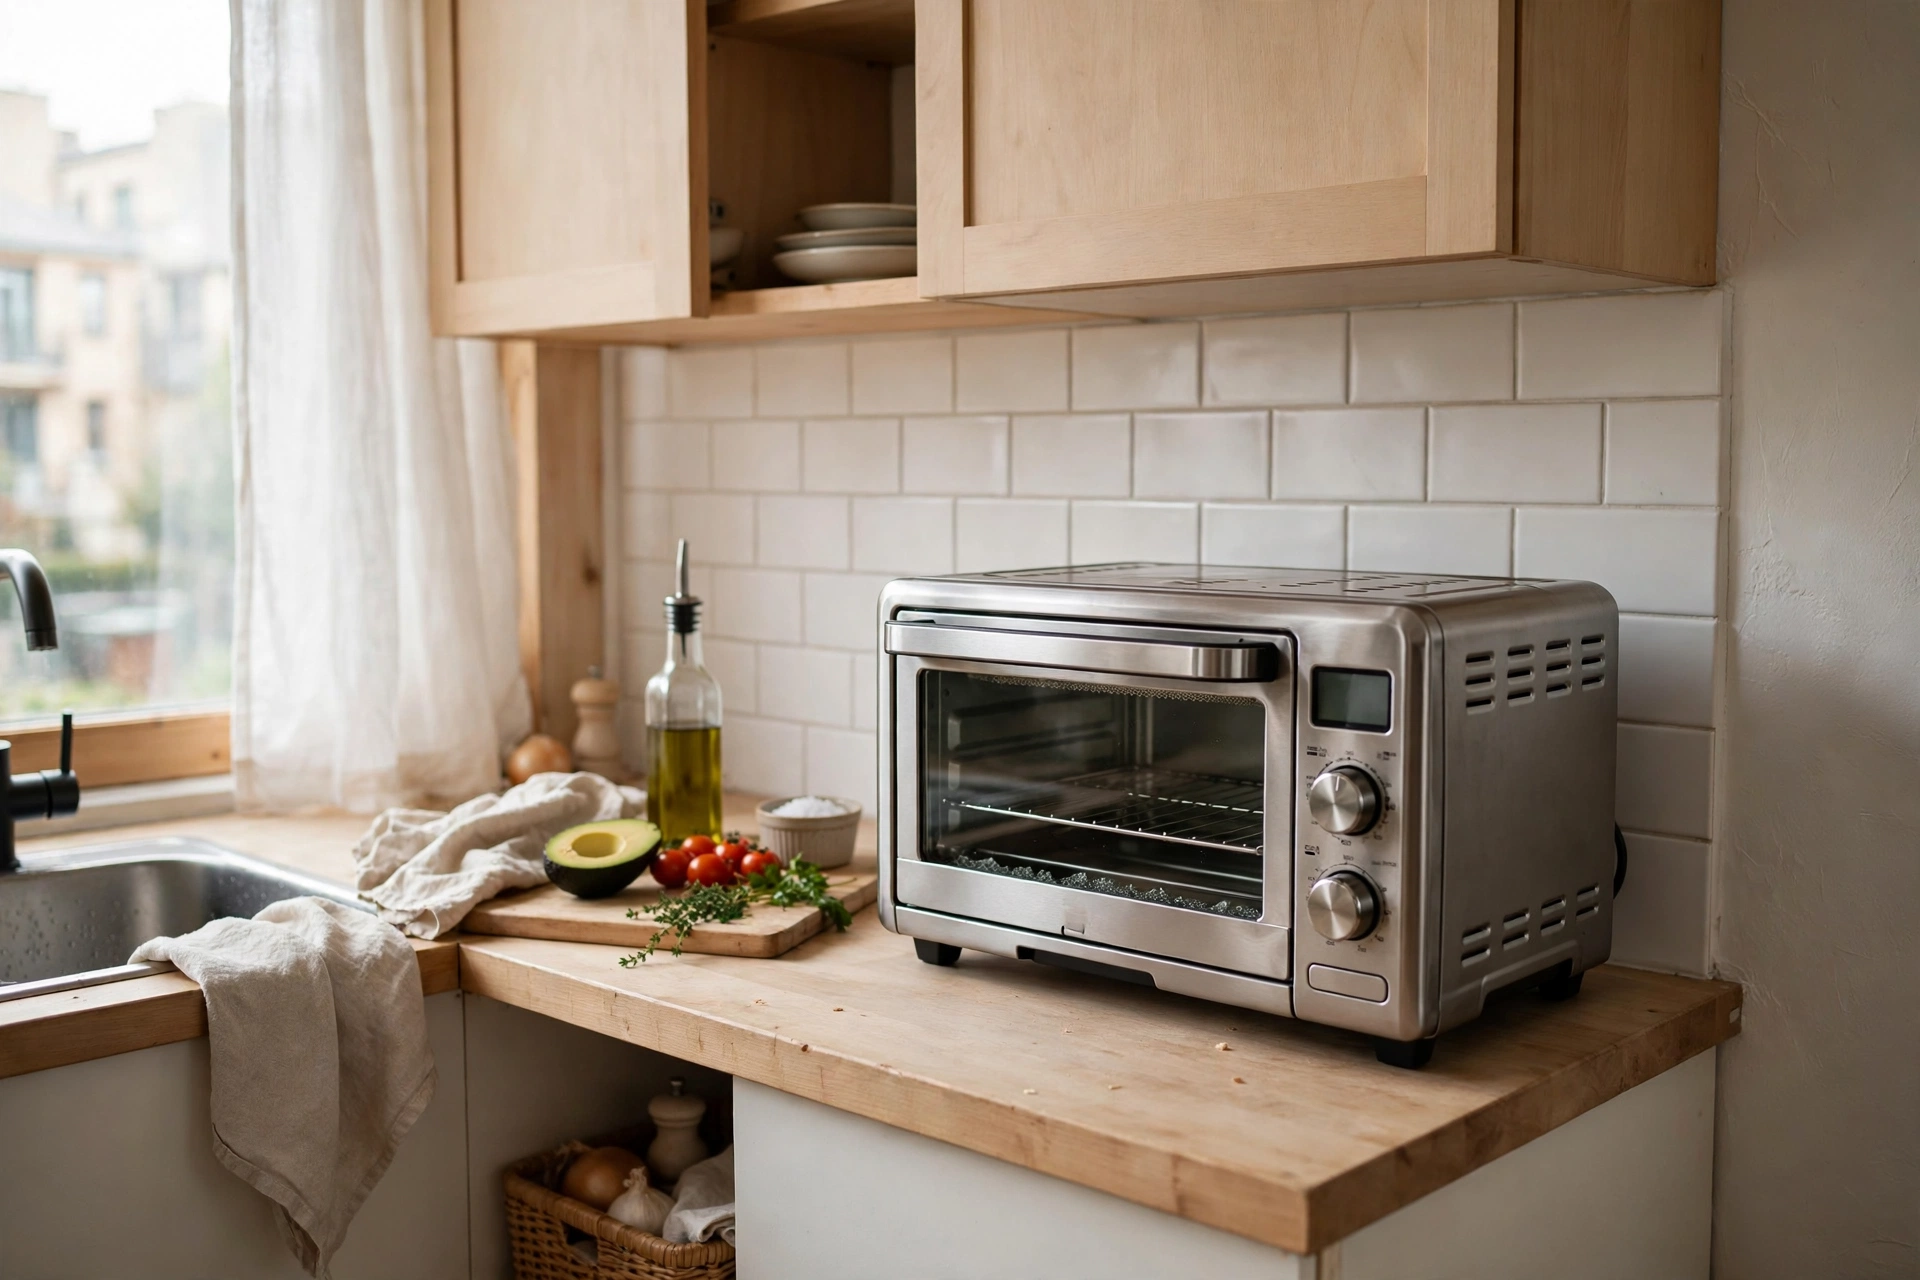
11. Let a Good Toaster Oven Replace the Range
A large-capacity toaster oven ($120–$250 for Breville or Ninja models) bakes, broils, air-fries, and reheats — covering 90% of what a full oven does while using a fraction of the energy and space. For a studio cook, it preheats in minutes and doesn’t heat the whole apartment in summer. Keep it on the counter as your primary oven and treat the range (if you even have one) as backup. Pro tip: measure your counter depth before buying — the best models are 16–18 inches deep; anything deeper overhangs standard 24-inch counters awkwardly.
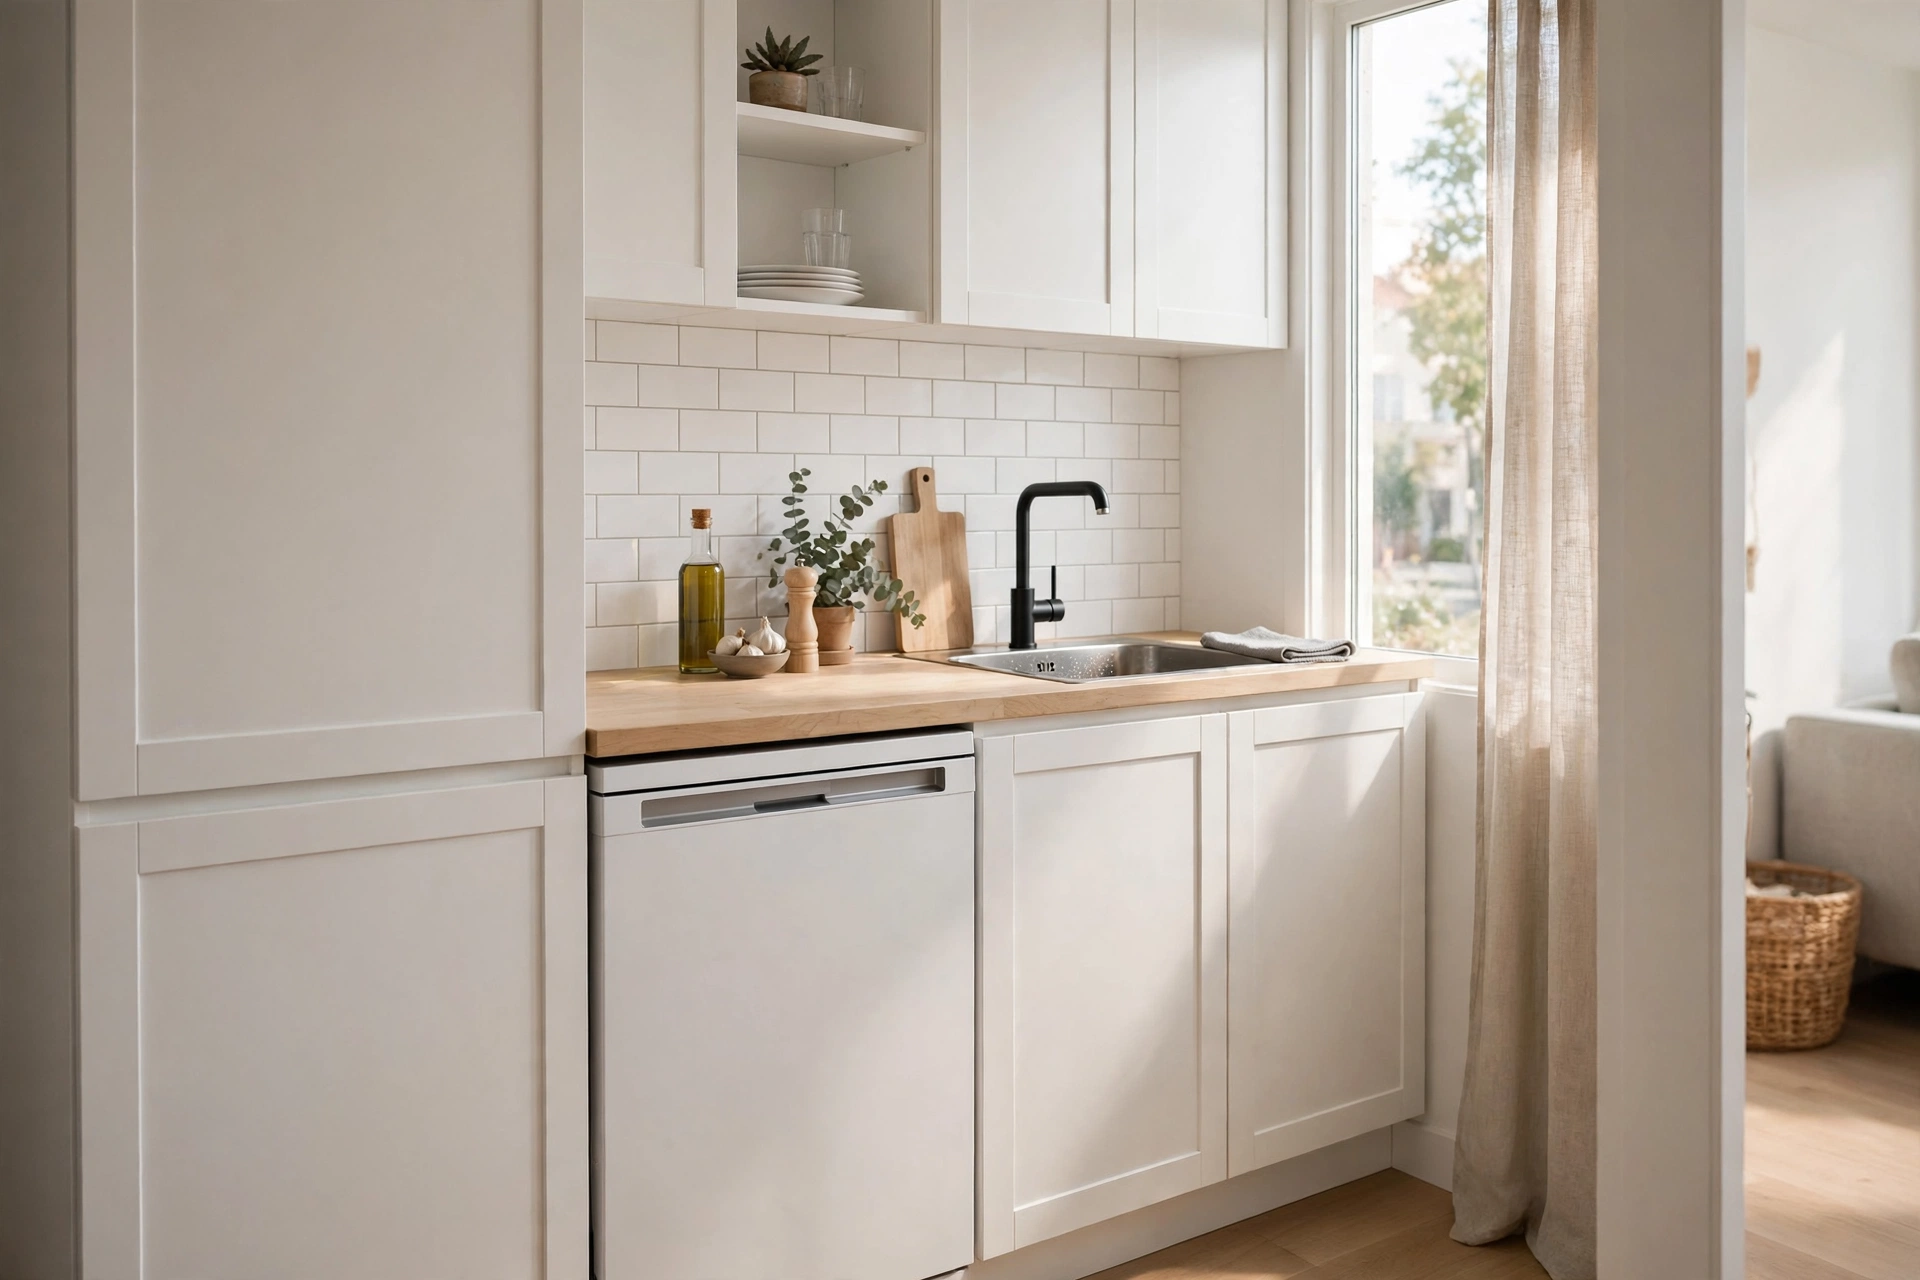
12. Consider a Slim 18-Inch Dishwasher
If your studio has dishwasher hookups, an 18-inch slim dishwasher ($450–$700) fits where a standard 24-inch never could and holds a surprising 8–10 place settings — plenty for one or two people. No hookups? A countertop dishwasher ($250–$400) connects to the faucet in minutes and needs zero installation. Either beats the “dish rack as permanent decor” look. Pro tip: run it every night regardless of fullness — in an open-plan studio, dirty dishes are always on display, so the goal is an empty sink by bedtime.
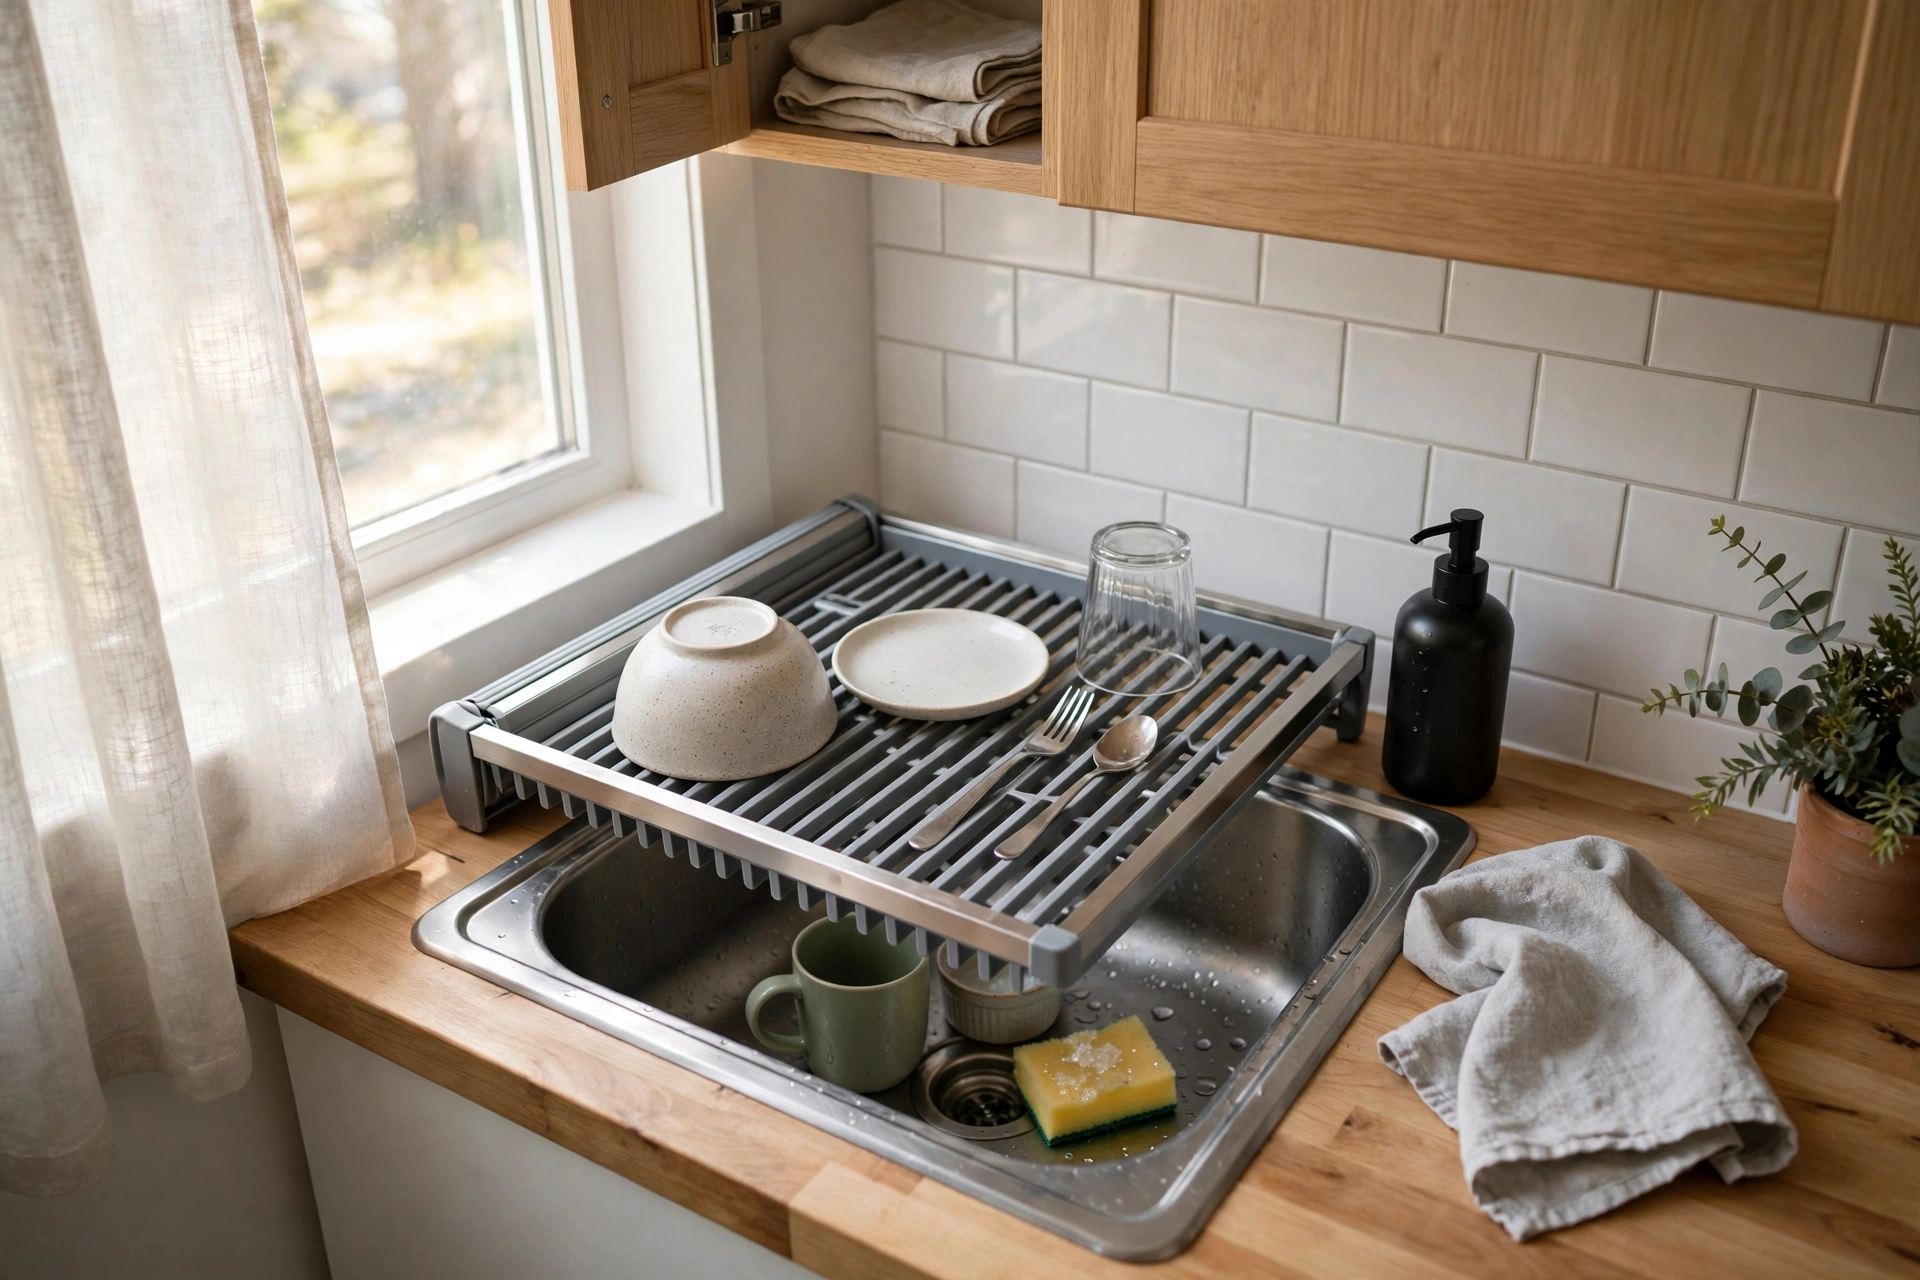
13. Shrink the Dish Rack to Sink Size
A full-size dish rack colonizes half your counter permanently. Switch to an in-sink dish rack ($20–$35) or a roll-up over-the-sink drying mat ($15–$25) that disappears when dishes are done. Your counter stays clear, dishes still dry, and the kitchen looks twice as big. Pro tip: the roll-up mats double as extra counter space — unroll one over the sink and you’ve instantly added a square foot of prep area.
Countertop Strategies
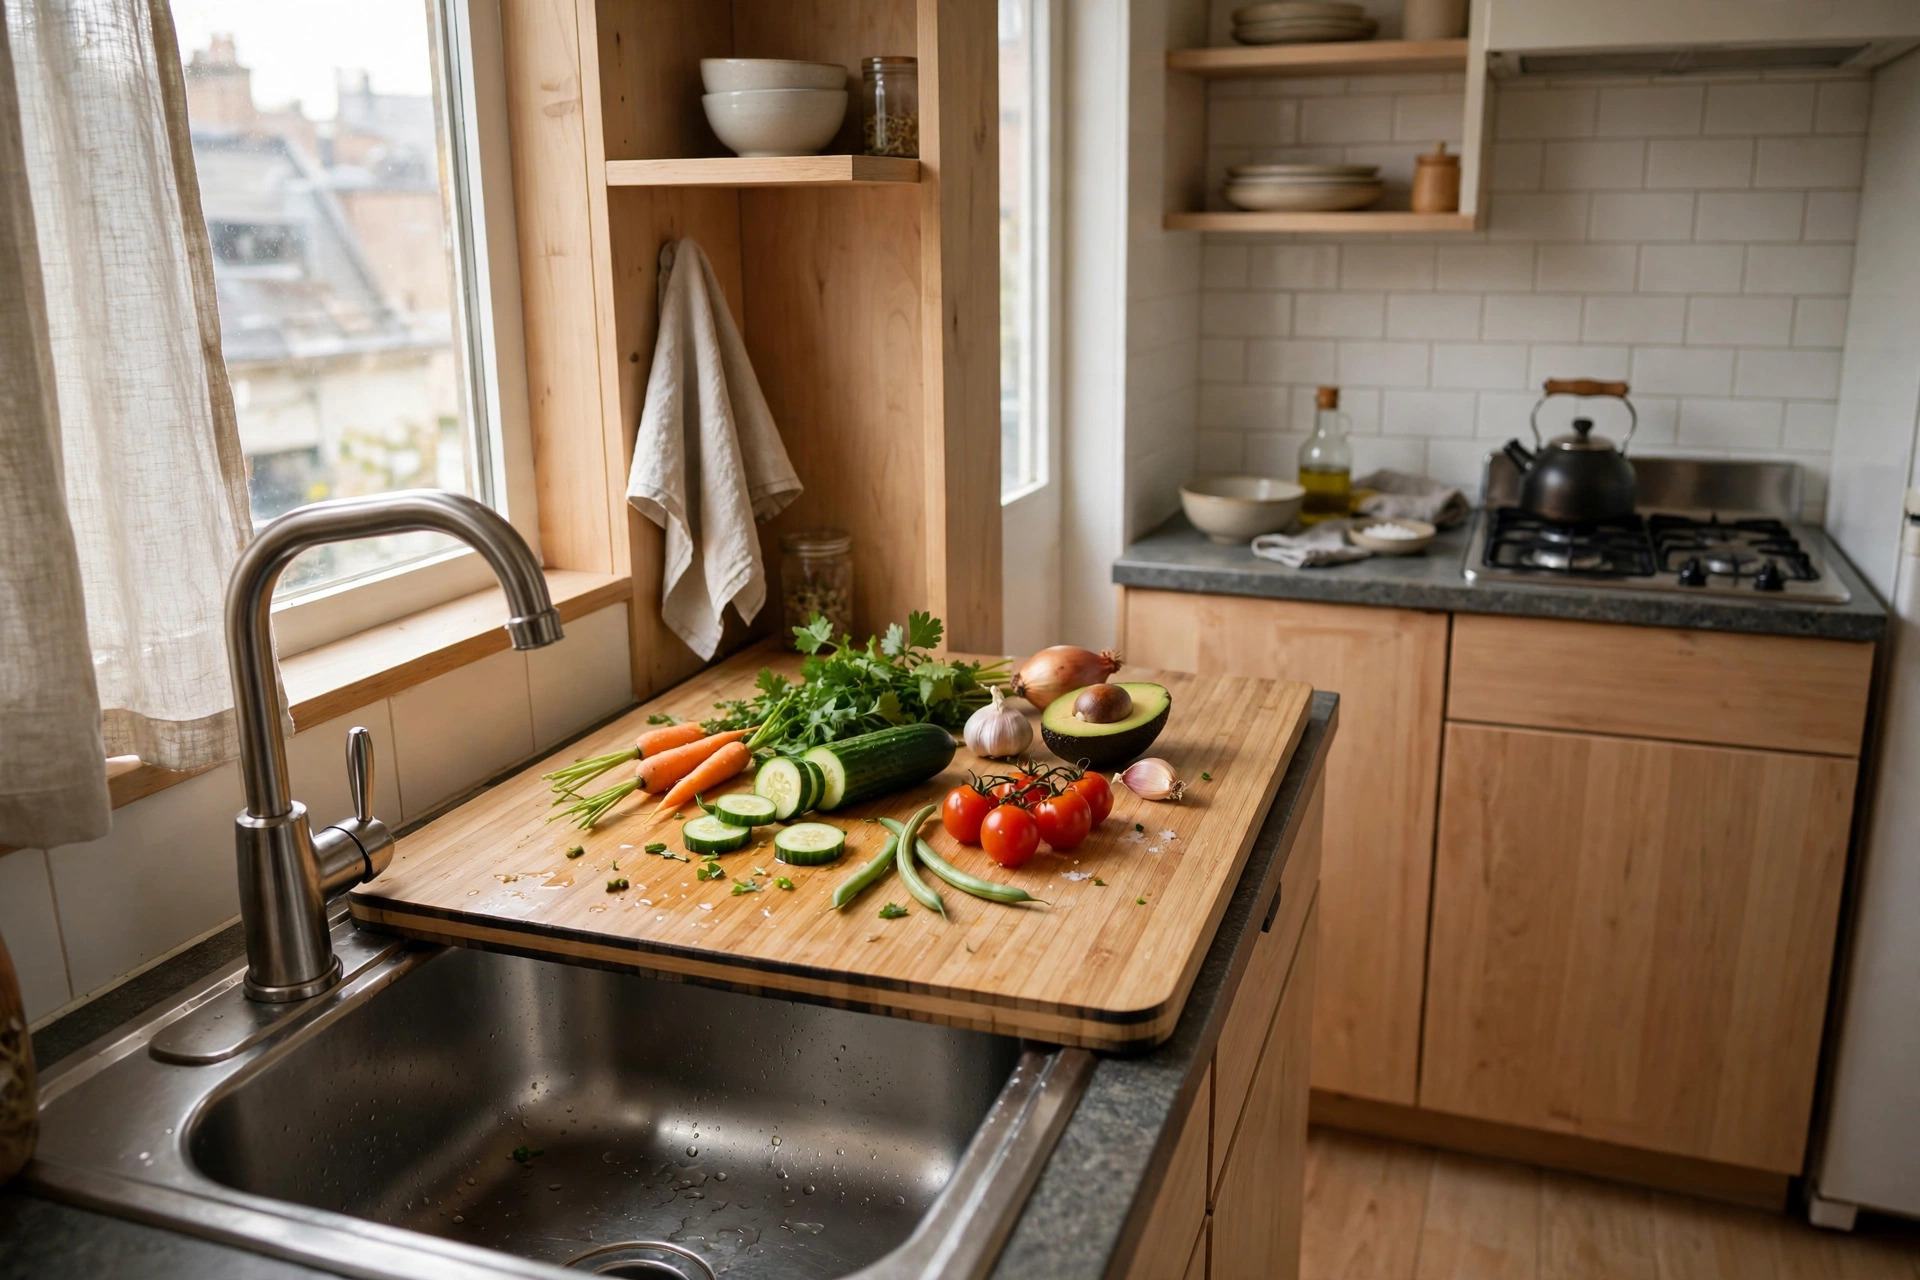
14. Cover the Sink with a Cutting Board
An over-the-sink cutting board ($25–$45) turns dead sink space into prime prep real estate — slide it on when chopping, slide it off when washing. Bamboo versions with a colander attachment are especially clever for rinsing veg right over the basin. In a kitchen with two feet of counter, this one board can double your workspace. Pro tip: buy the board sized to your exact sink interior (measure twice) — a wobbly board is worse than no board.
15. Switch to Stackable, Nesting Cookware
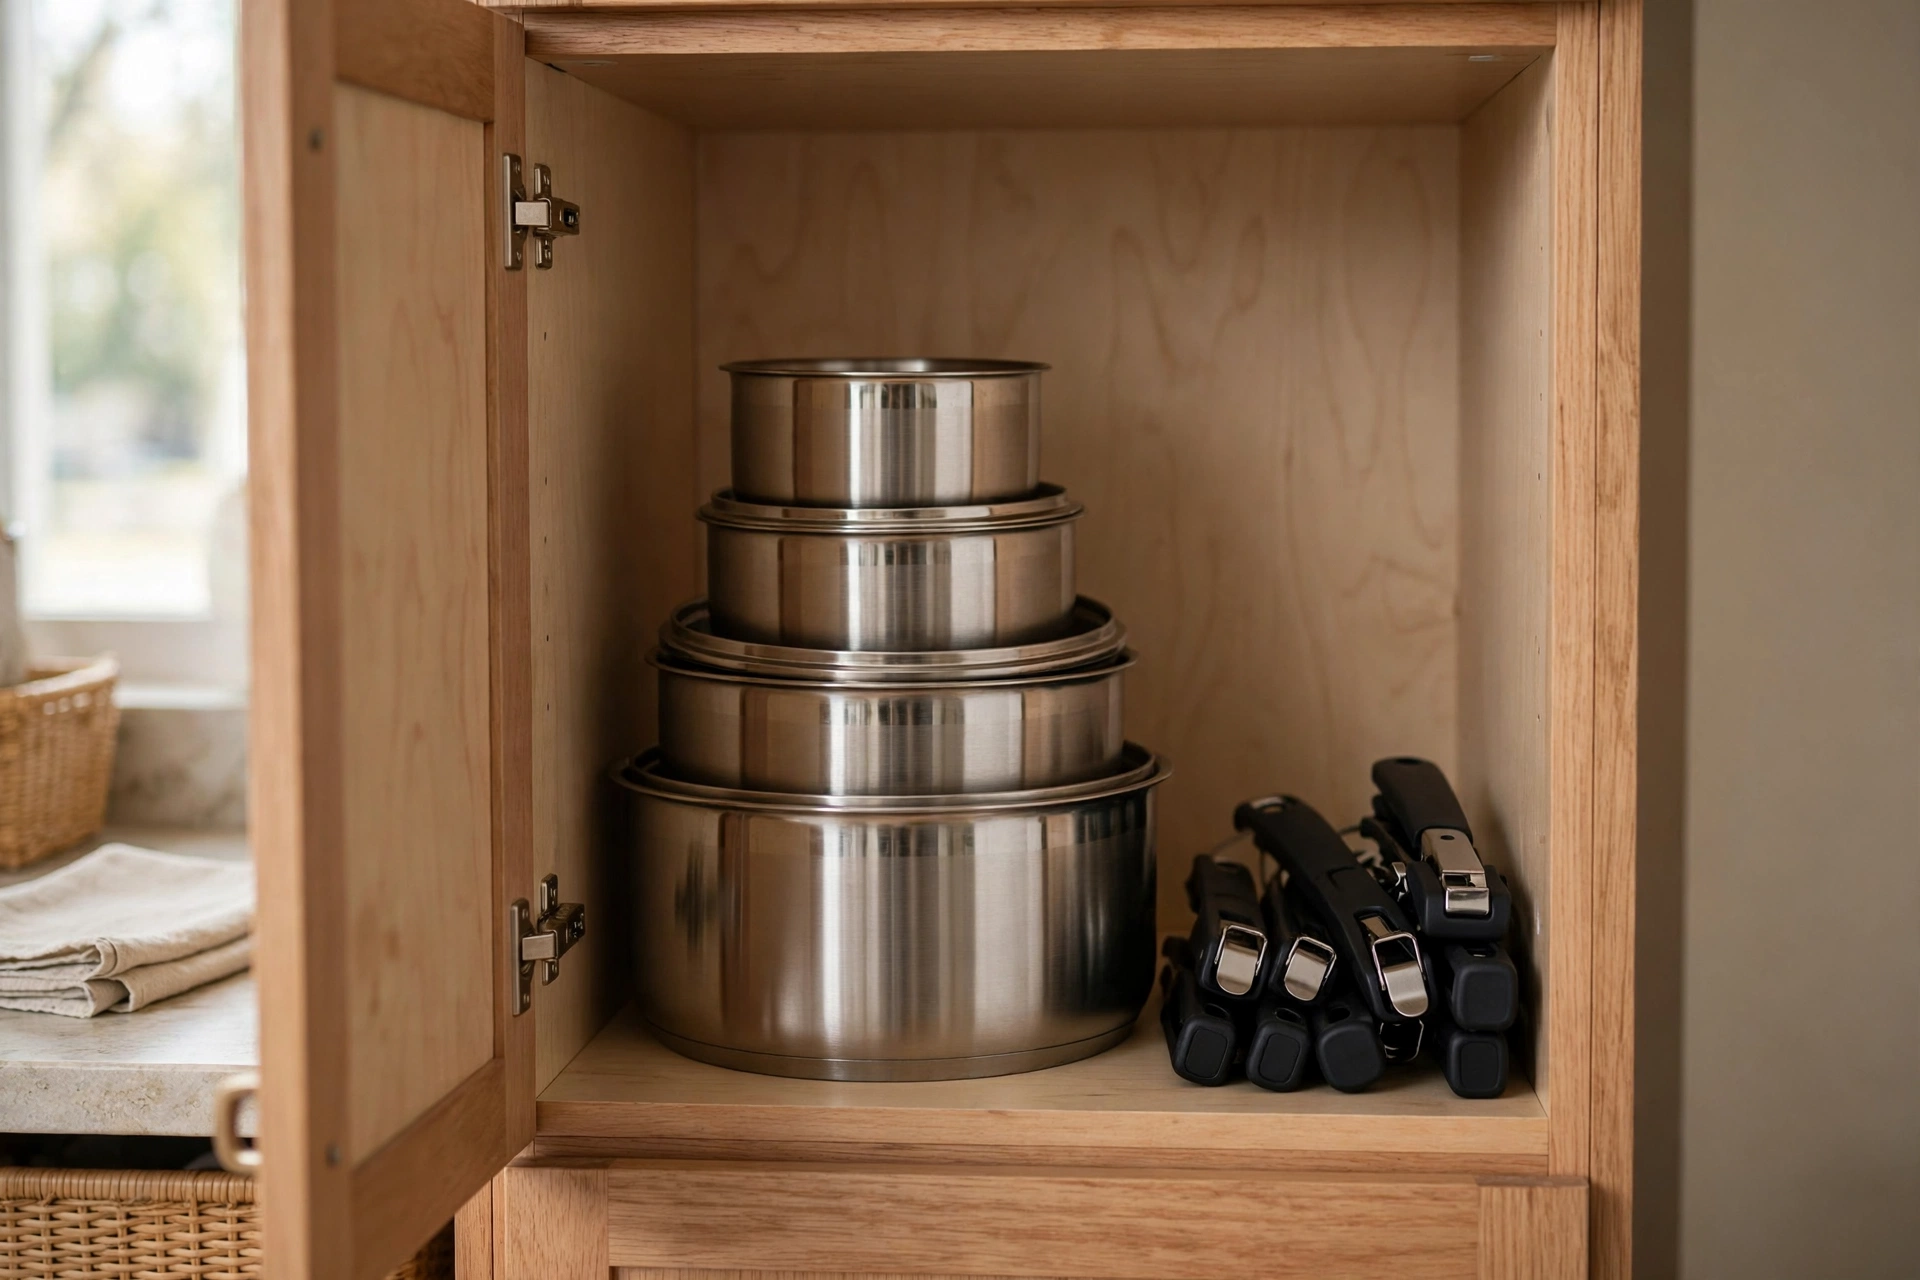
Traditional pots with long handles eat cabinet space like nothing else. Nesting cookware sets with removable handles ($80–$180) stack into the footprint of a single large pot — a full 10-piece set fits in one cabinet. The detachable handle doubles as a serving grip, so you plate straight from stove to table. Pro tip: keep just one all-purpose skillet, one saucepan, and one stockpot in daily rotation; store the rest — if a pan hasn’t been used in a month, it doesn’t earn studio space.
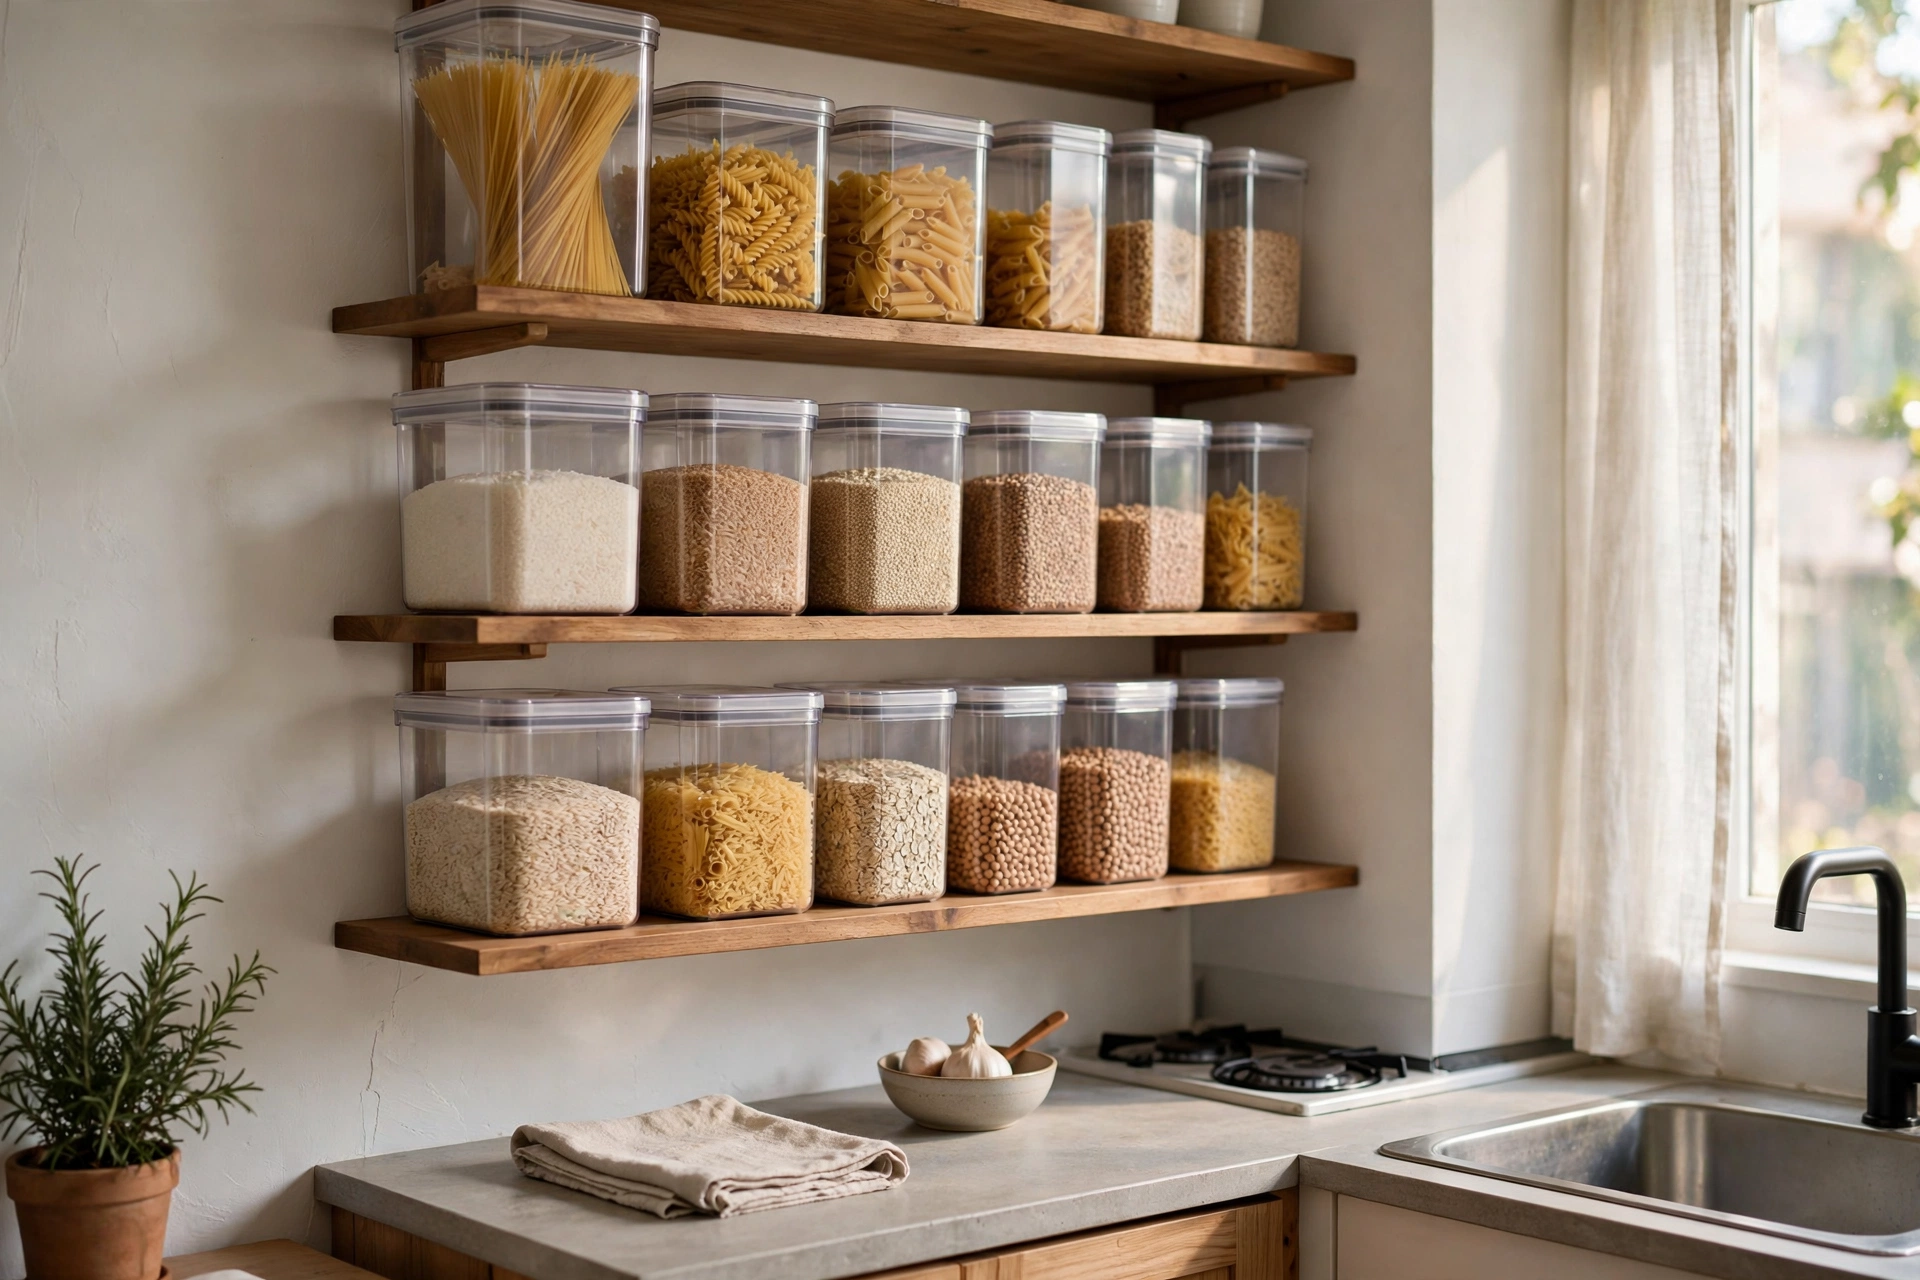
16. Decant Dry Goods into Clear Containers
Half-empty bags and boxes are space thieves. Decanting rice, pasta, flour, and snacks into uniform clear containers ($25–$40 for a 12-piece set) lets you stack efficiently, see inventory at a glance, and fit more per shelf — square containers waste zero gaps. It also makes open shelving look styled instead of chaotic. Pro tip: label the bottom of each container, not the front — you keep the clean uniform look while still knowing what’s what when you lift it.
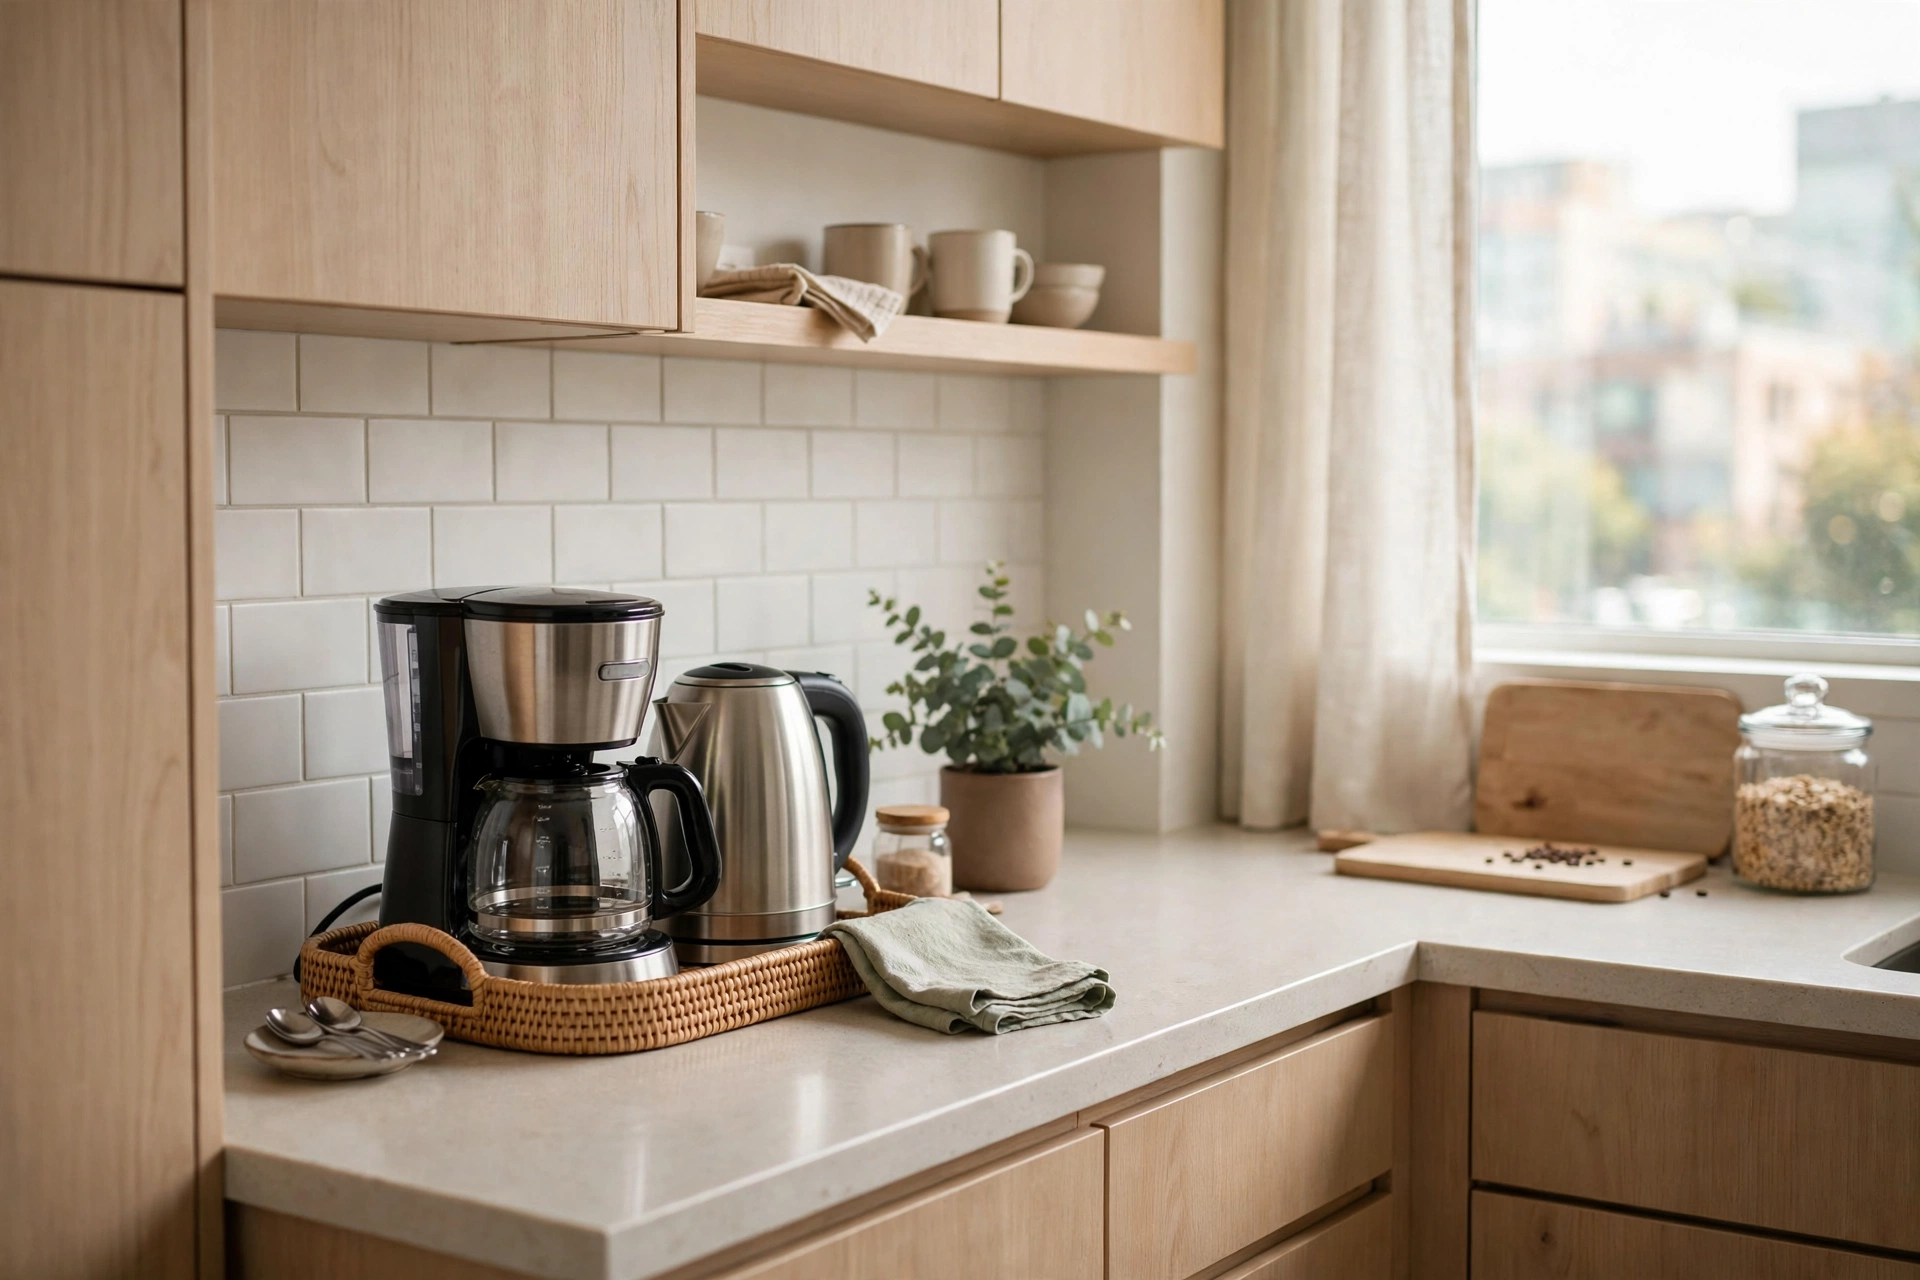
17. Corral Small Appliances into One Zone
Coffee maker here, kettle there, blender in the corner — scattered appliances make a small kitchen feel chaotic. Dedicate one counter zone (or one rolling-cart shelf) as the appliance station and keep everything else clear. An “appliance garage” — a small cabinet with a lift-up door ($60–$120) — hides them entirely while keeping them plugged in. Pro tip: apply the one-in-one-out rule: a new gadget only earns counter space if an old one leaves. Studios have no room for single-use appliances gathering dust.
Inside the Cabinets
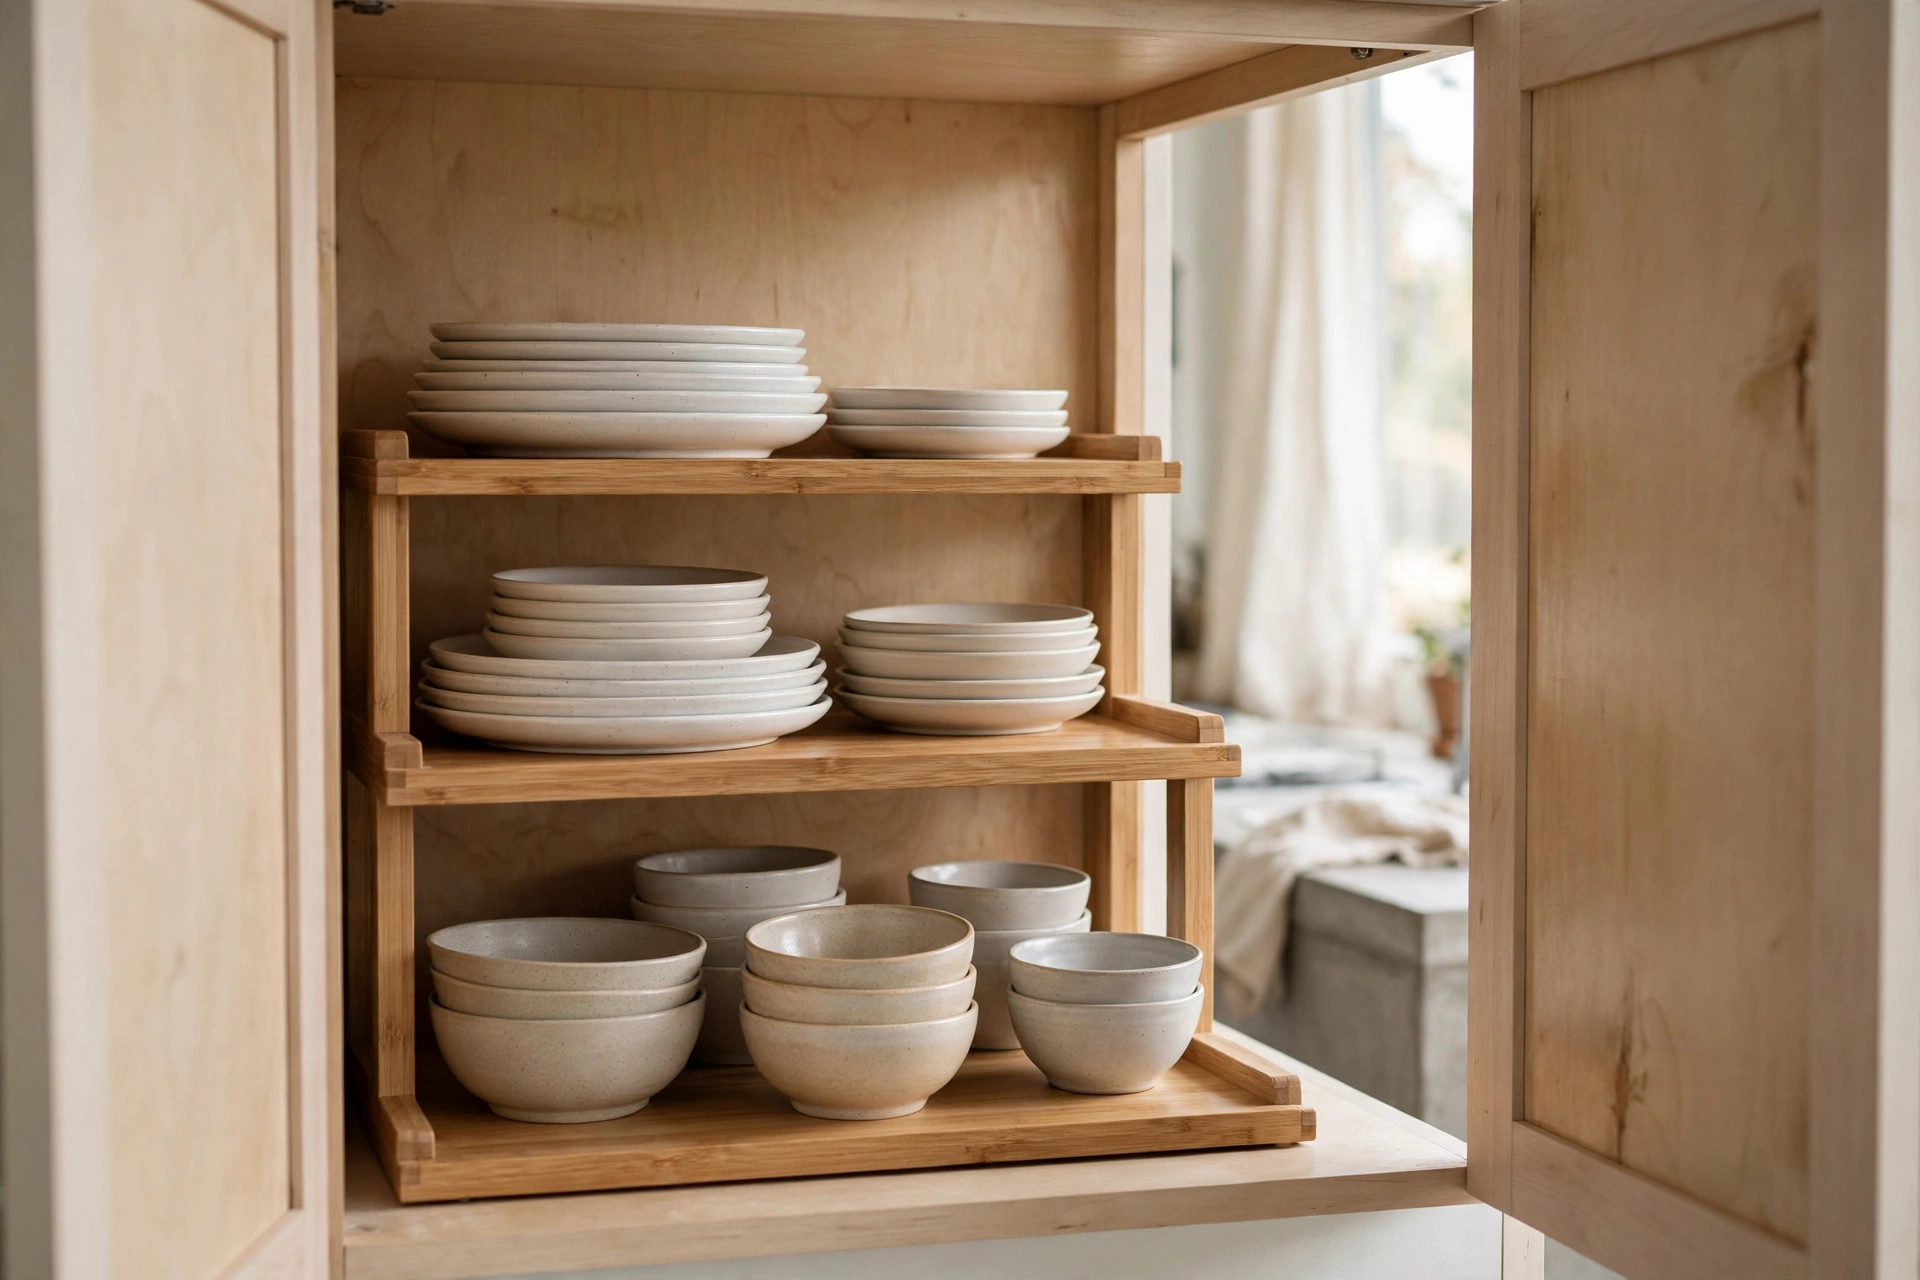
18. Double Cabinet Space with Shelf Risers
Most cabinets waste their vertical half — plates stacked 8 high with dead air above. Tiered shelf risers ($12–$25 each) create a second level inside the cabinet, instantly doubling usable space for mugs, bowls, and cans. They’re the cheapest square footage you’ll ever buy. Pro tip: put daily items on the riser’s top tier at eye level and occasional items below — you reach for the top 90% of the time, so make it the easy grab.
19. Spin a Lazy Susan into Corner Cabinets
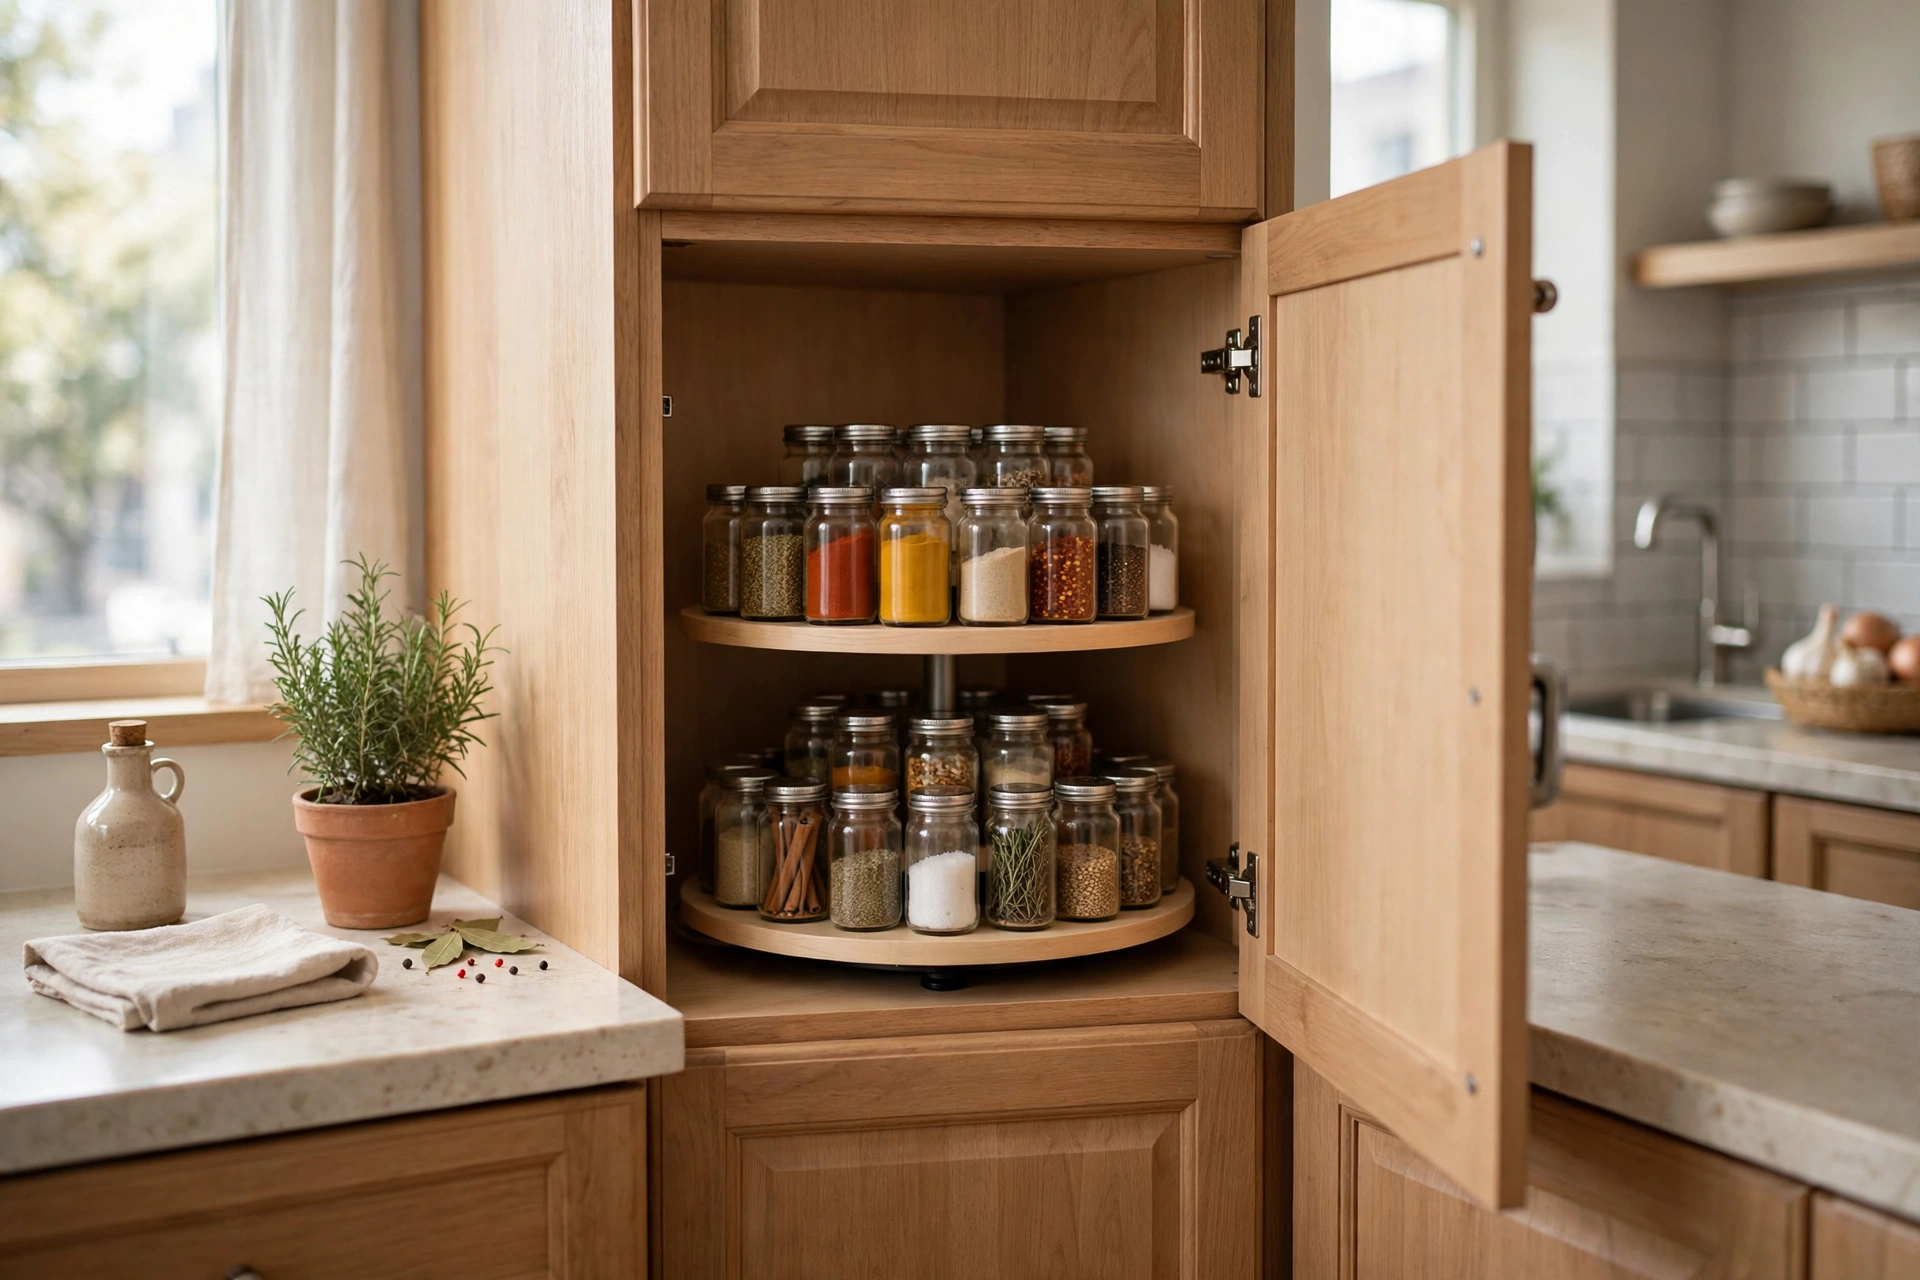
Corner cabinets are where spices go to die — a lazy Susan turntable ($10–$20) makes every inch reachable with one spin. Use a two-tier version for spices and oils, or a large single tier for pots. No more excavating the back of the cabinet on your knees. Pro tip: a small turntable also rescues deep upper cabinets and the fridge door shelf — anywhere items hide behind other items, a spin fixes it.
20. Exploit the Gap with a Slim Pull-Out Pantry
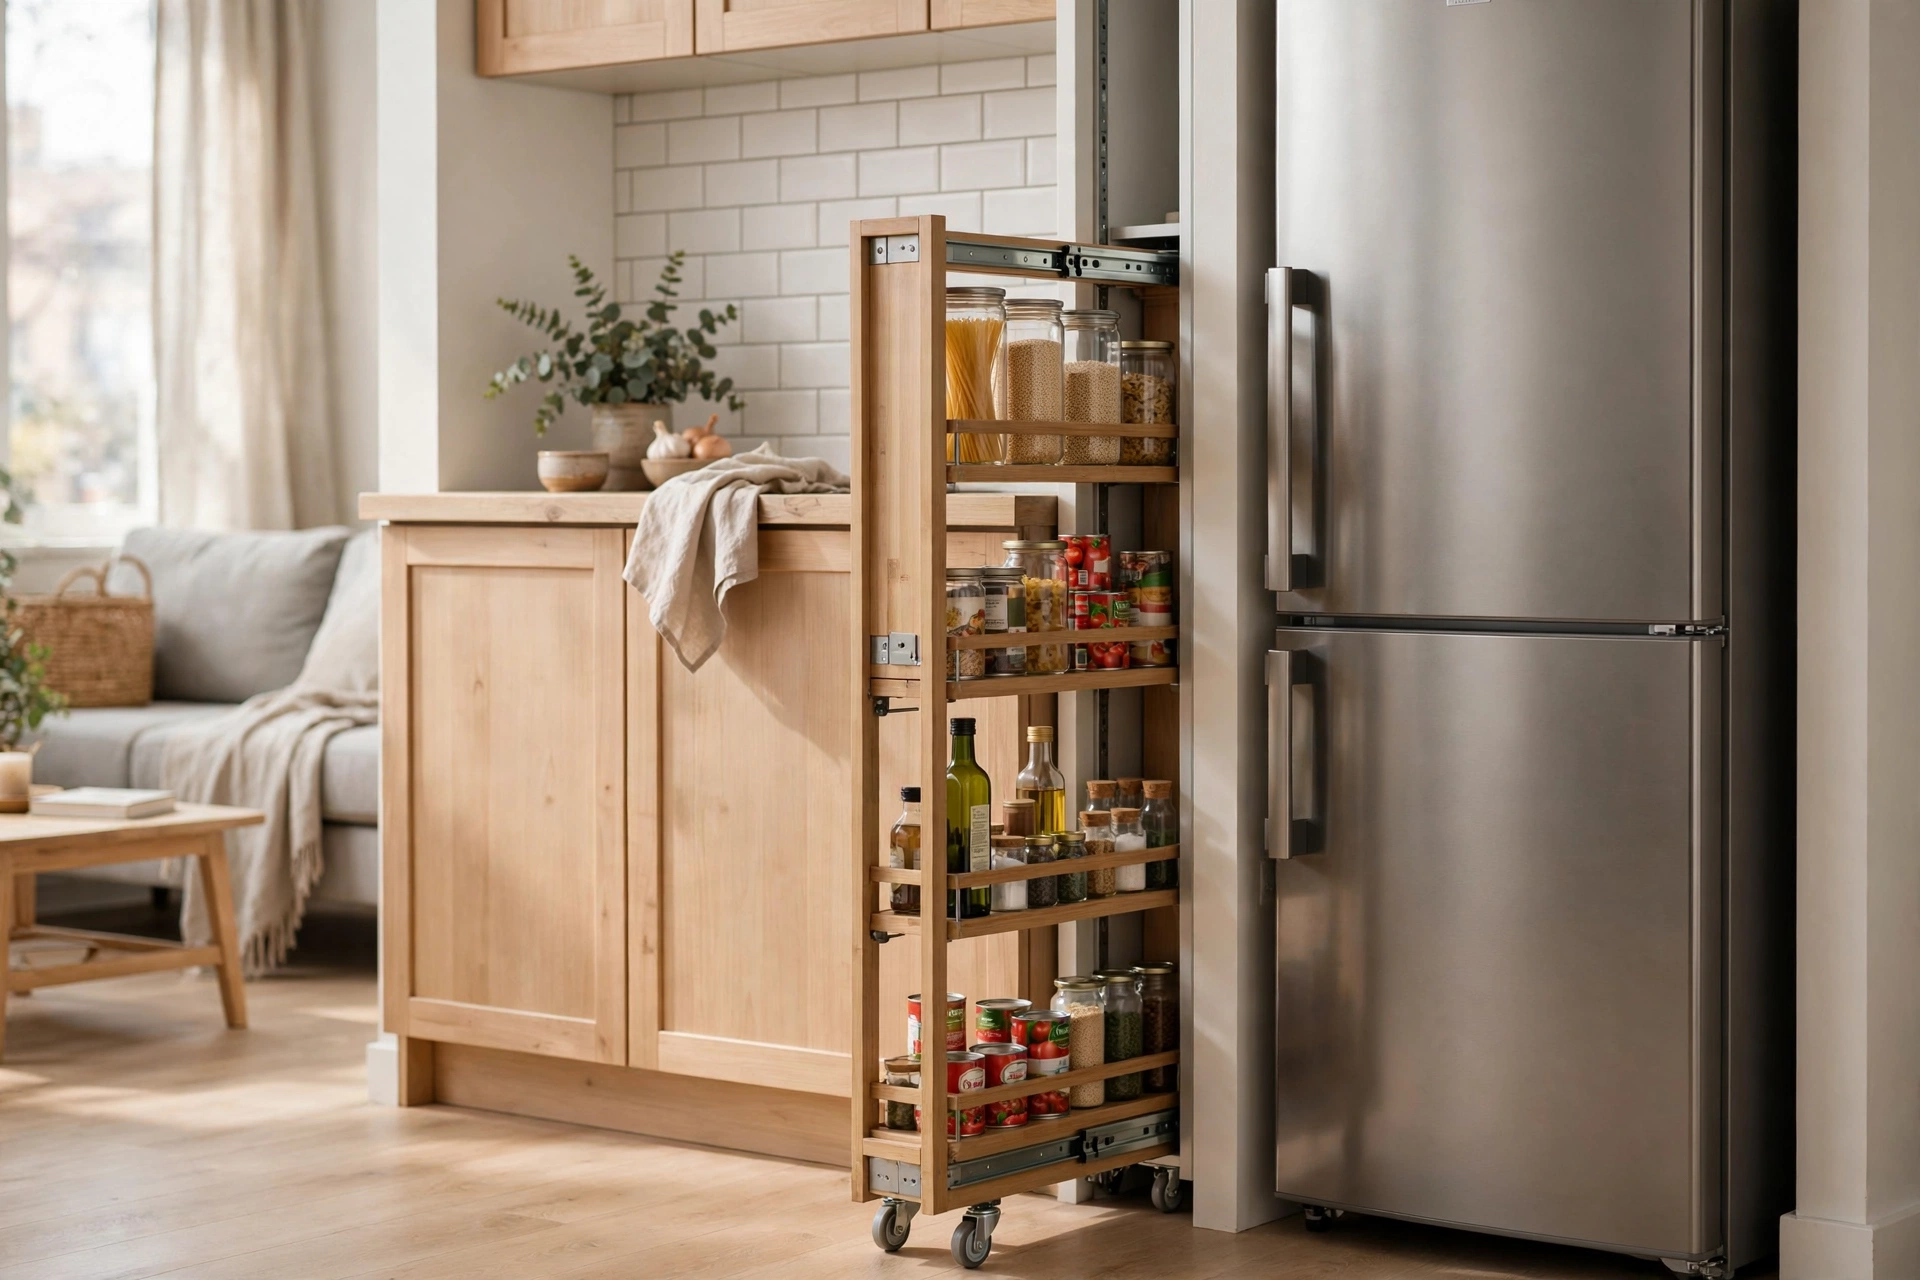
That 6-inch gap between the fridge and the wall? It’s a pantry waiting to happen. Slim rolling pull-out pantries ($40–$80) slide into the narrowest dead spaces and hold cans, bottles, and spices in tiered shelves — storage you didn’t know you had. Measure the gap carefully; units come in 5, 6, and 8-inch widths. Pro tip: these also fit beside the stove or between washer and wall in the laundry corner — audit every narrow gap in the studio, not just the kitchen.
21. Hook the Inside of Cabinet Doors
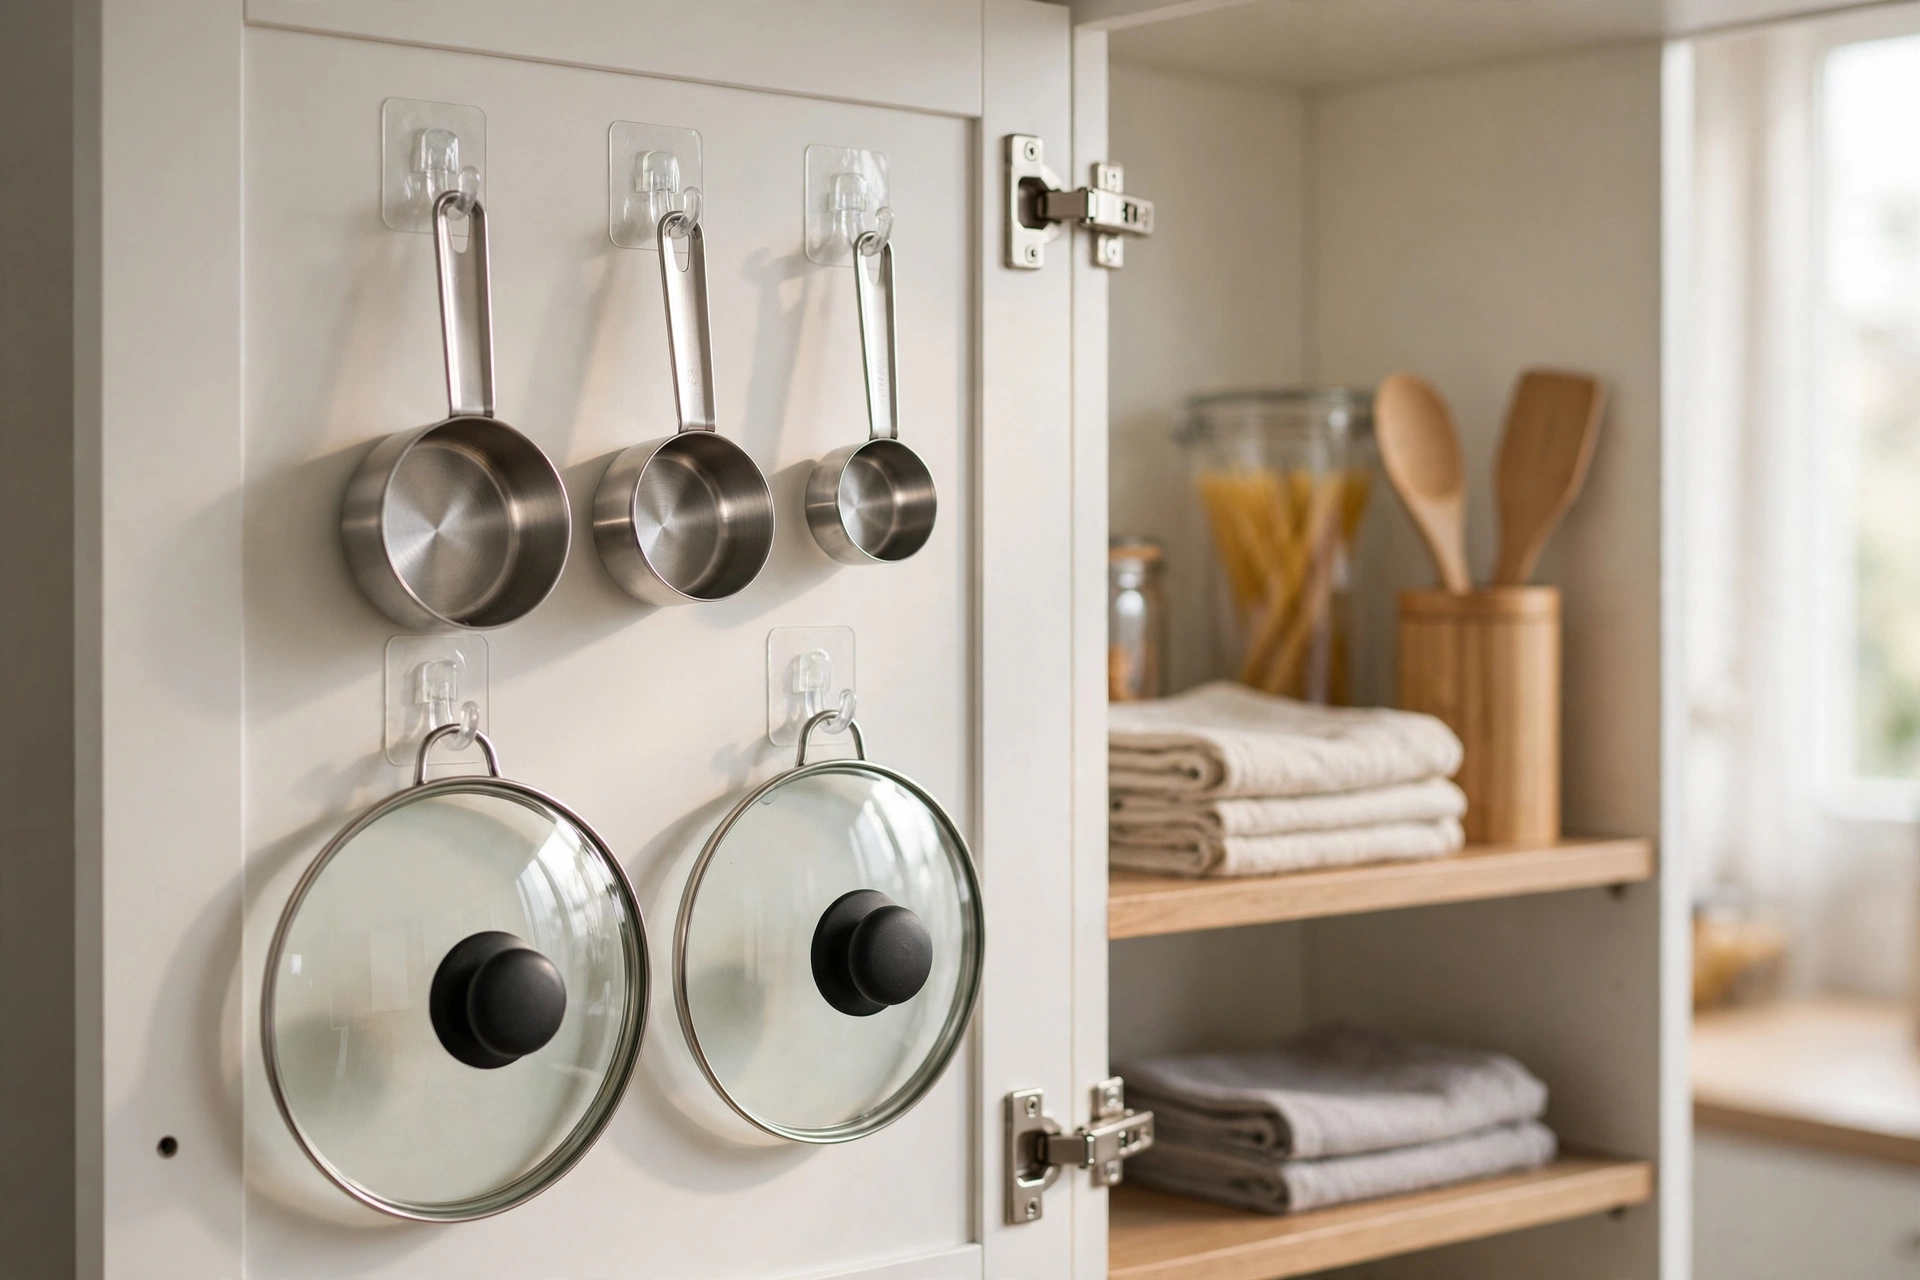
Adhesive hooks inside cabinet doors ($8–$15 for a multi-pack) hold measuring cups, pot lids, oven mitts, and cleaning gloves — items that otherwise rattle around drawers. It’s invisible storage that costs almost nothing and takes five minutes to install. This is one of the highest-ROI tricks in our studio apartment storage ideas guide, and the kitchen is where it pays off most. Pro tip: use clear adhesive hooks rated for at least 3 lbs and clean the surface with alcohol first — most hook failures are dirty-surface failures.
22. Tension Rod Under the Sink
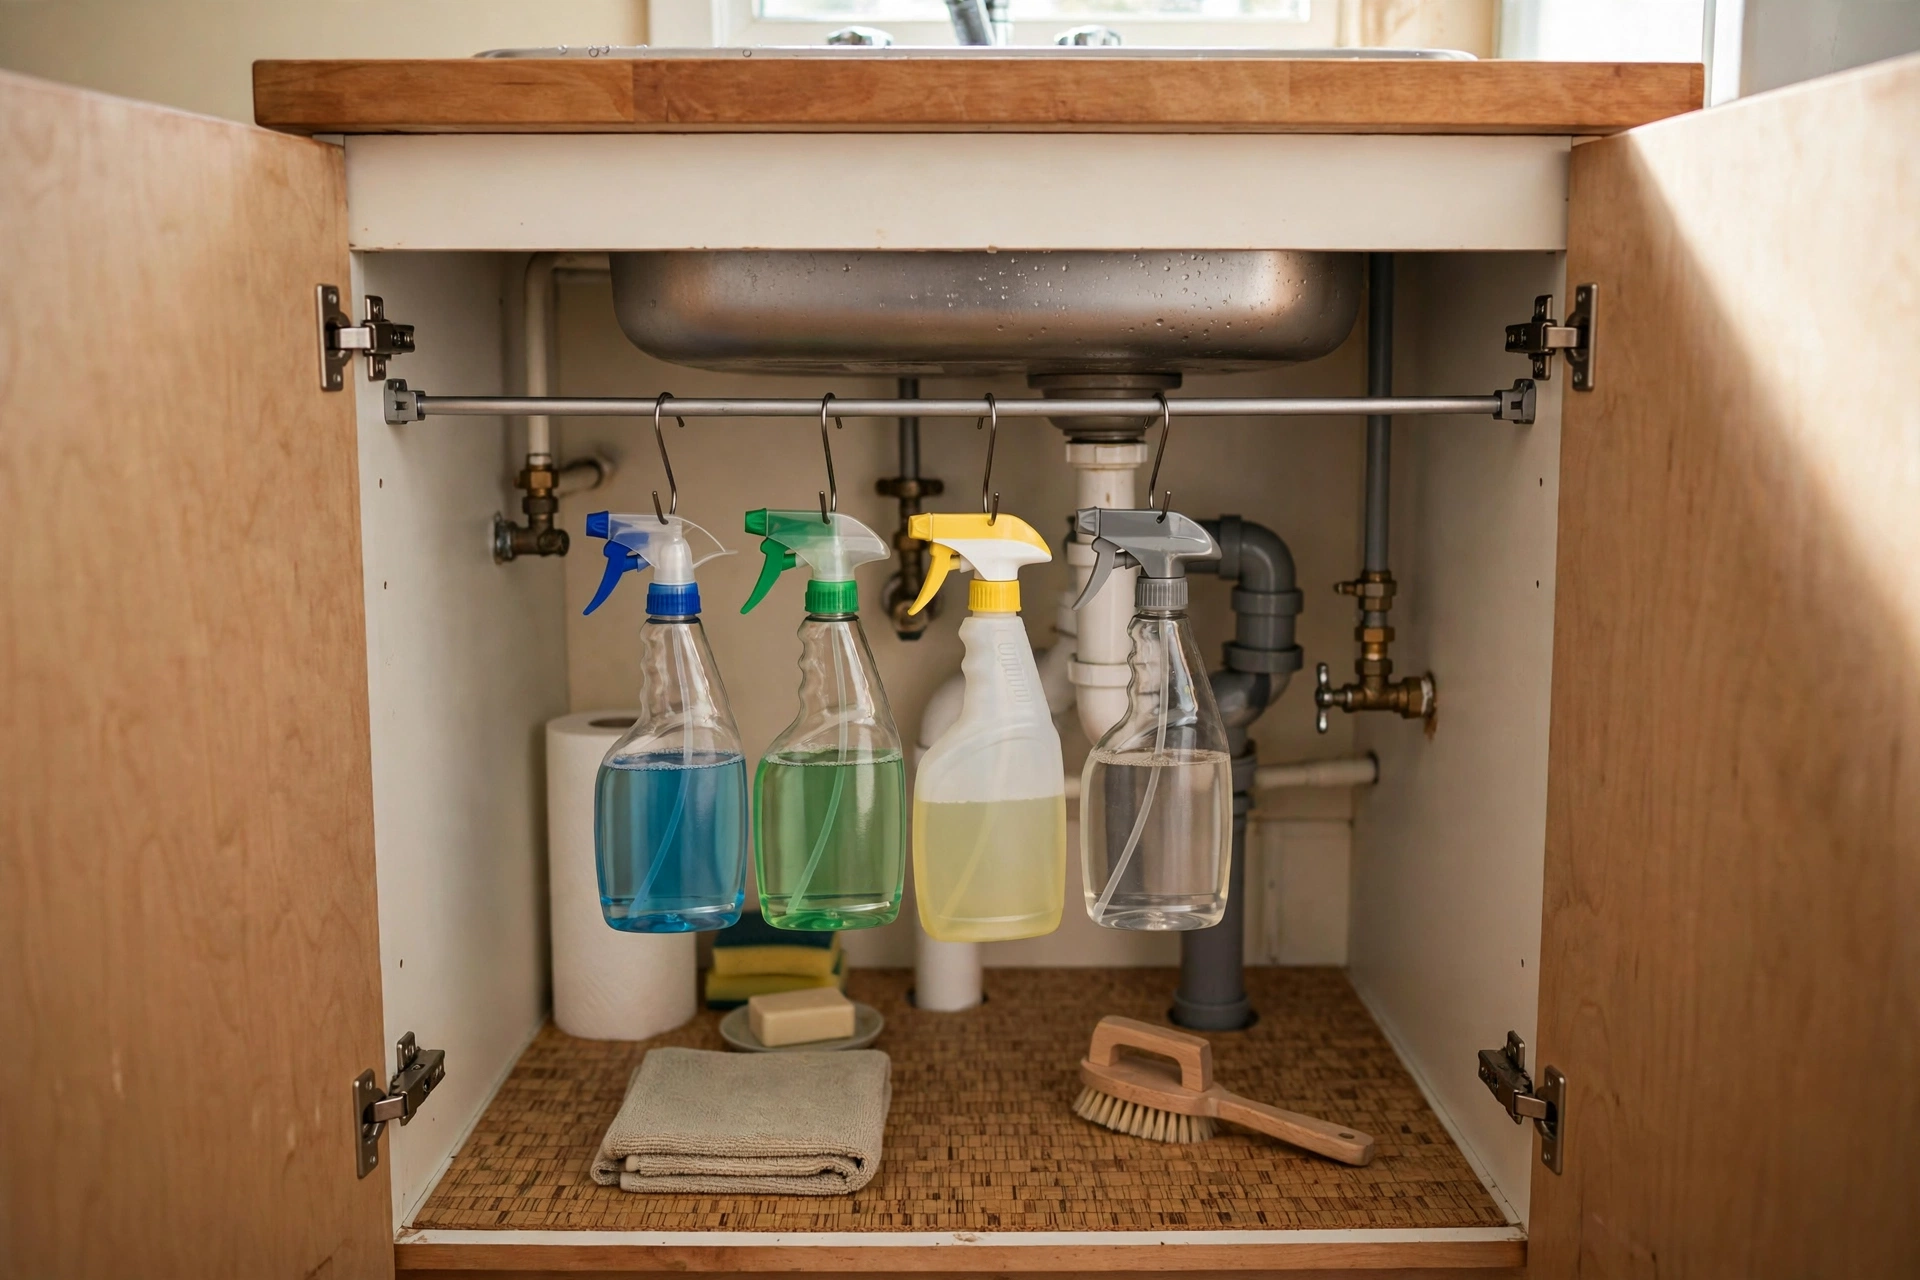
The under-sink cabinet is usually a graveyard of half-used cleaners — a $10 tension rod across the top creates a hanging rail for spray bottles, freeing the entire floor of the cabinet for bins and sponges. Pair it with a small stackable shelf and the most awkward cabinet in the kitchen becomes genuinely useful. Pro tip: put a washable liner on the cabinet floor first — under-sink leaks happen, and a $8 liner saves the cabinet (and your deposit).
Light, Color & Air
23. Keep It Light to Look Larger
Dark cabinets and busy patterns shrink a studio kitchen visually — light upper cabinets, pale walls, and a simple backsplash bounce light around and make the whole zone feel bigger. If you can’t repaint (renters), light-colored shelf liners, a white dish rack, and pale small appliances create the same effect. Pro tip: one dark accent is fine — a black faucet or dark hardware grounds the space — but keep the large surfaces light.
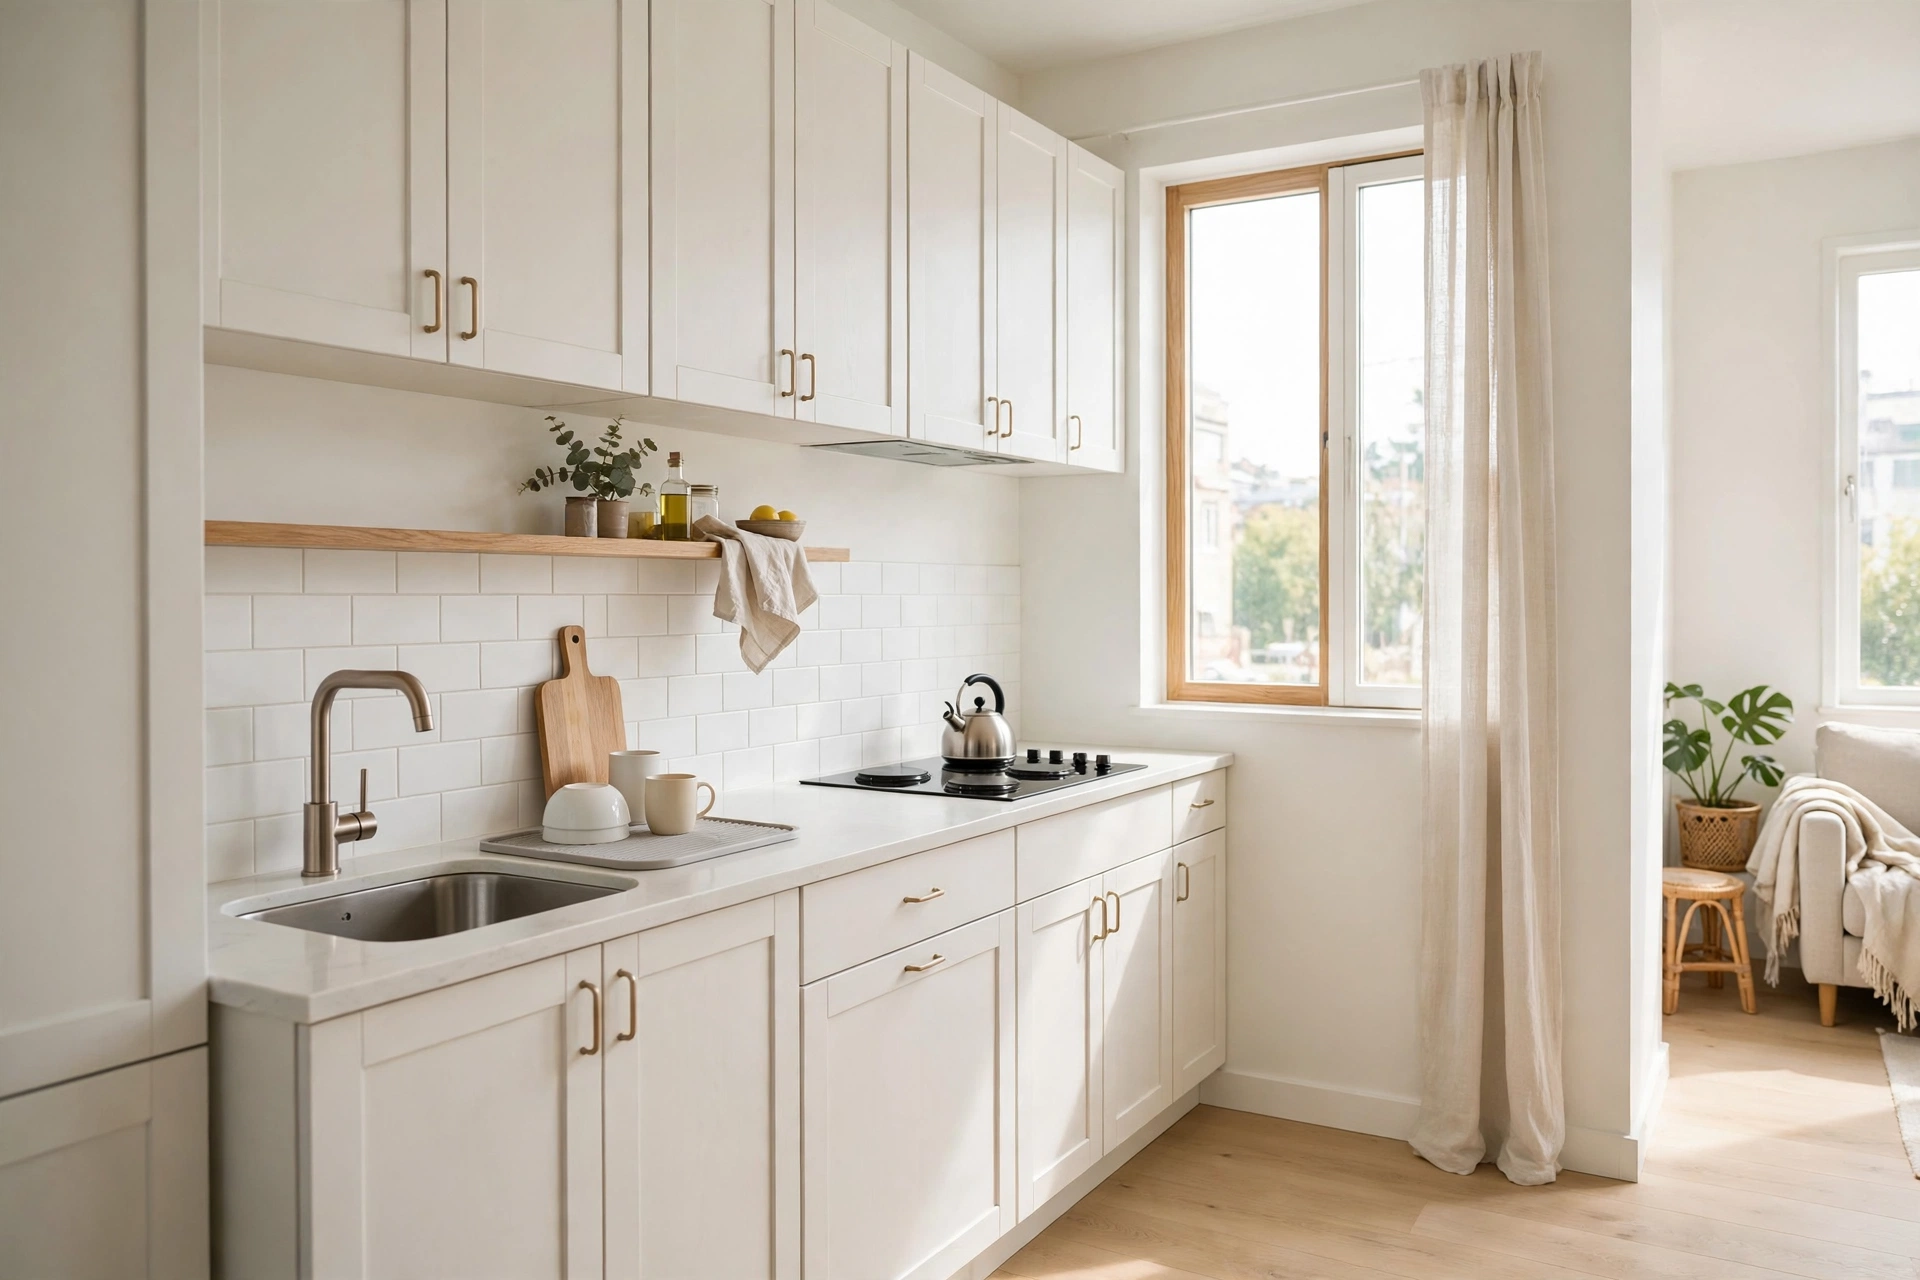
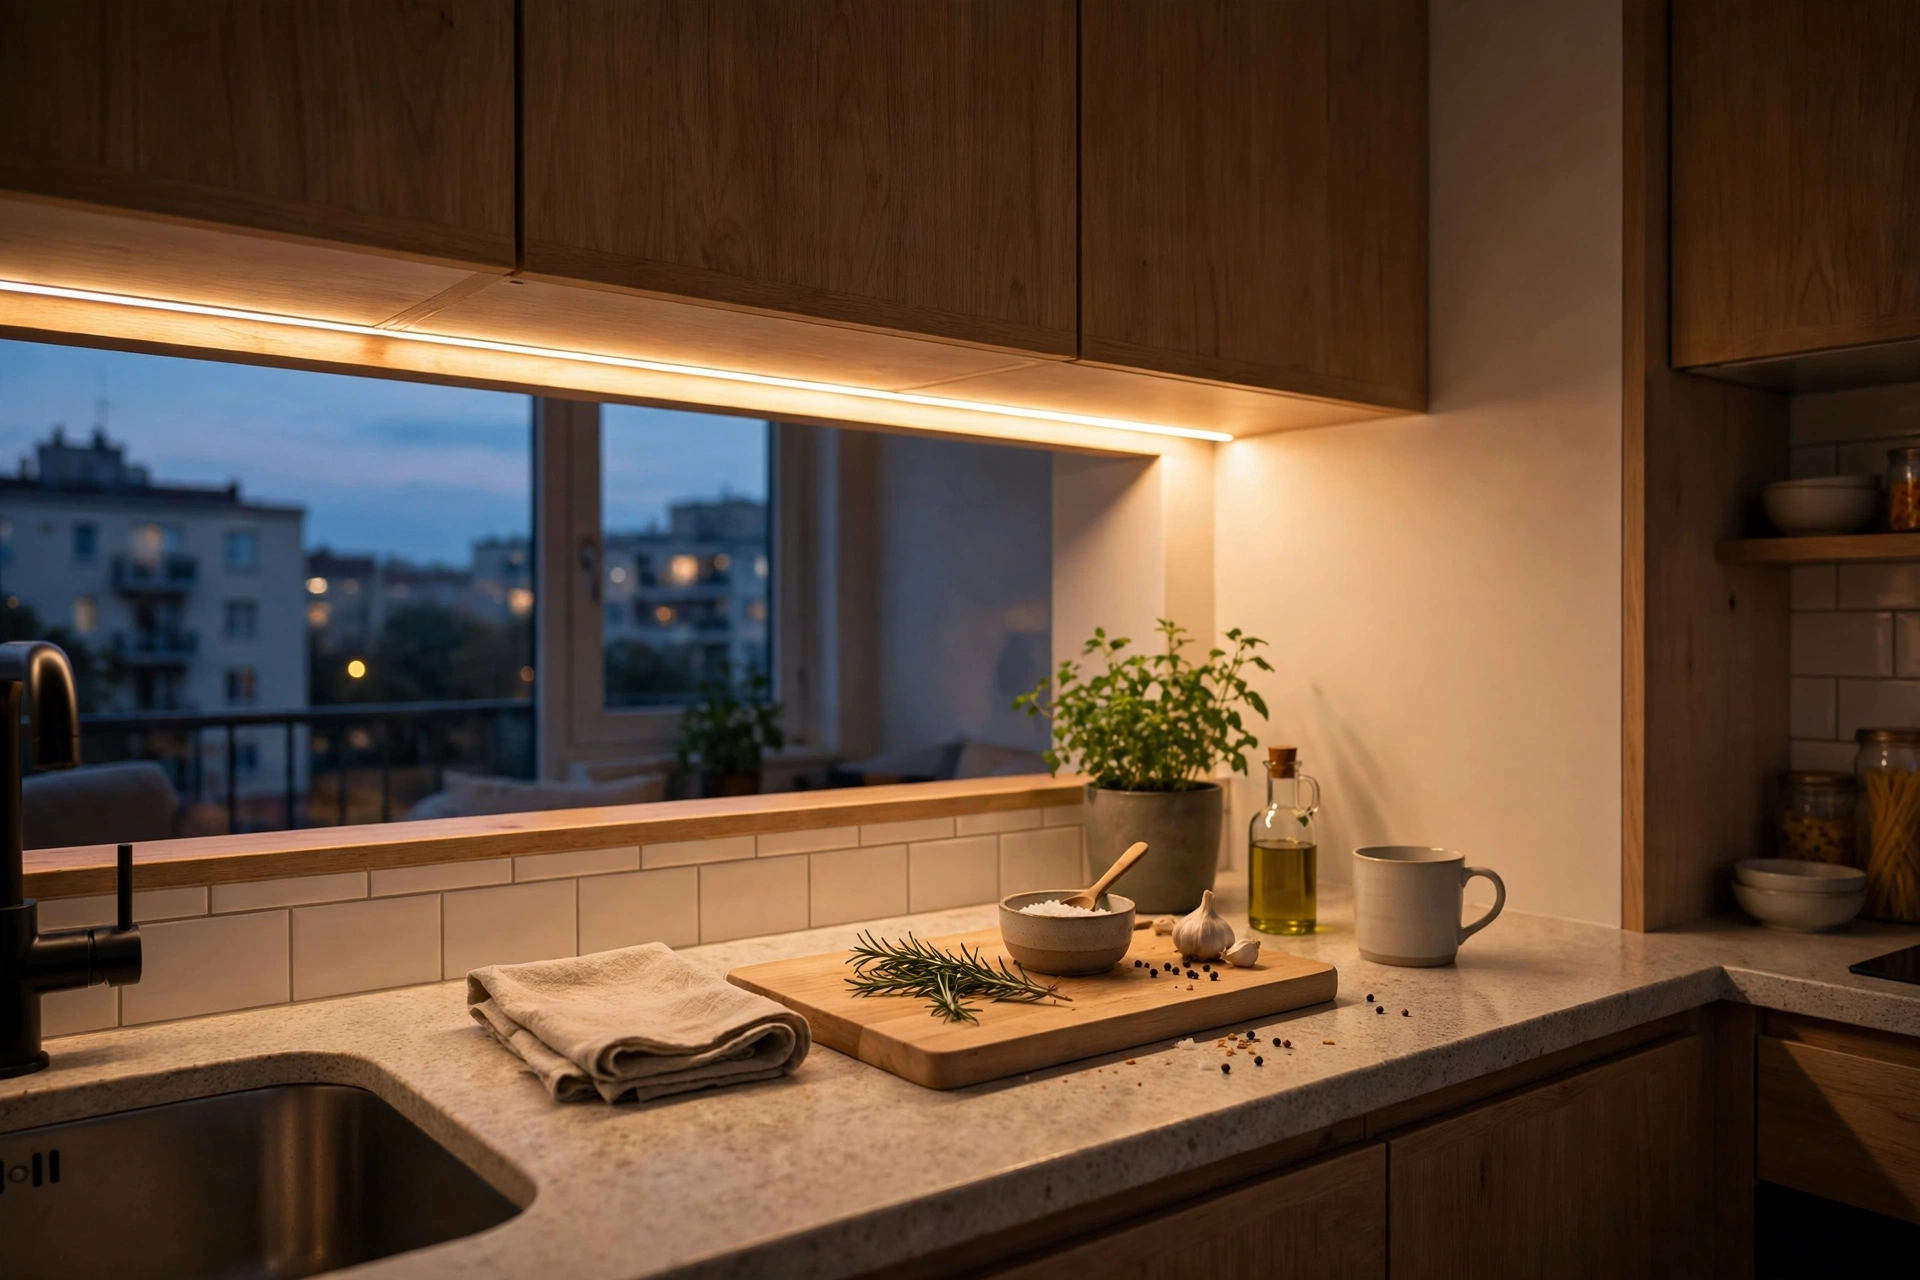
24. Add Under-Cabinet LED Lighting
Studio kitchens often have one sad overhead light that leaves counters in shadow. Battery or USB-powered LED strips ($15–$30) stick under cabinets in minutes, turning prep areas bright and making the kitchen feel custom — no electrician needed. Choose warm white (2700–3000K) for a cozy glow that flatters food and faces. Pro tip: get motion-sensor strips so they light up when you walk in with groceries — it’s a small luxury you’ll use fifty times a day.
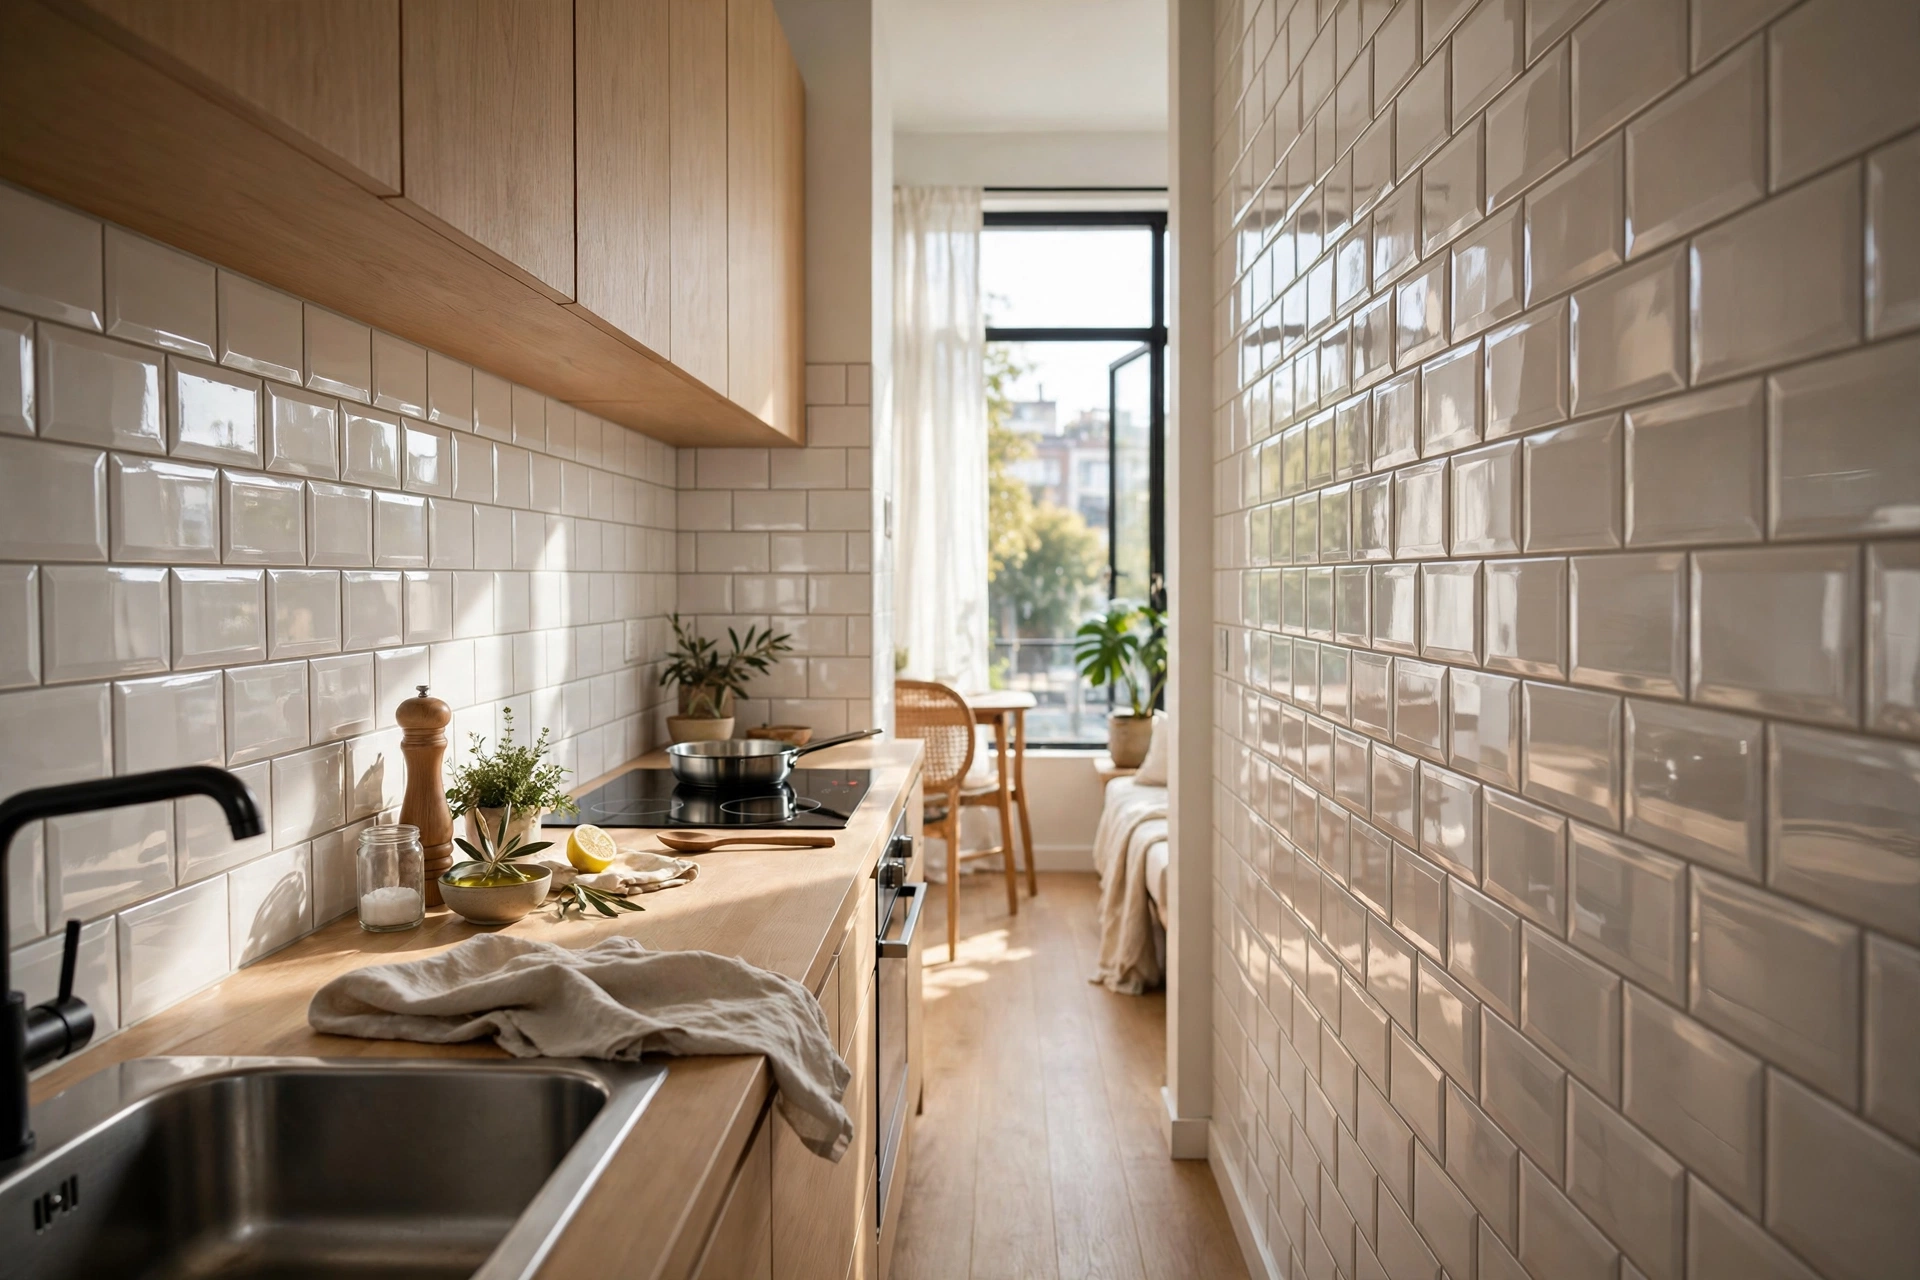
25. Use a Reflective Backsplash for Depth
Glossy subway tile, mirrored panels, or even peel-and-stick metallic backsplash ($20–$40 for a roll) reflects light and visually doubles the kitchen’s depth. In a galley that feels like a tunnel, a reflective backsplash is the fastest way to add perceived space without moving a single wall. Pro tip: peel-and-stick backsplash is the renter’s best friend — it removes cleanly with a hairdryer, so you get the custom look with zero deposit risk.
Cooking Without Taking Over the Studio
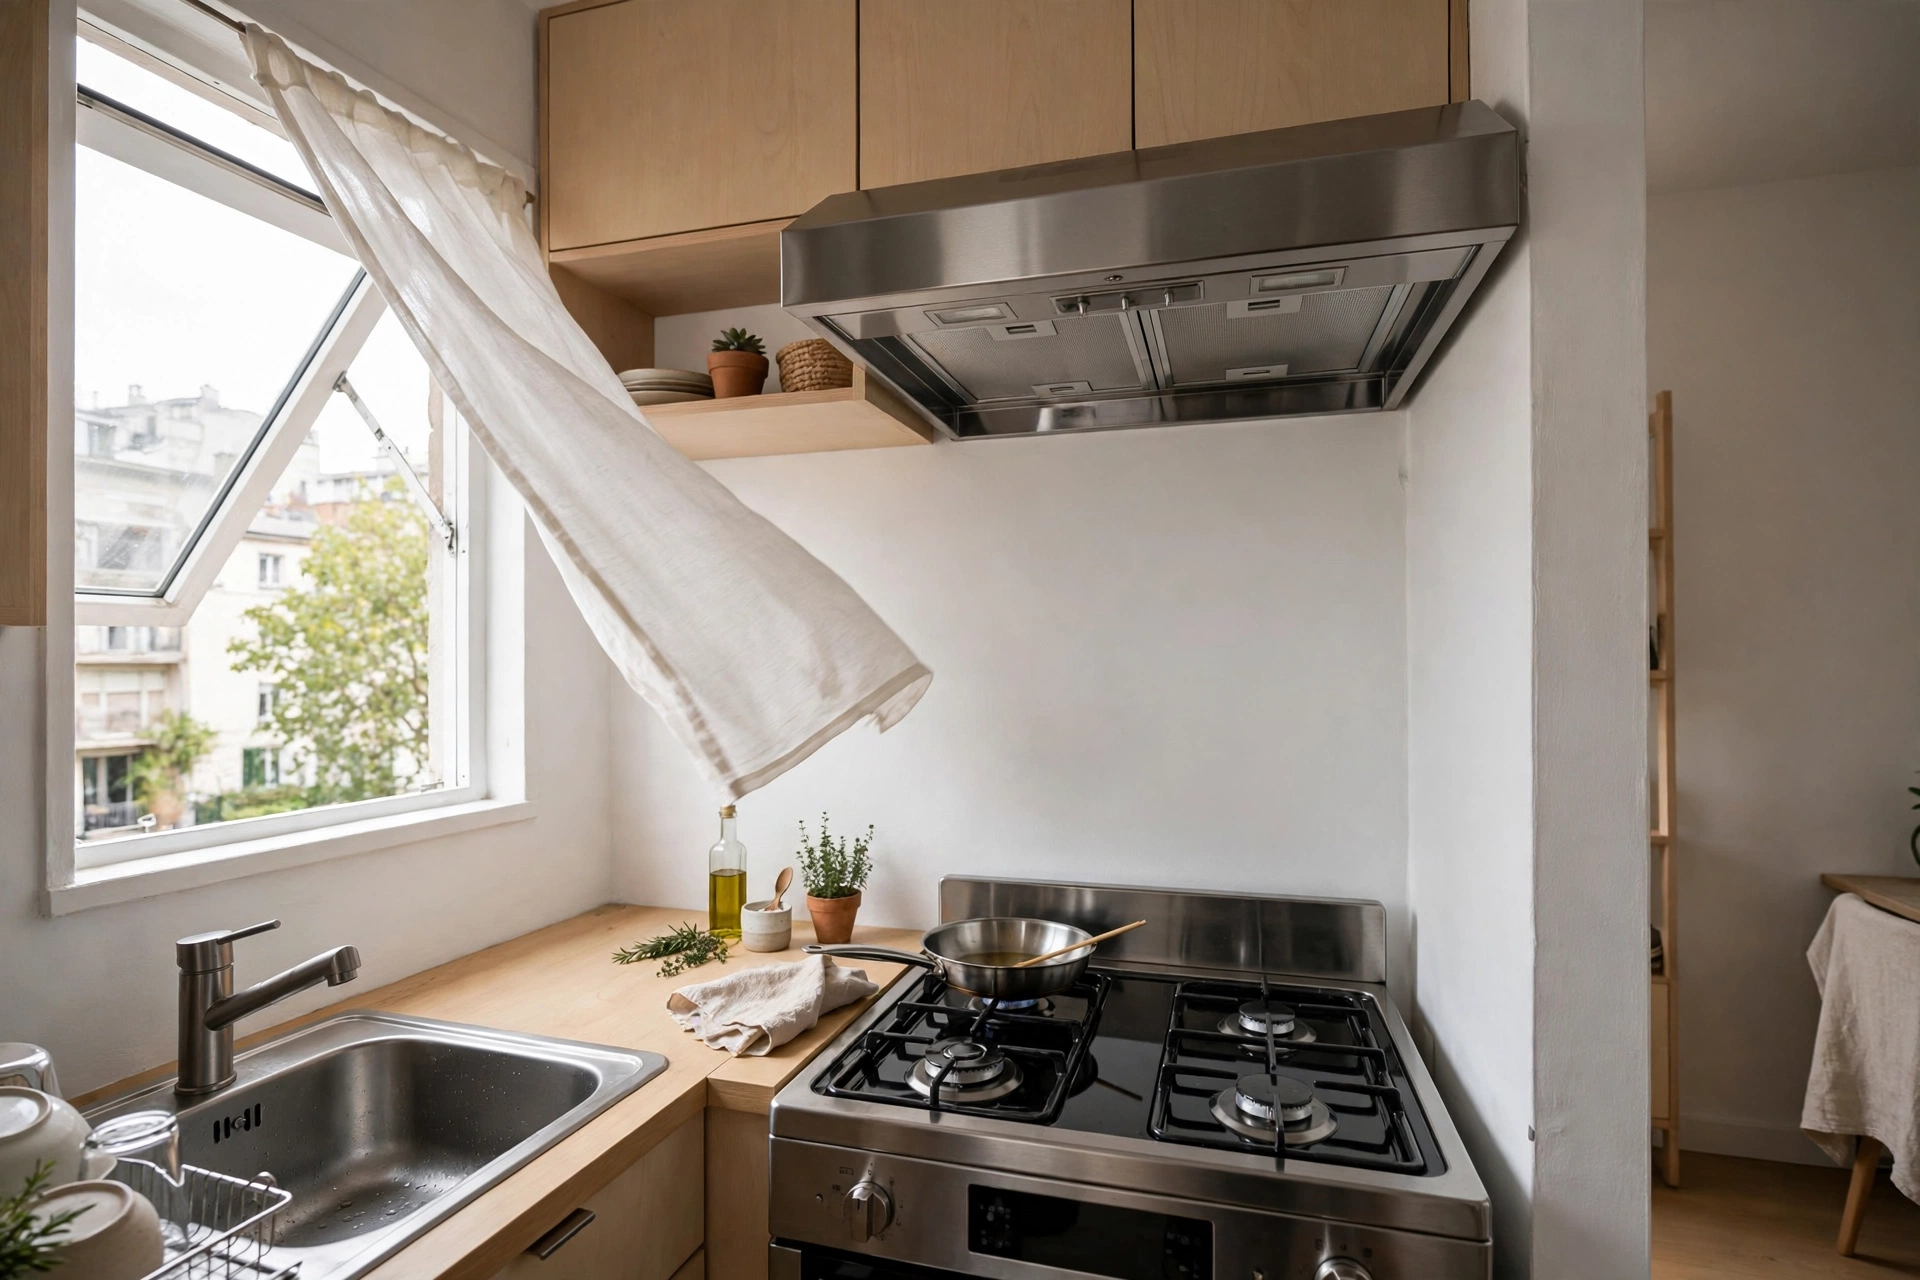
26. Ventilate Like Your Lease Depends on It
In an open-plan studio, last night’s fish follows you to bed — ventilation isn’t optional. Always run the range hood (even a weak one helps), crack a window on the opposite side for cross-breeze, and consider a small portable air purifier ($60–$120) near the kitchen for persistent odors. This matters as much as any storage trick, because a studio that smells like cooking never feels clean — a point our studio layout ideas guide makes too: zone the air, not just the furniture. Pro tip: simmer a pot of water with lemon slices and rosemary for 20 minutes after heavy cooking — it resets the apartment’s smell faster than any spray.
27. Contain Splatter Before It Travels
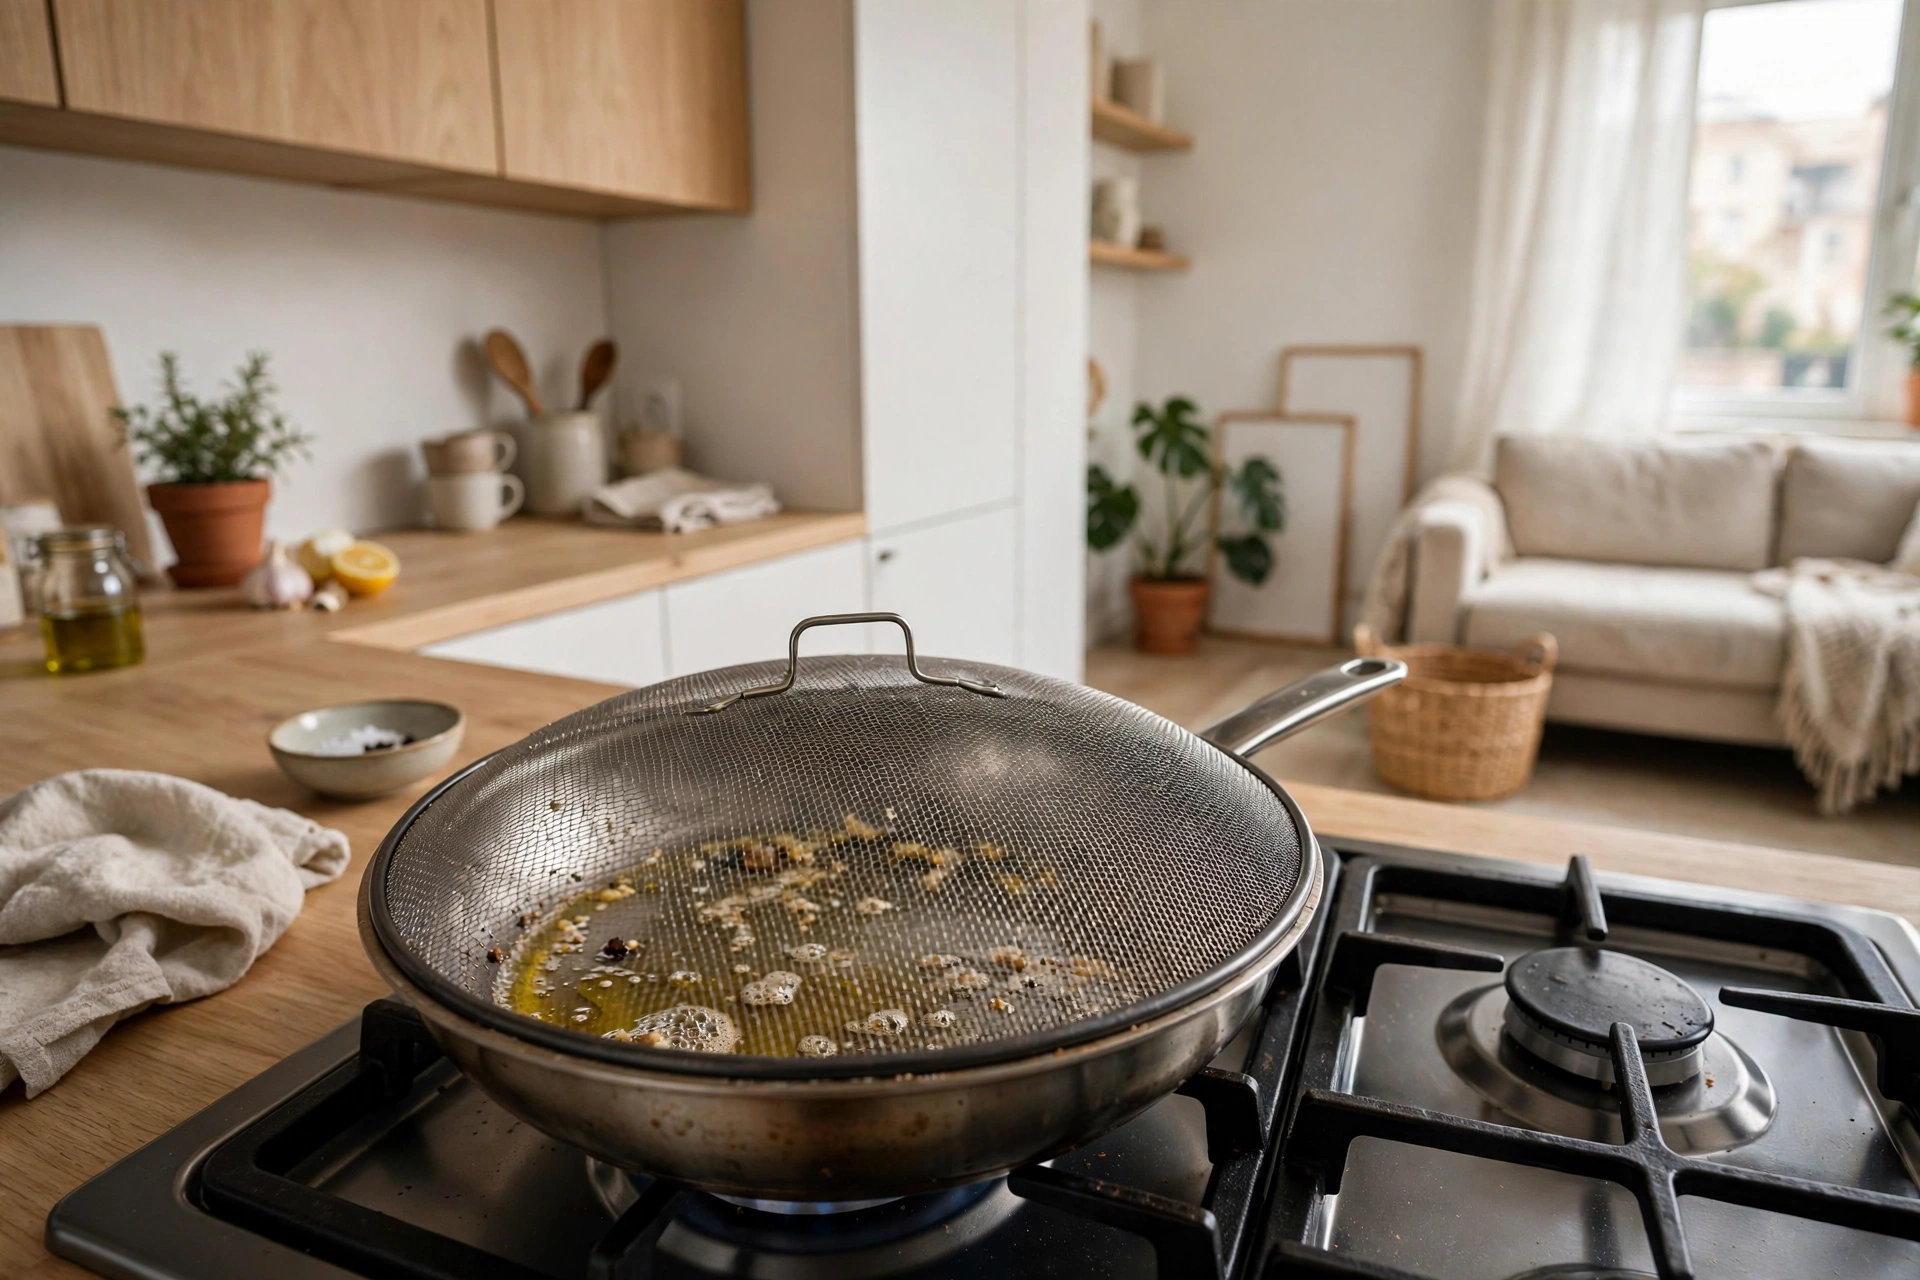
Grease doesn’t respect zone boundaries — a splatter screen ($10–$15) over the pan and a habit of cooking with lids on keeps oil off your walls, your sofa, and your bedding ten feet away. For frying, a deeper pot beats a shallow pan every time; less surface area means less airborne grease. Pro tip: wipe the stovetop and the wall behind it while they’re still warm — cooled grease needs chemicals, warm grease needs only a damp cloth.
28. Hide the Trash in a Pull-Out Cabinet
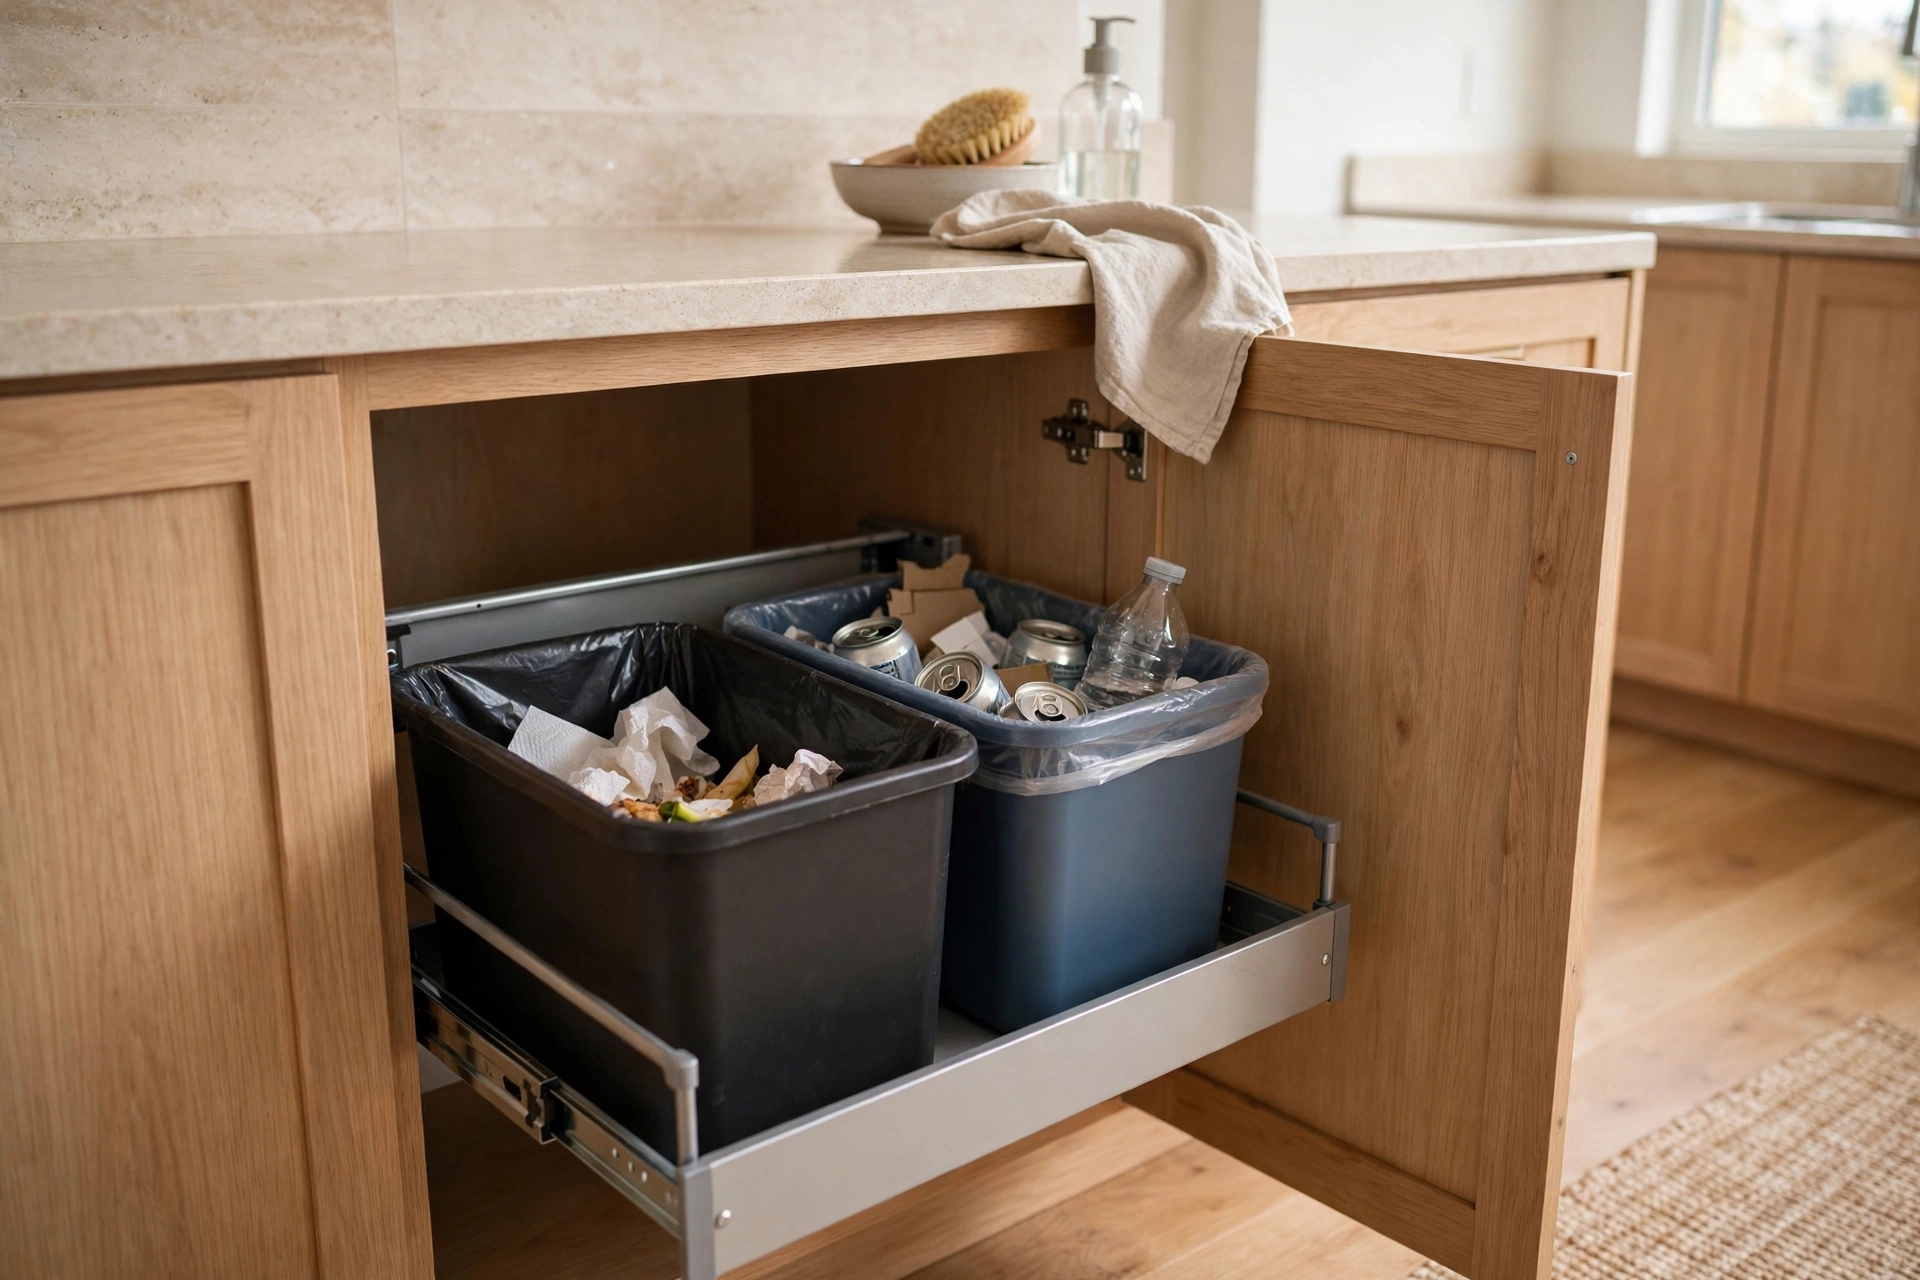
A freestanding trash can in a studio kitchen is always in the way and always on display. A pull-out trash cabinet kit ($50–$90) converts one base cabinet into a hidden double-bin system — trash and recycling tucked away, odors contained, floor space reclaimed. It’s the kind of invisible upgrade that makes the whole apartment feel more grown-up. Pro tip: add a small charcoal filter to the inside of the cabinet door — it absorbs odors passively and costs about $8 for a multi-pack.
29. Style Open Shelves Like You Mean It
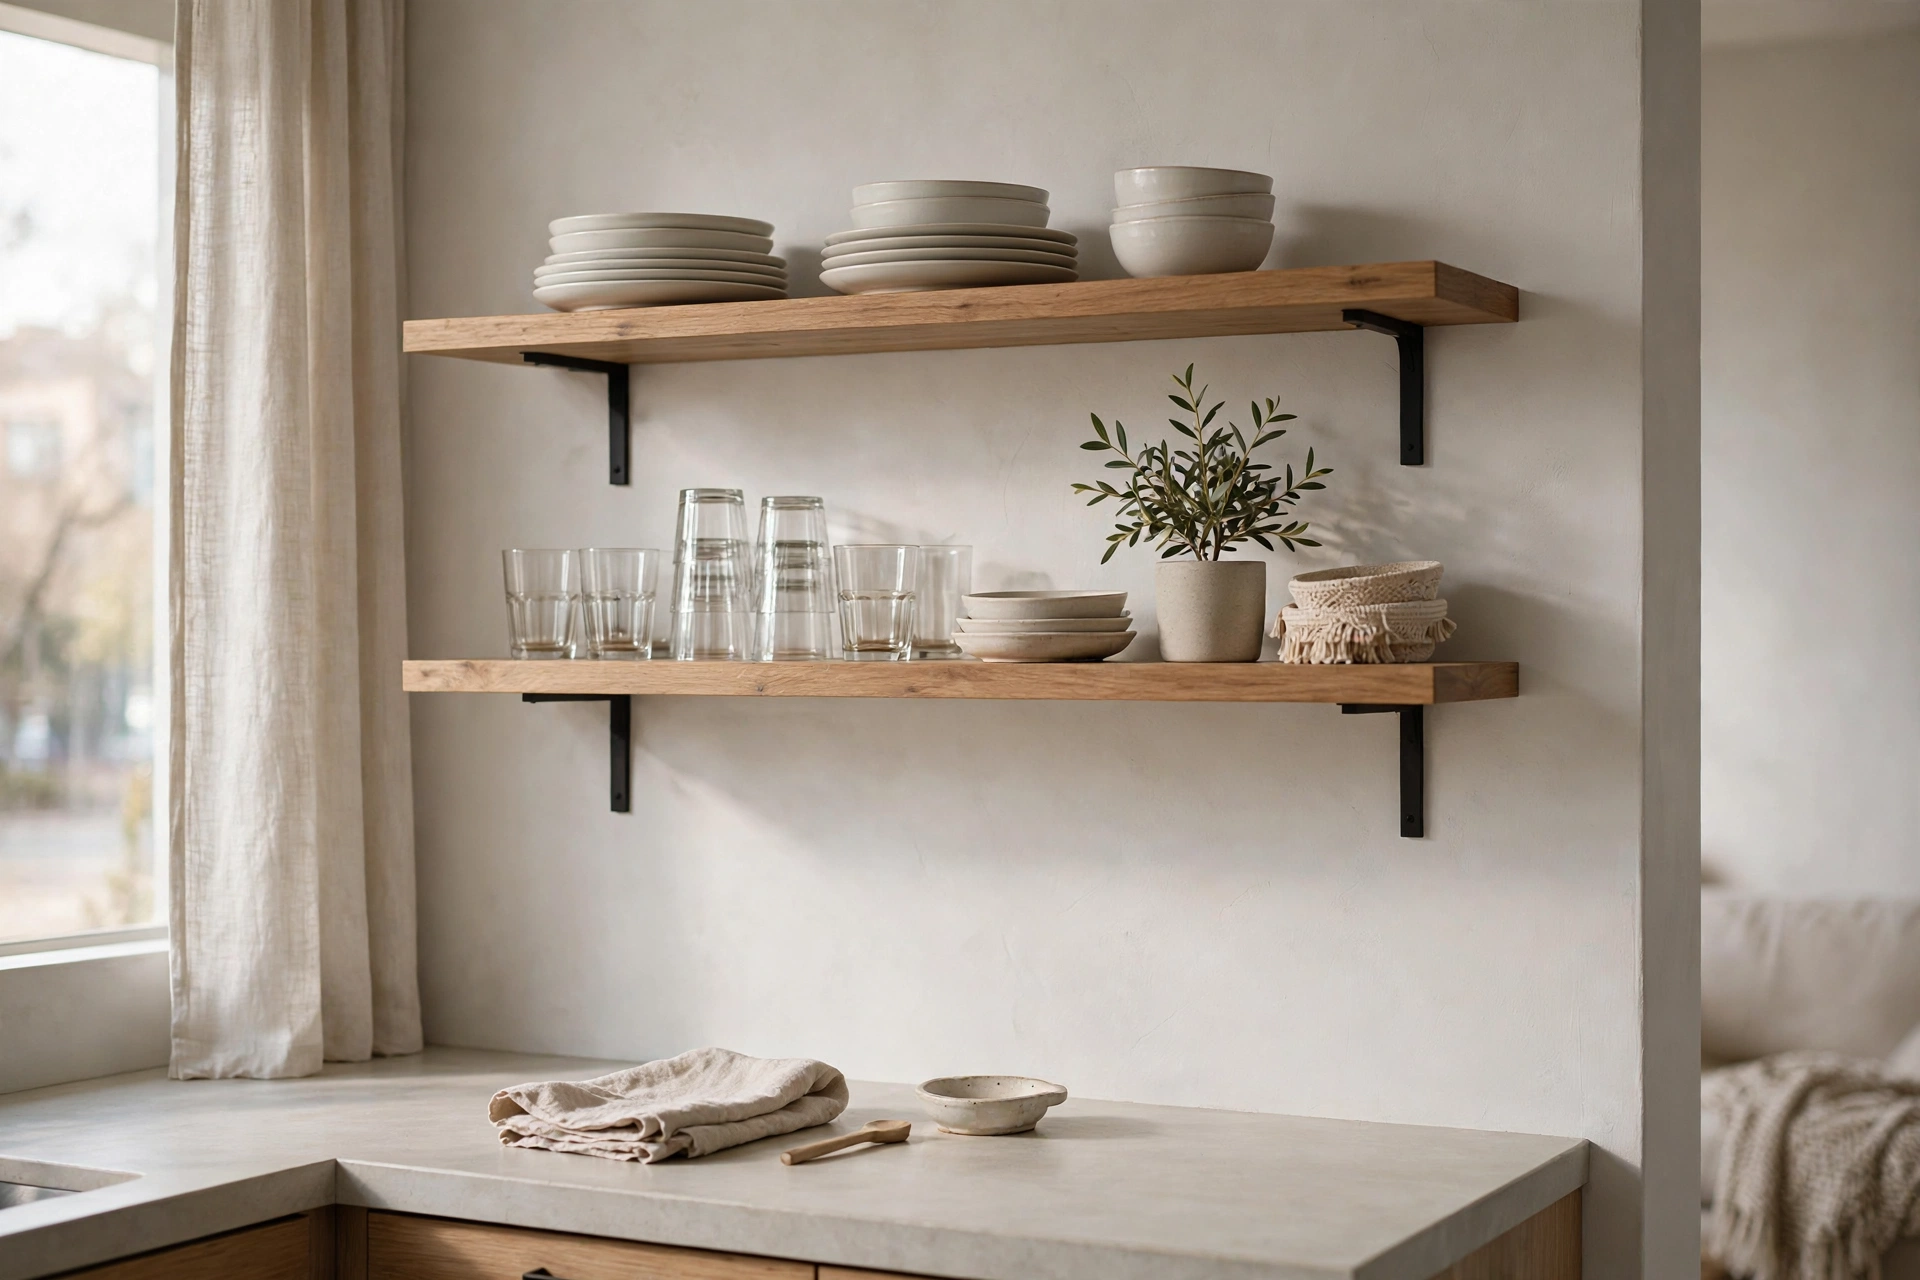
Open shelving in a studio kitchen is always visible from the living area — so style it deliberately. The rule: everyday dishes and glasses only, grouped by type, with breathing room between stacks. Corral small items (spices, oils) on a single tray so they read as one object, not twelve. Two matching plants or one piece of art keeps it from feeling like a warehouse shelf. Pro tip: the “one in, one out” rule applies to shelves too — a new mug means an old one gets donated, or the styled look collapses within a month.
30. Run a 10-Minute Nightly Kitchen Reset
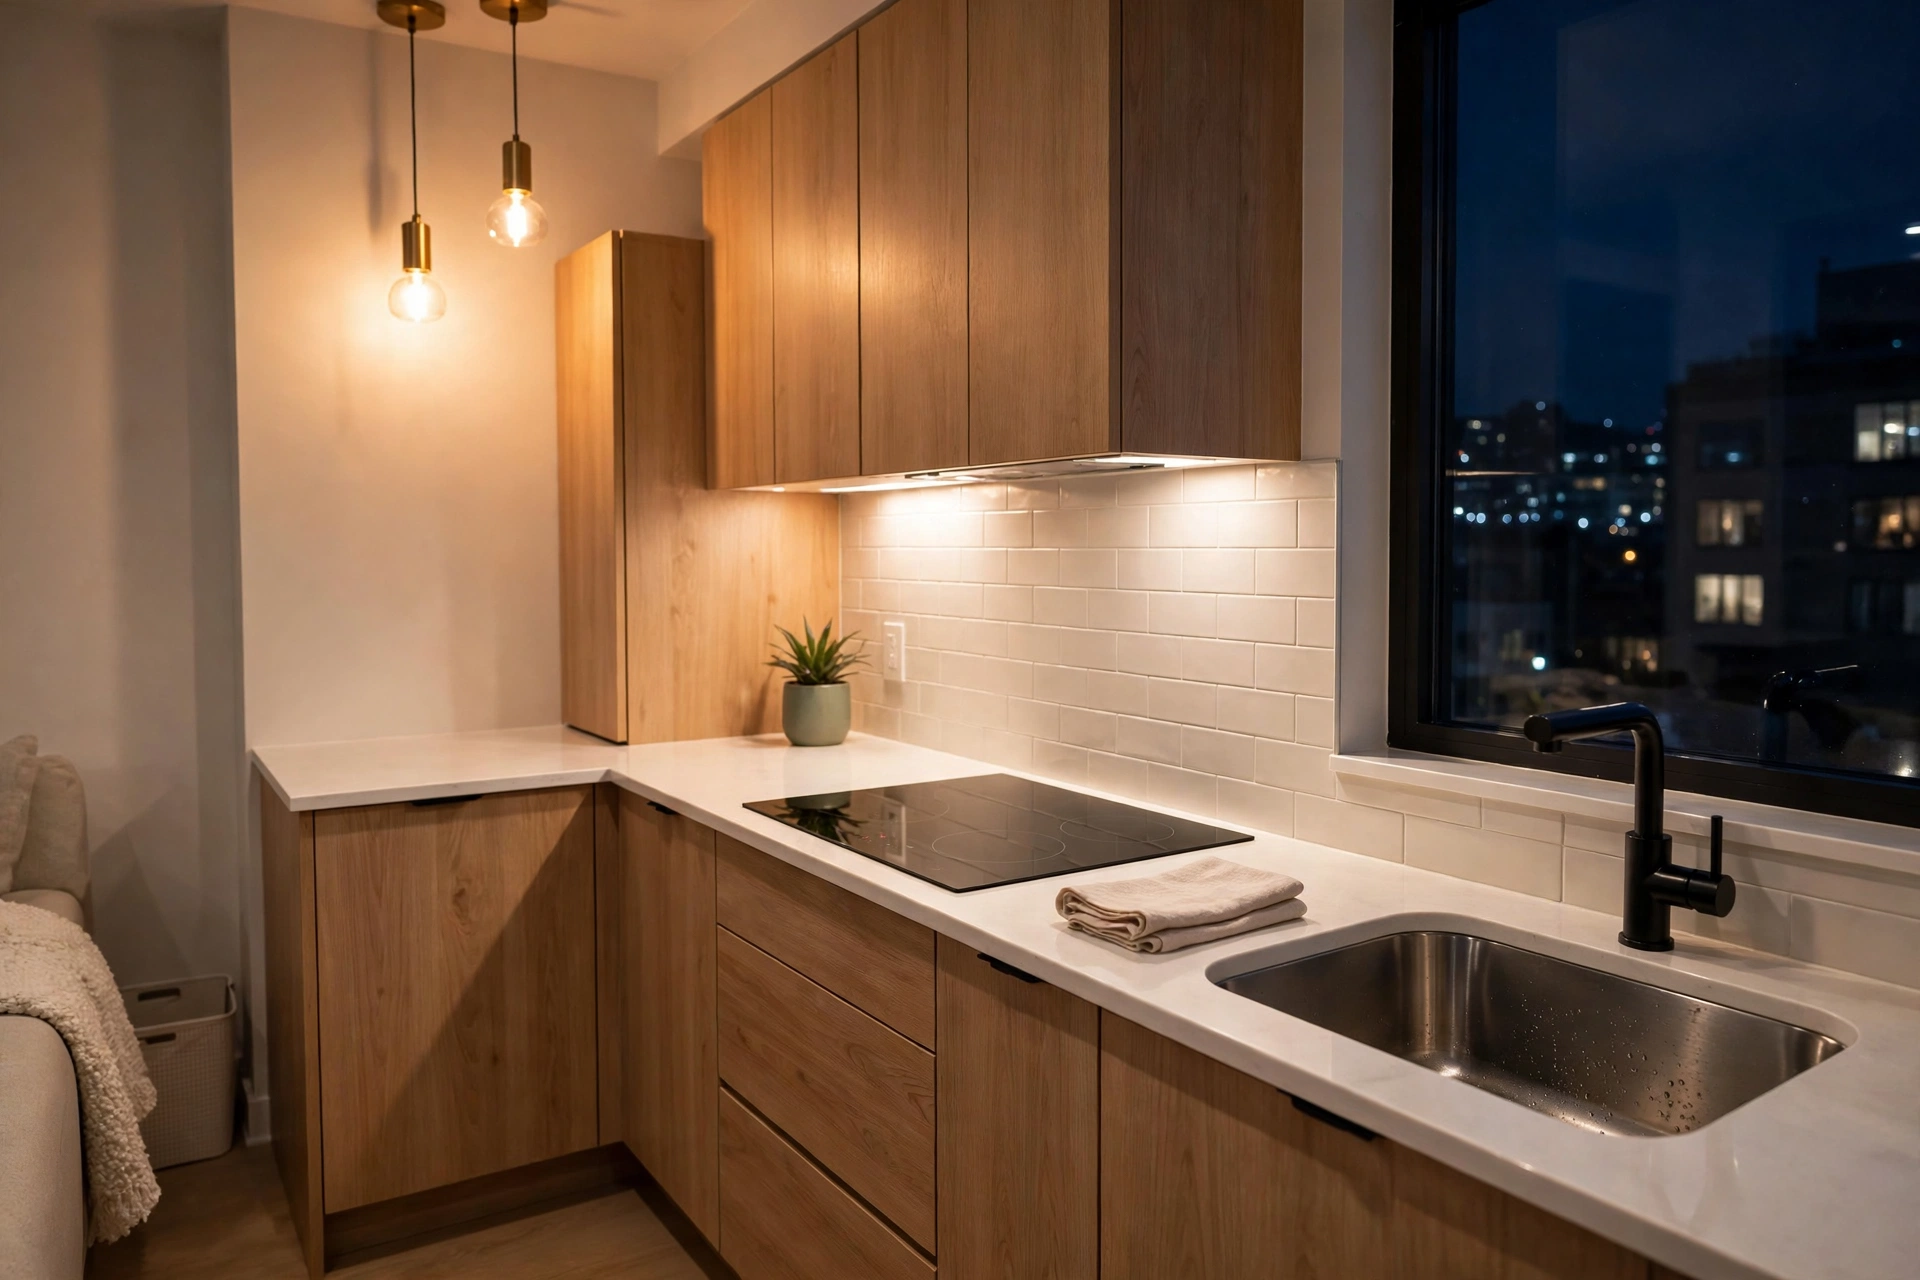
The highest-impact kitchen “idea” costs nothing: a 10-minute nightly reset — dishes done or loaded, counters wiped, trash checked, cart rolled back. In a studio, you wake up looking at the kitchen, so starting the day with a clean one changes how the whole apartment feels. It’s the single habit that separates the studios that photograph well from the ones that don’t, and skipping it is one of the decorating mistakes to avoid letting pile up. Pro tip: set a phone timer and race it — gamifying the reset turns a chore into a 10-minute sprint you’ll actually stick with.
Frequently Asked Questions
How do I add counter space to a tiny studio kitchen?
The fastest wins: a rolling cart ($60–$130) for movable extra counter, an over-the-sink cutting board ($25–$45) that doubles as prep space, and a roll-up dish mat that converts the sink into counter on demand. Together these three add the equivalent of several square feet without any renovation.
What appliances are worth it in a studio apartment kitchen?
A quality toaster oven ($120–$250) covers most oven tasks, a portable induction burner ($60–$120) adds flexible cooktop space, and a compact coffee setup beats a bulky machine. Skip single-use gadgets — every appliance must earn its counter or cabinet space daily to justify living in a studio.
How do I keep cooking smells out of my studio apartment?
Always run the range hood, create cross-ventilation with a window on the opposite side, cook with lids on, and use splatter screens for frying. A small air purifier near the kitchen ($60–$120) handles persistent odors, and simmering lemon water for 20 minutes after cooking resets the air naturally.
How can I organize a studio kitchen with no pantry?
Go vertical: pegboards, wall rails, and magnetic strips move storage to the walls; shelf risers and lazy Susans double cabinet capacity; slim pull-out pantries exploit narrow gaps; and clear uniform containers let you stack dry goods efficiently. The back of every door is bonus shelving too.
Are open shelves a good idea in a small kitchen?
Yes, with discipline — they make a small kitchen feel airier and keep daily dishes within reach. The rules: everyday items only, grouped by type, nothing precious (grease dust is real), and a quick weekly wipe. If you can’t commit to the upkeep, stick with closed cabinets.
What’s the biggest mistake in a studio apartment kitchen?
Letting it stay cluttered — because the kitchen is always visible from the living area, mess multiplies visually across the whole apartment. The fix is systems, not willpower: everything gets a home (hooks, risers, zones), single-use gadgets leave, and a 10-minute nightly reset keeps it camera-ready.
Final Thoughts
A small studio kitchen isn’t a compromise — it’s a design constraint that forces smarter choices. Every idea in this guide follows the same logic: move storage to the walls, make surfaces do double duty, choose appliances that earn their footprint, and keep the air as clean as the counters. Do that, and a 60-square-foot kitchen can cook like one three times its size.
Start with the free wins this weekend: clear the work triangle, add a tension rod under the sink, and hook up the inside of one cabinet door. Then invest in the big multipliers — the rolling cart, the shelf risers, the over-sink board. Before long, your tiny kitchen won’t feel like the apartment’s weak spot; it’ll feel like its hardest-working feature.