
34 Studio Apartment Organization Ideas for a Clutter-Free Home
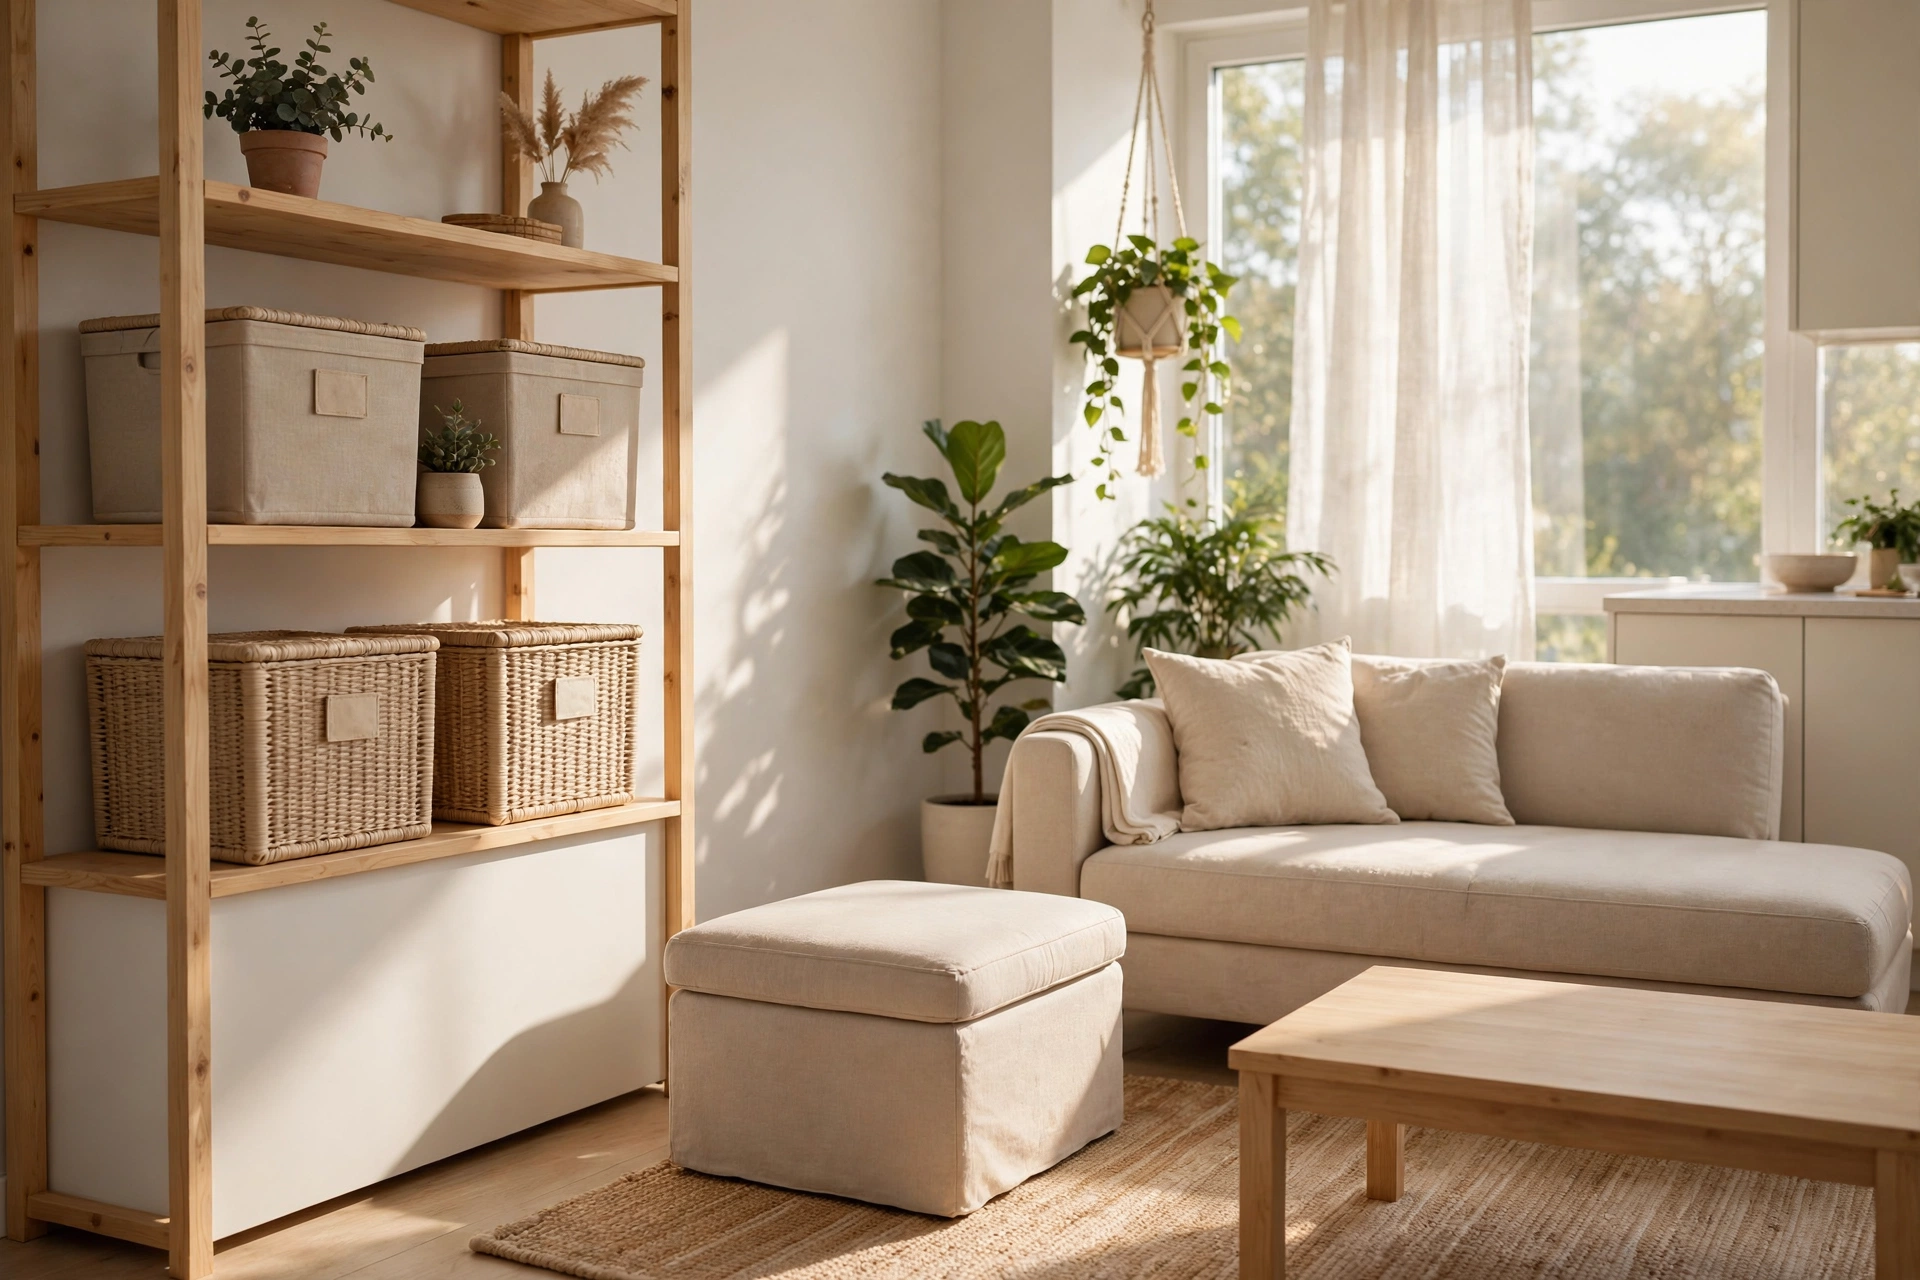
In a studio apartment, clutter isn’t just unsightly — it’s spatial theft. Every stray pile of mail, every overflowing drawer, every “I’ll deal with it later” corner eats square footage you can’t afford to lose. But here’s the good news: small-space organization isn’t about buying a hundred bins. It’s about building simple systems — a home for everything, vertical storage that uses dead wall space, furniture that hides clutter in plain sight, and tiny daily habits that stop mess before it starts. Organization in a studio is really space planning with a tidier name.
This guide brings together 34 studio apartment organization ideas that actually work in real, small, rented homes: decluttering methods that take minutes, wall and vertical storage tricks, double-duty furniture, kitchen and closet systems, and the small routines that keep everything running. Every idea includes realistic prices and a pro tip, so you can start free today and upgrade over time.
Declutter First — The Foundation
1. Start With the One-Box Declutter
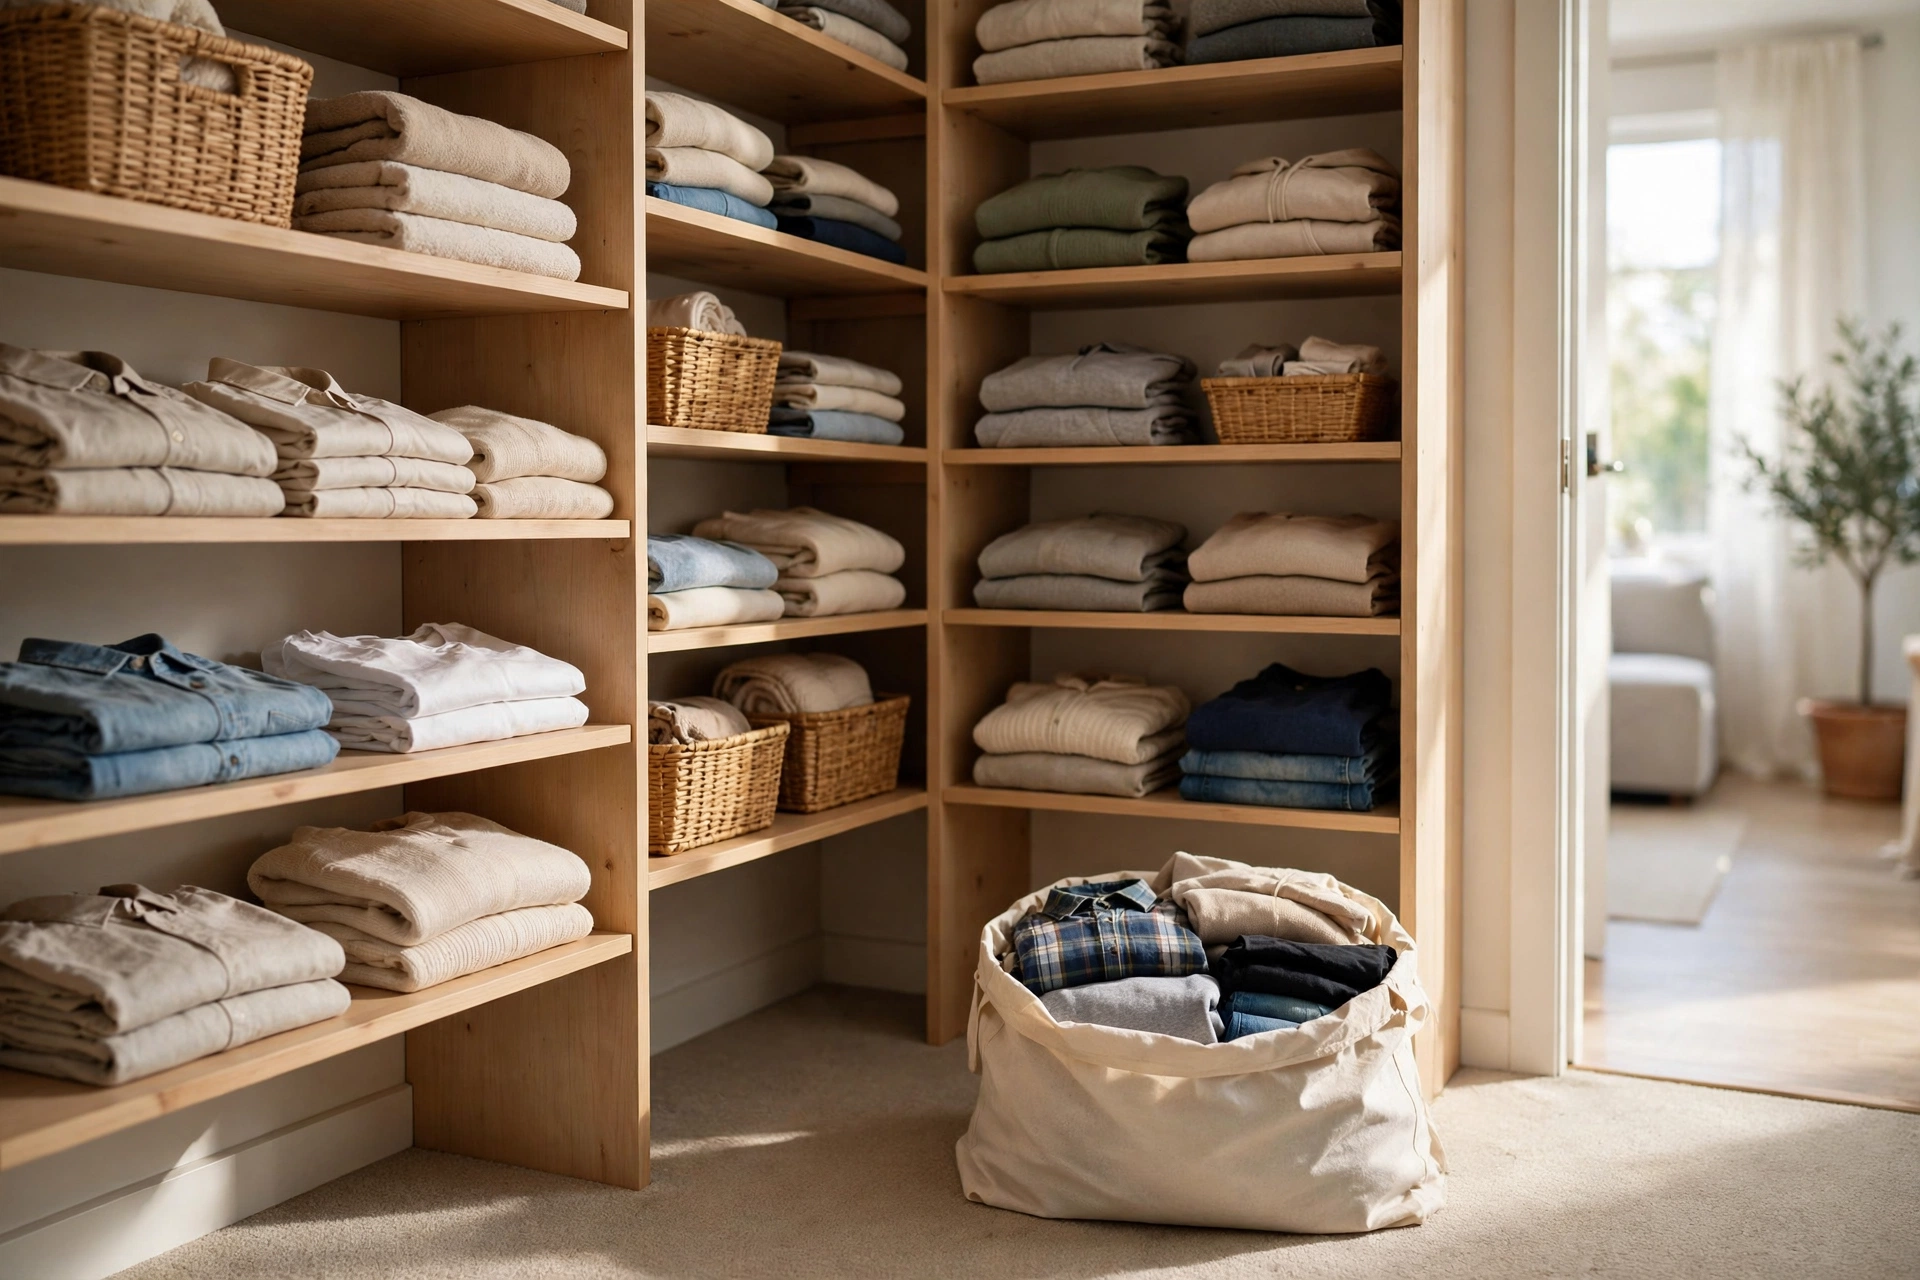
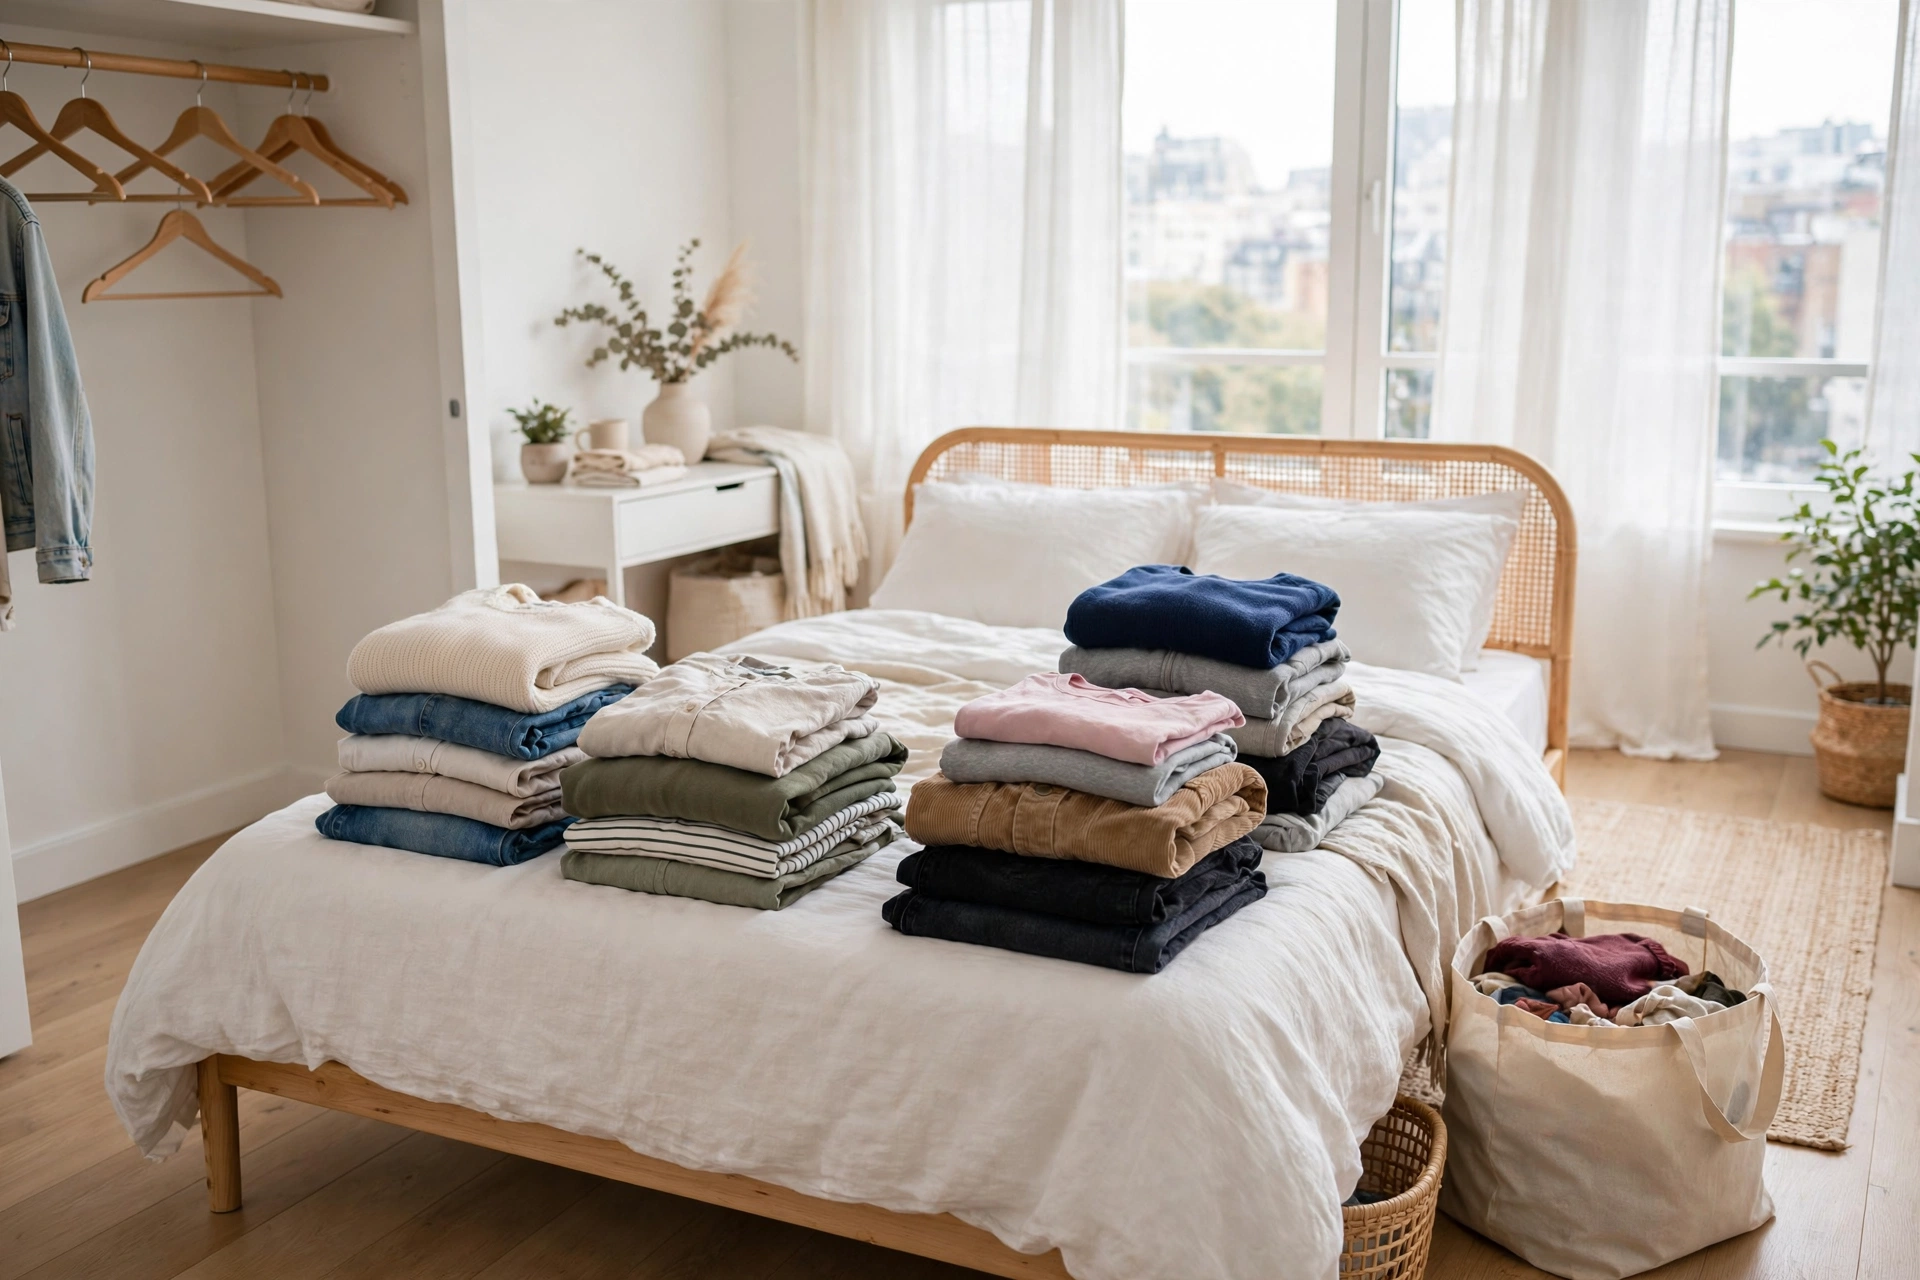
Don’t try to organize a whole studio in one weekend — you’ll burn out by Saturday afternoon. Instead, grab one box and fill it with obvious clutter: dead pens, expired coupons, duplicate chargers, clothes you haven’t worn in a year. One box, one hour, done. The psychological win of a single emptied drawer fuels the next round. Repeat weekly and the studio transforms without a single marathon session. The box costs nothing; the momentum is priceless. Pro tip: sort the box immediately into trash, donate, and relocate piles — an unsorted “declutter box” just becomes clutter with better branding.

2. Follow the One-In-One-Out Rule
Studios have a fixed carrying capacity — every new item needs an old one to leave, or clutter compounds silently. Buy a new sweater? An old one goes to donation. New mug? The chipped one retires. This single rule, applied consistently, is the difference between a curated small home and a storage unit you sleep in. It costs nothing and takes ten seconds per purchase. Write it on a sticky note inside your closet door until it’s automatic. Pro tip: apply the rule to digital clutter too — unsubscribe from one marketing email for every new account you create, or inbox chaos follows you home.
3. Do a 15-Minute Nightly Reset
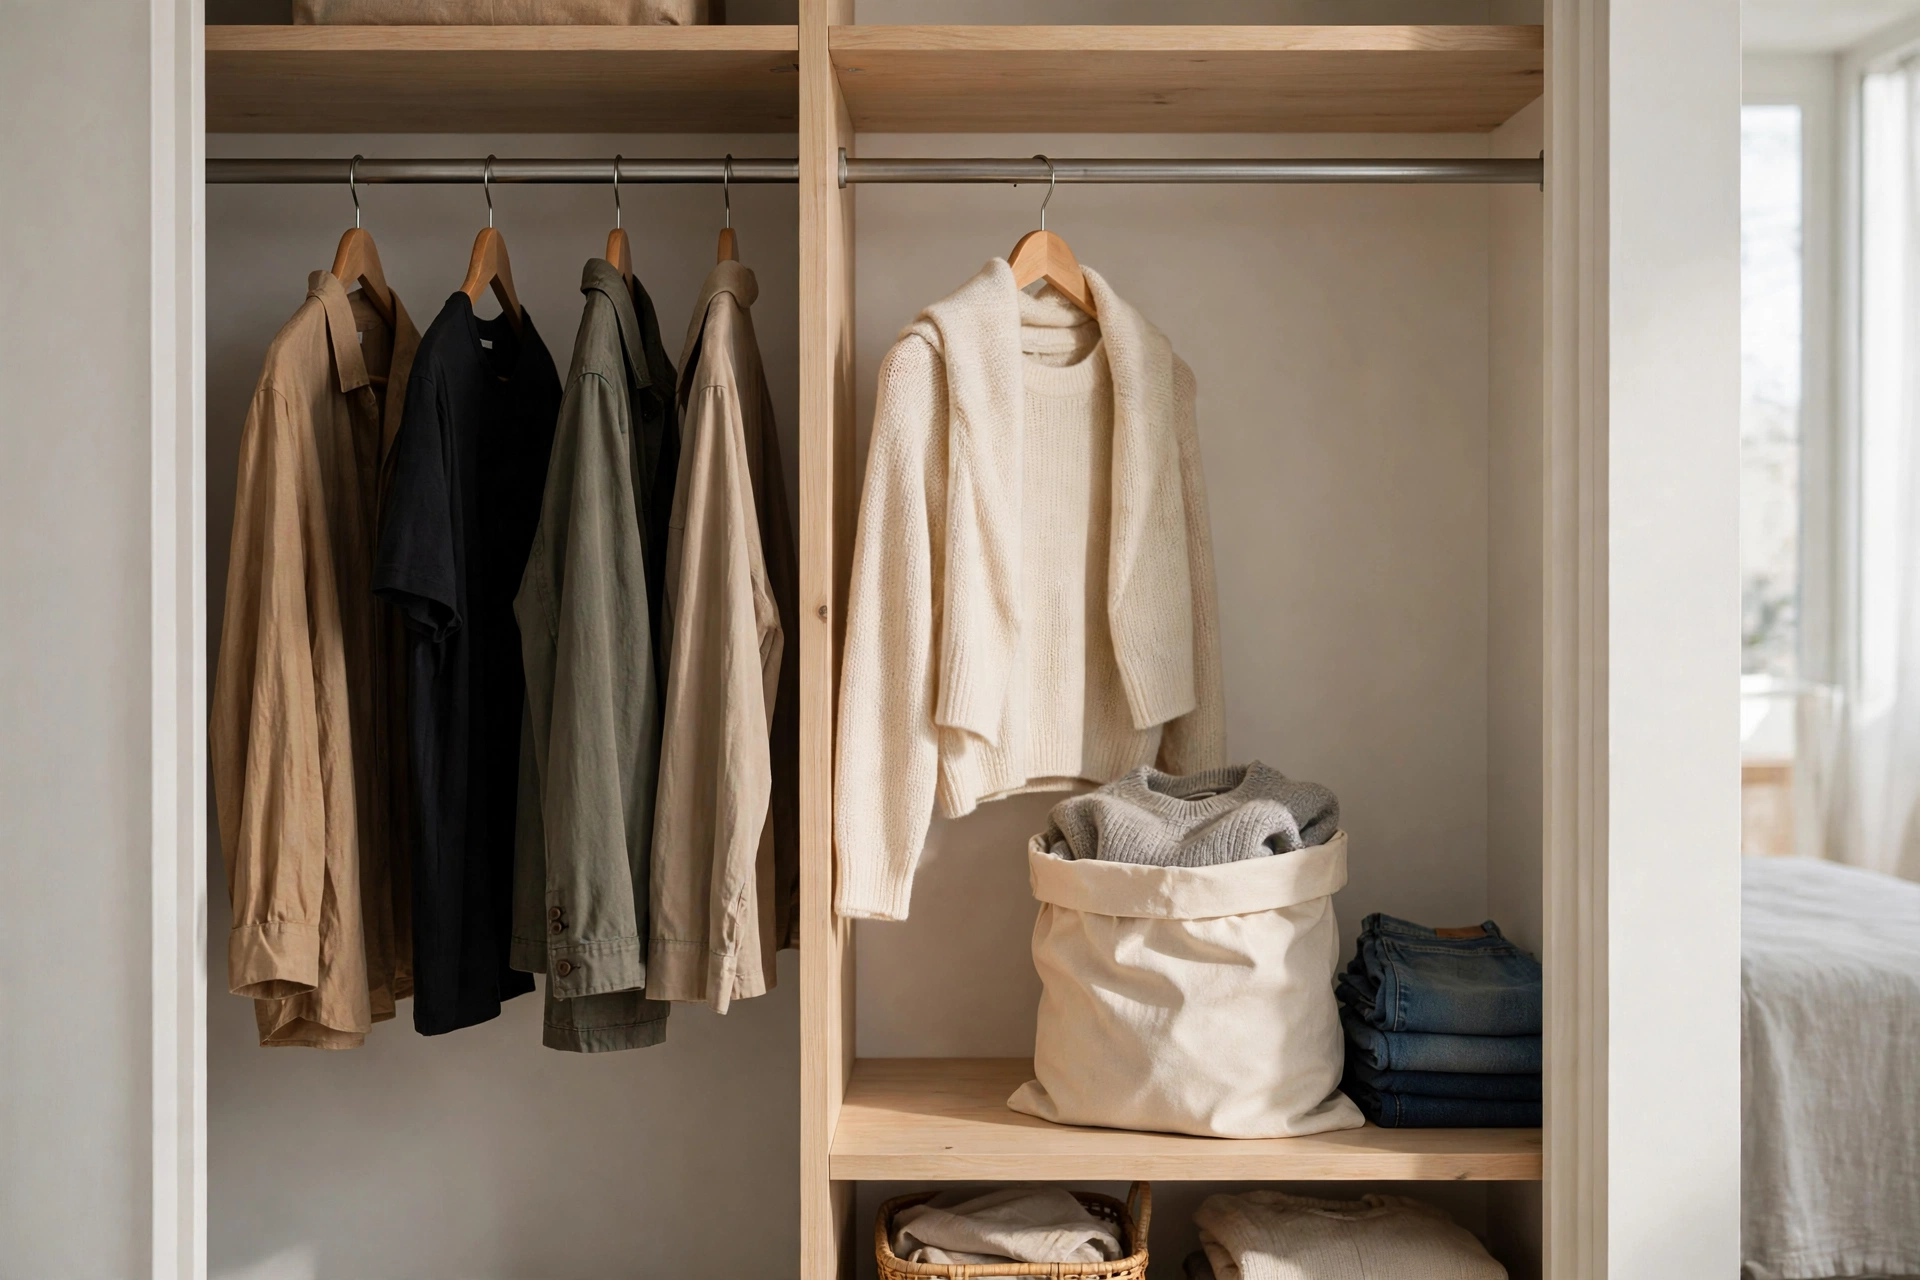
The nightly reset is the highest-ROI habit in small-space living: set a timer for 15 minutes and return everything to its home — dishes to the rack, clothes to the hamper, mail to the tray. Fifteen minutes prevents the slow creep that turns Friday’s tidy studio into Monday’s disaster zone. Pair it with a podcast or playlist so it feels like downtime, not chores. Waking up to a reset room changes how the whole day feels. Pro tip: start the timer before you sit down for the evening — “just one episode first” is how resets never happen.
4. Digitize Paper Clutter
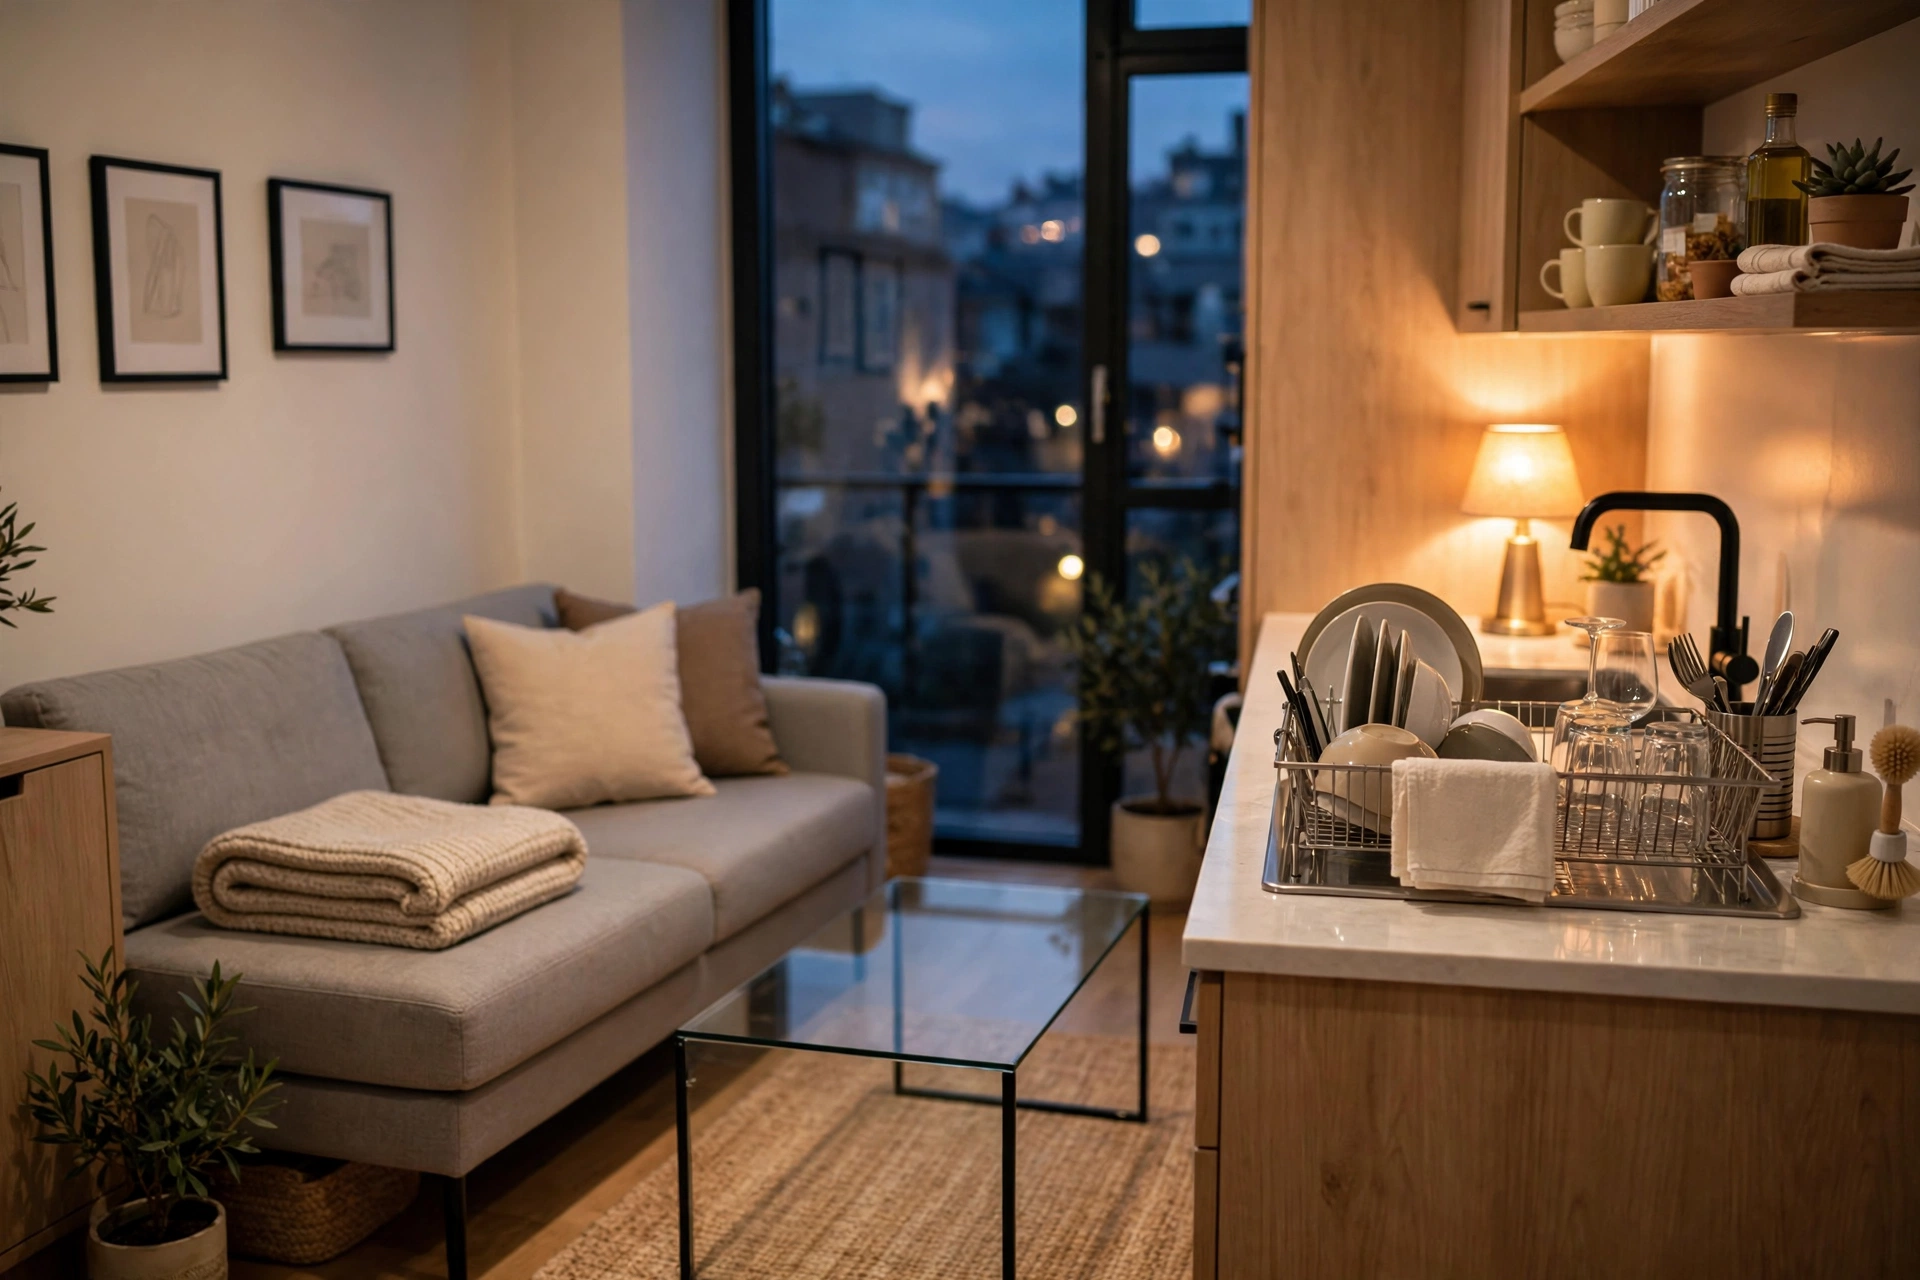
Paper is the stealth clutter of studio life — mail, receipts, manuals, and takeout menus colonize every flat surface. A free scanning app ($0) plus a simple folder system (Bills, Warranties, Medical, Tax) eliminates 90% of it. Scan, file digitally, shred the original. Keep one slim tray ($12–$20) for the week’s incoming paper, and empty it every Sunday. The average studio dweller can reclaim an entire drawer this way. Pro tip: photograph appliance model numbers and keep them in a phone album — you’ll never dig through a manual drawer mid-repair again.
5. Create a Donation Station
Decluttering stalls when donations pile up “to take someday.” Fix it with a permanent donation station: one bag or box ($0–$5) in the closet or by the door, always open. When the one-in-one-out rule evicts an item, it goes straight in the bag — no decisions, no piles. When the bag fills, it goes to the charity shop on your next errand run. The station turns decluttering from a project into a reflex. Pro tip: keep a small notepad on the bag and jot each item’s rough value — it makes tax-time donation deductions nearly effortless.
6. Audit Your “Just in Case” Items
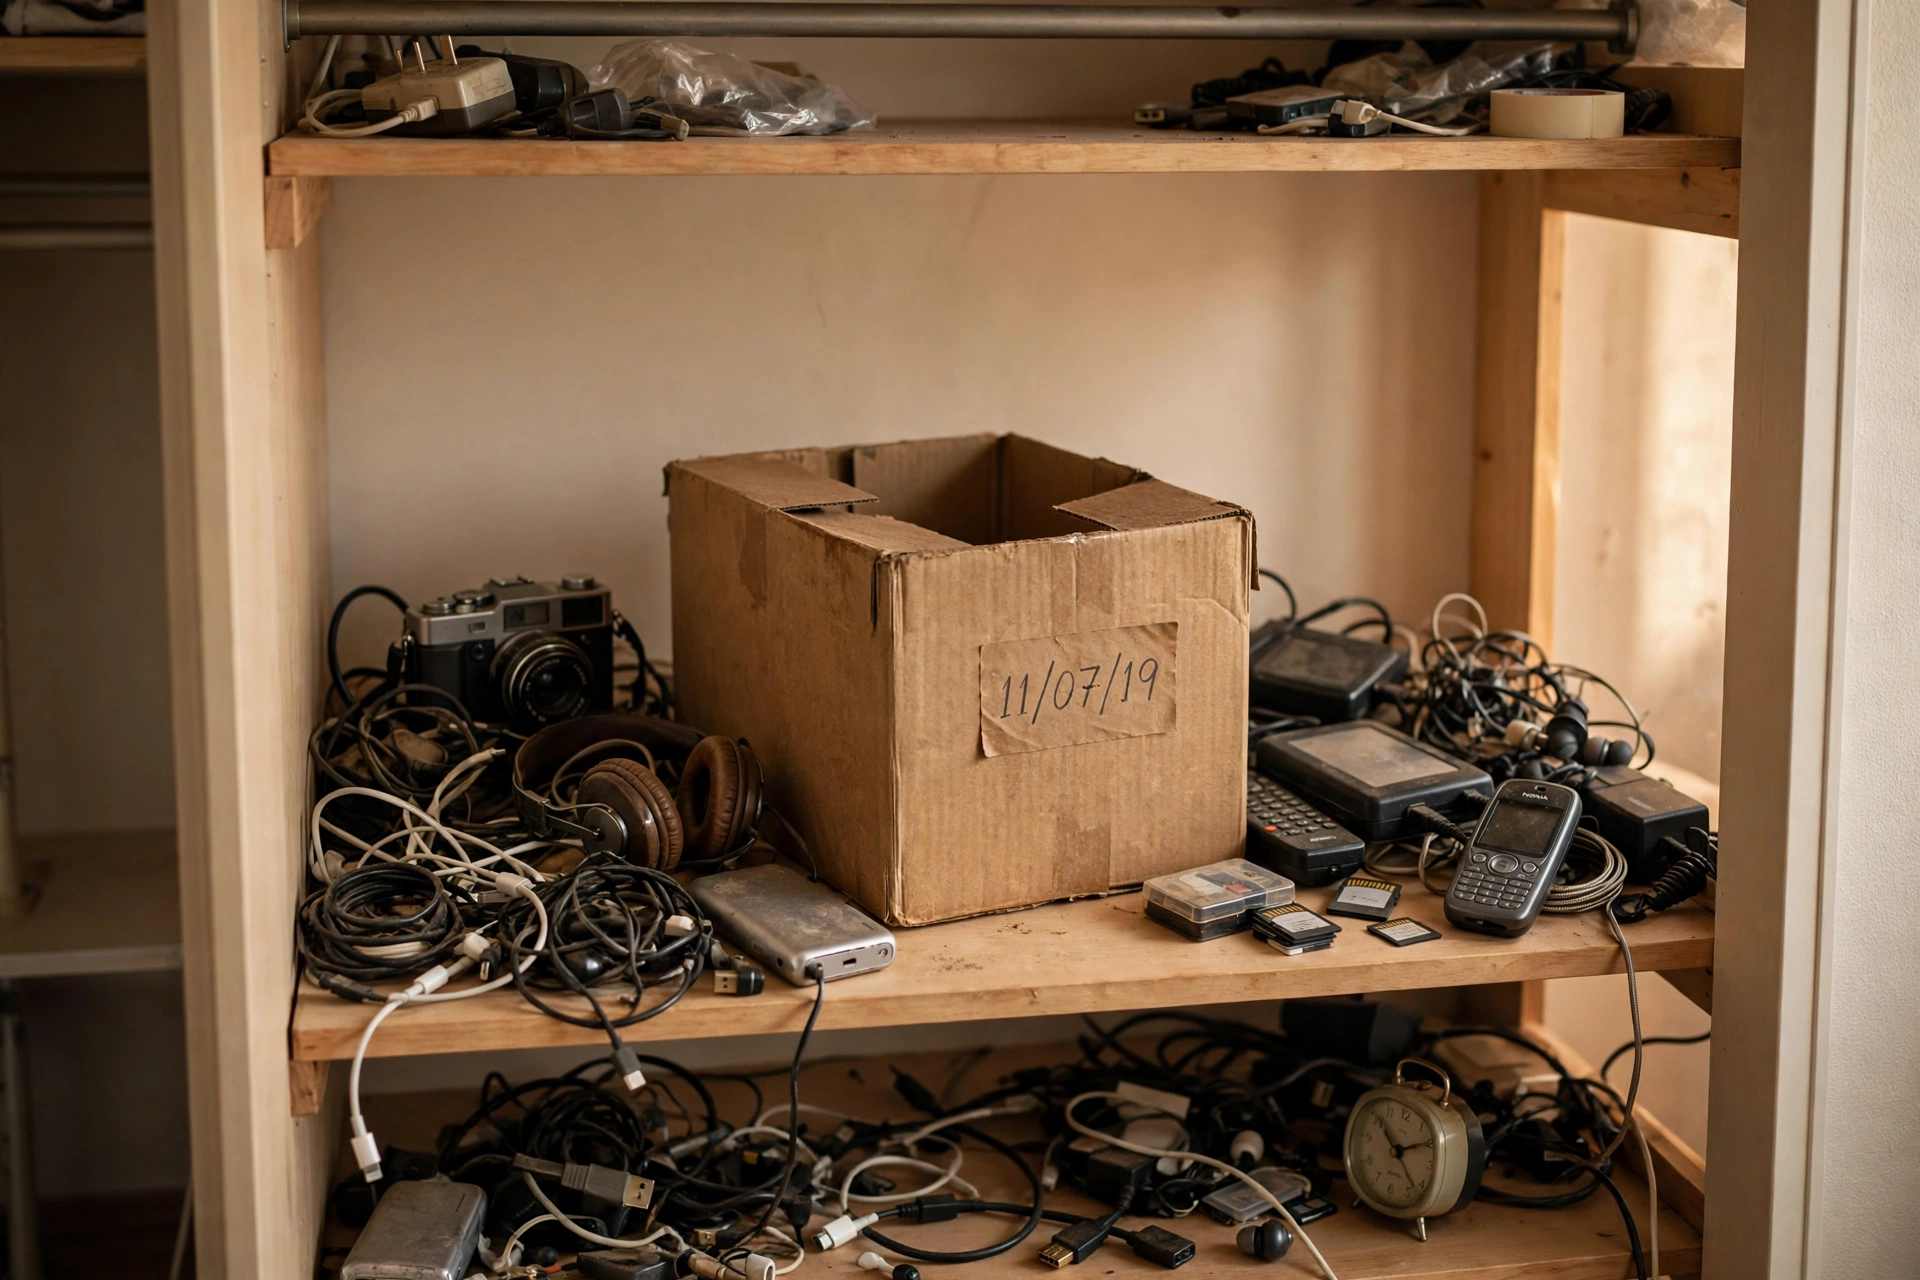
Every studio has a graveyard of “just in case” items: the bread maker used twice, three phone cases for a phone you no longer own, cables for devices that died in 2019. Be honest — if you haven’t used it in a year and it costs under $20 to replace, let it go. “Just in case” is the most expensive phrase in small-space living because it rents your square footage indefinitely. One honest audit can free an entire shelf. Pro tip: put maybes in a dated box in the closet; if you haven’t opened it in six months, donate the whole box unopened — the date does the deciding for you.
Vertical Storage — Use the Walls
7. Install Floor-to-Ceiling Shelving
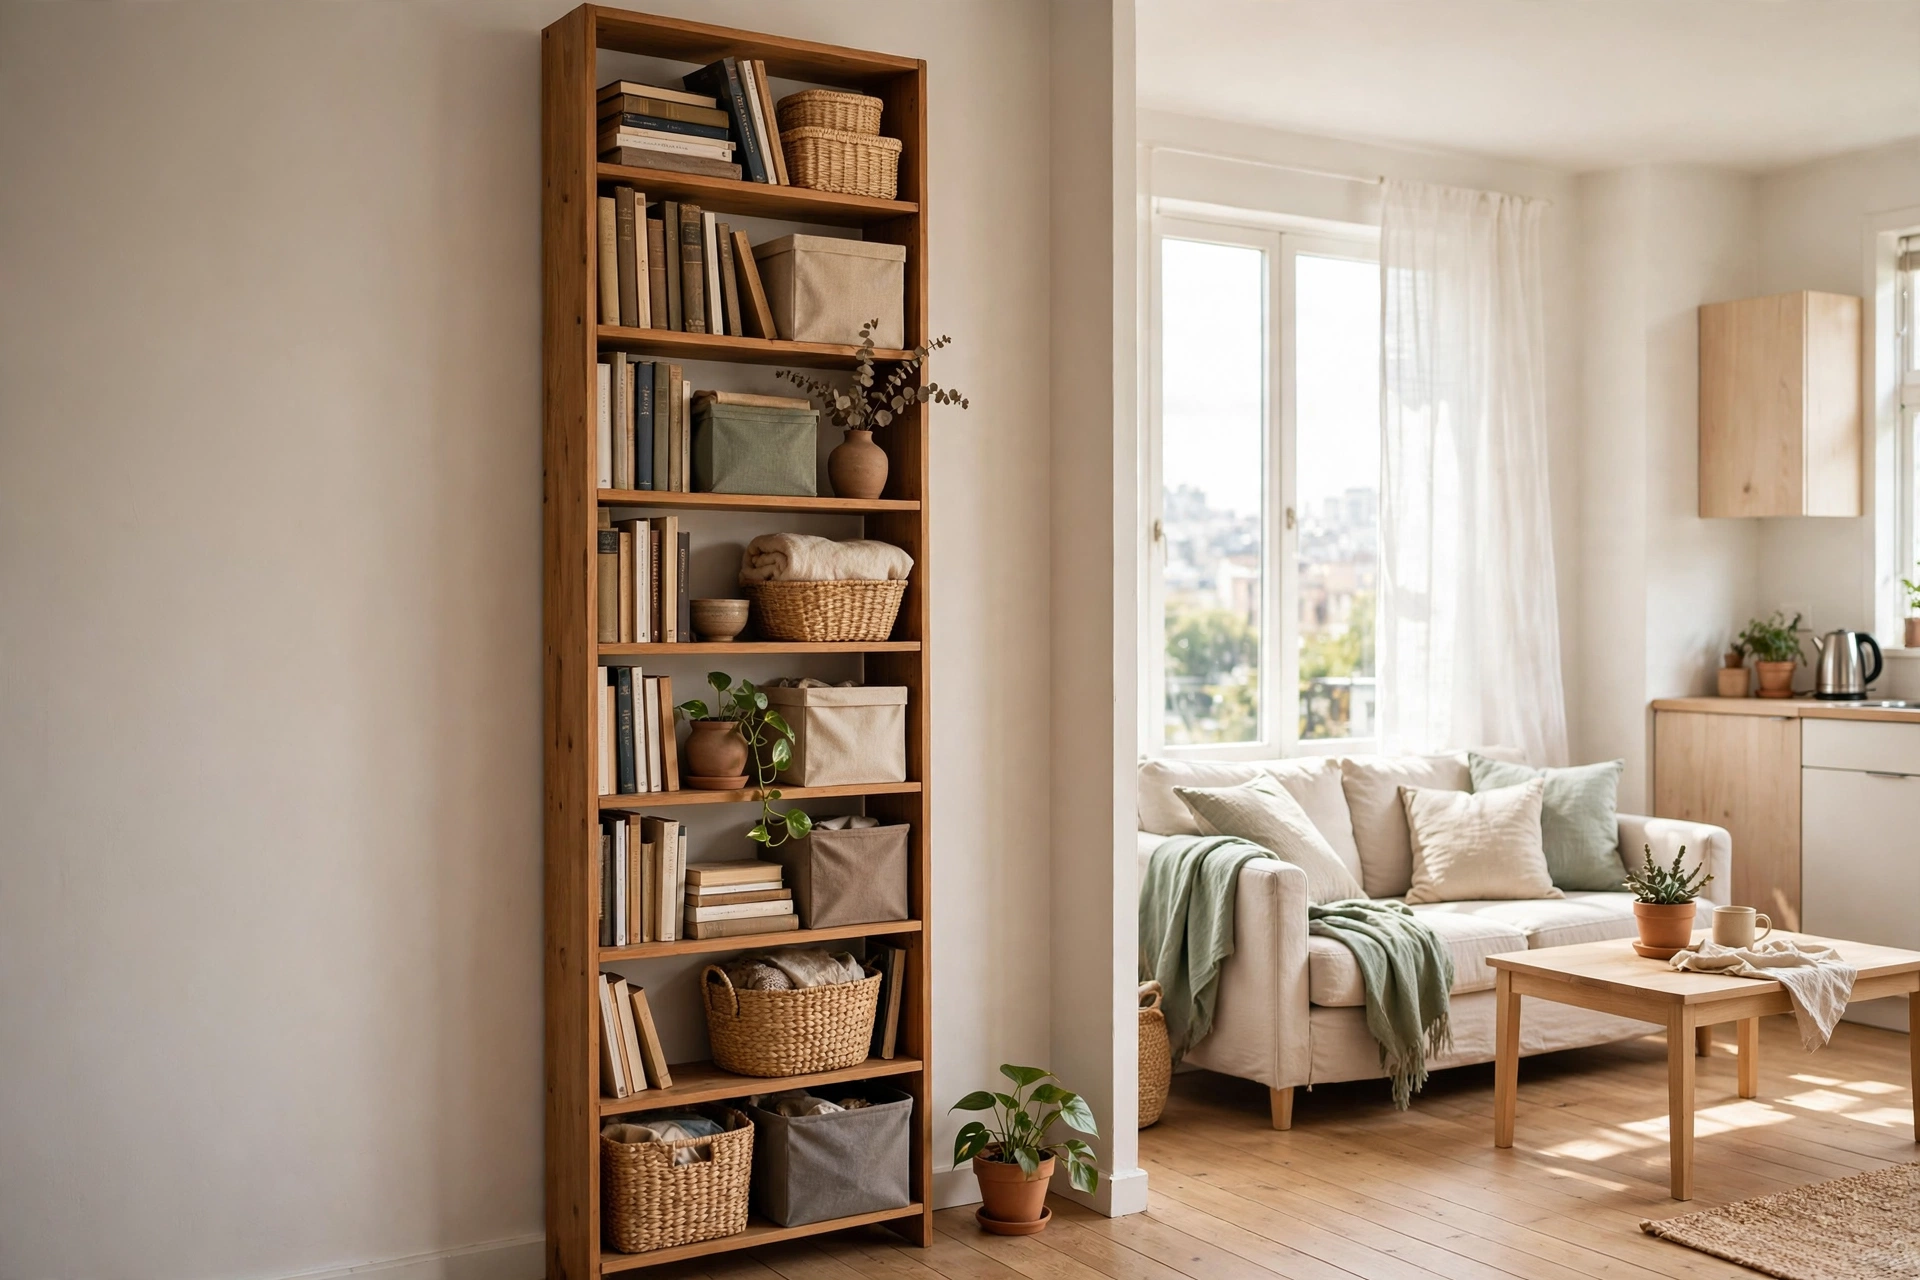
The wall above your furniture is free real estate. A tall, narrow bookcase or a set of stacked wall shelves ($40–$120) turns dead vertical space into a library, pantry overflow, or display wall. In studios, going up instead of out is the whole game — a 12-inch-deep tower holds as much as a bulky dresser while sipping floor space. Anchor everything to studs; tall furniture in a small, high-traffic room must never wobble. This is the same vertical thinking behind our studio apartment layout ideas — every square foot has to earn its keep twice. Pro tip: put daily-use items between knee and eye level, and relegate the top shelves to seasonal or rarely touched things.
8. Mount Floating Shelves Above Furniture
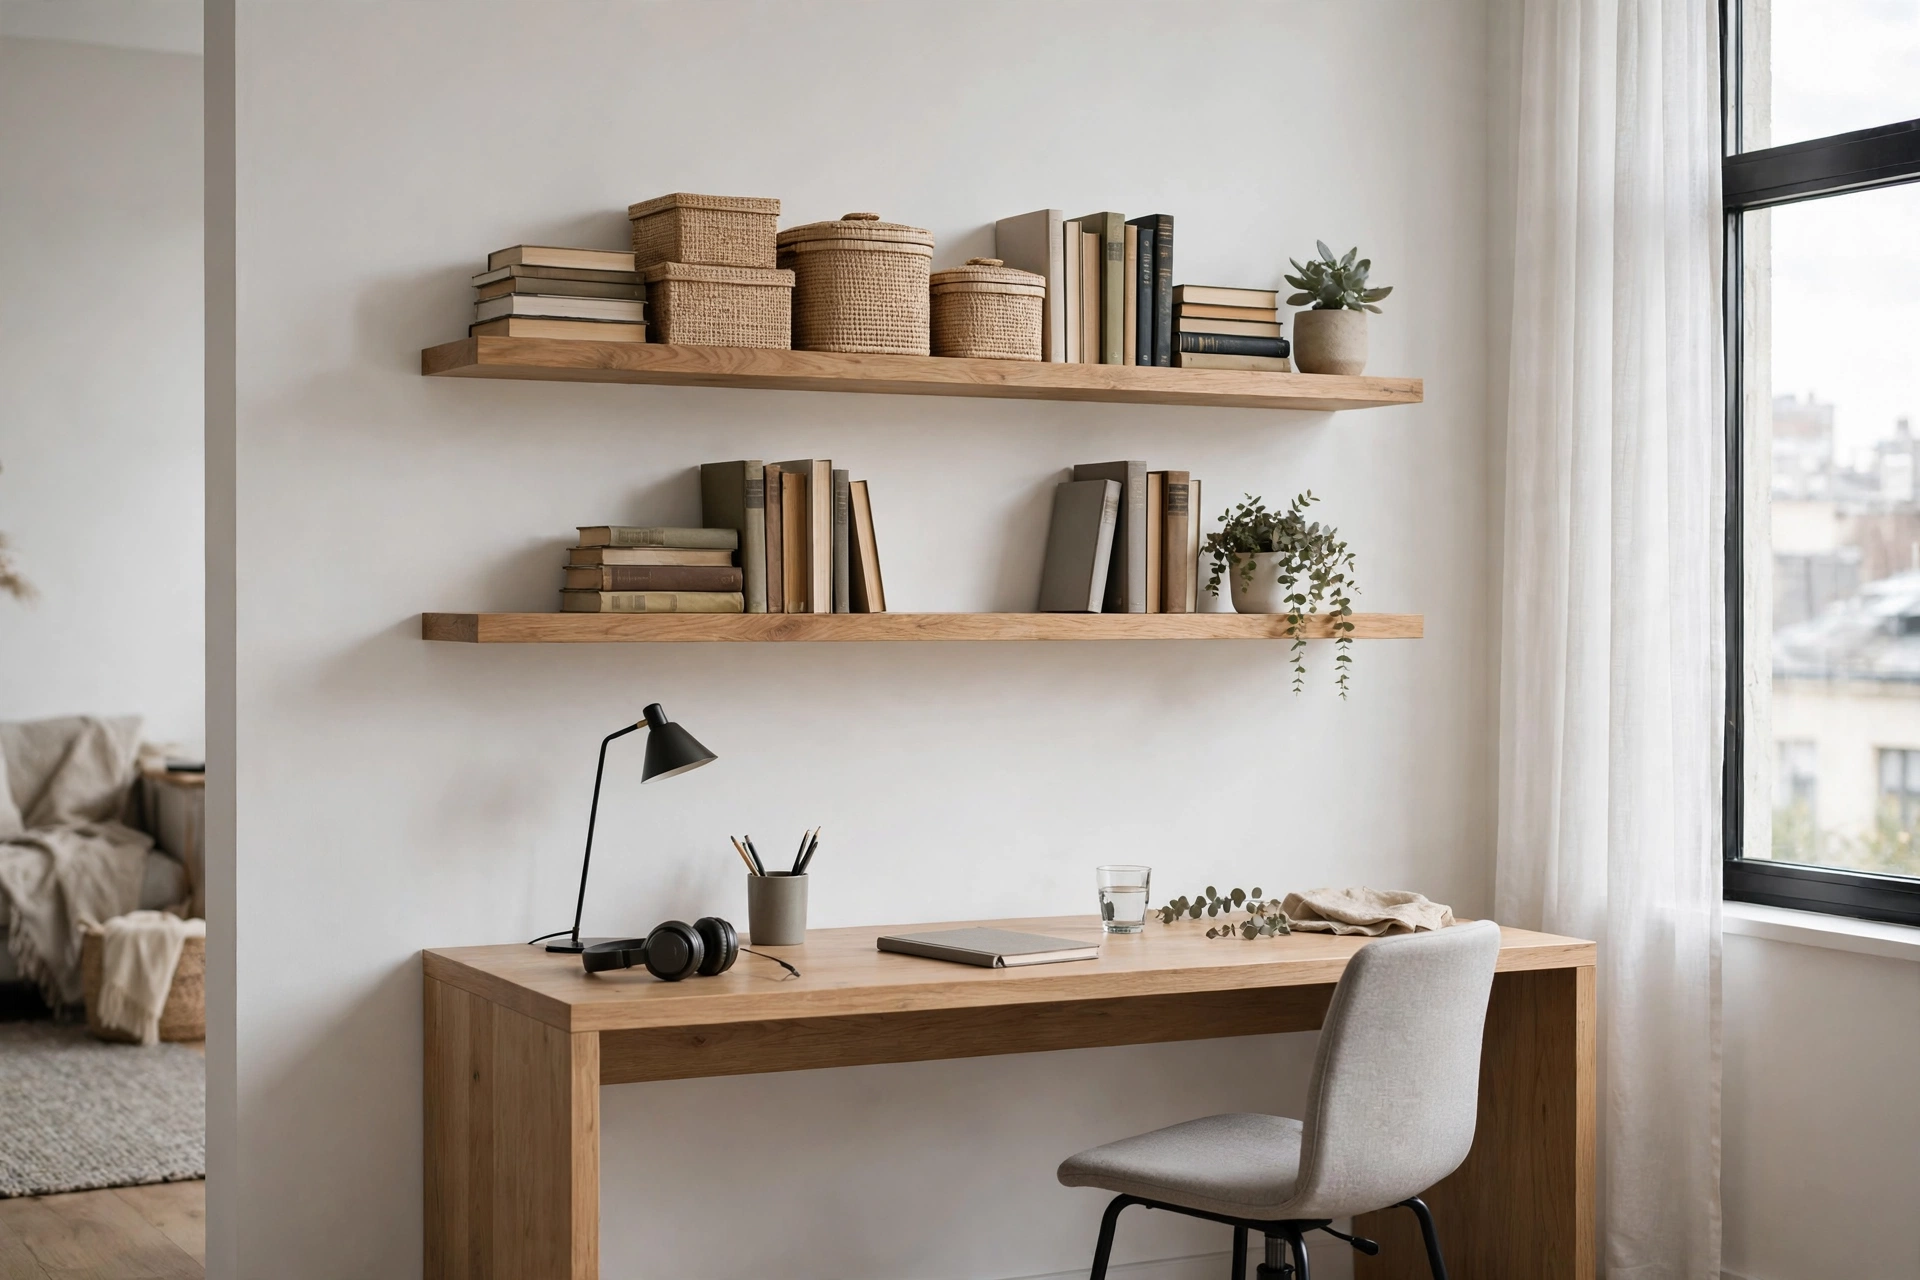
The 18 inches above your desk, dresser, or nightstand are almost always wasted. Two floating shelves ($20–$50 each) there hold books, plants, and pretty storage boxes without touching the floor. Because they have no visible brackets or legs, they keep the room feeling open — critical in a studio where every visual pound matters. Style the top shelf with decor and the lower one with daily essentials. Pro tip: keep shelf depth to 8–10 inches above desks so you don’t bonk your head standing up — measure your seated head clearance first.
9. Use Over-the-Door Organizers
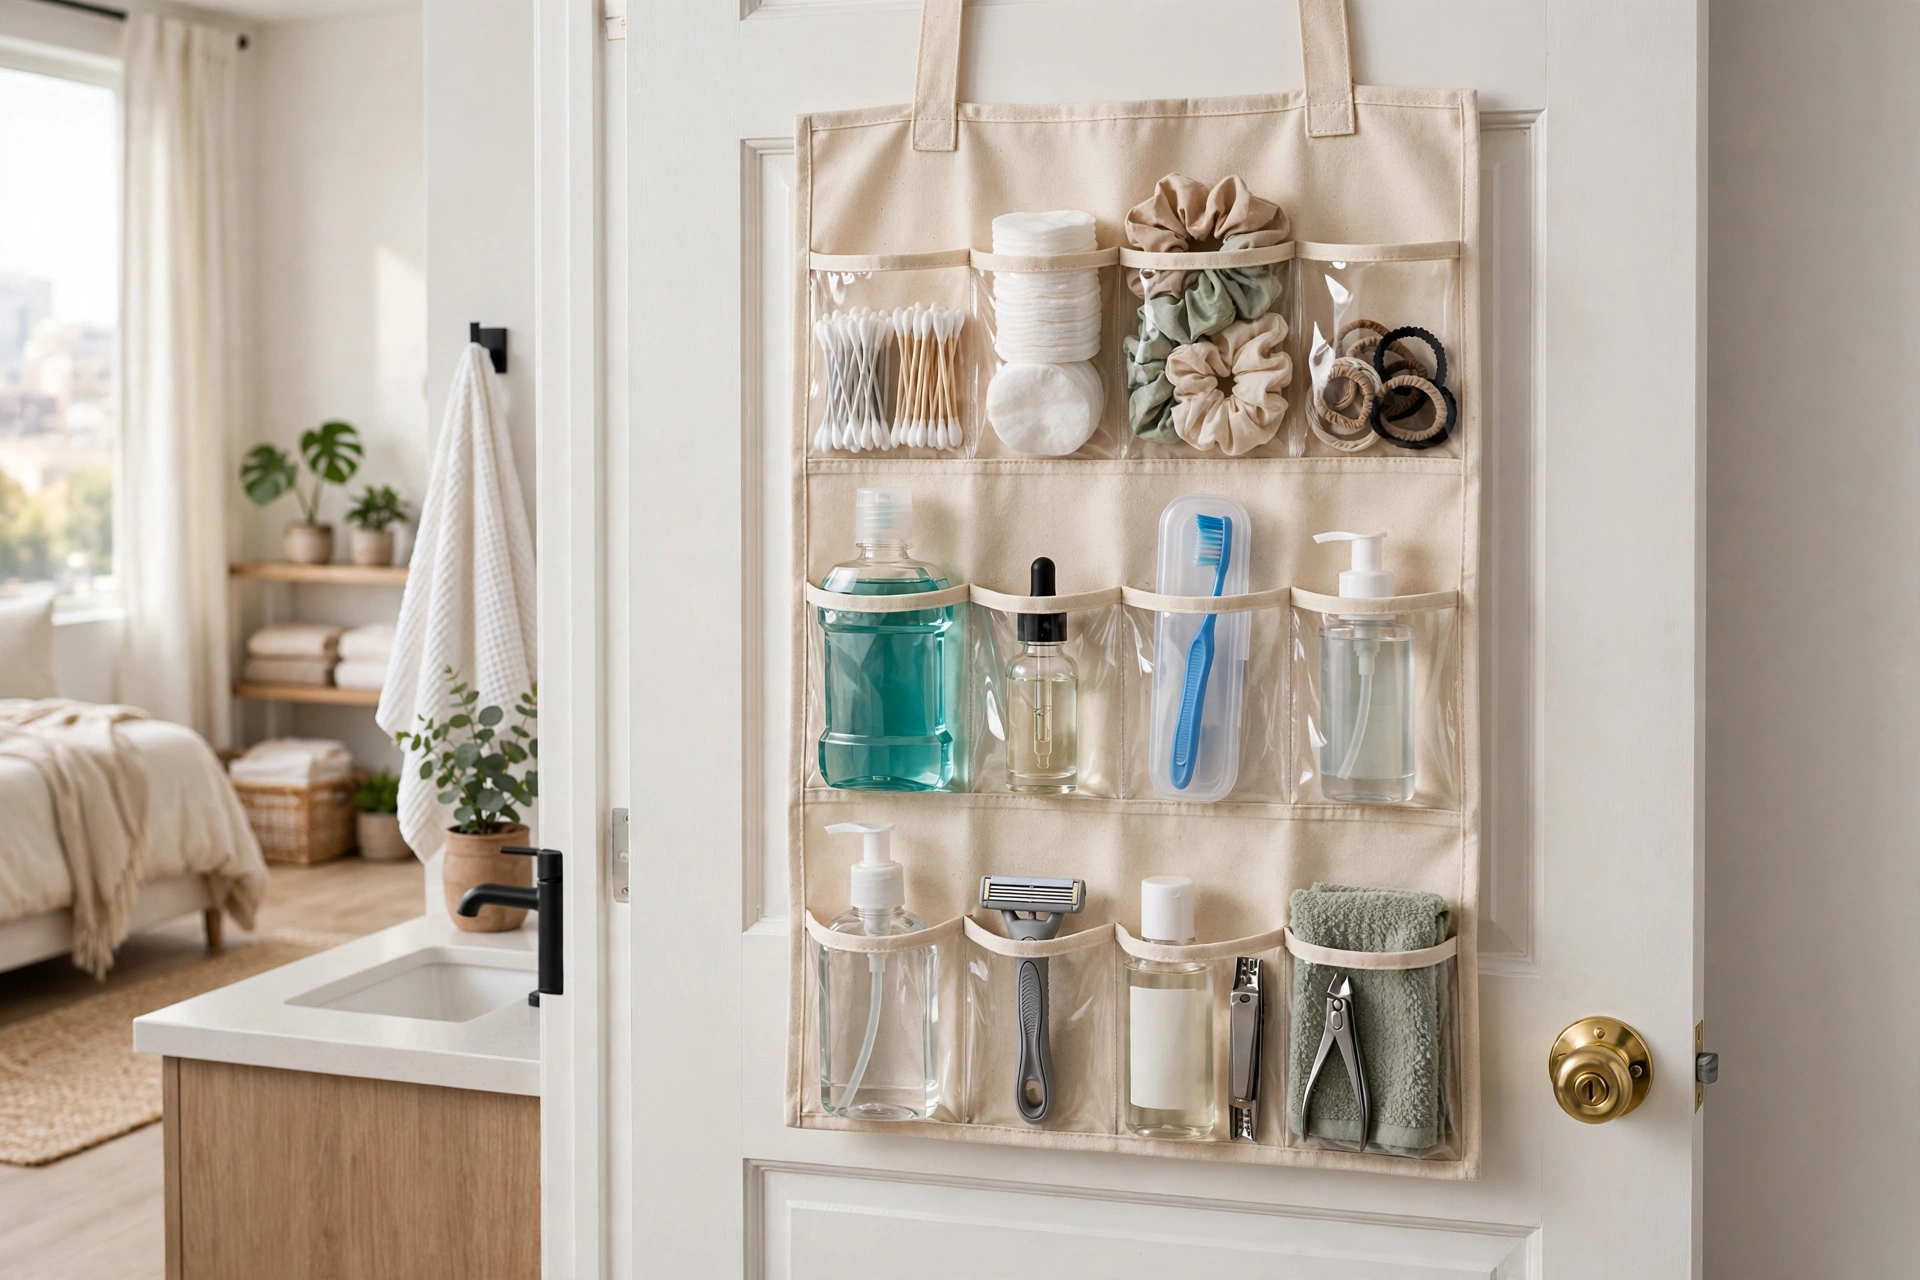
Every interior door in a studio is a hidden storage wall. Over-the-door organizers ($10–$25) add instant pockets for shoes, cleaning supplies, pantry goods, or bathroom essentials with zero drilling — perfect for renters. The back of the bathroom door alone can absorb an entire under-sink cabinet’s worth of products. Choose fabric or clear-plastic styles so you can see everything at a glance. Pro tip: add adhesive felt pads where the hooks meet the door to prevent rattling and paint scuffs every time the door moves.
10. Hang a Pegboard Command Center
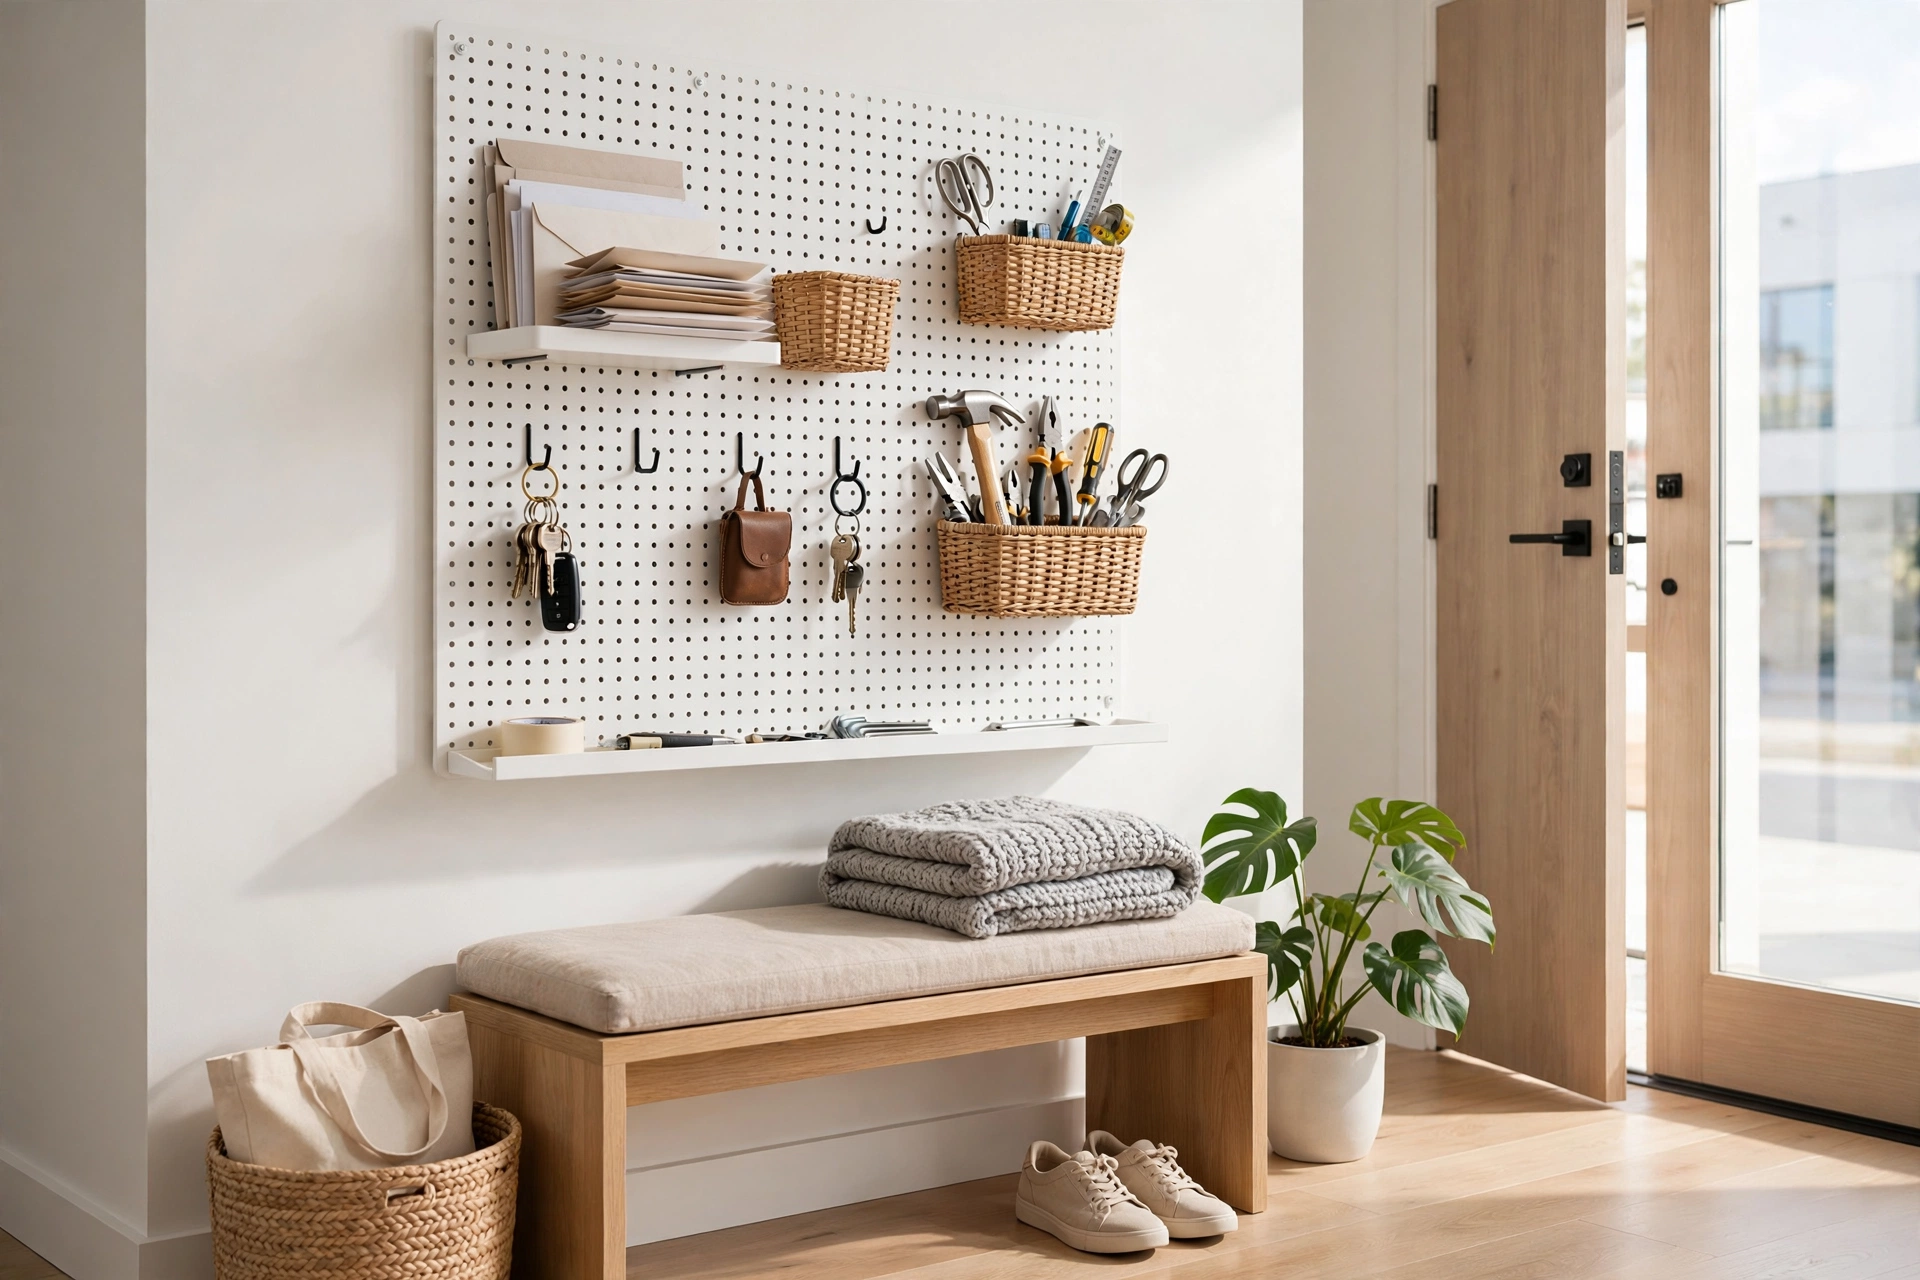
A pegboard panel ($15–$35) near the desk or entry turns wall space into endlessly reconfigurable storage — hooks for keys, small shelves for mail, clips for photos, baskets for chargers. Unlike fixed organizers, pegboard evolves as your needs change; move a hook in seconds. Paint it to match the wall and it reads as intentional decor, not garage storage. In a studio, one 2×3-foot command center can replace a whole junk drawer. Pro tip: trace each tool’s outline on the pegboard with a marker — the empty silhouette instantly shows what’s missing or out of place.
11. Add Wall-Mounted Folding Desk Storage
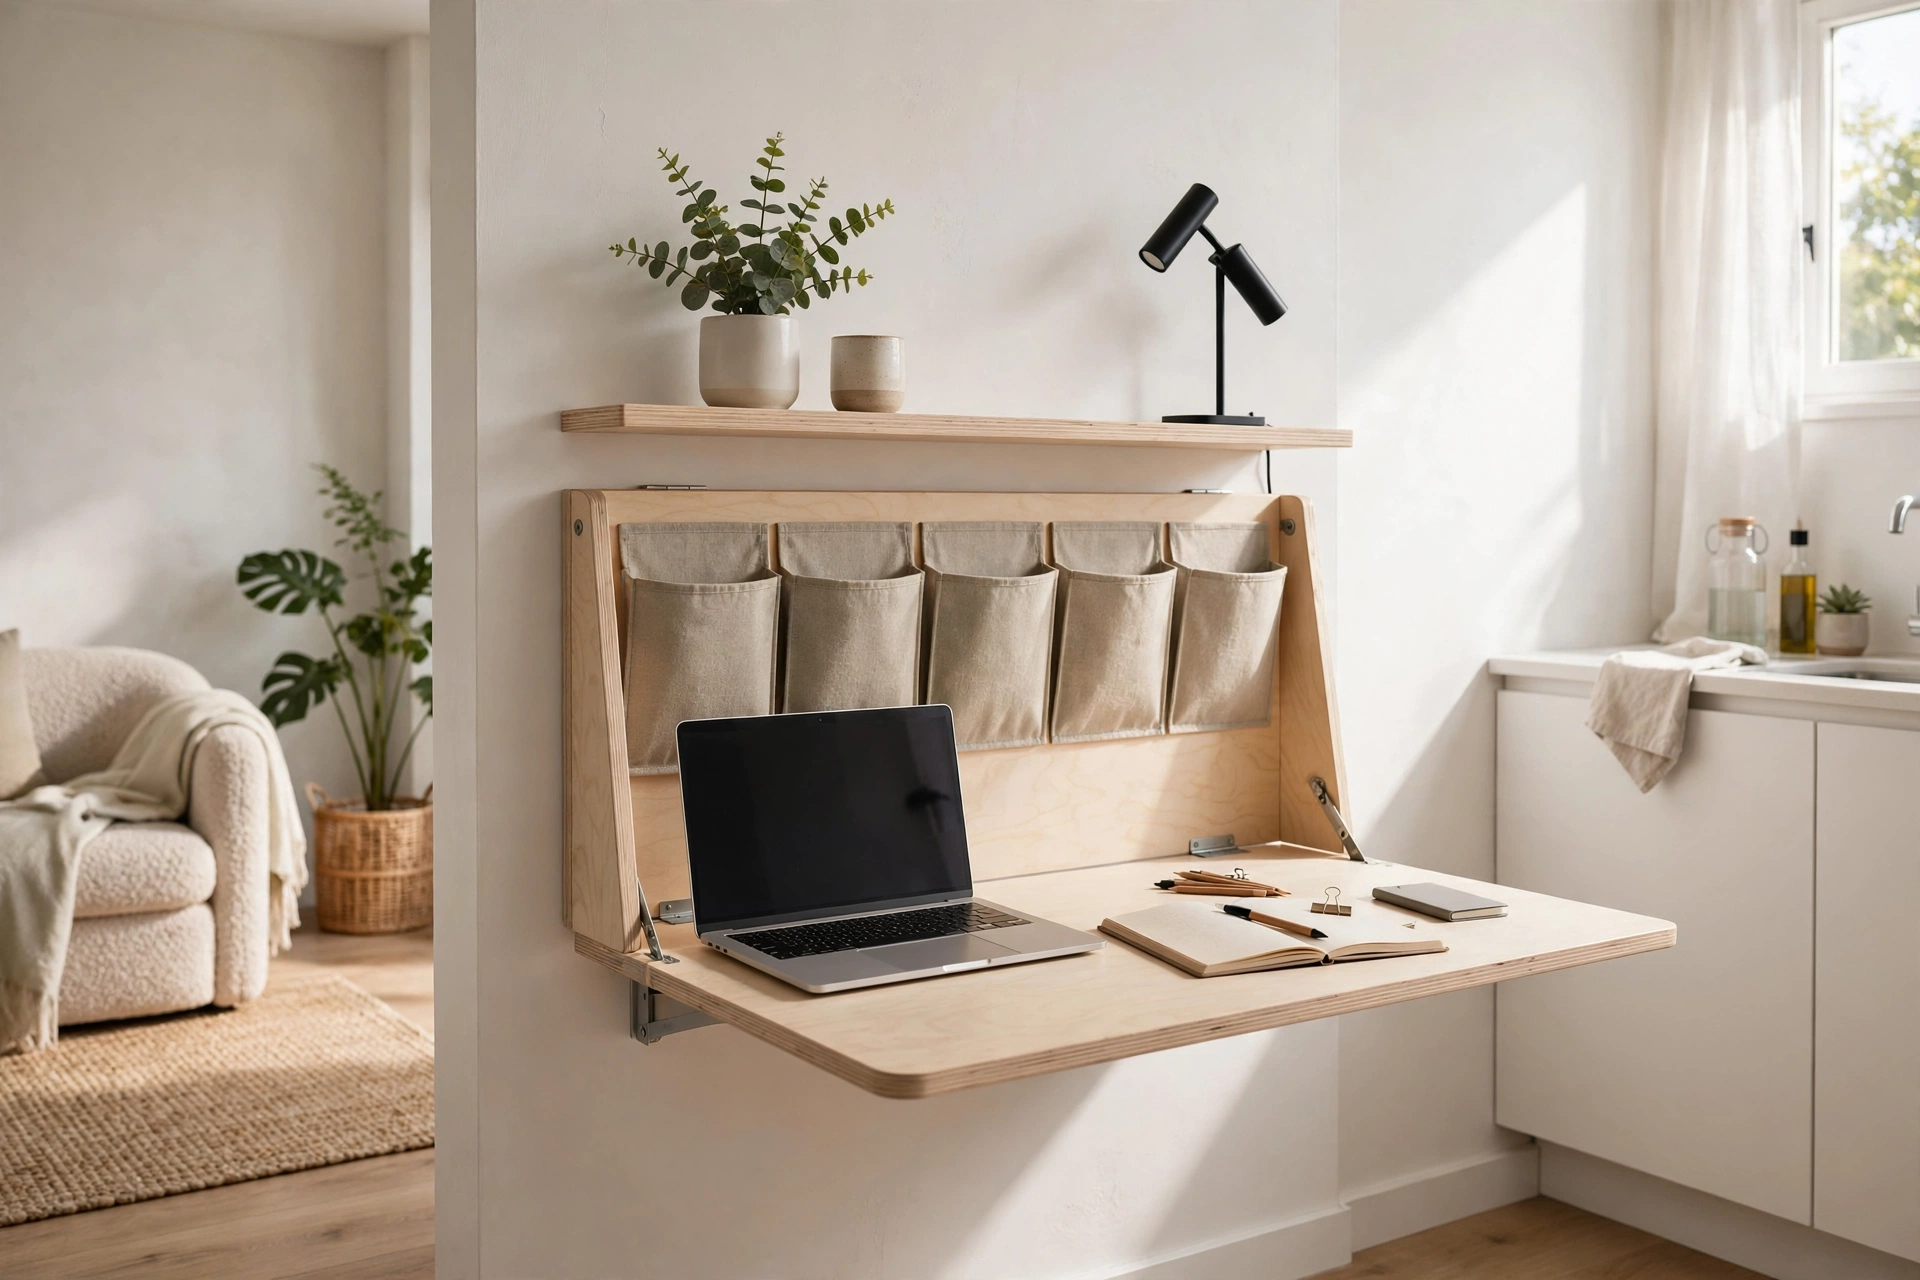
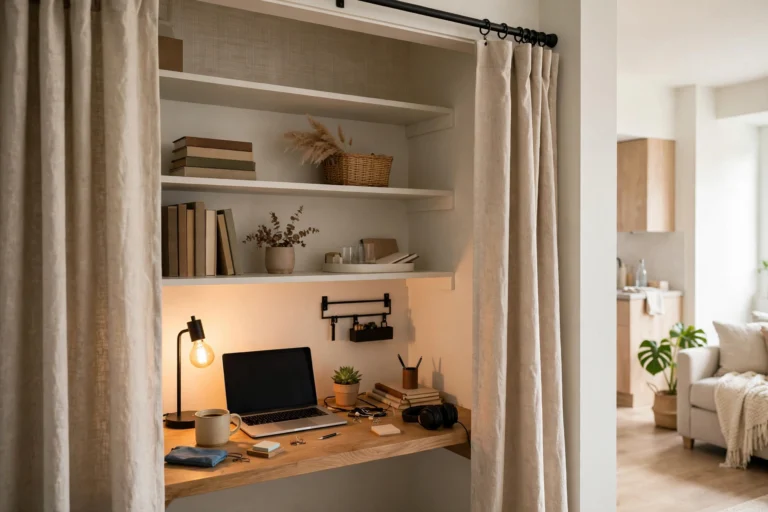
A wall-mounted drop-leaf table ($60–$150) works as a desk, dining spot, or craft station, then folds flat against the wall when you’re done — freeing the floor entirely. Pair it with wall-mounted file pockets and a small shelf above, and you’ve built a complete home office that vanishes. This is the renter-friendly version of a Murphy office, and it pairs beautifully with the zoning ideas in our studio apartment entryway ideas for carving function out of thin air. Pro tip: mount a power strip with adhesive cord channels right beside the fold-down desk so cables never dangle when it’s folded away.
12. Stack Clear Bins Vertically
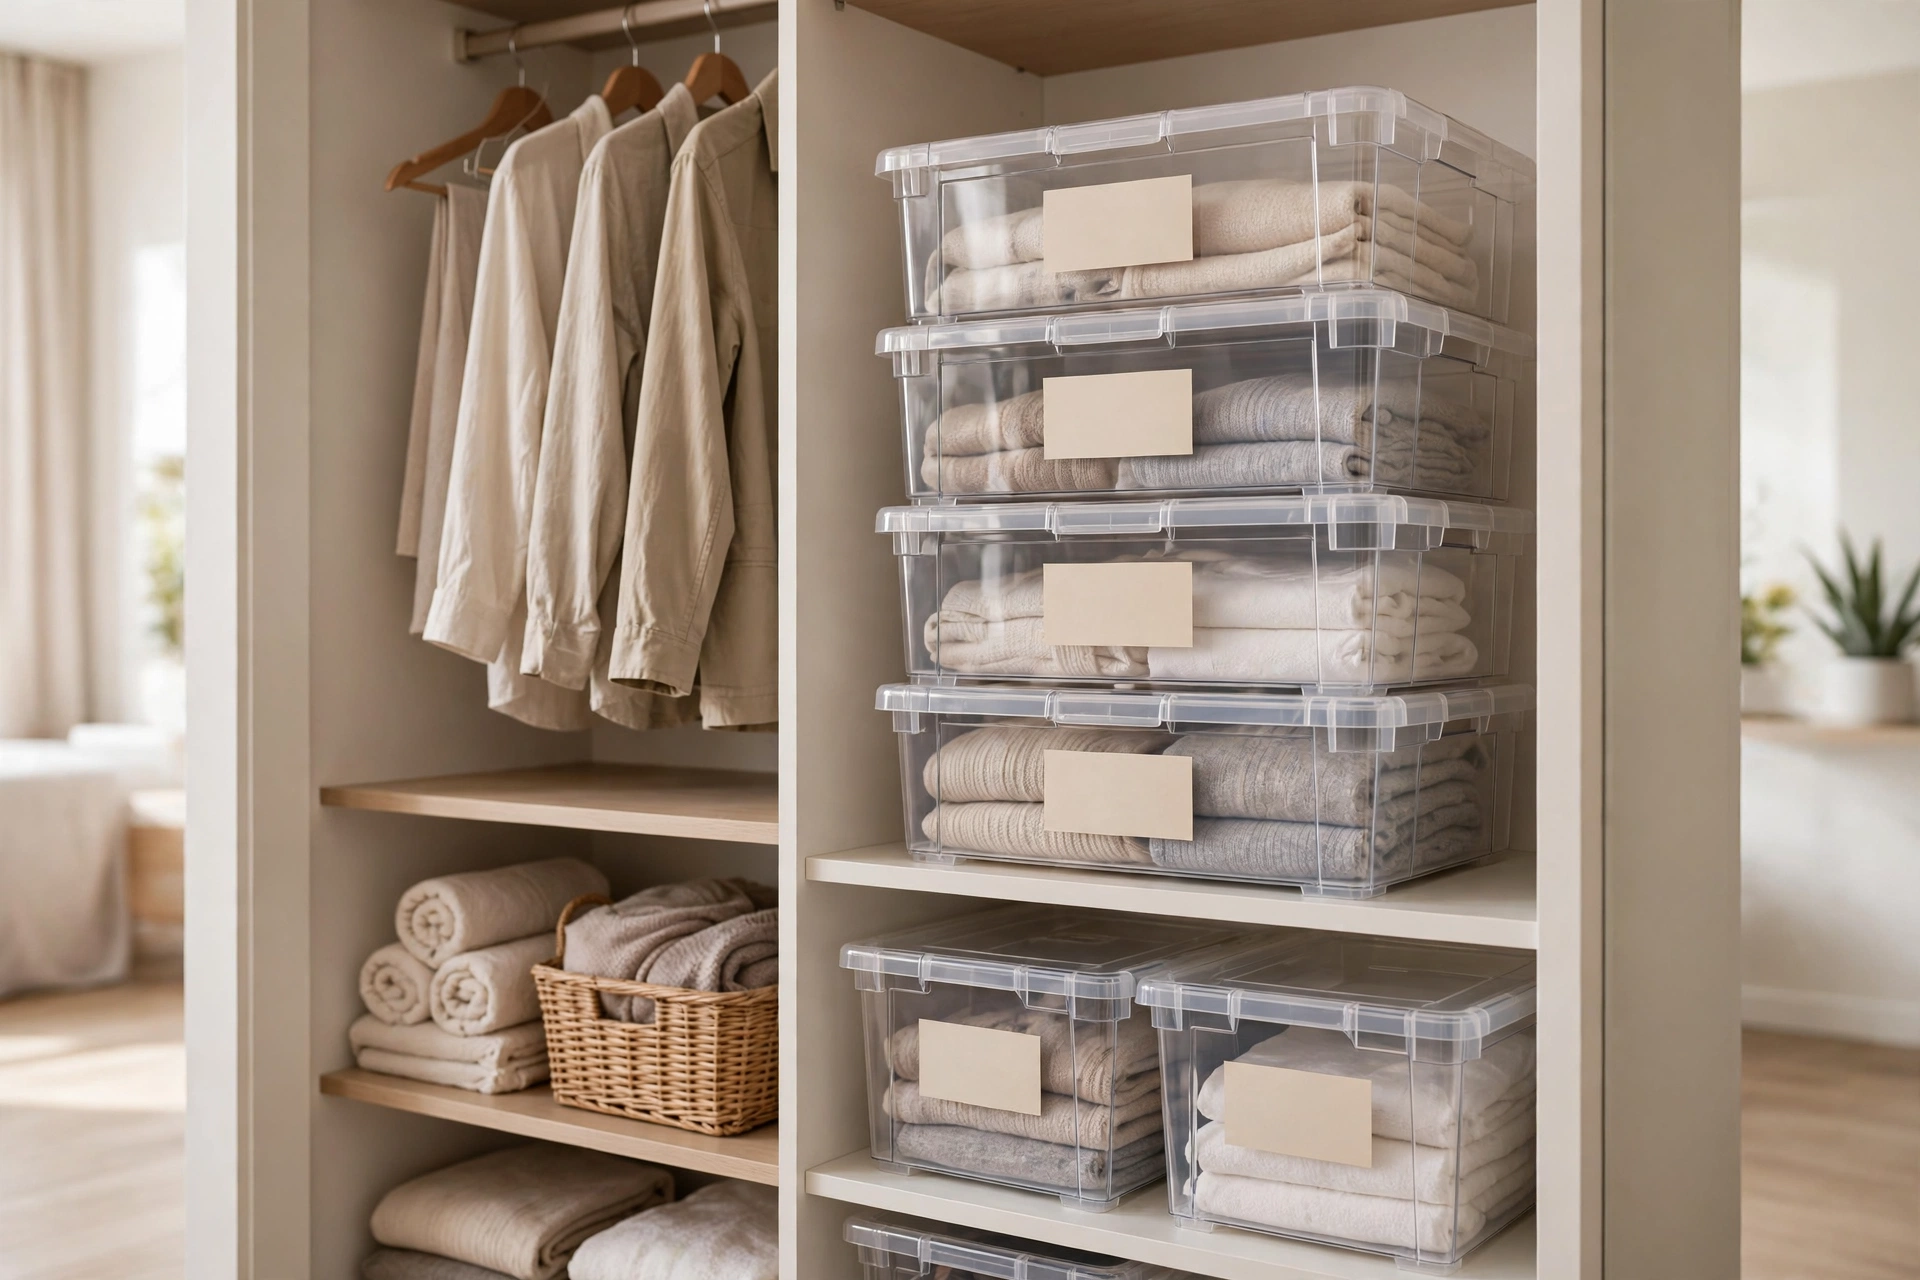
Opaque bins are where things go to be forgotten. Clear stackable bins ($8–$18 each) let you see contents at a glance, and stacking them uses vertical closet or shelf space that would otherwise waste away. Standardize on one size so they stack neatly and look uniform — visual consistency makes even a packed closet feel calm. Use them for everything from craft supplies to off-season bedding. Pro tip: even with clear bins, add a label — when bins get dusty or stacked three high, you’ll thank yourself for the two seconds it took.
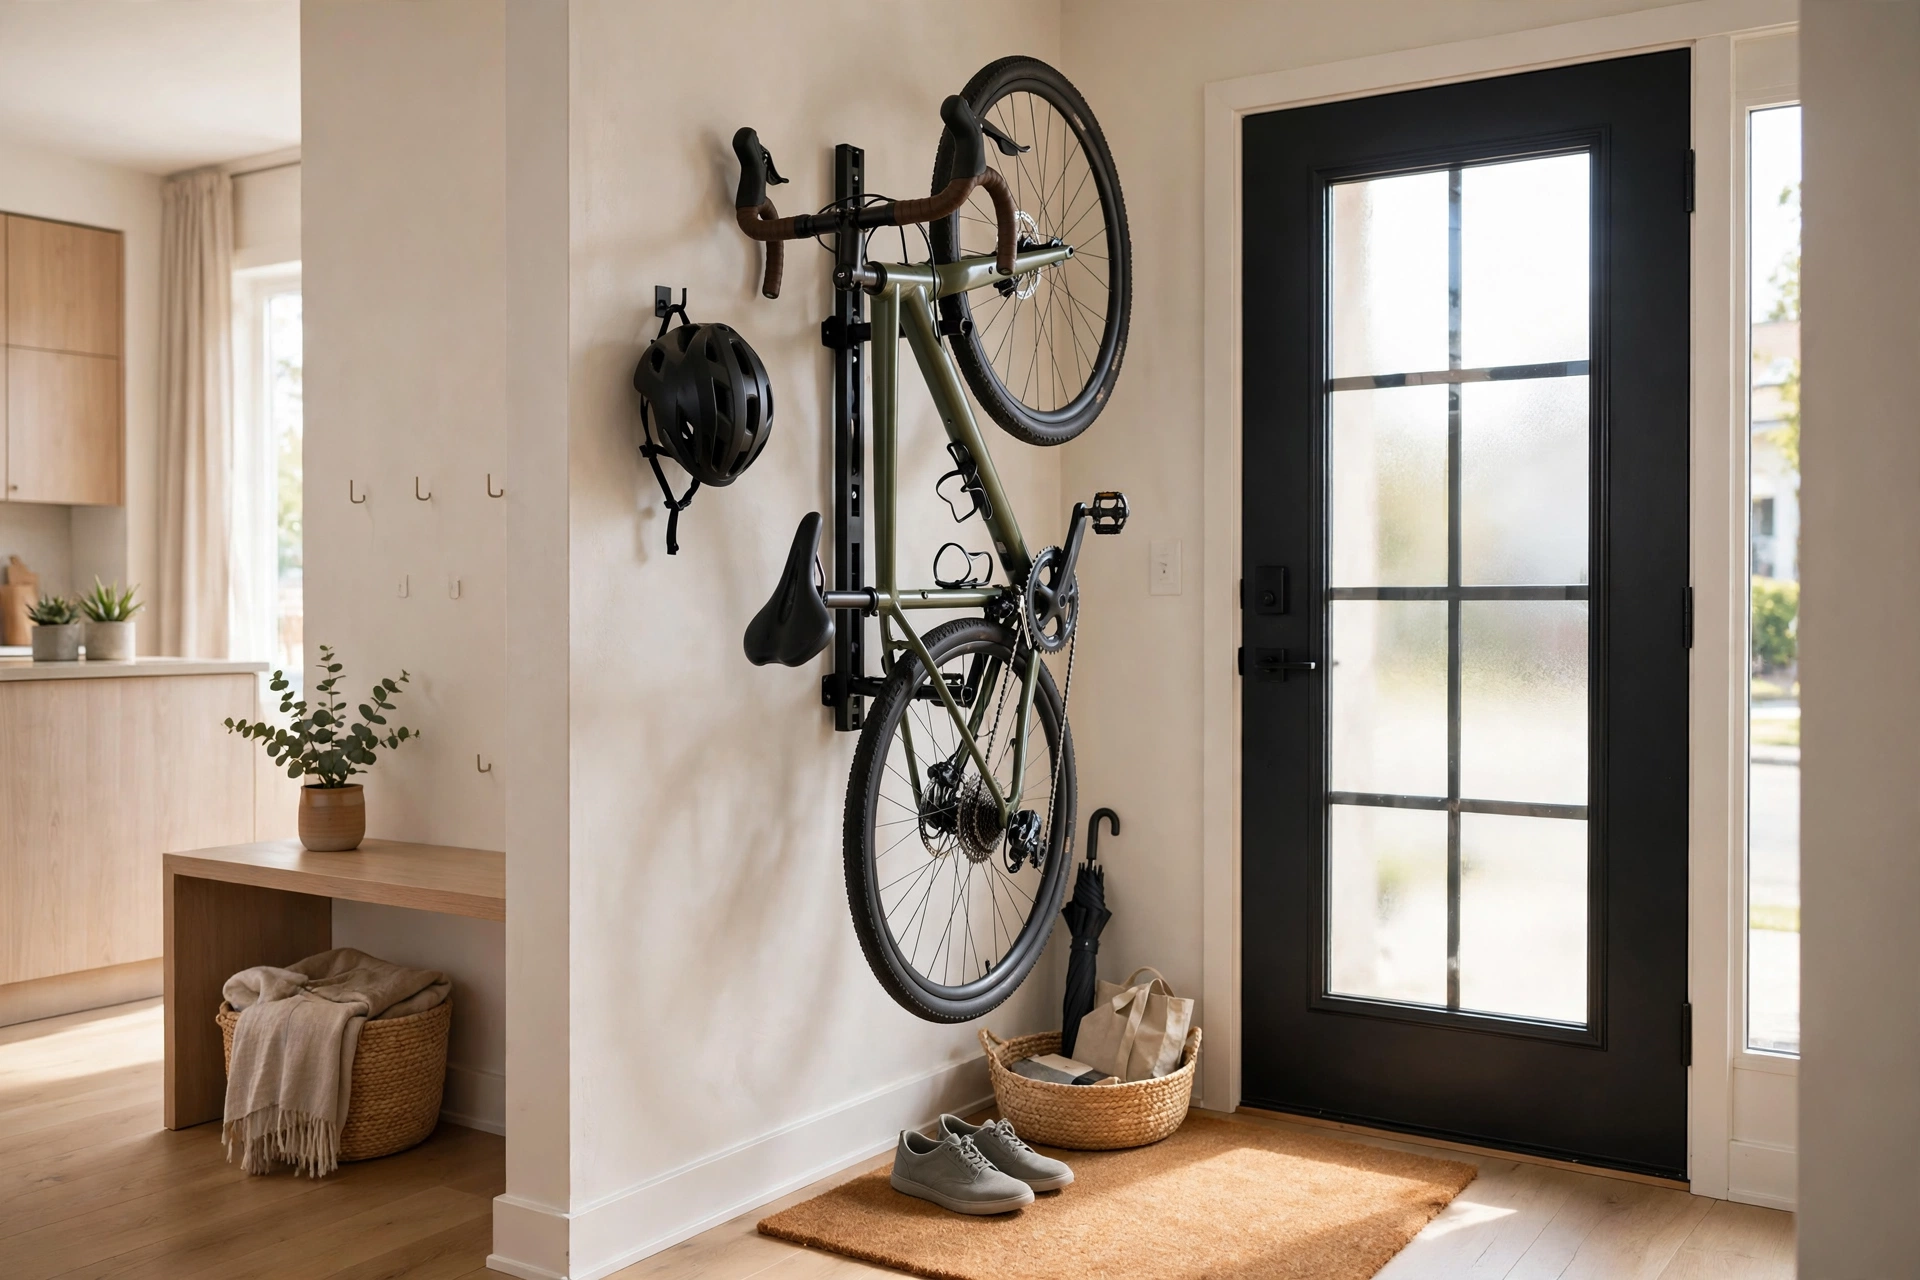
13. Hang Bikes and Bulky Gear
A bike leaning in the corner eats roughly six square feet — in a studio, that’s a crime. A wall-mounted bike hook or vertical rack ($25–$60) lifts it off the floor and turns it into wall art. The same trick works for skateboards, guitars, and luggage: get bulky items vertical and off the ground. Use a stud finder and proper anchors; a 30-pound bike must never rely on drywall alone. Pro tip: hang the bike near the door, not deep in the living zone — you’ll actually ride it when grabbing it doesn’t mean rearranging furniture.
Hidden Storage — Furniture That Hides Clutter
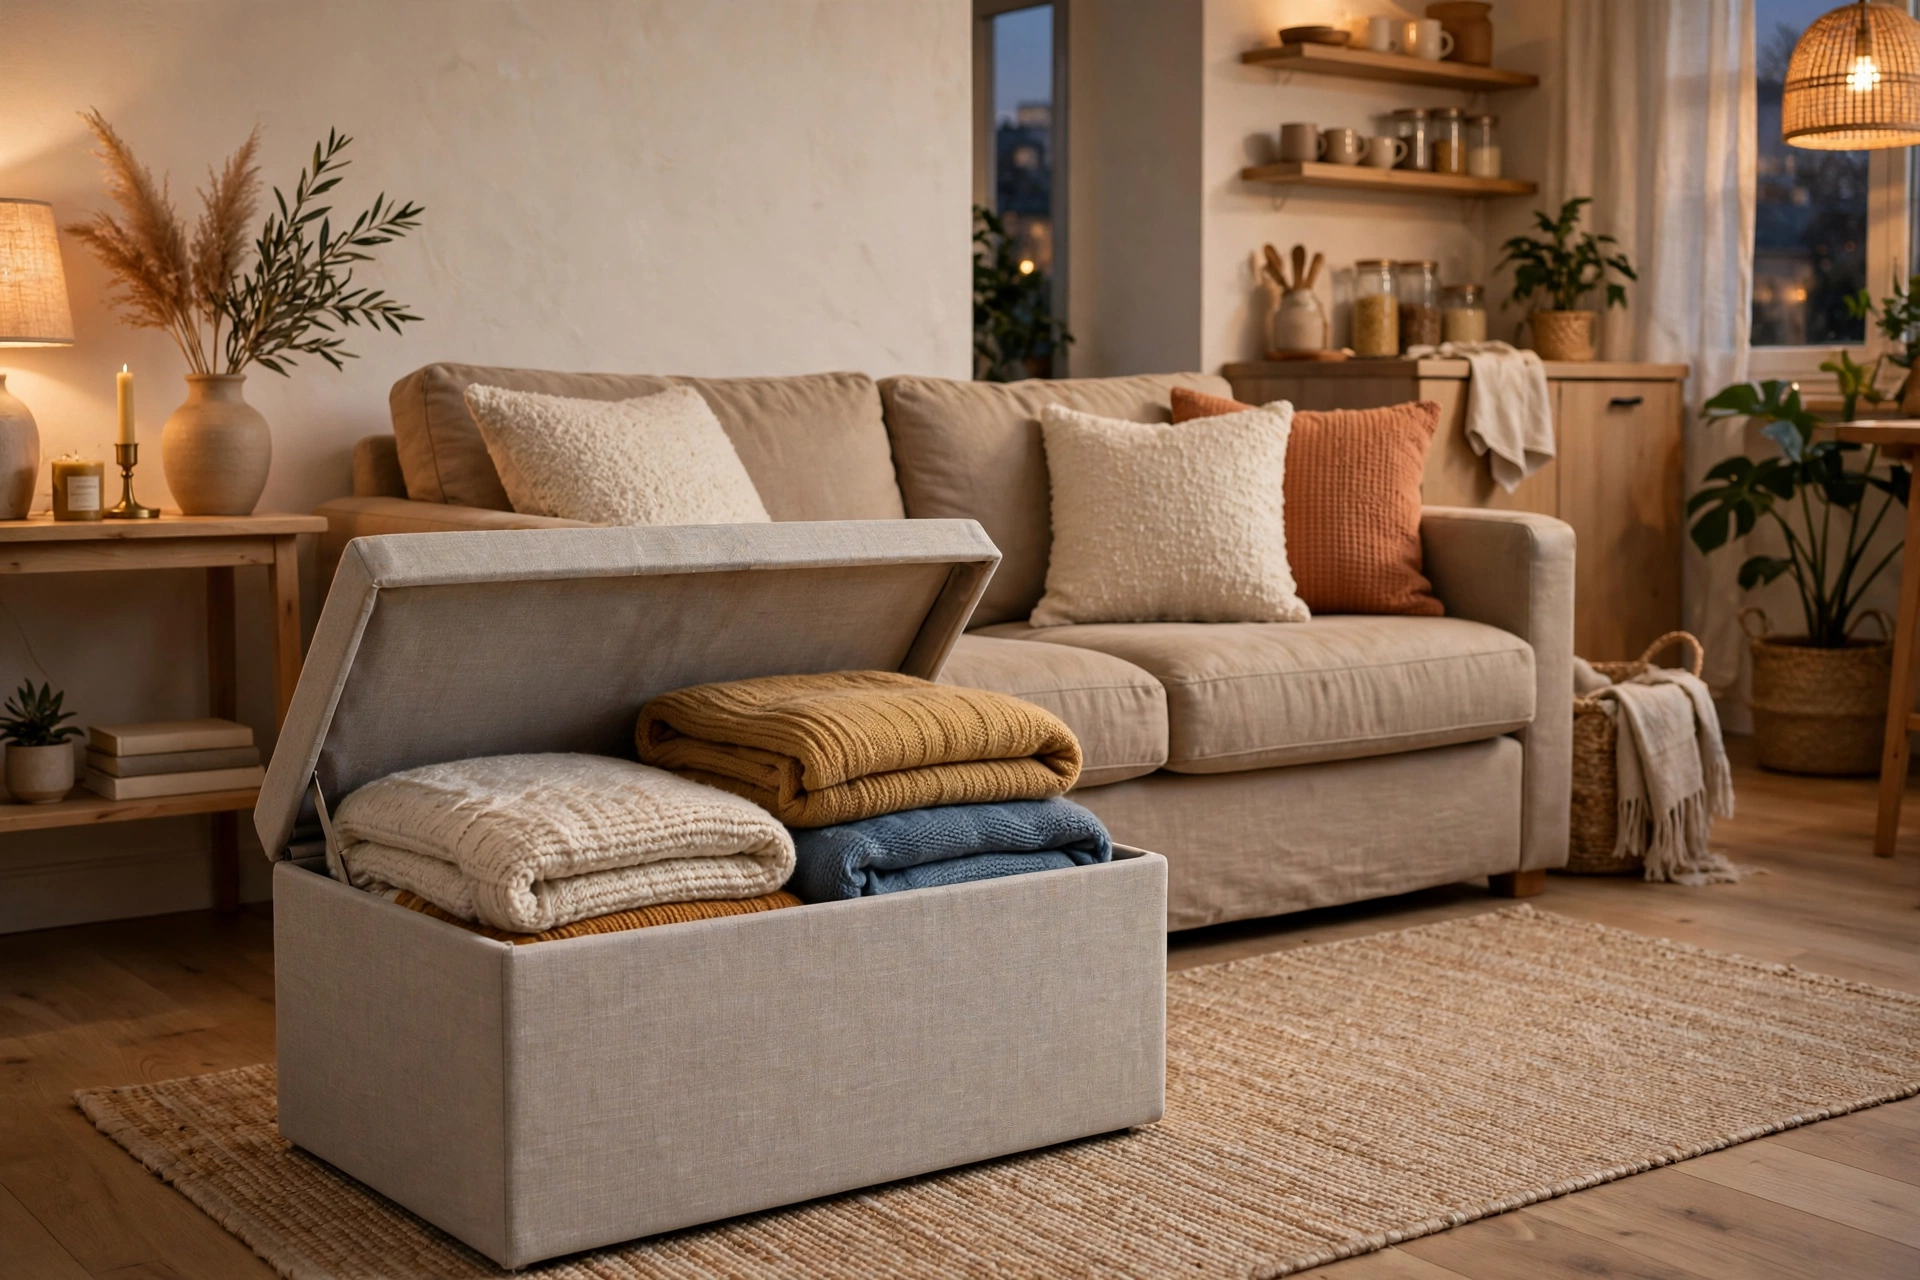
14. Choose a Storage Ottoman
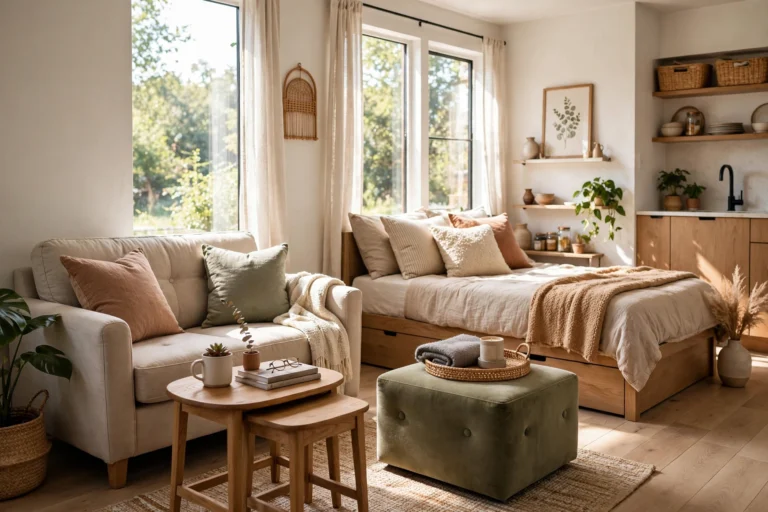
The storage ottoman is the studio’s secret weapon: a footrest, extra seat, side table, and hidden storage bin in one $60–$150 package. Tuck throw blankets, board games, or wrapping supplies inside — things you need but never want to see. Place it where a coffee table would go and the whole living zone gains invisible capacity. Choose one with a sturdy lid that supports sitting weight. Pro tip: pick an ottoman with interior dividers or add a small tray inside so the contents don’t become a jumbled pit you dread opening.
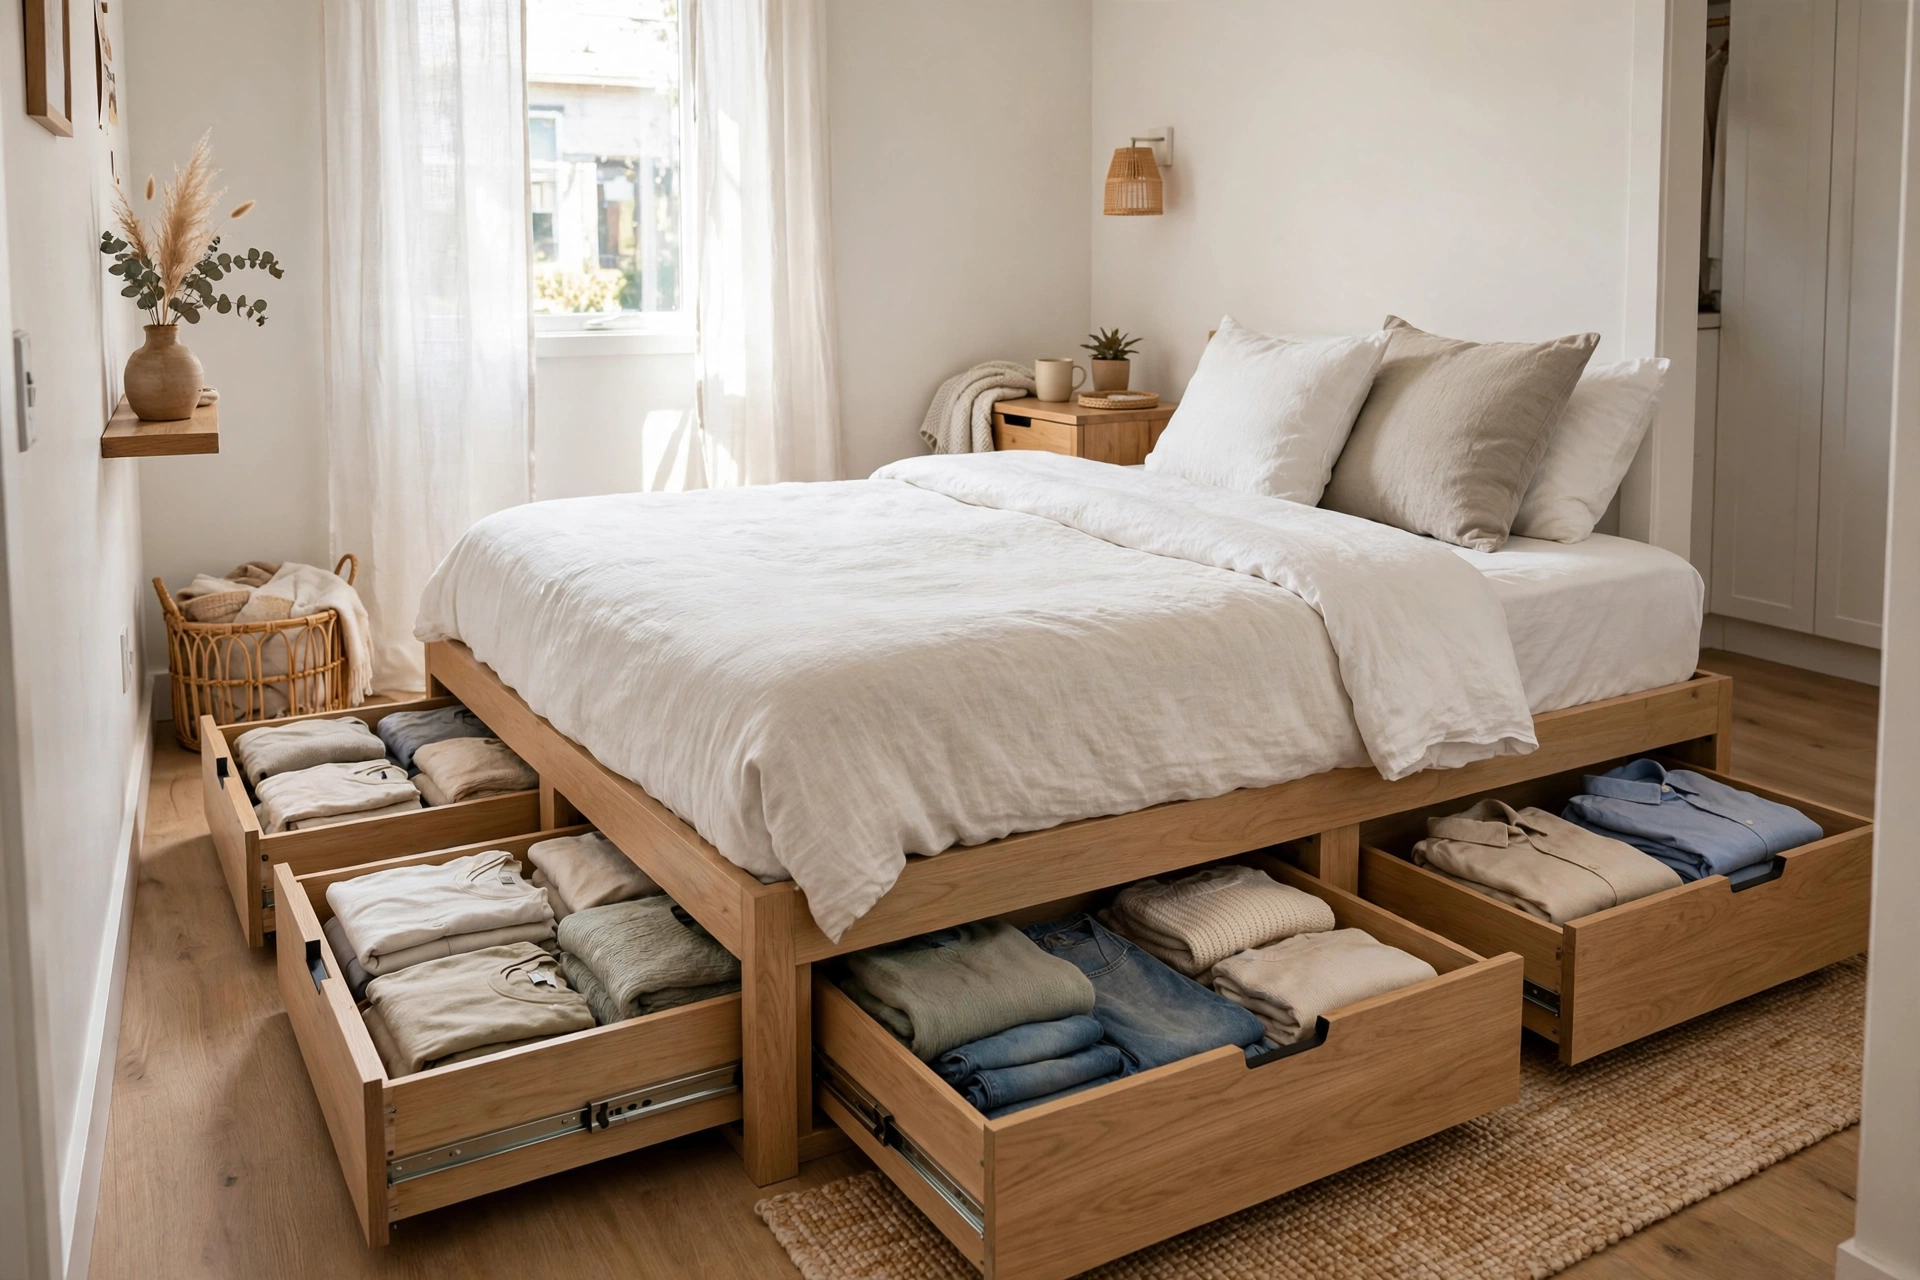
15. Get a Bed With Built-In Drawers
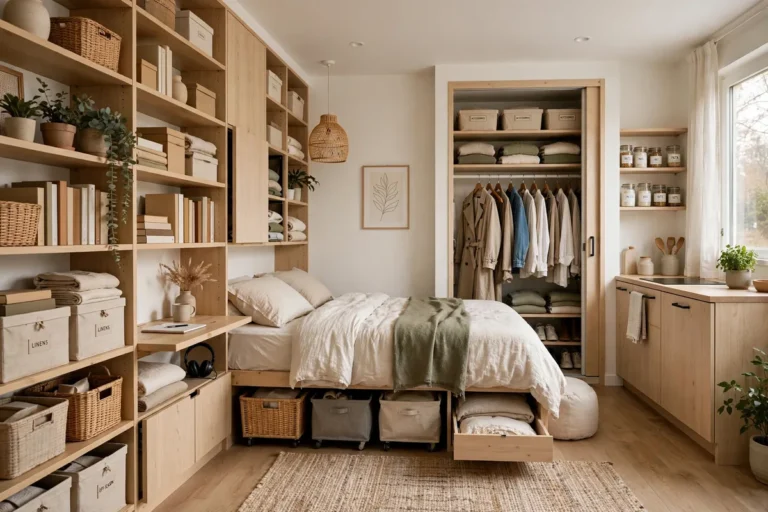
Under-bed space is the largest unused storage zone in most studios — a bed frame with built-in drawers ($250–$600) converts it into the equivalent of a full dresser. Store off-season clothes, extra bedding, and luggage where dust and chaos can’t reach. Drawer beds beat storage bags because you can access things without kneeling and dragging. If buying new isn’t in the budget, risers ($15–$25) plus low bins achieve 80% of the effect. Pro tip: store heaviest items in the drawers nearest the head of the bed — weight distribution keeps the frame from creaking and shifting.
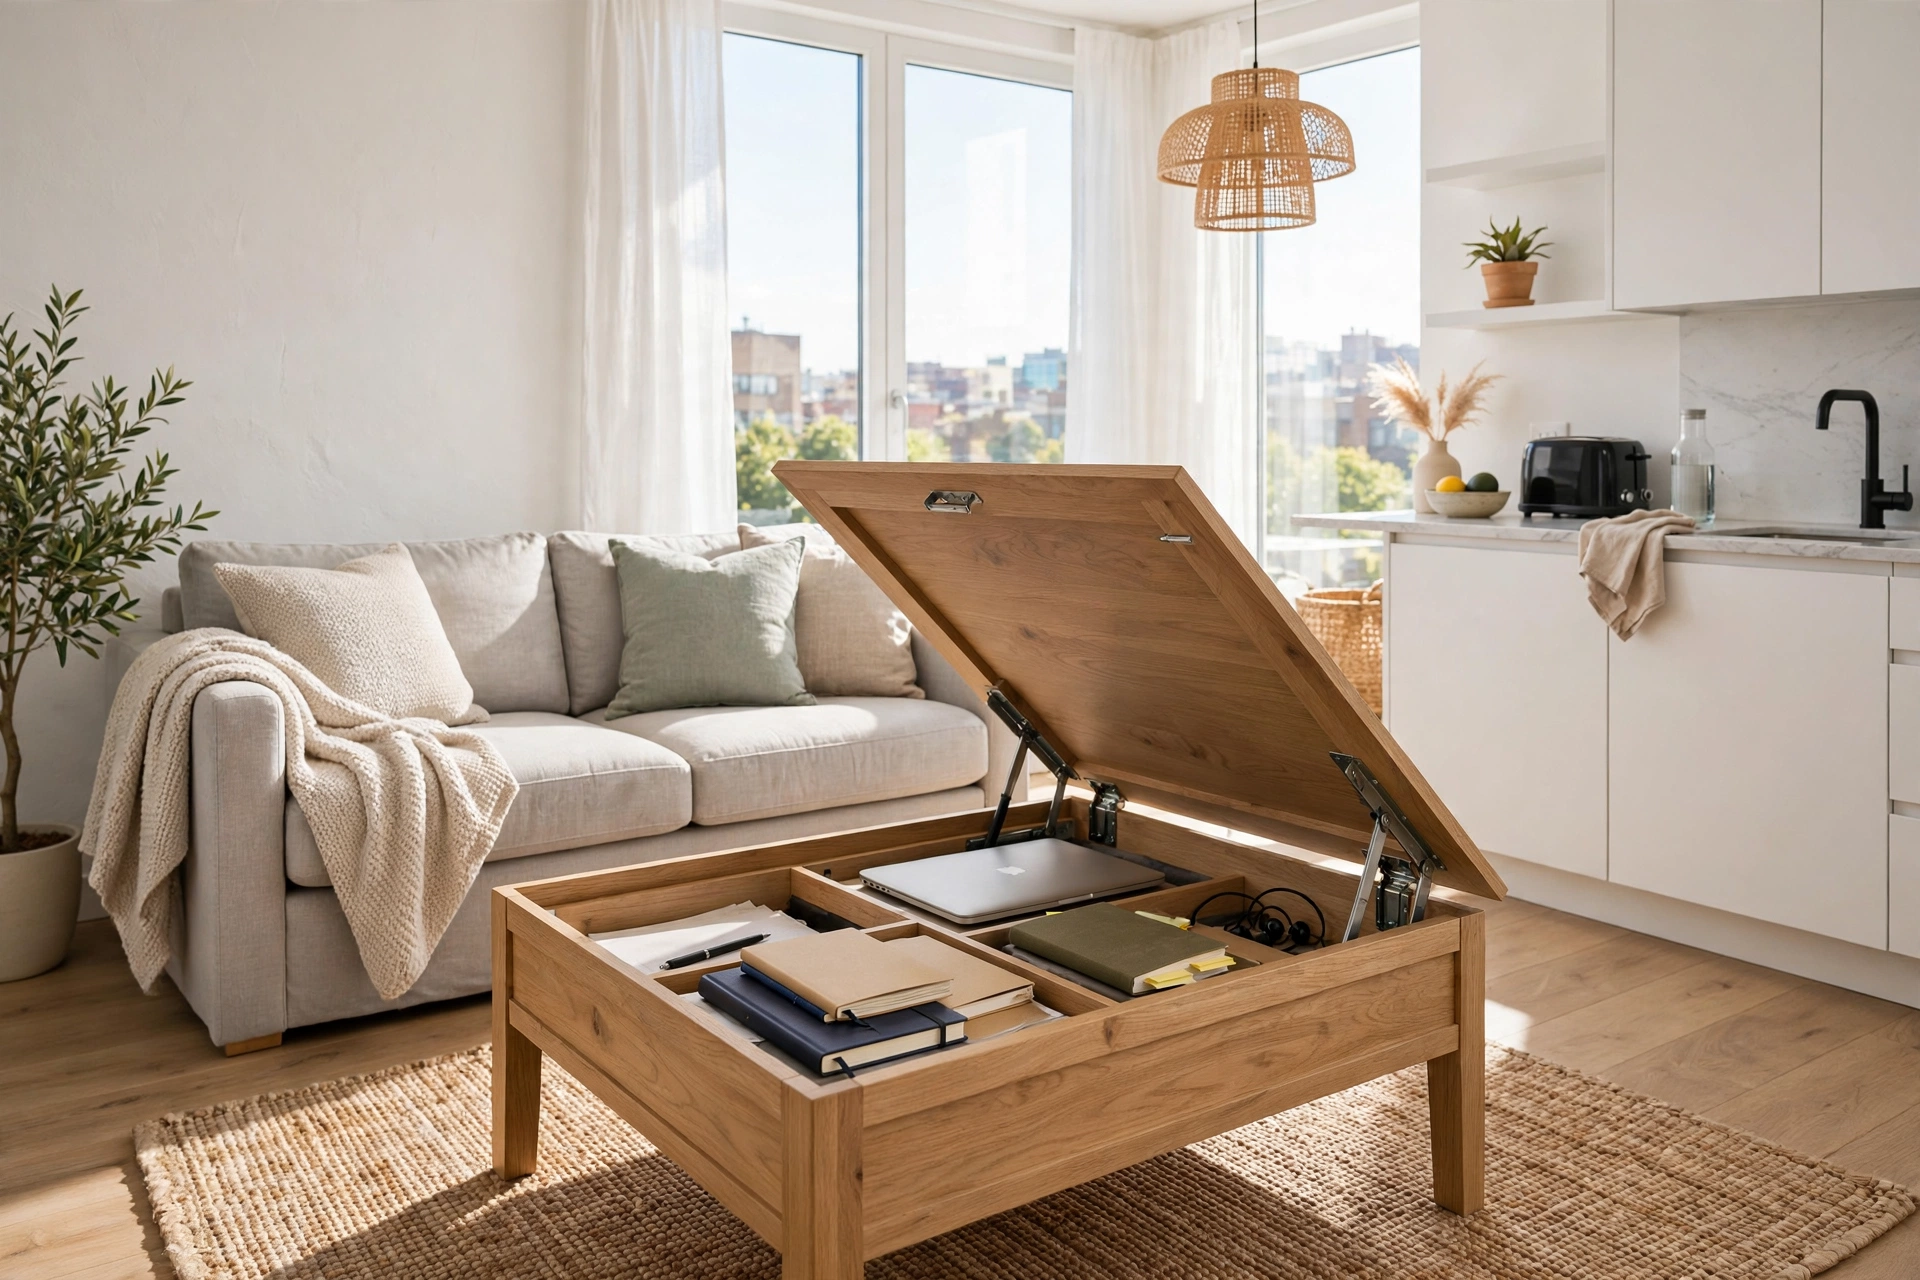
16. Use a Lift-Top Coffee Table
A lift-top coffee table ($120–$250) looks like ordinary living-room furniture until the top rises to dining height and reveals a cavernous storage compartment underneath. Laptops, remotes, craft projects, and charging cables all disappear inside, leaving a clean surface for guests. The lifting top doubles as a laptop desk for couch work sessions. It’s the hardest-working 15 square feet in the studio. Pro tip: keep only “active project” items inside — if the compartment becomes long-term storage, the table loses its magic and gains a junk drawer the size of a coffee table.
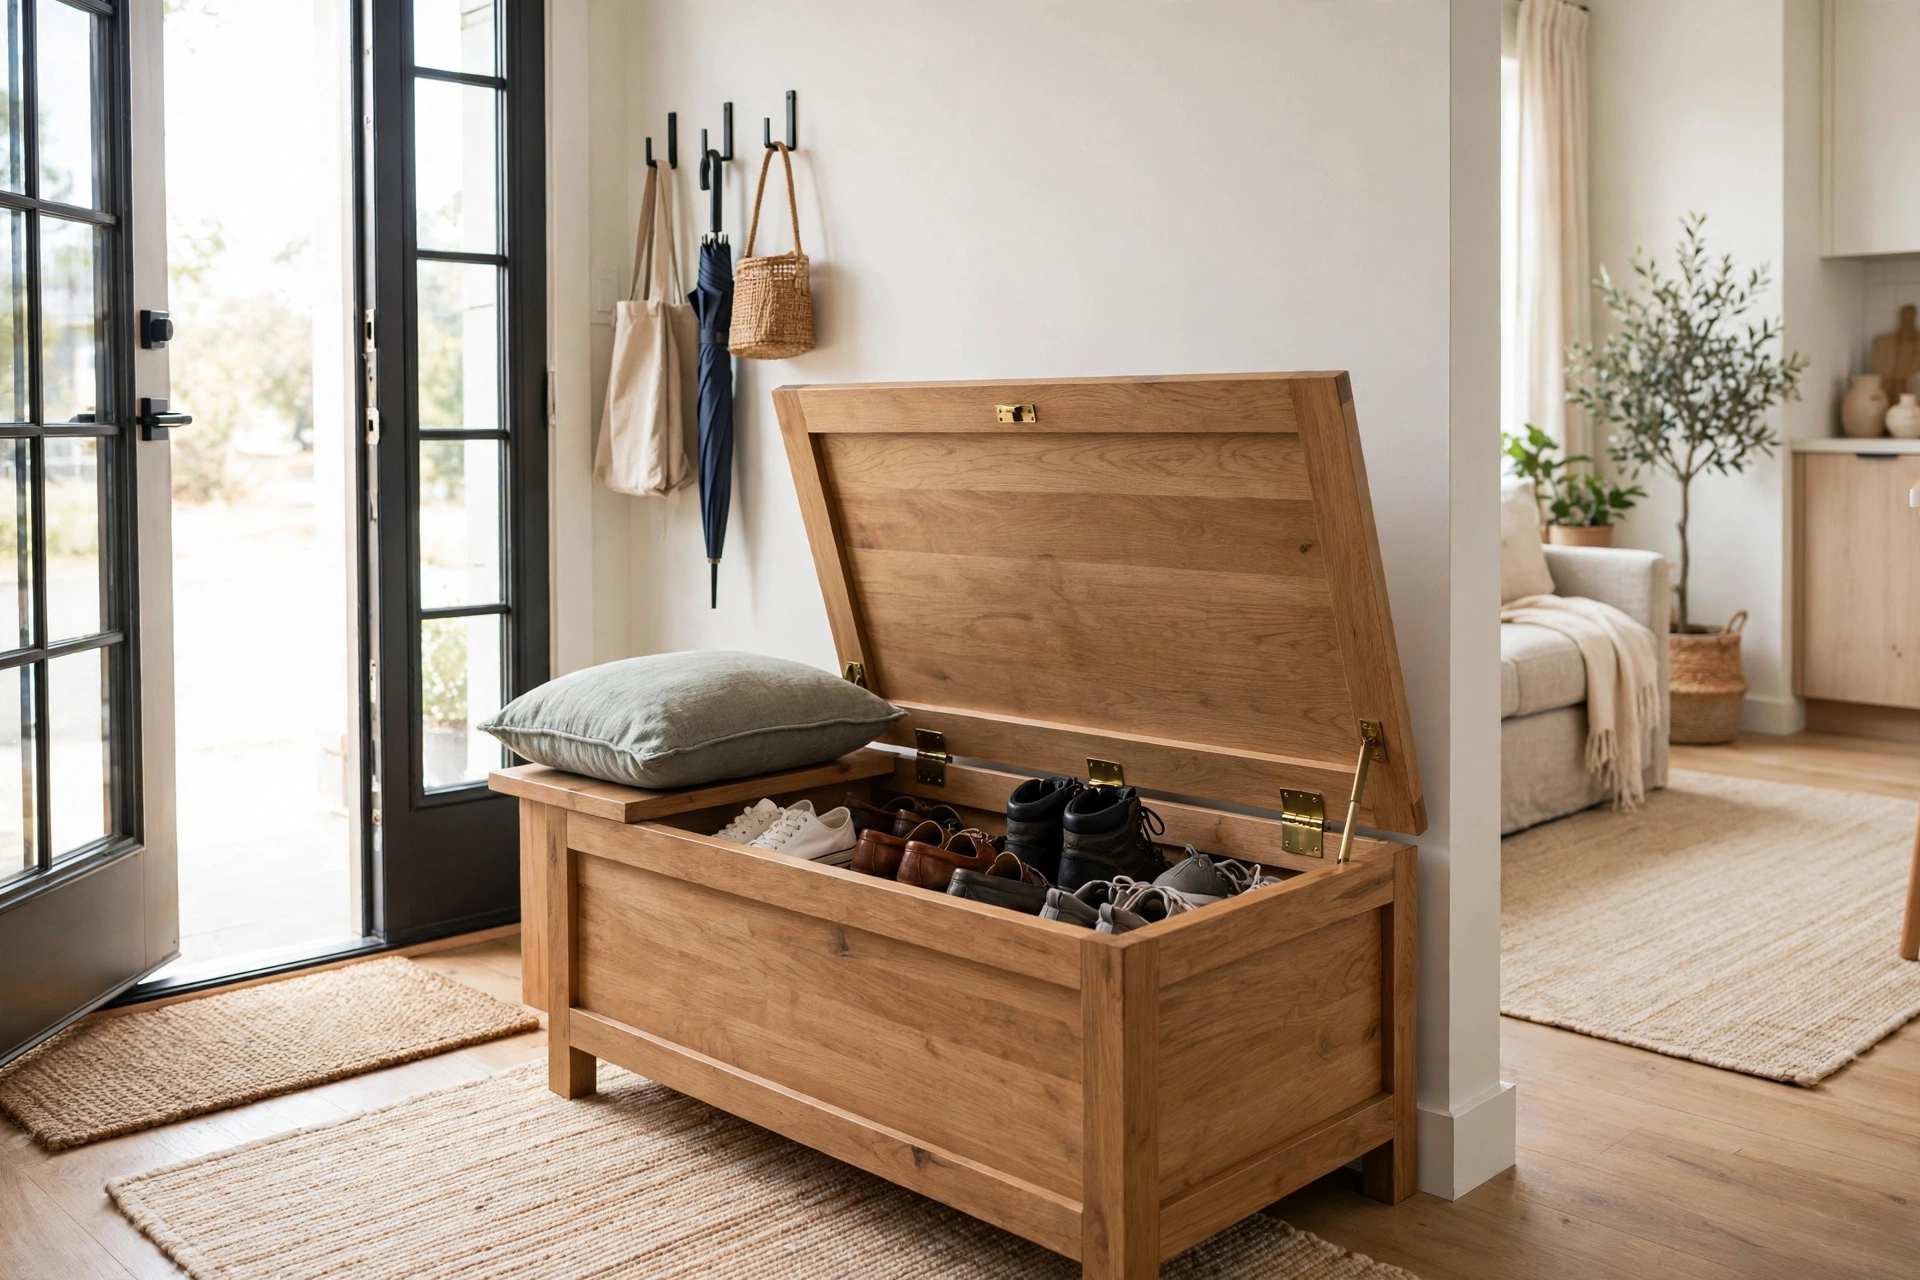
17. Pick a Hollow Bench With Storage
A storage bench at the foot of the bed or in the entry ($80–$200) seats two people, hides shoes or linens, and anchors the room visually. In the entry it catches bags and shoes; at the bed’s foot it swallows extra pillows and throws. Look for a hinged top that stays open on its own — a lid that slams shut on your fingers teaches you to stop using it. This pairs perfectly with the landing-zone thinking in our studio apartment plant ideas for styling the top with greenery. Pro tip: add a washable cushion on top ($20–$35) to make it genuinely comfortable seating, not just a pretty box.
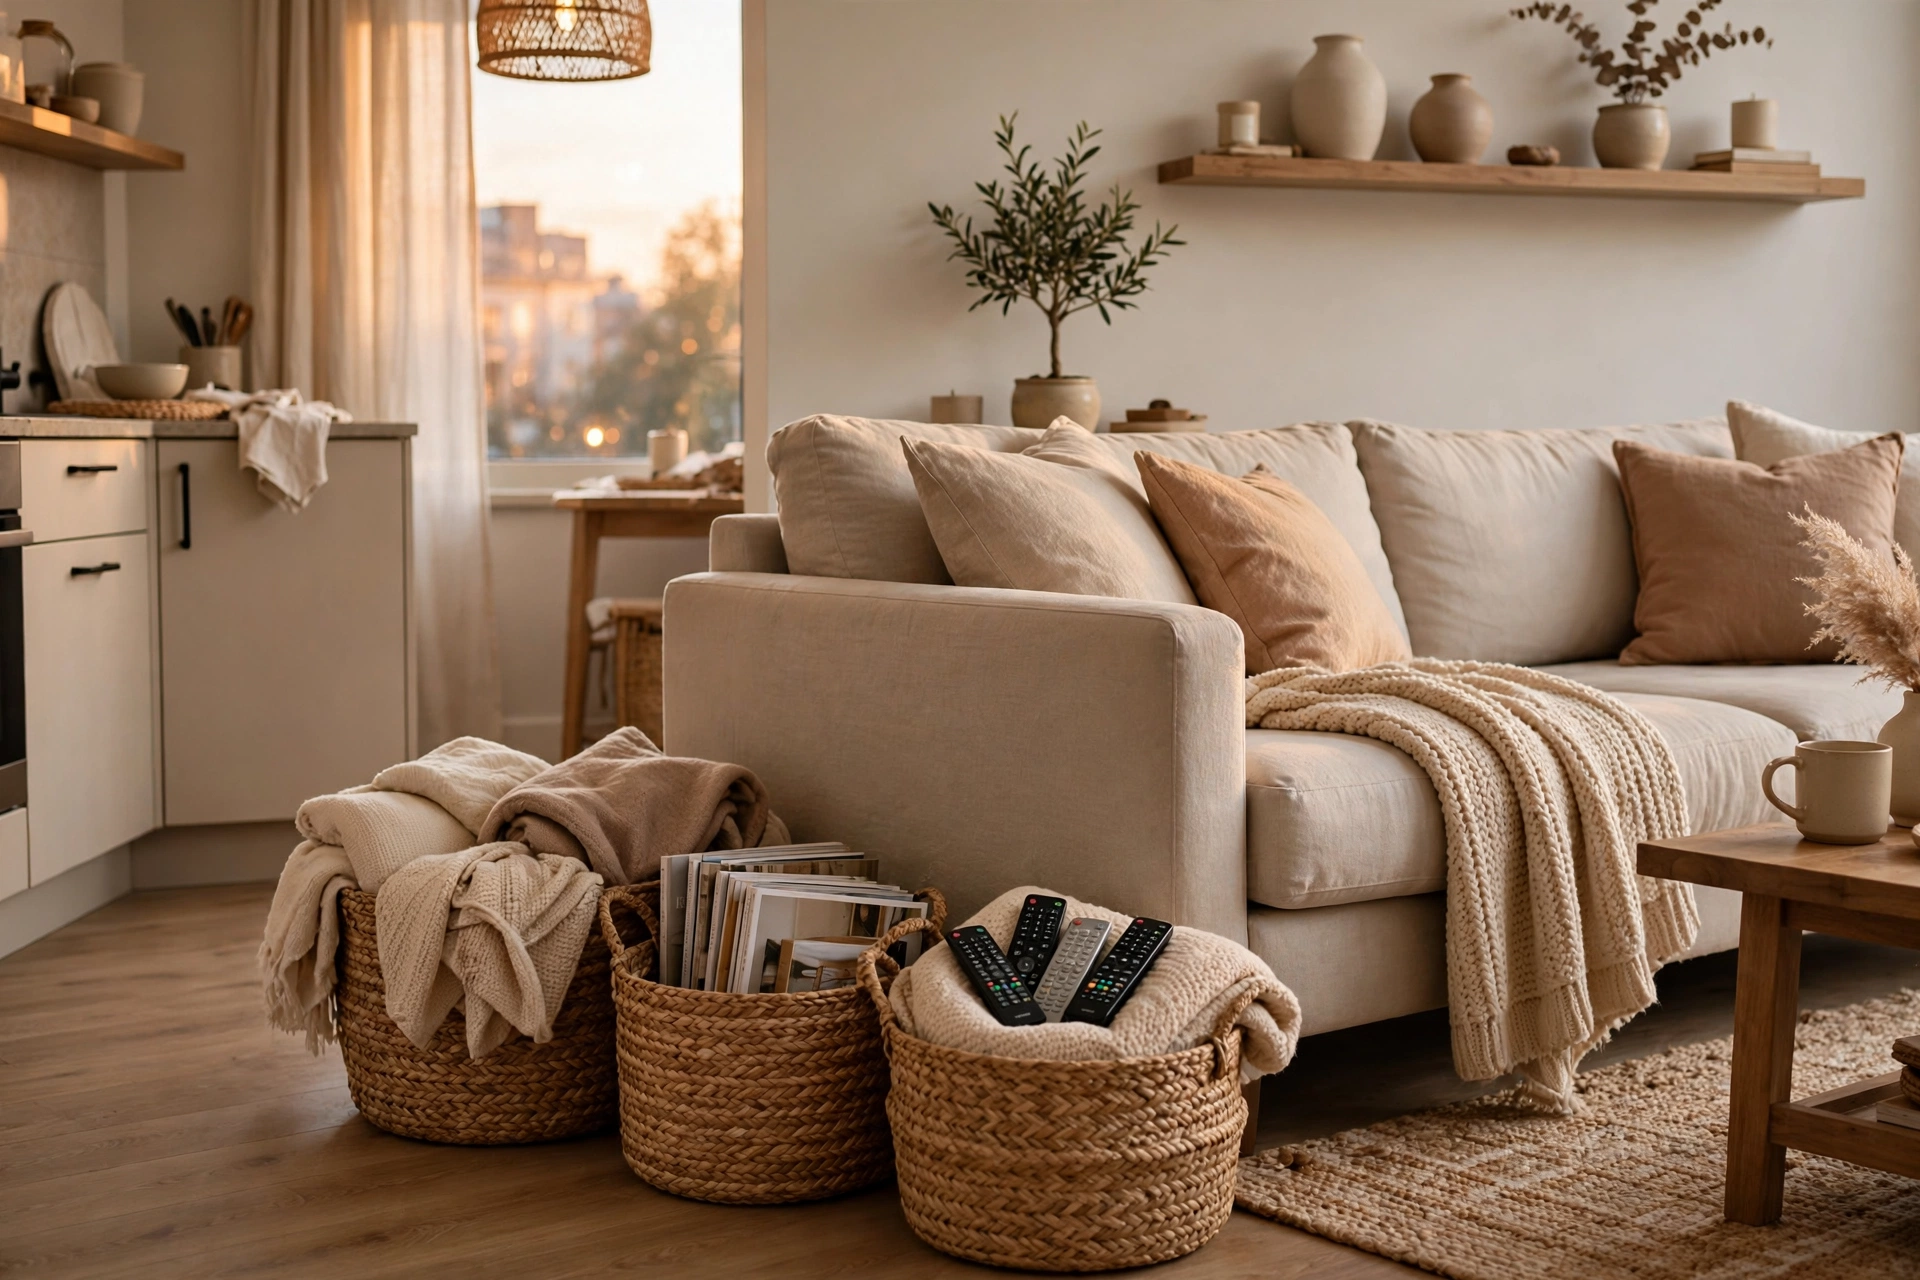
18. Hide Clutter in Decorative Baskets
Not all storage needs a lid and a label — sometimes it just needs to look good. Woven seagrass or fabric baskets ($12–$30 each) scattered strategically swallow remotes, chargers, toys, and half-finished projects while reading as decor. The trick is intentional placement: one basket by the sofa, one by the bed, one in the bathroom. Corralled clutter reads as “styled”; loose clutter reads as “mess.” Pro tip: give each basket a vague category (tech, cozy, bathroom) rather than mixing everything — retrieval takes seconds instead of a full excavation.
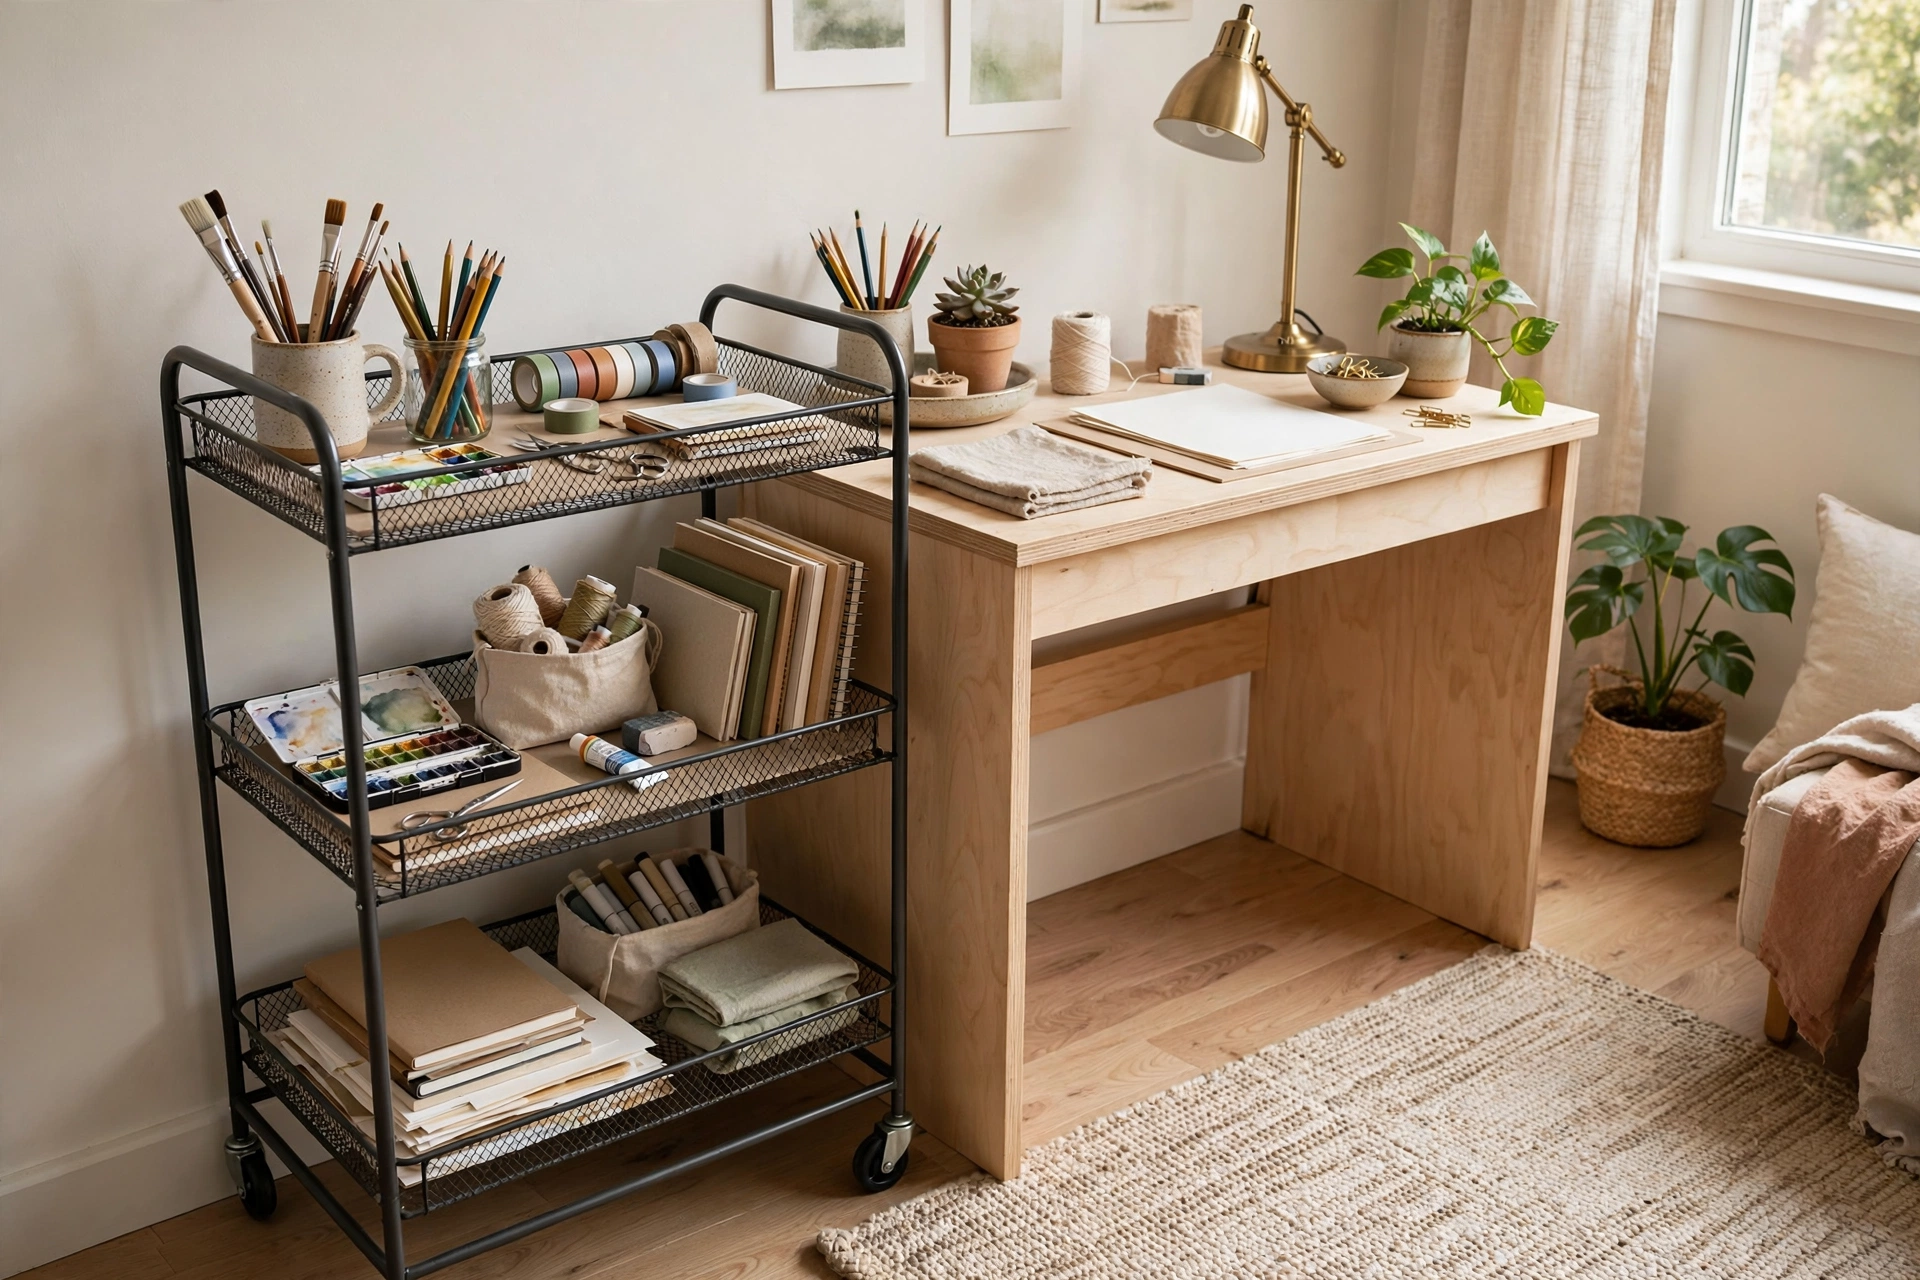
19. Use a Rolling Cart for Flex Storage
A three-tier rolling cart ($25–$45) is the studio’s utility player — craft station today, bar cart tonight, bathroom overflow tomorrow. It slides into gaps between furniture, rolls to where the work is, and tucks away when guests arrive. Outfit one for your most chaotic category: art supplies, cleaning products, or coffee gear. The casters are the point — static storage can’t follow your life around. Pro tip: lock two of the four casters once it’s parked so the cart doesn’t drift across the room every time you bump it.
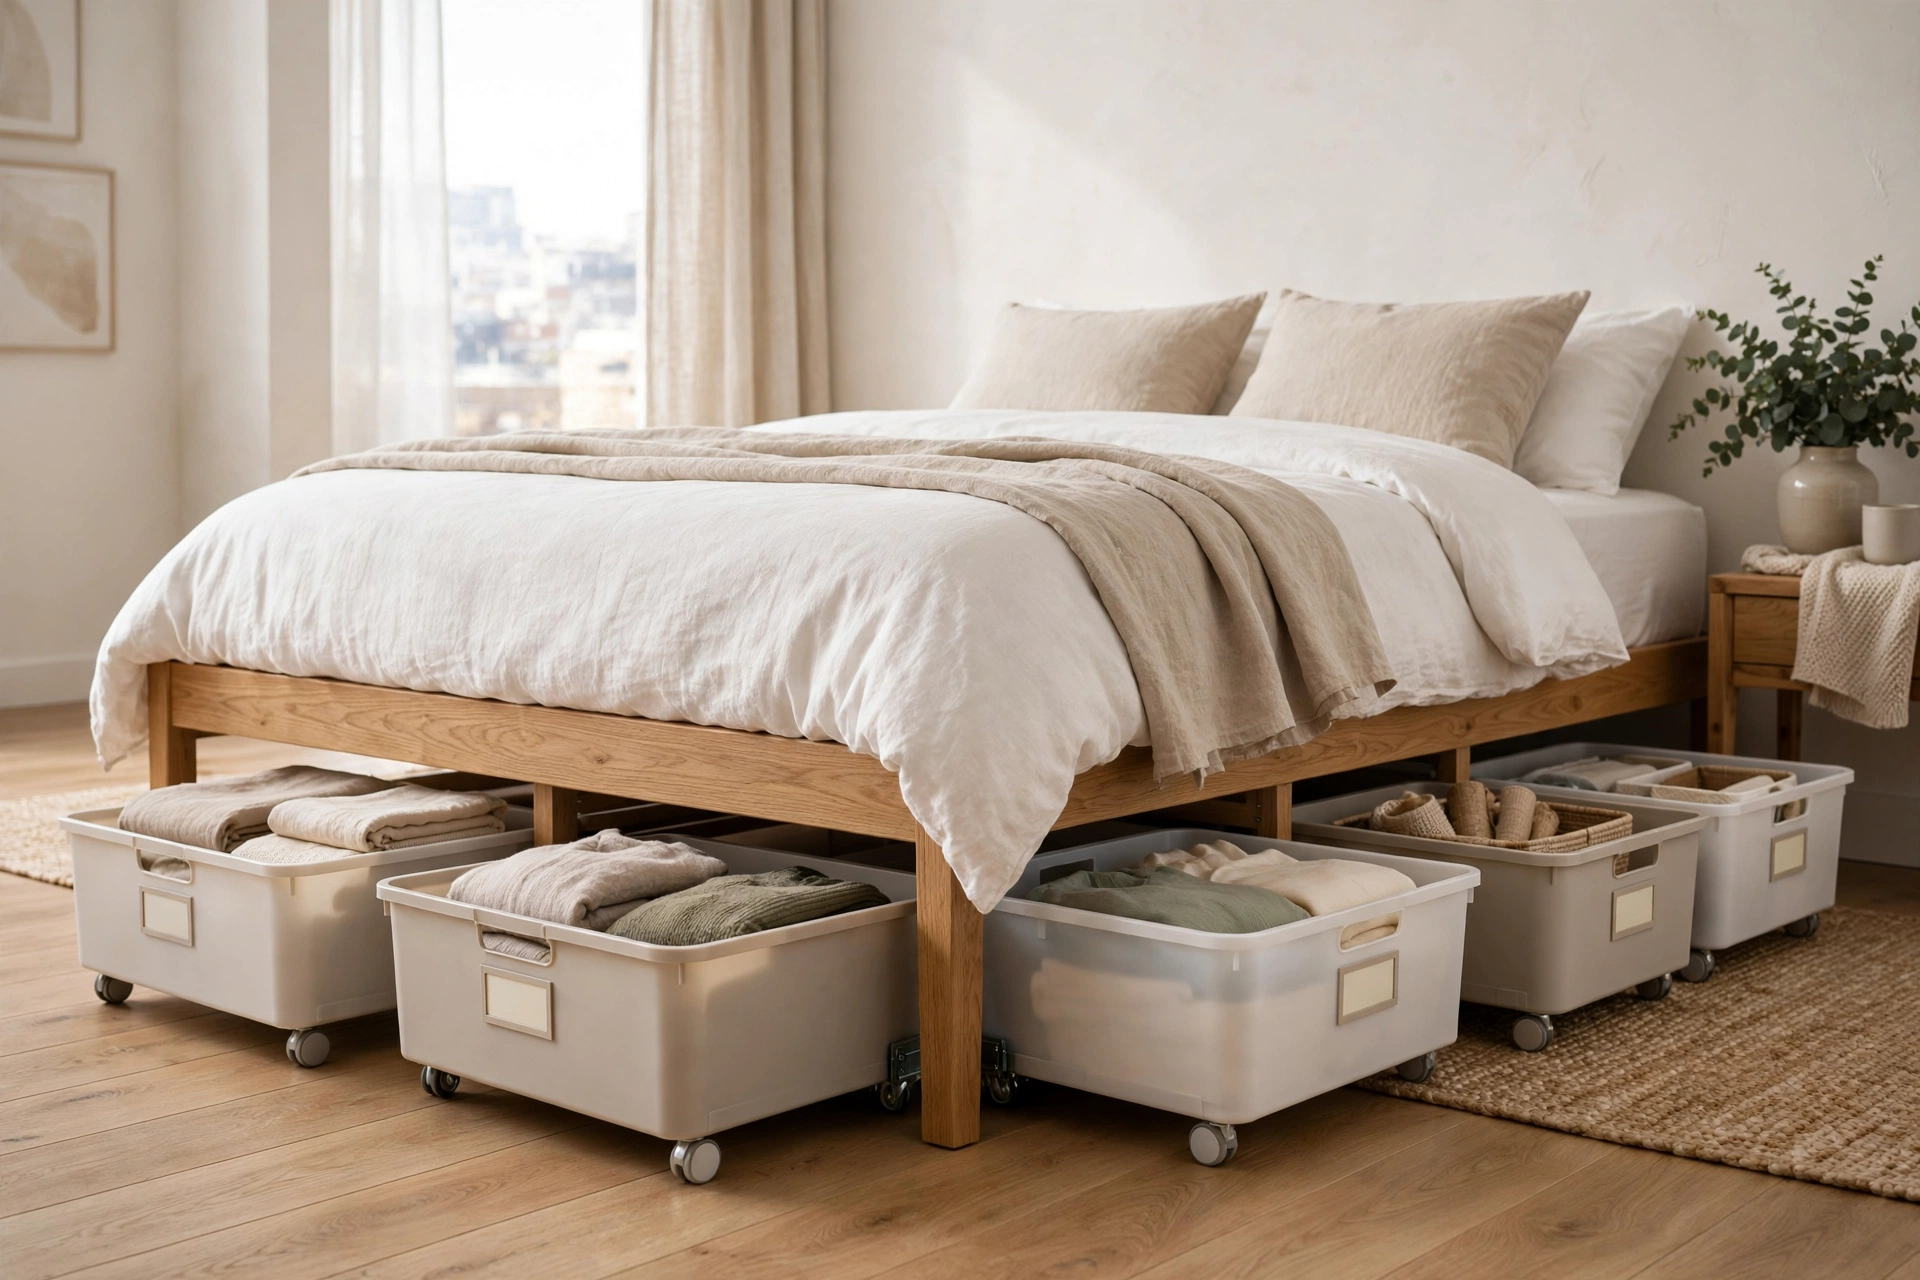
20. Store Under the Bed With Low Bins
If a drawer bed isn’t in the cards, low-profile bins on wheels ($10–$20 each) slide under any standard bed frame and hold an astonishing amount — roughly six bins fit under a queen. They’re ideal for shoes, gift wrap, documents, and seasonal gear. Choose bins with lids to keep dust out and wheels to save your knees. Measure your bed’s clearance before buying; 6-inch bins fit almost everywhere. Pro tip: attach a small label to the bin’s short end facing out — you’ll identify contents without pulling every bin into the middle of the room.
Kitchen & Closet Systems
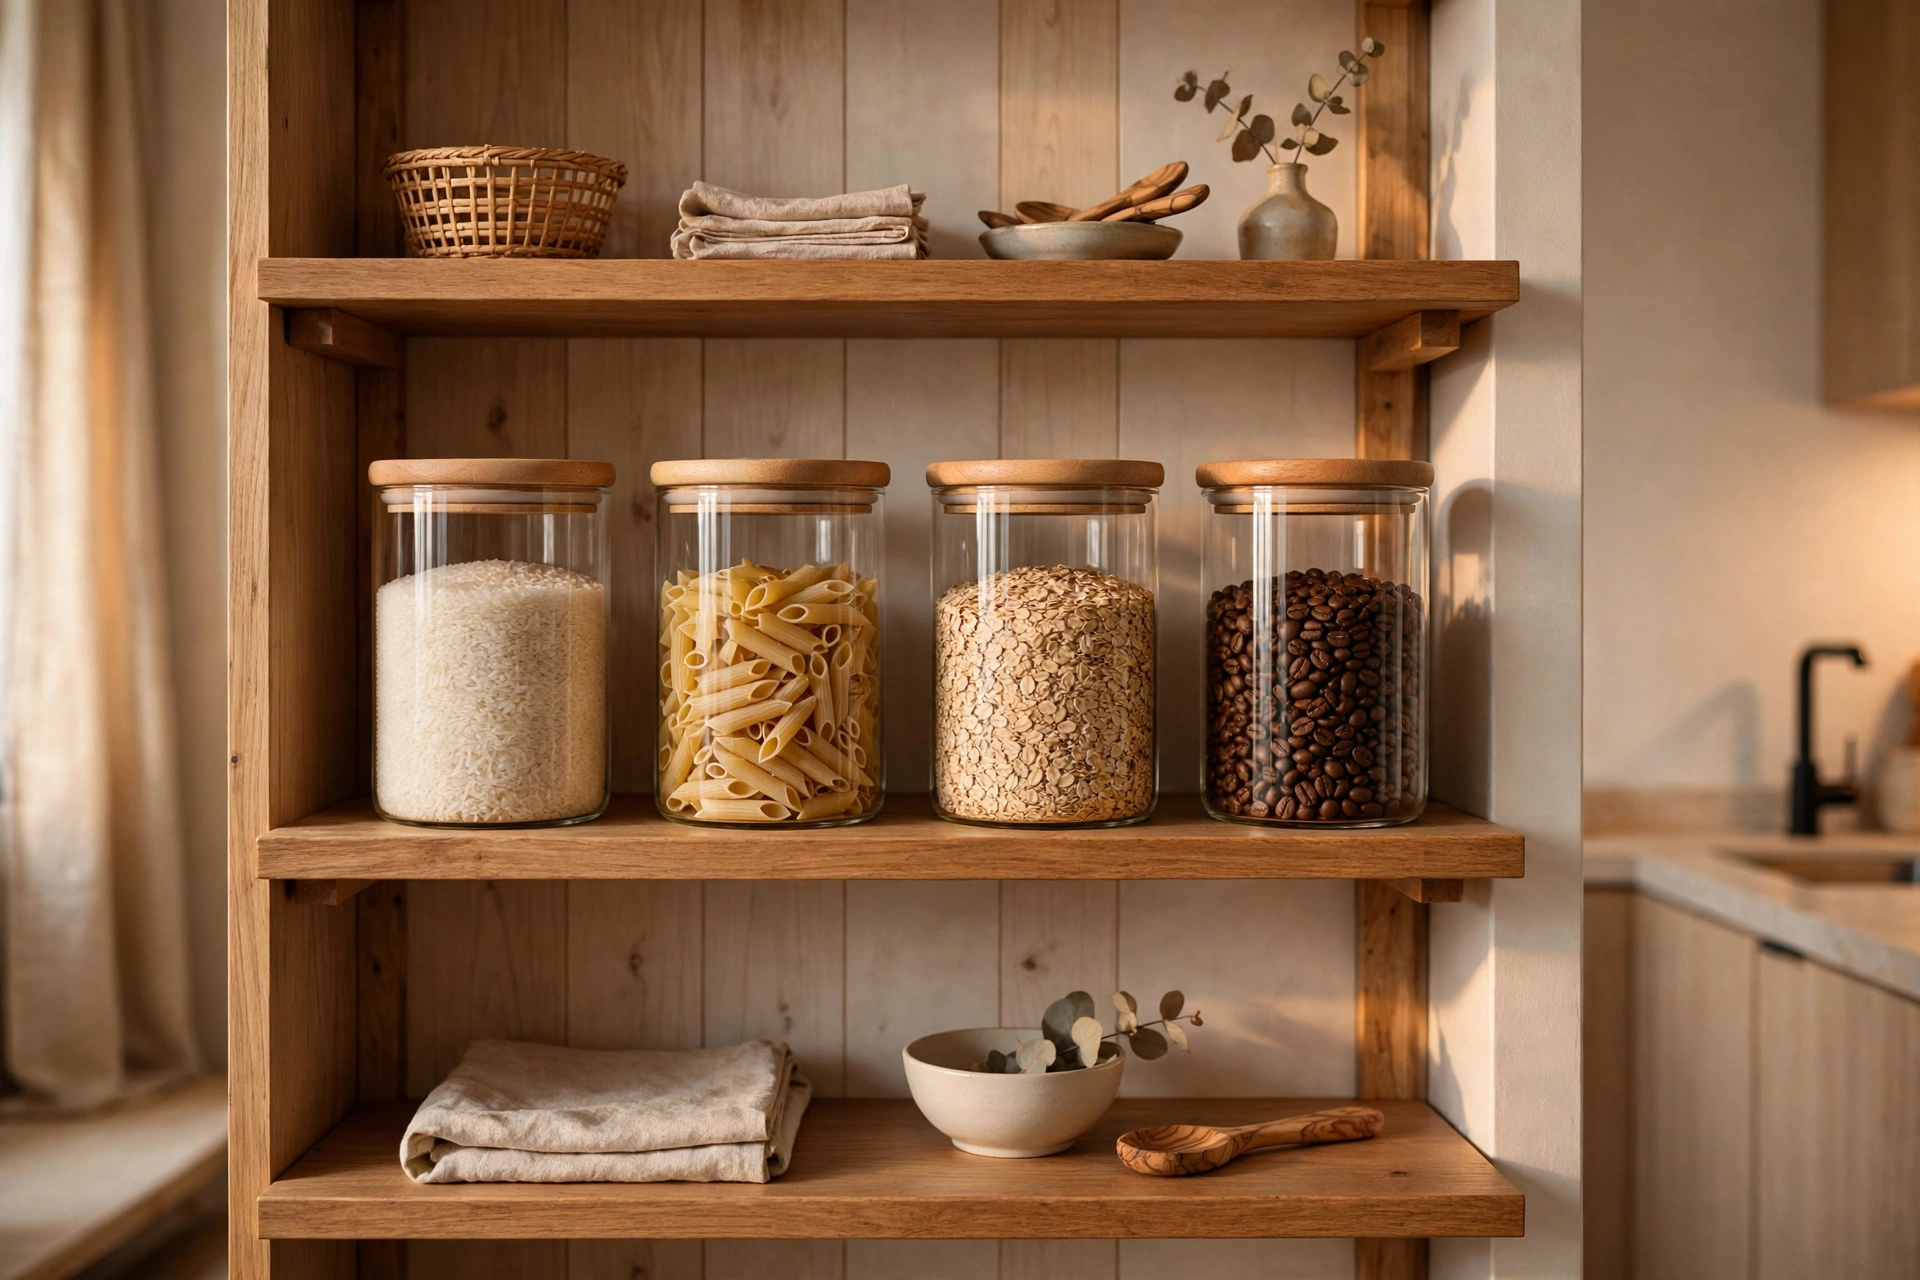
21. Decant Pantry Goods Into Matching Jars
Half-empty boxes and torn bags make even a tidy pantry look chaotic. Decanting dry goods into matching glass jars ($2–$5 each) creates visual calm, keeps food fresher, and lets you see at a glance what needs restocking. In a studio kitchen with open shelving, uniform jars turn storage into decor. Start with the five things you buy most — rice, pasta, oats, flour, coffee — and expand from there. Pro tip: add a small chalkboard label ($0.50 each) with the expiry date, not just the name — pretty jars with stale contents help nobody.
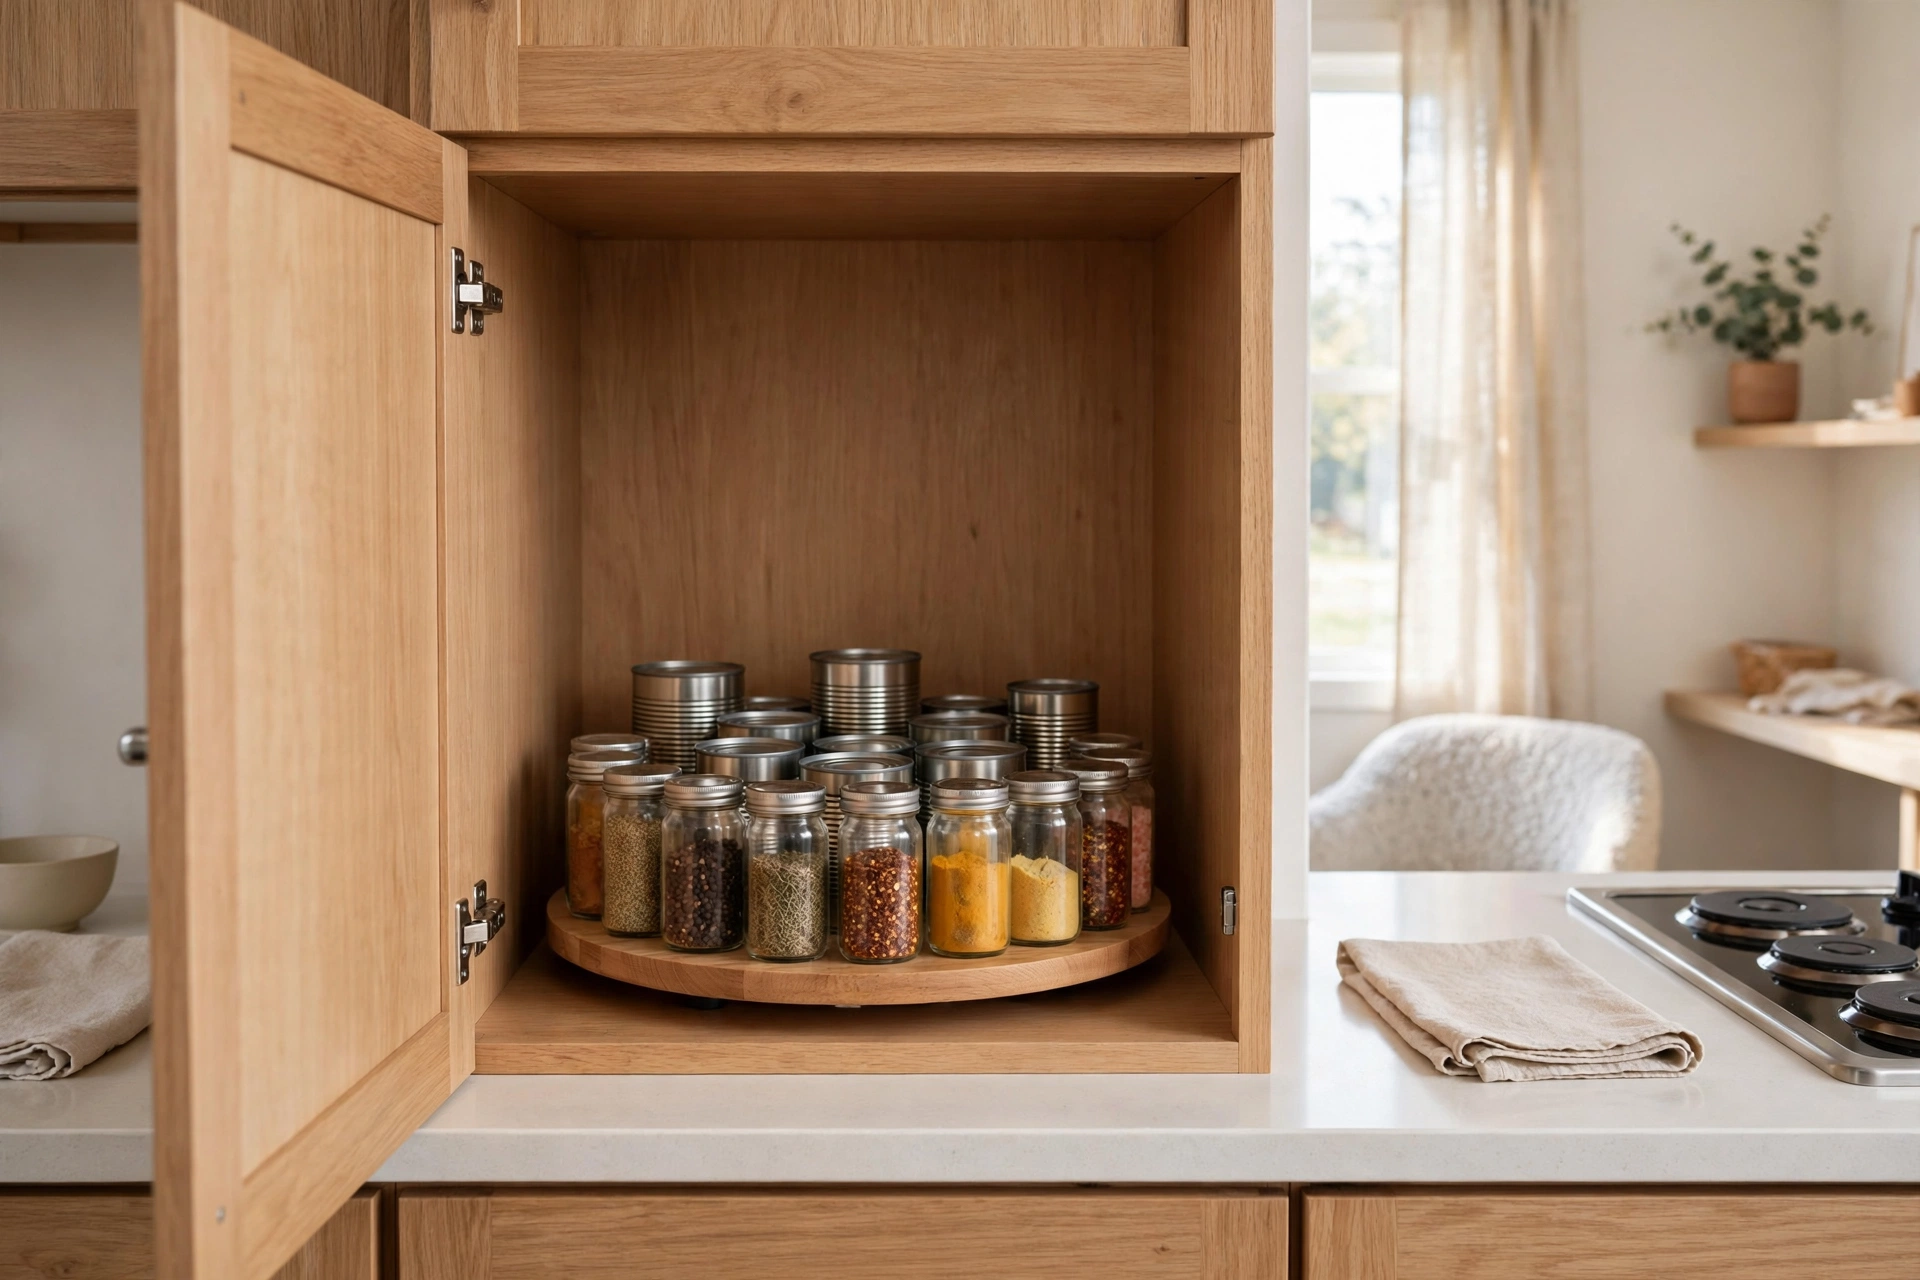
22. Use a Lazy Susan in Deep Cabinets
Deep kitchen cabinets are black holes where spices and cans go to expire. A turntable lazy Susan ($10–$20) makes every item reachable with one spin — no more excavating the back row. They’re equally brilliant in bathroom cabinets and under-sink chaos. Measure the cabinet’s interior diameter before buying; a turntable that’s too big won’t spin and one too small wastes space. Pro tip: put the tallest bottles in the center and shorter ones around the edge so nothing topples when the turntable spins.
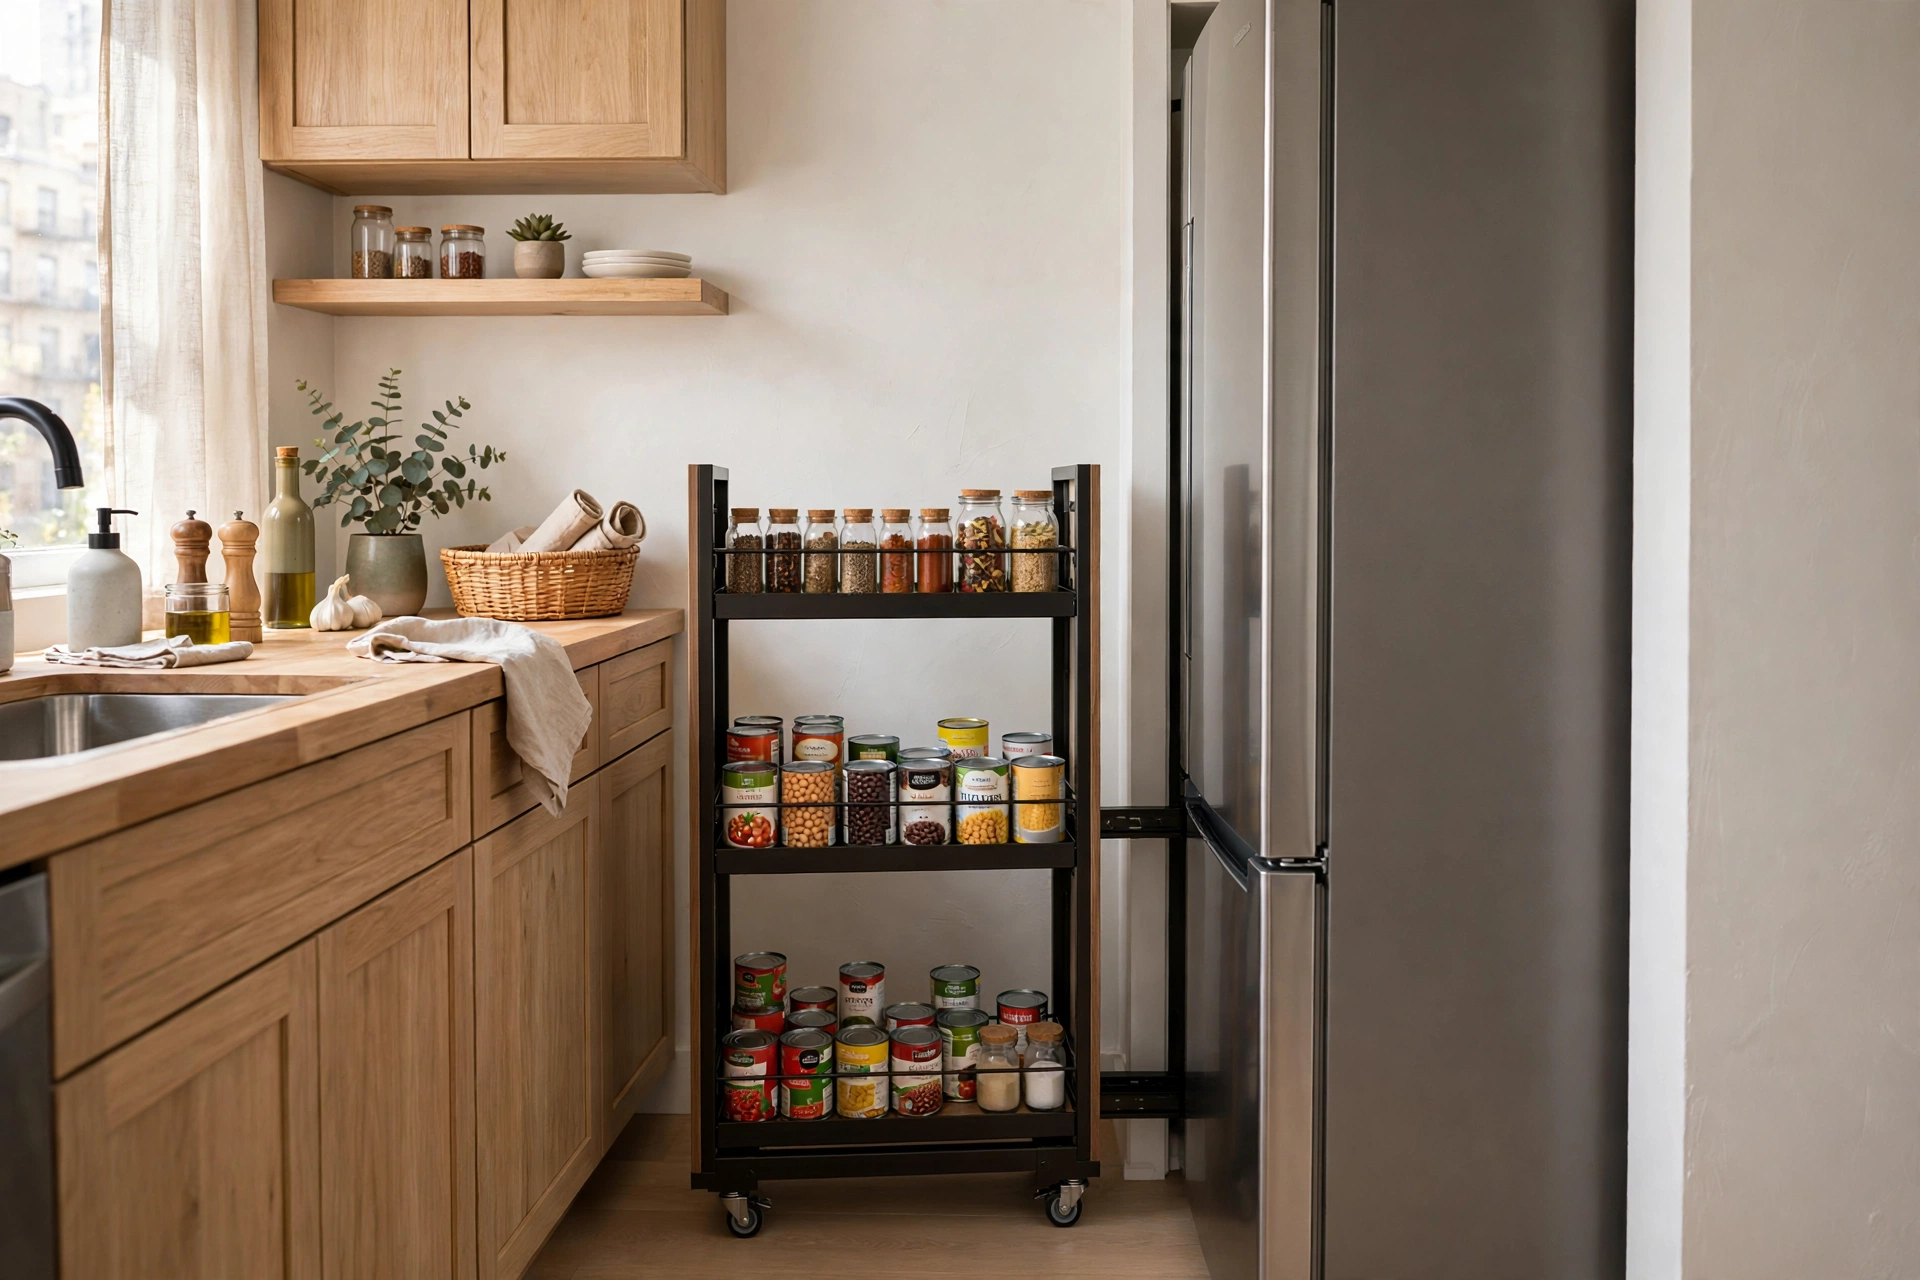
23. Install a Pull-Out Pantry Tower
That 6-inch gap between the fridge and the wall? It’s a pantry waiting to happen. A slim pull-out tower on casters ($35–$70) slides into the gap and holds cans, spices, and bottles in full view when extended. It converts dead space most people don’t even notice into serious storage. Measure the gap’s width, height, and depth carefully — towers come in standard widths and a half-inch matters. Pro tip: anchor a small anti-tip strap at the top; a fully loaded tower gets top-heavy when pulled all the way out.
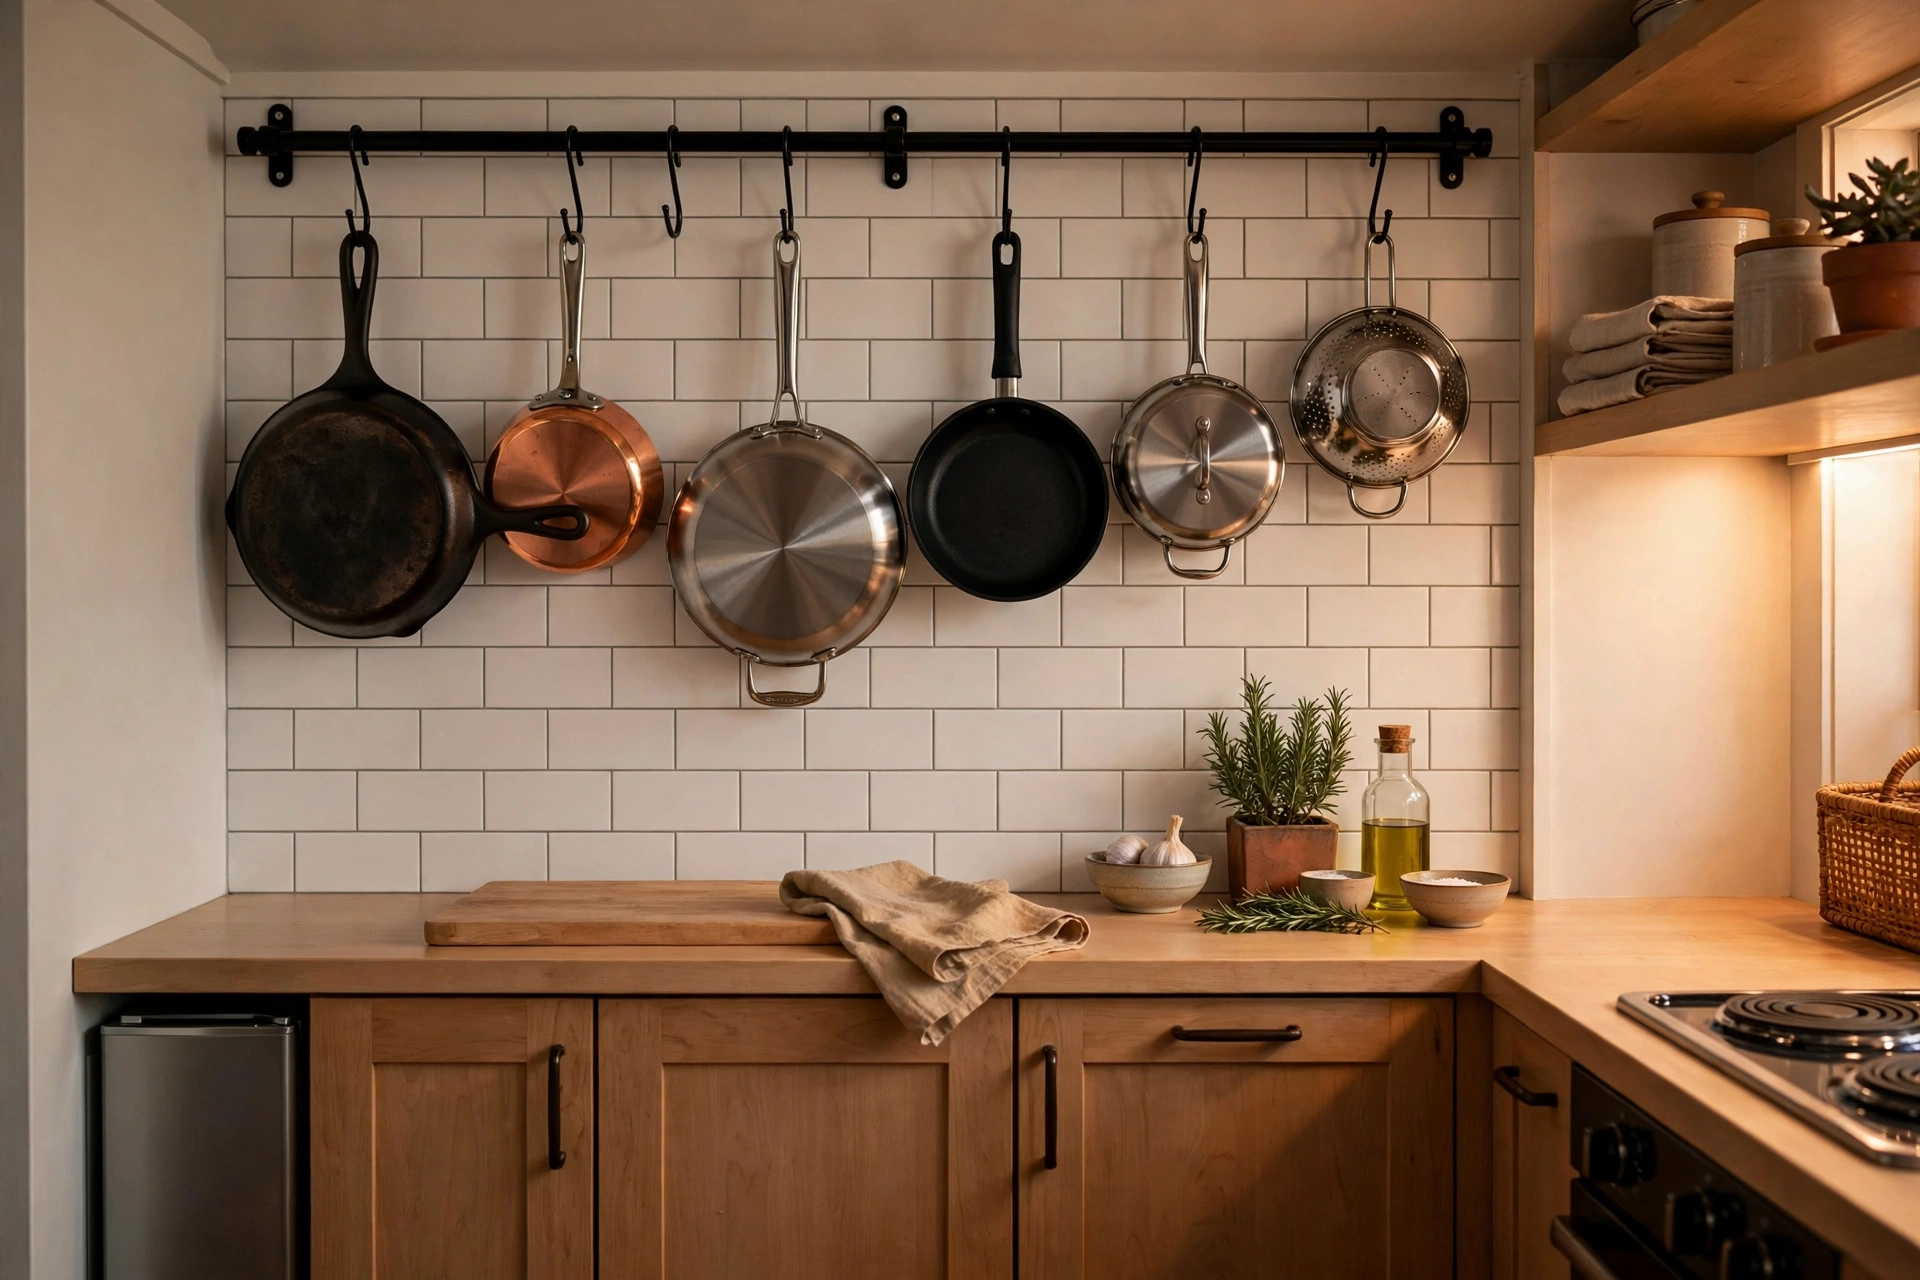
24. Hang Pots From a Ceiling Rack
Pots and pans devour cabinet space that a studio kitchen can’t spare. A ceiling-mounted pot rack ($30–$70) or even a sturdy wall-mounted rail with S-hooks ($15–$30) moves cookware overhead, freeing an entire cabinet. It also puts your most-used pans within arm’s reach while cooking. Check your lease before drilling into the ceiling — tension-mounted or wall-mounted versions keep landlords happy. Pro tip: hang only the pans you use weekly; the fondue pot from 2019 can live in the donation station from idea #5.
25. Maximize the Closet With a Double-Hang Rod
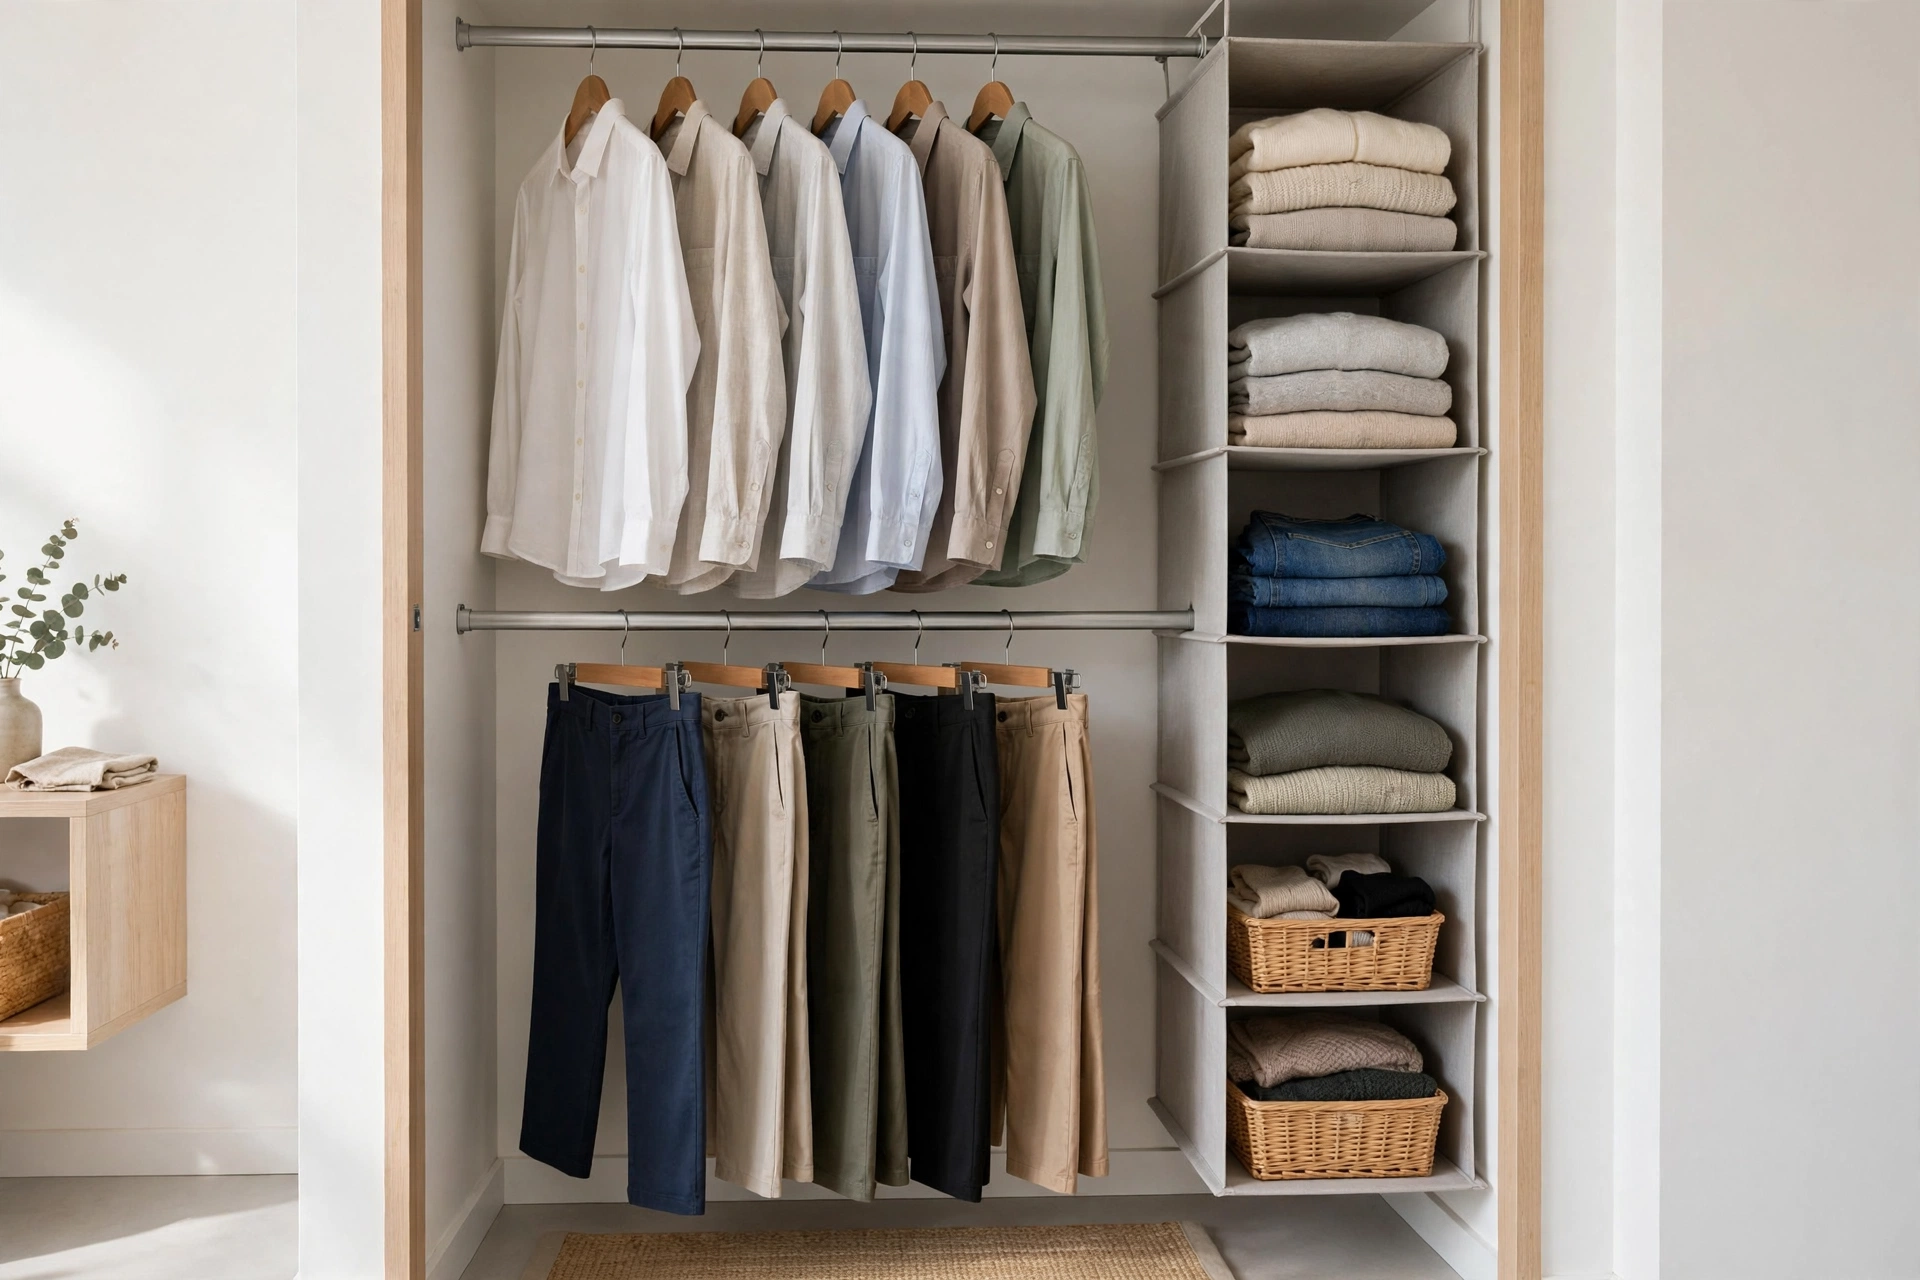
Most closets waste the bottom half — one high rod, one sad pile of shoes below. A tension double-hang rod ($12–$25) instantly doubles hanging space: shirts and jackets up top, pants and skirts below. Add a hanging shelf organizer ($15–$30) at one end for folded items and the closet’s capacity nearly triples. This $40 upgrade outperforms a second dresser that would eat four square feet of floor. Pro tip: face all hangers the same direction, and turn one backward each time you wear something — after three months, the still-backward hangers identify clothes to donate.
26. Add Slim Rolling Gap Storage
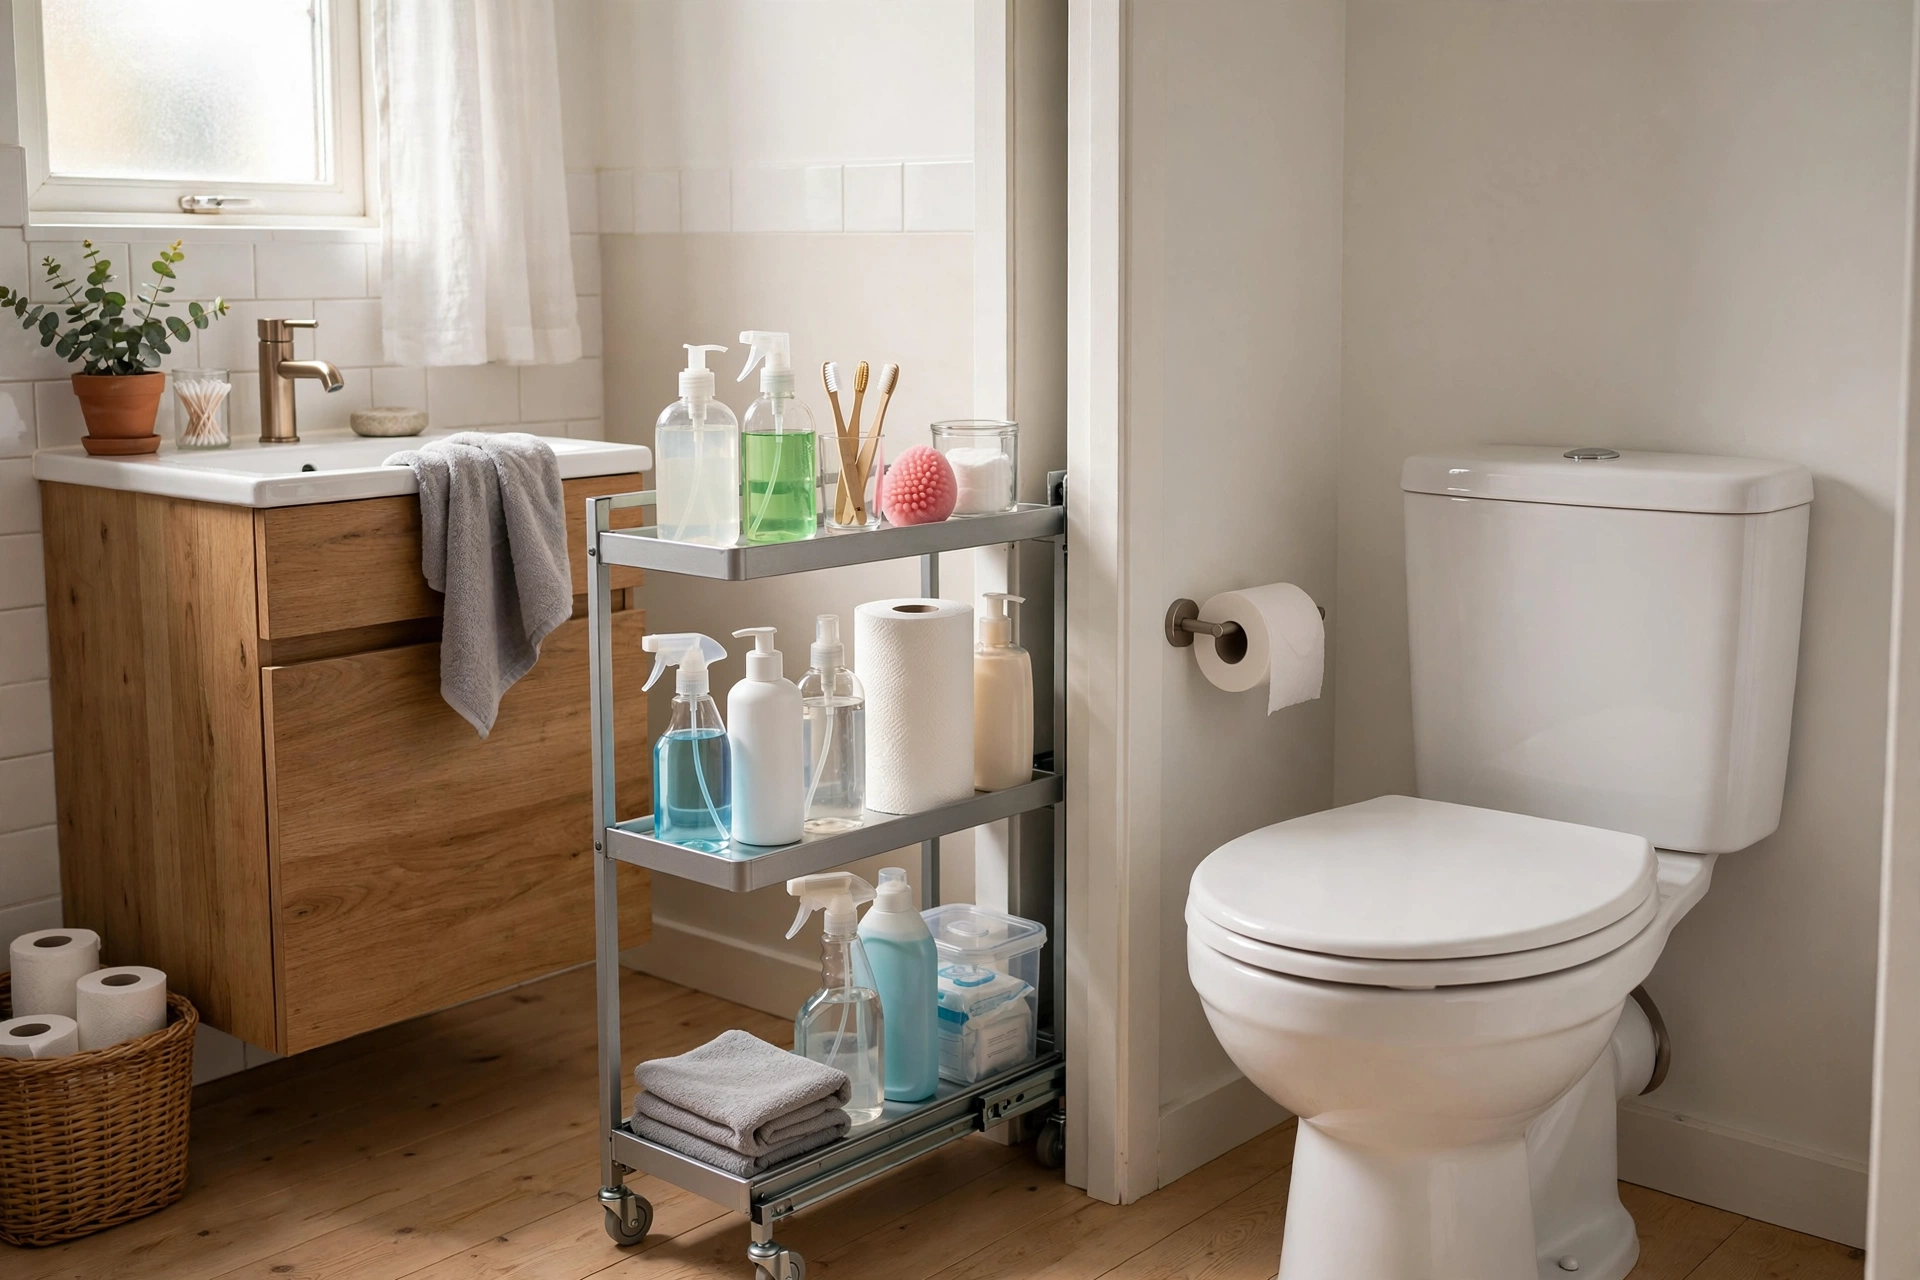
The gaps between appliances, beside the toilet, or next to the washer are storage gold. Slim rolling carts ($20–$40) designed for 6-to-8-inch gaps hold cleaning supplies, toiletries, or pantry overflow exactly where you use them. The bathroom gap cart alone can empty a whole cluttered vanity. They’re renter-friendly, need no installation, and roll out for full access. Pro tip: choose a cart with a handle on top — without one, pulling a loaded cart from a tight gap becomes a two-hand wrestling match.
27. Use Vacuum Bags for Seasonal Clothes
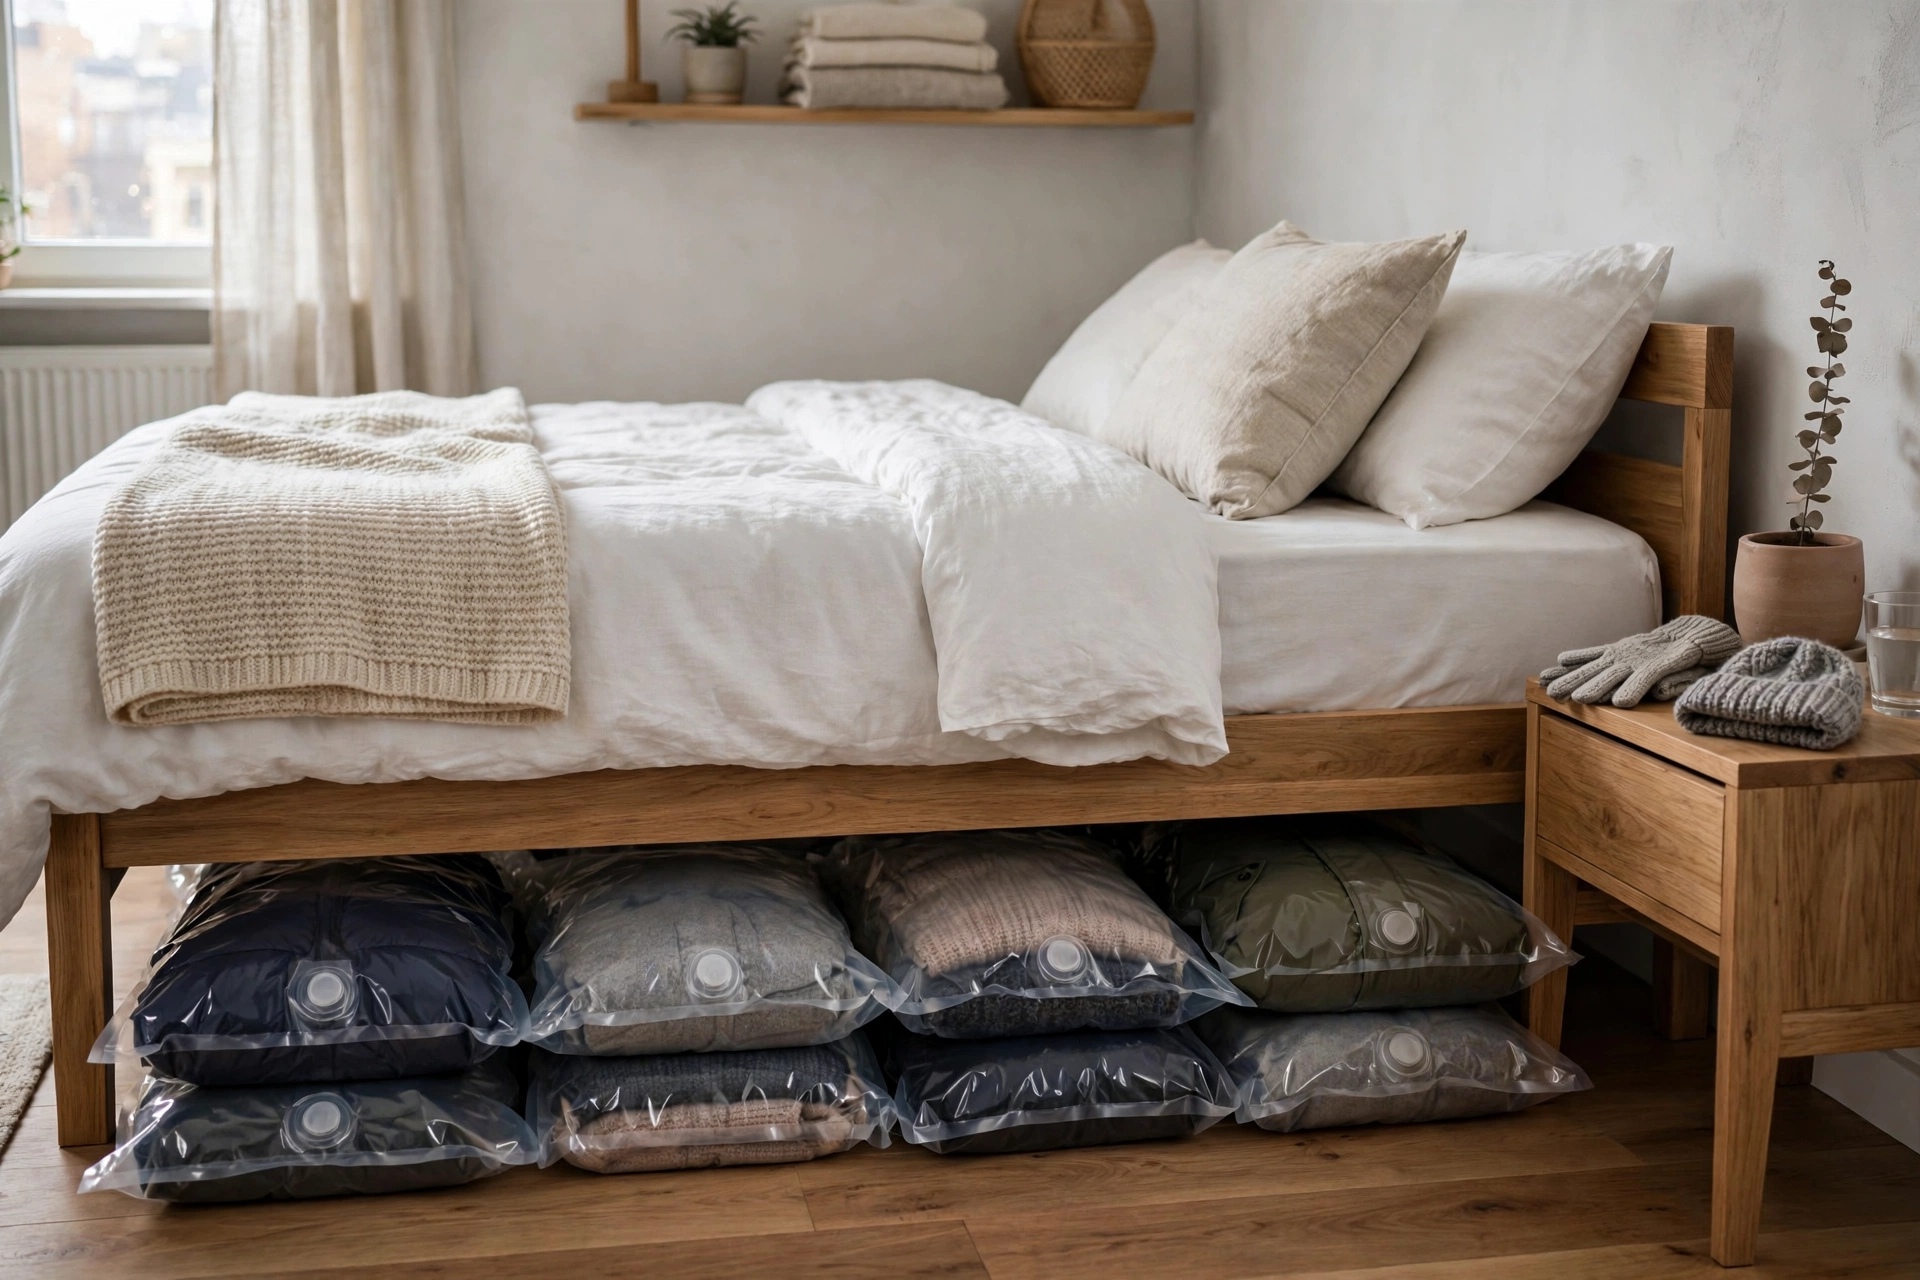
Winter coats and bulky sweaters can swallow half a studio closet for six months a year. Vacuum storage bags ($12–$20 for a multi-pack) compress them to a third of their volume — a whole winter wardrobe fits in one under-bed bin. They’re also genuinely airtight, protecting wool from moths. Just don’t vacuum delicate down for months on end; it can lose loft. This pairs with the minimalist mindset in our minimalist studio apartment decor ideas — own less, store smarter. Pro tip: toss a cedar block in each bag before sealing for moth protection that lasts the whole season.
Small Habits & Systems That Stick
28. Label Everything You Store
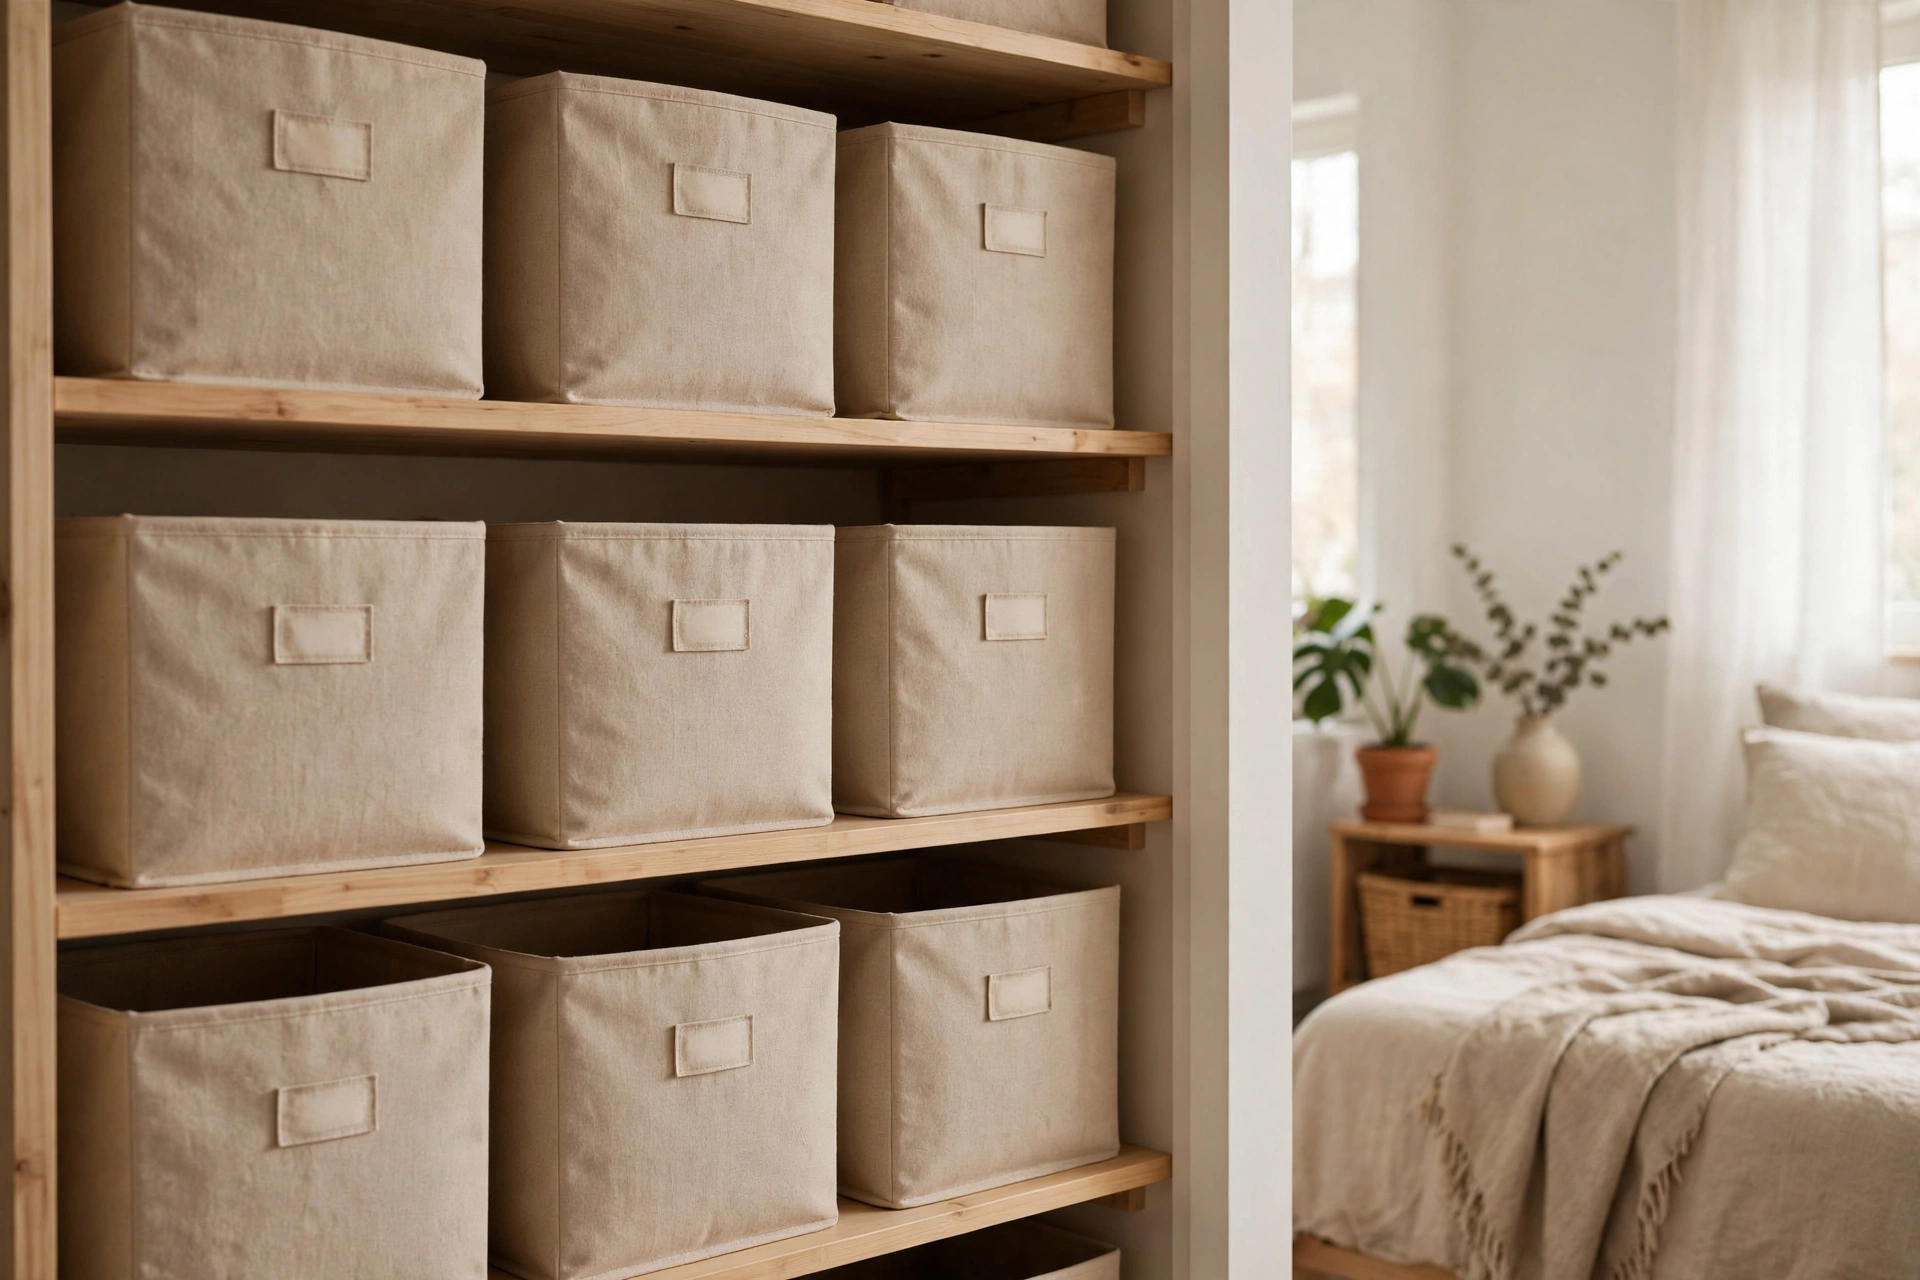
An unlabeled bin is a mystery box you’ll avoid opening. A $15 label maker — or even masking tape and a marker ($3) — turns every container into a self-explanatory system that anyone in the household can maintain. Label shelves, bins, drawers, and chargers. The magic isn’t the labels themselves; it’s that labeled homes make putting things away a zero-decision task, which is the only kind that survives a busy week. Pro tip: label the shelf, not just the bin — when a bin is in use elsewhere, the empty labeled spot shows exactly where it belongs.
29. Zone the Studio With Storage Furniture
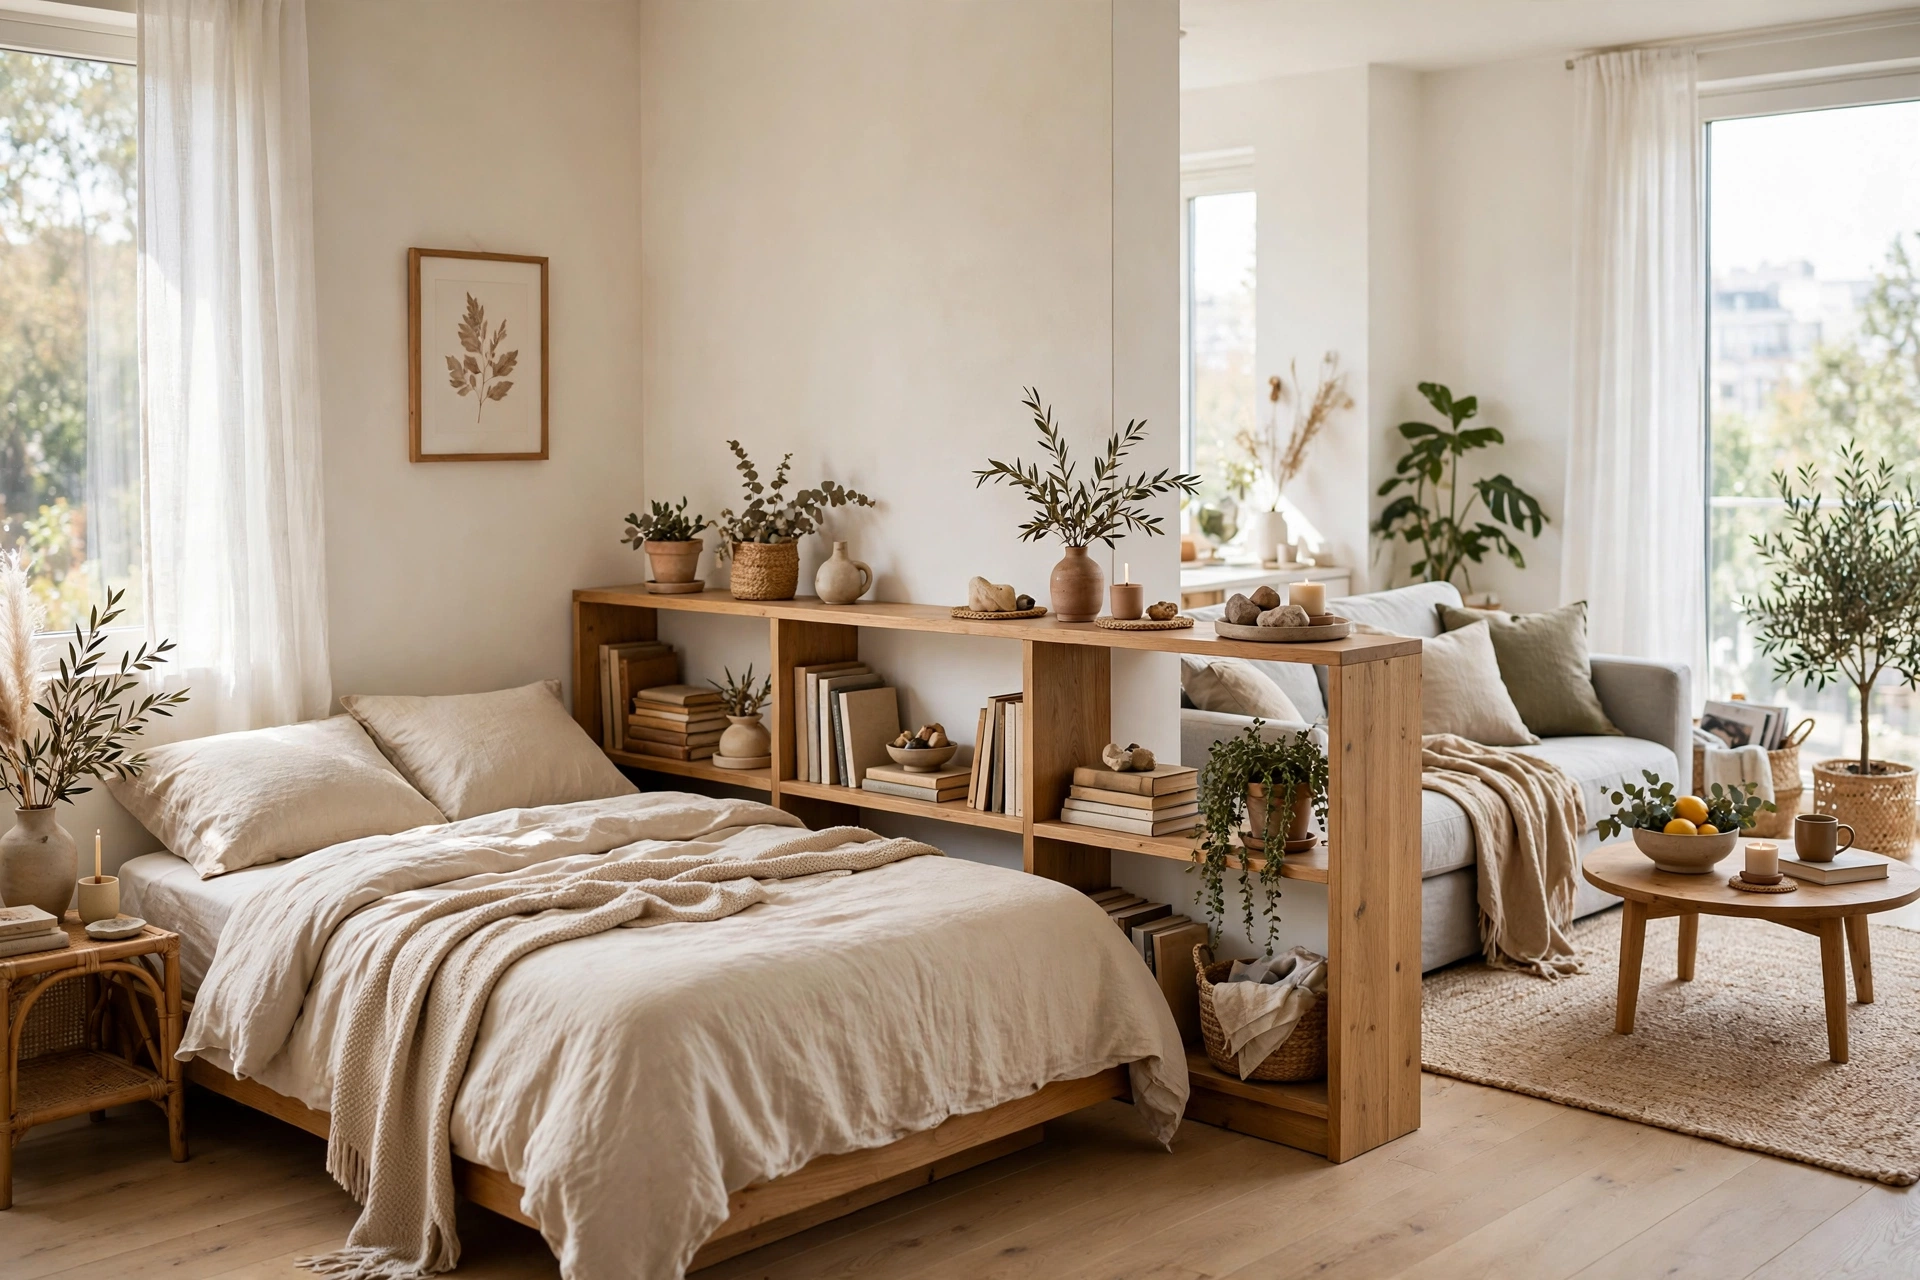
In an open studio, storage furniture can do double duty as a room divider: a low bookcase between the bed and living area ($120–$300) defines zones while holding books on one side and decor on the other. A console behind the sofa creates an entry landing strip with hidden storage inside. Every divider you add is storage you didn’t have to find floor space for — the same space-planning logic as our studio apartment lighting ideas for layering function by zone. Pro tip: keep divider furniture under 36 inches tall so light flows over it — tall dividers chop a studio into dark caves.
30. Keep Surfaces at the “Hotel Rule”
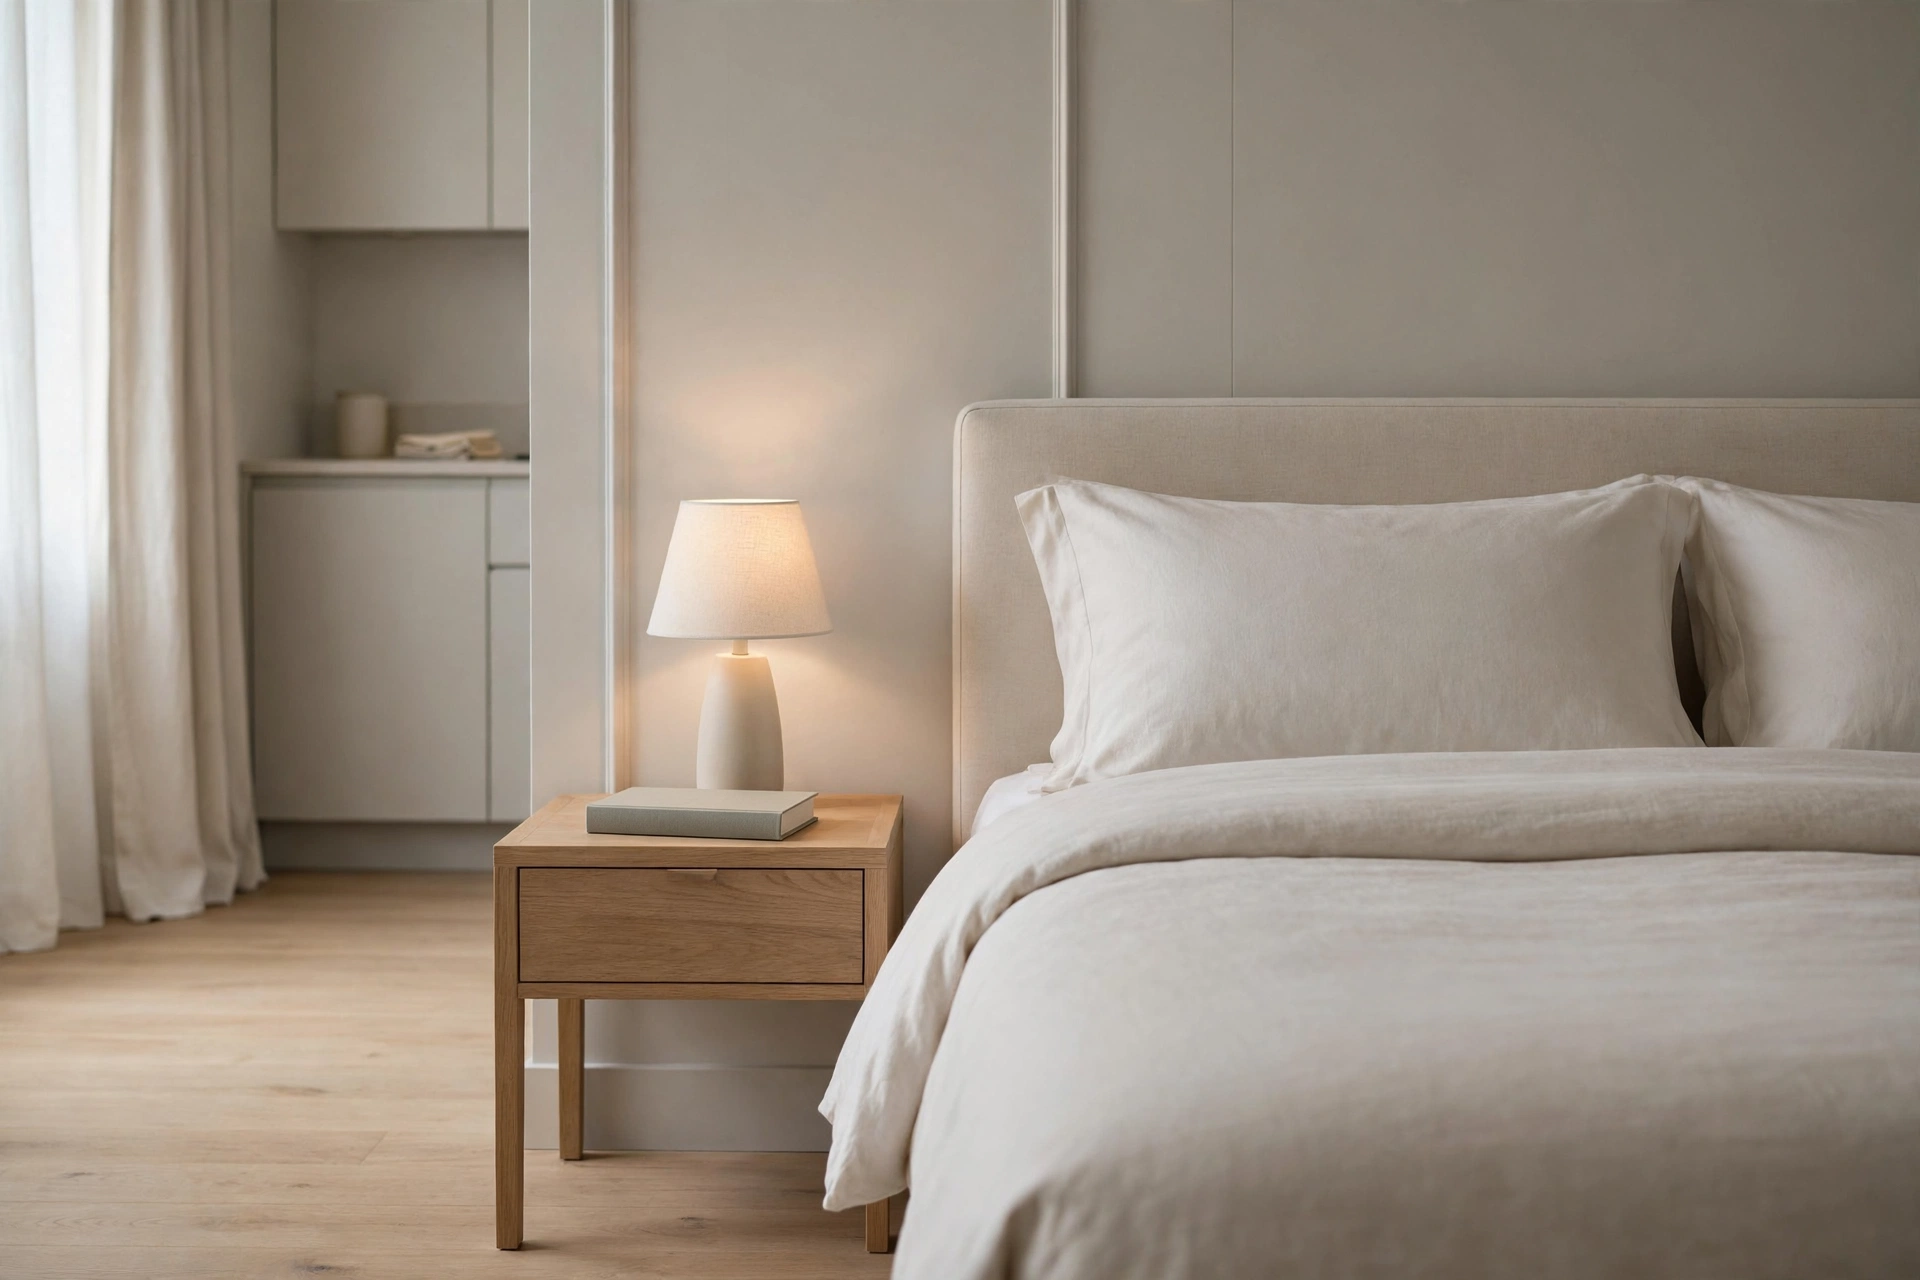
Here’s the rule: every flat surface should look like a hotel just cleaned it — one intentional object, max. A nightstand holds a lamp and a book, not a lamp, three books, a water glass graveyard, and yesterday’s mail. The hotel rule doesn’t mean owning less; it means everything else lives in its home (ideas #14–#20). Clear surfaces make a studio feel twice as big because the eye reads uninterrupted planes as space. Enforce it during the nightly reset from idea #3. Pro tip: use trays ($10–$20) on the surfaces you do use — a tray corrals the lamp remote and hand cream into one visual unit instead of three scattered objects.
31. Create a Landing Strip by the Door
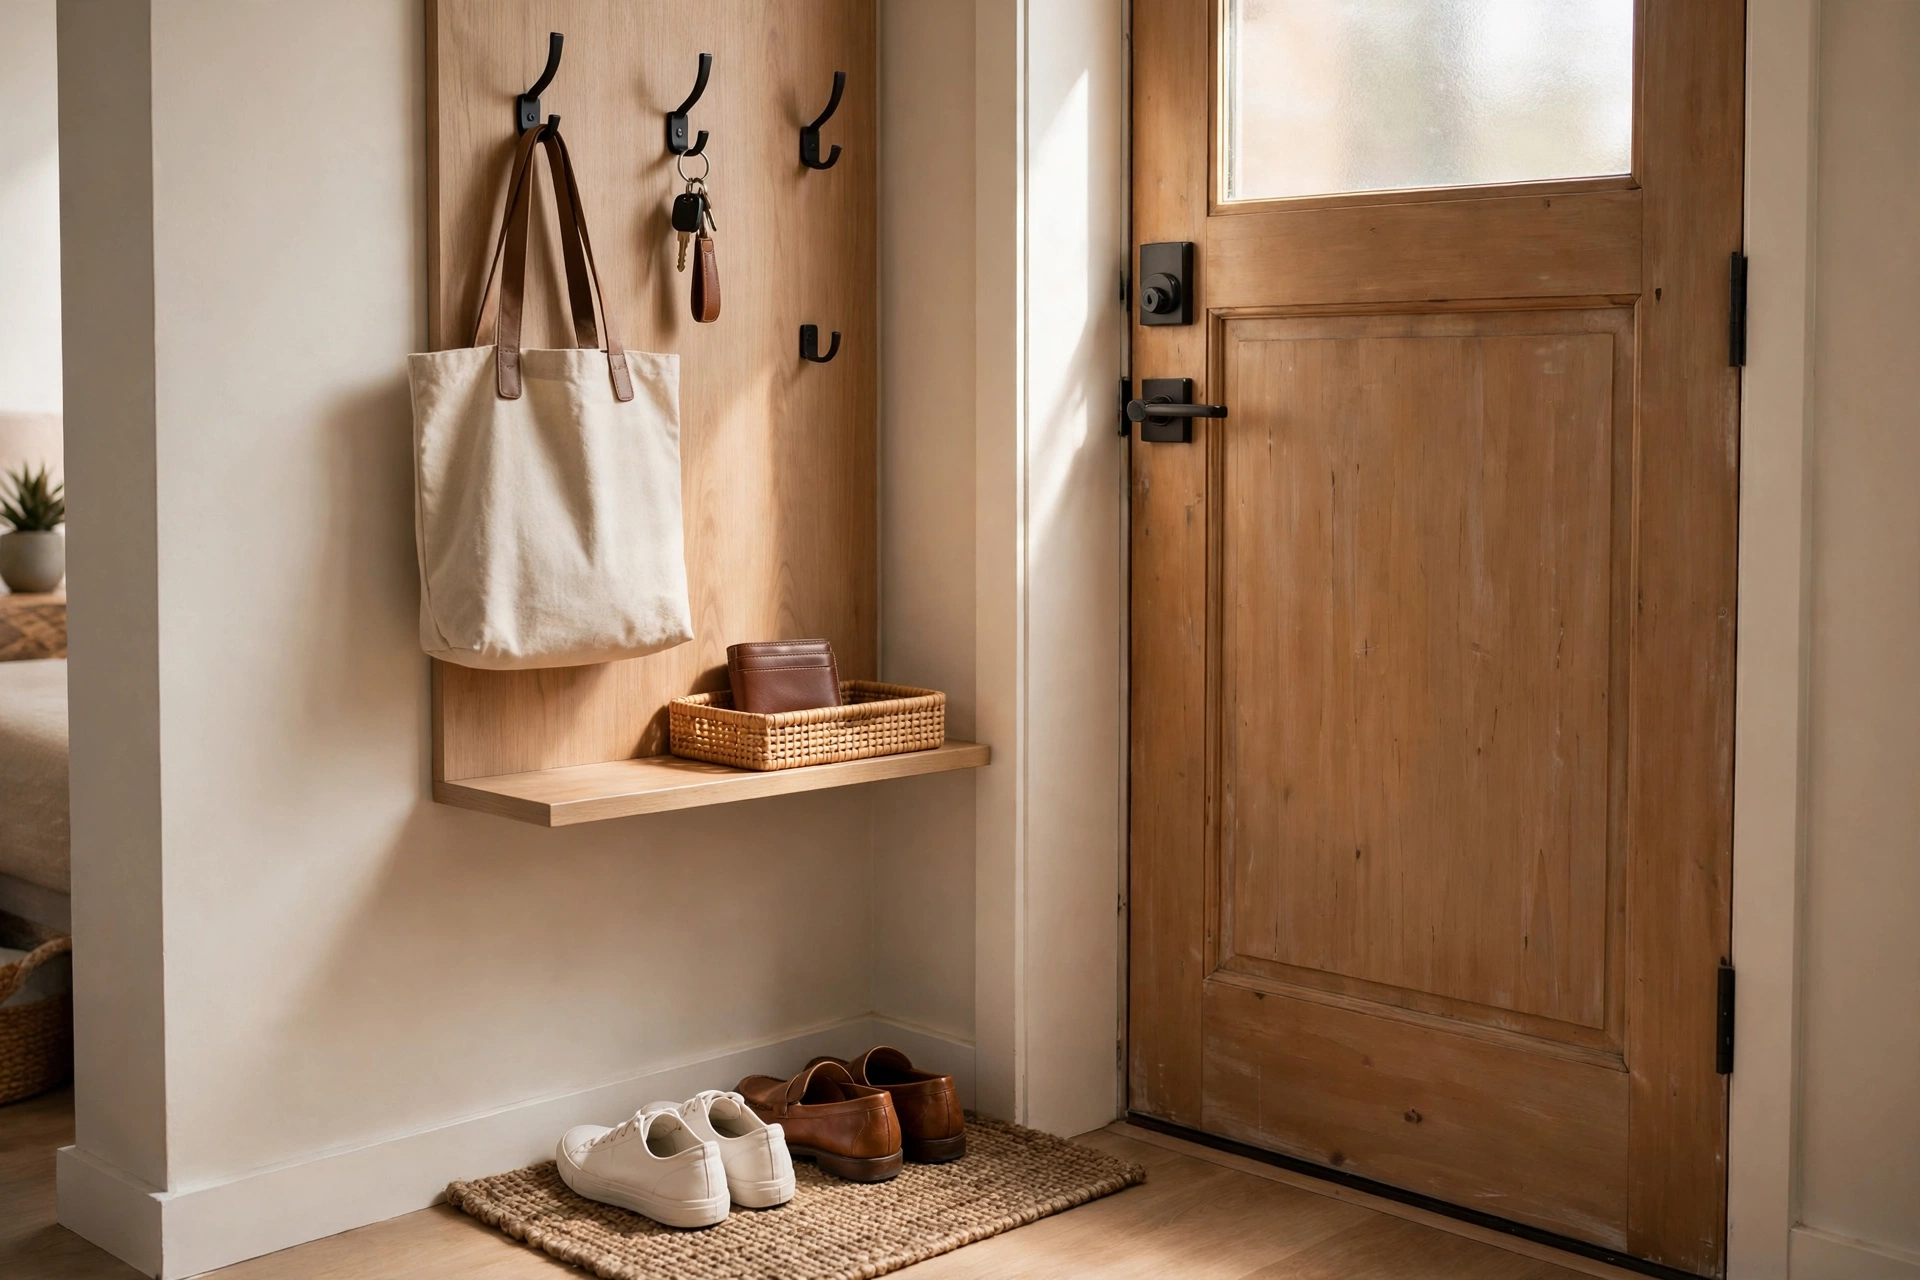
Most studio mess starts at the front door — keys, bags, shoes, and mail explode inward with no system to catch them. A landing strip fixes it: a wall hook row ($15–$30), a small tray for keys and wallet ($10–$18), and a shoe tray or mat ($12–$25) in the first three feet inside the door. Everything you carry in lands in its spot within seconds of arrival. It’s the highest-impact three feet in the apartment. Pro tip: add a small lidded bin for outgoing items — returns, donations, borrowed things — so they leave with you instead of living by the door for weeks.
32. Corral Cables and Chargers
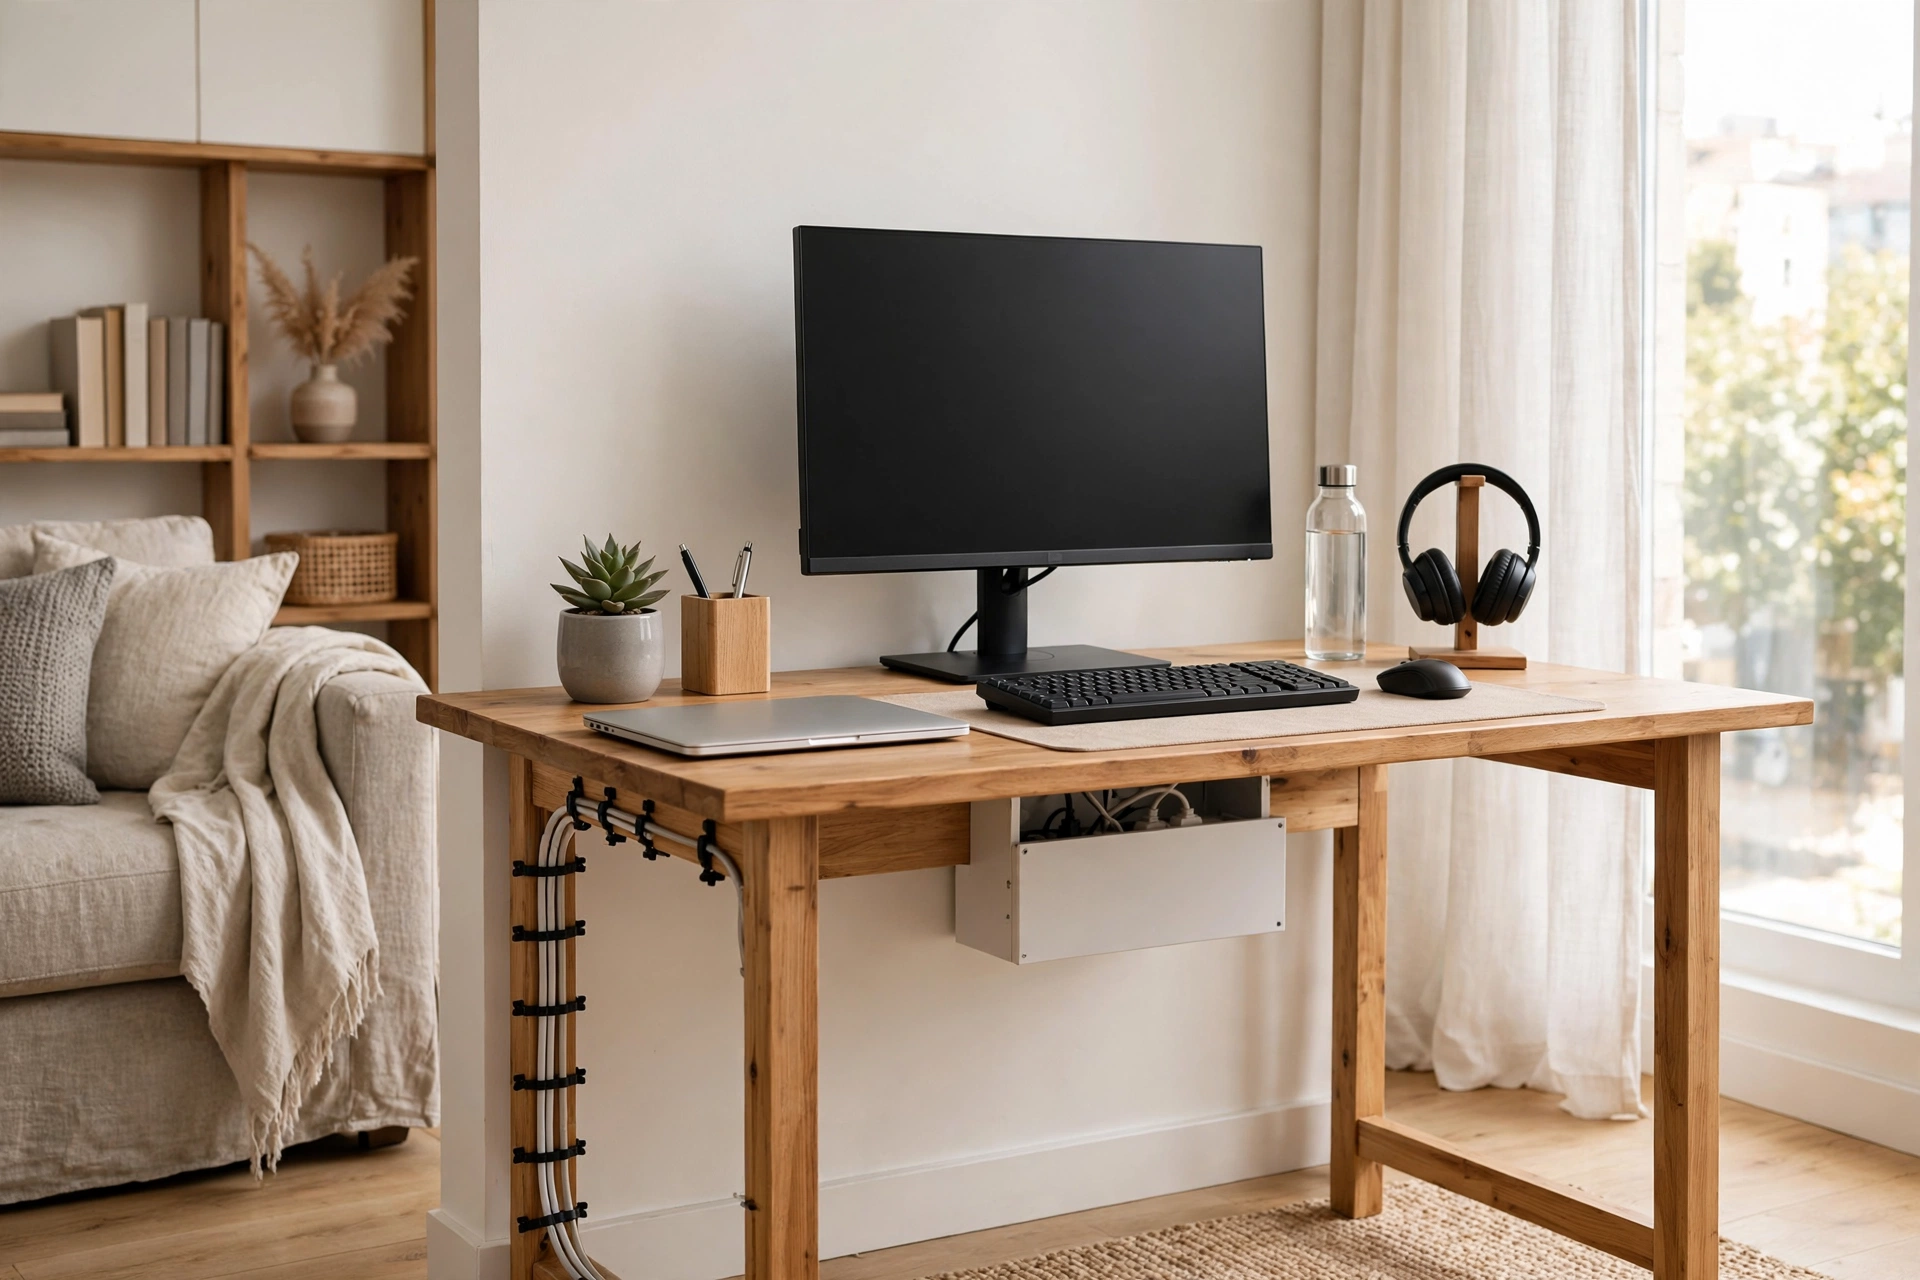
Cable spaghetti behind the TV and desk makes even clean studios feel chaotic. A cable management box ($15–$25) hides the power strip and excess cord, adhesive clips ($8 for a pack) route cables along furniture legs, and a small labeled pouch per device ends the “whose charger is this” wars. Ten dollars and twenty minutes transforms the tech corner from hazard zone to hotel suite. Pro tip: label both ends of every cable with washi tape — when you need to unplug one thing behind the TV, you’ll know exactly which black cord is which.
33. Use the Inside of Cabinet Doors
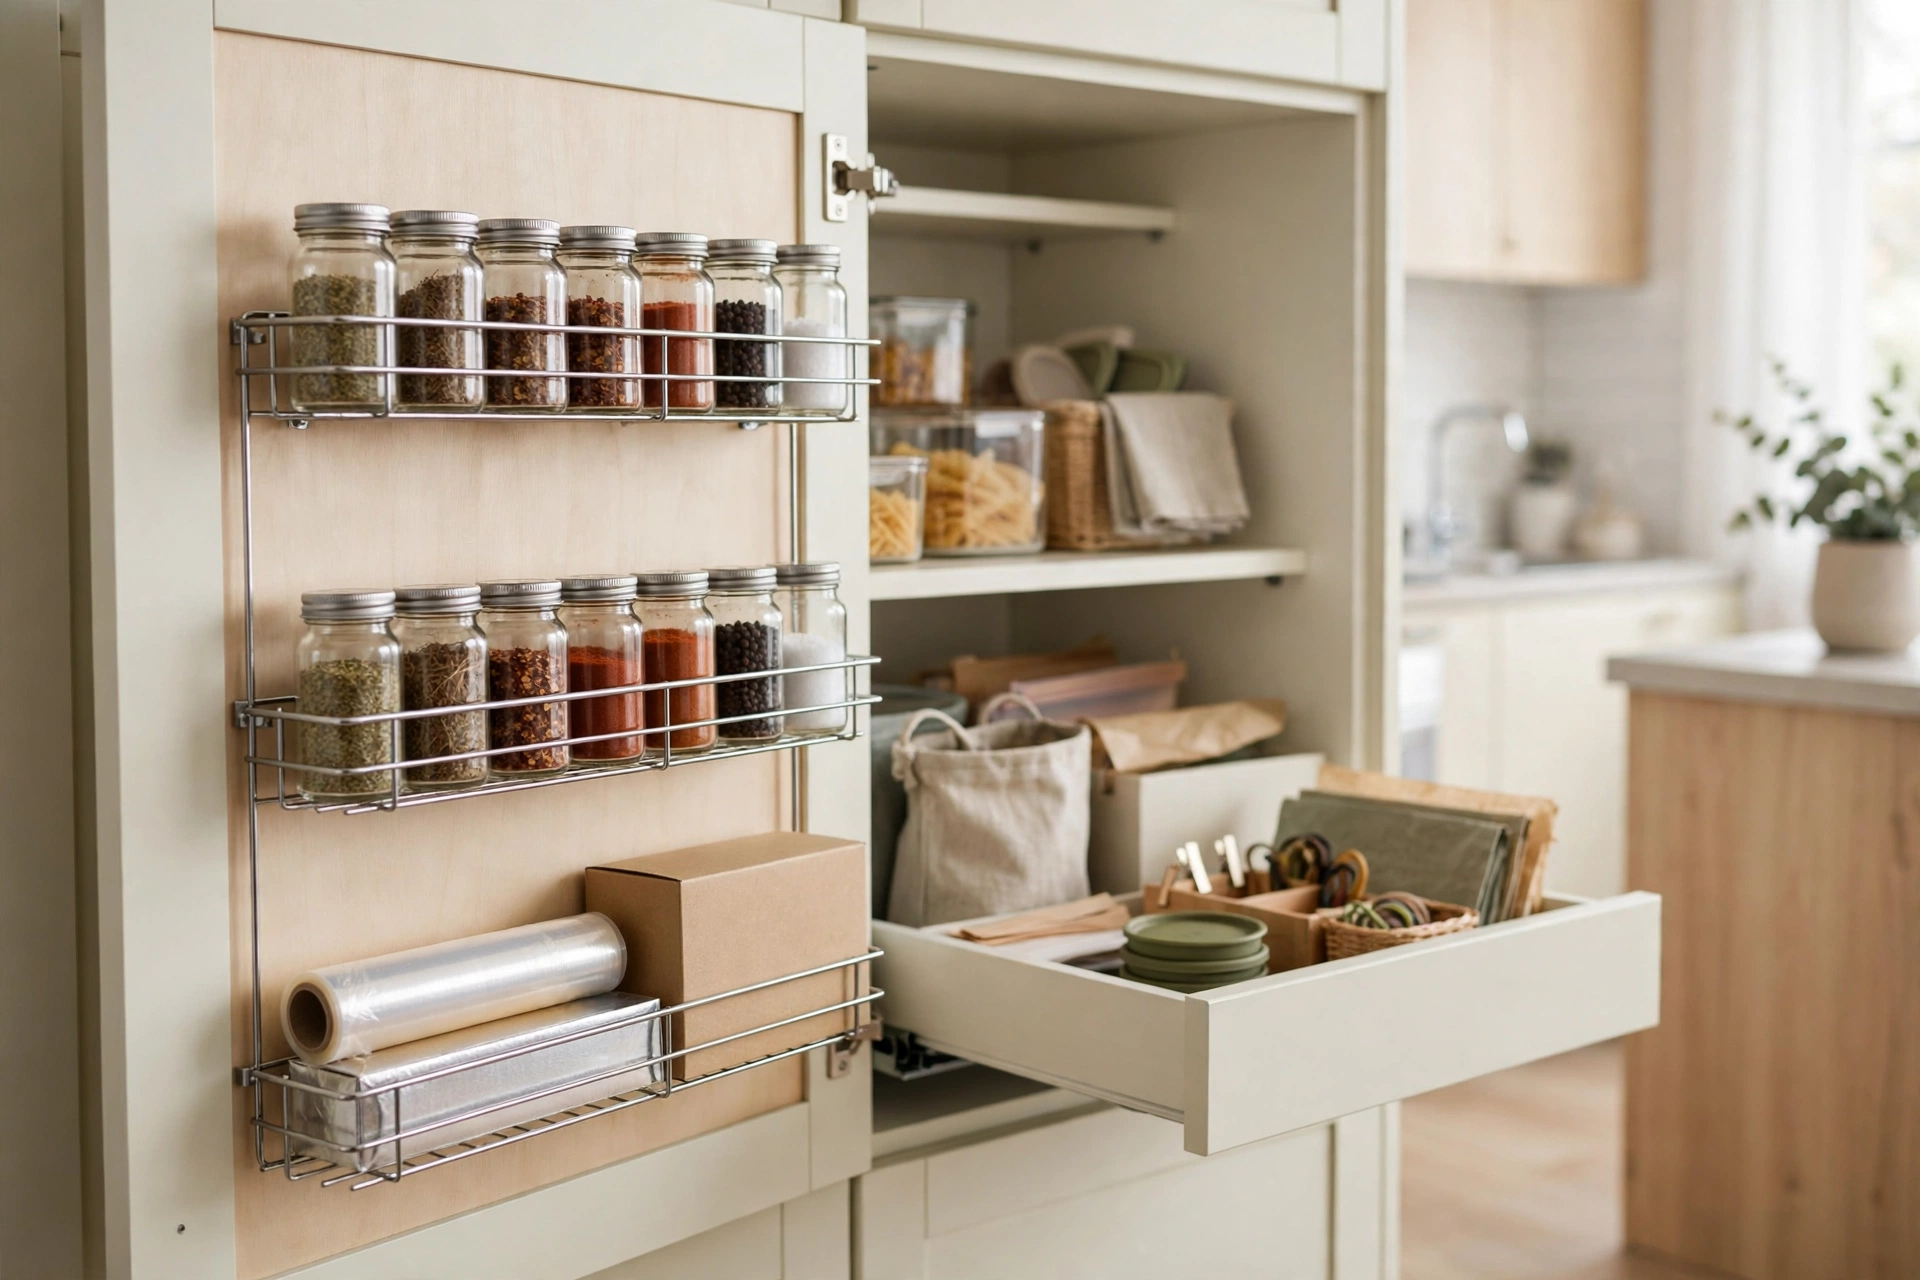
Cabinet doors are free square footage hiding in plain sight. Adhesive or over-door racks ($8–$18) on the inside of kitchen cabinets hold spices, wraps, and lids; in the bathroom they hold hair tools and brushes; under the sink they hold cleaning sprays. Command-strip versions leave zero damage for renters. A single door can absorb a whole cluttered drawer. Measure twice — doors need clearance to close over the racks. Pro tip: mount a small dry-erase board ($6) inside a kitchen cabinet door for the running grocery list — it’s always where the food decisions happen.
34. Schedule a Seasonal Purge
Even perfect systems accumulate drift — the junk drawer refills, the closet creeps, the “maybe” box from idea #6 matures. A seasonal purge (15 minutes per zone, four times a year) catches it before it compounds. Tie it to something memorable: the first weekend of each season, or daylight-saving clock changes. Work zone by zone with a trash bag and the donation bag from idea #5. Ninety minutes, four times a year, keeps the studio permanently at baseline. Pro tip: purge right before a season’s wardrobe swap — you’re already handling every item, so decisions take seconds instead of a dedicated session.
Frequently Asked Questions
How do I start organizing a messy studio apartment?
Start small and visible: one drawer, one shelf, or one box using idea #1. Don’t buy any organizers until you’ve decluttered — organizing clutter just creates tidy clutter. Once the excess is gone, add homes for what remains (ideas #7–#20), then protect the system with the nightly reset (#3) and one-in-one-out rule (#2). Most studios show dramatic improvement within two weekends of focused, small sessions.
What’s the best storage for a studio apartment with no closet?
Combine a freestanding wardrobe or garment rack ($60–$150) with under-bed bins (#20) and a storage ottoman (#14). Vertical shelving (#7) handles the rest. No-closet studios actually organize well because everything must earn visible space — there are no dark closet corners for clutter to hide in.
How can renters organize without drilling holes?
Lean on no-drill solutions: over-the-door organizers (#9), tension rods (#25), adhesive hooks and strips, freestanding shelving, rolling carts (#19, #26), and furniture-based storage (#14–#17). Modern adhesive strips hold surprising weight — just follow the weight ratings and clean the surface with alcohol first for maximum hold.
How do I keep a studio organized with a partner or roommate?
Agree on labeled homes for shared items (#28) so “put it away” means the same thing to both of you. Split the nightly reset (#3) — one person does kitchen, the other does living zones. Give each person one private clutter-tolerant zone (a drawer, a shelf) so shared spaces can stay strict without anyone feeling policed.
What’s the one organization buy with the biggest impact?
A storage ottoman or storage bench (#14, #17) — it adds seating, a surface, and hidden storage in one footprint, usually for under $150. Second place goes to a label maker (#28), because labeled systems are the ones that survive longer than a week.
How often should I declutter a studio apartment?
Continuously in micro-doses: the nightly reset (#3) daily, the one-in-one-out rule (#2) with every purchase, and a seasonal purge (#34) four times a year. This rhythm prevents the overwhelming “whole apartment” declutter marathons that nobody sustains.
Final Thoughts
An organized studio apartment isn’t about perfection — it’s about systems that make tidiness the path of least resistance. A home for everything, storage that works vertically and invisibly, and a fifteen-minute nightly reset will do more than any single purchase. Start with the free habits (ideas #1–#6), add storage where the pain is worst, and let the seasonal purge keep everything honest.
The real payoff isn’t just a tidy room — it’s the mental space that comes with it. When every item has a home, you stop spending energy managing stuff and start enjoying the studio you worked so hard to make beautiful. Pick three ideas from this list today, and by the weekend your small space will feel noticeably, measurably bigger.

3 Comments