32 Renter-Friendly Studio Apartment Ideas That Won’t Cost Your Deposit
Renting a studio apartment doesn’t mean living in a beige box until your lease runs out. The fear of losing your security deposit keeps most renters from hanging a single frame — but the truth is, some of the most dramatic apartment transformations use zero nails, zero screws, and zero permanent changes. Landlords approve, walls stay pristine, and you get your full deposit back on move-out day.
This guide rounds up 32 renter-friendly studio apartment ideas that won’t cost your deposit: no-drill wall decor, peel-and-stick upgrades, damage-free storage, and kitchen and bath tweaks that reverse in minutes. Every idea is fully reversible, budget-conscious, and designed for small spaces. If you’re decorating on a tight budget too, pair these with our budget studio apartment decorating ideas for maximum impact per dollar.
No-Drill Wall Decor
1. Peel-and-Stick Wallpaper Accent Wall
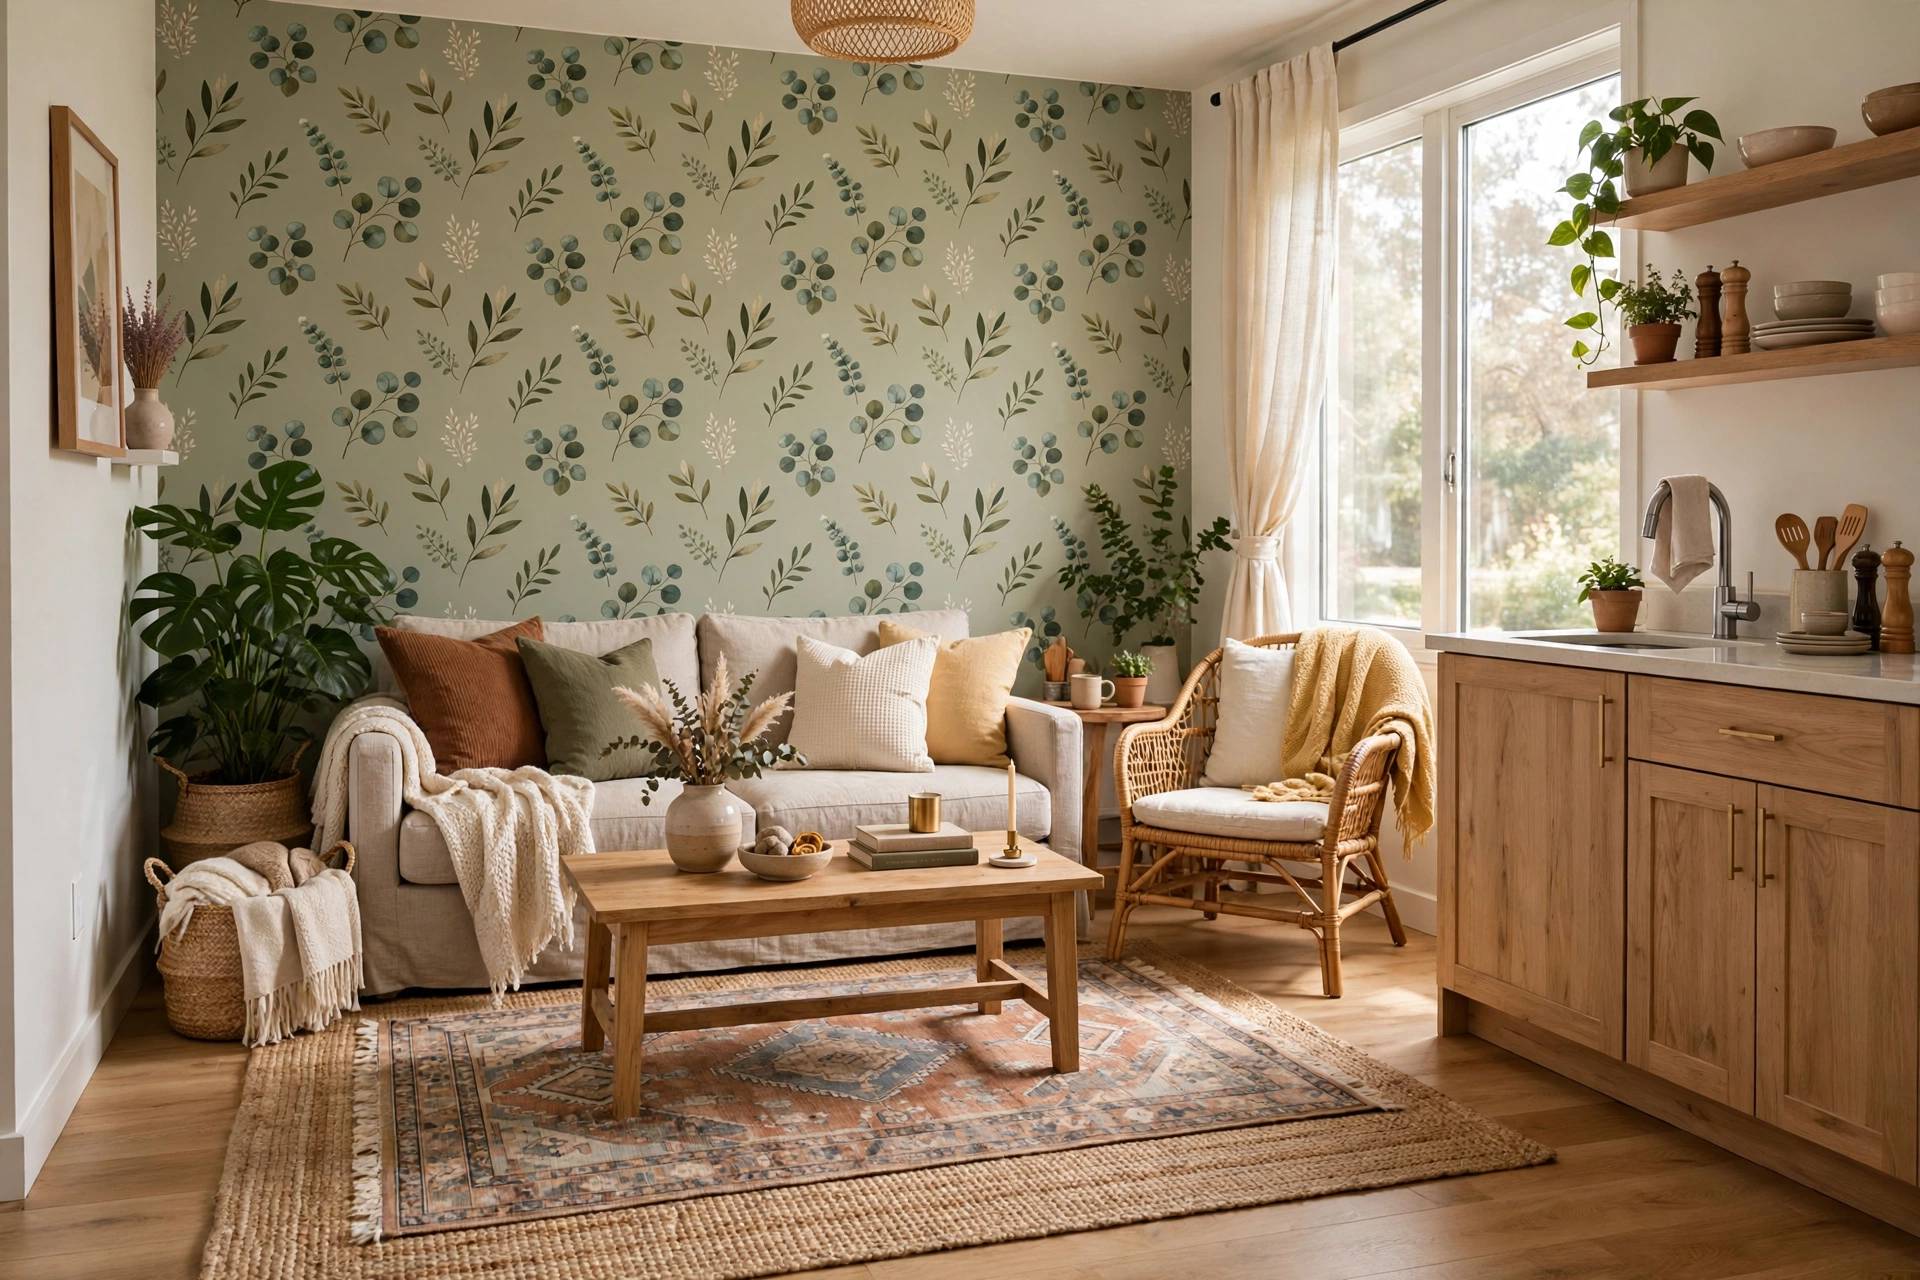
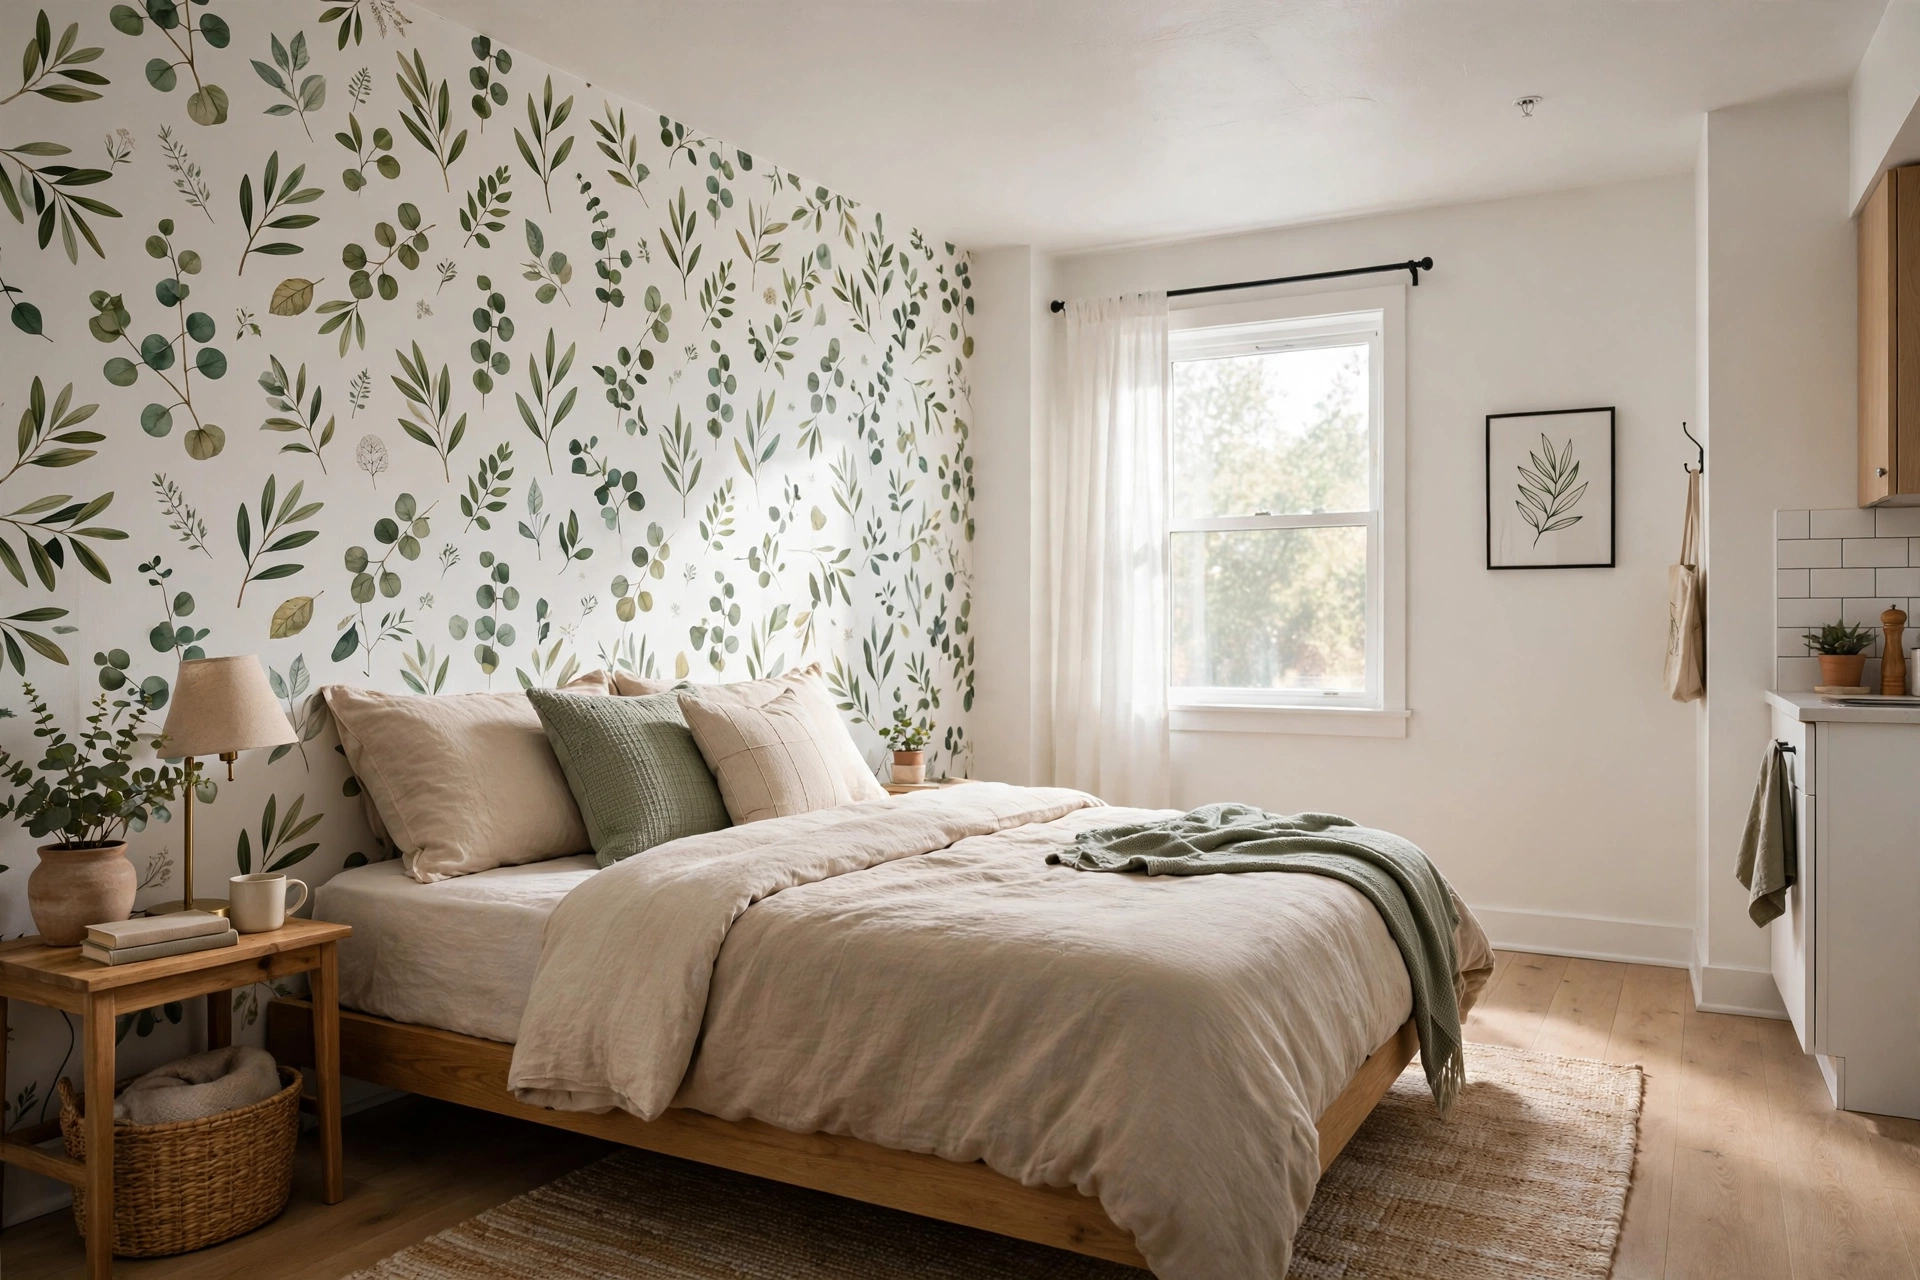
Removable wallpaper is the renter’s superpower — one accent wall behind the bed or sofa adds more personality than anything else you can do without tools. Modern peel-and-stick papers from brands like Tempaper, Chasing Paper, and Spoonflower go up in an afternoon and peel off cleanly when you leave, leaving zero residue. A single roll (about 20 sq ft) costs $35–$60, and most studio accent walls need 2–3 rolls. Pro tip: Start wallpapering from the least visible corner so your learning-curve seams hide behind furniture, and use a plastic smoother to chase out every air bubble as you go.
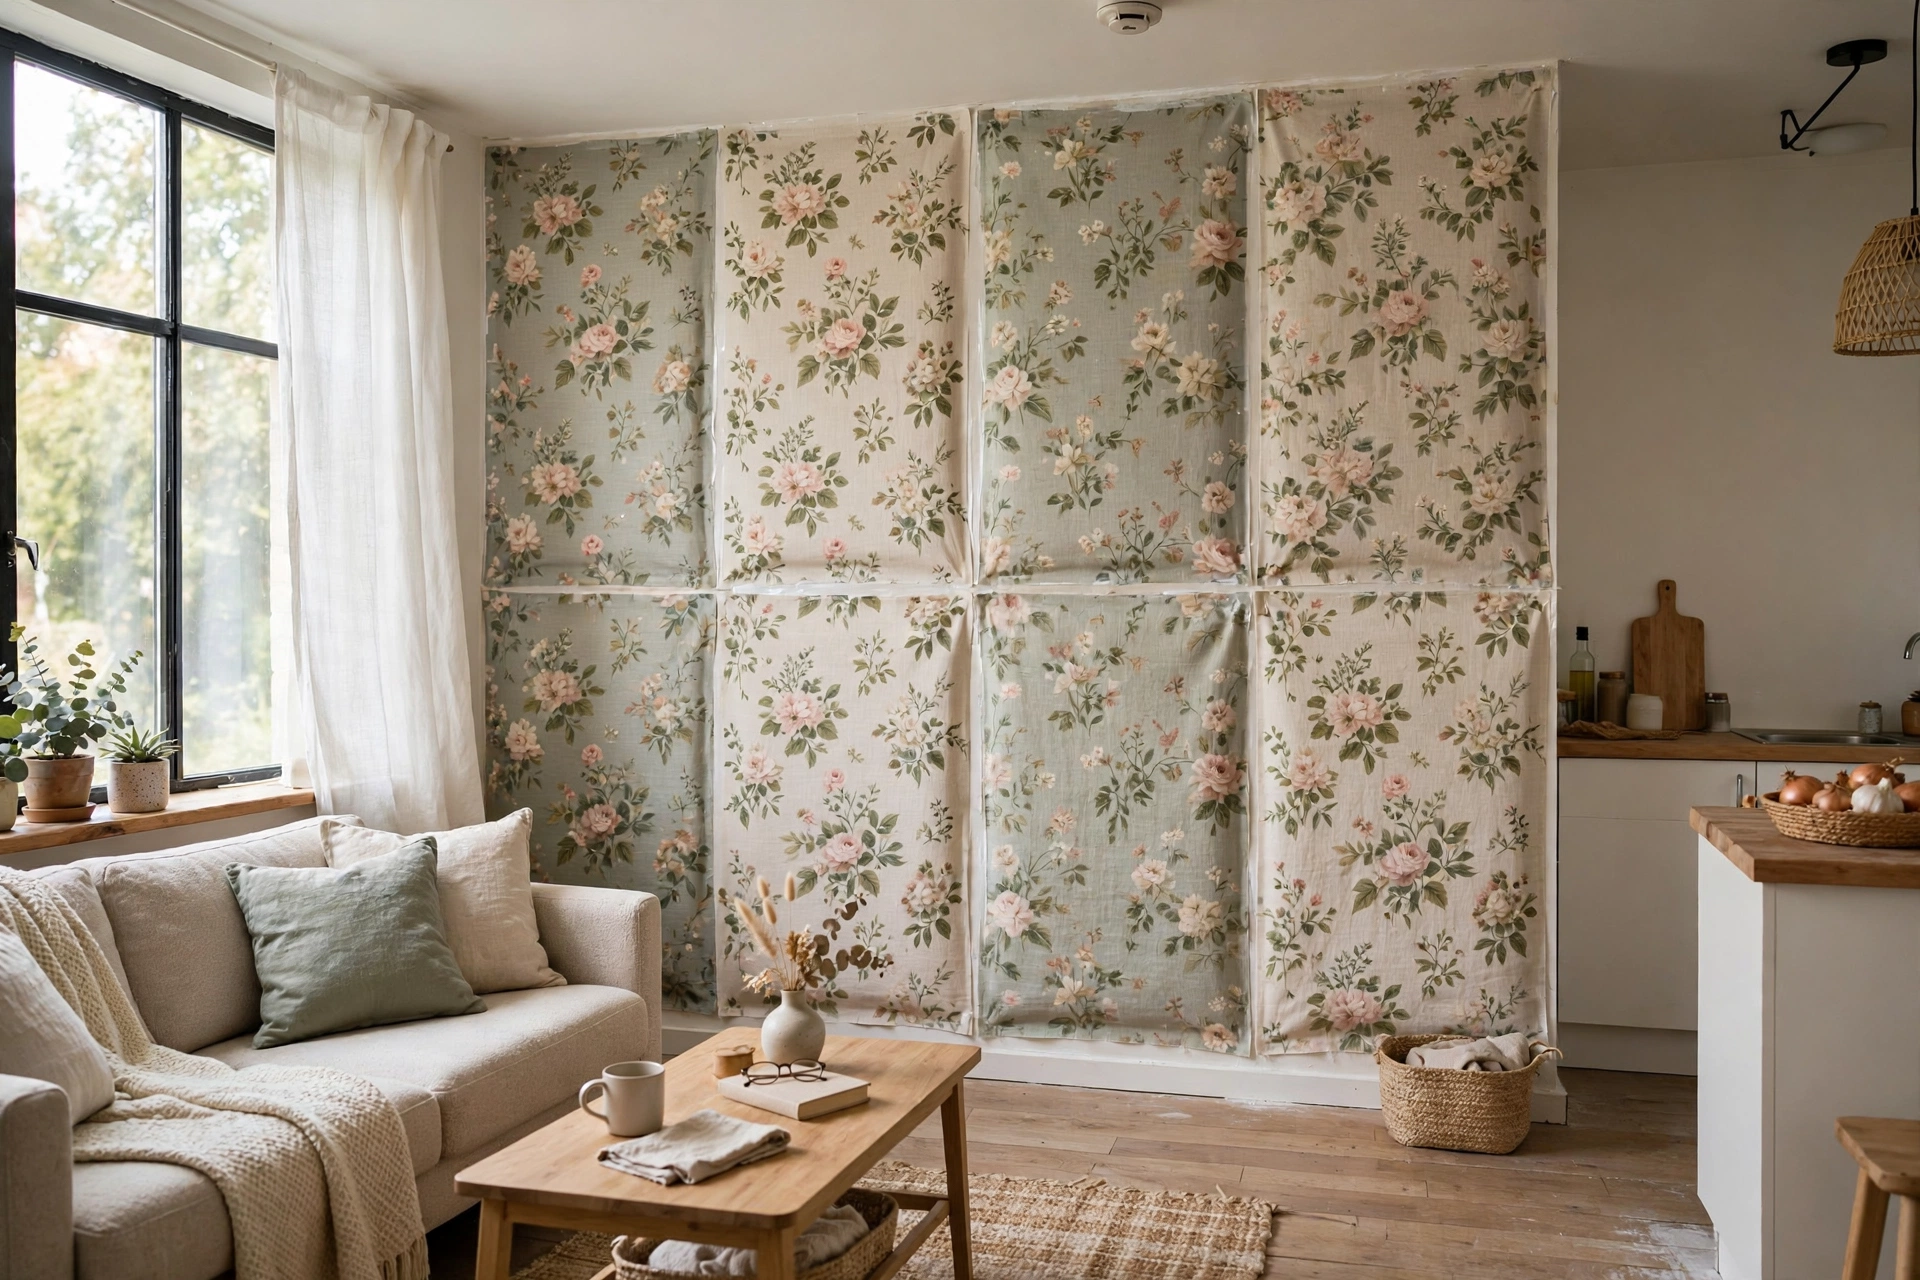
2. Command Strip Gallery Wall
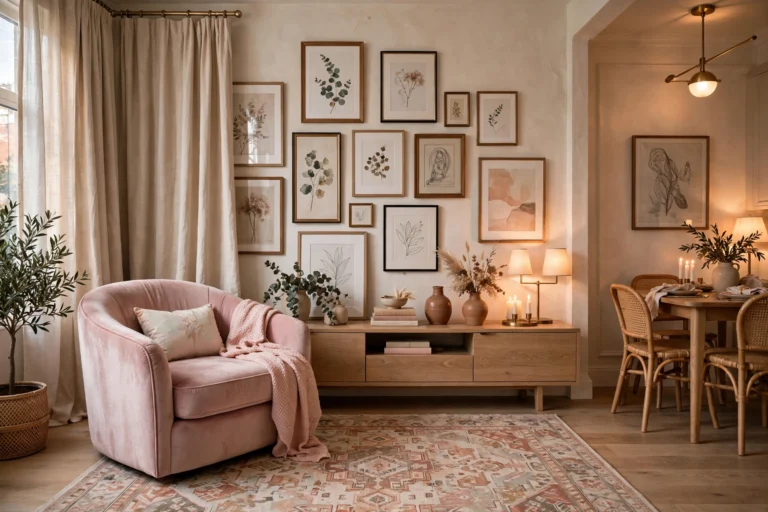
Adhesive picture-hanging strips hold surprising weight — large Command strips support up to 16 pounds per set, enough for framed prints, small mirrors, and even lightweight shelves. Build a full gallery wall with zero holes: plan the layout on the floor first, then stick frames up one by one. A variety pack of strips runs $12–$18 and covers a 6–8 frame arrangement. Pro tip: Clean the wall with rubbing alcohol before sticking anything, and wait a full hour before hanging the frame — rushed installs are the number one reason strips fail. Our studio wall art ideas pair perfectly with this damage-free hanging method.
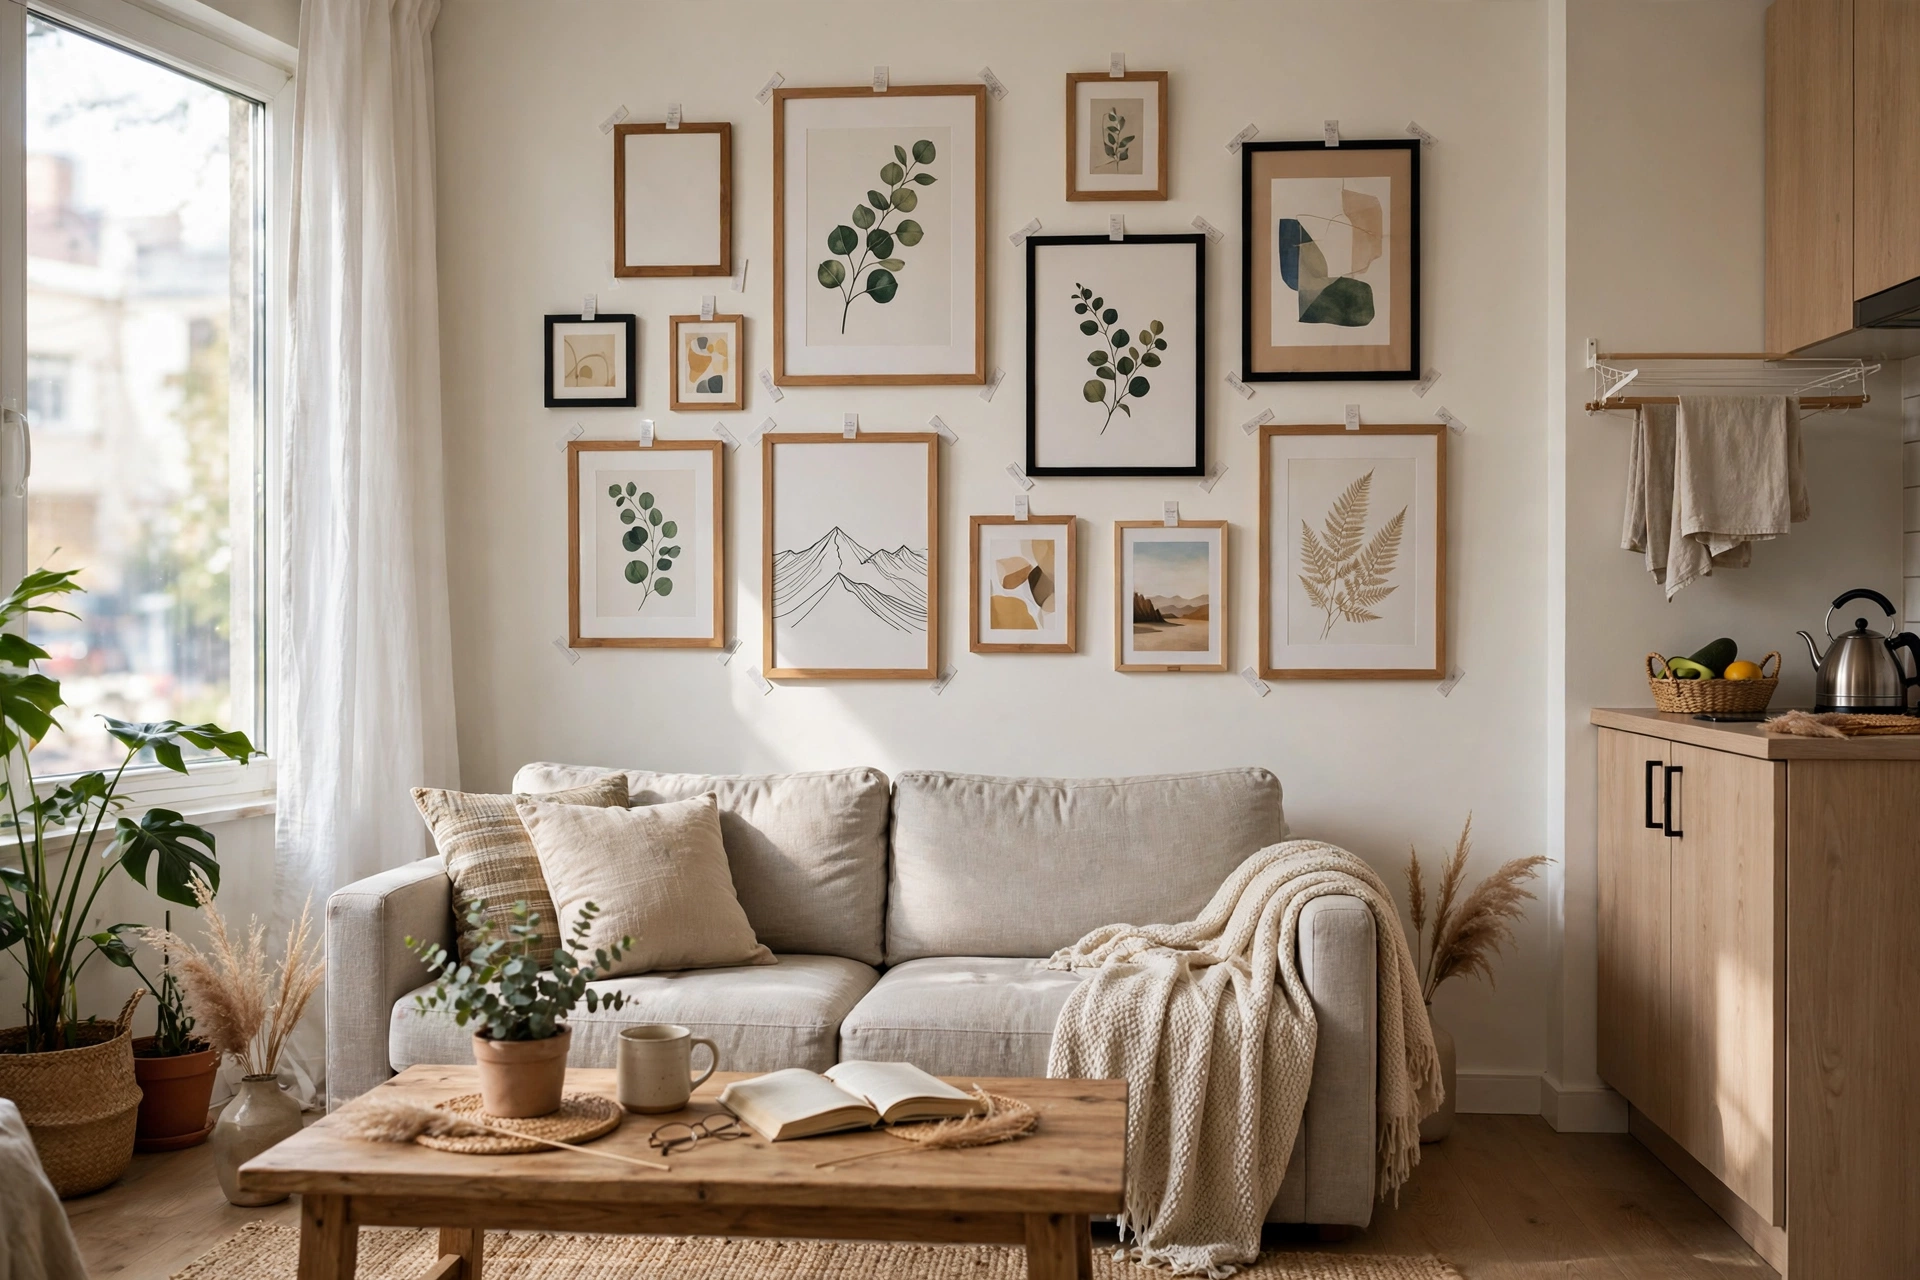
3. Lean Oversized Art Against the Wall
The easiest art hang of all: don’t hang it. A large canvas or framed print leaned against the wall on a console, dresser, or even the floor looks intentionally casual and gallery-like — no holes, no strips, no risk. Oversized pieces (30×40 inches and up) work best because their weight keeps them stable. Budget $40–$120 for a large ready-made canvas from IKEA, Target, or Society6. Pro tip: Place a small museum-putty dot behind the top corners so the piece can’t slide or tip forward if bumped — invisible insurance that costs pennies.
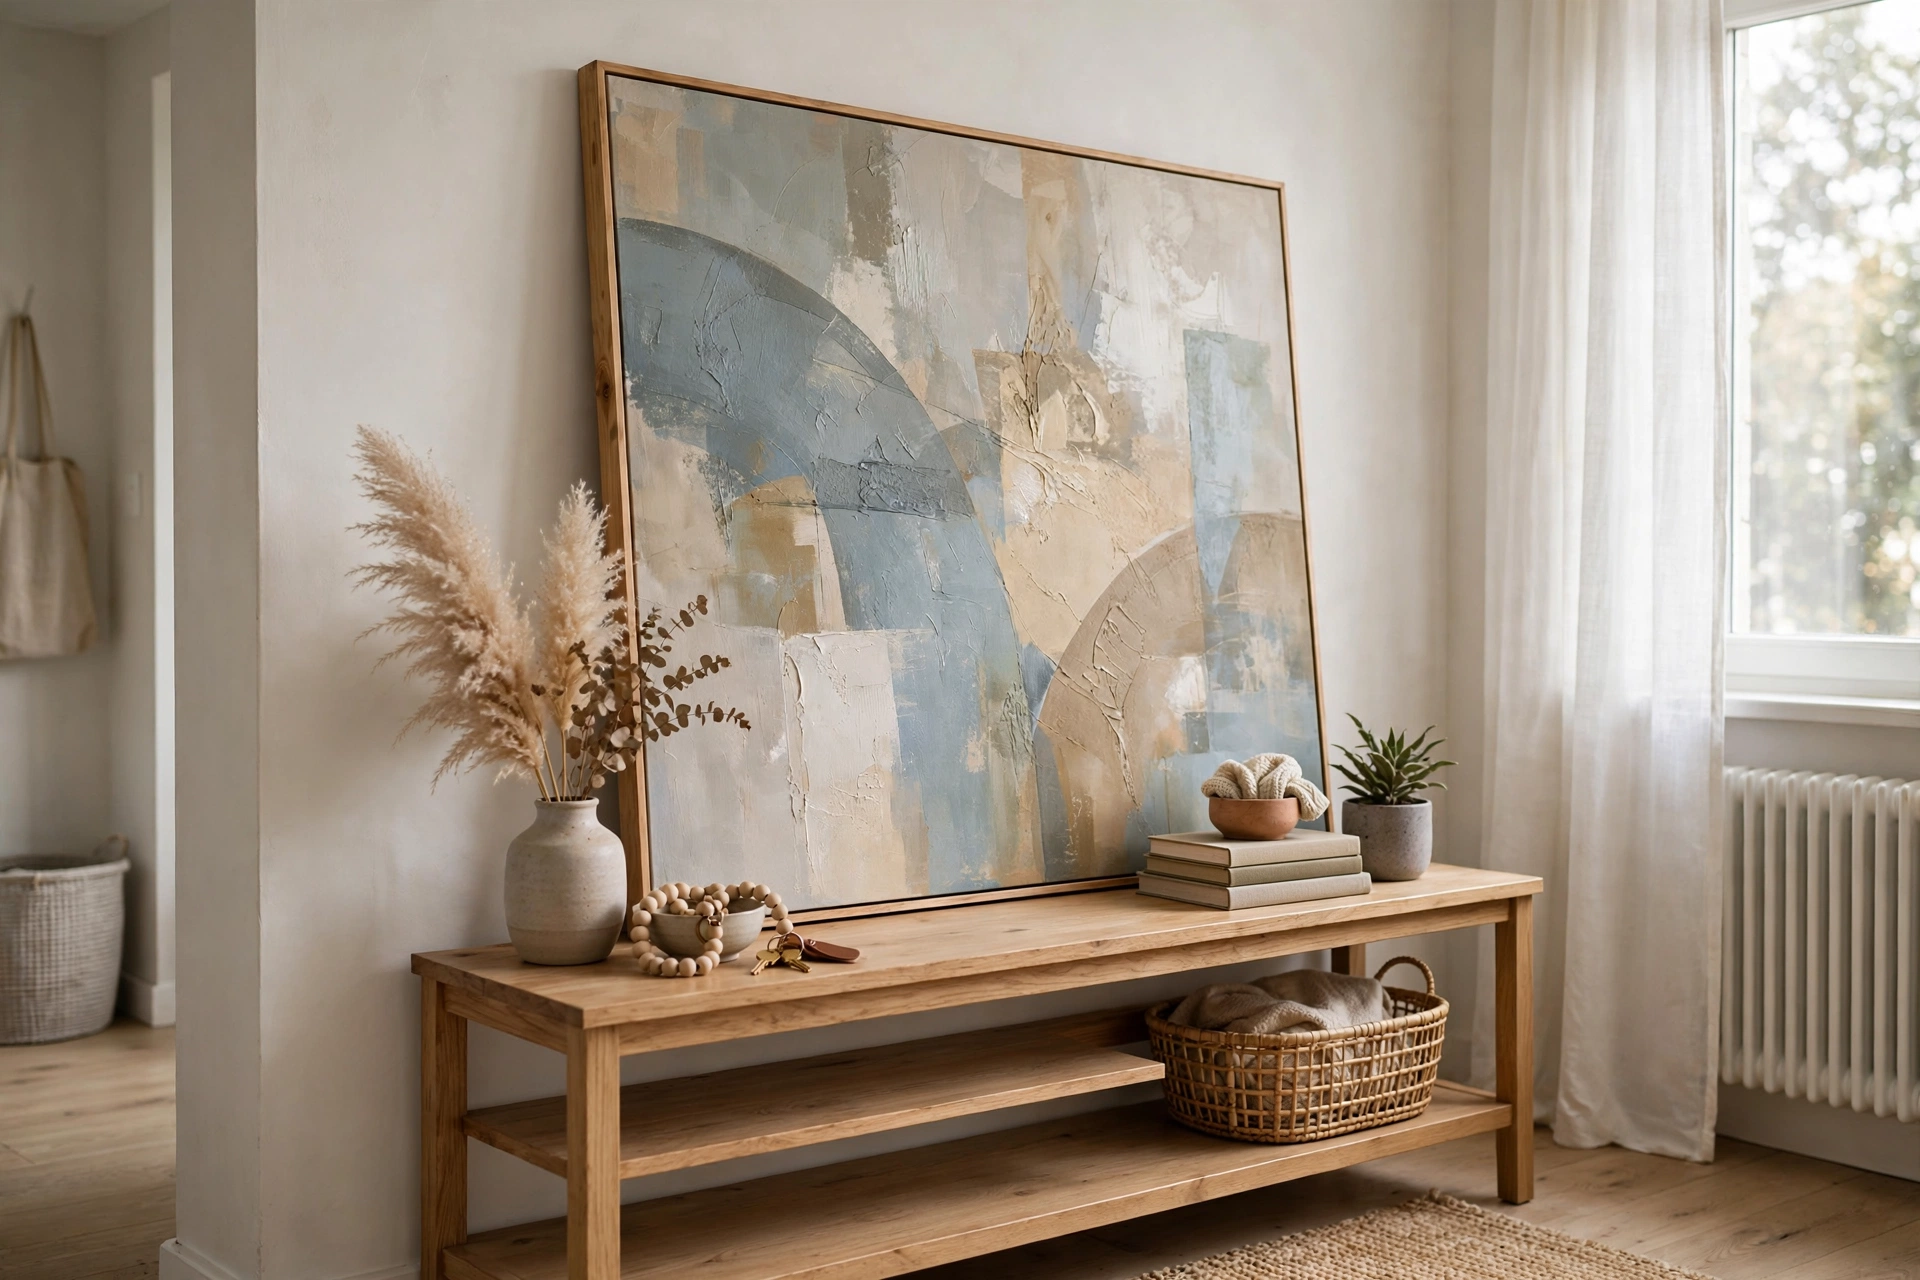
4. Washi Tape Wall Designs
Japanese washi tape peels off painted walls without a trace, making it the ultimate temporary wall treatment. Create geometric borders, faux picture frames, striped accent walls, or even a full headboard outline — if you don’t love it, peel and redo. Rolls cost $4–$8 each, and most designs need 3–5 rolls. Pro tip: Use a level and painter’s tape as a guide first, then lay washi tape over it — perfectly straight lines make the difference between “craft project” and “designer detail.”
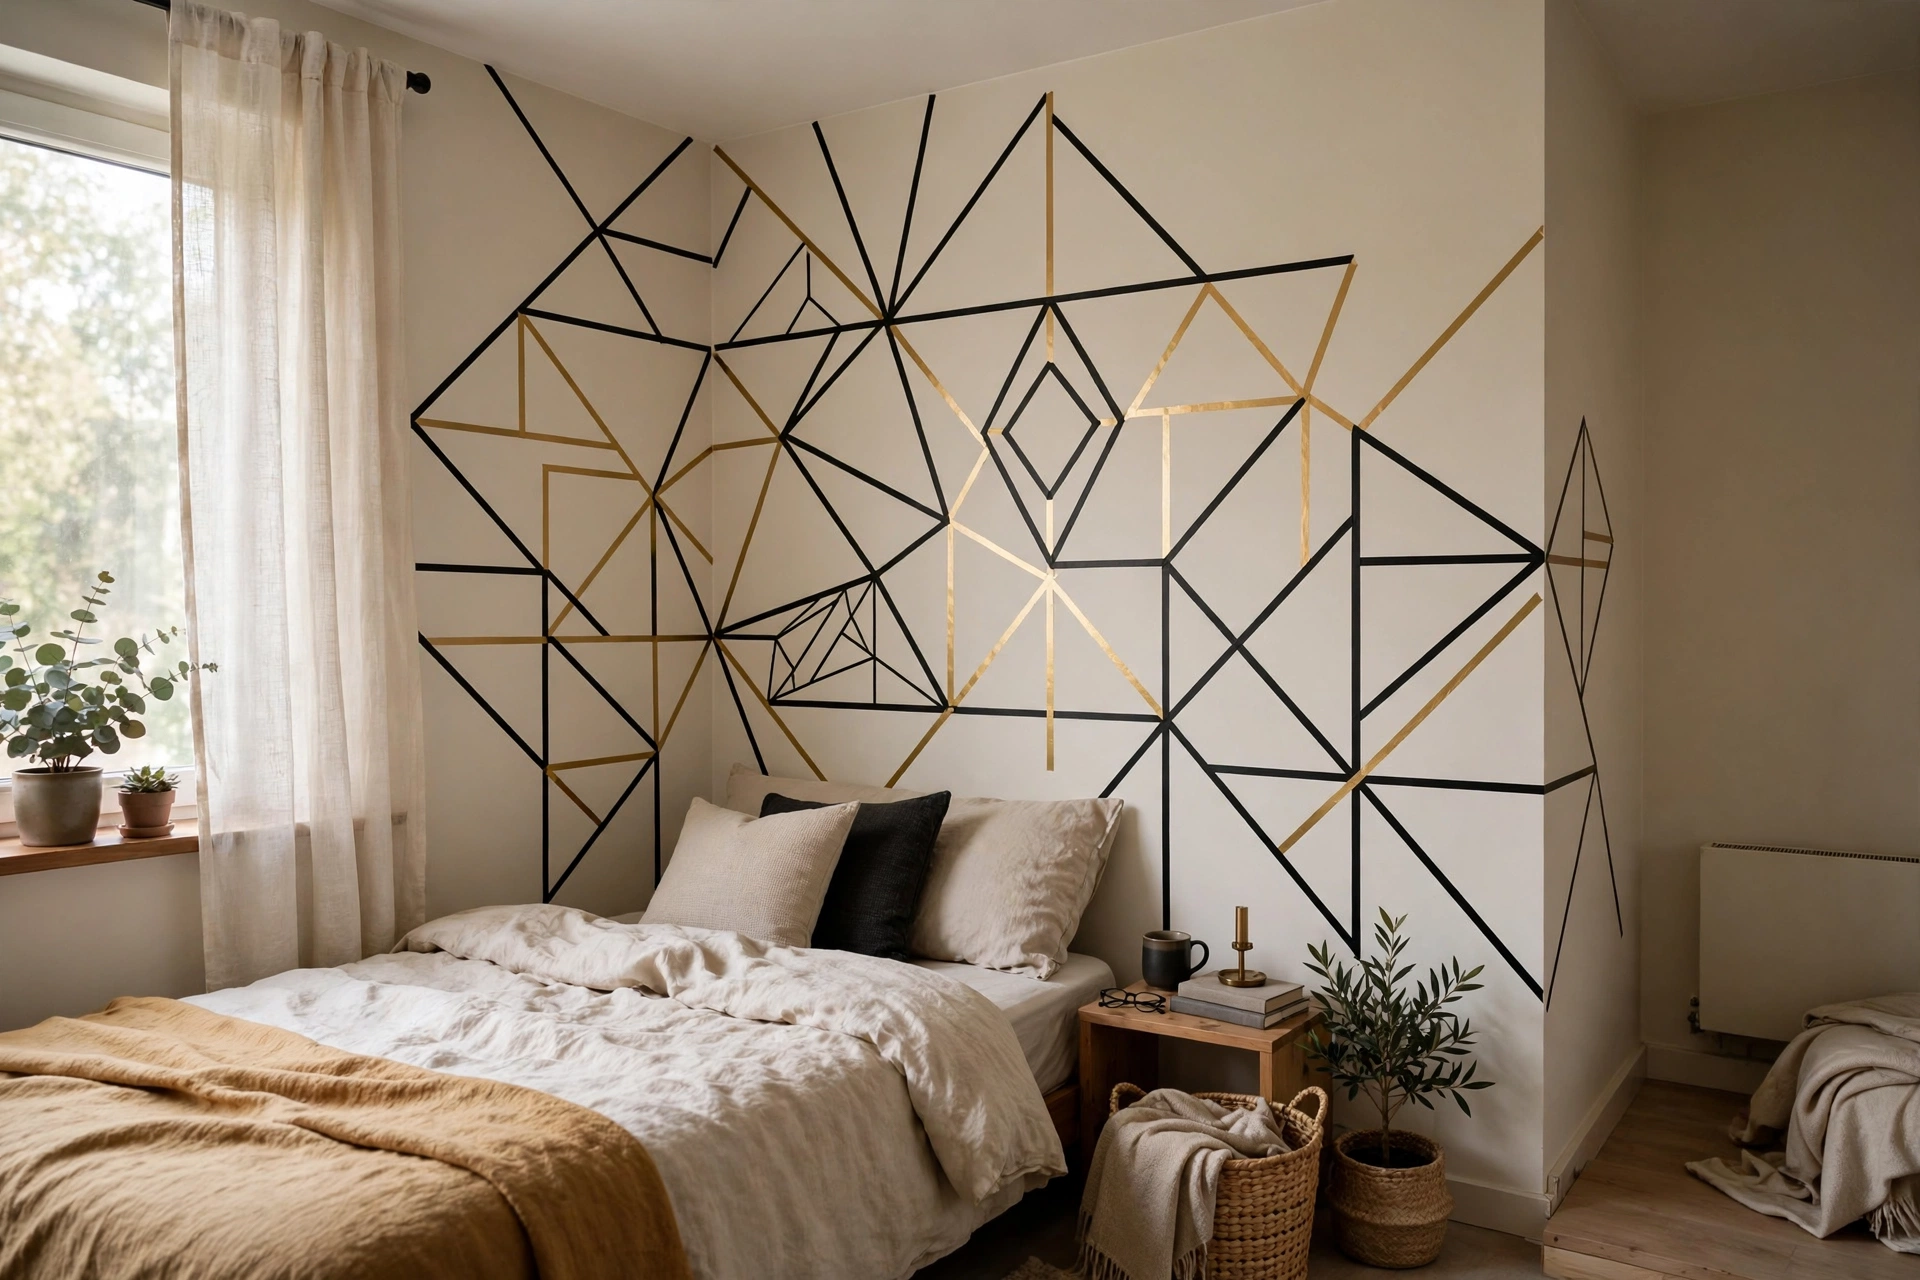
5. Fabric Panels Hung with Liquid Starch
Here’s an old-school renter trick most people have never heard of: brush liquid starch onto a wall, smooth fabric over it, and you get a wallpaper look that peels off with plain water. Choose lightweight cotton or linen in a bold print, cut to fit, and the starch acts as a removable adhesive that washes away completely. A gallon of liquid starch costs about $8 and covers a full accent wall. Pro tip: This works best on smooth, clean walls — test a small hidden patch first, and avoid it on textured or freshly painted surfaces where removal gets trickier.
6. Picture Ledges Instead of Nailed Frames
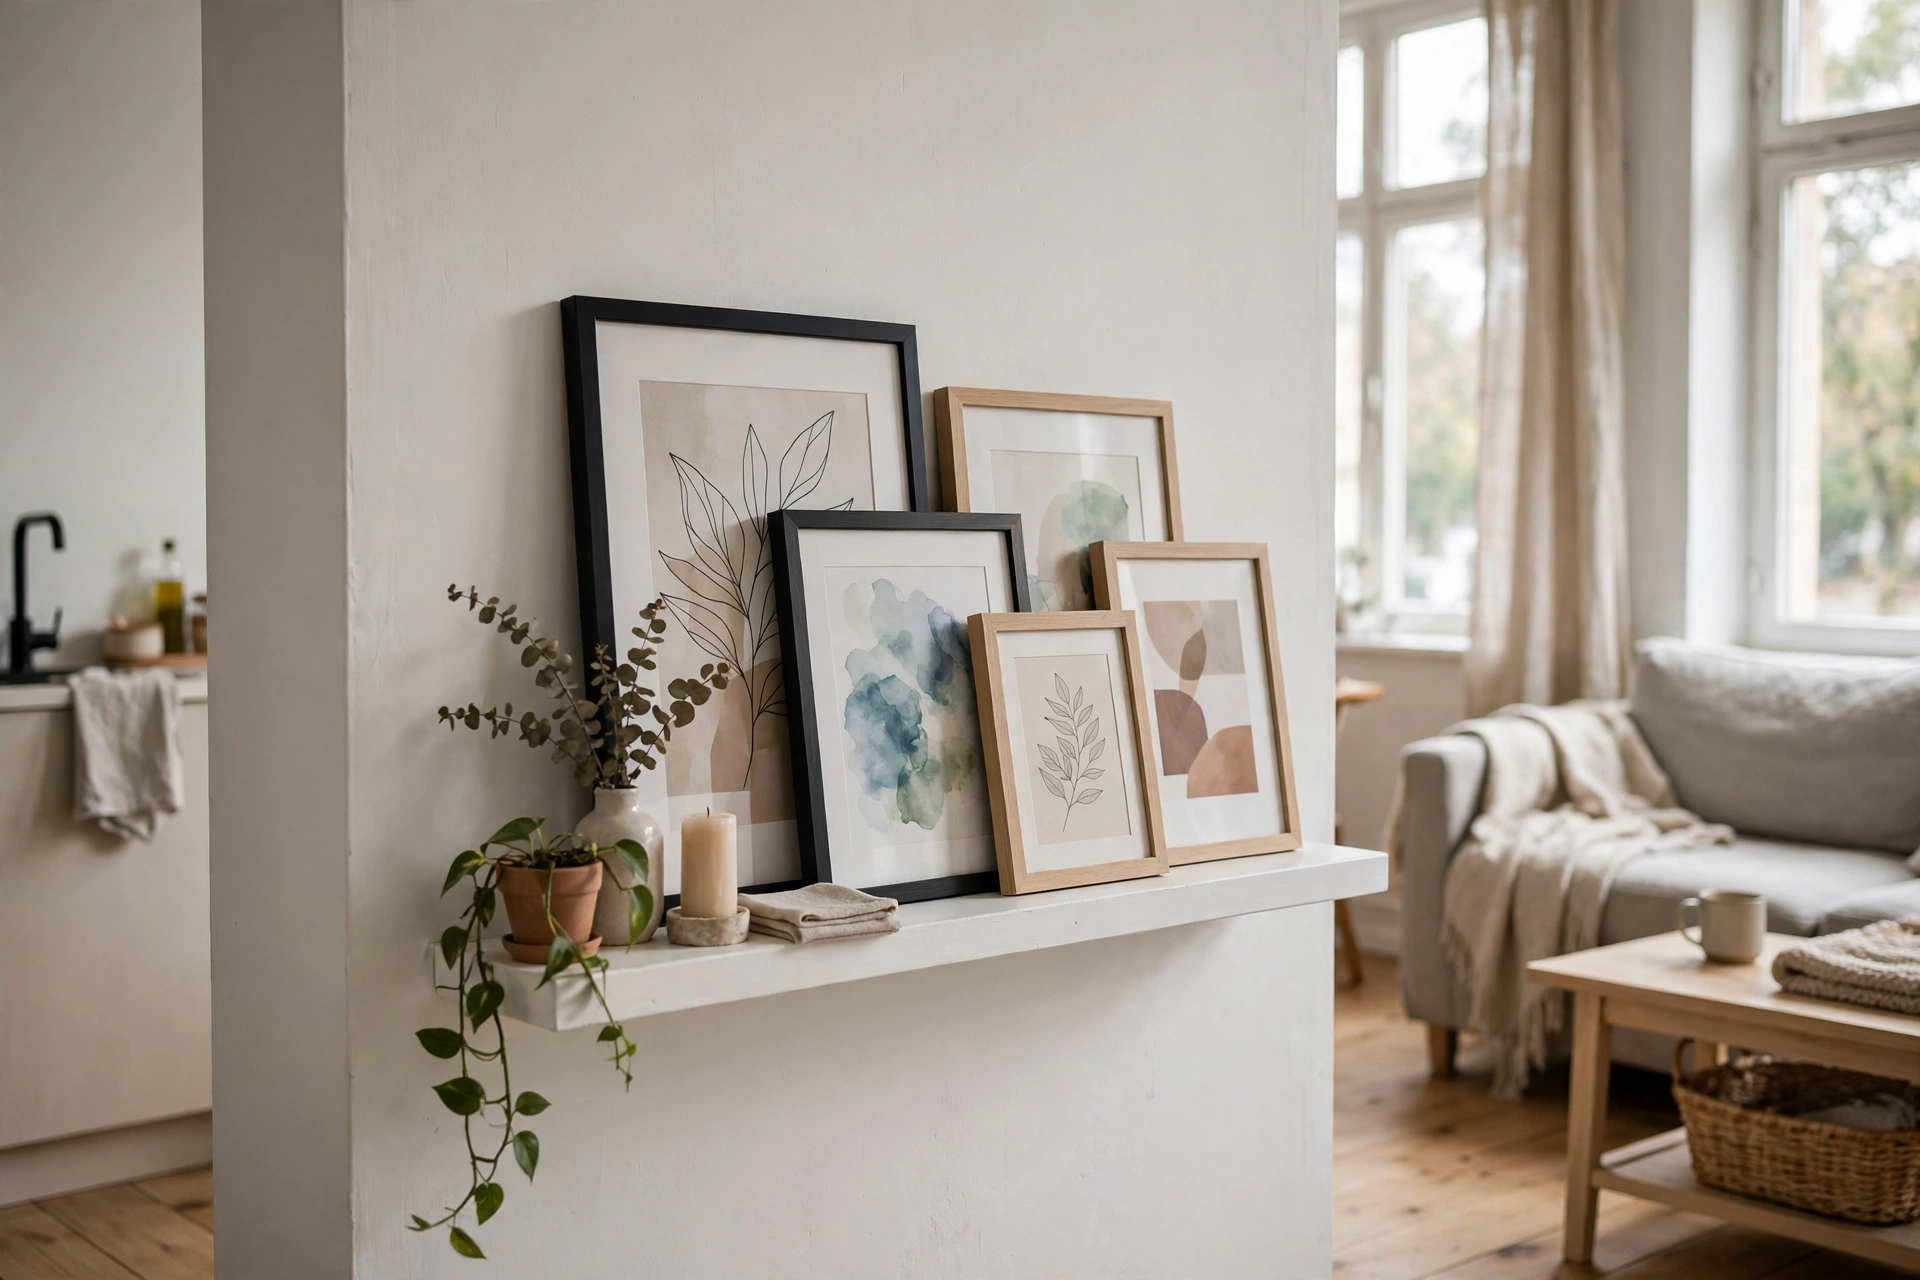
A single narrow picture ledge holds a rotating display of art, photos, and small objects — and needs just two small holes (or a pair of heavy-duty adhesive brackets) instead of a dozen nail holes for the same number of frames. Ledges also let you layer frames and swap art seasonally without touching the wall again. IKEA’s MOSSLANDA ledges cost about $10–$15 for a 45-inch length. Pro tip: Overlap frames at varying heights and depths on the ledge — the casual layering looks curated, and you can restyle the whole display in two minutes.
Removable Surfaces & Upgrades
7. Peel-and-Stick Floor Tiles
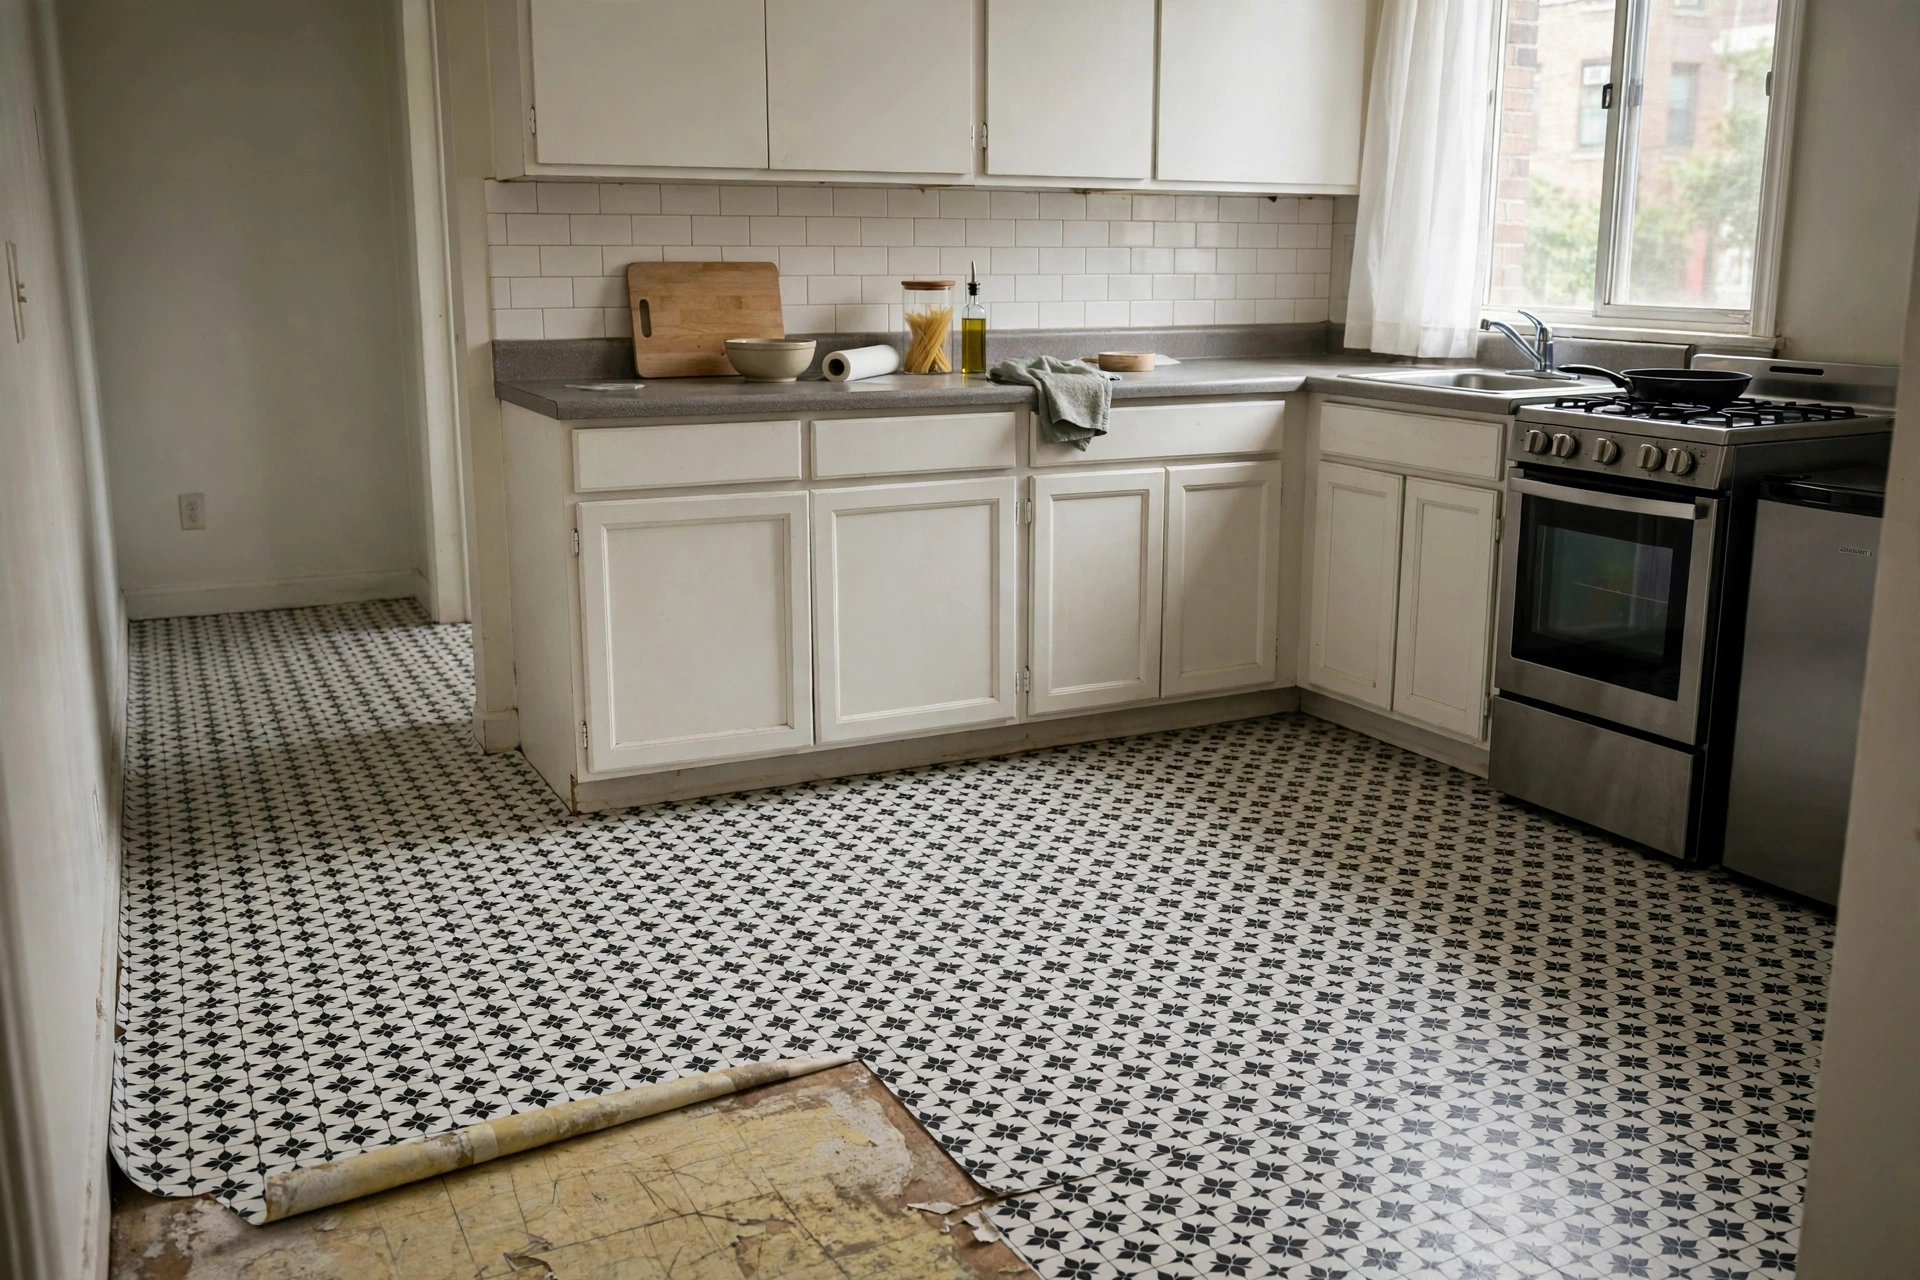
Hate the rental kitchen or bathroom floor? Peel-and-stick vinyl tiles lay directly over existing flooring and peel up cleanly at move-out. Modern options mimic marble, terrazzo, and encaustic cement so convincingly guests won’t guess they’re stickers. Tiles run $1–$3 per square foot, so a small studio kitchen floor costs $50–$120. Pro tip: Clean the existing floor thoroughly with degreaser first and let it dry completely — adhesion fails on dusty or greasy surfaces, and that’s the only real risk to your deposit here.
8. Contact Paper Countertop Refresh
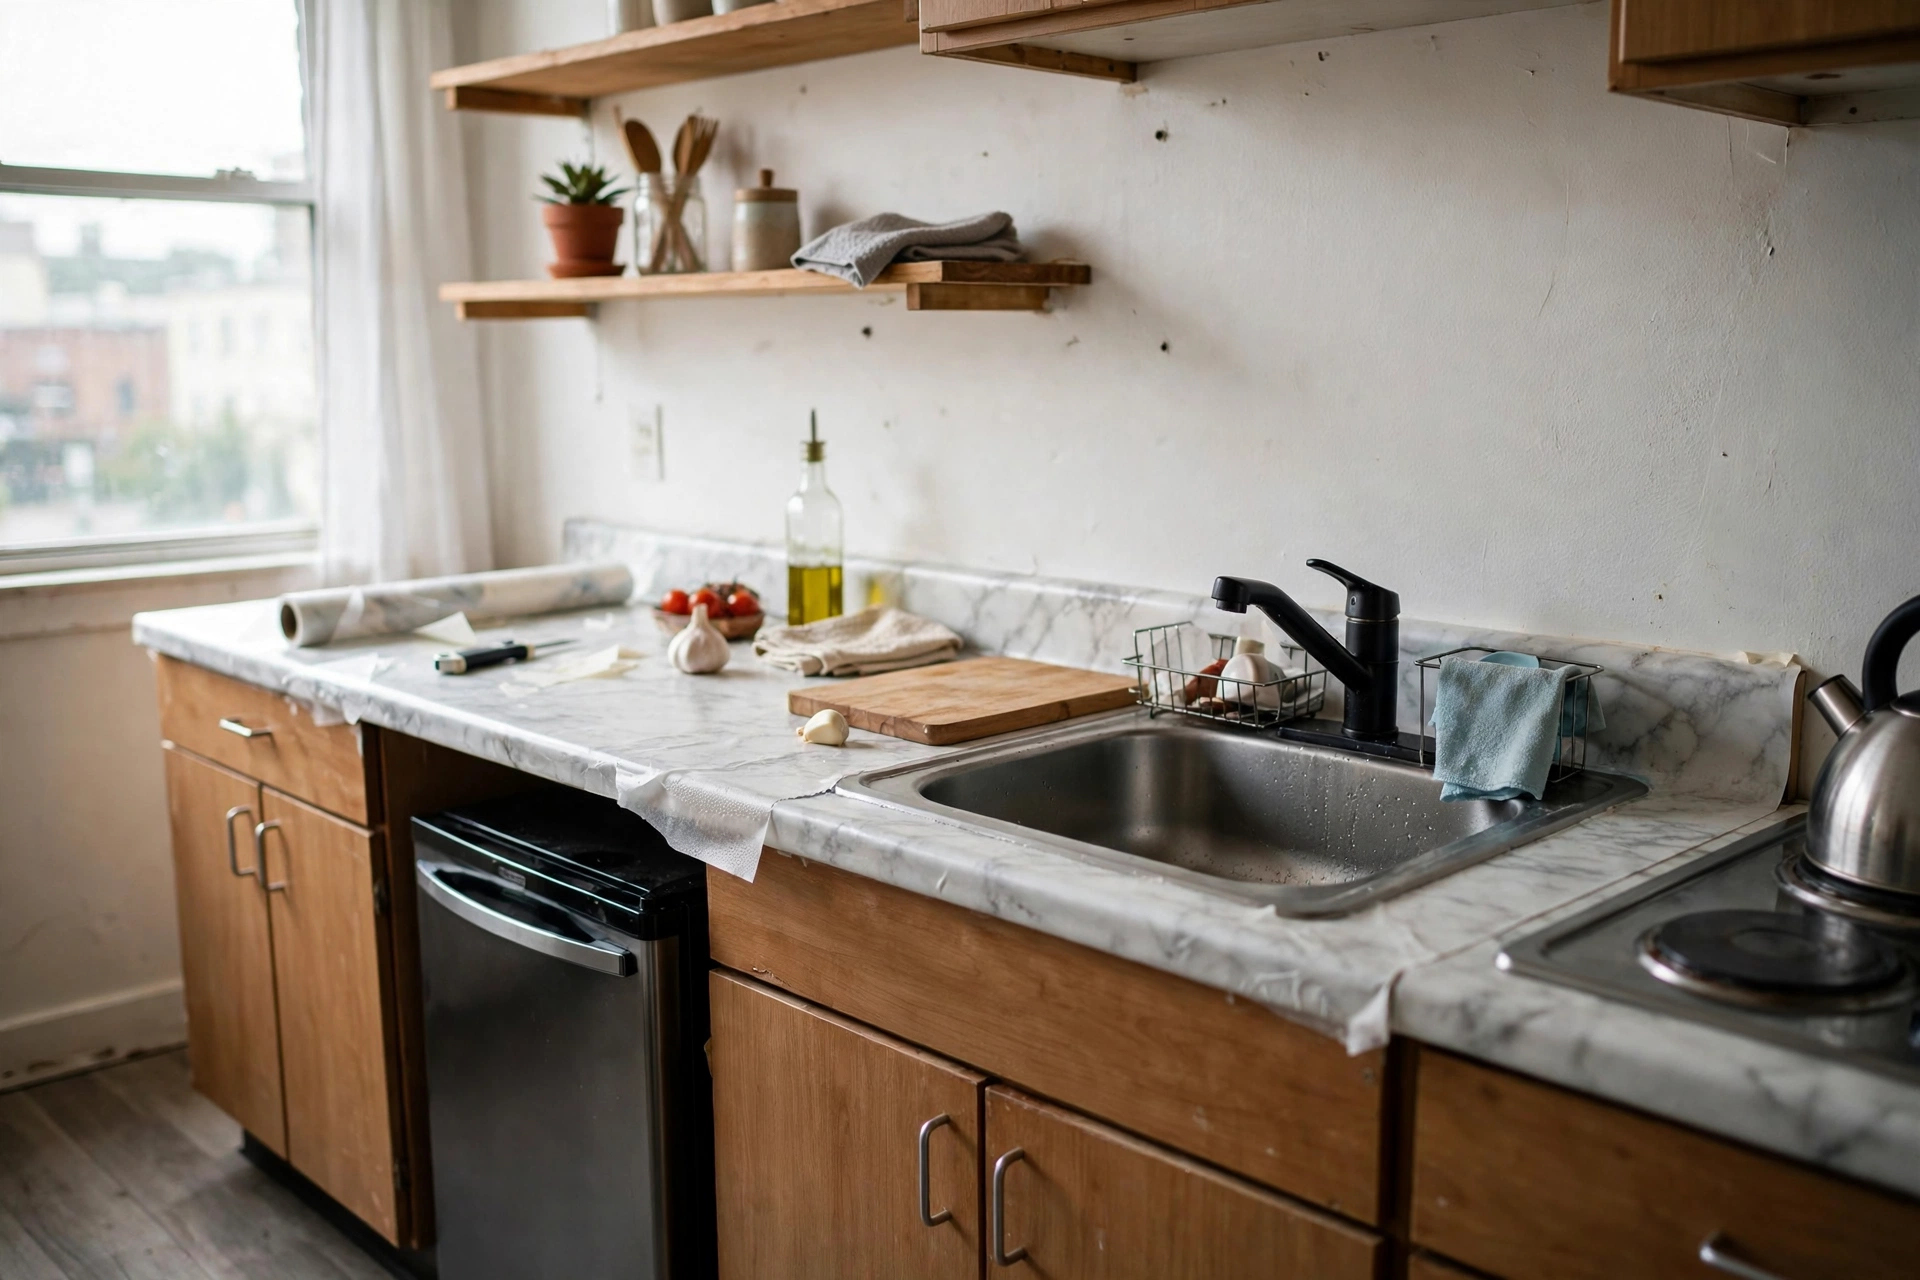
Stained laminate counters get a second life with marble-look or butcher-block contact paper — it applies like a giant sticker, resists water and heat reasonably well, and peels off without damaging the surface underneath. A roll costs $10–$20 and covers a typical studio kitchenette counter. Pro tip: Use a hair dryer on low heat to mold the paper around edges and corners, then seal seams with clear waterproof tape — the heat trick is what separates a convincing finish from an obvious sticker job.
9. Removable Backsplash Tiles
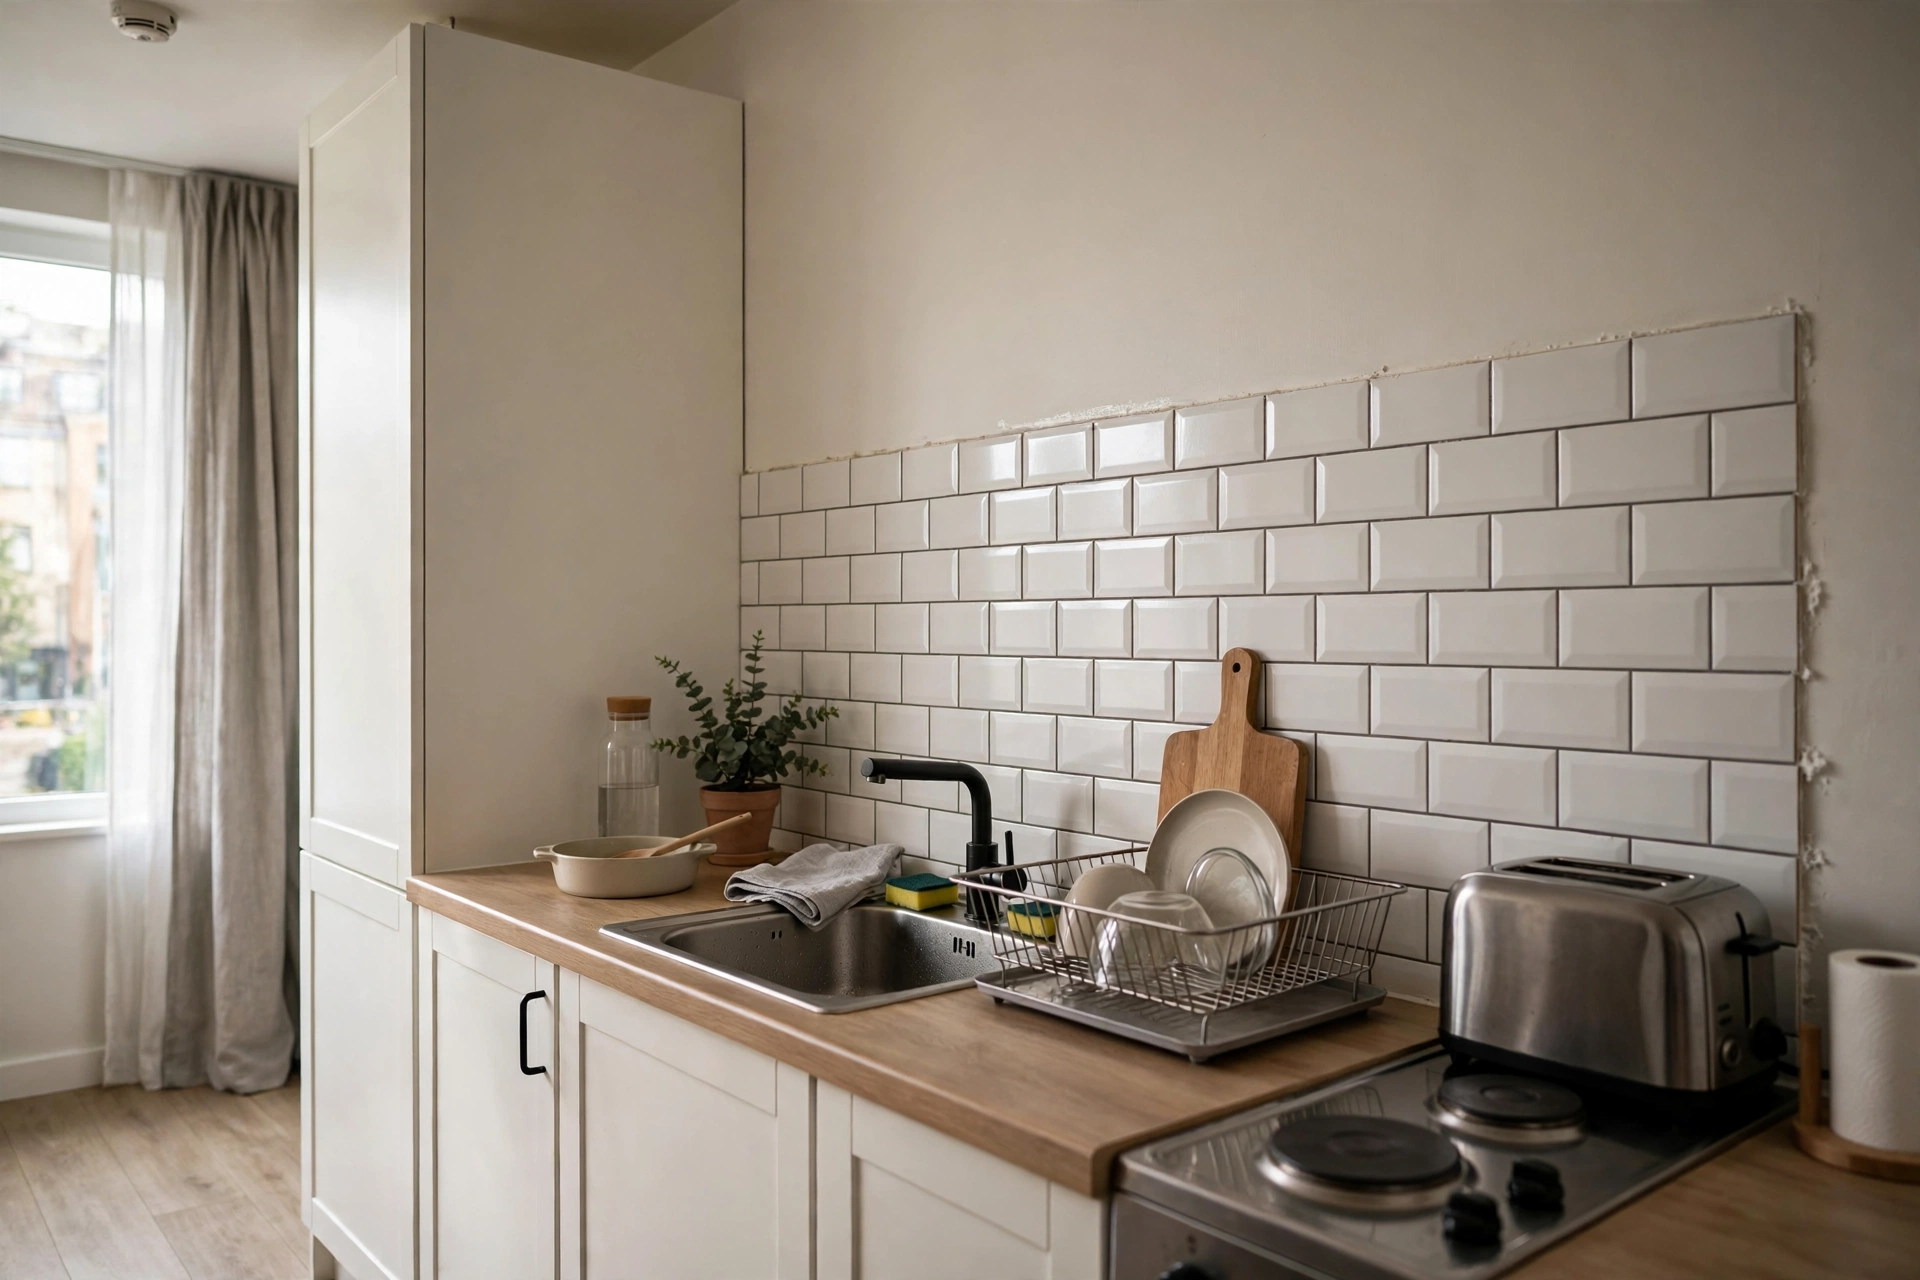
Peel-and-stick backsplash tiles — gel 3D tiles or thin vinyl subway tiles — transform a blank rental kitchen wall in under an hour and remove without a trace. They wipe clean like real tile and cost a fraction of the price: $8–$15 per sheet, with most studio kitchens needing 4–6 sheets. Pro tip: Start from the center and work outward so cut tiles land symmetrically at both ends — centered layouts look professional while off-center ones scream DIY.
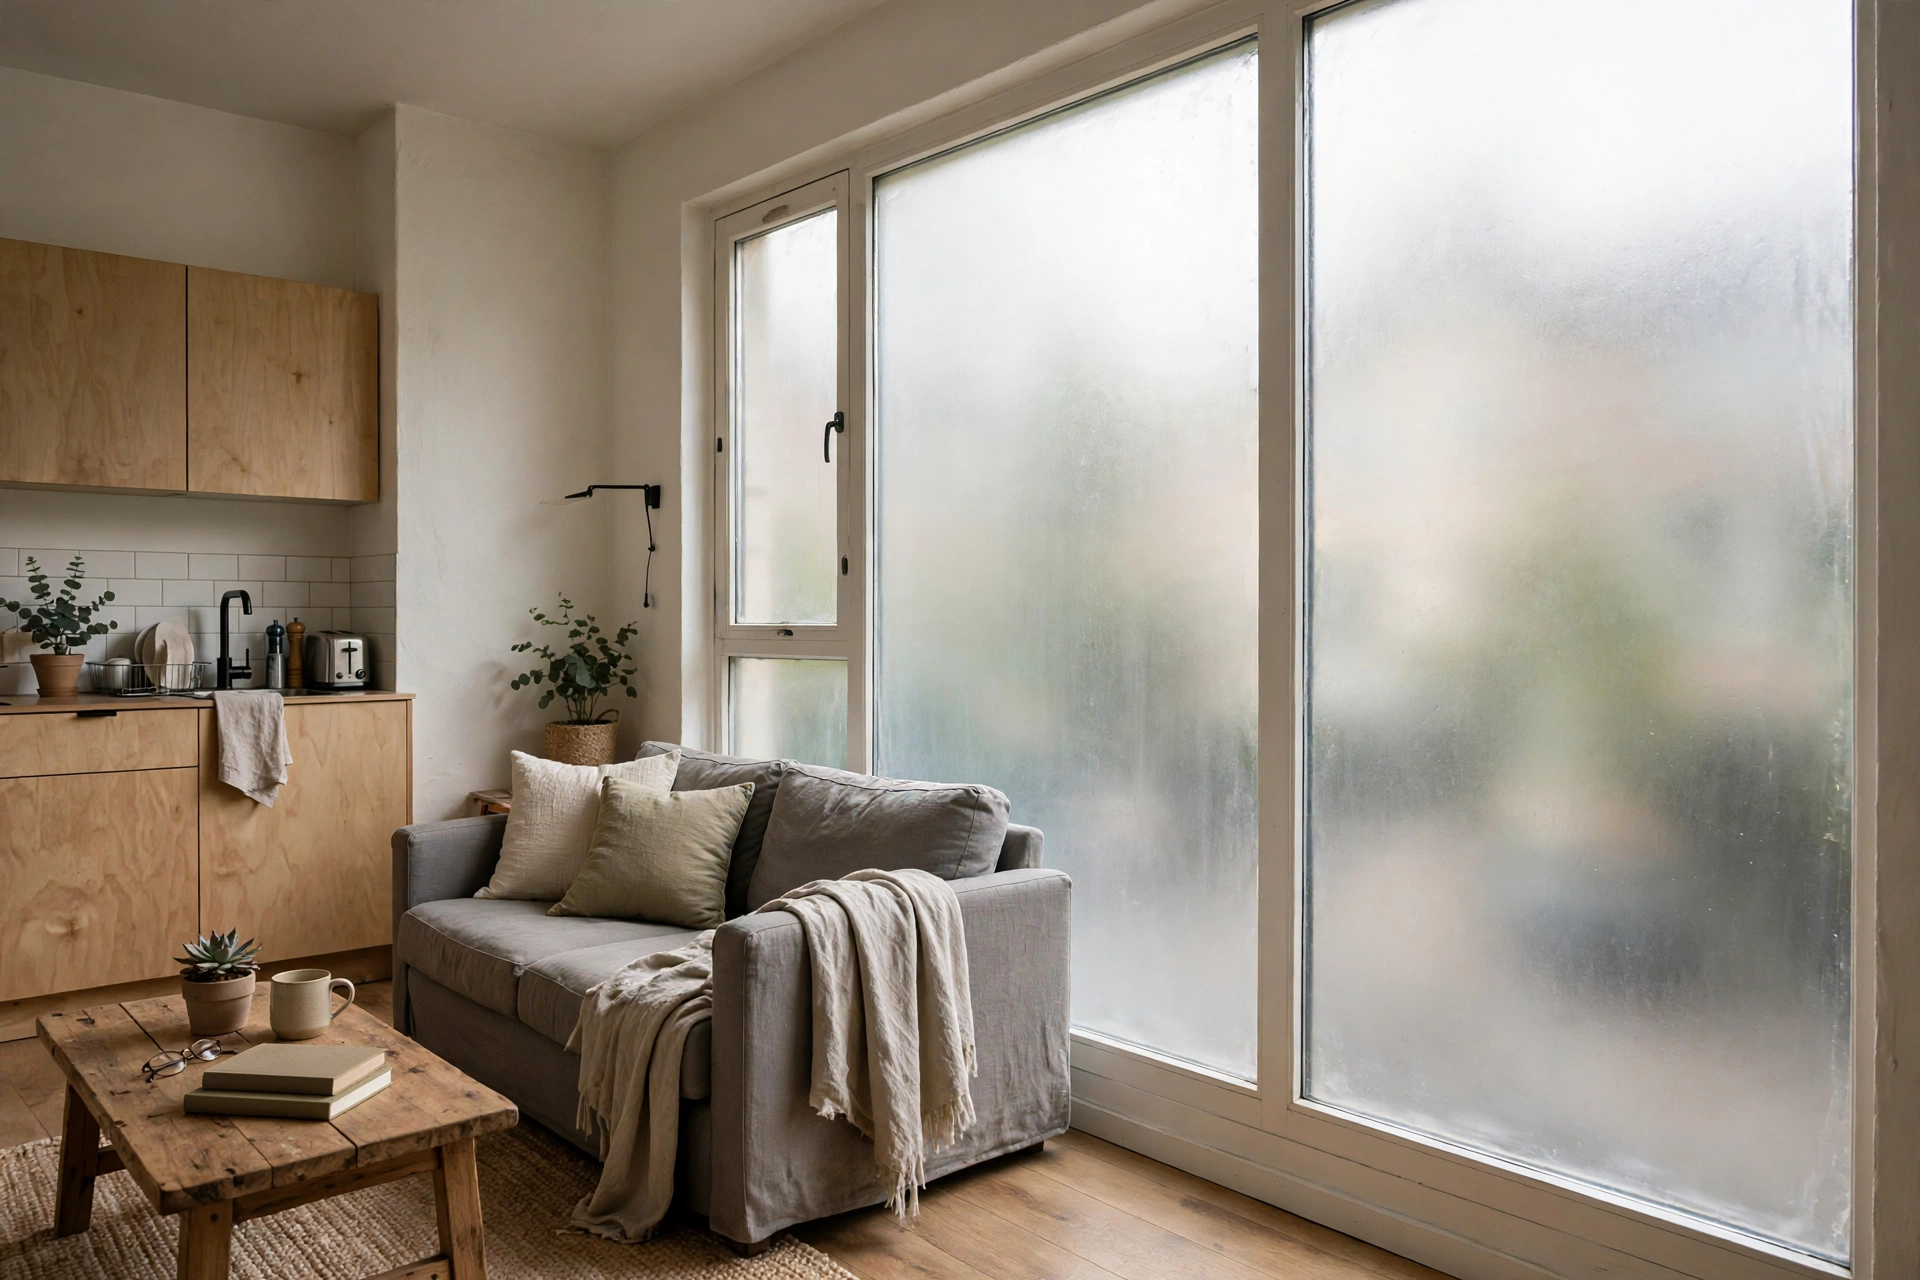
10. Static-Cling Window Film
Ground-floor windows or a bathroom with no privacy? Static-cling window film applies with just water — no adhesive at all — and peels off in seconds. Frosted, stained-glass, and rice-paper patterns give you privacy while keeping the light. A roll costs $12–$25 and covers several windows. Pro tip: Cut the film a quarter-inch smaller than the glass on all sides and squeegee from center outward — the slight gap prevents edge peeling, which is the only way this fails.
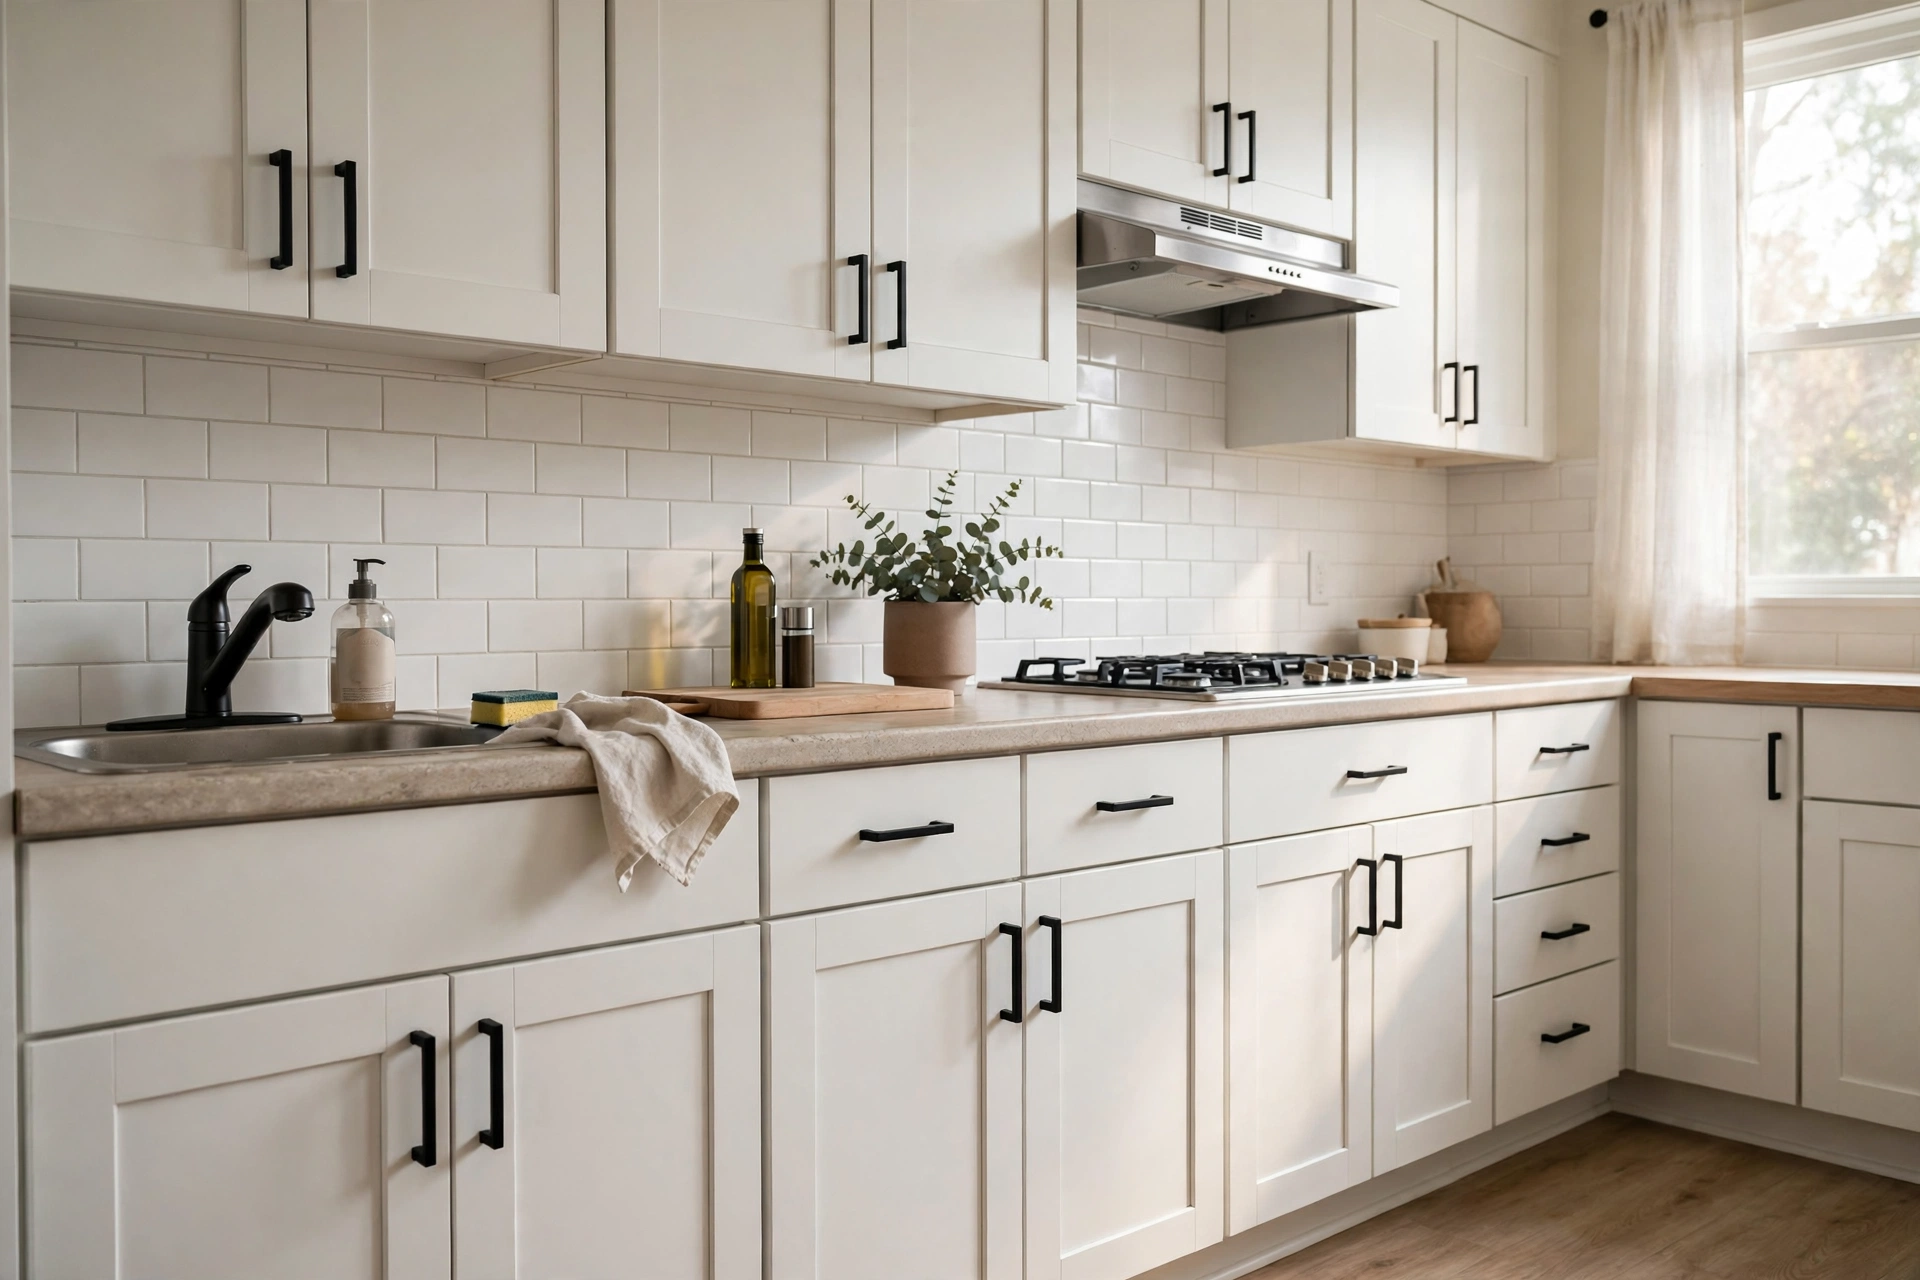
11. Swap Cabinet Hardware (Store the Originals)
Dated brass knobs dragging down your rental kitchen? Unscrew them, store every original in a labeled bag, and install hardware you actually like — most landlords never notice or care as long as the originals go back on at move-out. New knobs and pulls cost $1–$4 each; a studio kitchenette needs 8–15 pieces. Pro tip: Photograph each cabinet before removing anything and tape the screws to the back of the original knob — lost original hardware is one of the most common deposit deductions.
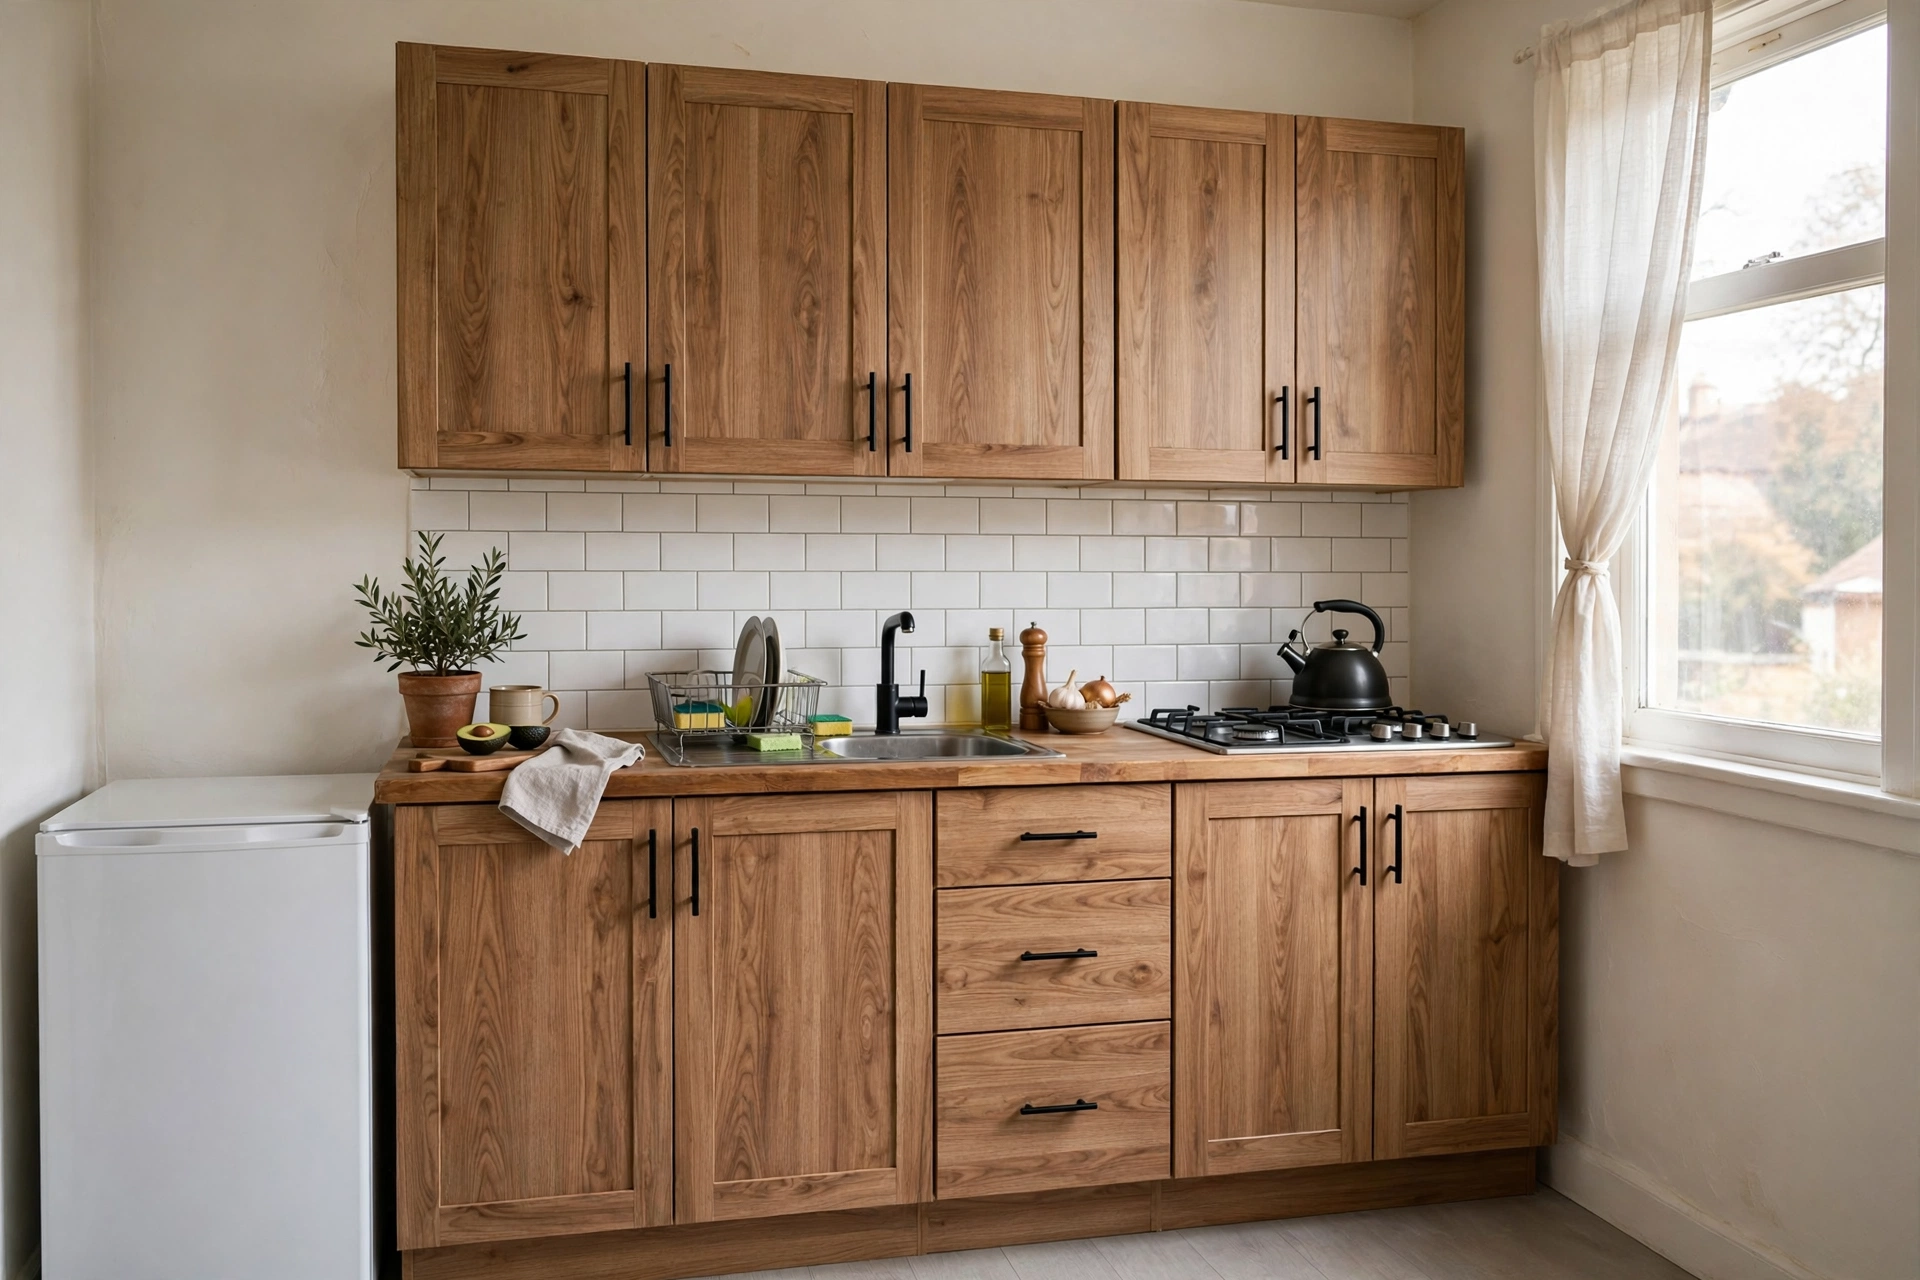
12. Peel-and-Stick Cabinet Fronts
For the truly committed renter, adhesive vinyl wraps can reskin entire cabinet doors — wood-grain, matte colors, even fluted textures — without paint or power tools. It takes patience but costs $30–$60 for a whole studio kitchenette versus hundreds for a pro refacing. Pro tip: Remove the doors and lay them flat to wrap — gravity is your enemy on vertical surfaces, and flat application gives you bubble-free results in half the time.
Flooring & Lighting Fixes
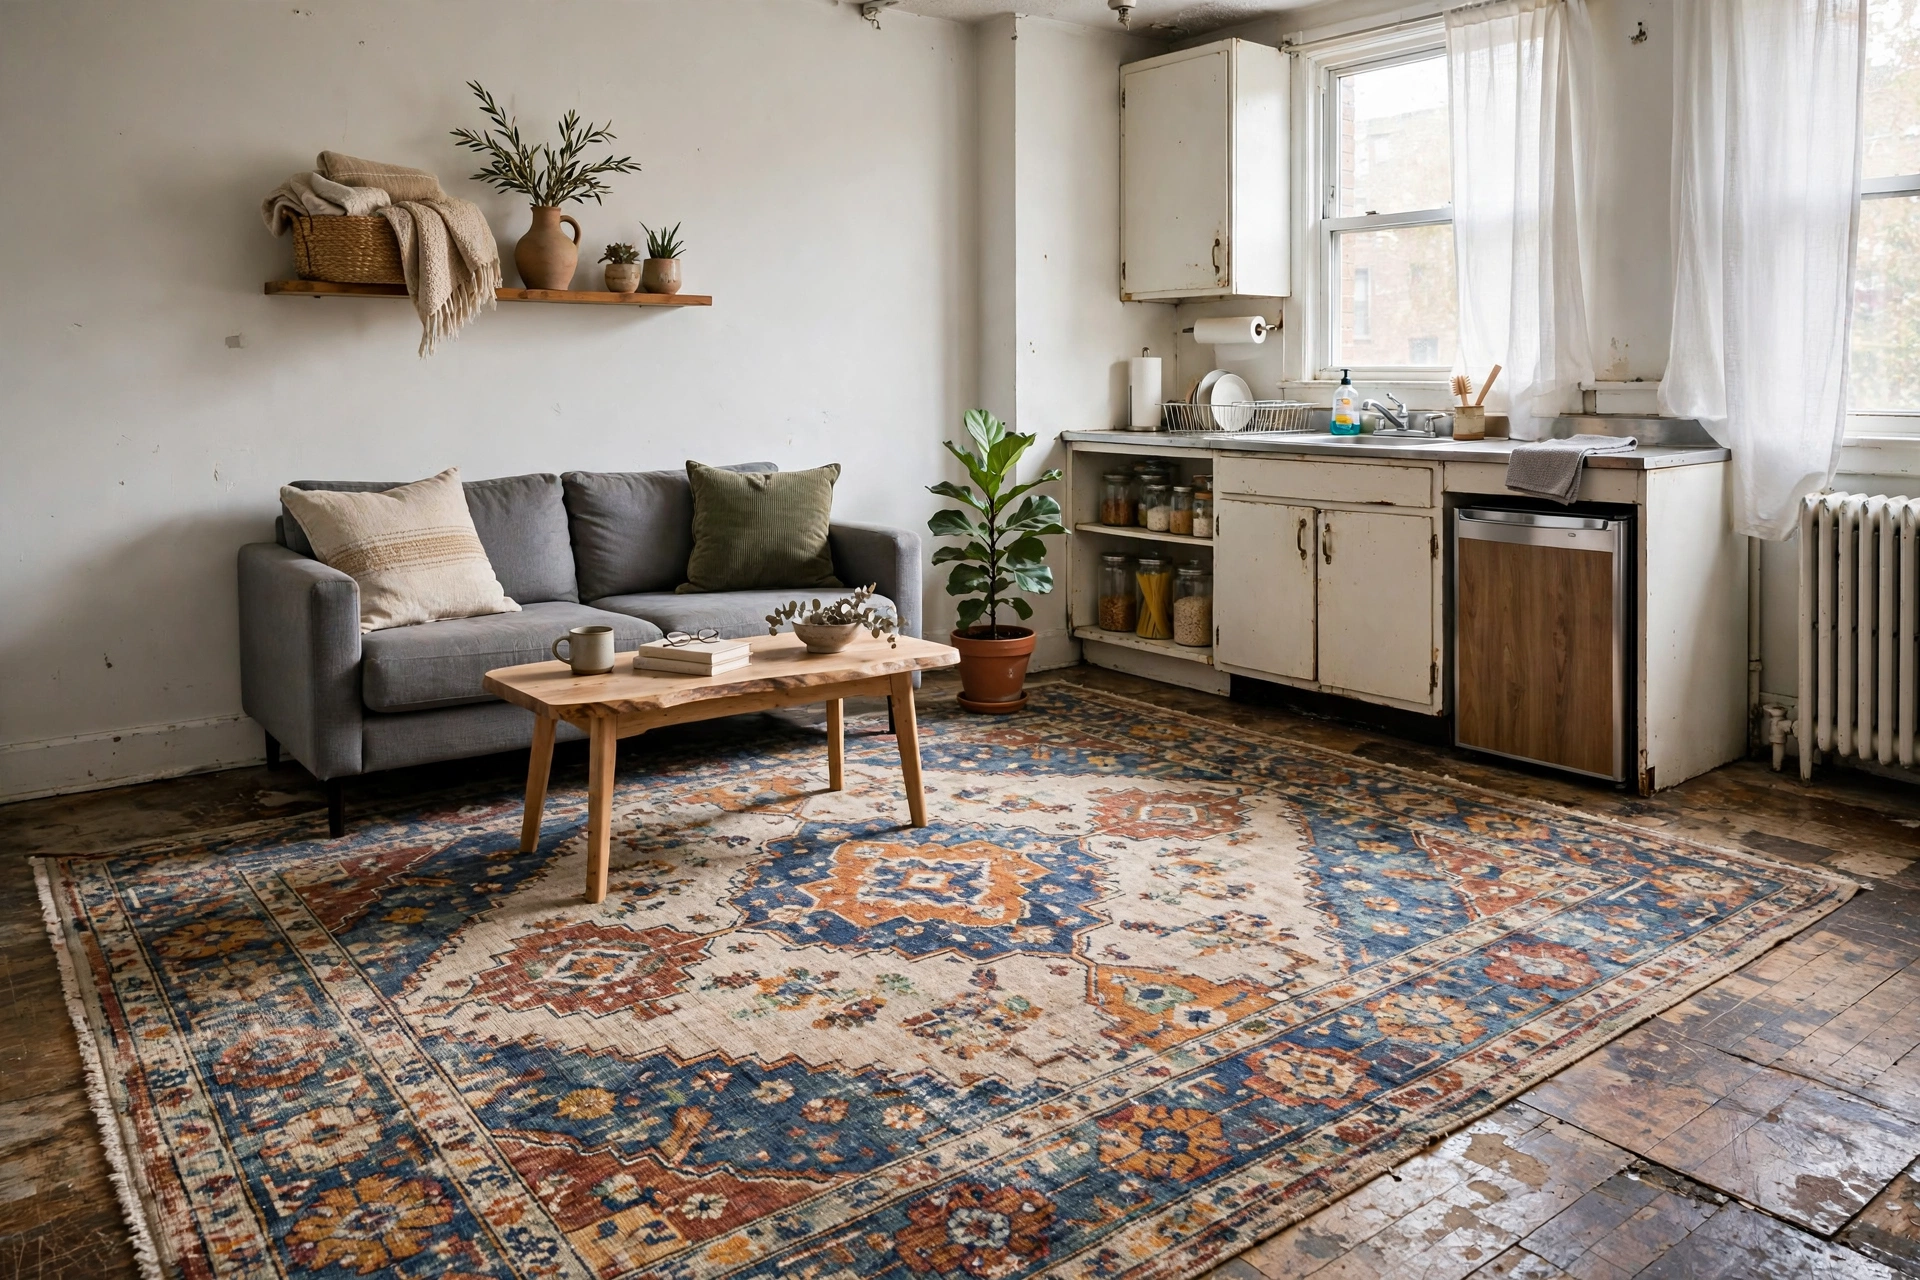
13. Layer Large Rugs Over Ugly Floors
Can’t change the flooring? Cover it. A large area rug hides stained carpet, scratched laminate, or dated tile while adding warmth and defining zones in your studio — it’s the fastest floor transformation with zero landlord involvement. An 8×10 rug costs $120–$300 and instantly makes the whole apartment feel intentional. Pro tip: Always use a rug pad underneath on hard floors — it prevents the rug from sliding and scratching the finish, which protects both you and your deposit.
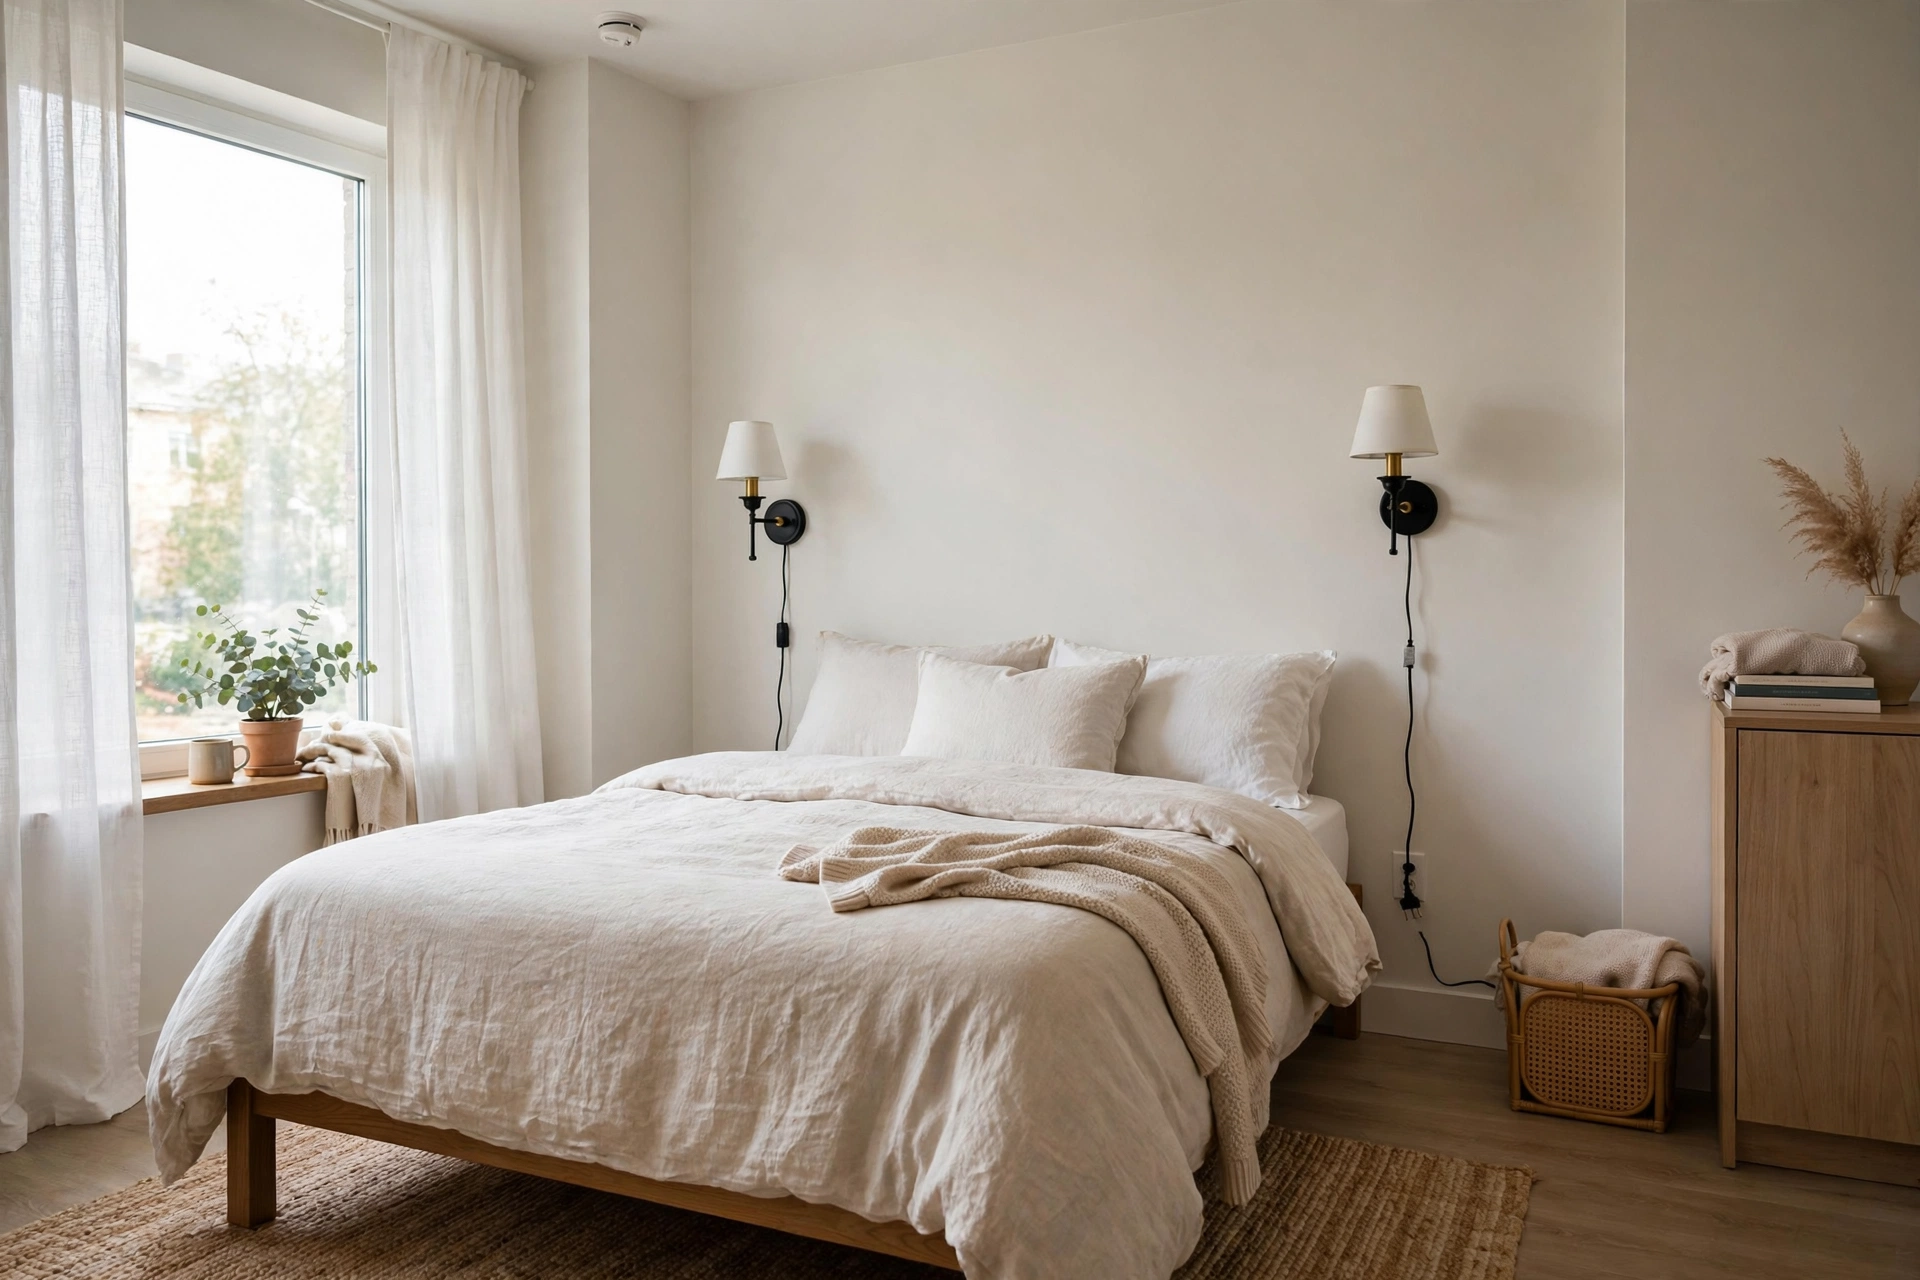
14. Plug-In Wall Sconces
Rental lighting is famously terrible — one harsh ceiling fixture per room. Plug-in wall sconces mount with a single small hook or adhesive bracket, and the cord runs down to the nearest outlet (hide it with a cord cover). They add flattering bedside or reading light for $30–$70 per pair. Pro tip: Choose sconces with a cord cover kit in the same color as your wall — the cord virtually disappears and the whole install looks hardwired.
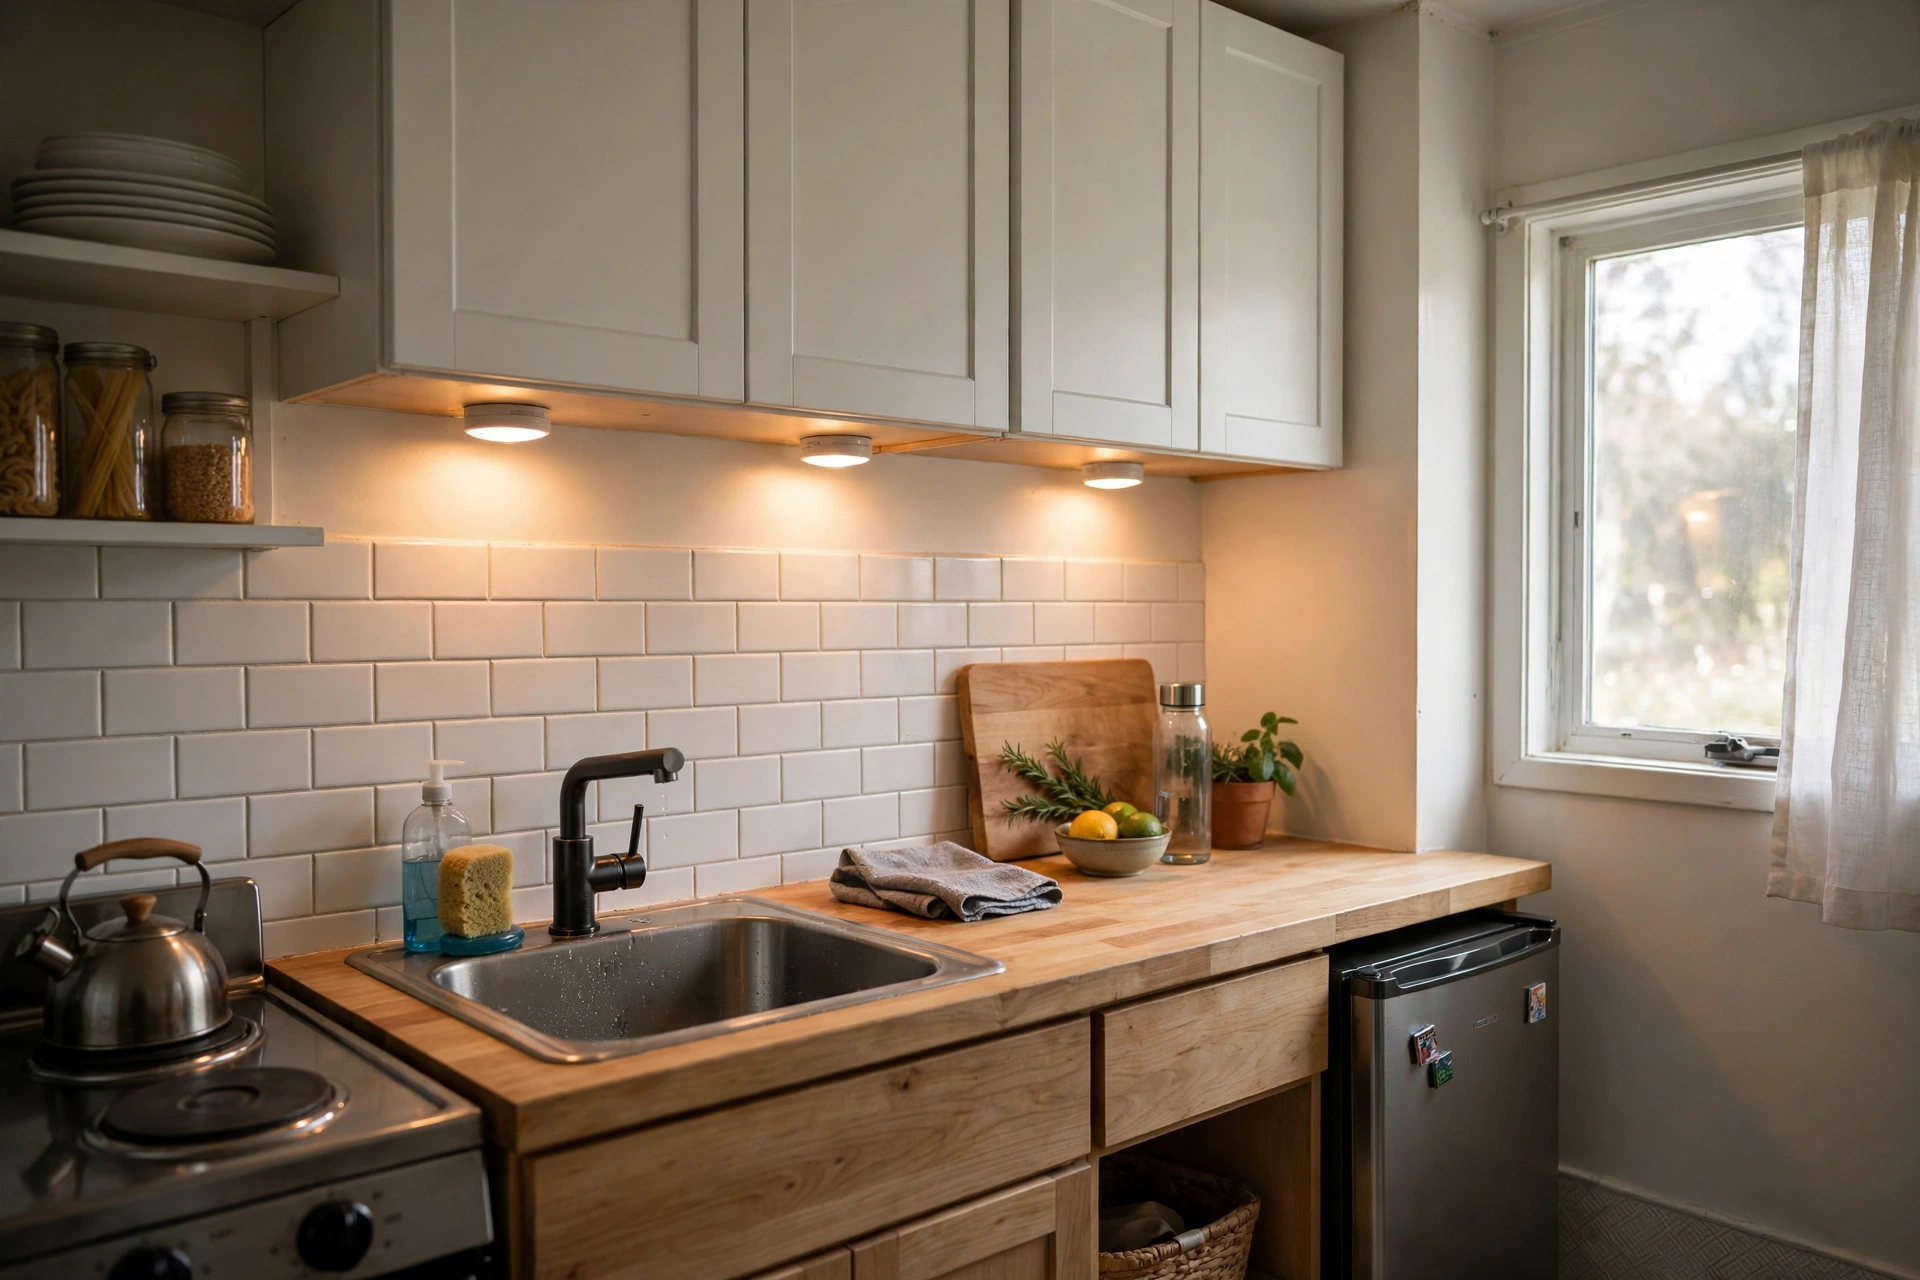
15. Battery Puck Lights Under Cabinets
Dark rental kitchens get instant task lighting from battery-operated LED puck lights — stick them under cabinets with the included adhesive, tap to turn on, and enjoy a kitchen that actually functions after sunset. A 6-pack costs $15–$25 and batteries last months. Pro tip: Get puck lights with a remote control so you can switch them all at once — individually tapping six lights every evening gets old fast.
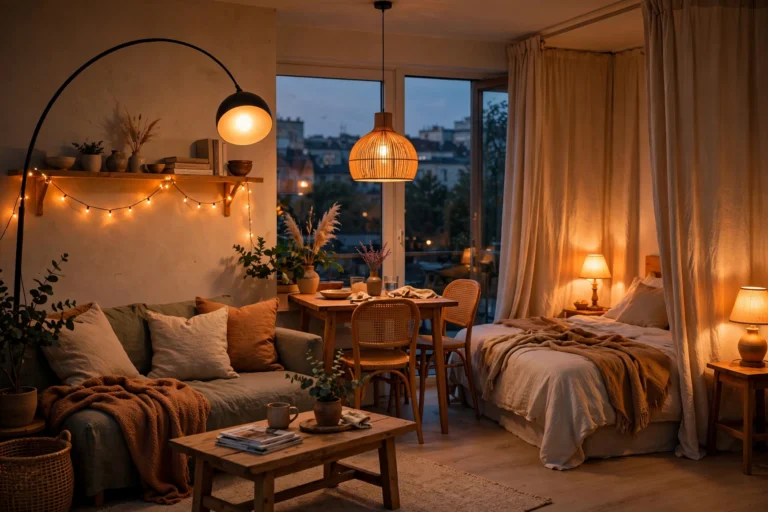
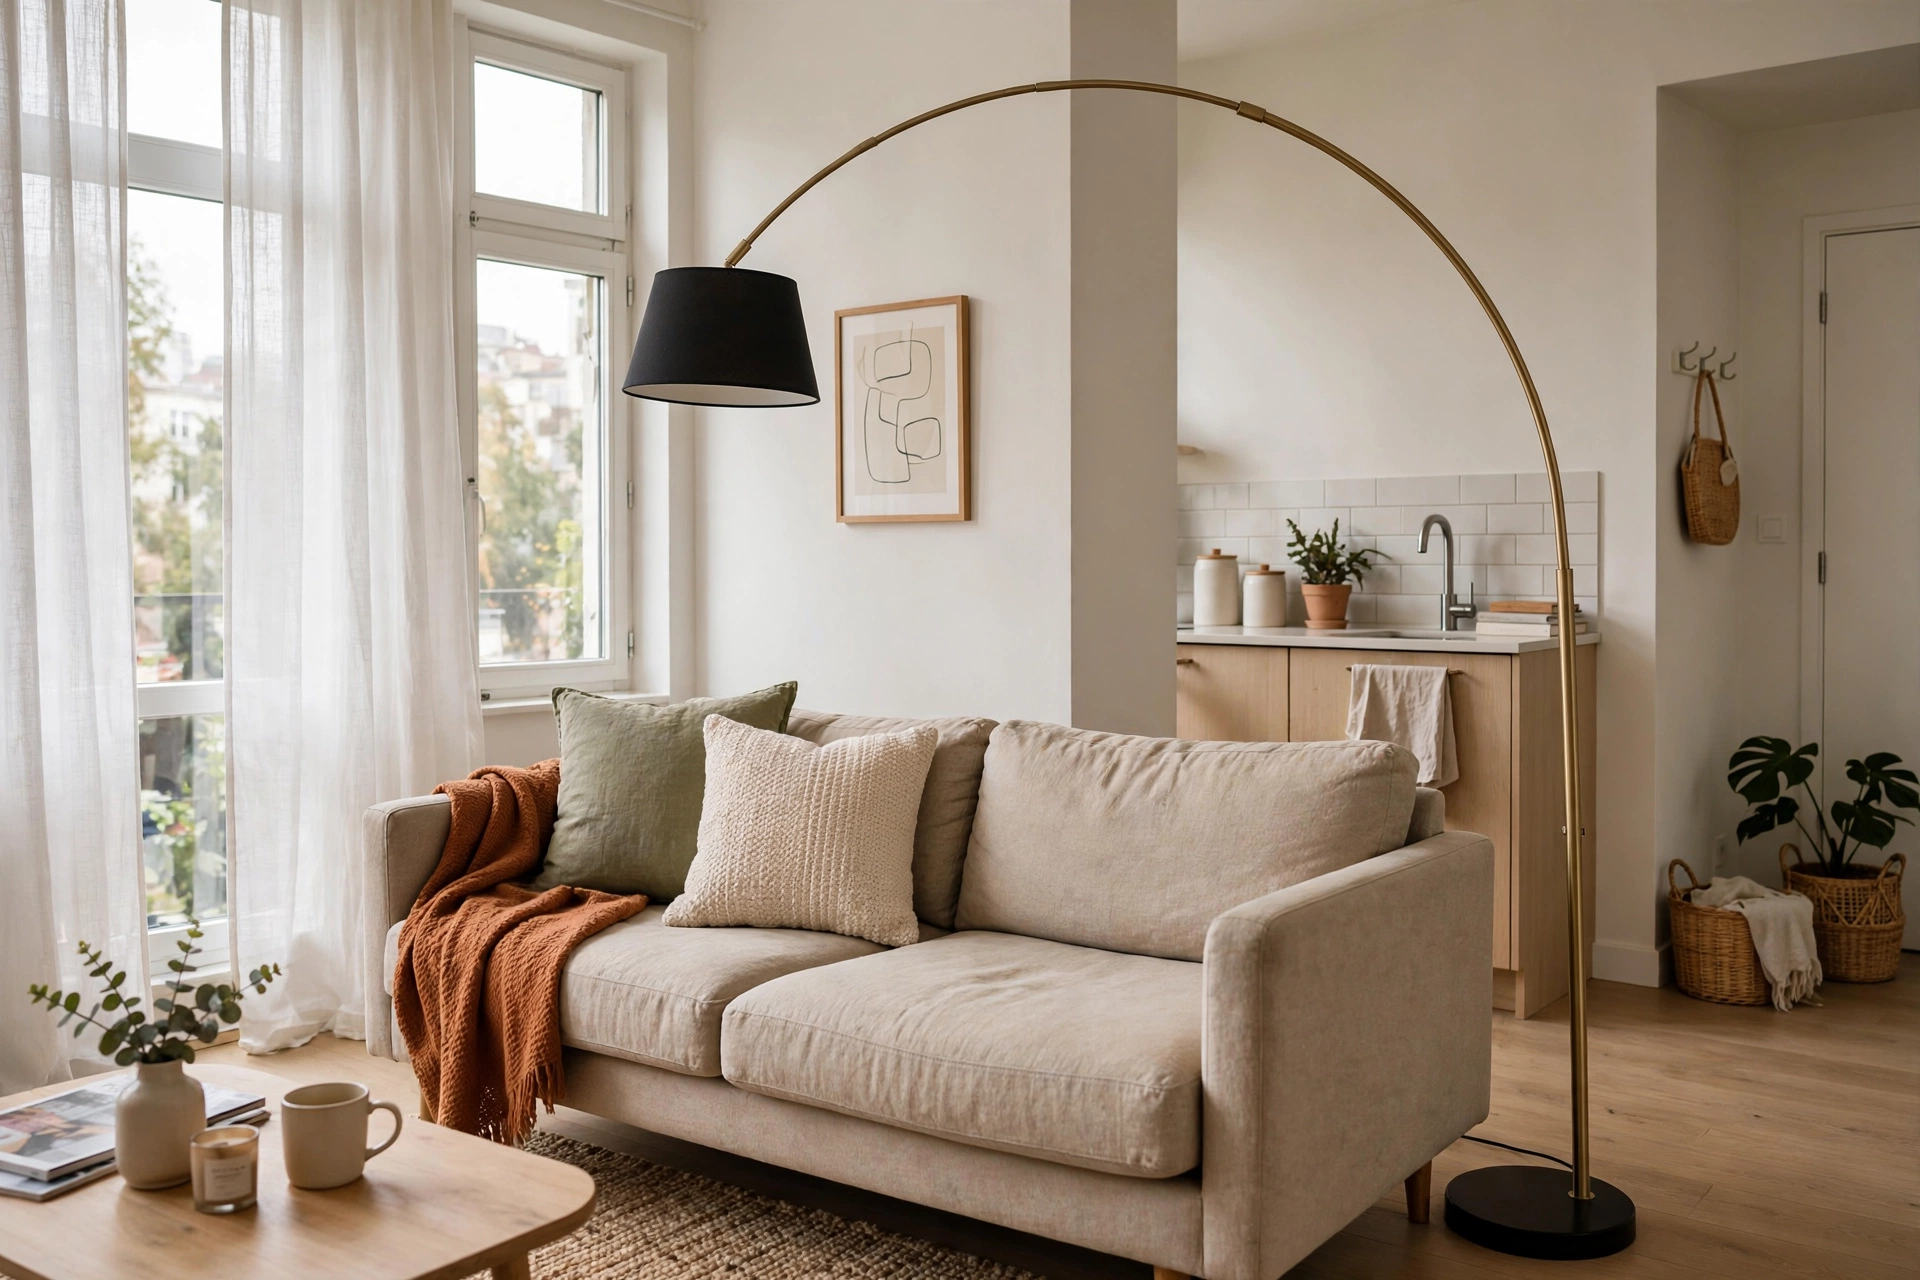
16. Arc Floor Lamp for Overhead Light
No ceiling fixture where you need one? An arc floor lamp swoops light exactly where you want it — over the sofa, the dining table, or the reading chair — with zero wiring. It’s the renter’s chandelier. Decent arc lamps run $60–$150 at IKEA, Target, or Amazon. Pro tip: Put the lamp on a smart plug ($10–$15) so you can control it by voice or phone — it feels like a wired fixture without a single hole in the ceiling. Our curtain ideas also help soften harsh rental lighting by filtering daylight beautifully.
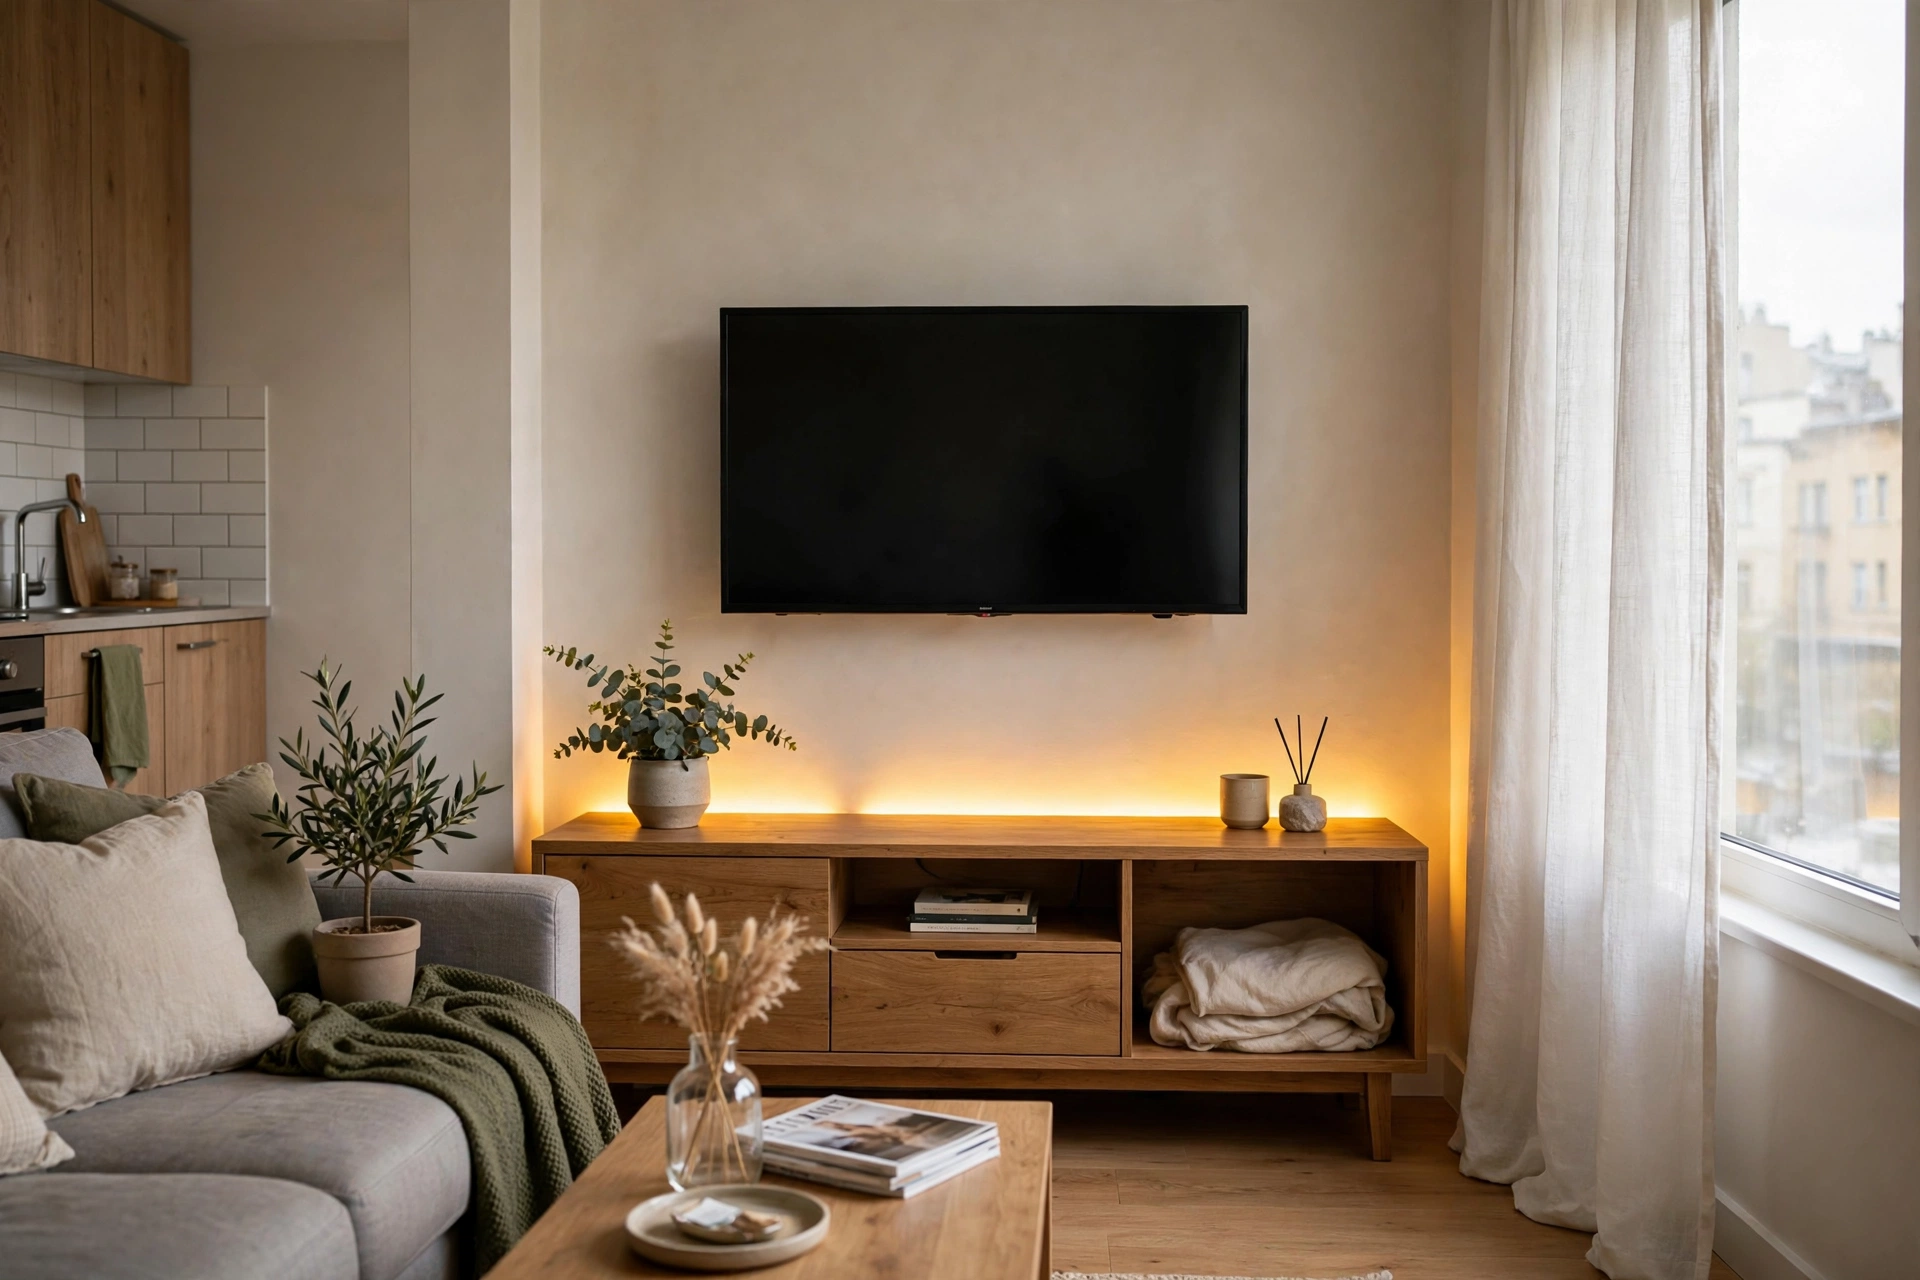
17. LED Strip Lights Behind Furniture
Self-adhesive LED strips behind the TV console, under the bed frame, or along bookshelf edges add ambient glow that makes a rental feel designed rather than default. They peel off cleanly and most come with remotes for color and dimming. A 16-foot strip costs $15–$30. Pro tip: Stick to warm white (2700–3000K) for living areas — RGB rainbow modes are fun for a week, but warm white is what makes a space feel like home long-term.
Damage-Free Storage
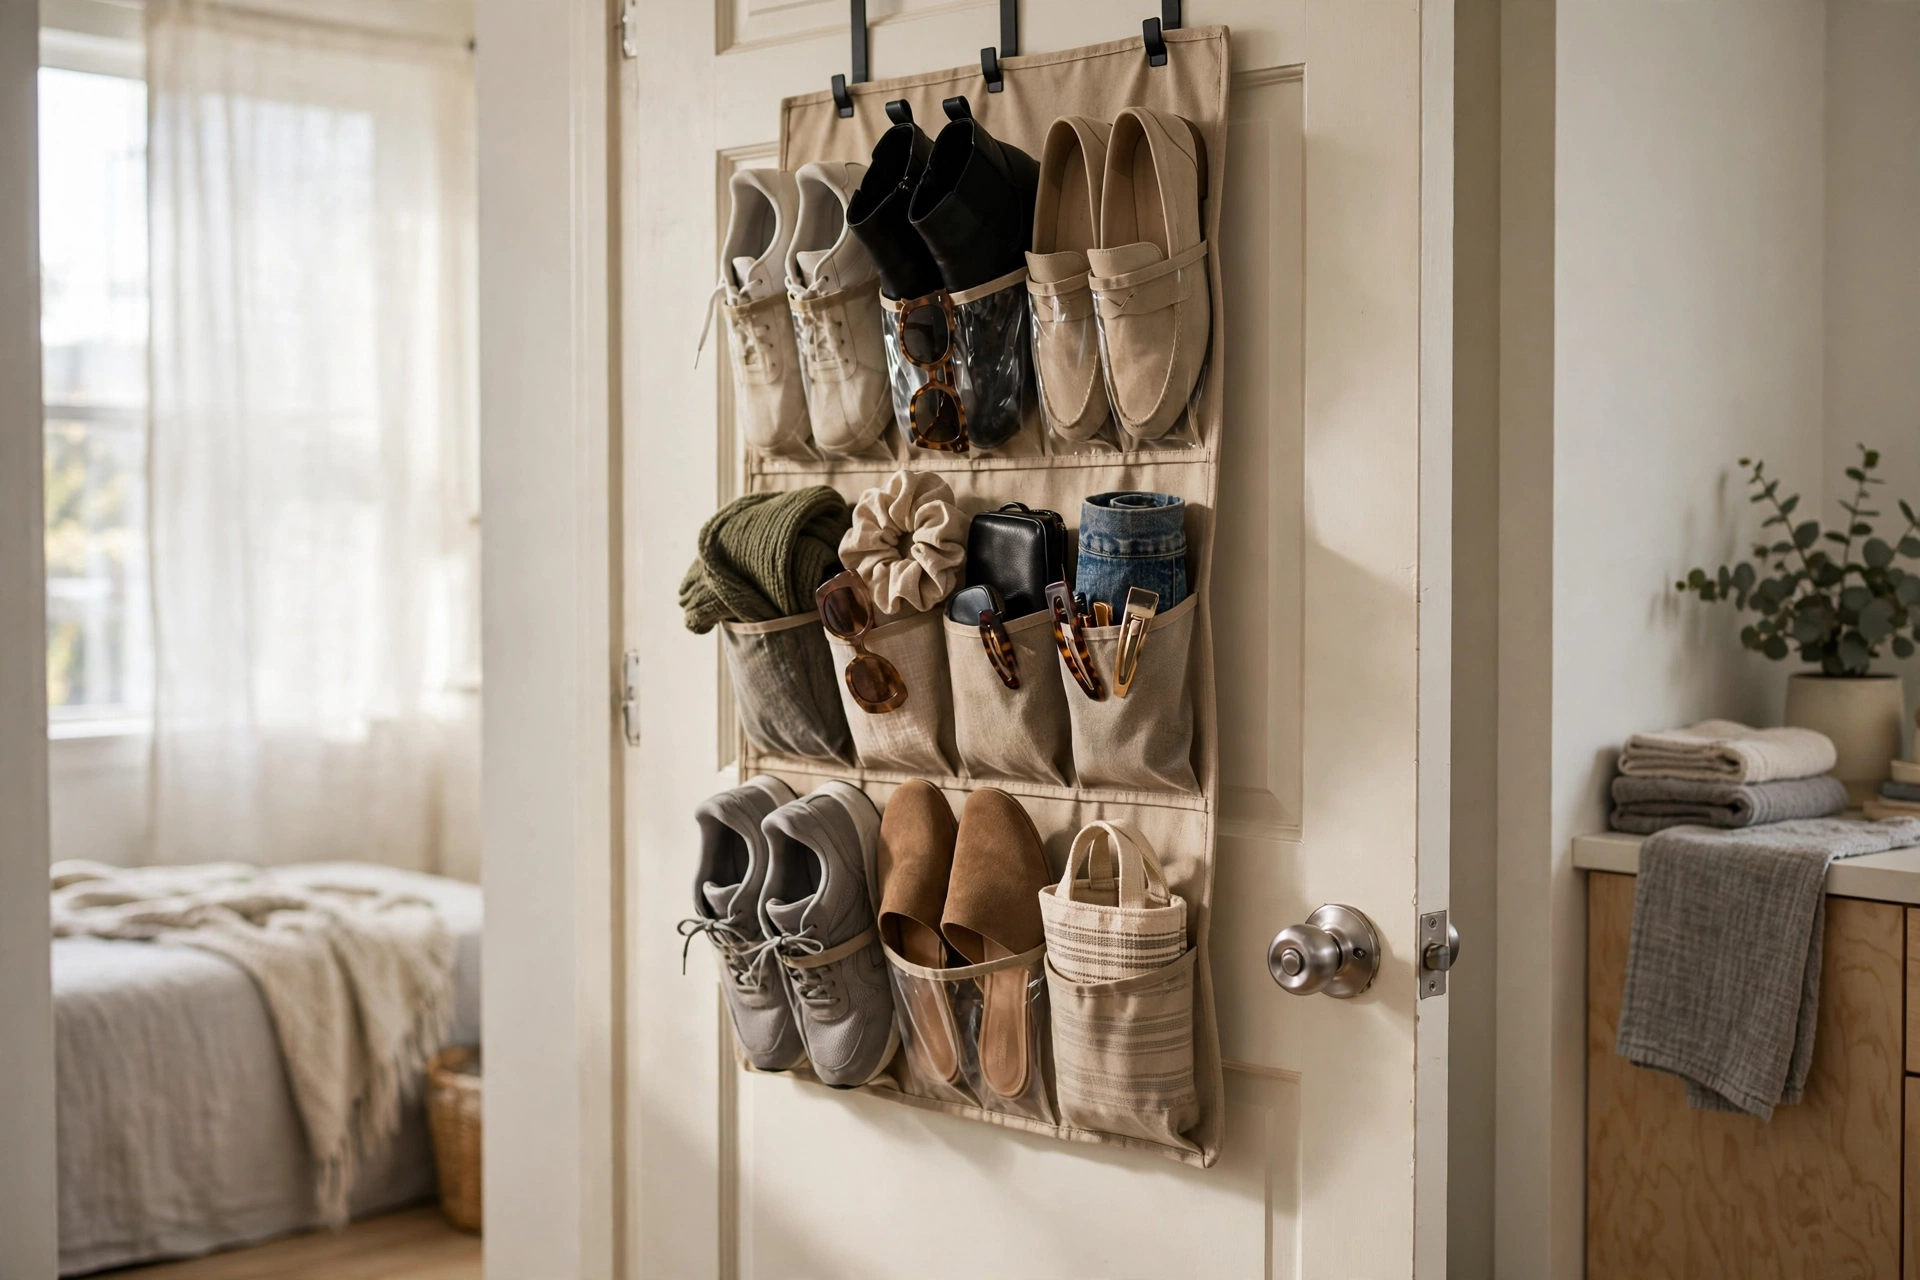
18. Over-Door Organizers Everywhere
Rental closets are always too small, but every door is unused storage waiting to happen. Over-door organizers hook on without screws — use them on closet doors for shoes, bathroom doors for toiletries, and the entry door for keys and mail. They cost $10–$25 each. Pro tip: Add thin adhesive felt pads where the hooks touch the door — it prevents paint scratches that landlords love to charge for.
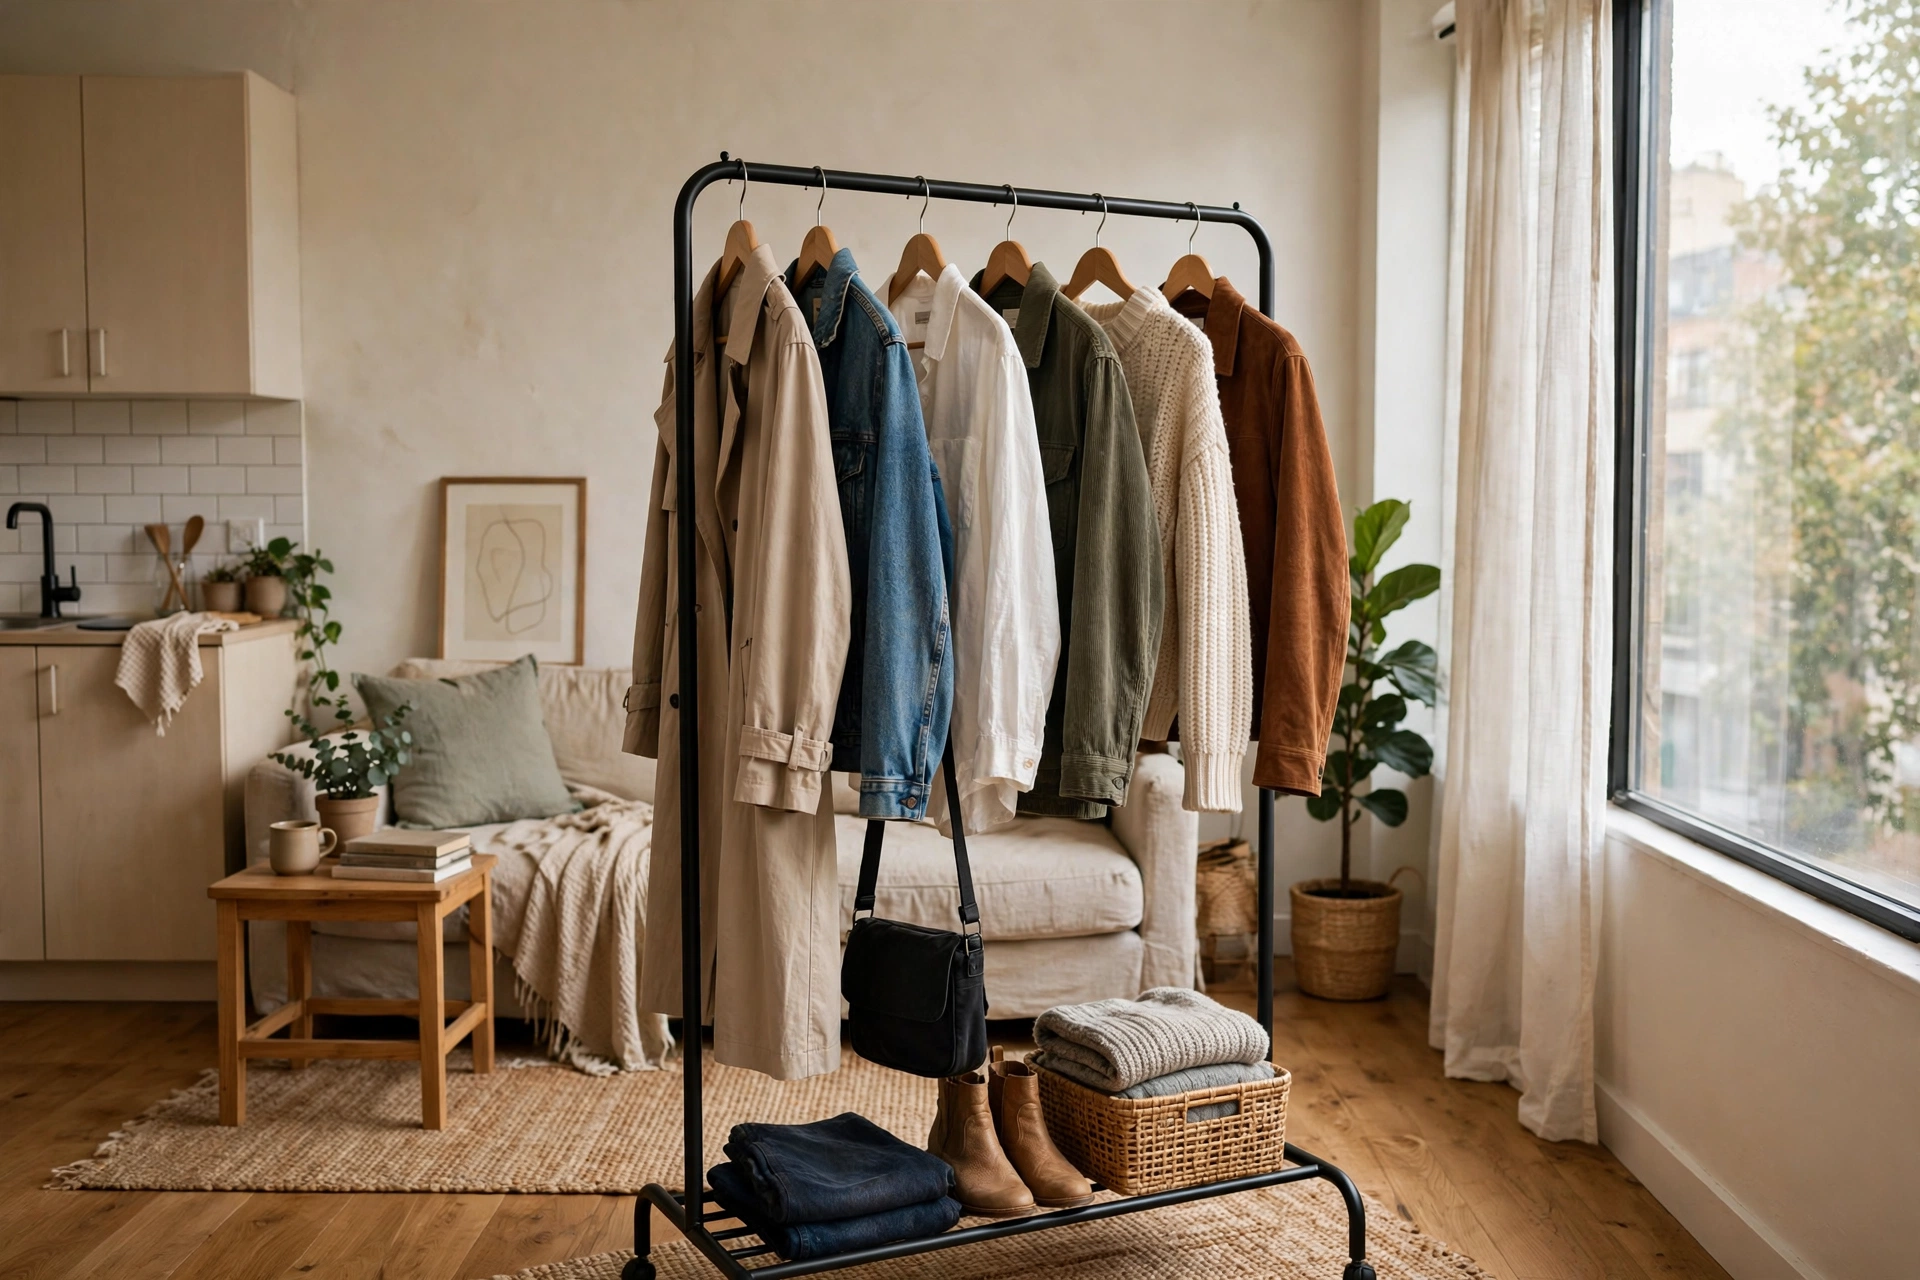
19. Freestanding Garment Racks
When the rental closet can’t hold your wardrobe, a freestanding garment rack adds open storage that doubles as decor — and moves with you. Sturdy metal racks hold 50+ pounds of clothing for $30–$60, far cheaper than a wardrobe. Pro tip: Curate what hangs on it — matching hangers and a tight color story turn a clothing rack from “dorm room” into “boutique display.”
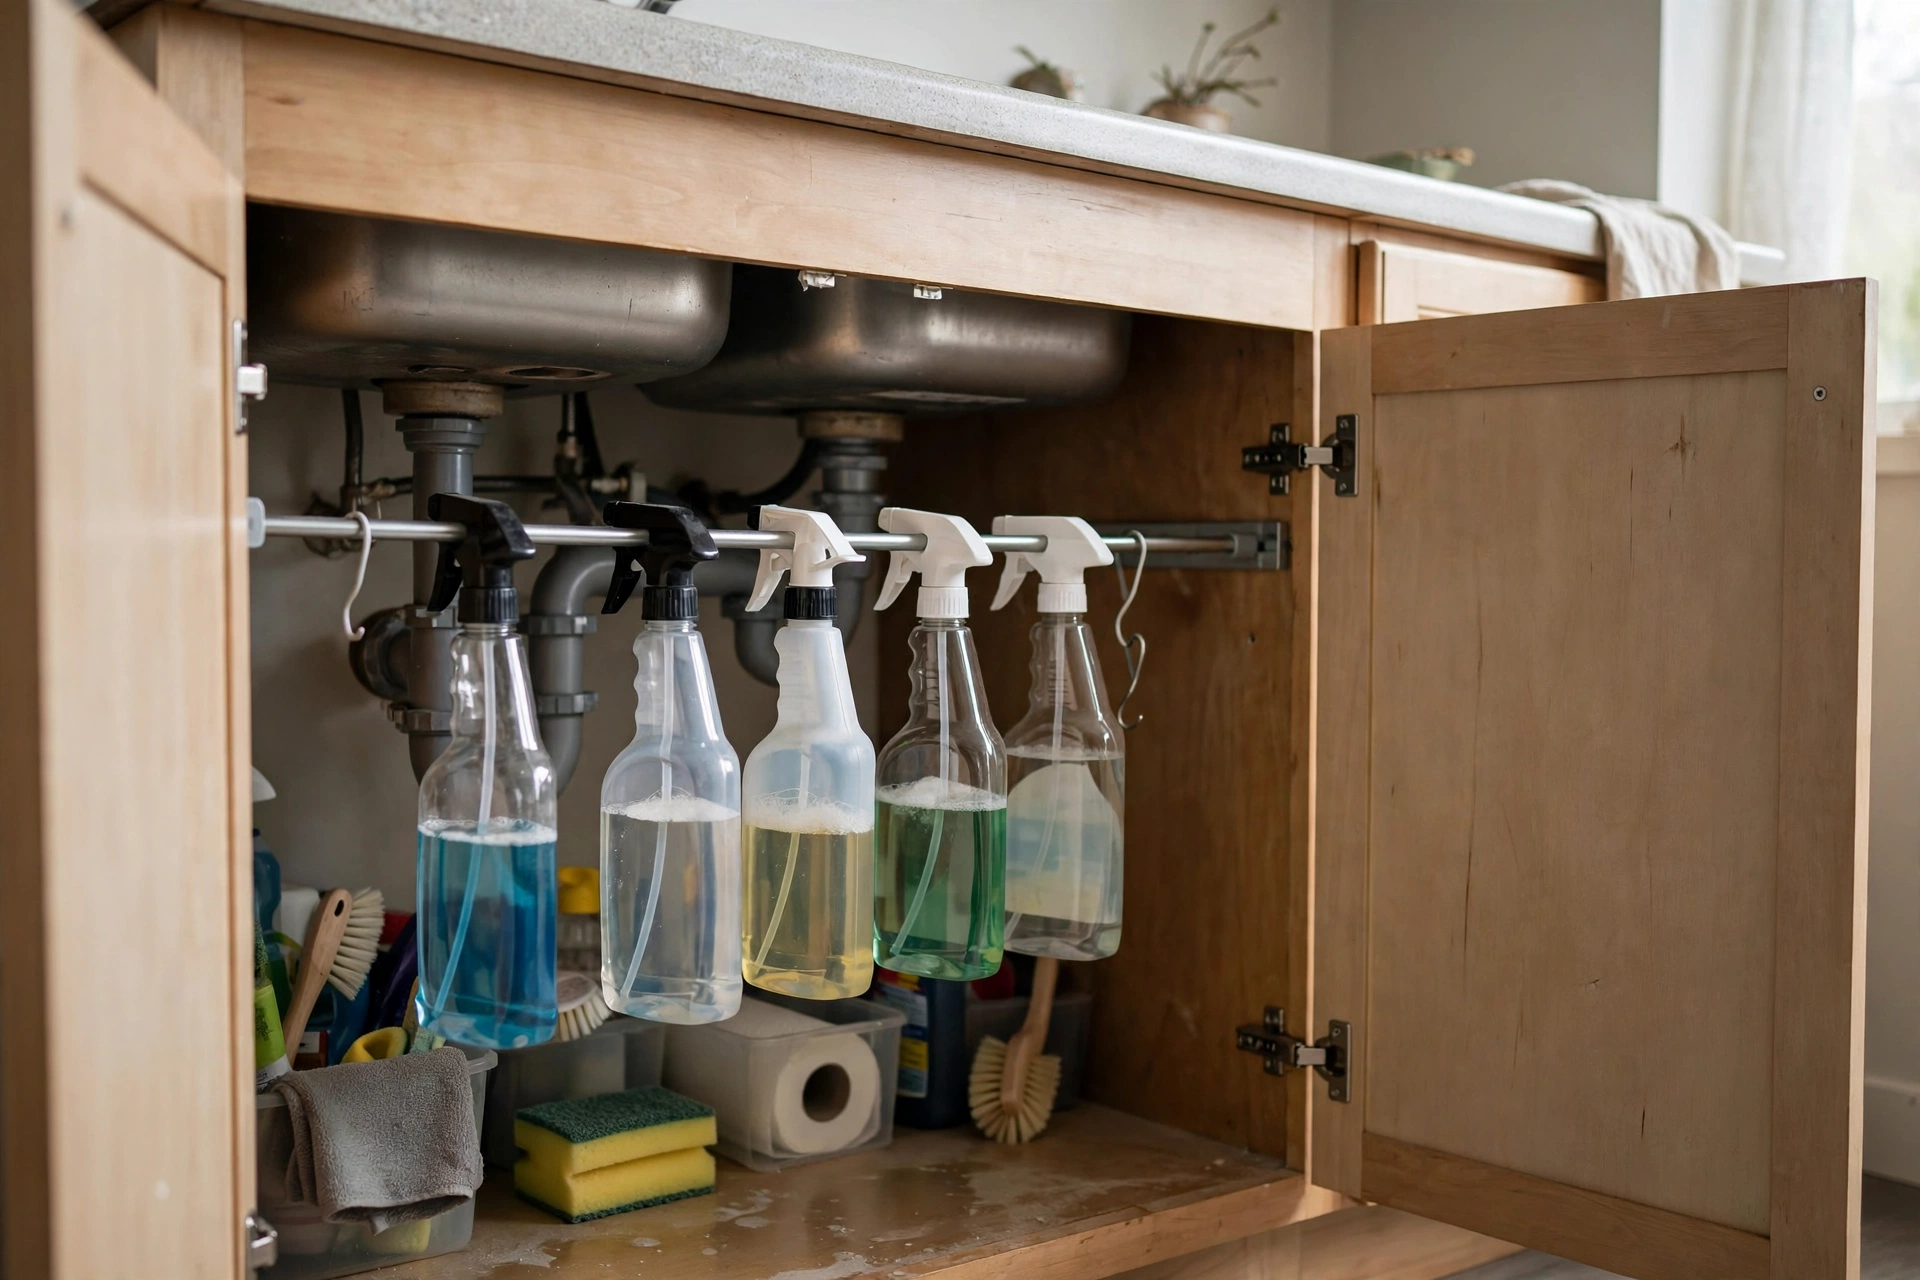
20. Tension Rods for Under-Sink Storage
A $10 tension rod wedged inside the under-sink cabinet creates a hanging rail for spray bottles — instantly doubling usable space in the most awkward cabinet in the apartment. No drilling, no damage, five-minute install. Pro tip: Measure the cabinet interior width before buying and get a rod rated for the span — undersized rods slip the moment you hang anything heavy.
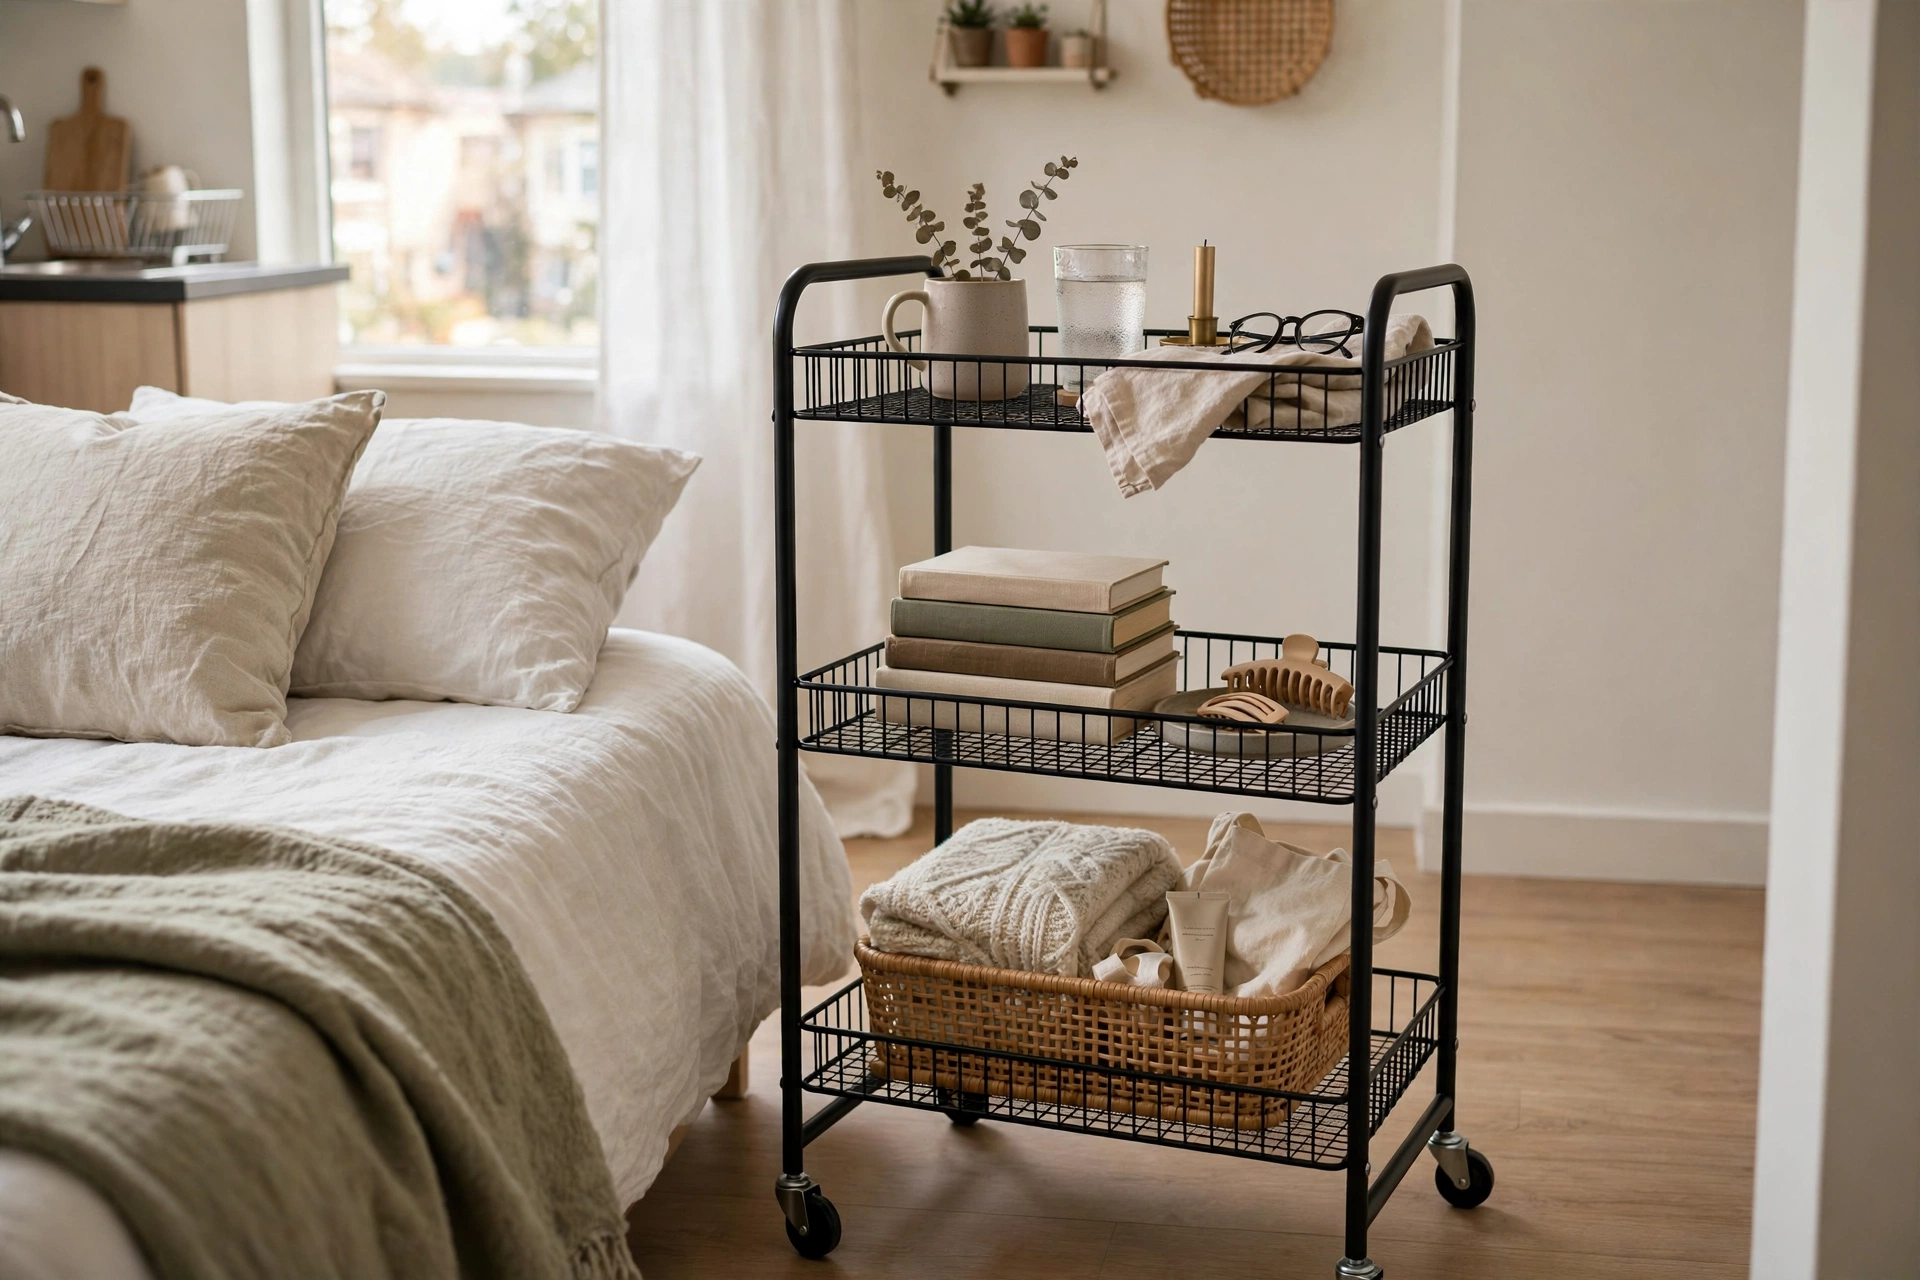
21. Rolling Carts as Flexible Storage
A 3-tier rolling cart (the famous IKEA RASKOG is $30) works as a nightstand, kitchen island extension, bathroom organizer, or craft station — then rolls away when you need floor space. In a studio, furniture that moves is furniture that multitasks. Pro tip: Dedicate each tier to one category and use small bins within tiers — carts turn chaotic fast without internal organization.
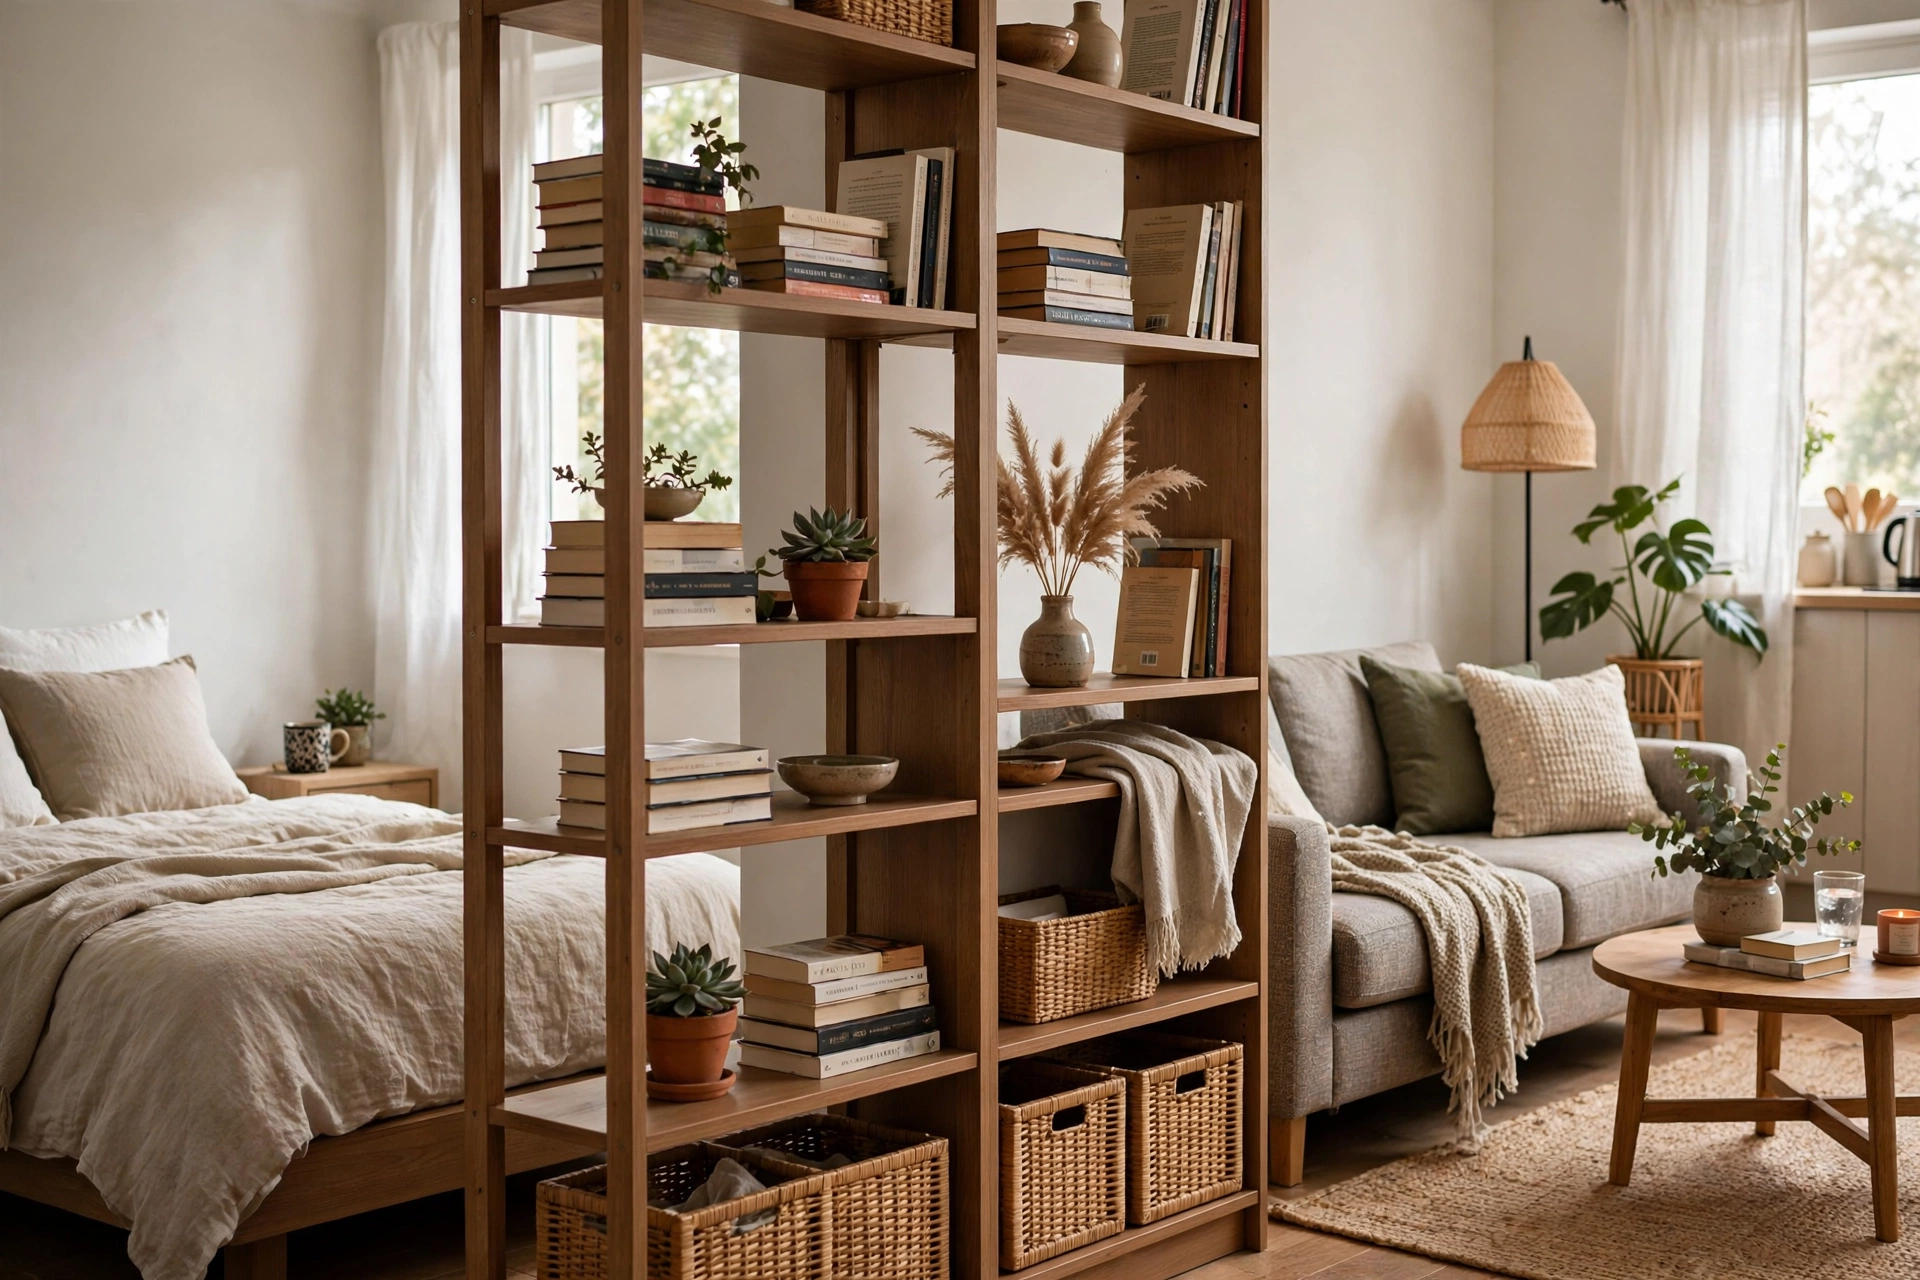
22. Bookcases as Room Dividers
An open-back bookcase divides the sleeping zone from the living zone while adding storage on both sides — no wall-mounting needed if you anchor it safely. Fill it with books, baskets, and decor for a divider that earns its footprint. A 4-cube unit costs $40–$80. Pro tip: Use museum putty or furniture straps looped to a heavy piece (never the wall) to prevent tipping — safety first, deposit second. Just avoid the visual clutter traps in our decorating mistakes guide when styling both sides.
Kitchen & Bath Tweaks
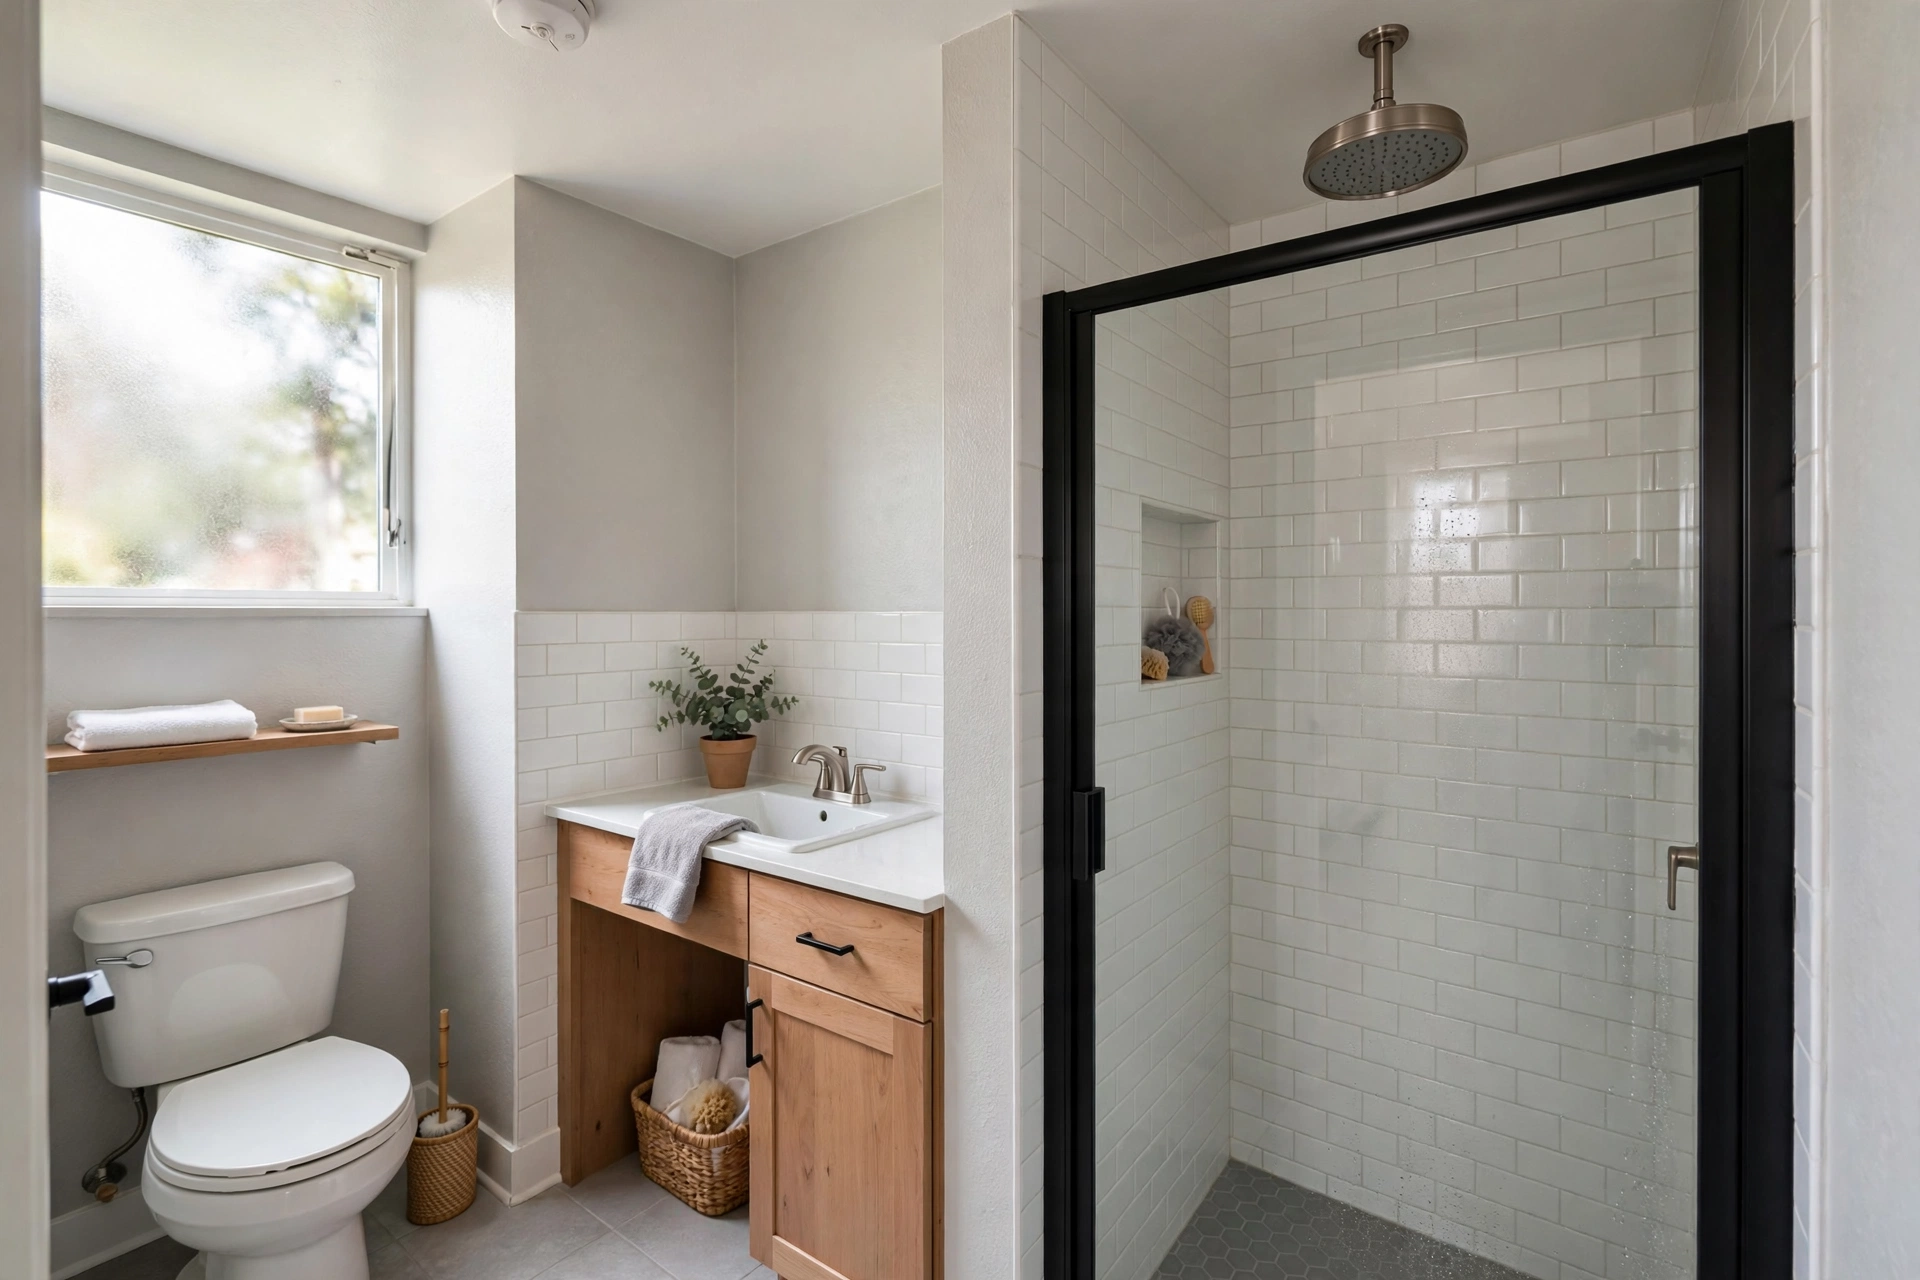
23. Swap the Showerhead (Keep the Original)
Rental showerheads are universally awful — weak pressure, weird spray. Unscrew it (usually hand-tight or one wrench turn), install a $25–$50 rainfall or high-pressure head, and store the original in a labeled bag for move-out. The whole swap takes ten minutes. Pro tip: Wrap the pipe threads with Teflon tape before installing the new head — it prevents drips and makes removal effortless when it’s time to swap back.
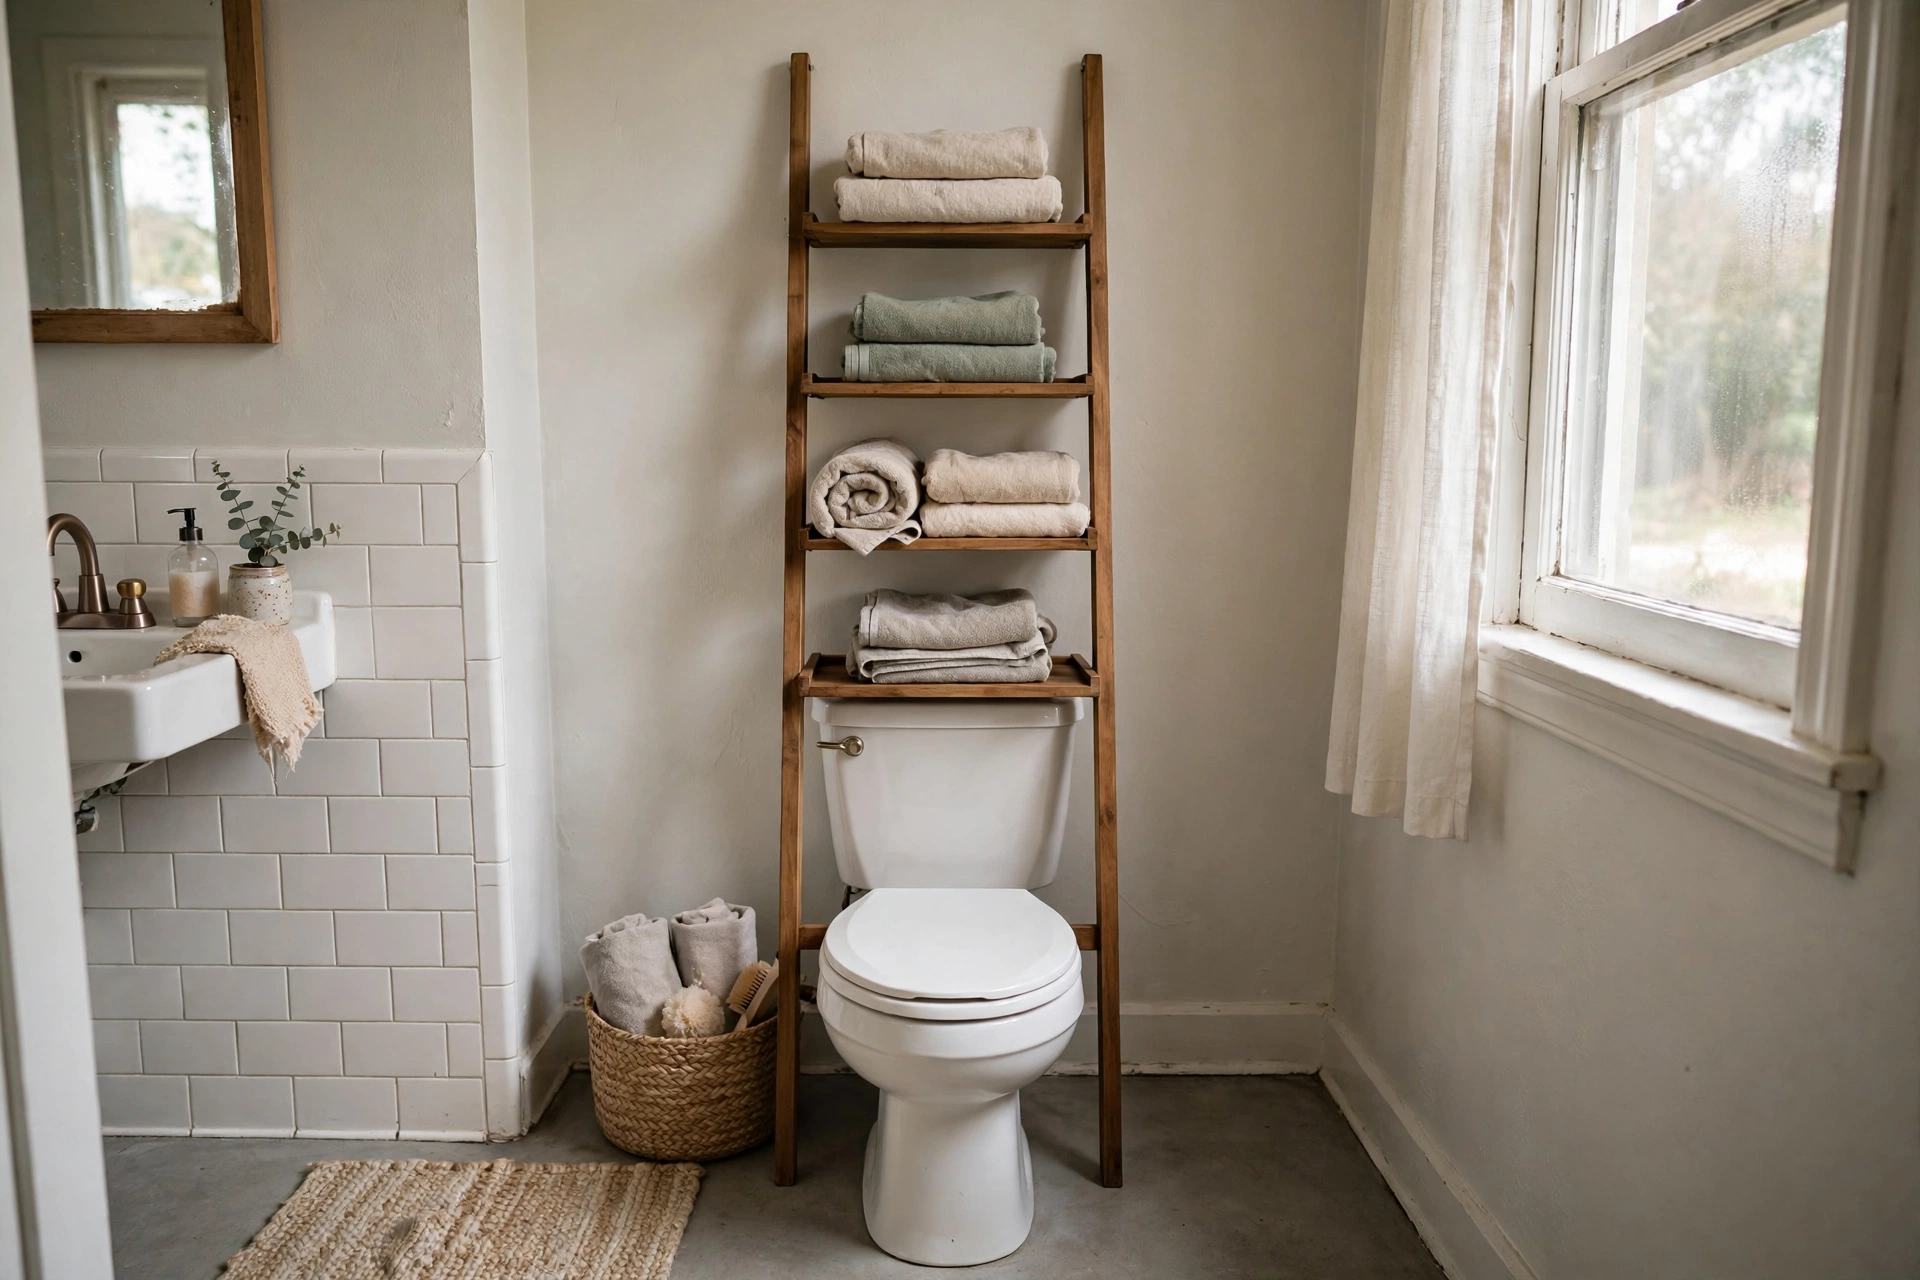
24. Over-Toilet Storage Ladder
Studio bathrooms have almost no storage, but the wall above the toilet is free real estate. A freestanding over-toilet ladder shelf leans against the wall — no mounting — and adds three tiers for towels, toiletries, and decor. They cost $35–$70. Pro tip: Anchor the top to the wall with a removable adhesive strip rated for the weight — leaning shelves can creep forward over time, and one strip prevents a midnight crash.
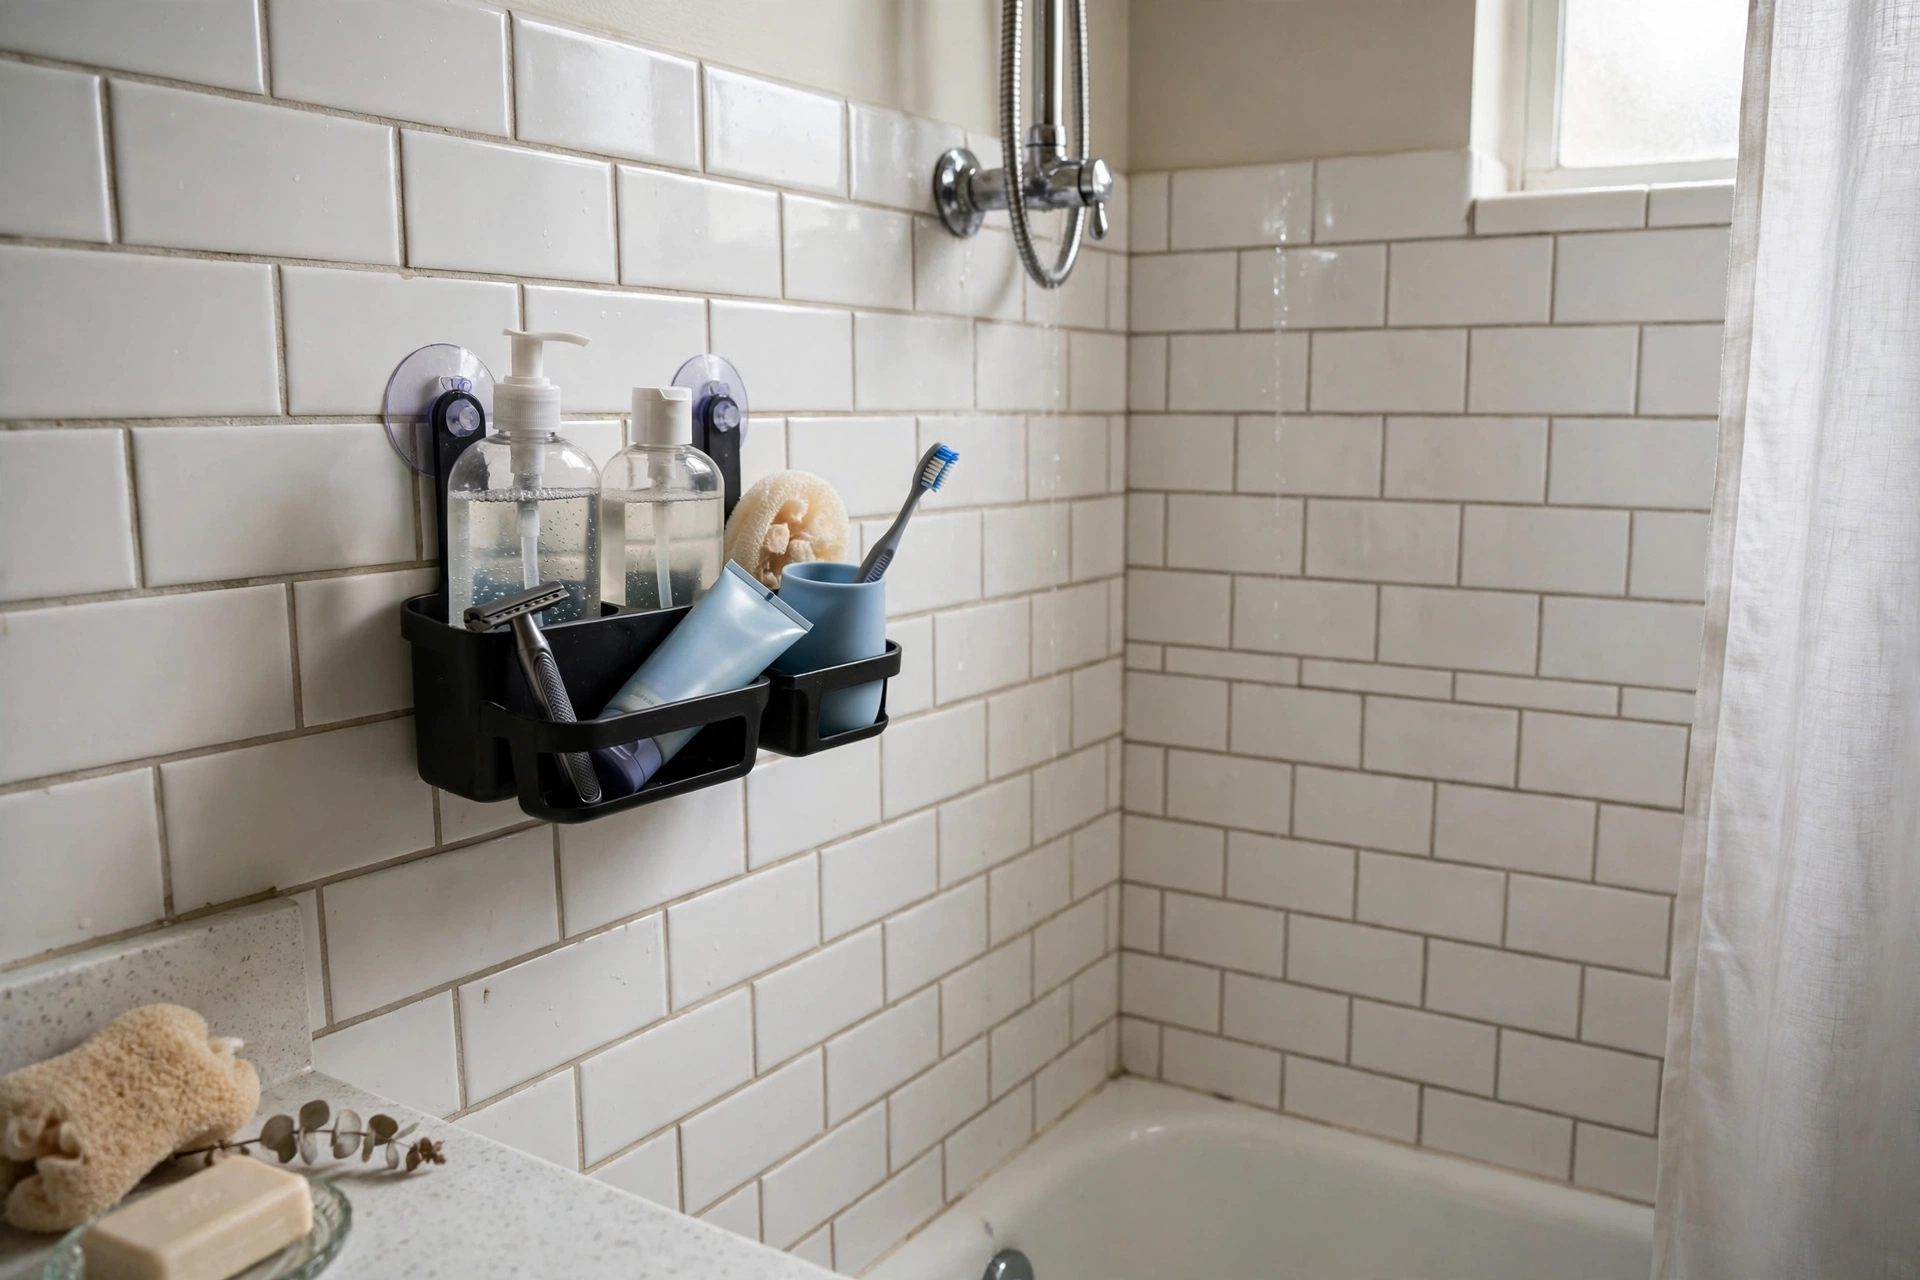
25. Suction-Cup Shower Caddies
Drilling into rental tile is a deposit disaster — modern suction-cup caddies hold 10–15 pounds on smooth tile and glass without a single hole. Look for ones with locking suction mechanisms rather than basic push cups. A good corner caddy costs $15–$30. Pro tip: Press suction cups onto clean, dry tile and let them set for 24 hours before loading — and re-press monthly, since steam and temperature swings slowly loosen the seal.
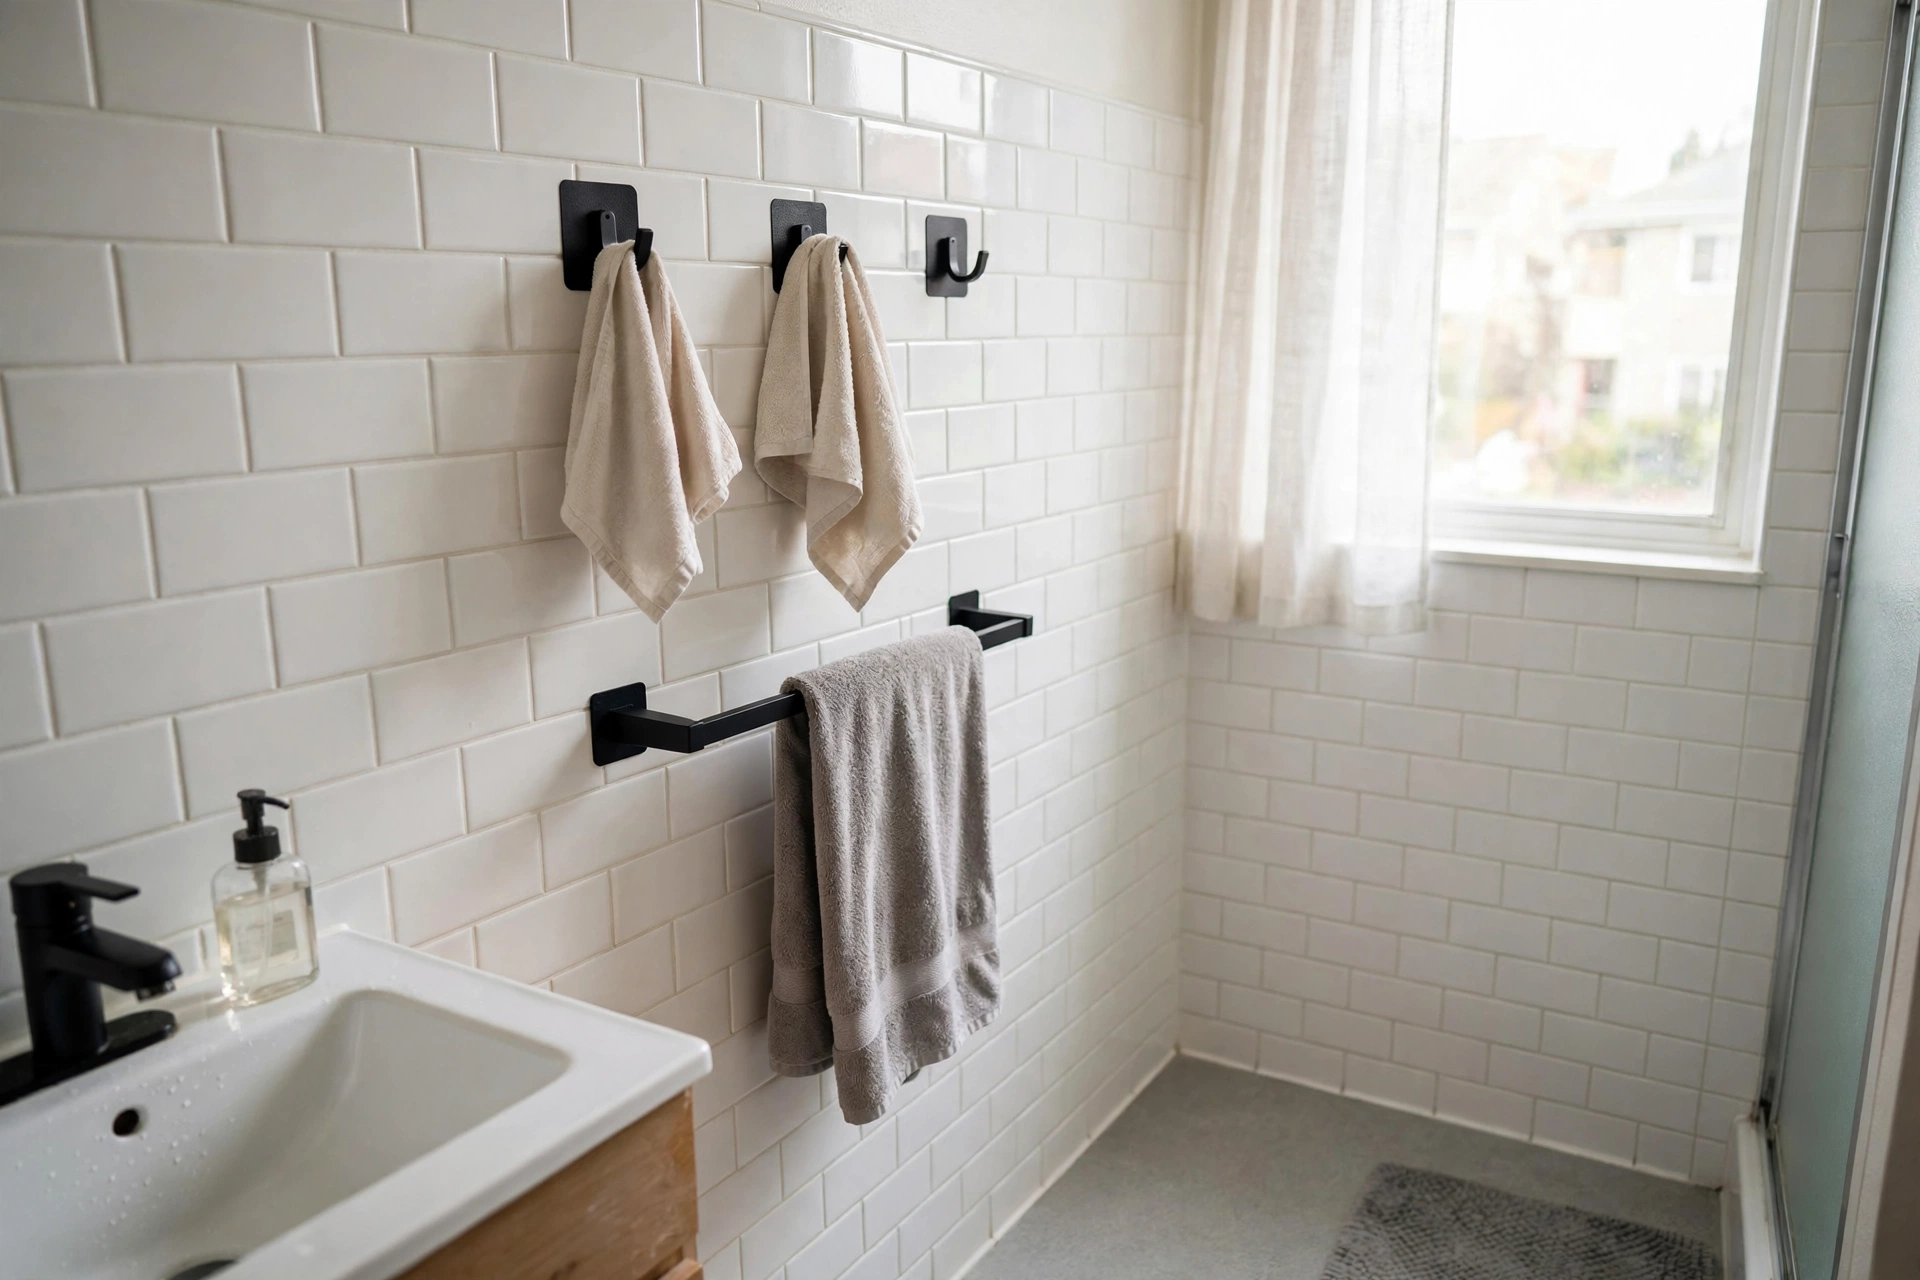
26. Adhesive Towel Bars and Hooks
Heavy-duty adhesive hooks and towel bars (rated 5–10 pounds) mount on tile, glass, and painted walls with zero drilling and remove with a pull tab. Use them for towels, robes, and bathroom organizers. A set of 4–6 hooks costs $10–$18. Pro tip: They only bond well to smooth, non-porous surfaces — on textured walls or matte paint, use over-door hooks instead and save yourself the heartbreak.
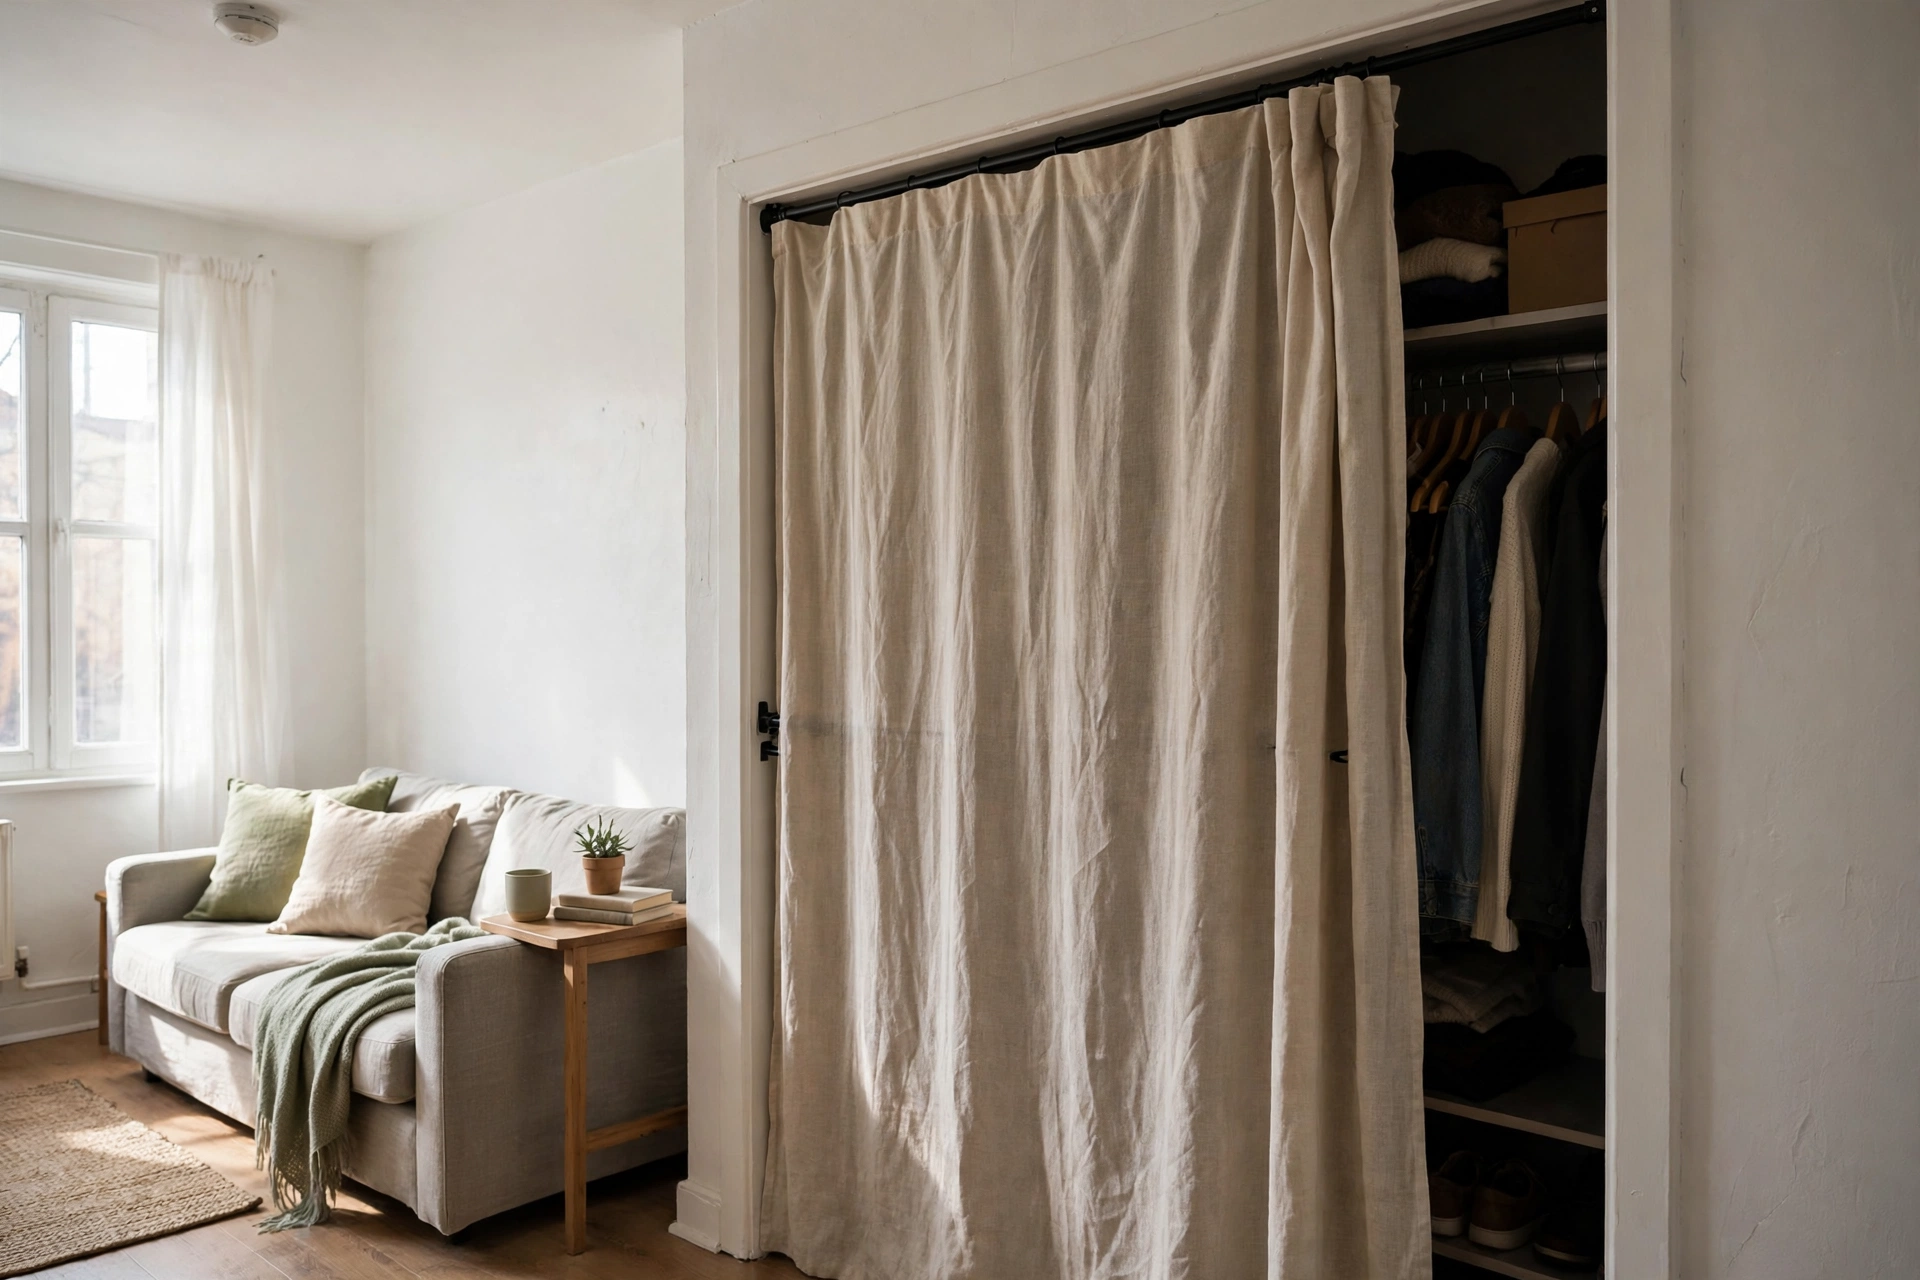
27. Shower Curtain as a Closet Door
Missing closet doors (or ugly bi-folds) disappear behind a tension rod and a nice shower curtain or fabric panel — $15–$25 total, zero tools. It softens the room visually and hides closet chaos from the living zone. Pro tip: Choose an opaque, structured fabric rather than a flimsy liner — it hangs straighter, looks intentional, and won’t billow every time the AC kicks on.
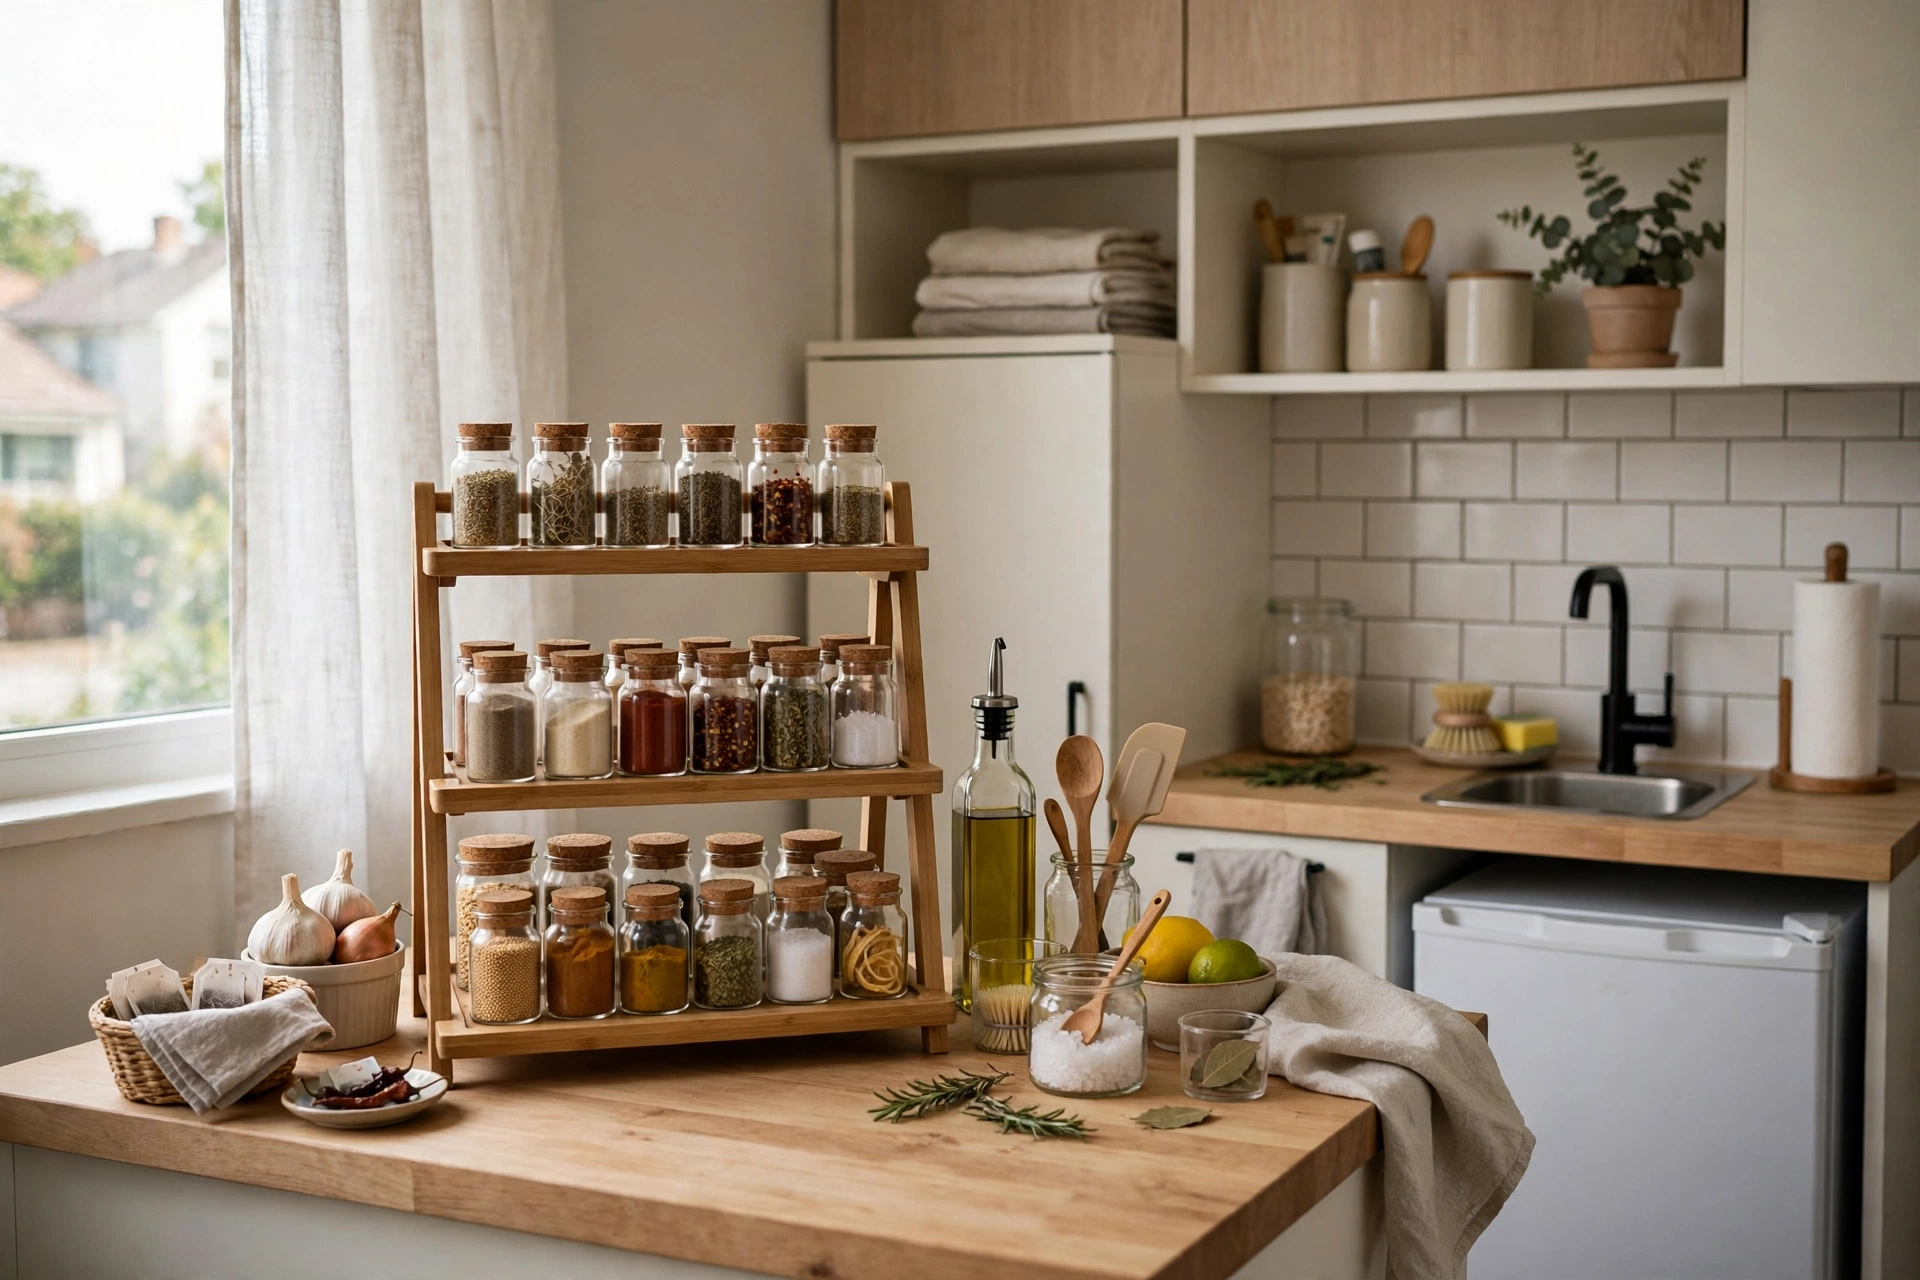
28. Countertop Organizers Instead of Drilled Shelves
Skip the drill entirely in the kitchen: tiered countertop organizers, magnetic knife strips with adhesive backing, and under-cabinet hanging baskets add the storage of wall shelves with none of the holes. A tiered shelf riser costs $15–$30. Pro tip: Go vertical on the counter — a two-tier riser holds the same as a wall shelf but moves with you, and it keeps daily items within arm’s reach in a tiny kitchen.
Move-Out Restoration Tips
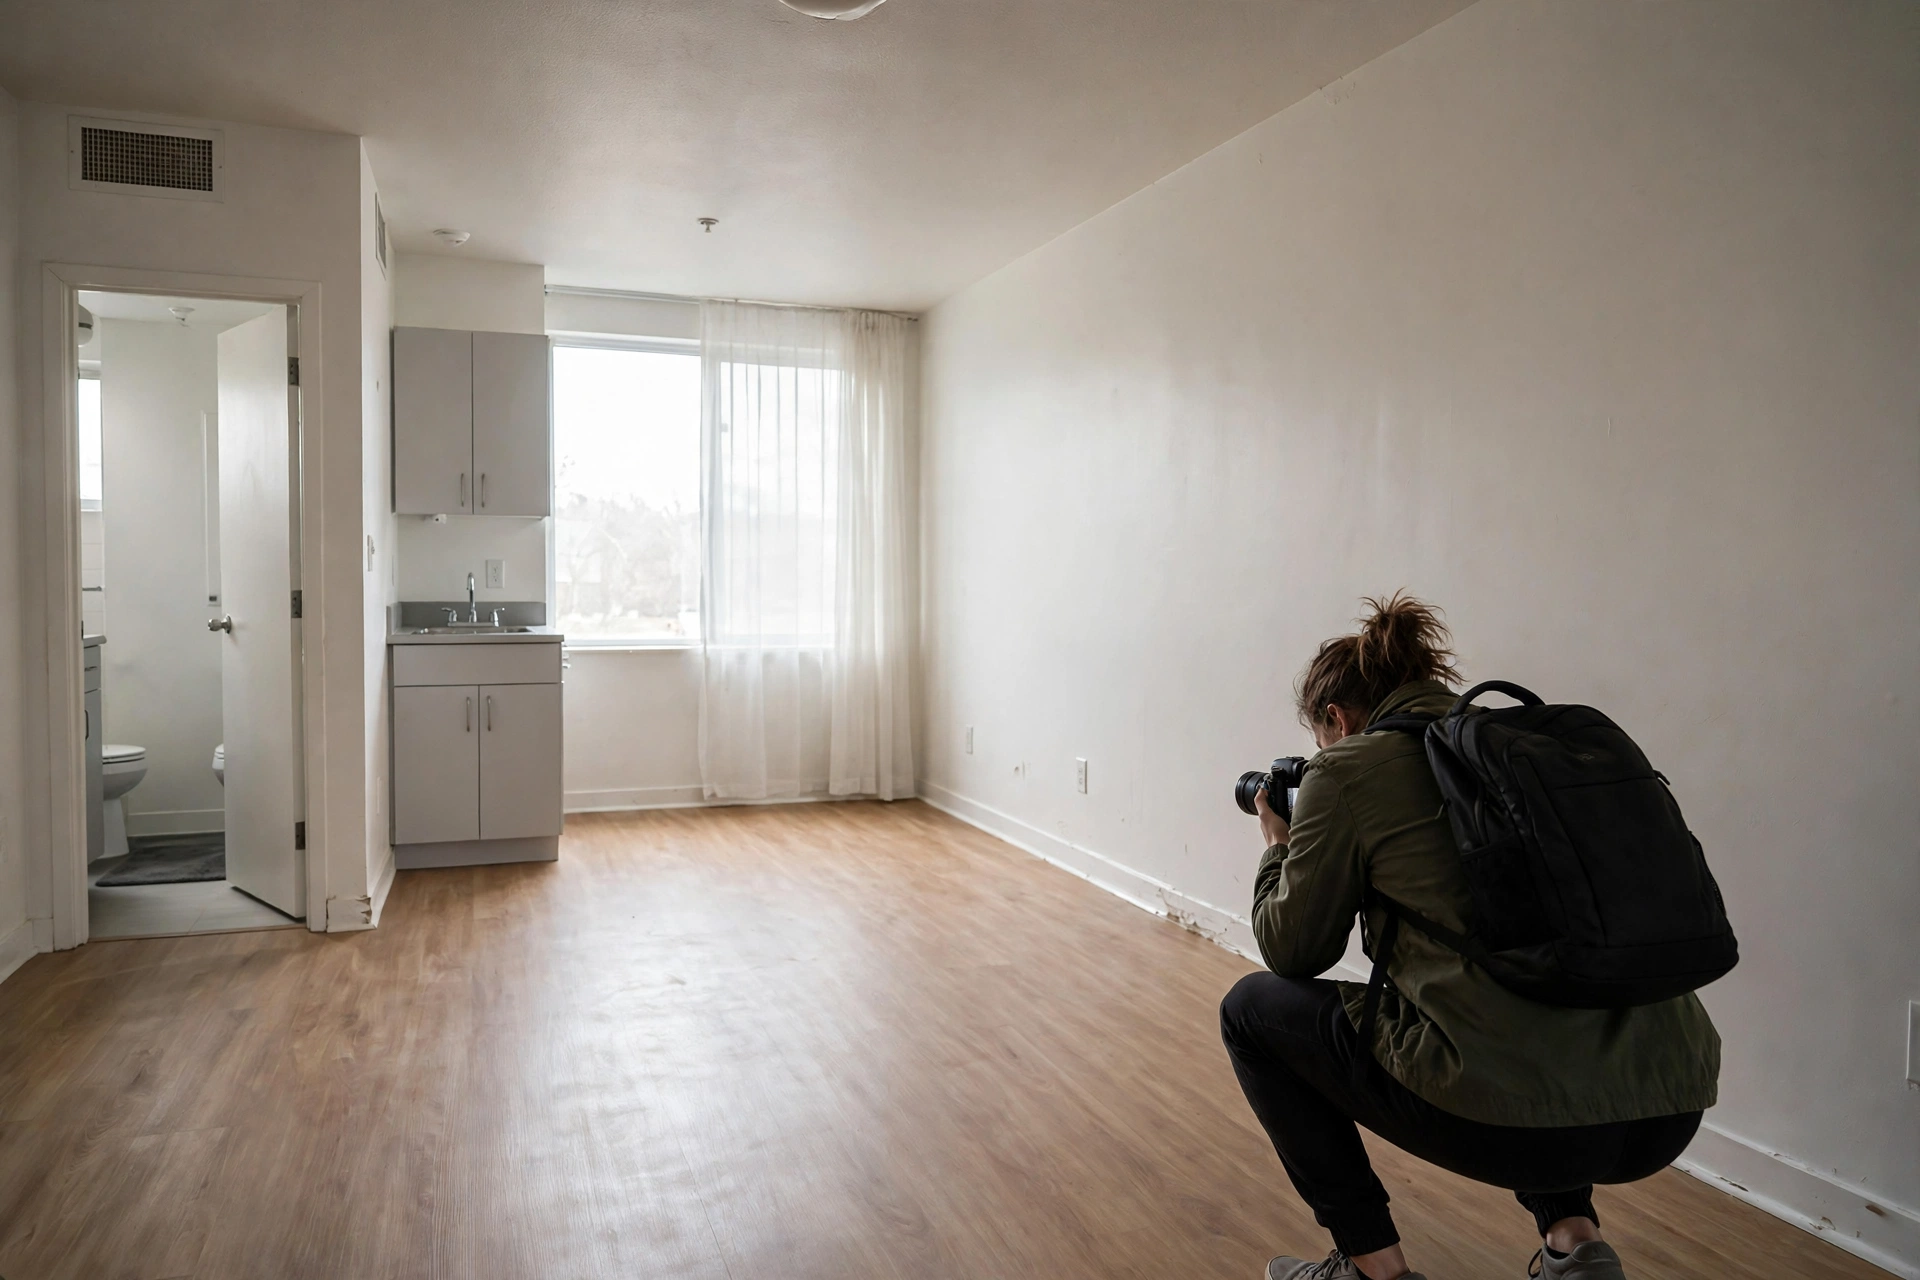
29. Photograph Everything on Move-In Day
Before unpacking a single box, photograph every wall, floor, appliance, and fixture — close-ups of any existing damage included. Email the photos to your landlord the same day to create a timestamped record. This free habit is the single best deposit protection you have. Pro tip: Include a newspaper or phone screen showing the date in at least one photo per room — it makes the timestamp undeniable if there’s ever a dispute.
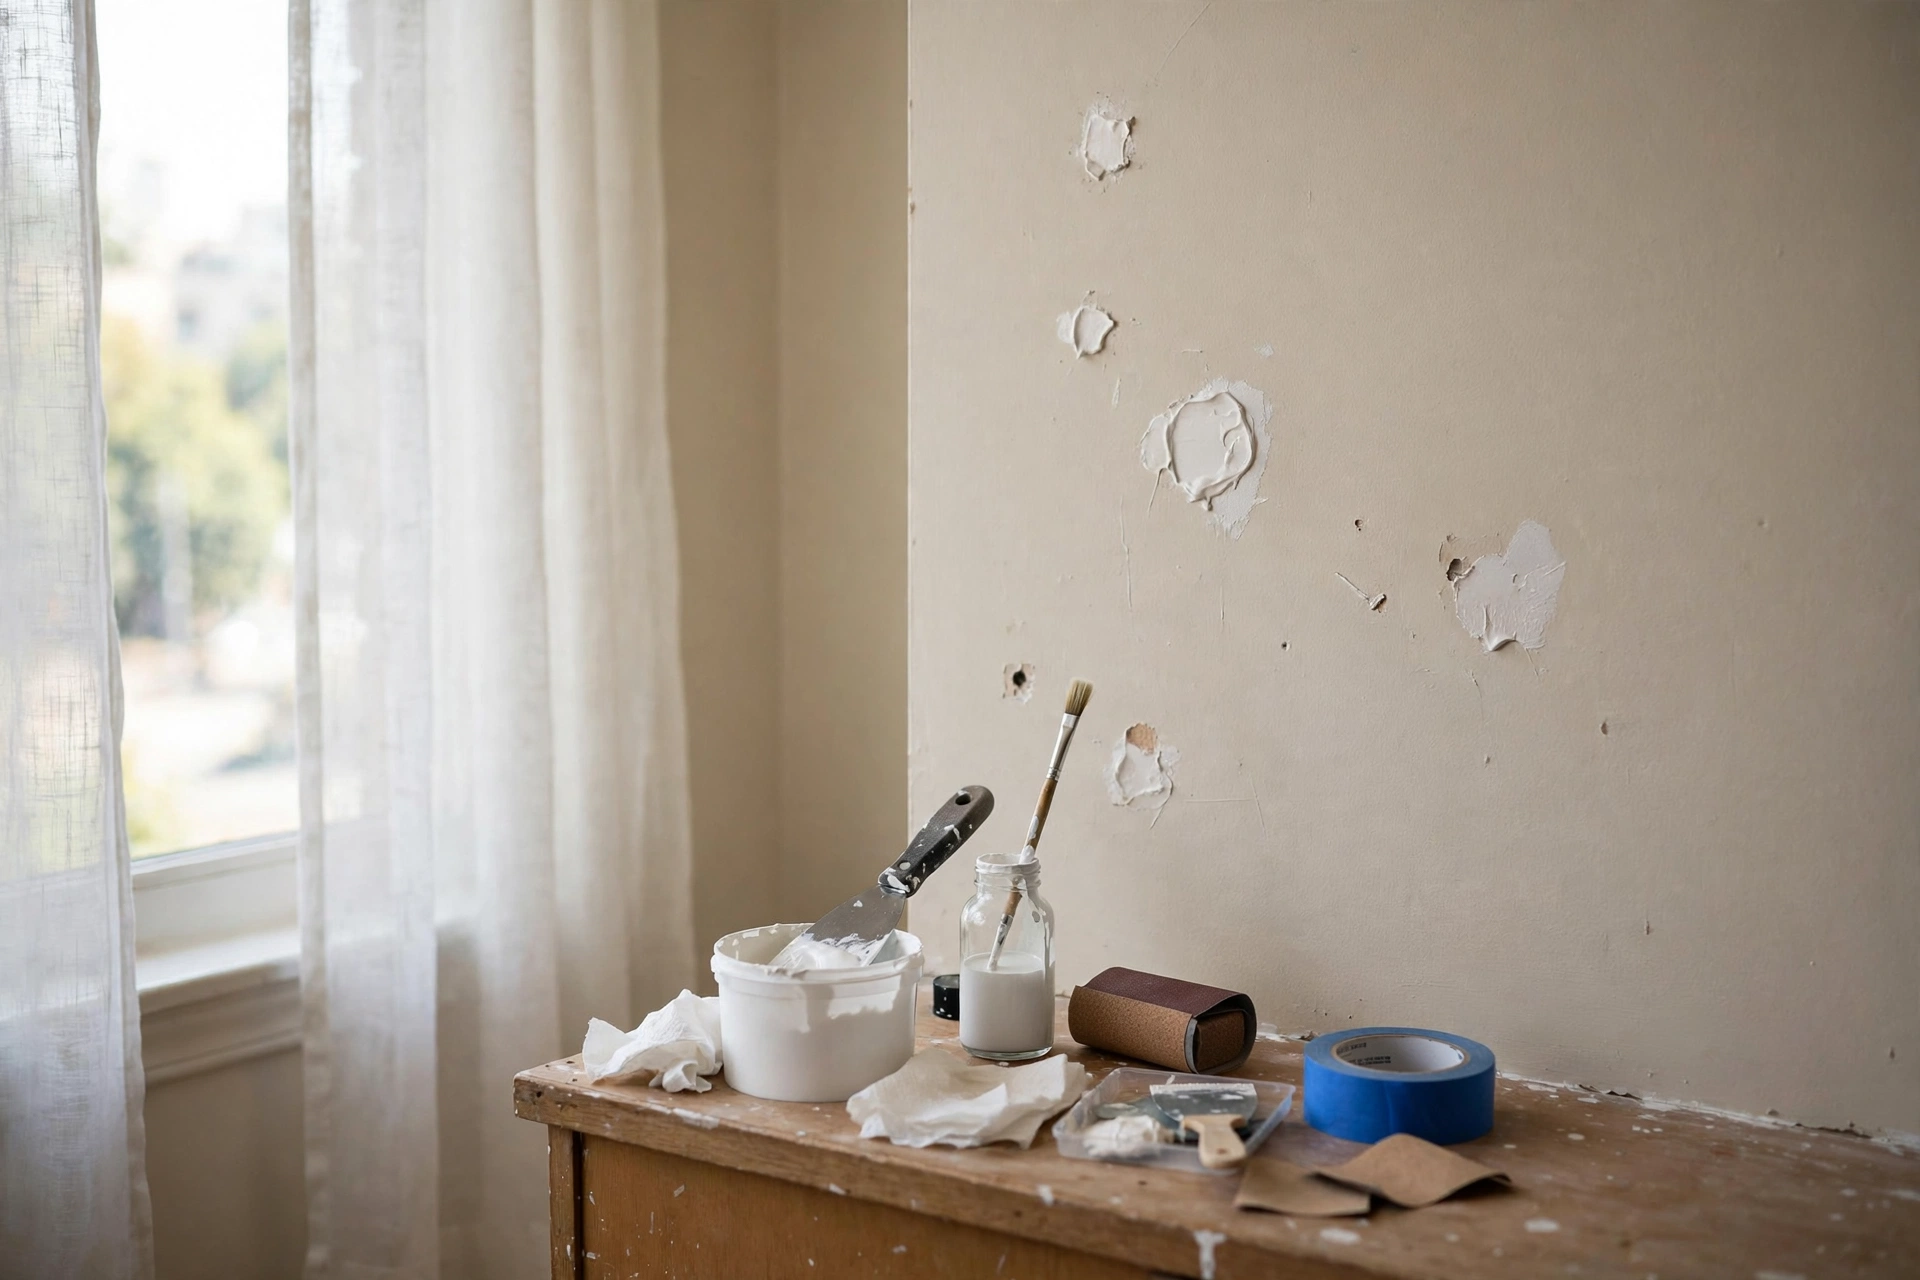
30. Spackle and Touch-Up Paint Kit
Even with careful adhesive use, small marks happen. A $15 kit — lightweight spackle, a putty knife, fine sandpaper, and a small roller — erases nail holes and scuffs in an afternoon. Ask your landlord for the exact paint color and finish when you move in; many will share it or even provide a touch-up quart. Pro tip: Fill holes slightly proud of the surface, let dry fully, then sand flush — rushed sanding on wet spackle leaves craters that show through paint.
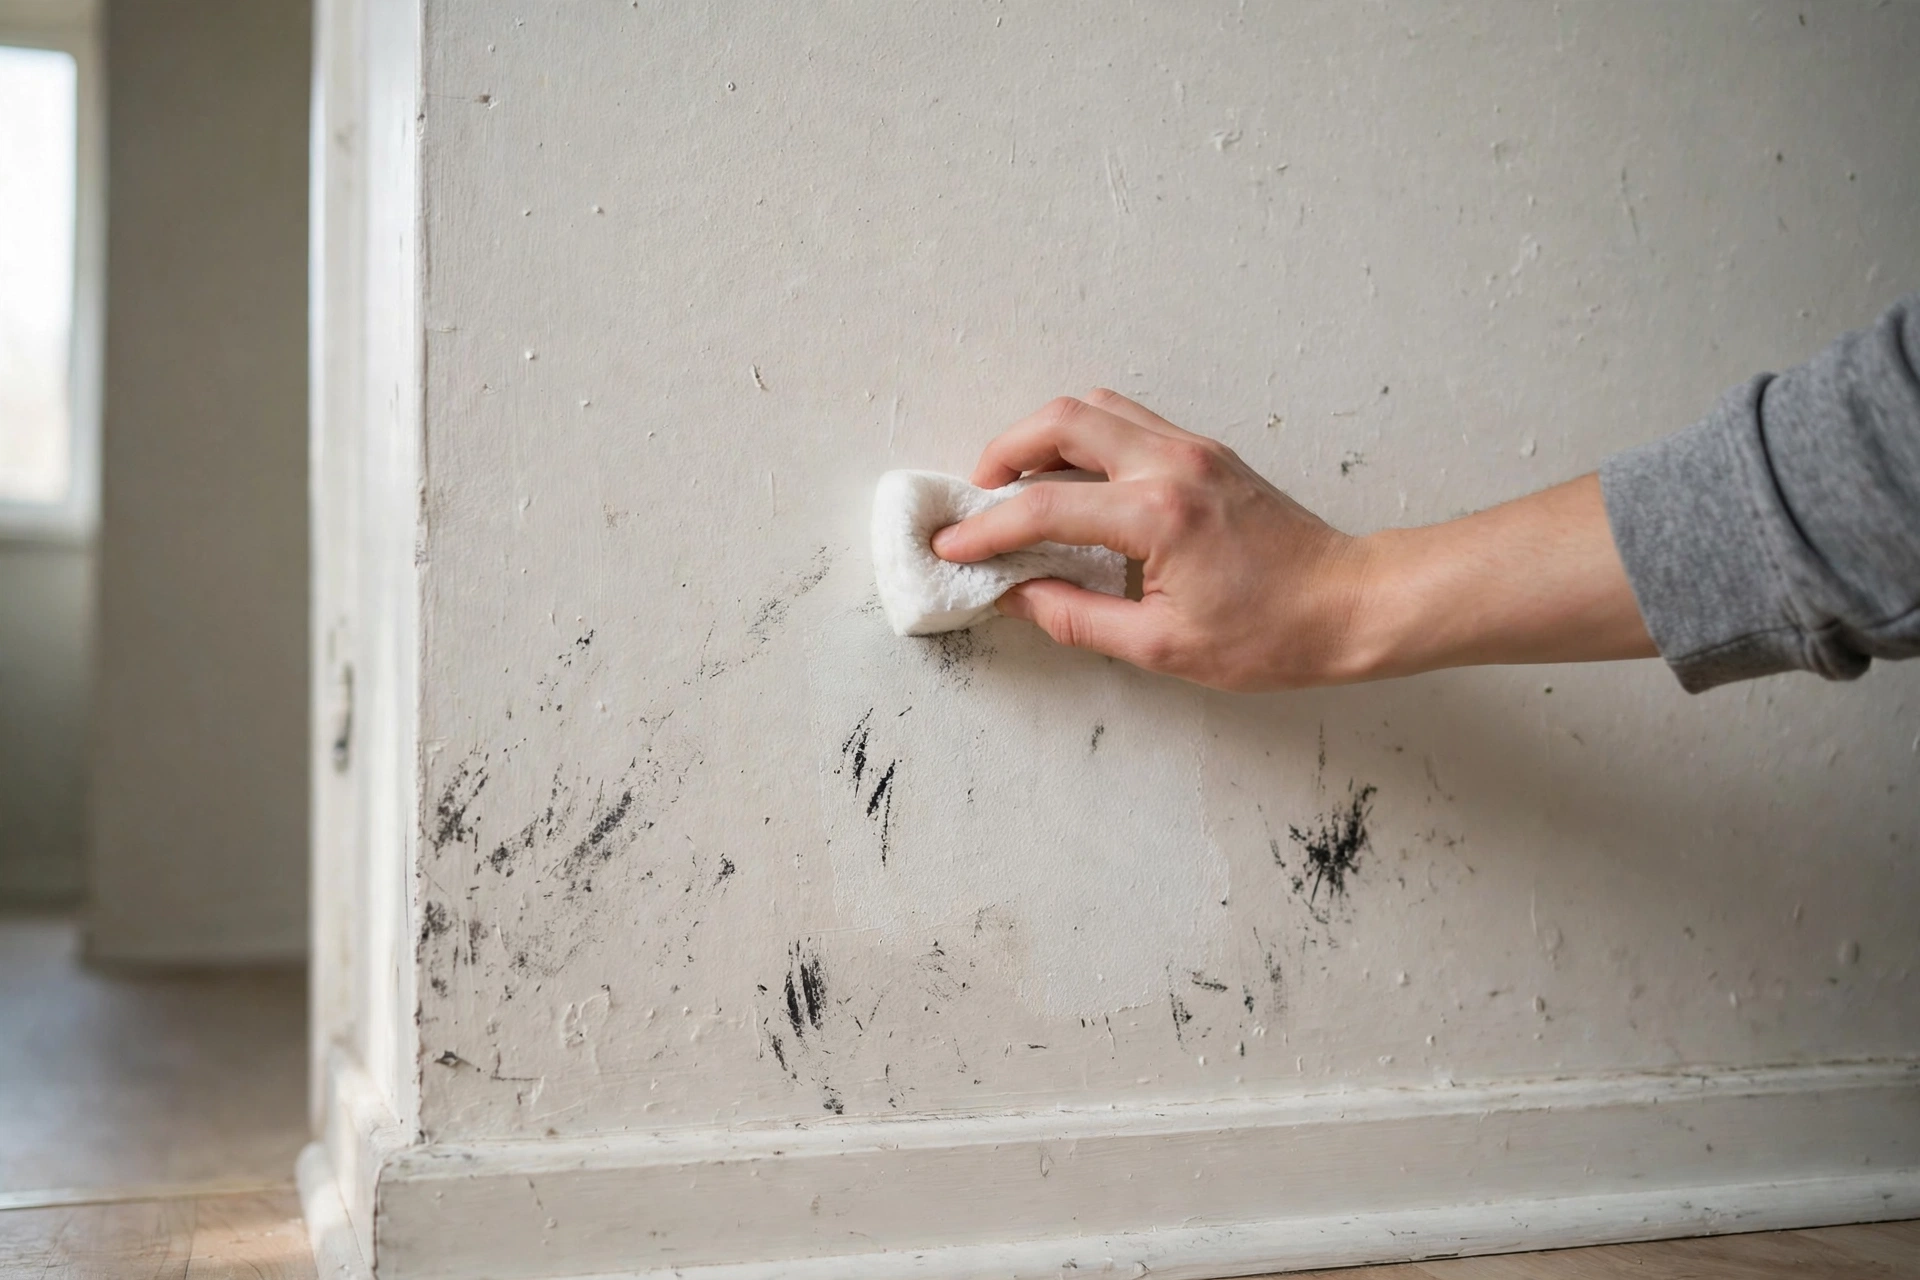
31. Magic Erasers for Scuff Marks
Melamine foam erasers (generic packs cost $8–$12 for 20) remove scuffs, crayon, and mystery marks from walls, baseboards, and light switches with just water. They’re the fastest way to return walls to move-in condition. Pro tip: Use a light touch on flat or matte paint — aggressive scrubbing can burnish the finish and leave shiny spots that are worse than the original scuff. Test in a hidden spot first.
32. Deep-Clean Checklist Before Walkthrough
Landlords deduct for cleaning more than almost anything else — a systematic deep clean before your final walkthrough protects hundreds of dollars. Work top to bottom: ceiling fans, blinds, inside oven and fridge, grout, baseboards, windows, and floors last. Budget $30–$50 for supplies or $150–$250 for a move-out cleaning service. Pro tip: Do the walkthrough with your landlord present and get any deductions explained on the spot — it’s much harder to dispute charges after you’ve handed over the keys.
Frequently Asked Questions
Will peel-and-stick wallpaper damage my rental walls?
Quality removable wallpaper peels off cleanly from properly prepared walls — the key word is quality. Cheap no-name papers can leave residue or pull paint, so stick with reputable brands like Tempaper, Chasing Paper, or RoomMates. Always test a small hidden patch first, remove slowly at a low angle, and use a hair dryer on stubborn sections to soften the adhesive.
How much weight can Command strips really hold?
Large picture-hanging strips hold up to 16 pounds per set of four pairs, and you can combine multiple sets for heavier items. They work best on smooth, clean surfaces — painted drywall, tile, glass, and metal. They struggle on brick, textured walls, and wallpaper. Follow the weight ratings exactly, clean with alcohol first, and wait an hour before hanging.
Can my landlord charge me for peel-and-stick tiles or contact paper?
Only if they cause damage on removal — which they shouldn’t when applied and removed correctly. The risk comes from poor surface prep (trapped moisture or grease under tiles) or yanking them off aggressively. Remove slowly with gentle heat from a hair dryer, clean any residual adhesive with Goo Gone, and document the original condition with your move-in photos.
What’s the safest way to hang curtains without drilling?
Tension rods inside the window frame are the gold standard — no holes, no adhesive, completely reversible. For heavier drapes, twist-and-fit rods span wall to wall, and adhesive brackets handle real rods on smooth trim. Our curtain ideas guide covers six no-drill hanging methods in detail, including ceiling tracks with adhesive mounts.
Should I tell my landlord before making removable upgrades?
For truly reversible changes like adhesive hooks, rugs, and freestanding furniture — no, that’s normal living. For bigger temporary upgrades like peel-and-stick wallpaper, floor tiles, or hardware swaps, a quick heads-up email (with “fully reversible” in the subject line) builds goodwill and creates a paper trail. Most landlords appreciate renters who improve the unit, as long as it’s reversible.
How do I get my full security deposit back?
Four habits: document everything with timestamped photos on move-in day, use only reversible decorating methods, reverse every change before move-out (reinstall original hardware, remove all adhesive products), and deep-clean systematically before the final walkthrough. Request the walkthrough with your landlord present, and know your state’s deposit-return deadline — many states require landlords to return deposits or itemize deductions within 14–30 days.
Final Thoughts
Renting doesn’t have to mean waiting to live well. Every idea in this guide shares one quality: it’s completely reversible, so you can decorate boldly today and hand back pristine walls tomorrow. The renters who lose deposits aren’t the ones who decorate — they’re the ones who decorate carelessly, skipping surface prep, ignoring weight ratings, and forgetting to document the original condition.
Start with the highest-impact, lowest-risk wins: an accent wall of peel-and-stick wallpaper, layered rugs over tired floors, and plug-in lighting that flatters the whole space. Then layer in the storage and kitchen upgrades that make daily life genuinely better. When move-out day comes, reverse it all in a weekend, run through your cleaning checklist, and walk out with your full deposit — and a home you actually loved living in.