30 Small Kitchen Decor Mistakes (and How to Fix Them)
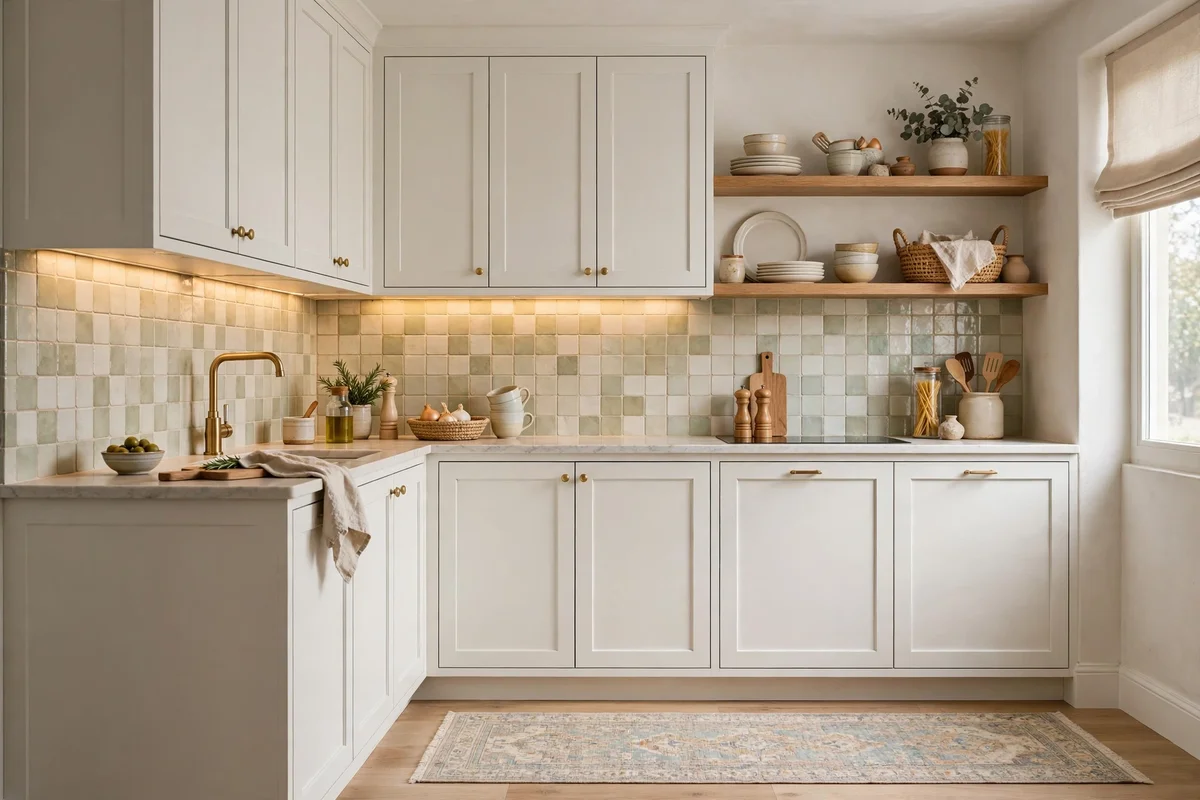
Your small kitchen could be the hardest-working, happiest room in your home — or it can quietly sabotage your whole space with a few avoidable decorating mistakes. Galley kitchens, L-shaped corners, and one-wall layouts are unforgiving: one wrong choice, like cabinets painted too dark or counters buried under clutter, makes the room feel cramped and chaotic. The good news? Almost every small kitchen decor mistake is cheap and easy to fix once you know what to look for. Below you’ll find 30 of the most common small kitchen decorating mistakes — from lighting blunders and scale disasters to storage sins and finish fails — each paired with a practical designer fix, real-world cost estimates, and a pro tip. Whether you’re renting or renovating on a budget, these fixes will make your compact kitchen feel bigger, brighter, and genuinely beautiful.
1. Leaving Your Walls Bare and Wasting Vertical Space
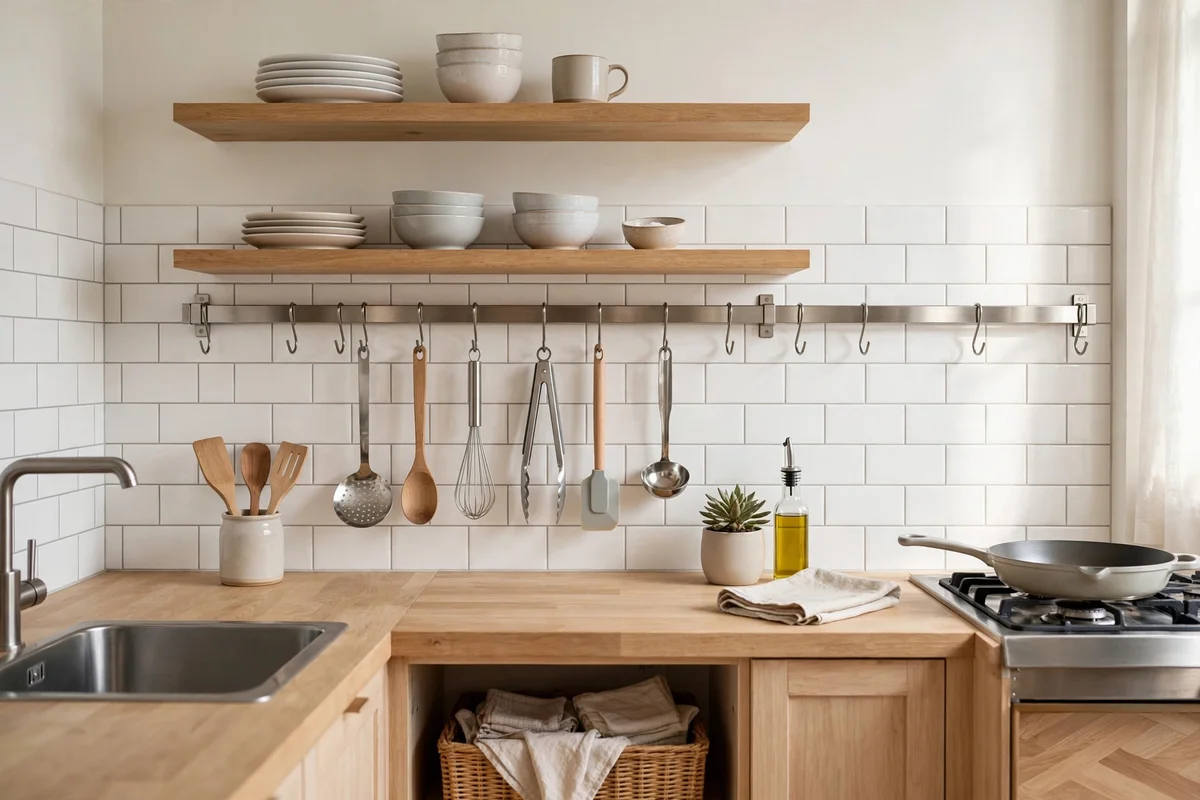
In a small kitchen, the walls are prime real estate, yet most people leave them completely bare while their counters drown in clutter. The mistake is treating wall space as decoration-only territory instead of your best storage weapon. The fix is to go vertical: mount a rail with S-hooks for utensils, add two floating shelves for everyday dishes, or hang a pegboard panel for pots and cutting boards. This pulls items off the counter, frees prep space, and actually makes the room feel taller. A 24-inch stainless rail with hooks costs around $18, and a pair of solid-wood floating shelves runs about $35–$50. Renters can use heavy-duty adhesive rails and lean-to shelf units that need zero drilling.
Pro tip: Keep only daily-use items on wall storage — beautiful mugs, wooden spoons, a small plant — so the walls look styled, not stuffed.
2. Blocking Natural Light With Heavy Window Treatments
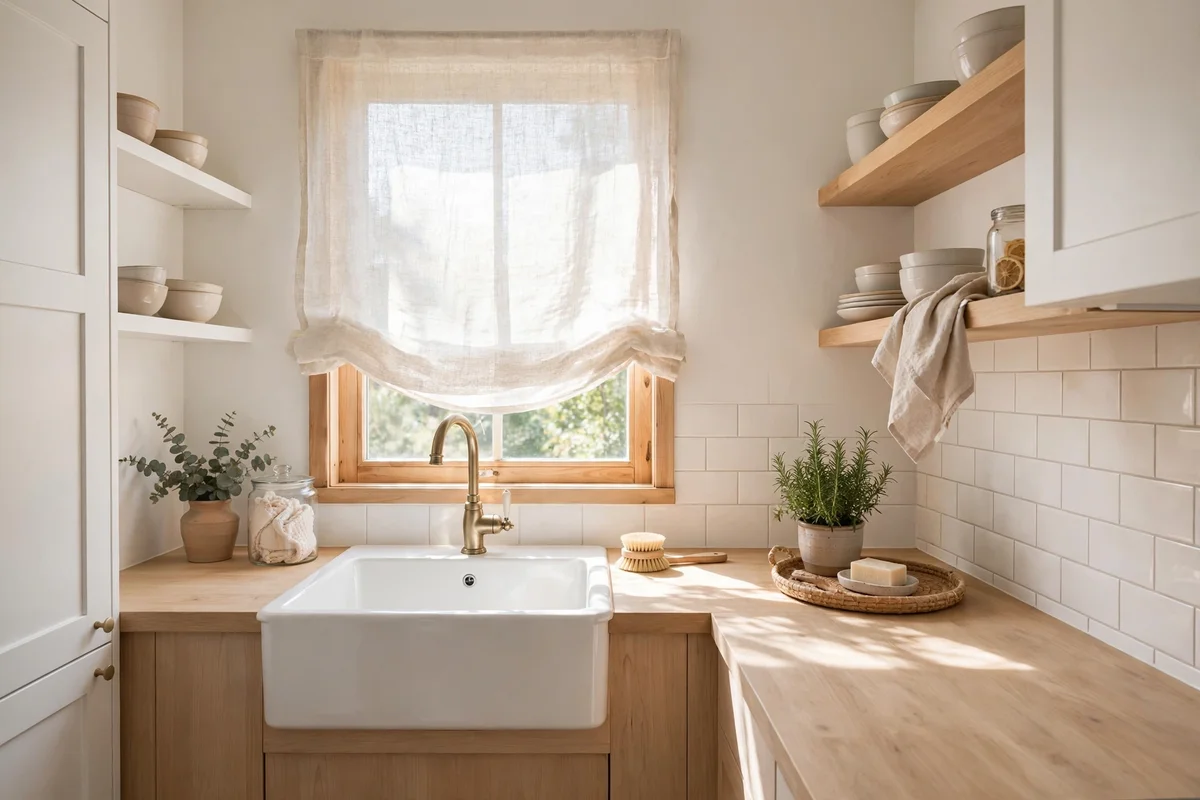
Nothing shrinks a small kitchen faster than a heavy curtain or bulky blind strangling its only window. Natural light is the cheapest square-footage illusion you own, and blocking it makes even a tidy kitchen feel like a cave. The fix: swap heavy drapes for a simple roller shade, a cafe curtain covering just the lower half, or a clean Roman shade mounted outside the frame to make the window look bigger. Sheer linen panels that let light pour through are perfect for street-facing windows. A custom-fit roller shade costs about $25–$45, and washable cafe curtains run $15–$30 a pair. If privacy isn’t an issue, leave the window completely bare and just keep the glass sparkling.
Pro tip: Mount the shade or rod 4–6 inches above the window frame — the extra height tricks the eye into seeing a taller window.
3. Painting Cabinets Too Dark for the Room’s Size
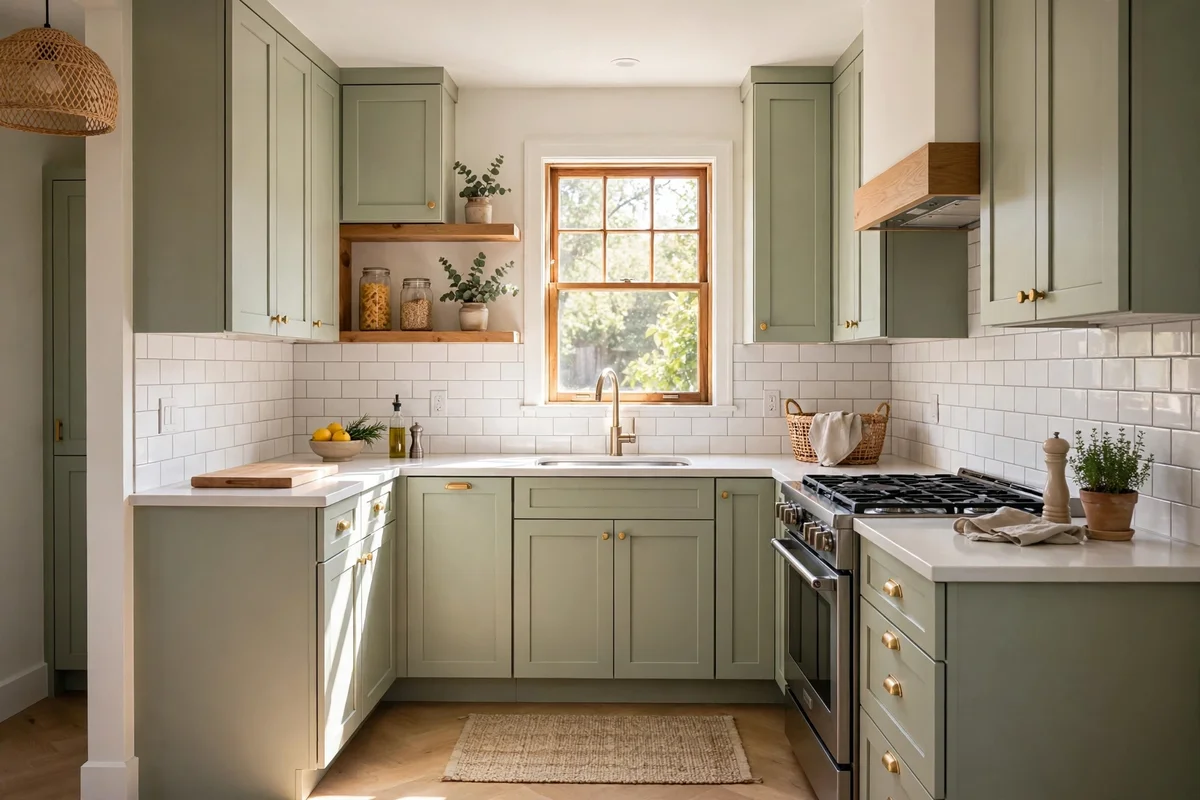
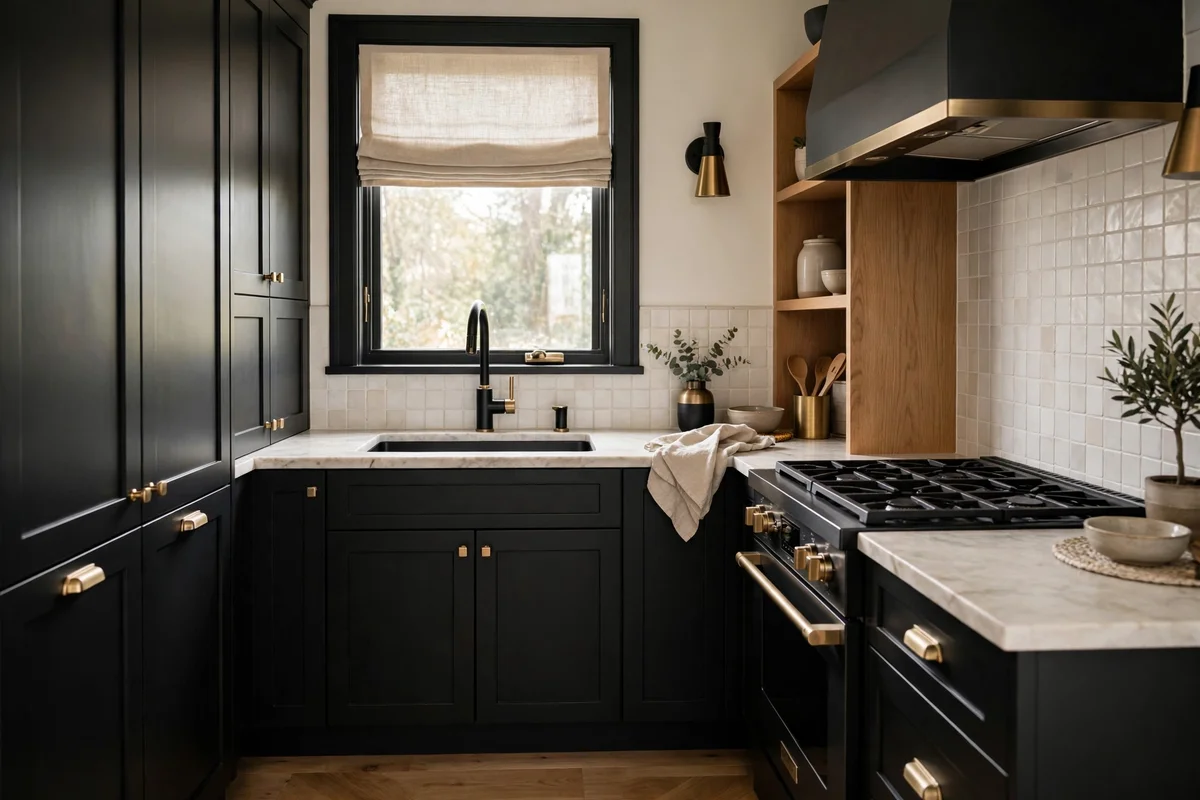
Moody charcoal and deep navy cabinets look stunning in a showroom, but in a windowless 8×10 kitchen they absorb every drop of light and close the walls in. The mistake is copying a bold color trend without accounting for your kitchen’s actual light levels. The fix isn’t abandoning color — it’s choosing depth wisely. In low-light kitchens, go for light-reflective shades: warm white, pale sage, soft greige, or buttery cream on uppers, and save the drama for a lower-cabinet-only two-tone look. Light cabinets bounce light around and visually push the walls back. A gallon of quality cabinet paint costs about $45–$60 and covers most small kitchens with two coats, making this one of the highest-impact fixes per dollar.
Pro tip: If you love dark cabinets, paint only the island or lower cabinets dark and keep uppers light — you get the mood without the cave.
4. Skipping Under-Cabinet Lighting
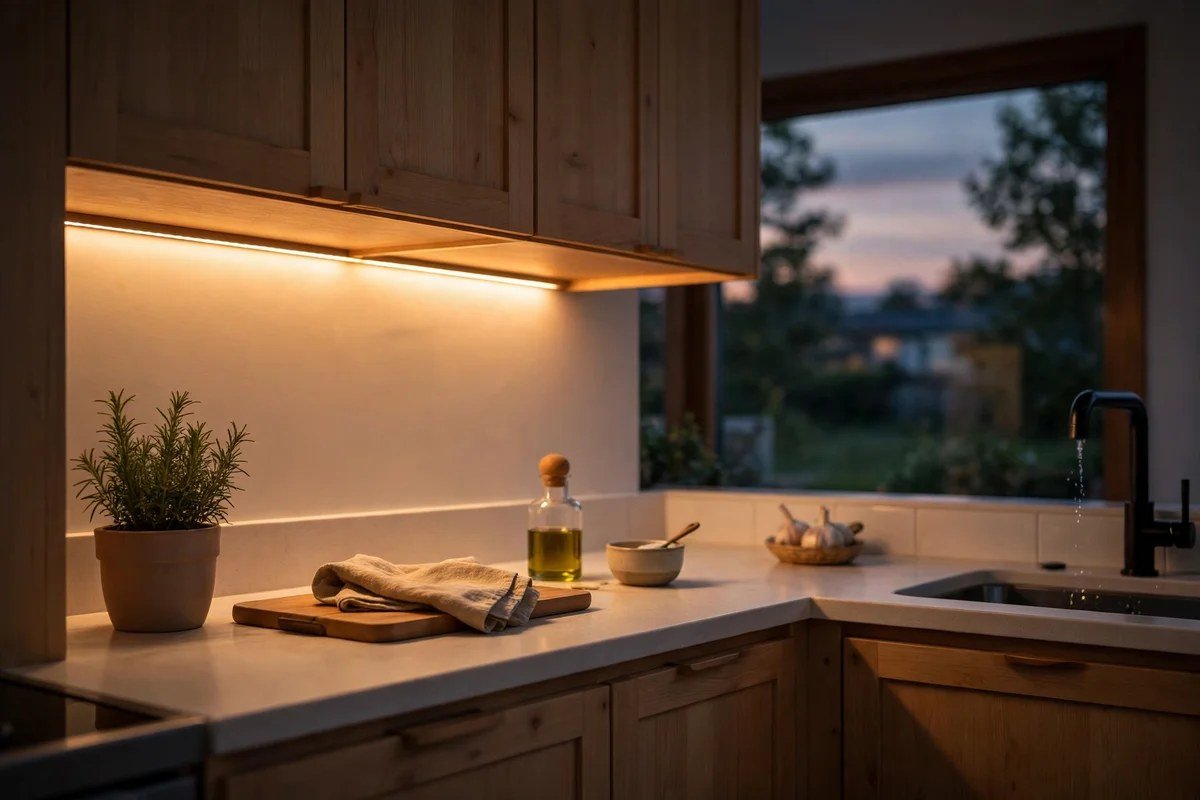
A single ceiling fixture leaves your countertops in shadow exactly where you chop, read recipes, and pour coffee — and shadowed counters make a kitchen feel smaller and gloomier. The fix is under-cabinet lighting, and it’s far easier than it sounds. Peel-and-stick LED puck lights or slim LED strip bars with a motion sensor cost $20–$40 for a full run and install in minutes with no wiring. Warm-white (2700K–3000K) light makes food look appetizing and the room feel cozy, while the glow bouncing off the backsplash adds visual depth. This one upgrade makes evening cooking dramatically more pleasant and photographs beautifully for anyone who loves sharing their space.
Pro tip: Choose rechargeable motion-sensor strips so lights turn on hands-free when you walk in with groceries.
5. Letting Oversized Appliances Eat the Counter
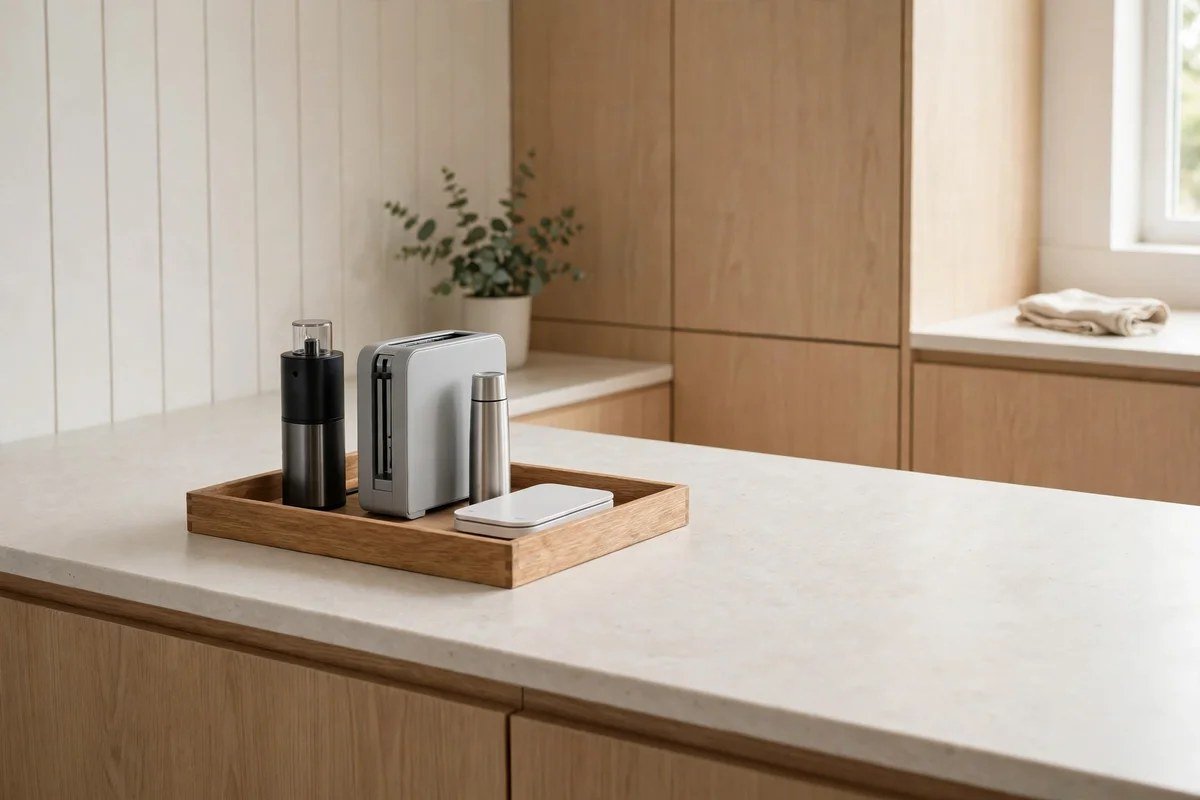
A giant stand mixer, an air fryer, a toaster oven, and a coffee station can devour every inch of a small kitchen’s counter until there’s nowhere left to actually cook. The mistake is keeping every appliance out “just in case.” The fix: audit ruthlessly and keep only the one or two you use daily on the counter; store the rest in a cabinet or on a rolling cart tucked nearby. Swap bulky models for slim versions — a compact 2-slice toaster ($35) instead of a toaster oven, a slim drip machine instead of a wide espresso rig. Corral the keepers on a single tray so they read as one intentional “station” rather than scattered clutter. Suddenly you have actual prep space again.
Pro tip: The “one-month rule” — if you haven’t used an appliance in a month, it doesn’t earn counter space.
6. Drowning Countertops in Everyday Clutter
Mail piles, vitamin bottles, random tools, and “I’ll put it away later” items turn precious counter space into a junk drawer with a view. In a small kitchen, visual clutter reads as physical shrinkage — the room literally feels tighter. The fix is a ruthless landing-zone system: give everything a home off the counter. Mount a small wall organizer by the door for keys and mail, stash vitamins in a cabinet caddy, and keep counters to a strict “cooking only” rule. A tiered corner shelf ($25) can consolidate the few keepers vertically. Spend ten minutes each evening resetting the counters to clear, and the kitchen will feel twice as big every morning. For more whole-home systems, see our studio apartment organization ideas.
Pro tip: Photograph your counters when they’re perfectly clear — use it as your “reset target” reference.
7. Settling for a Boring or Missing Backsplash
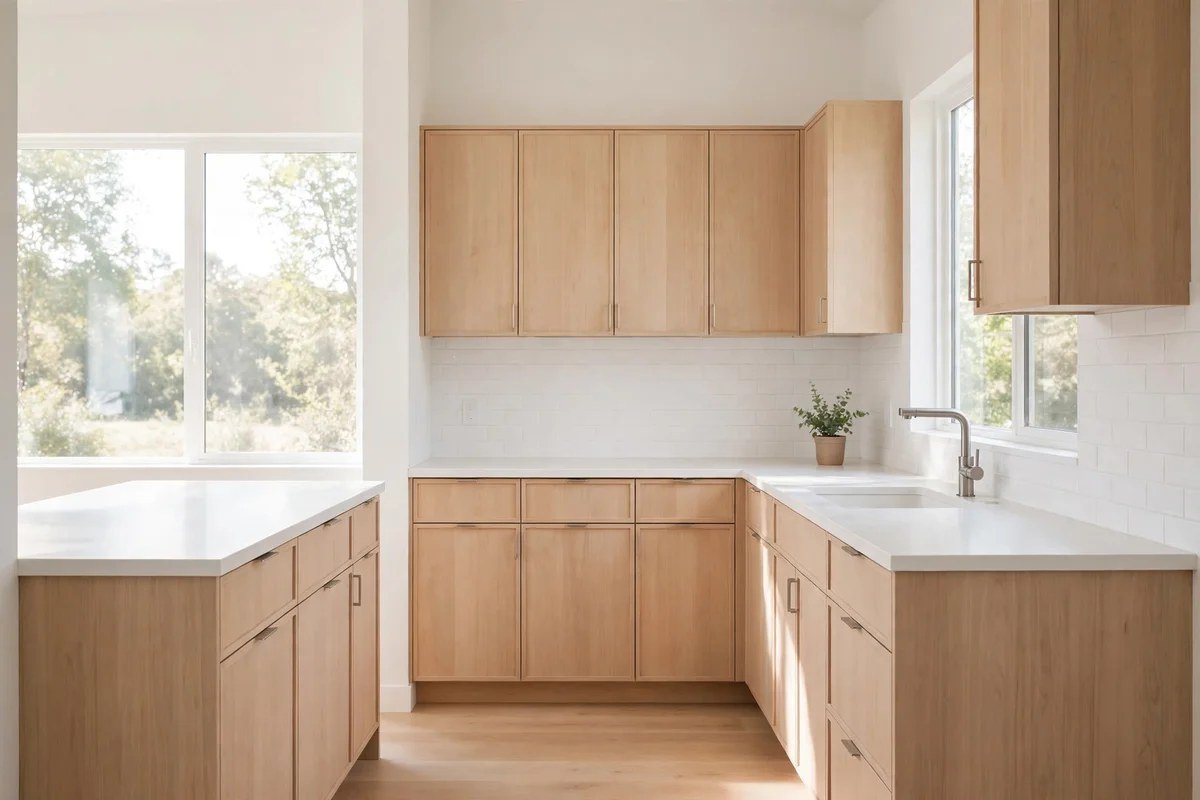
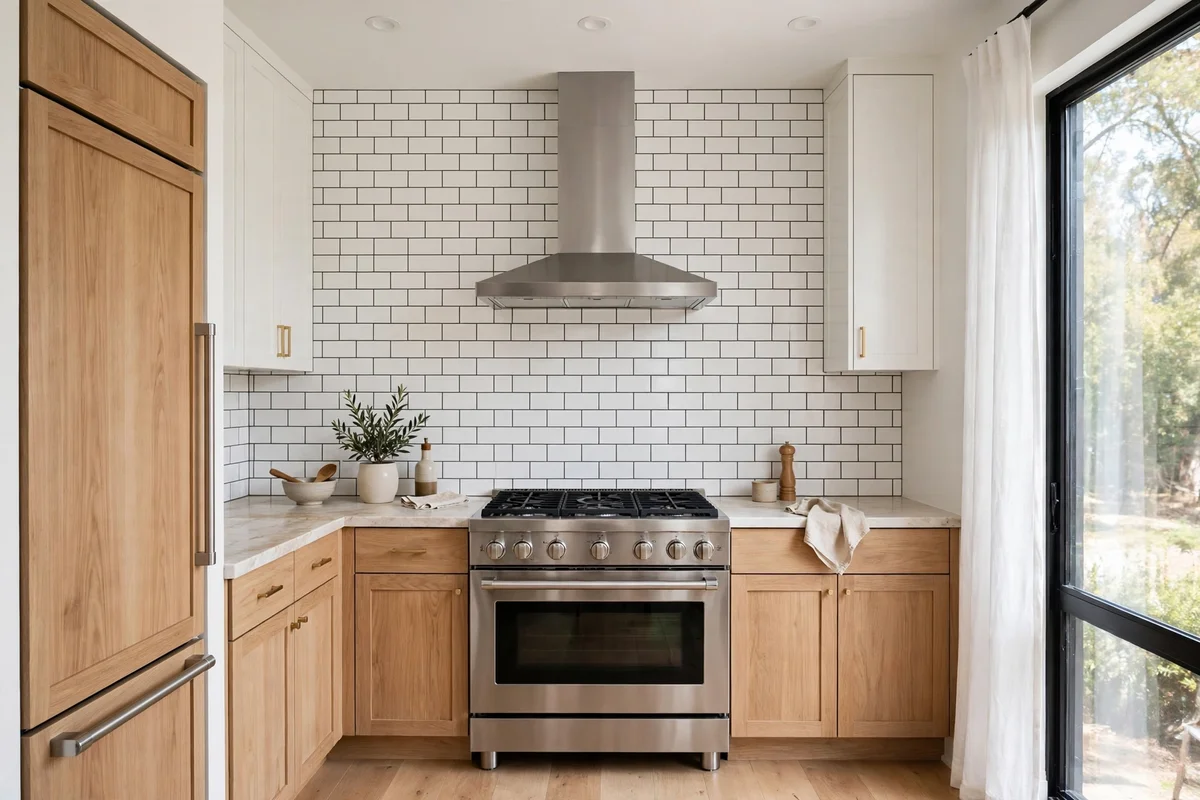
A stained, dated, or nonexistent backsplash drags down the entire kitchen — it’s the jewelry of the room, and bare drywall behind the stove just looks unfinished. Many renters assume they can’t touch it, but peel-and-stick backsplash tiles have changed everything. Faux subway tile, Moroccan-pattern, or marble-look adhesive panels cost $20–$40 for a typical small-kitchen run, go up in an afternoon, and peel off cleanly when you move. Homeowners can level up with real handmade-look ceramic tile ($5–$12 per square foot installed DIY). Extending the backsplash all the way to the ceiling behind open shelves creates a high-end custom moment that makes the kitchen feel taller and far more expensive.
Pro tip: Take the backsplash to the ceiling behind the range — it draws the eye up and looks like a designer splurge.
8. Choosing Pendant Lights in the Wrong Scale
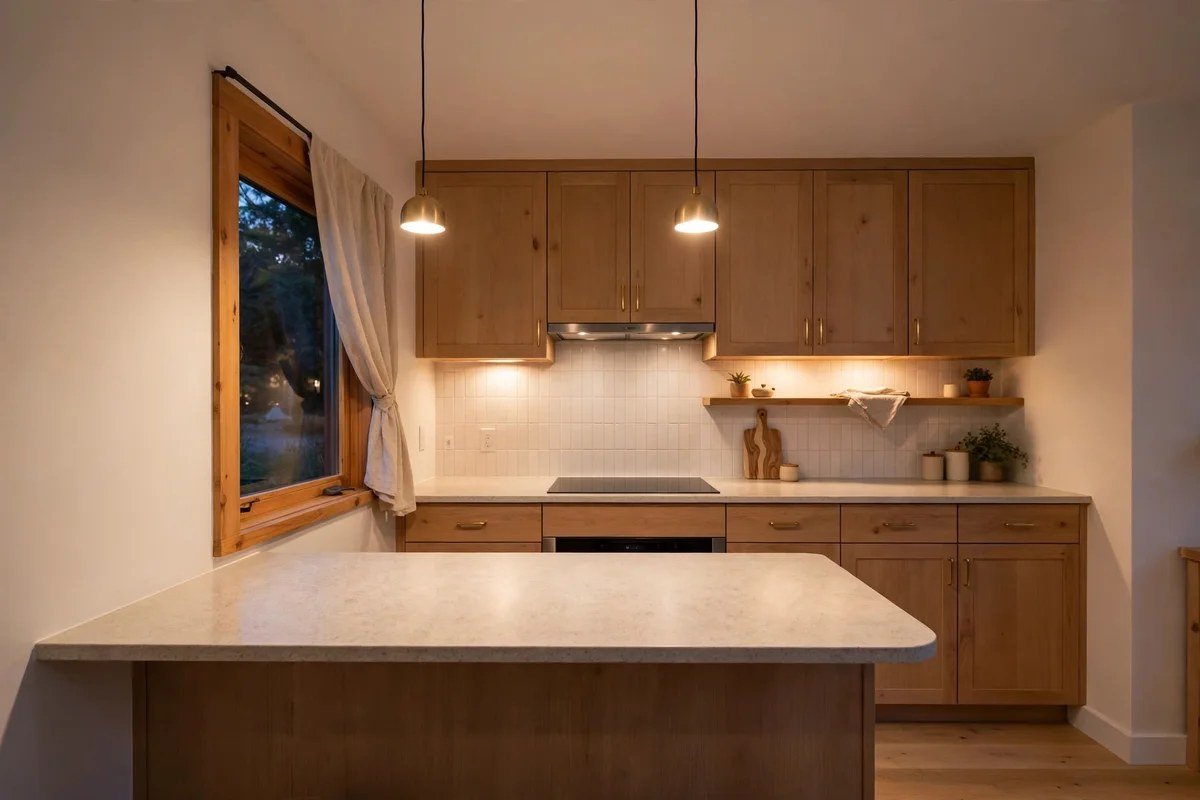
Teeny-tiny pendants lost over a counter look apologetic, while one massive drum shade in a galley kitchen feels like it’s landing on your head. Scale mistakes with lighting throw the whole room off balance. The fix: measure first. Over a small island or peninsula, hang two small pendants (8–10 inches wide) spaced 24–30 inches apart, with bottoms 30–36 inches above the counter. In a one-wall galley with no island, skip pendants entirely and use a slim flush-mount or a pair of wall sconces to free headroom. Good-looking small pendants start around $40 each. The right scale makes the ceiling feel higher and the layout feel intentional instead of accidental.
Pro tip: Cut paper templates of your pendant size and tape them up before buying — you’ll instantly see if the scale works.
9. Having Nowhere to Set Things Down
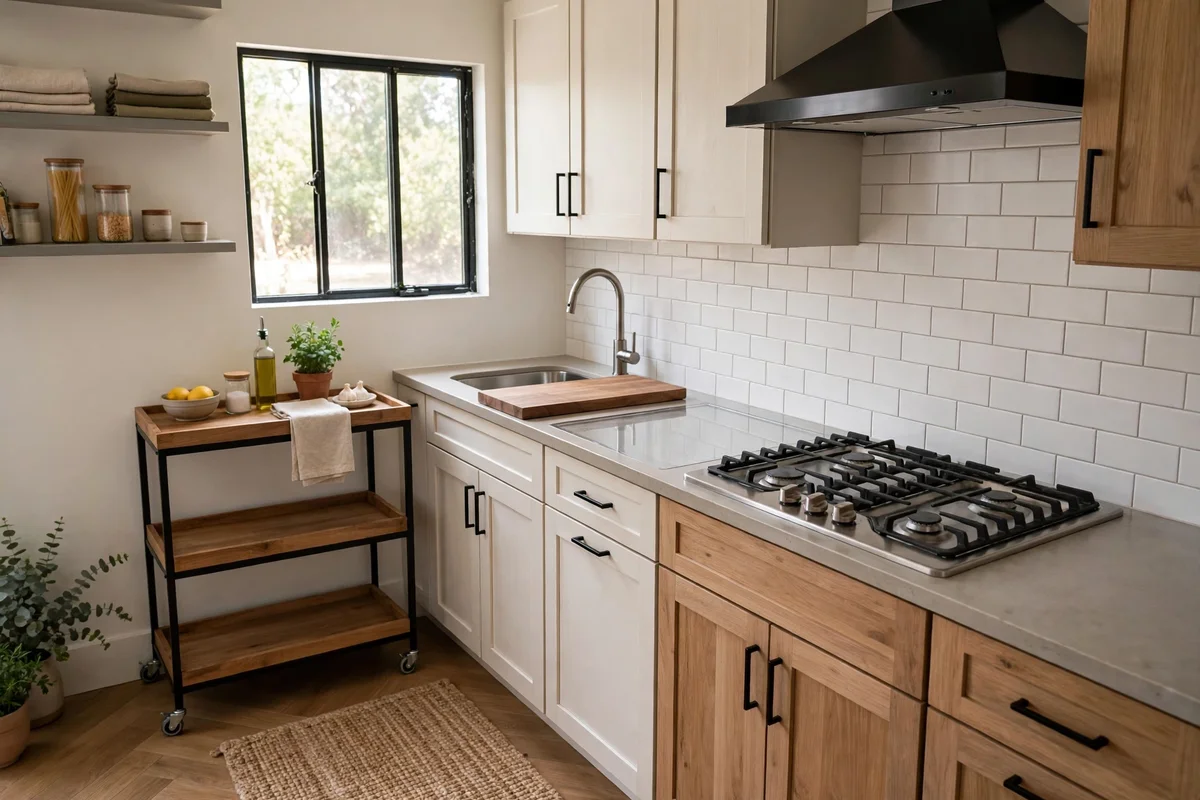
Every kitchen needs landing zones — a clear spot beside the stove for a hot pan, space by the fridge for groceries — but small kitchens often have zero. The mistake is filling every inch so there’s nowhere to work. The fix: deliberately protect at least one 18-inch clear stretch of counter as your primary landing zone, and add a fold-down wall shelf ($30–$45) or a slim rolling cart ($50–$80) that can serve as overflow prep space and tuck away when not needed. A large wooden cutting board left over the sink instantly creates bonus counter when the sink isn’t in use. These micro-zones make cooking in a tiny kitchen feel fluid instead of frantic, and guests stop doing the awkward hot-dish shuffle.
Pro tip: A sink-cover cutting board is the cheapest square footage you’ll ever buy for a small kitchen.
10. Living With Dated or Mismatched Cabinet Hardware
Brassy 90s knobs, a mix of finishes from three different decades, or handles hanging at random heights make even nice cabinets look tired. Hardware is the fastest, cheapest facelift in all of kitchen decorating. The fix: choose one finish — matte black, brushed brass, or polished nickel — and replace every knob and pull for a unified look. Standard pulls cost $2–$5 each, so a small kitchen’s full set often runs under $60 total. Measure the existing hole spacing (usually 3 or 3¾ inches) so the new pulls drop straight in with just a screwdriver. In one afternoon the cabinets look custom and current, and the whole kitchen feels intentionally designed rather than inherited.
Pro tip: Save one old knob in a baggie taped inside a cabinet — future you will thank present you at move-out.
11. Ignoring the Ceiling Completely
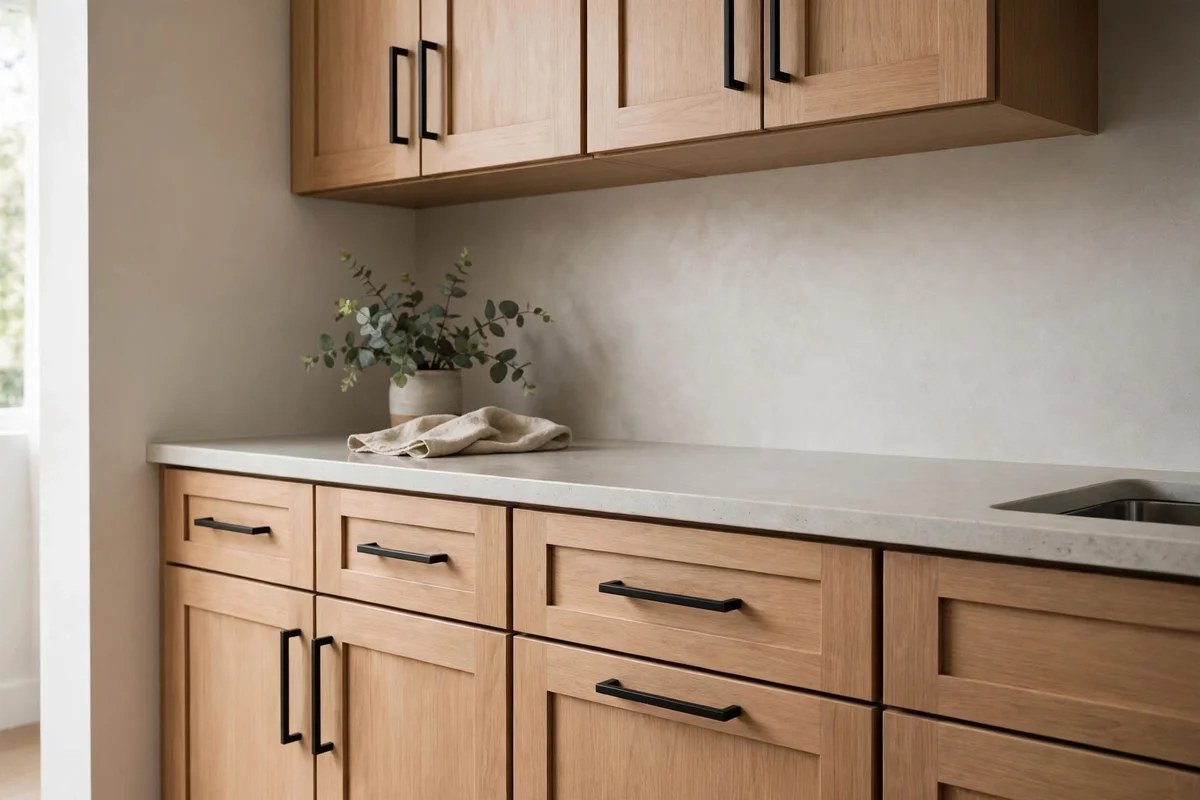
The ceiling is the fifth wall, yet in small kitchens it’s usually a stained, popcorn-textured afterthought that drags the whole room down. The mistake is forgetting that eyes travel upward — especially in tight spaces. The fix depends on your situation: renters can stick up removable beadboard-look wallpaper panels or paint the ceiling a soft warm white to freshen it instantly (a quart of ceiling paint is about $15). Homeowners might add simple crown molding ($3–$6 per linear foot) for a finished look, or paint the ceiling a pale sky tint to lift it visually. Even swapping a stained flush-mount for a clean modern one ($40–$70) transforms how the whole kitchen feels from the doorway.
Pro tip: Paint the ceiling the same color as the walls in a small kitchen — erasing the boundary line makes the room feel larger.
12. Overloading Open Shelves Until They Look Like Storage Units
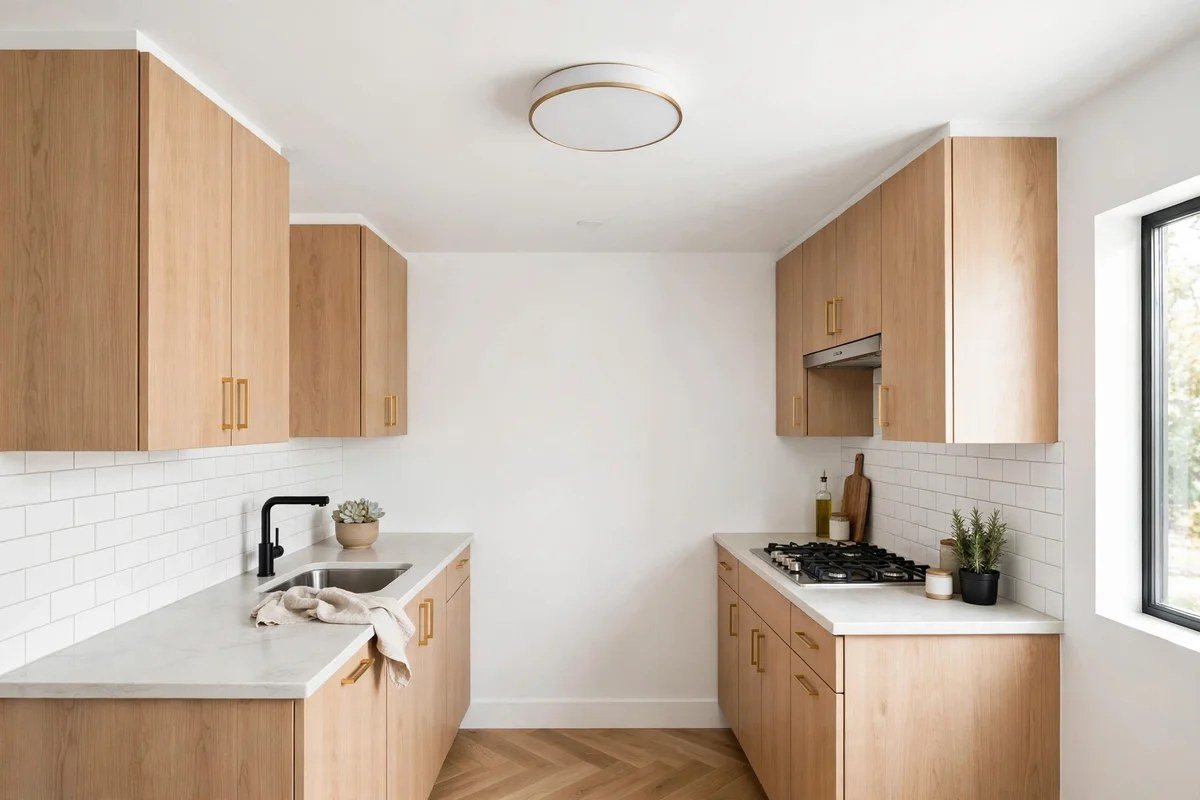
Open shelves can be charming, but cramming them with every mismatched mug, plastic container, and rarely-used gadget turns them into visual noise that makes the kitchen feel chaotic. The mistake is treating open shelves as overflow storage instead of curated display. The fix: follow the 70/30 rule — 70% pretty and cohesive (stacked white dishes, glass jars of staples, a small plant), 30% empty breathing room. Move the ugly-but-useful stuff behind closed doors. Group items in odd numbers, vary heights, and leave some shelf ends empty. Two well-styled shelves beat four crammed ones every time, and the kitchen instantly feels calmer and more spacious. If your shelves are sagging or dated, a fresh pair of oak shelves costs about $40.
Pro tip: Decant dry goods into matching glass jars — instant cohesion that makes even basic shelves look styled.
13. Skipping a Rug or Runner
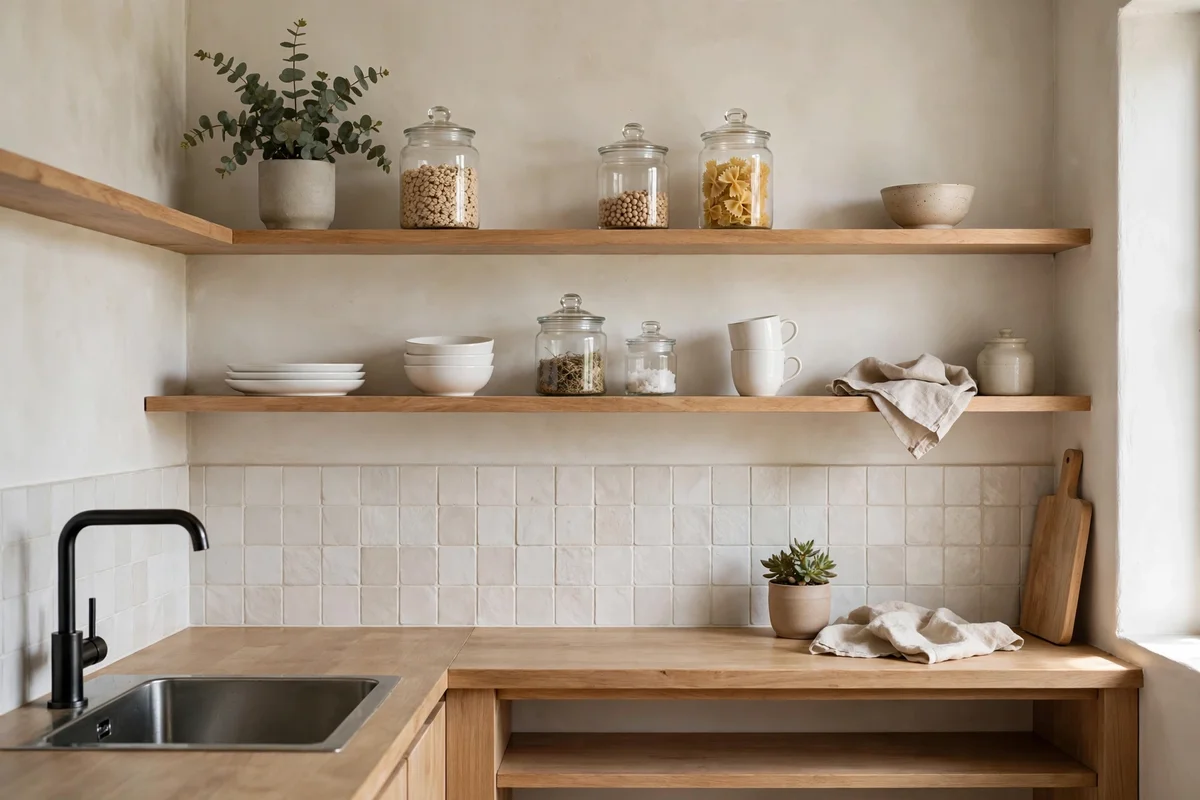
Bare, cold tile underfoot makes a small kitchen feel stark and unfinished — yet people skip rugs fearing spills and mess. The mistake is choosing nothing over the right thing. The fix: a washable runner. Modern machine-washable runners ($30–$60) handle tomato sauce, coffee, and muddy shoes, then go straight in the washing machine. A runner down a galley draws the eye lengthwise, making the kitchen feel longer, while adding warmth, color, and softness that hard surfaces can’t. Choose a low-pile, busy pattern that hides crumbs between washes, and make sure it’s long enough to span most of the walkway — a too-short rug looks like an afterthought.
Pro tip: Layer a washable runner over a thin rug pad so it stays put and feels cushioned underfoot.
14. Using Harsh Cool-White Bulbs Everywhere
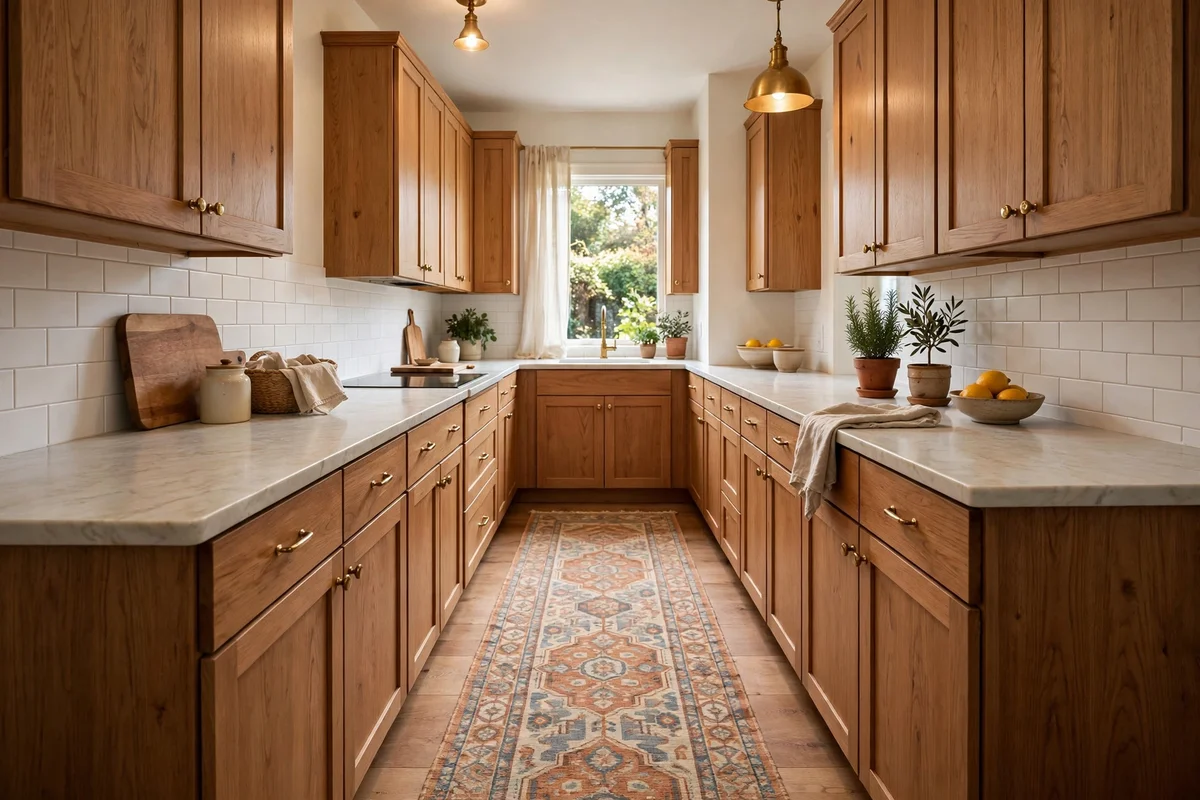
Those 5000K “daylight” bulbs that came with the apartment make food look gray, skin look tired, and the whole kitchen feel like a hospital corridor. Lighting color temperature is one of the most overlooked decor mistakes in small kitchens. The fix: swap every bulb to warm white (2700K–3000K), which flatters food, wood tones, and faces alike. A 4-pack of warm LED bulbs costs about $10–$14. While you’re at it, add a dimmer switch ($20) or smart bulbs so you can drop the brightness for evening ambiance. The same kitchen that felt clinical at noon becomes cozy at dinner with nothing but a bulb change — it’s the highest mood-per-dollar upgrade there is.
Pro tip: Keep one brighter 3000K bulb over the prep zone for task visibility, warm 2700K everywhere else.
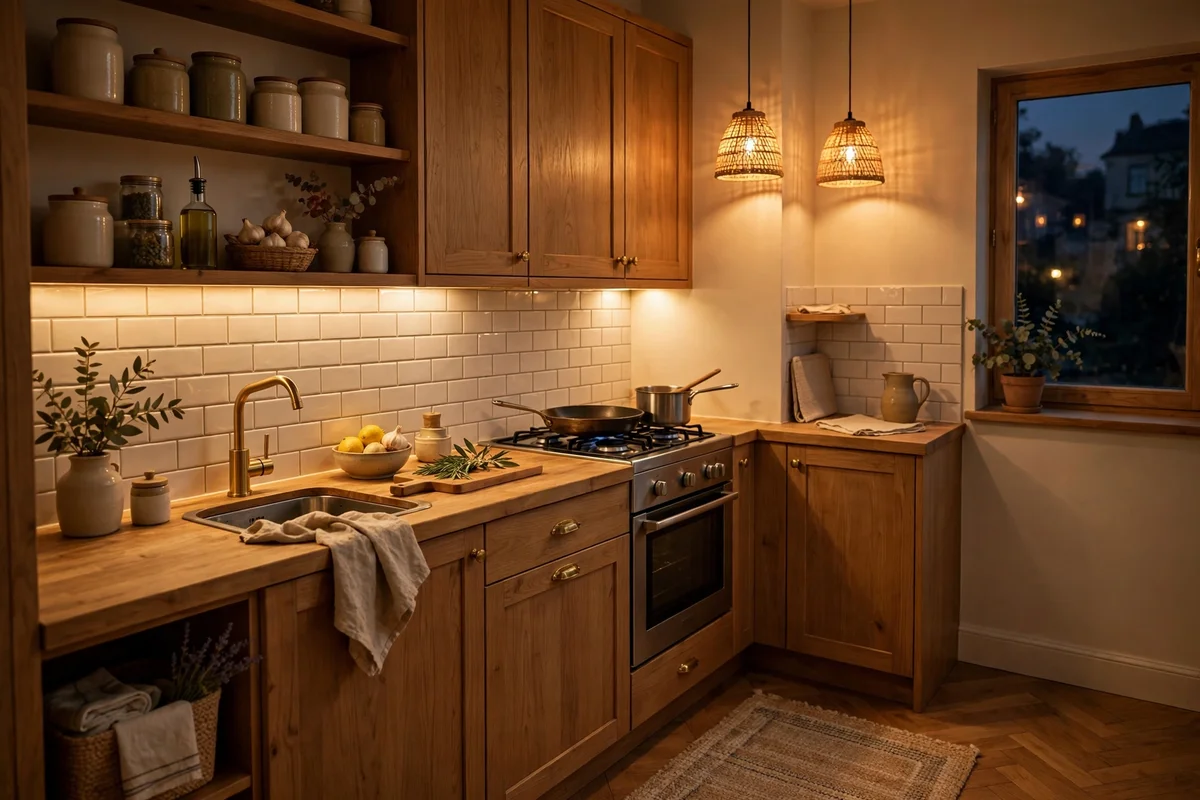
15. Painting Cabinets in the Wrong Finish
That gorgeous matte chalk-painted cabinet looks great on day one, then shows every fingerprint, grease splatter, and chip within a month — flat finishes in kitchens are a maintenance nightmare. The mistake is choosing paint for looks alone. The fix: use satin or semi-gloss enamel made for cabinets and trim. These finishes wipe clean with a damp cloth, resist moisture, and subtly reflect light, which helps small kitchens feel brighter. If your cabinets are already painted flat, a light sanding plus two coats of satin enamel ($45–$60 per gallon) rescues them. Proper prep — degrease with TSP substitute, sand lightly, prime — is what separates a paint job that lasts years from one that peels by spring.
Pro tip: Satin is the sweet spot — wipeable like semi-gloss but without the shiny, plastic look.
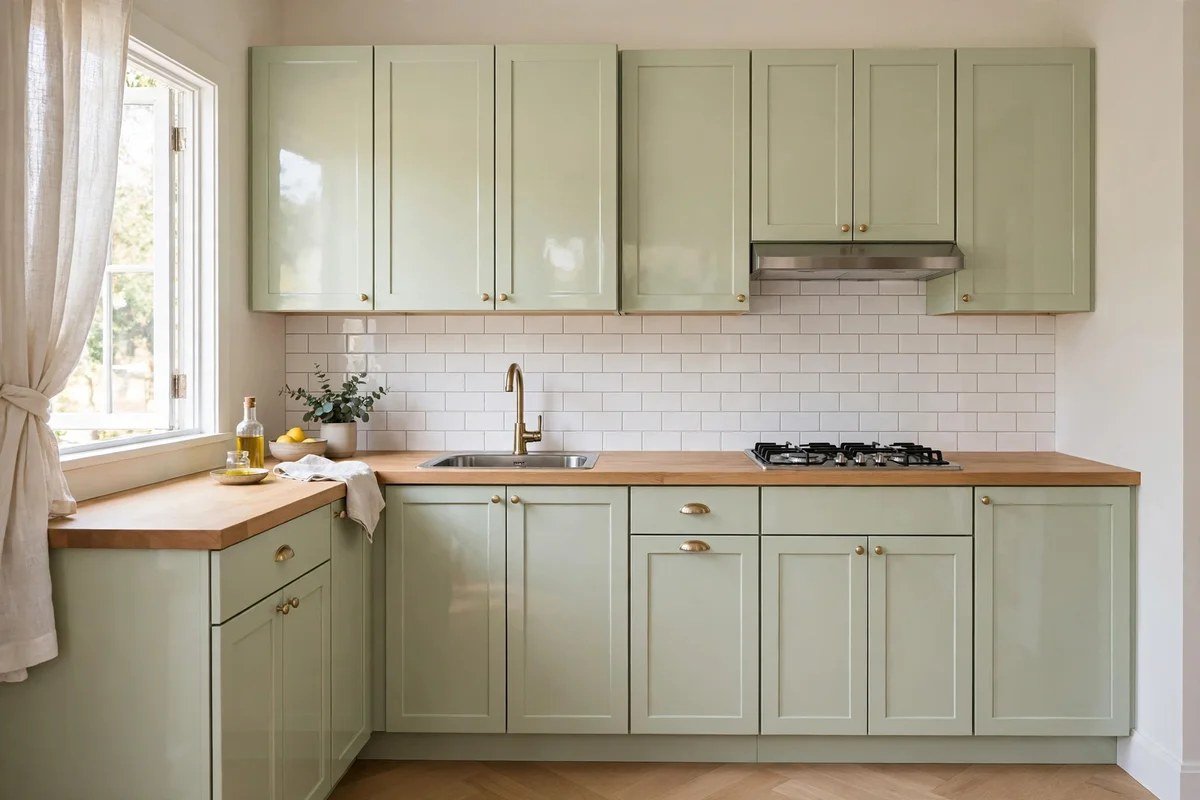
16. Letting the Trash Can Ruin the Whole Look
A dented, overflowing trash can sitting in plain view — sometimes the first thing you see from the doorway — instantly cheapens an otherwise lovely kitchen. The mistake is treating waste as an afterthought. The fix: hide it. A pull-out trash cabinet kit ($60–$120) tucks bins inside existing cabinetry, or a slim stainless step-can ($40–$70) with a lid looks intentional in a corner. Even better, set up a tiny sorting station: trash, recycling, and compost in matching slim bins that read as one tidy unit. Add a small lidded compost caddy ($15) on the counter to cut down on smelly trips. When the trash disappears from view, the whole kitchen looks cleaner and more designed.
Pro tip: Line the cabinet under the sink with a washable mat — it catches leaks and makes the hidden trash zone easy to clean.
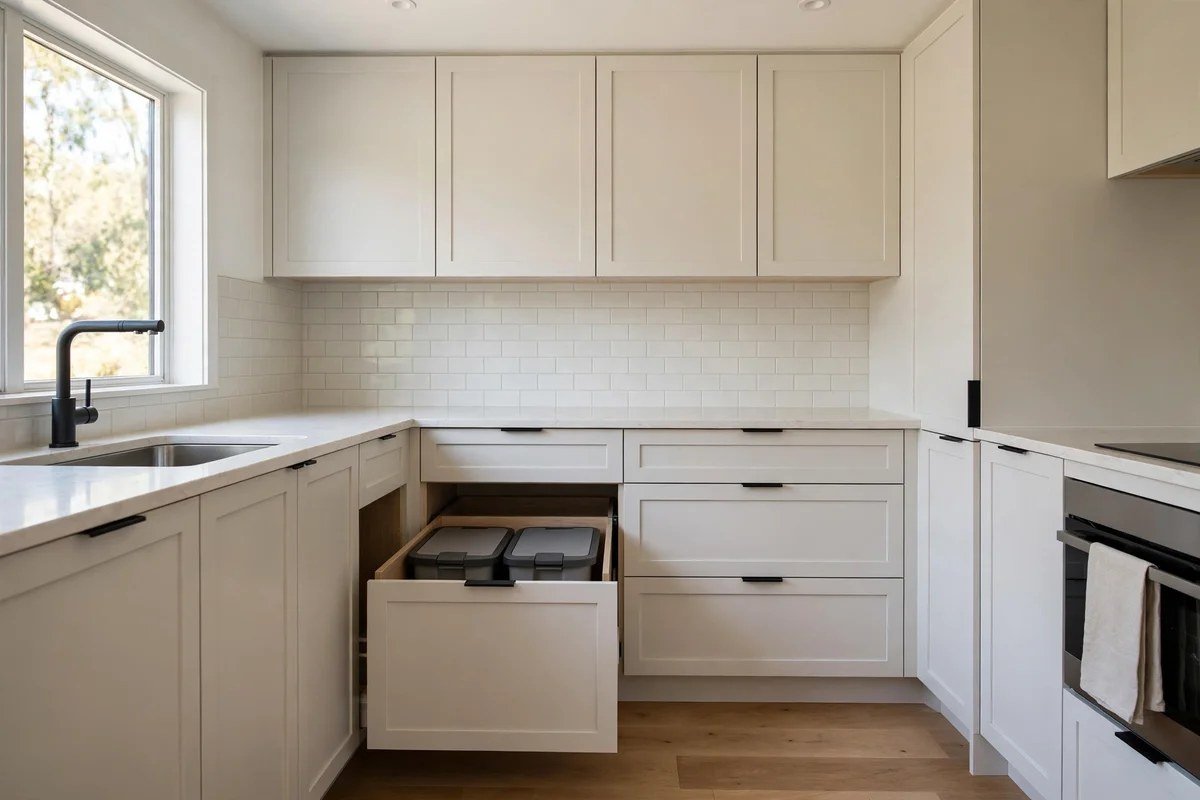
17. Neglecting Pantry and Cabinet Organization
Deep cabinets where cans vanish into the void and a “pantry” that’s just a chaotic shelf mean you rebuy things you own and can never find anything — and the mess spills onto counters. The fix is simple containment: clear bins ($15–$25 for a set), turntables for corner cabinets ($12–$20), and shelf risers that double stacking space ($15). Group like with like — baking, snacks, oils — and label the bins so the system survives real life. Pull-out cabinet organizers ($25–$40 each) transform deep lower cabinets from black holes into accessible drawers. An organized interior means less overflow on counters, which means the whole kitchen reads as bigger and calmer. For a full system, check our studio apartment organization ideas.
Pro tip: Start with just one cabinet — the “junk” one. The momentum will carry you through the rest.
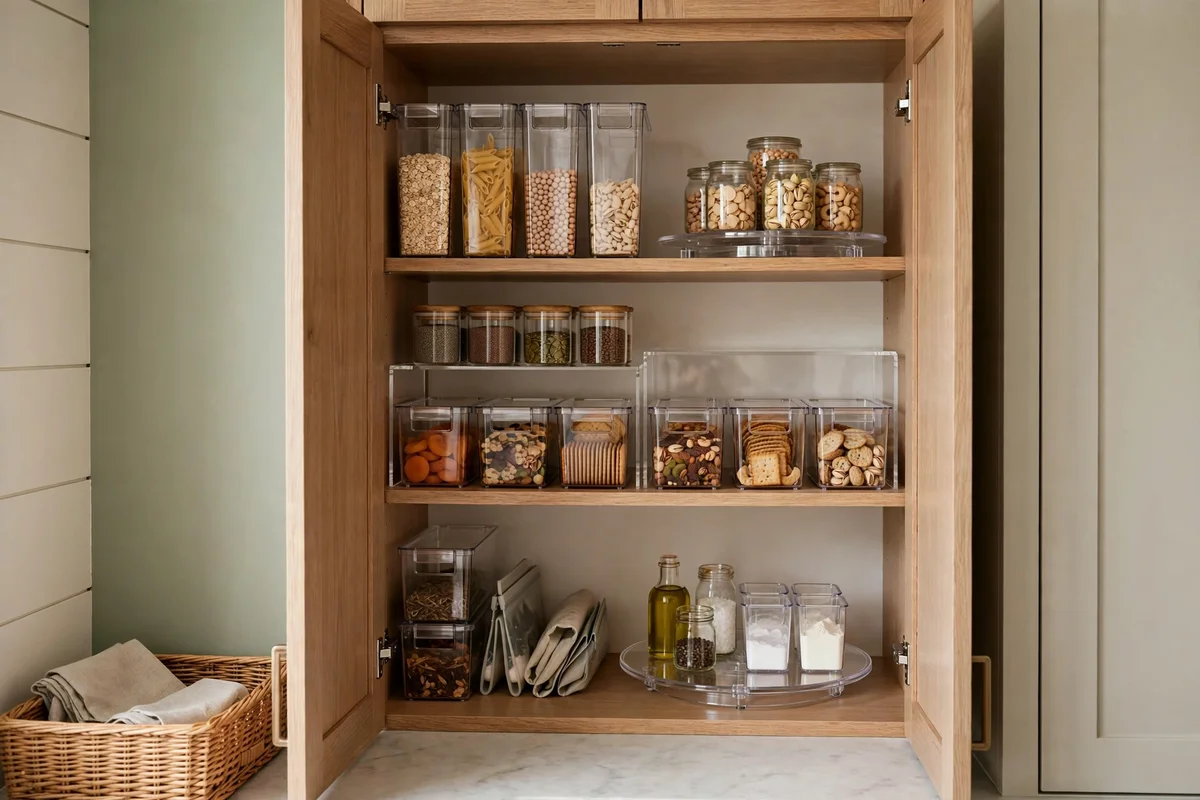
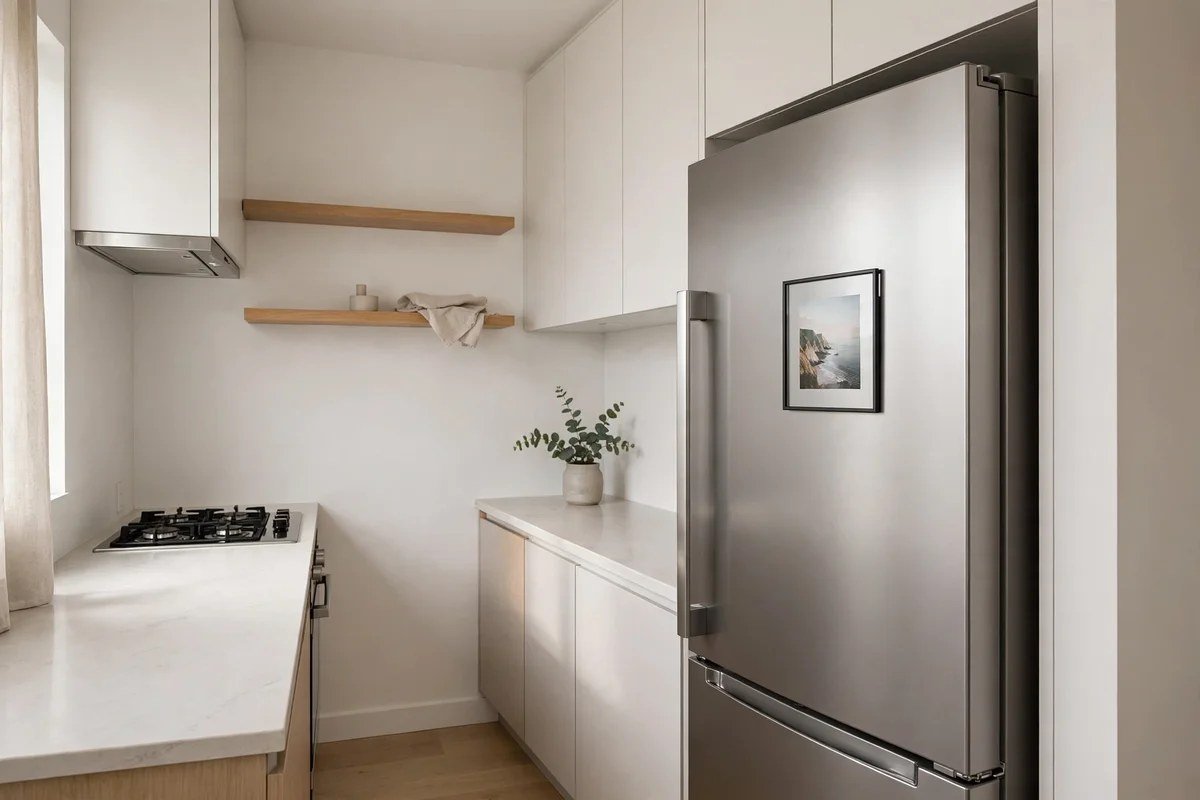
18. Turning the Fridge Door Into a Paper Museum
Layers of takeout menus, faded photos, kids’ art, and expired coupons plastered across the fridge make the kitchen’s biggest surface look like a bulletin board explosion. In a small kitchen, that visual noise dominates the room. The fix: edit ruthlessly and relocate. Keep three to five current favorites in a single magnetic frame collage ($12), and move the archive to a proper photo wall, a kitchen command-center clipboard, or a digital frame. Stainless fridges look instantly sleeker wiped clean — use a microfiber cloth and a drop of baby oil for fingerprints. If you must display, use matching magnets in one finish so it reads as intentional curation rather than accumulation.
Pro tip: Photograph the kids’ art before recycling it — you keep the memory without the paper pile.
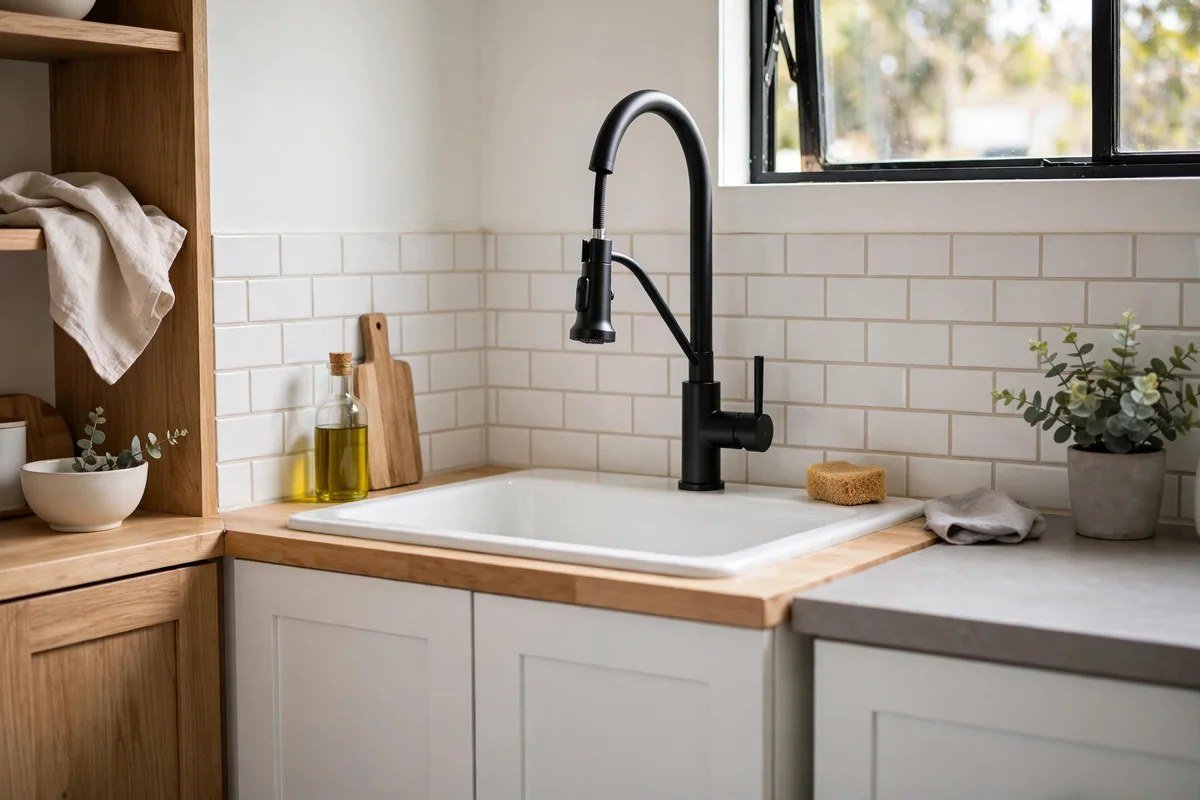
19. Sticking With a Dated, Drippy Faucet
The faucet is the most-touched object in the kitchen, yet people live for years with a leaky, crusty, low-arc relic that makes the whole sink area feel grimy. A modern faucet is one of the most satisfying upgrades per dollar. The fix: install a high-arc pull-down faucet in a finish that matches your hardware ($80–$180). Most are designed for easy DIY installation with basic tools and clear instructions — plan about an hour. The taller arc makes filling pots effortless, the pull-down sprayer makes cleanup faster, and the fresh finish instantly modernizes the sink zone. It’s a small change your hands will thank you for roughly forty times a day.
Pro tip: Match the faucet finish to your cabinet hardware for a cohesive, custom look.
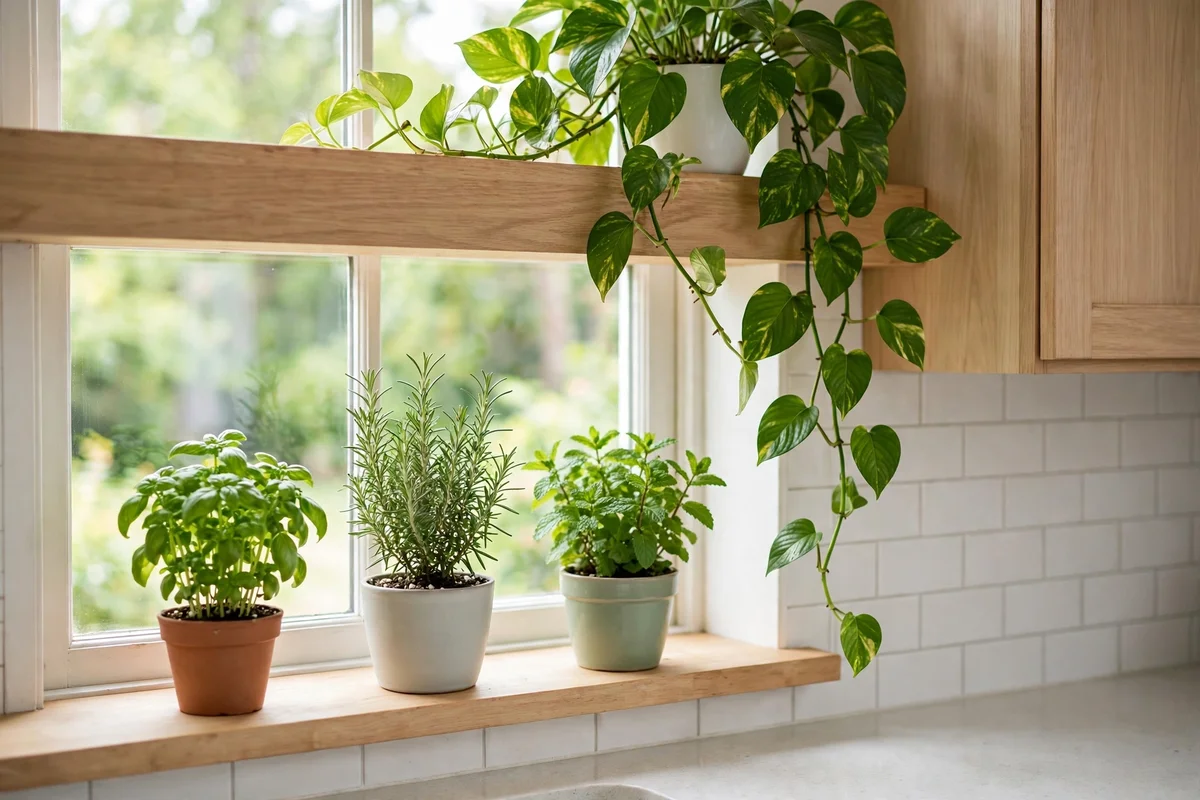
20. Keeping the Kitchen Totally Sterile and Plant-Free
An all-hard-surface kitchen with zero living things can feel like a laboratory — clean, but cold and unwelcoming. The mistake is thinking plants don’t belong near cooking. The fix: add greenery that earns its keep. A pot of basil, rosemary, or mint on the windowsill ($4–$8 per plant) gives you fresh herbs and life in one move. A trailing pothos on top of the cabinets softens hard lines, and it thrives on neglect. Even one small plant changes how the kitchen feels — alive, cared for, human. If your thumb is more brown than green, a quality faux olive branch in a pretty vase still adds the warmth without the watering schedule. See our studio apartment plant ideas for more.
Pro tip: Herbs near the stove get used constantly — plant what you cook with and they’ll never go to waste.
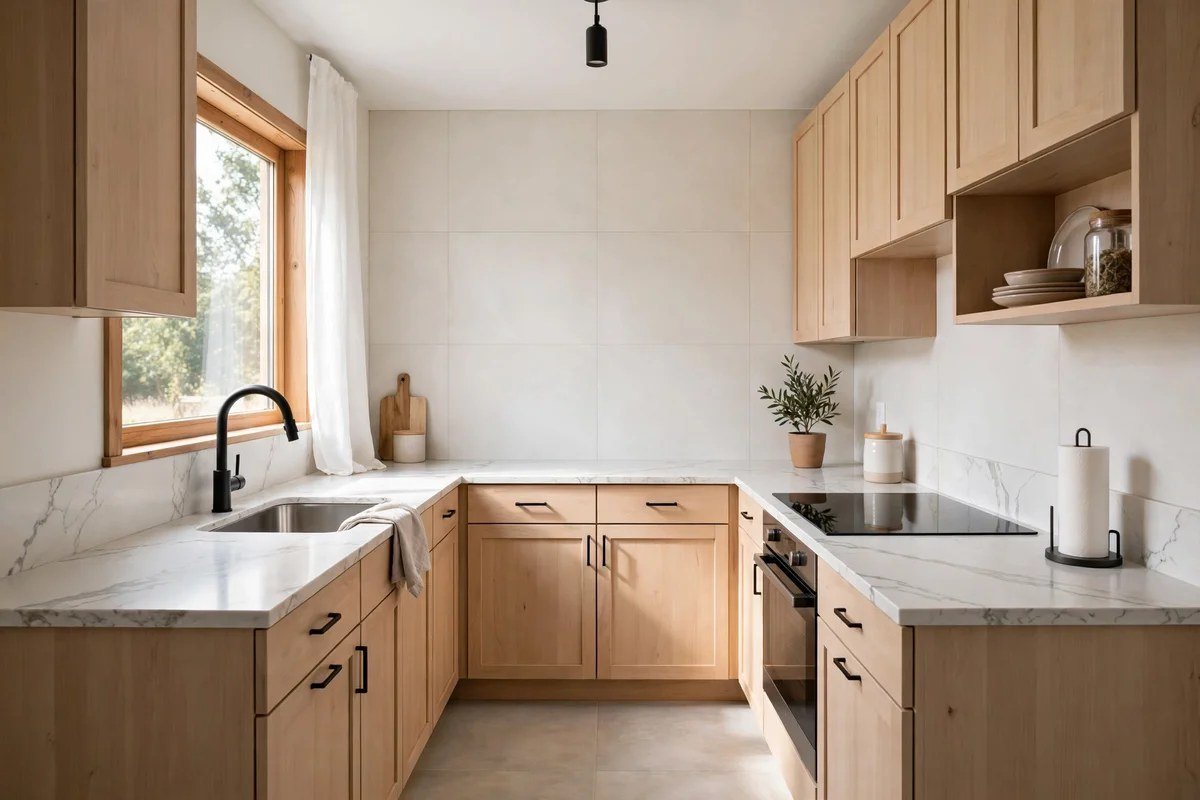
21. Choosing High-Maintenance Materials for a Hardworking Kitchen
White marble that etches if you look at it wrong, unsealed butcher block around the sink, or white grout on the floor — beautiful in photos, miserable in real small kitchens where every inch gets heavy use. The mistake is prioritizing the Pinterest shot over daily reality. The fix: choose materials that forgive. Quartz or quartz-look laminate counters ($40–$70 per square foot installed for quartz) shrug off stains, large-format tiles mean less grout to scrub, and mid-tone flooring hides crumbs. If you’re stuck with fussy surfaces, seal them properly — a $15 stone sealer applied yearly prevents most marble heartbreak. A kitchen that stays looking good with normal life is always more beautiful than a precious one you’re afraid to use.
Pro tip: Love the marble look? Marble-look quartz gives you 95% of the beauty with 5% of the maintenance.
22. Letting Small Appliances Colonize Every Surface
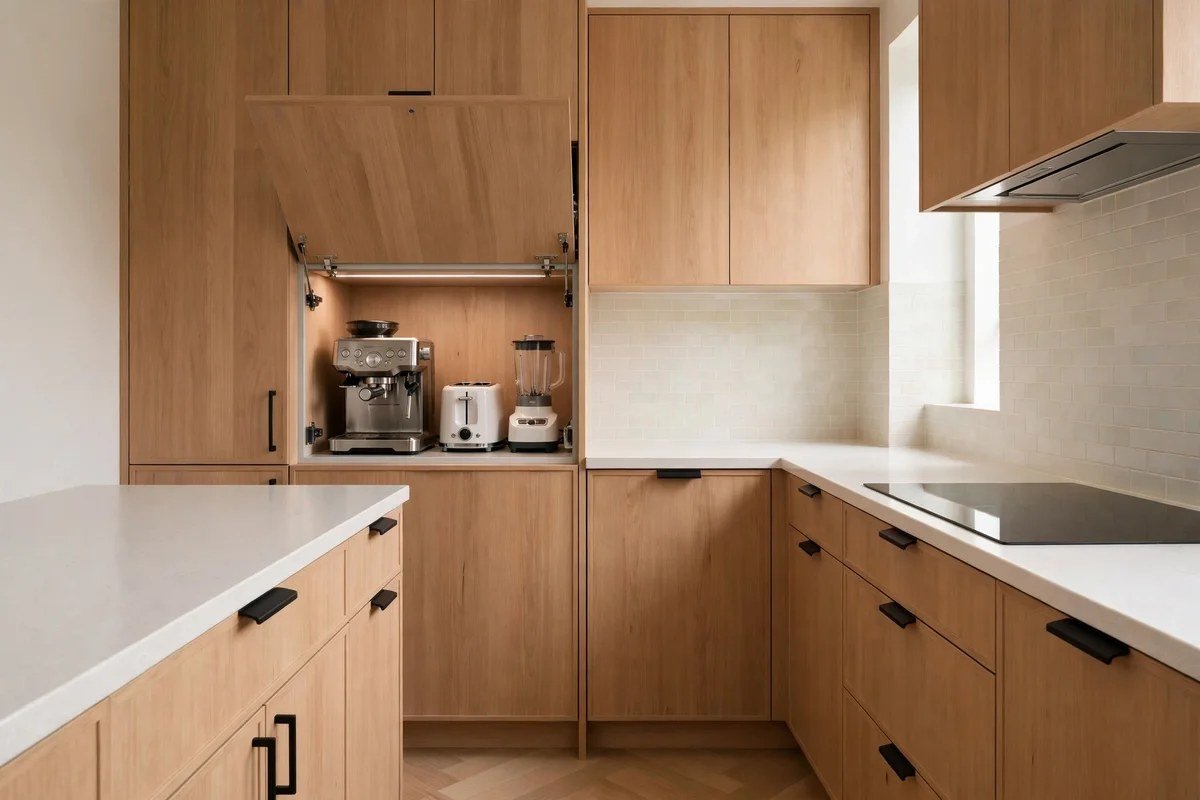
The blender, food processor, stand mixer, and rice cooker each claim permanent counter territory until cooking space disappears entirely. The fix is an appliance garage — a dedicated cabinet, a section of countertop with a lift-up door, or even a pretty lidded basket station inside a pantry. A simple cabinet with an outlet installed inside ($30 for the outlet kit, if you’re comfortable with basic electrical or hire help) keeps the toaster and coffee maker accessible but invisible. For renters, a rolling cart parked in a closet or corner works as a mobile appliance garage. The goal: appliances appear when needed and vanish when not, so counters stay clear for actual cooking.
Pro tip: Store the appliance with its attachments together — hunting for the blender lid kills the whole point.
23. Mixing Too Many Metal Finishes
Chrome faucet, brass pulls, black hinges, copper pots, stainless appliances — when every metal in the catalog shows up, a small kitchen looks scattered and unintentional. The mistake is accumulating finishes over time without a plan. The fix: pick a dominant metal (one that covers hardware + faucet) and allow exactly one accent metal in small doses. Matte black + brushed brass is a classic pairing; polished nickel + chrome blends seamlessly since they’re close cousins. Unify in one pass: spray-paint mismatched vent covers and switch plates ($8 for a can of metal spray paint), and swap the worst offenders. Restraint with metals makes a small kitchen feel calm, curated, and far more expensive.
Pro tip: Appliances don’t count — stainless appliances play nicely with any metal scheme.
24. Forgetting a Place to Actually Eat
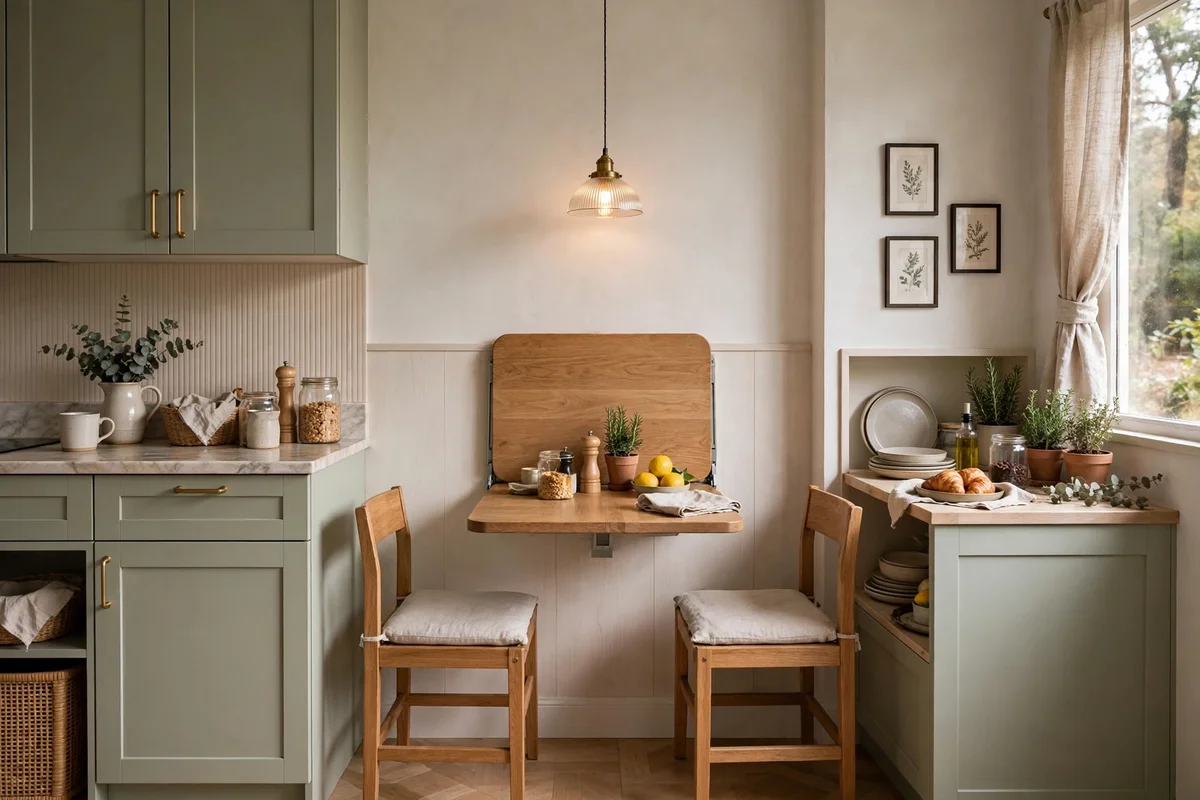
People design the cooking zone and completely forget that someone has to eat the food — so meals happen standing up or on the couch. Even the tiniest kitchen deserves a perch. The fix: carve out a micro eating spot. A 24-inch drop-leaf table ($80–$150) seats two and folds flat against the wall, a wall-mounted fold-down table ($40–$70) disappears entirely, or two backless stools tucked under a 12-inch-deep counter overhang create a breakfast bar in dead space. Add a small pendant or sconce above it and suddenly you have a charming cafe corner. Eating in the kitchen — even perched — makes the room feel like the heart of the home instead of just a workstation.
Pro tip: Backless stools tuck fully under the counter, keeping walkways clear in tight kitchens.
25. Ignoring Grimy, Discolored Grout
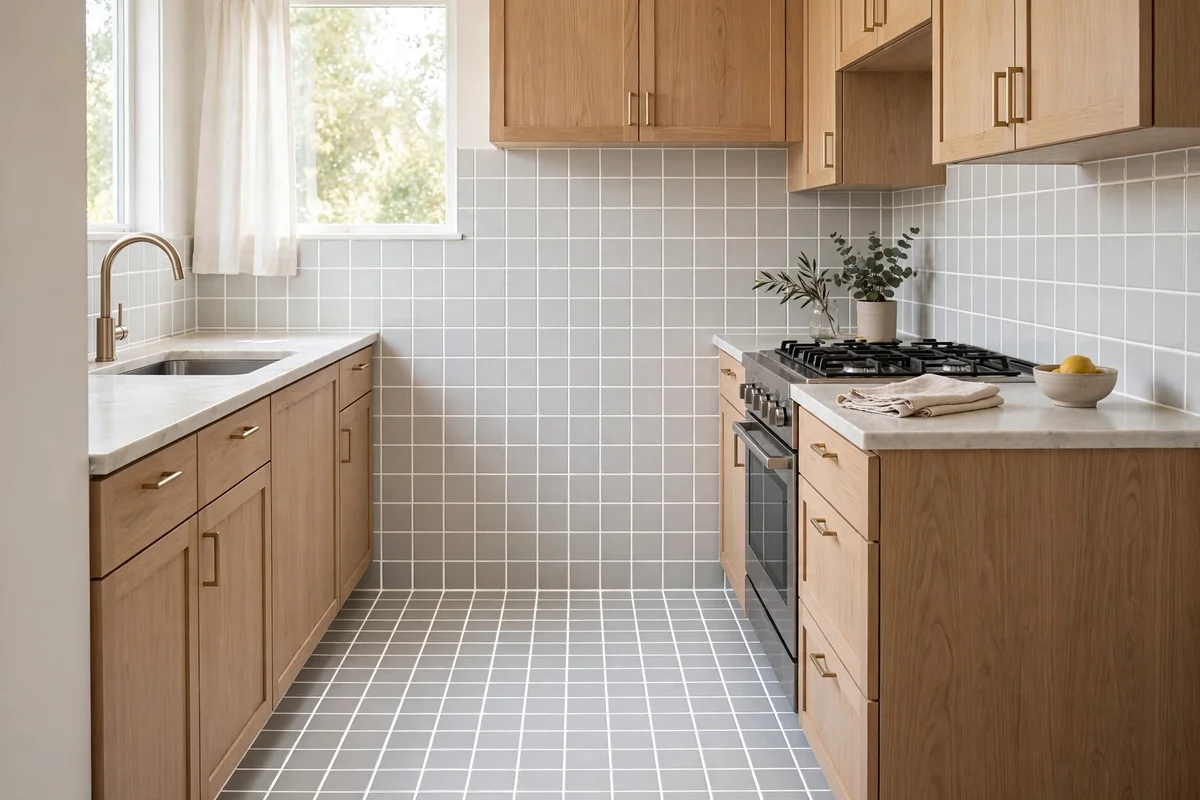
Dingy grout lines can make an otherwise clean kitchen look perpetually dirty — especially white grout around the stove that’s absorbed years of cooking. The mistake is assuming you need to re-tile. The fix: deep-clean first, then seal or recolor. A grout brush with baking soda paste costs almost nothing and removes shocking amounts of grime. For permanently stained grout, a grout colorant pen or bottle ($12–$20) paints lines a fresh, uniform color — gray or warm greige hides future dirt far better than white. Seal the refreshed grout ($10 for sealer) so it stays clean. This weekend project makes tile floors and backsplashes look brand new for under $30 total.
Pro tip: Choose a grout color one shade darker than you think — it hides daily life beautifully.
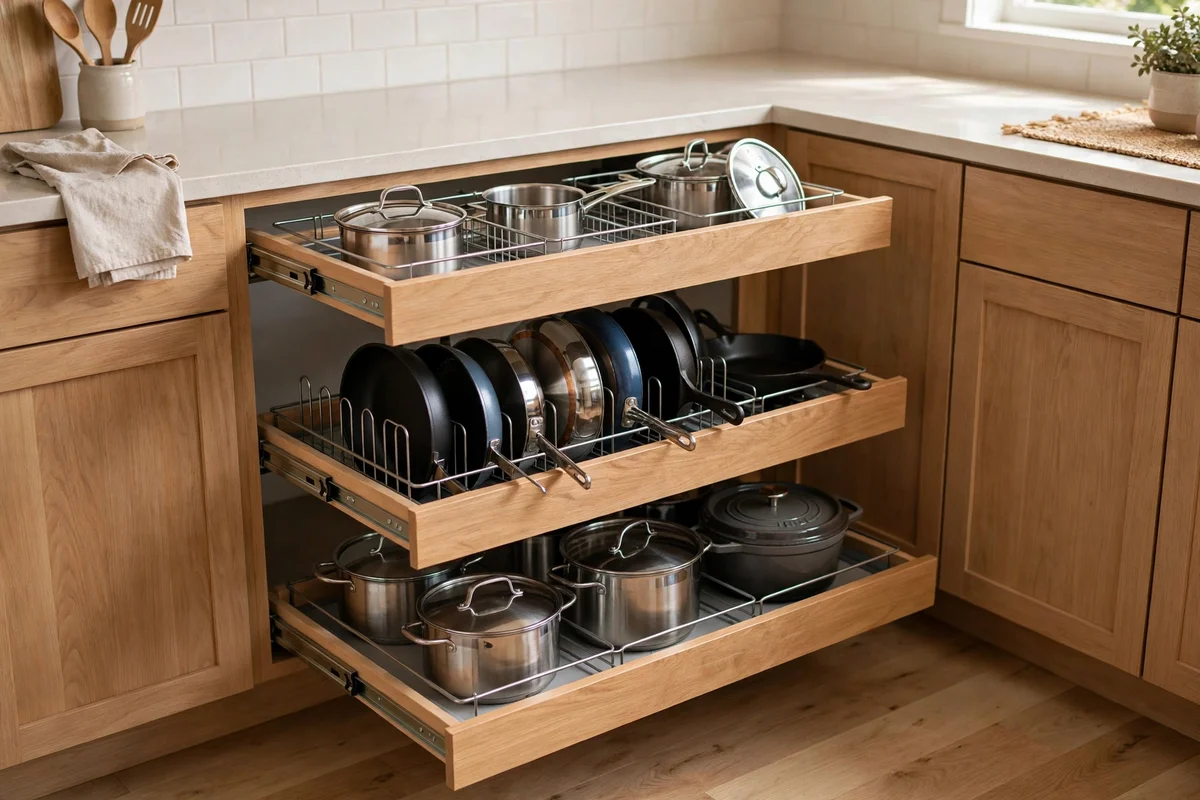
26. Wasting Deep Cabinets Without Organizers
Those deep lower cabinets where pots go to disappear are the Bermuda Triangle of small kitchens — stuff goes in, nothing comes out, and you buy duplicates of things you already own. The mistake is accepting the black hole. The fix: pull-out organizers that bring the back of the cabinet to you. Two-tier sliding baskets ($25–$40 each) install with a few screws and transform deep cabinets into accessible drawers. A lid organizer on the cabinet door ($12) ends the avalanche, and stacking pan protectors ($10) stop the scratch-and-clatter pile. When every pot is visible and reachable, you stop rebuying, cooking gets faster, and the kitchen functions like it’s twice the size.
Pro tip: Measure your cabinet interior before ordering — organizers come in standard widths that must match.
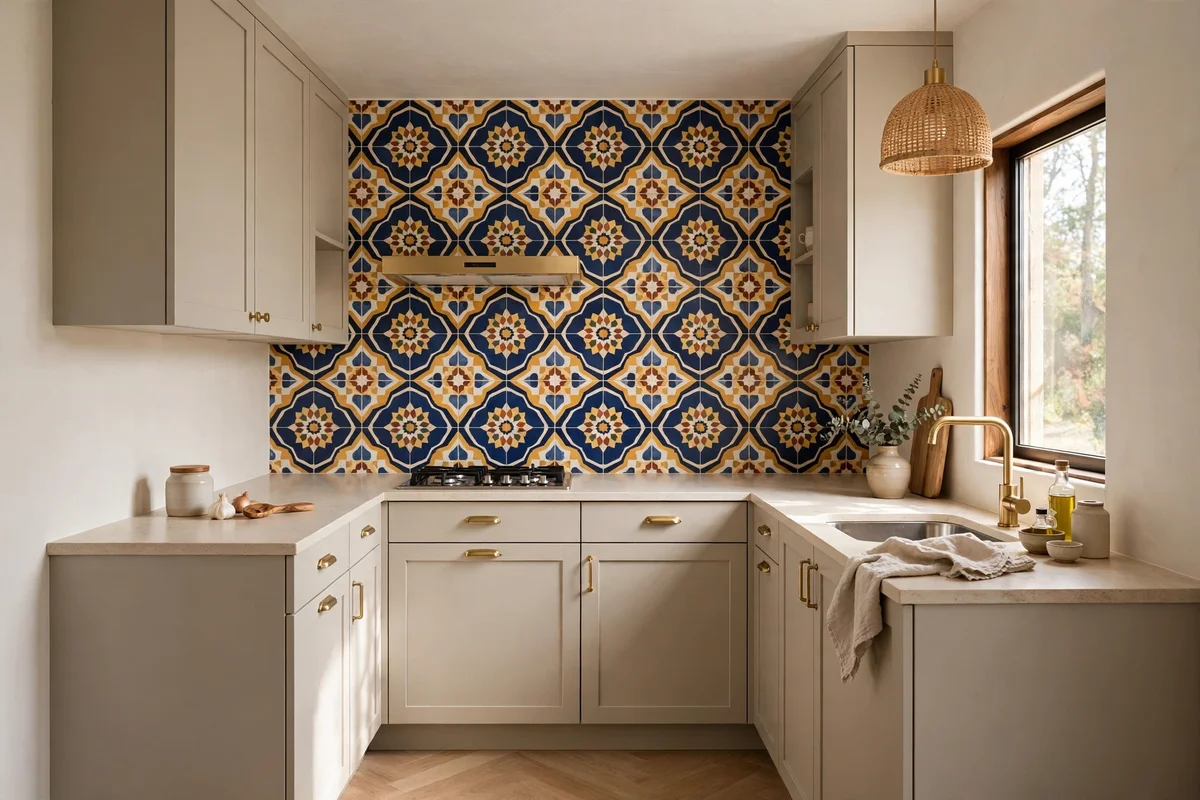
27. Keeping Everything Builder-Grade Bland
Oak-veneer cabinets, beige laminate, white everything — the default rental kitchen is fine, but “fine” never feels like home. The mistake is assuming you can’t add personality without renovating. The fix: one statement moment. A bold peel-and-stick backsplash, a vintage rug runner, brass hardware, a dramatic pendant, or open shelving styled with colorful dishes — pick one star and let it shine against the neutral backdrop. A single confident choice ($40–$100) gives the whole kitchen character and makes it feel designed rather than default. For color direction, browse our small kitchen color palettes to find a scheme that makes compact cook spaces feel bigger.
Pro tip: One statement is plenty in a small kitchen — two competing stars just create visual chaos.
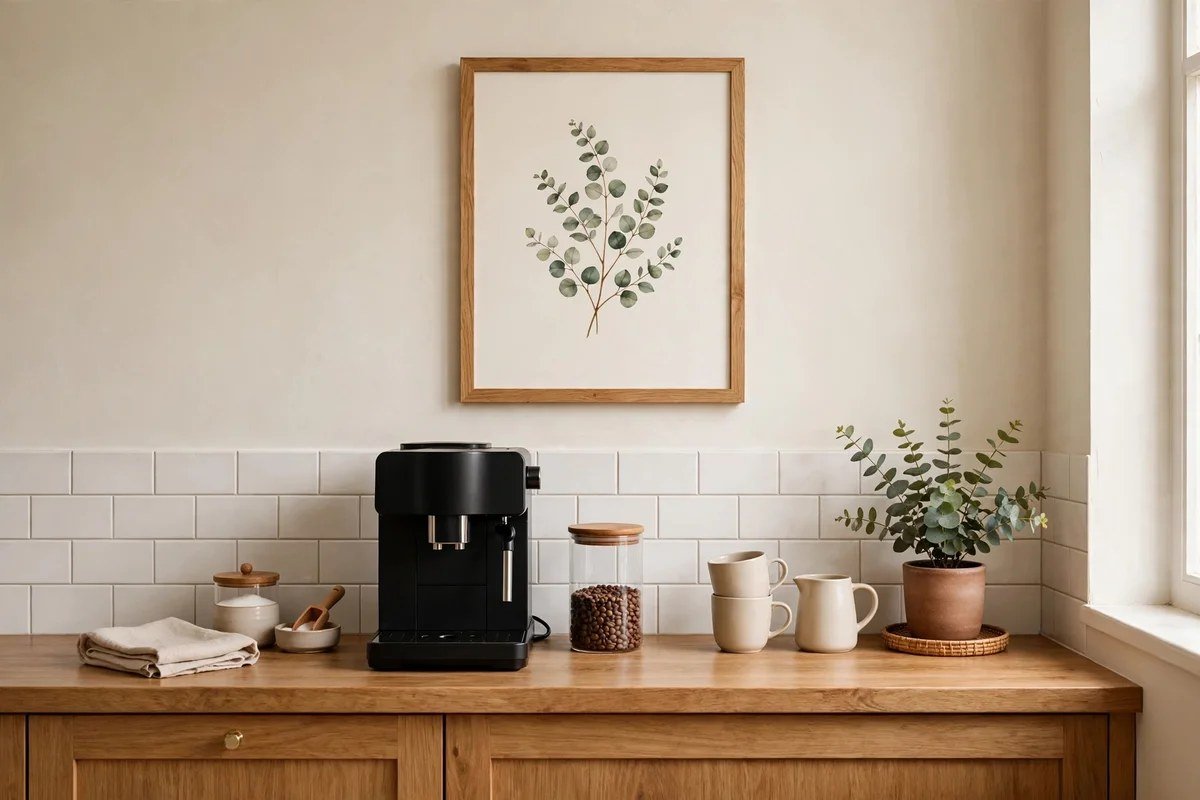
28. Hanging Art and Decor at the Wrong Scale
A postage-stamp frame lost on a big empty wall, or one giant canvas overwhelming a tiny nook — scale mistakes make kitchen decor look accidental. The mistake is guessing instead of measuring. The fix: art should fill roughly two-thirds of the wall space or furniture width below it. In small kitchens, a single medium piece (16×20 inches, $25–$50 framed) over a coffee station, or a tight gallery of three small frames, works better than one lonely tiny print. Hang the center at 57 inches — gallery standard eye level. In a galley, a long narrow piece emphasizes length beautifully. Right-scaled art makes the kitchen feel finished and intentional, like every other “real” room in the home.
Pro tip: Food-themed art is cliché — try abstract prints, landscapes, or vintage posters for a fresher look.
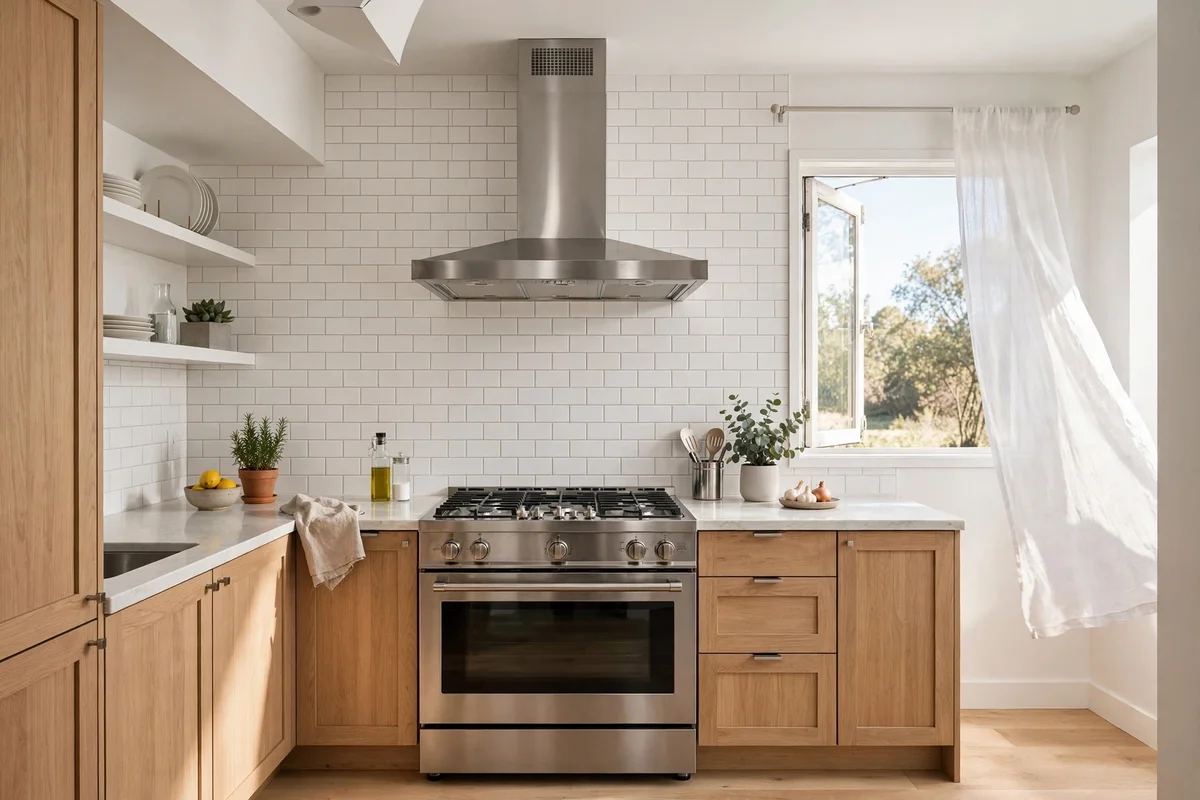
29. Ignoring Ventilation Until Grease Coats Everything
That sticky film on cabinets near the stove? It’s airborne grease from cooking without proper ventilation — and it yellows paint, dulls finishes, and makes the whole kitchen smell like yesterday’s dinner. The mistake is treating the range hood as optional. The fix: use the vent you have every time you cook, and clean or replace the filter monthly (most pop out and go in the dishwasher). No hood? A small window fan exhausting outward ($25–$40) while cooking makes a real difference, as does wiping down nearby surfaces weekly with a degreasing spray. Renters can add a discreet carbon-filter recirculating unit. Clean air keeps finishes fresh, paint true-colored, and the kitchen smelling like a home — not a fryer.
Pro tip: Run the vent for 10 minutes after cooking to clear lingering odors and moisture.
30. Copying Trends That Don’t Fit Your Kitchen
All-black everything in a windowless galley, open shelving when you own forty mismatched mugs, a farmhouse sink that swallows half your counter — trends designed for spacious show kitchens often punish small real ones. The mistake is copying the look without adapting it. The fix: steal the spirit, not the spec. Love dark kitchens? Do dark lowers with light uppers. Crave open shelves? Try one short shelf instead of a whole wall. Want that apron sink? A compact 24-inch version exists. The best small kitchens borrow trends selectively and bend them to fit the room’s light, size, and real cooking habits. If you want the elevated look on a budget, our ideas to make a small space look expensive pair perfectly with these fixes.
Pro tip: Before committing to a trend, ask: “Does this serve my light, my storage, and my cooking?” If not, adapt it.
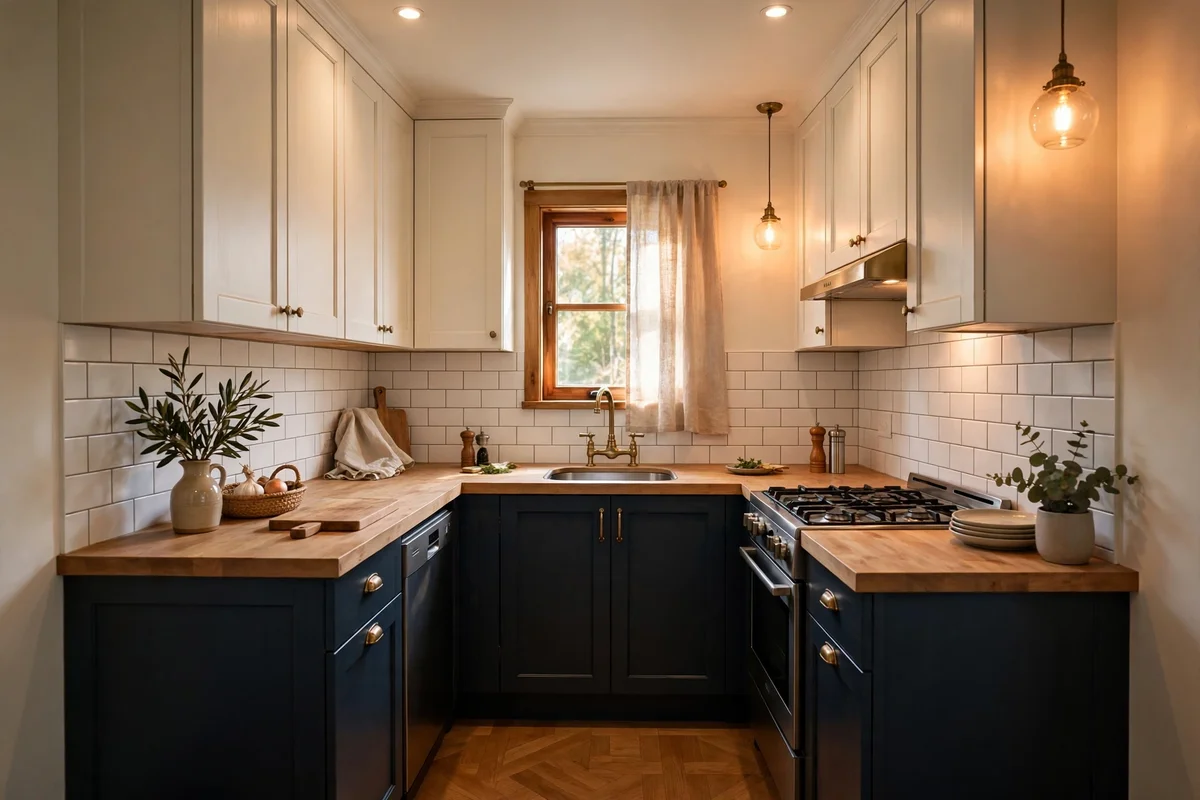
Quick Fixes You Can Do This Weekend
Short on time? These five fixes deliver the biggest visual payoff for the least effort: swap all bulbs to warm white ($12), clear and wipe every countertop (free), replace cabinet hardware ($50), add a washable runner ($40), and stick up LED strips under the cabinets ($25). For under $130 and one weekend, your kitchen will look and feel like a different room. Then tackle the bigger projects — paint, backsplash, organizers — one at a time. If budget is tight overall, our budget decorating ideas show how far small spending goes.
Frequently Asked Questions
What’s the biggest mistake in a small kitchen?
Cluttered counters. Nothing shrinks a kitchen faster than every surface being covered. Clear the counters, add wall storage for the displaced items, and the room instantly feels larger — it’s free and takes an afternoon.
How can I make my small kitchen look bigger without renovating?
Maximize light (sheer window treatments, warm bulbs, under-cabinet LEDs), keep counters clear, use light colors on cabinets and walls, add a runner to elongate the space, and unify your metal finishes. None of these require a contractor.
What colors make a small kitchen feel larger?
Light, reflective colors: warm white, pale sage, soft greige, light gray-blue, and buttery cream. Keep the palette to two or three colors max. Explore our small kitchen color palettes for 32 tested combinations.
I’m renting — which fixes are renter-friendly?
Almost all of them: peel-and-stick backsplash, adhesive wall rails, washable runners, bulb swaps, plug-in LED strips, freestanding shelves, new hardware (save the originals), and removable wallpaper. Everything peels off or unscrews at move-out.
How much does it cost to fix up a small kitchen?
A meaningful refresh runs $130–$400 using the fixes in this guide: hardware, lighting, runner, backsplash, paint, and organizers. A full cosmetic makeover with cabinet paint and new faucet lands around $600–$900 — still far below renovation costs.
Should I do open shelving in a tiny kitchen?
Only if you can keep it curated. One or two well-styled shelves add charm and function, but overloaded shelves create visual chaos that shrinks the room. If you own lots of mismatched items, closed storage is the kinder choice.
Final Thoughts
Small kitchens don’t need to be perfect — they need to be intentional. Every mistake in this guide shares one root cause: letting default choices (builder finishes, accumulated clutter, neglected lighting) run the room instead of your decisions. Pick the three fixes that bother you most, start this weekend, and watch your compact kitchen transform from a cramped afterthought into the hardest-working, happiest corner of your home. For more small-space inspiration, explore our small bathroom color palettes and keep the whole home feeling cohesive.