
34 Studio Apartment Wall Art Ideas That Make Small Walls Sing
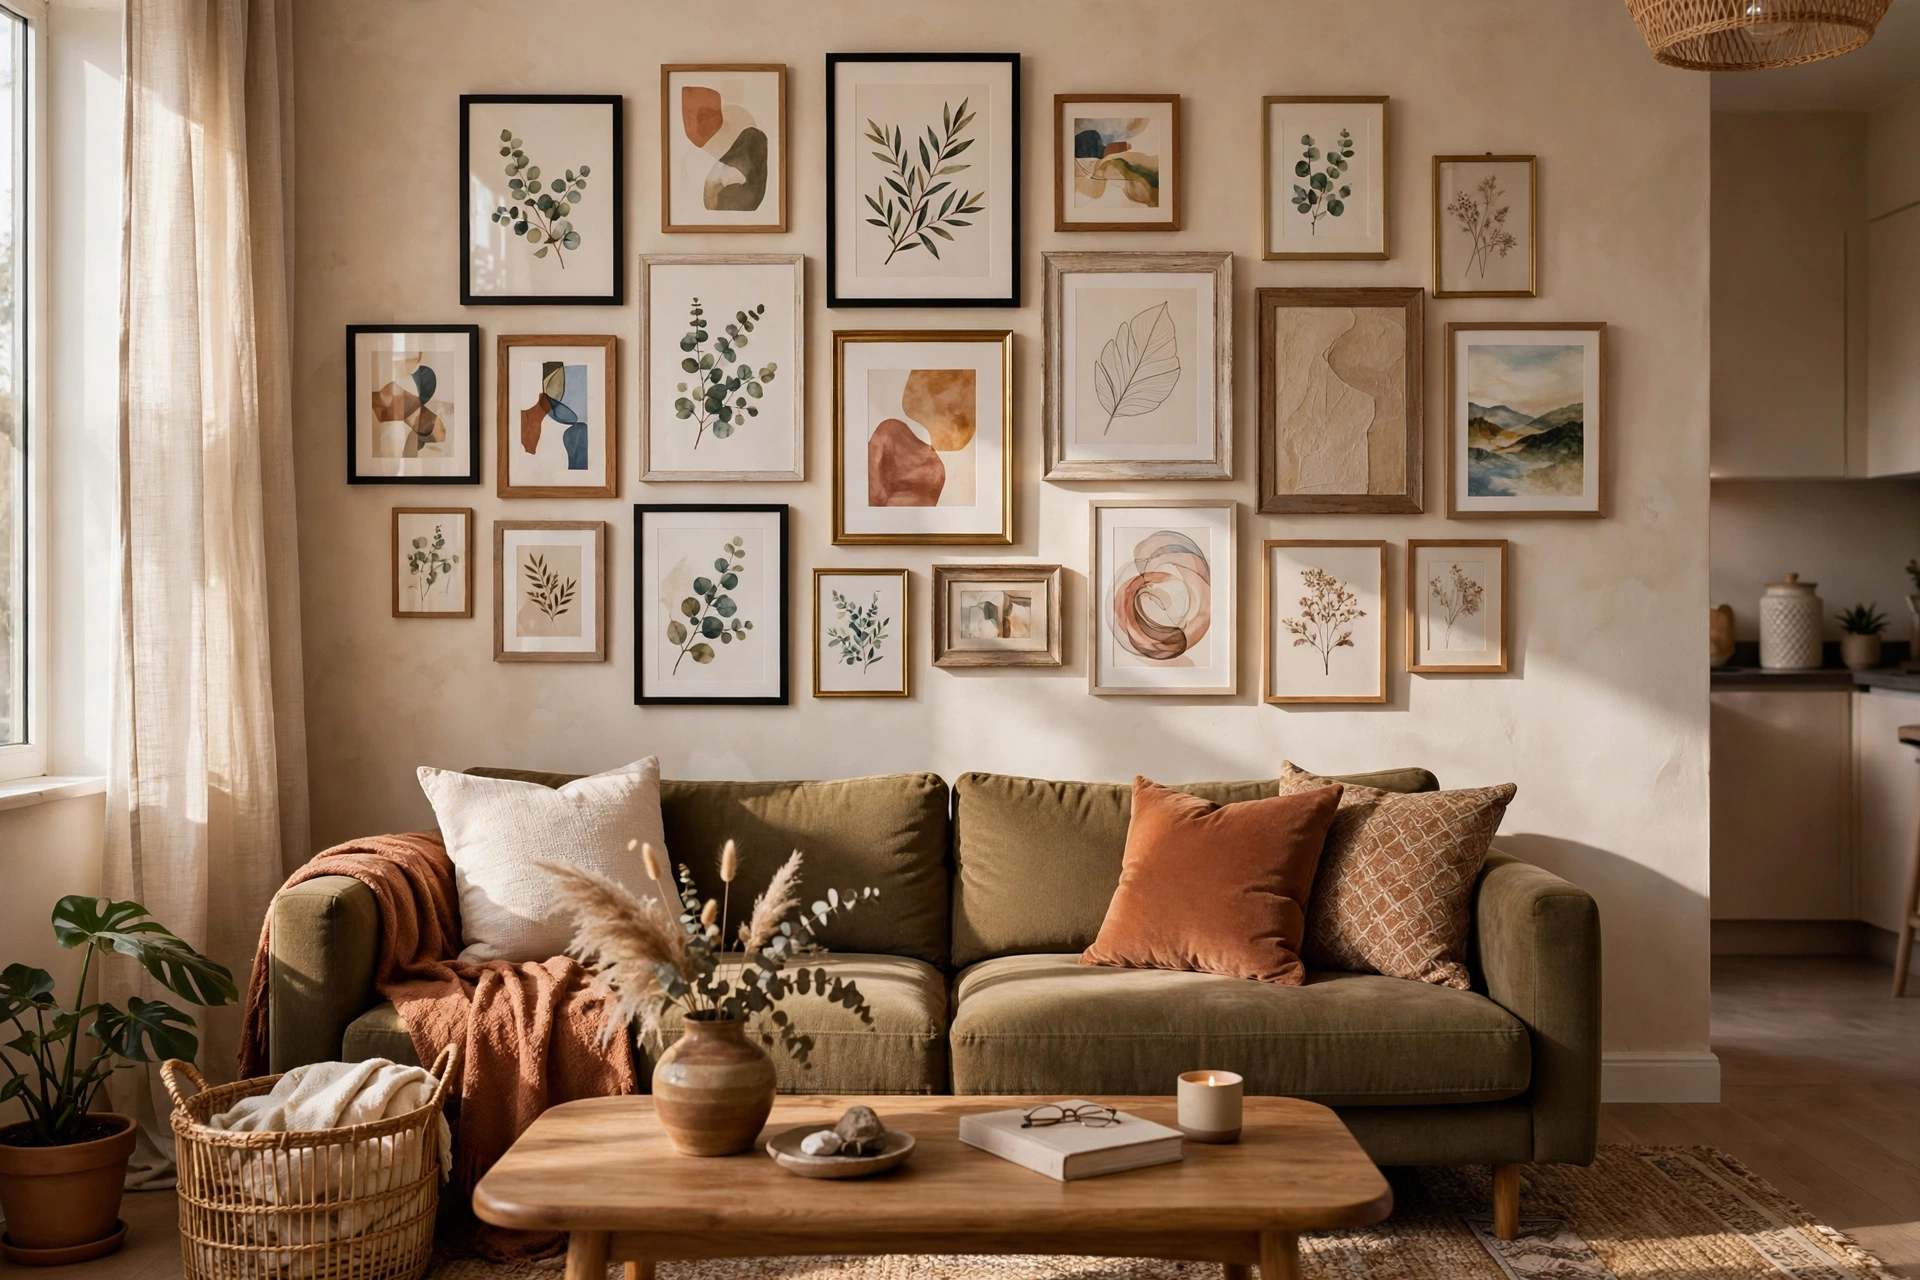
Blank walls are the fastest way to make a studio apartment feel unfinished — and the easiest problem to fix. In a one-room home, your walls are prime real estate: they’re where personality lives, where zones get defined, and where the eye goes when there’s nowhere else to look. The right studio apartment wall art ideas don’t just decorate — they make a 400-square-foot space feel curated, intentional, and unmistakably yours.
Below are 34 wall art ideas built for small spaces and rental realities: gallery walls that don’t overwhelm, statement pieces sized for studio proportions, renter-friendly hanging methods that leave zero holes, and the placement rules designers swear by. Most cost under $50, many cost nothing, and every single one works without a drill.
Gallery Walls, Your Way
Nothing transforms a blank studio wall faster than a gallery wall — but in a small space, the arrangement matters as much as the art. These seven approaches keep gallery walls feeling curated instead of cluttered.
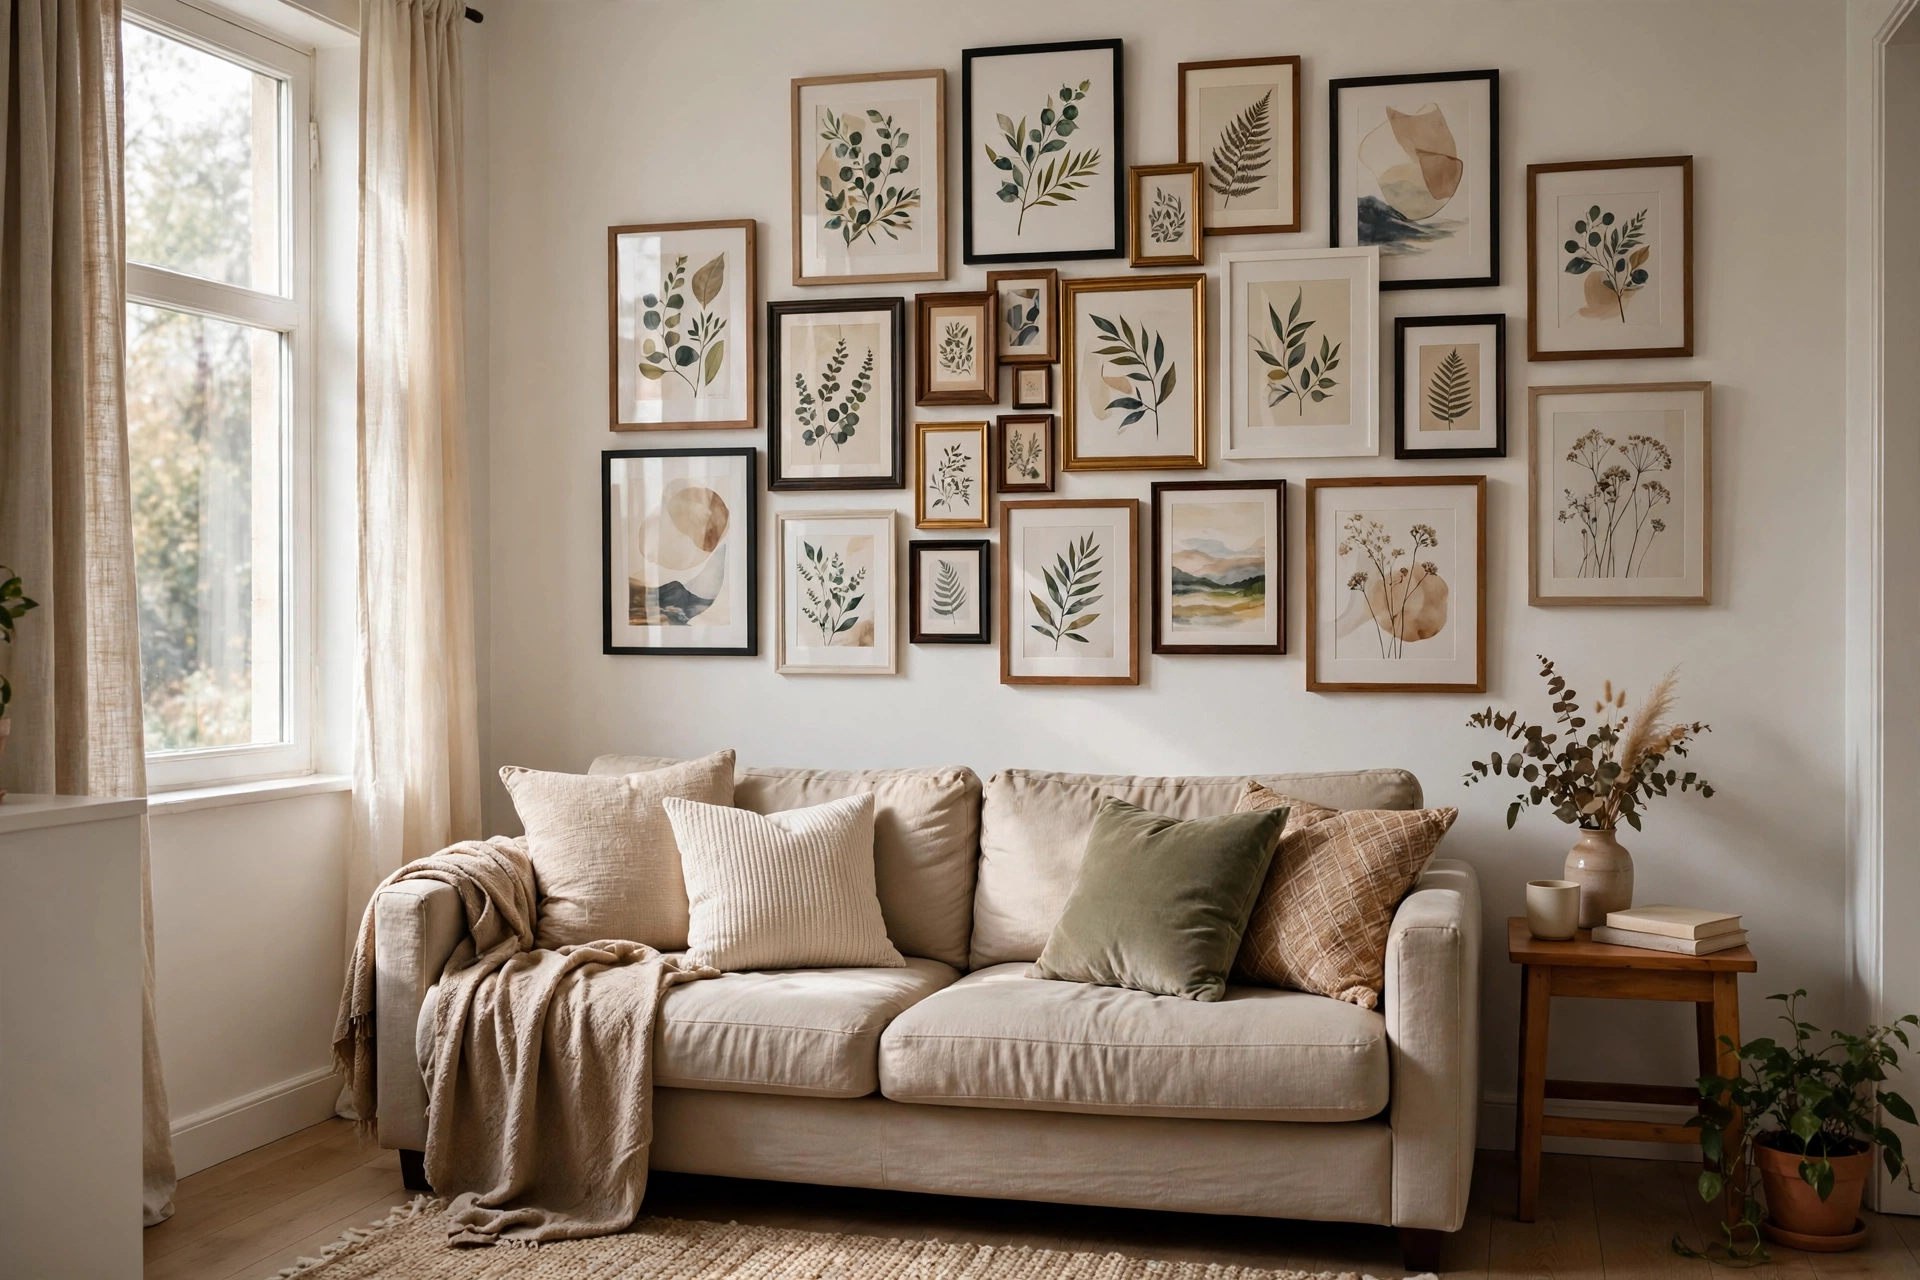
1. Build a Salon-Style Gallery Wall
The classic eclectic cluster — frames of different sizes hung close together (2–3 inches apart) — fills a large blank wall with personality. Start with your biggest piece slightly off-center, then build outward. Thrift stores are goldmines for mismatched frames; a $1 frame plus a $5 print from a local artist beats a $60 mass-produced set every time. Pro tip: lay the whole arrangement on the floor first and photograph it — rearranging on the floor is free, patching holes is not.
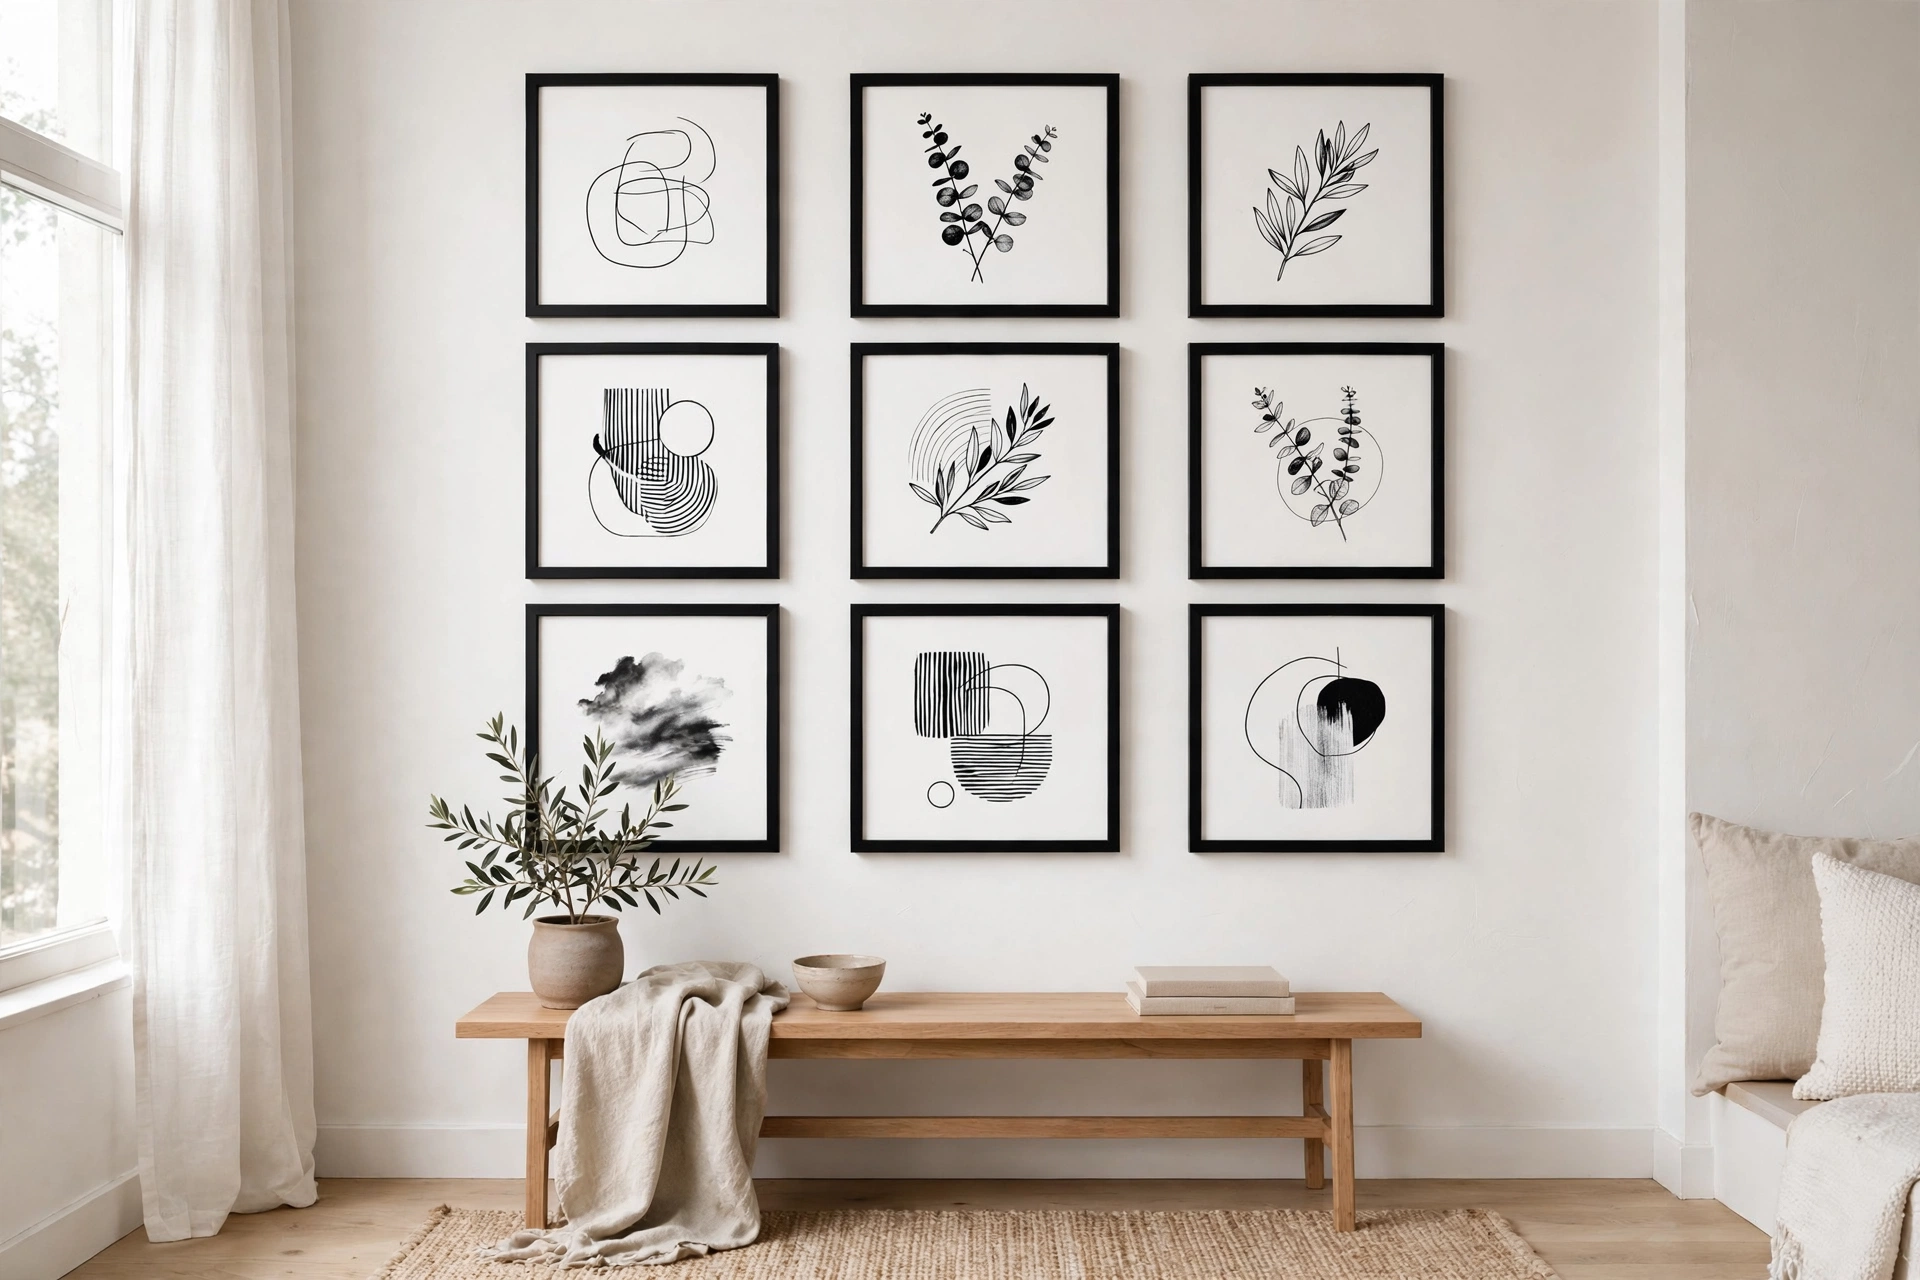
2. Try a Clean Grid Gallery Wall
If the salon style feels too chaotic for your taste, go grid: identical frames in perfect rows and columns. A 3×3 grid of black frames with black-and-white prints reads as one large piece of art — calm, orderly, and incredibly satisfying in a small space. IKEA RIBBA frames run about $10 each, so a nine-frame grid costs under $100. Pro tip: use a laser level or even a phone level app — a grid that’s off by half an inch will bother you forever.
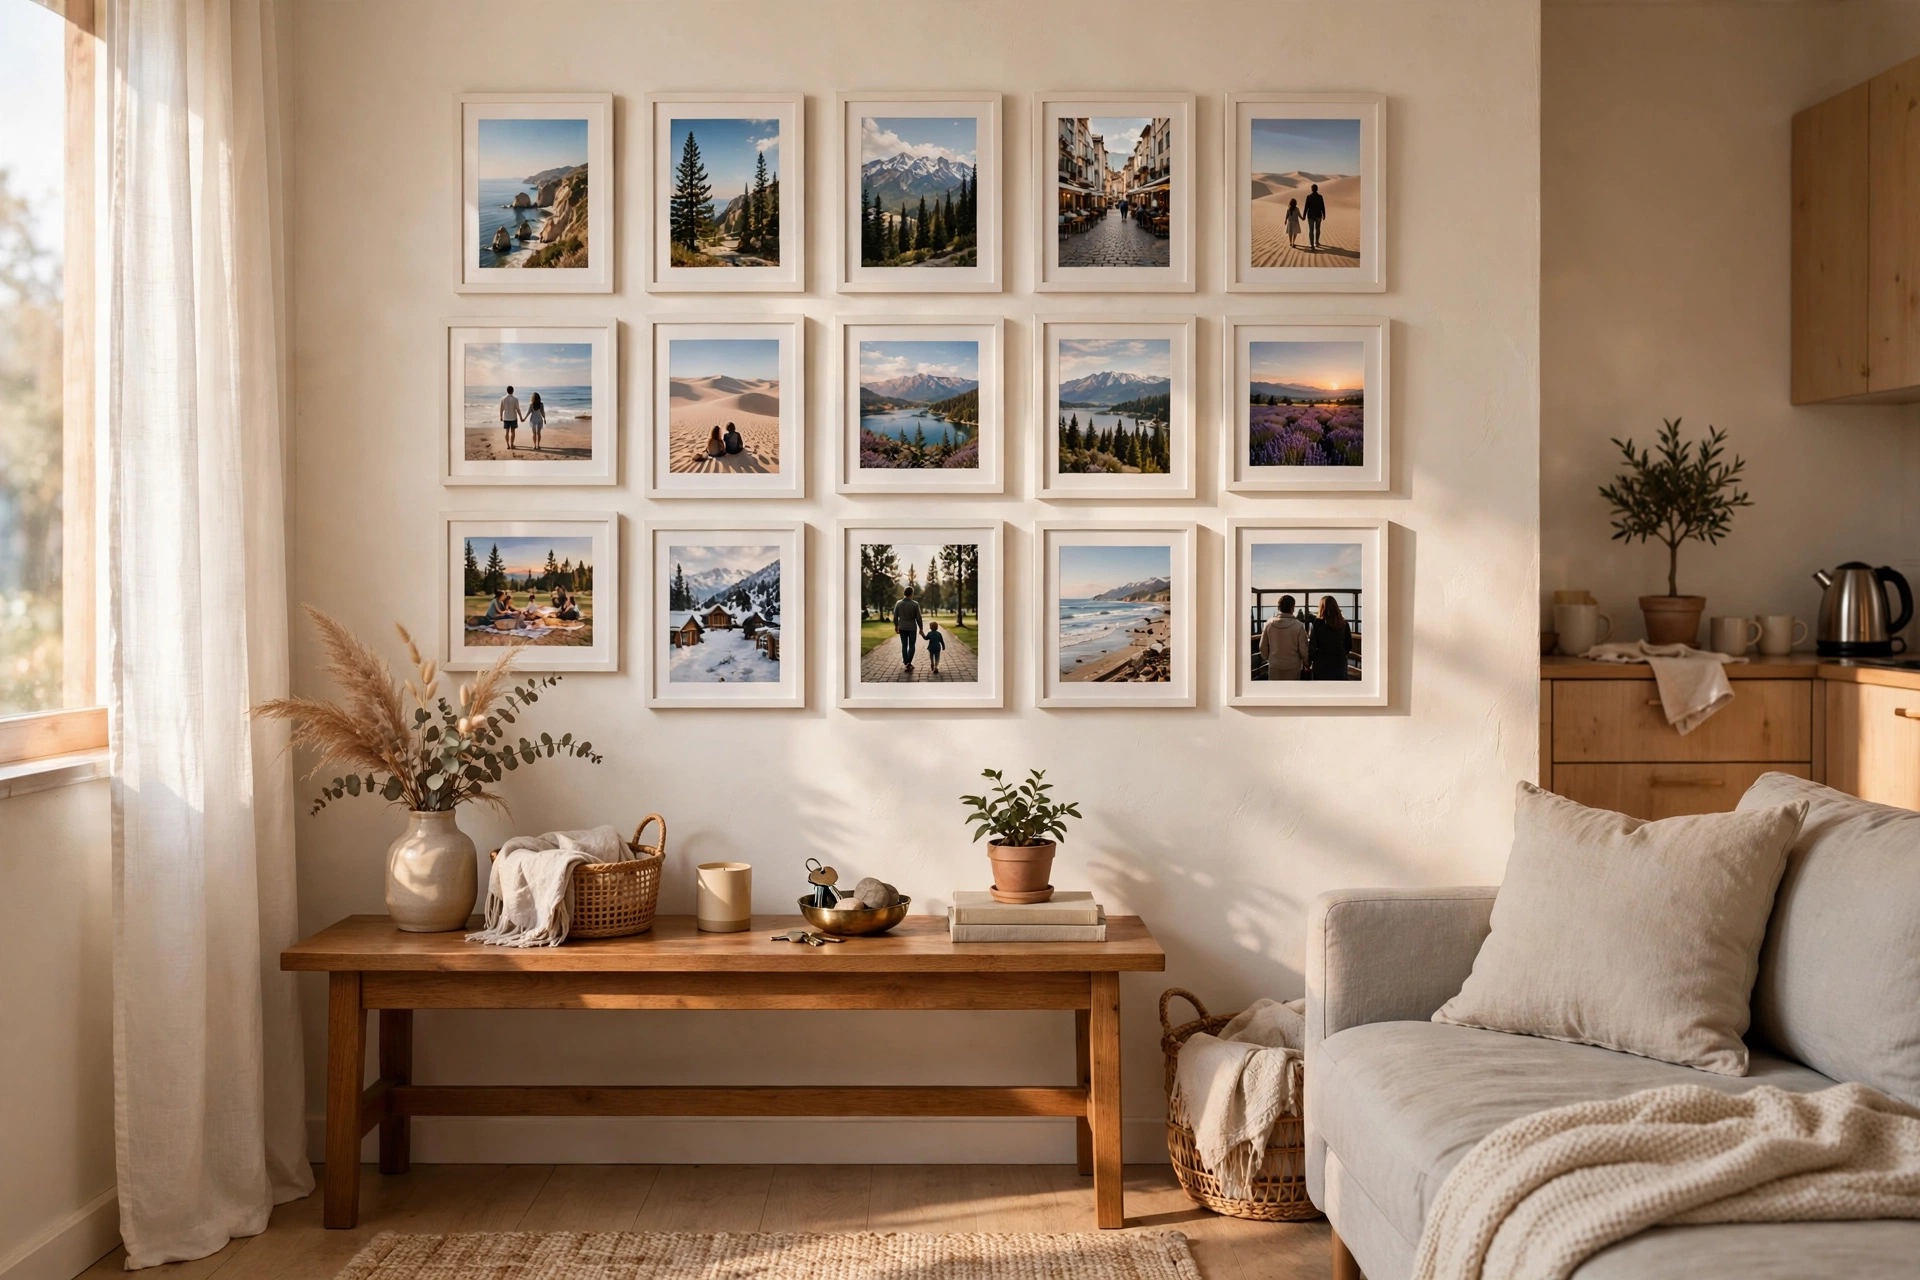
3. Make It Personal with a Photo Gallery Wall
Your own photos — travel shots, film photos, pictures of people you love — make the most meaningful gallery wall, and printing them is cheap: 4×6 prints cost under $0.50 each at drugstore kiosks or online printers. Mix in a few larger 8×10s for hierarchy. Pro tip: convert all photos to the same filter or black-and-white before printing; visual consistency is what separates a photo wall from a bulletin board.
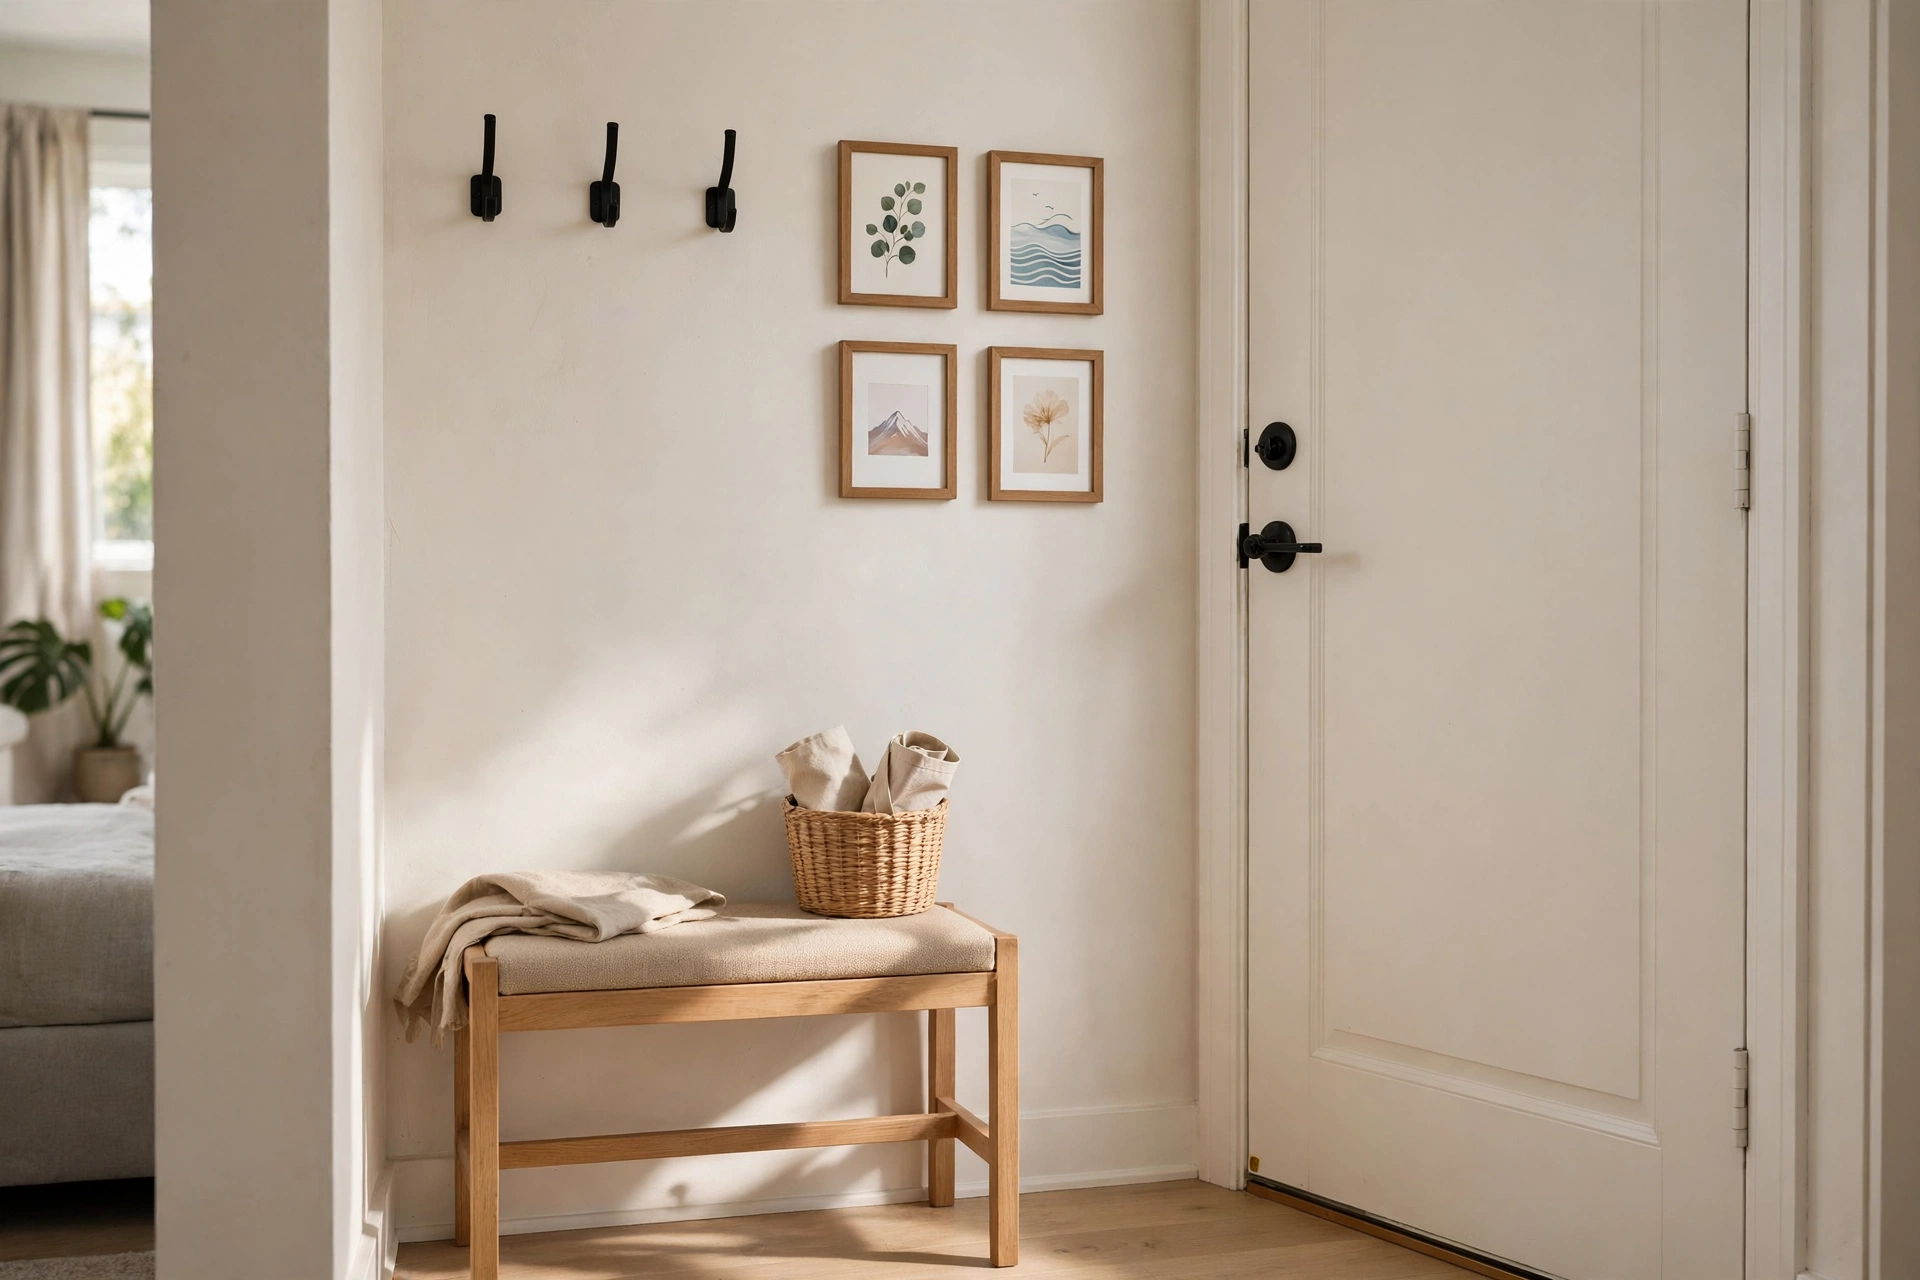
4. Start Small with an Entryway Mini-Gallery
You don’t need a huge wall to start — a tight cluster of 3–5 small frames by the front door sets the tone for the whole apartment. This is the perfect spot for postcards, ticket stubs in shadow boxes, and that one small print you couldn’t resist. Pro tip: the entryway gallery is also a great test run — if you love the arrangement process here, you’ll love it on the big living-room wall.
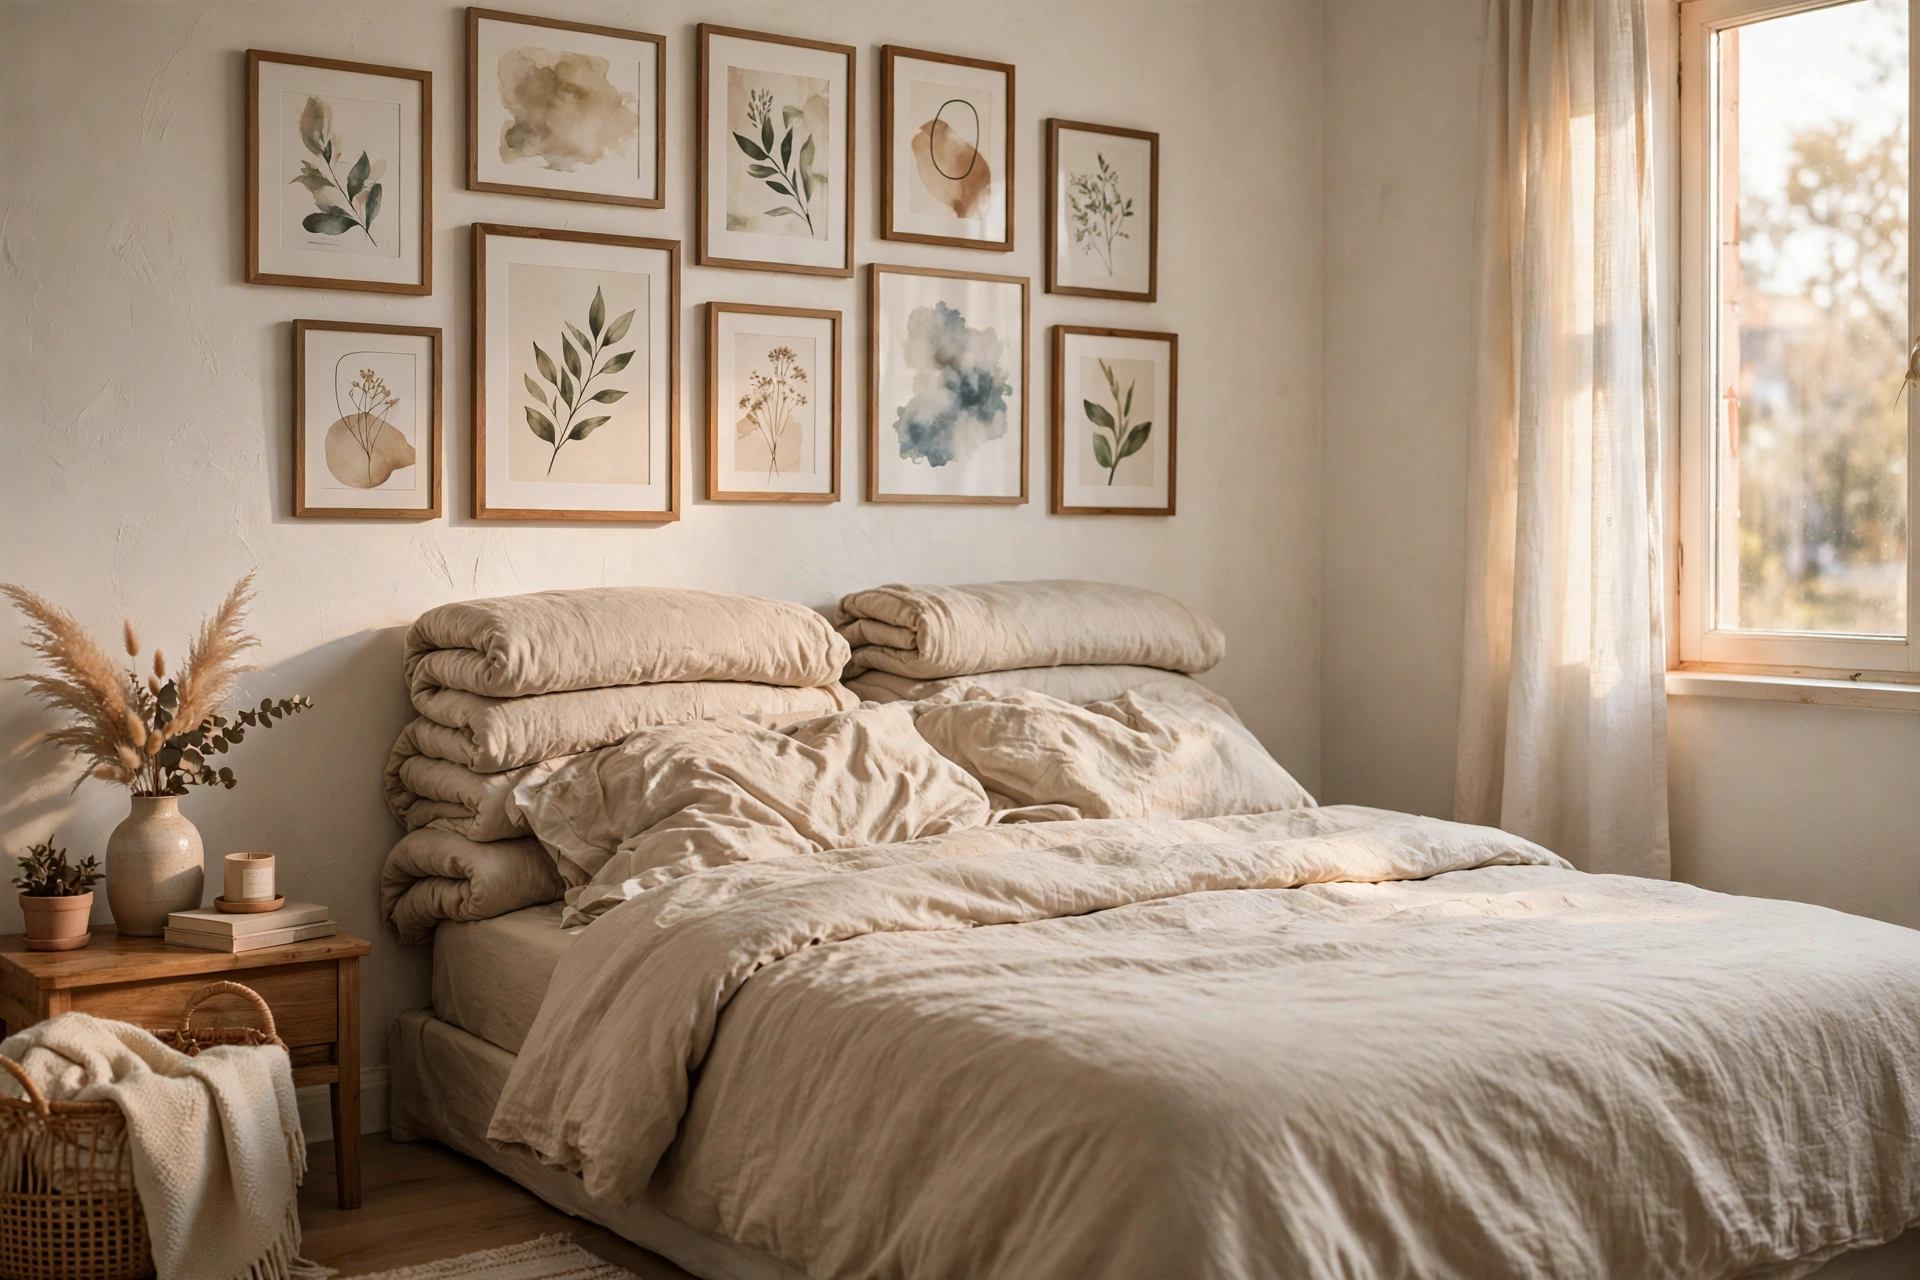
5. Use a Gallery Wall as a Headboard Substitute
No headboard? A gallery wall above the bed does the same visual job — it anchors the sleep zone and gives the eye somewhere to land. Keep the arrangement roughly the width of the bed and hang the bottom edge 6–8 inches above the mattress. For more ways to make your sleep zone feel like a real bedroom, see our small studio apartment bedroom ideas. Pro tip: use lightweight frames with adhesive strips here — nobody wants a heavy frame falling on them mid-sleep.
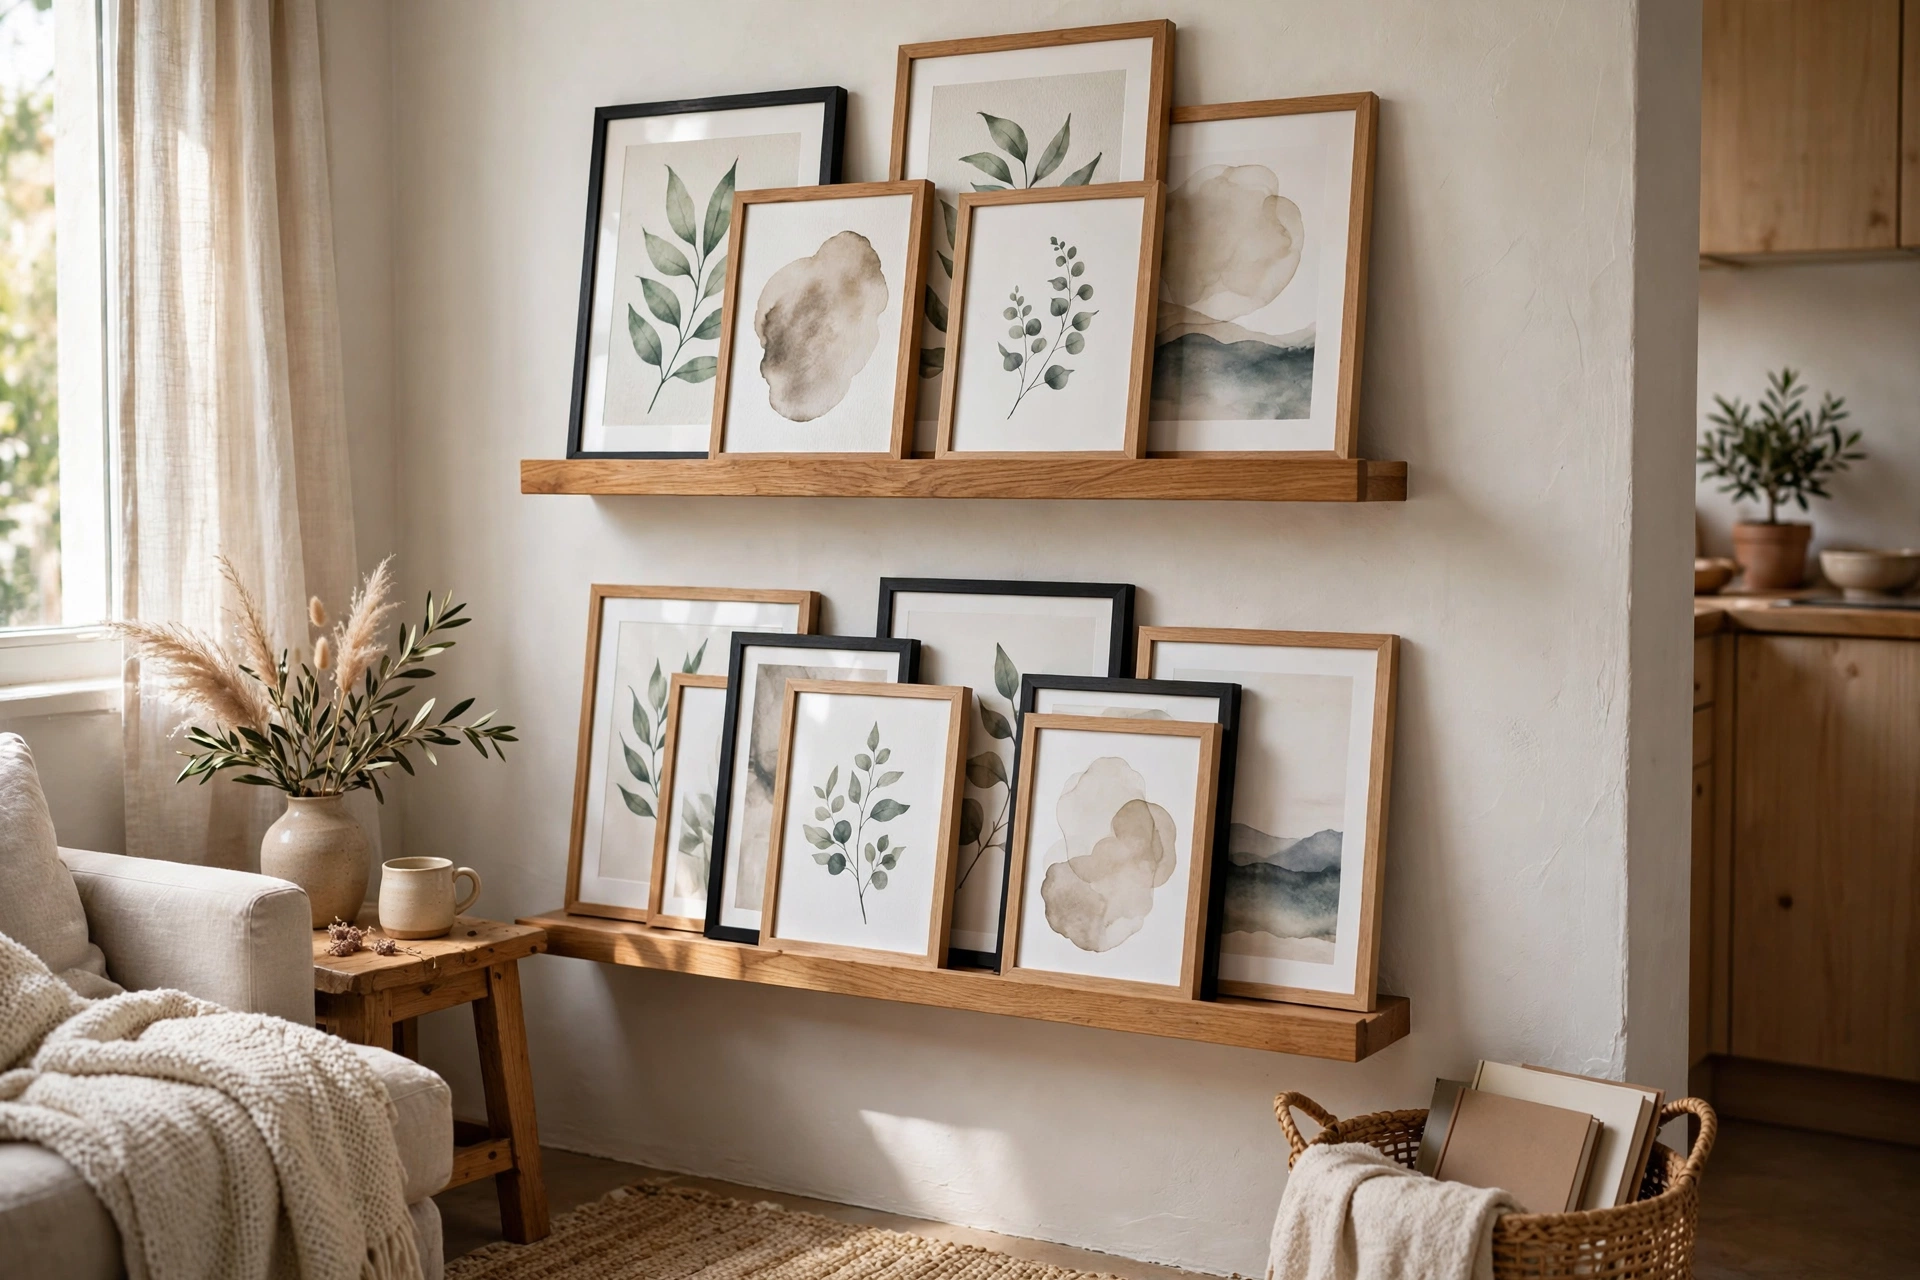
6. Display Art on a Picture Ledge Instead
Picture ledges (IKEA MOSSLANDA, about $10 for a 45-inch ledge) let you layer framed art without a single nail — just lean and overlap. The magic is in the rearranging: swap pieces seasonally in seconds. Mount two or three ledges in a column for a full gallery effect. Pro tip: put the largest piece at the back and layer smaller frames in front, slightly overlapping — depth makes it look styled, not stored.
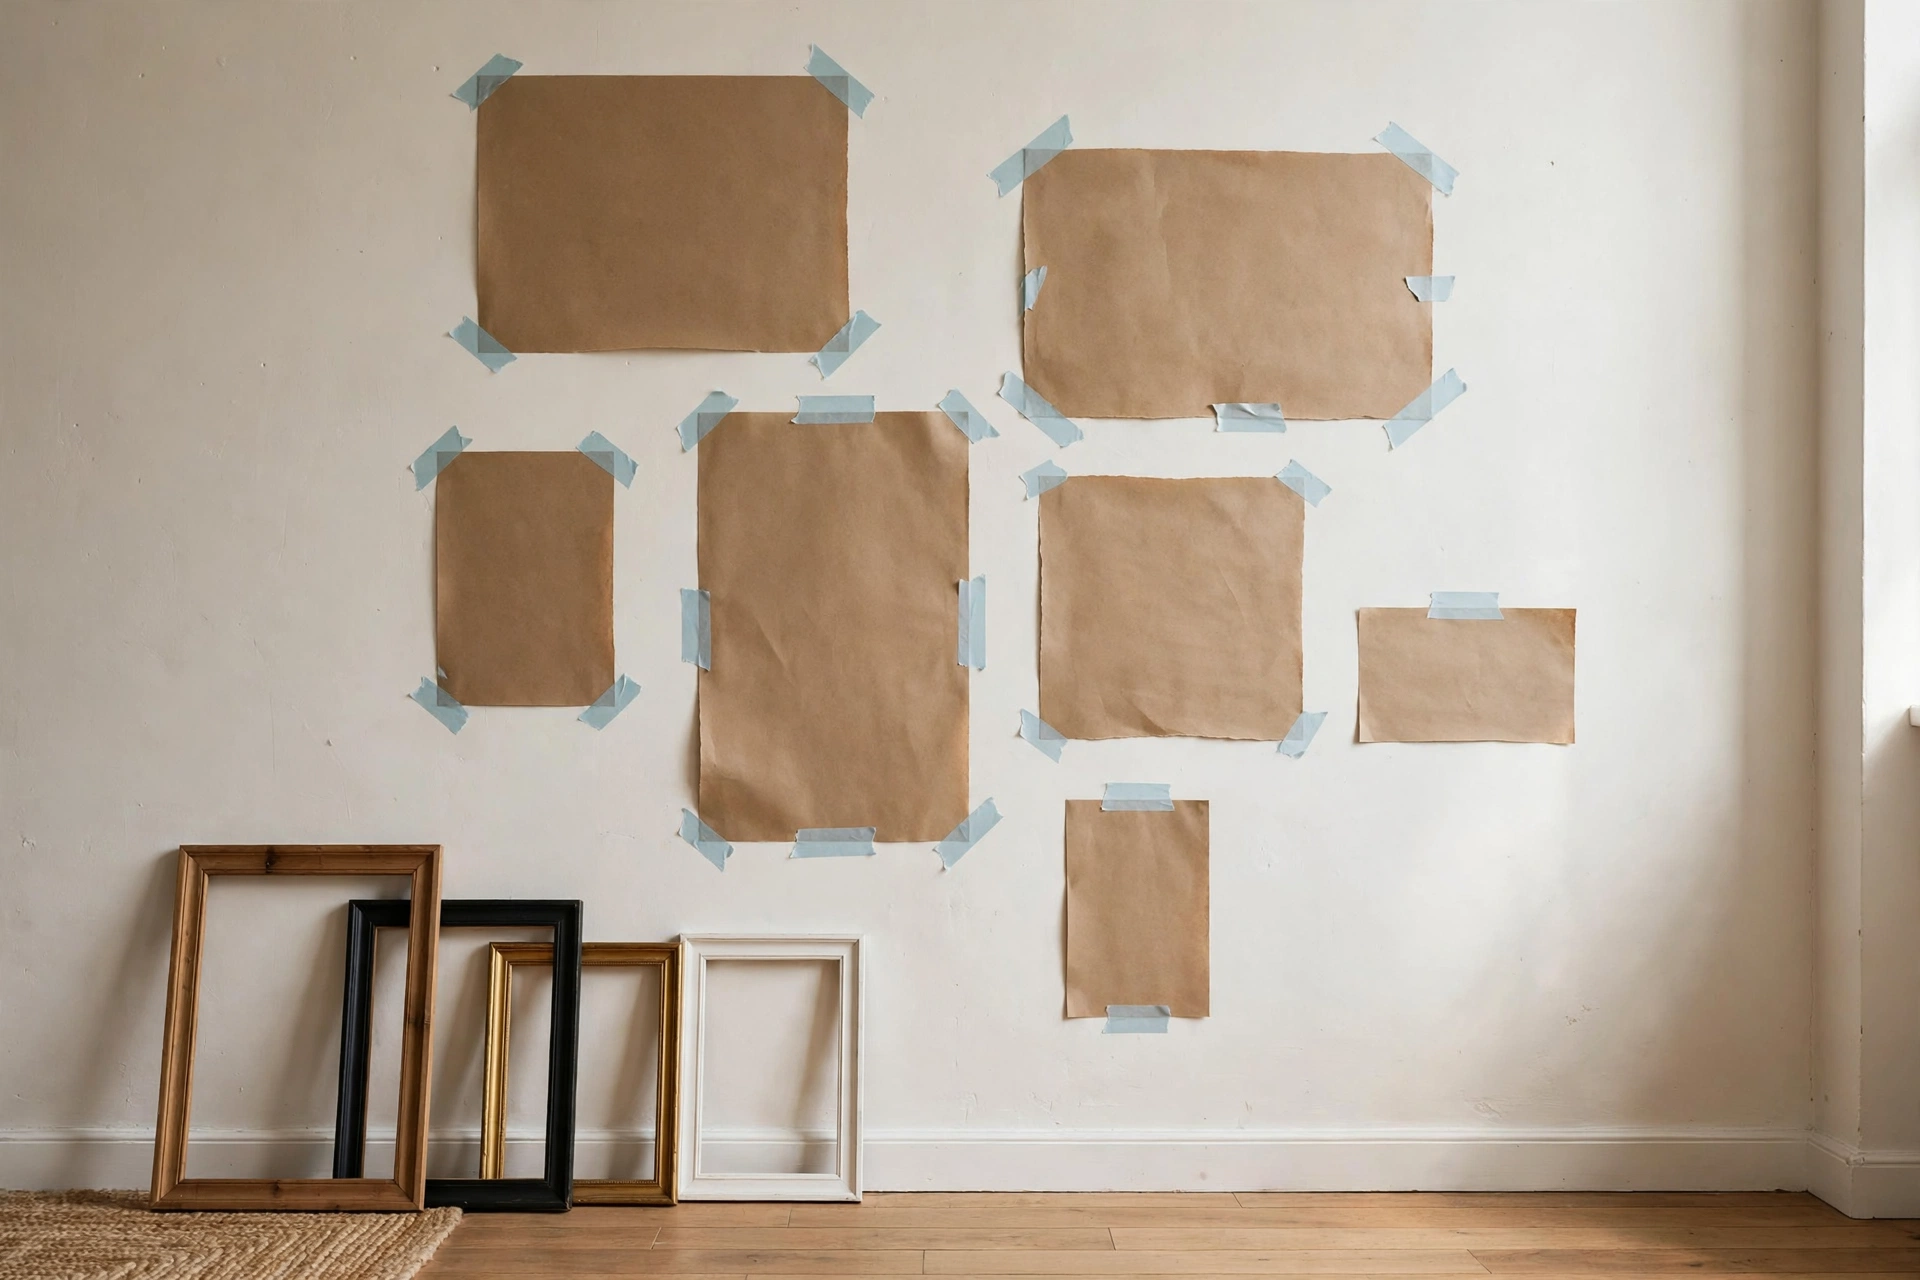
7. Plan with Paper Templates First
The number-one gallery wall mistake is winging the layout directly on the wall. Instead, trace each frame on kraft paper, cut out the shapes, and tape them to the wall with painter’s tape. Live with the arrangement for a day, adjust, then hang. Pro tip: mark the nail or strip position on each paper template — when you remove the paper, you’ll know exactly where every frame goes.
Go Big: Statement Pieces
Sometimes one bold piece does more than twenty small ones — especially in a studio, where a single large artwork can define an entire zone. Here’s how to go big without going wrong.
8. Hang One Oversized Canvas
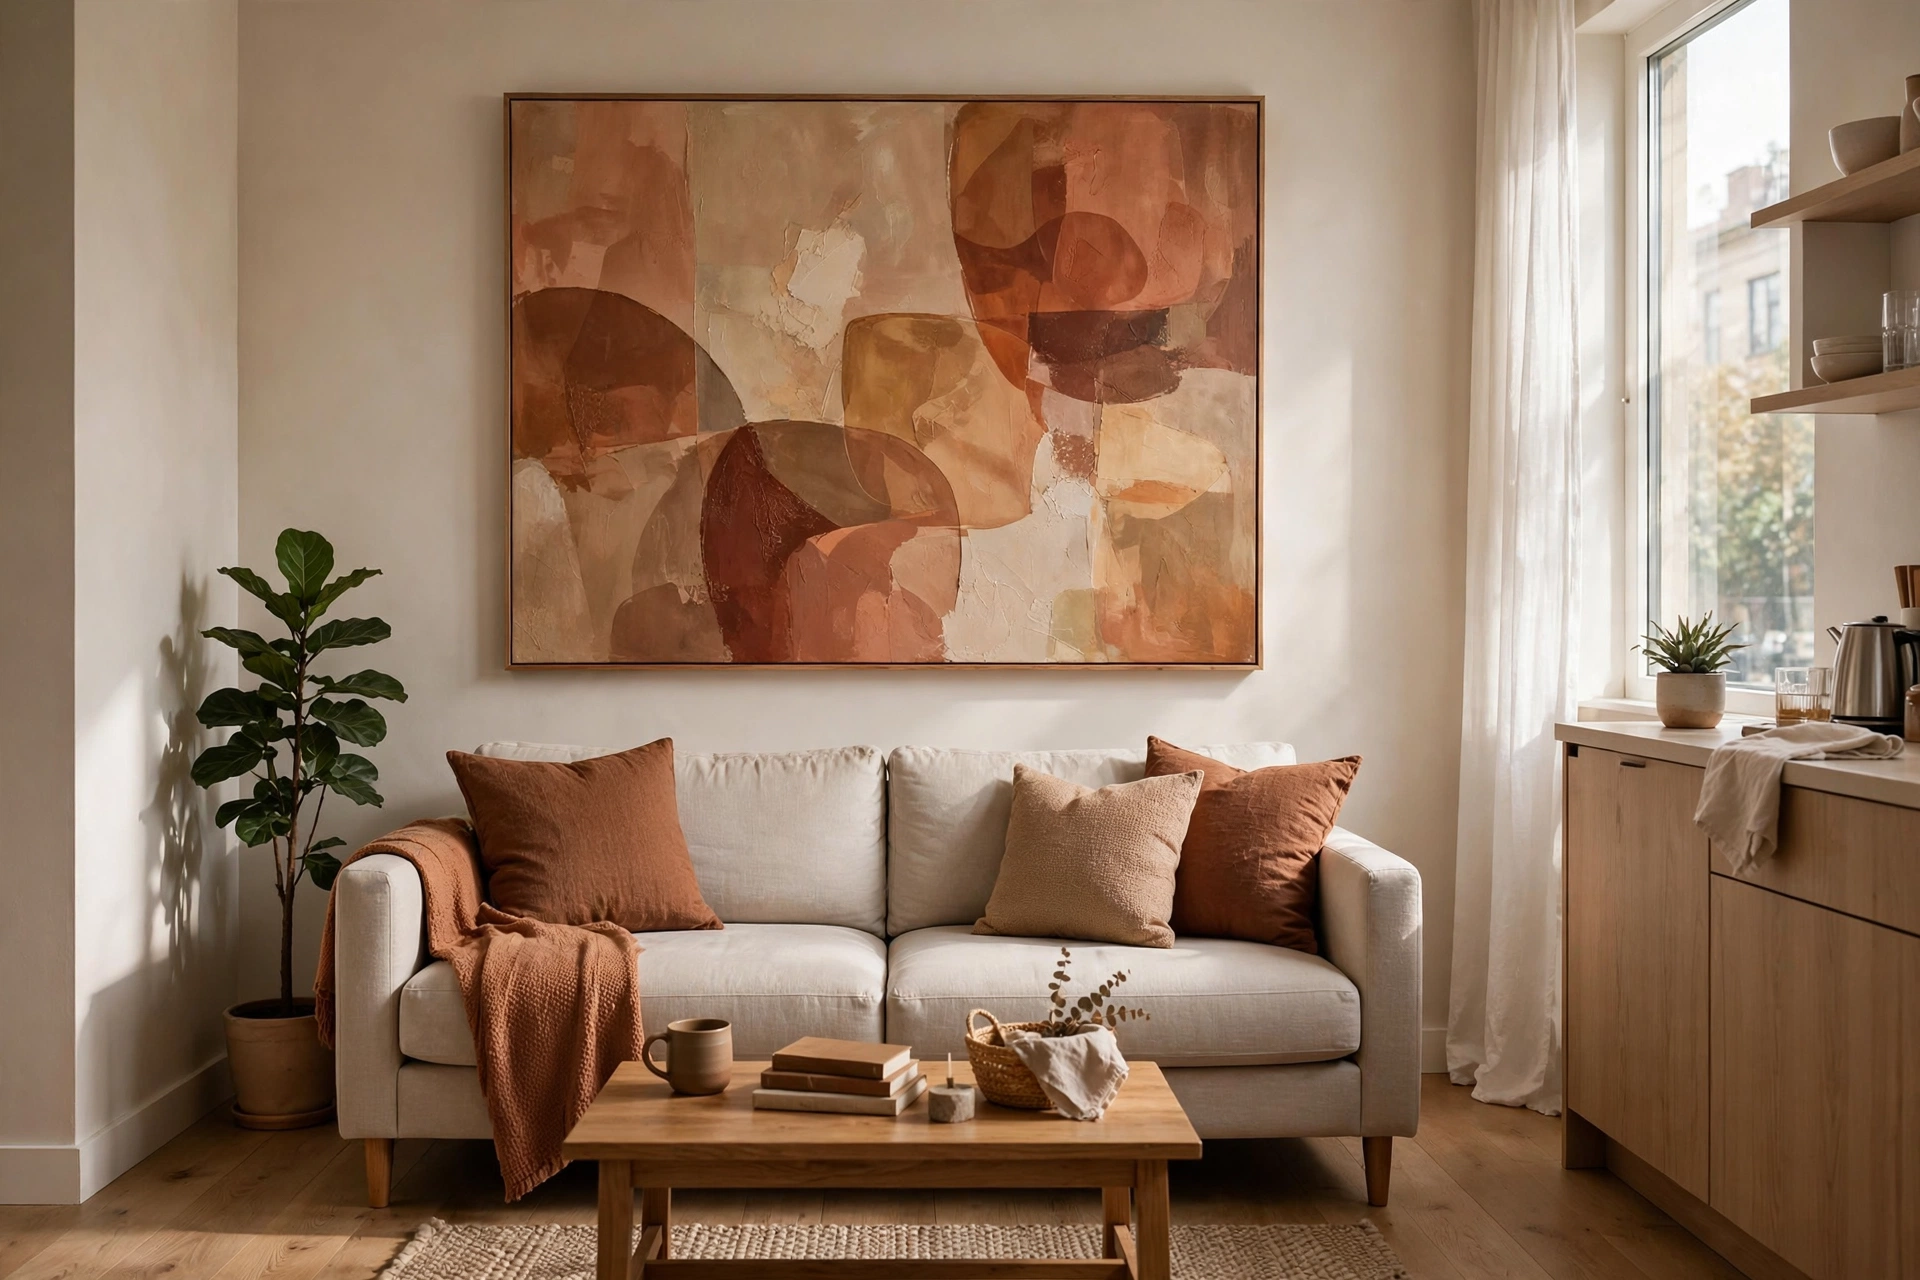
A single large canvas (36×48 inches or bigger) above the sofa or on the main wall creates instant drama and makes the room feel larger — the eye reads one big piece as confidence. Budget-friendly oversized canvases run $40–$90 at IKEA, Target, or Society6. Pro tip: abstract pieces in your room’s accent colors tie the whole space together; pull two colors from the canvas for your throw pillows and the room will look professionally designed. Steal a palette from our studio apartment color schemes guide first.
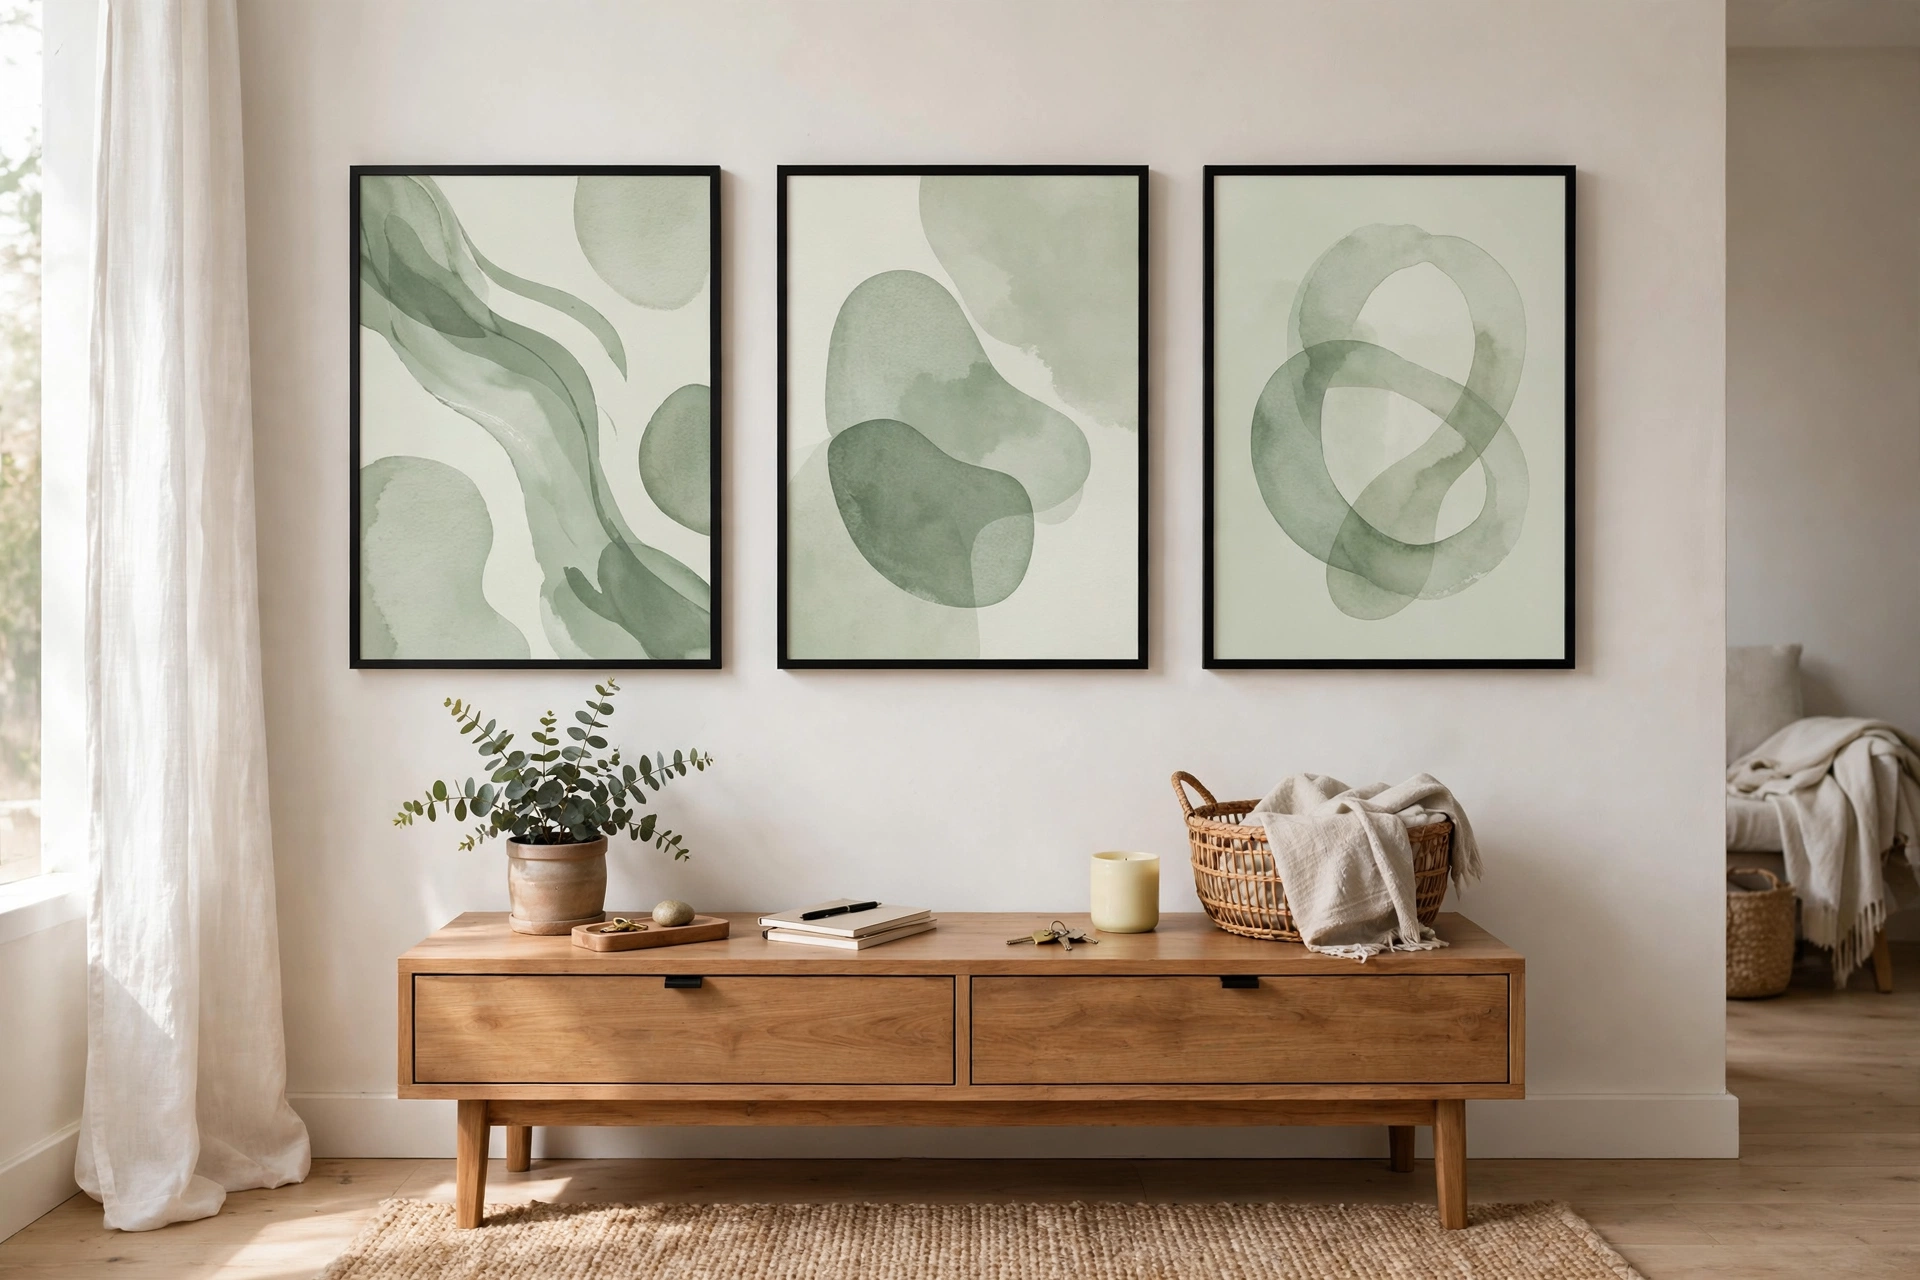
9. Split It Into a Triptych
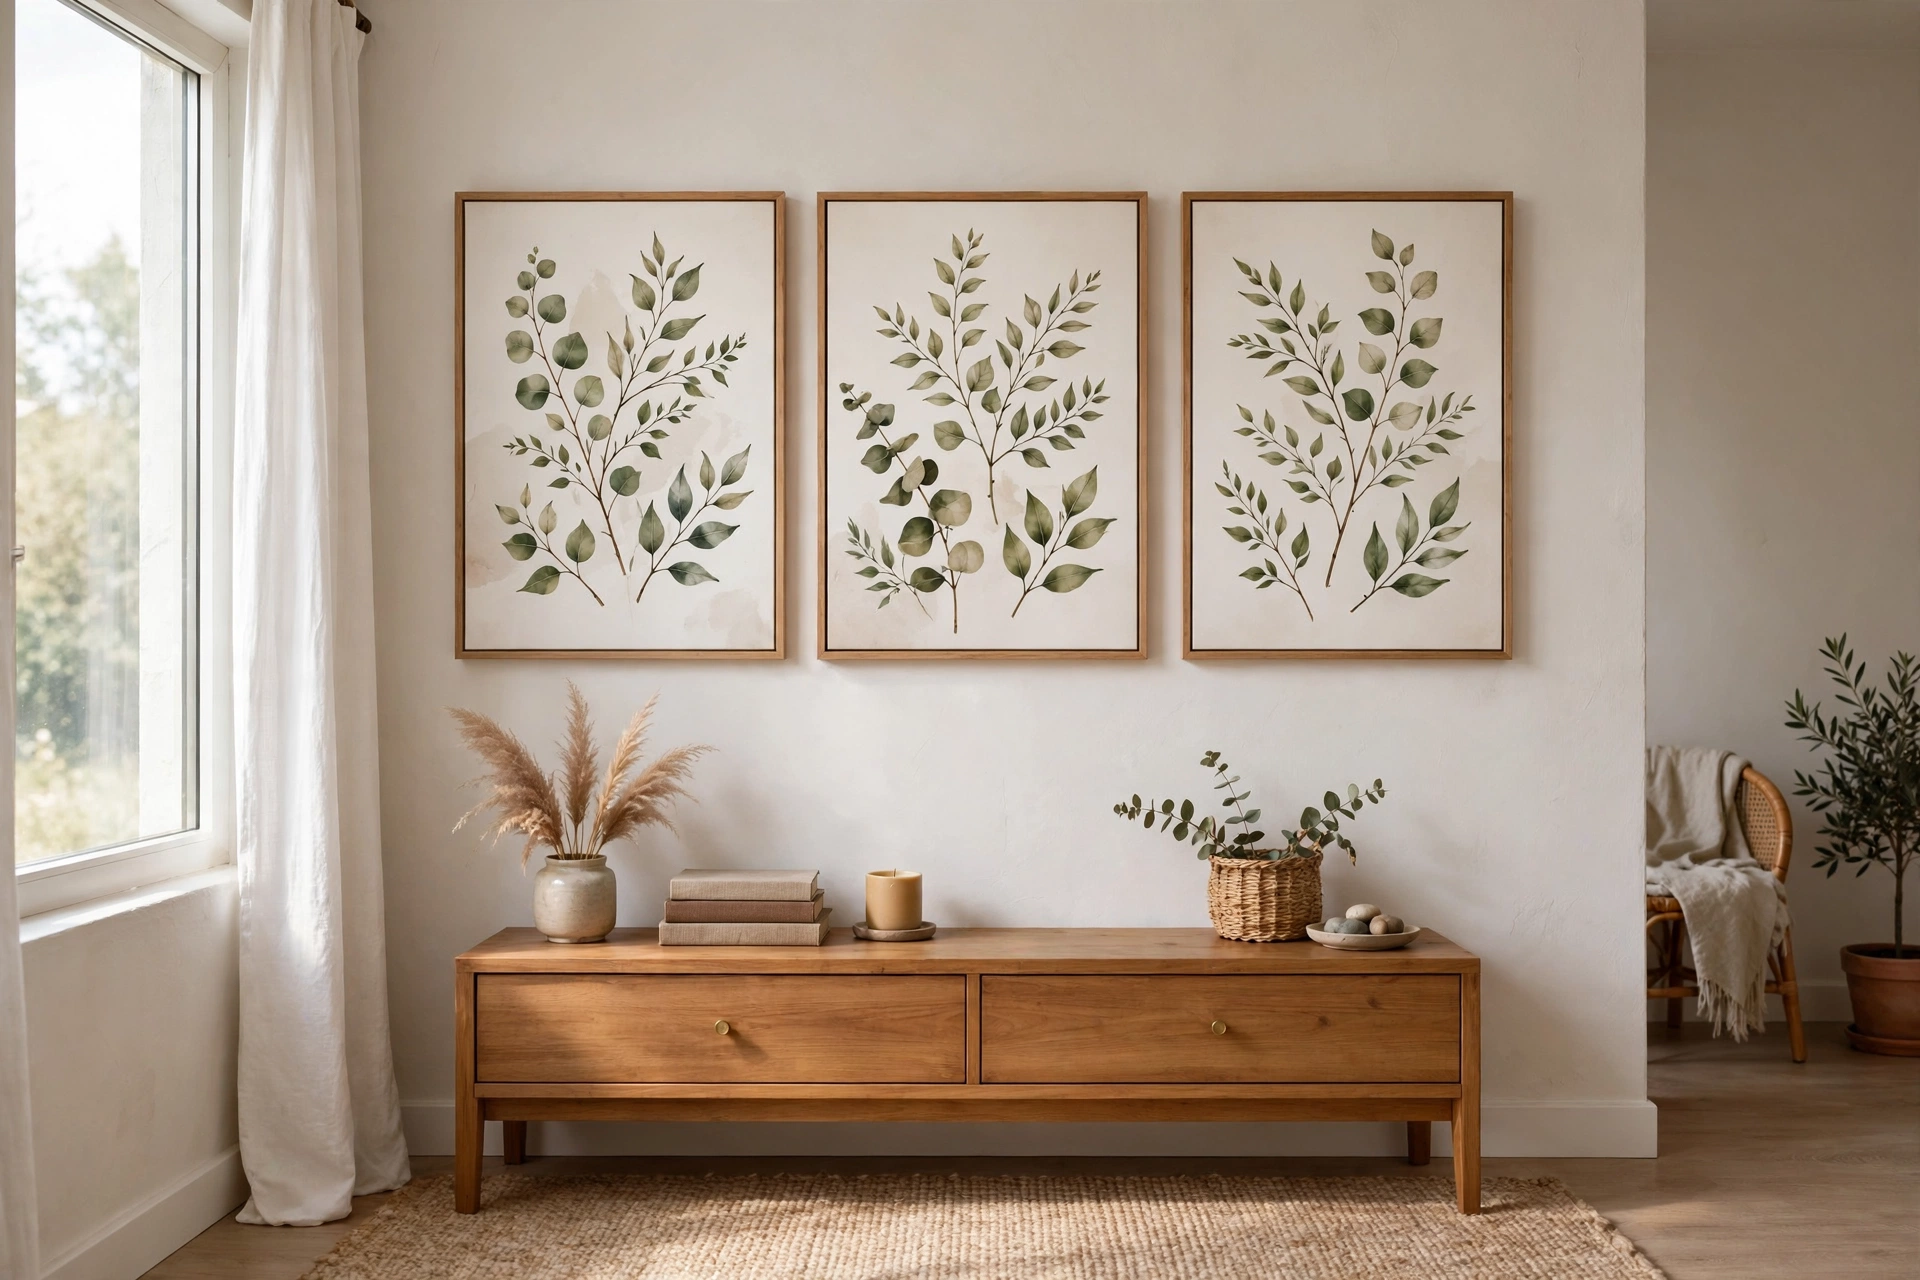
Can’t find (or afford) one huge piece? Three matching panels hung in a row — a triptych — deliver the same impact for less. Many print shops sell triptych sets for $30–$60, or split one panoramic photo across three canvases yourself. Pro tip: leave 2–4 inches between panels; the gaps are part of the design and make the set feel intentional rather than broken up.
10. Lean Oversized Art Against the Wall
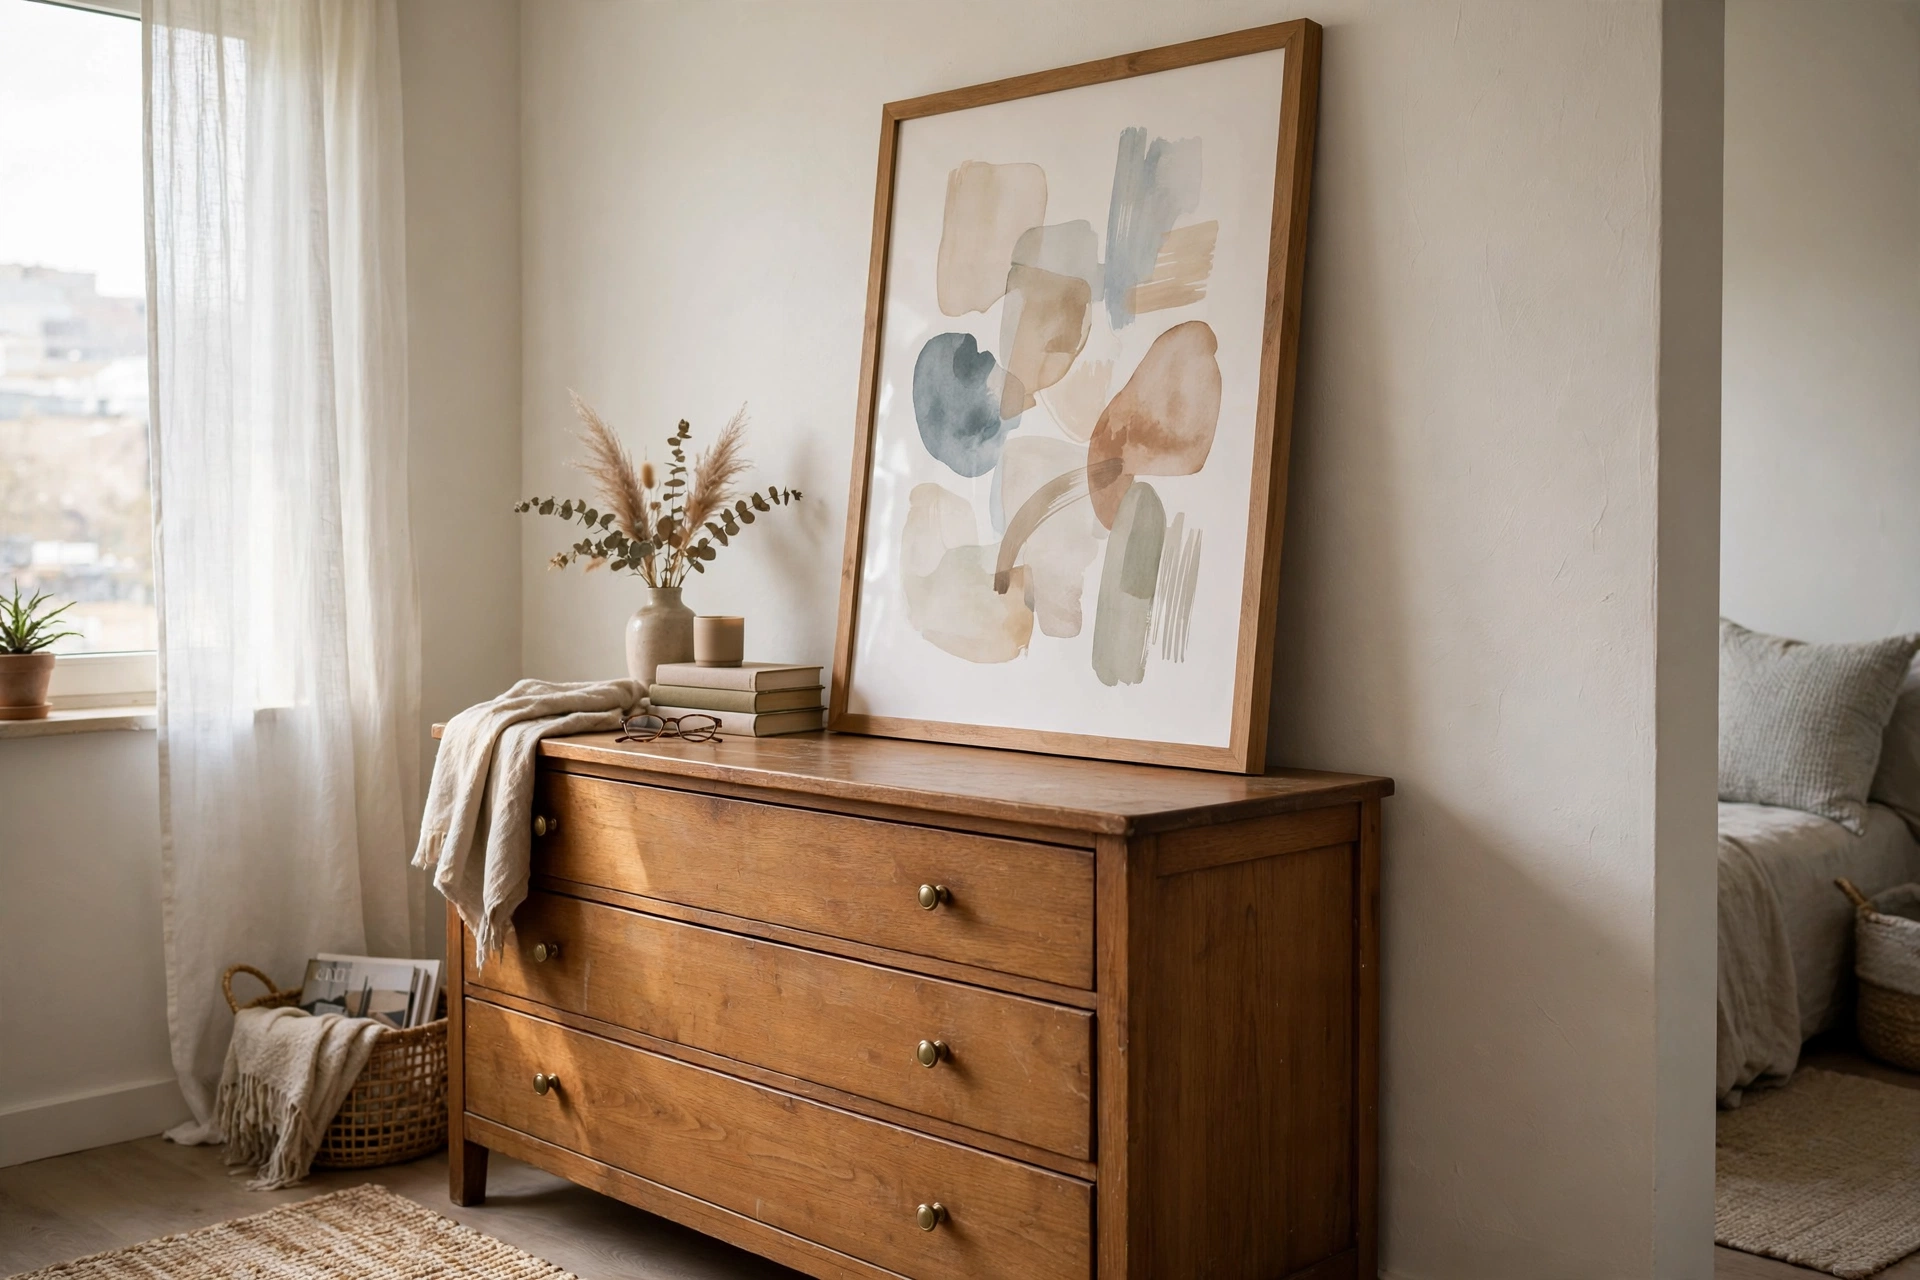
The ultimate renter move: buy the biggest frame you can find and simply lean it against the wall on top of a dresser, console, or even the floor. Zero holes, maximum drama, and you can move it in seconds. Pro tip: leaning art looks best when it’s genuinely oversized — at least 30 inches in one dimension. Small leaned frames look like they fell off the wall.
11. Size Art to the Sofa: The Two-Thirds Rule
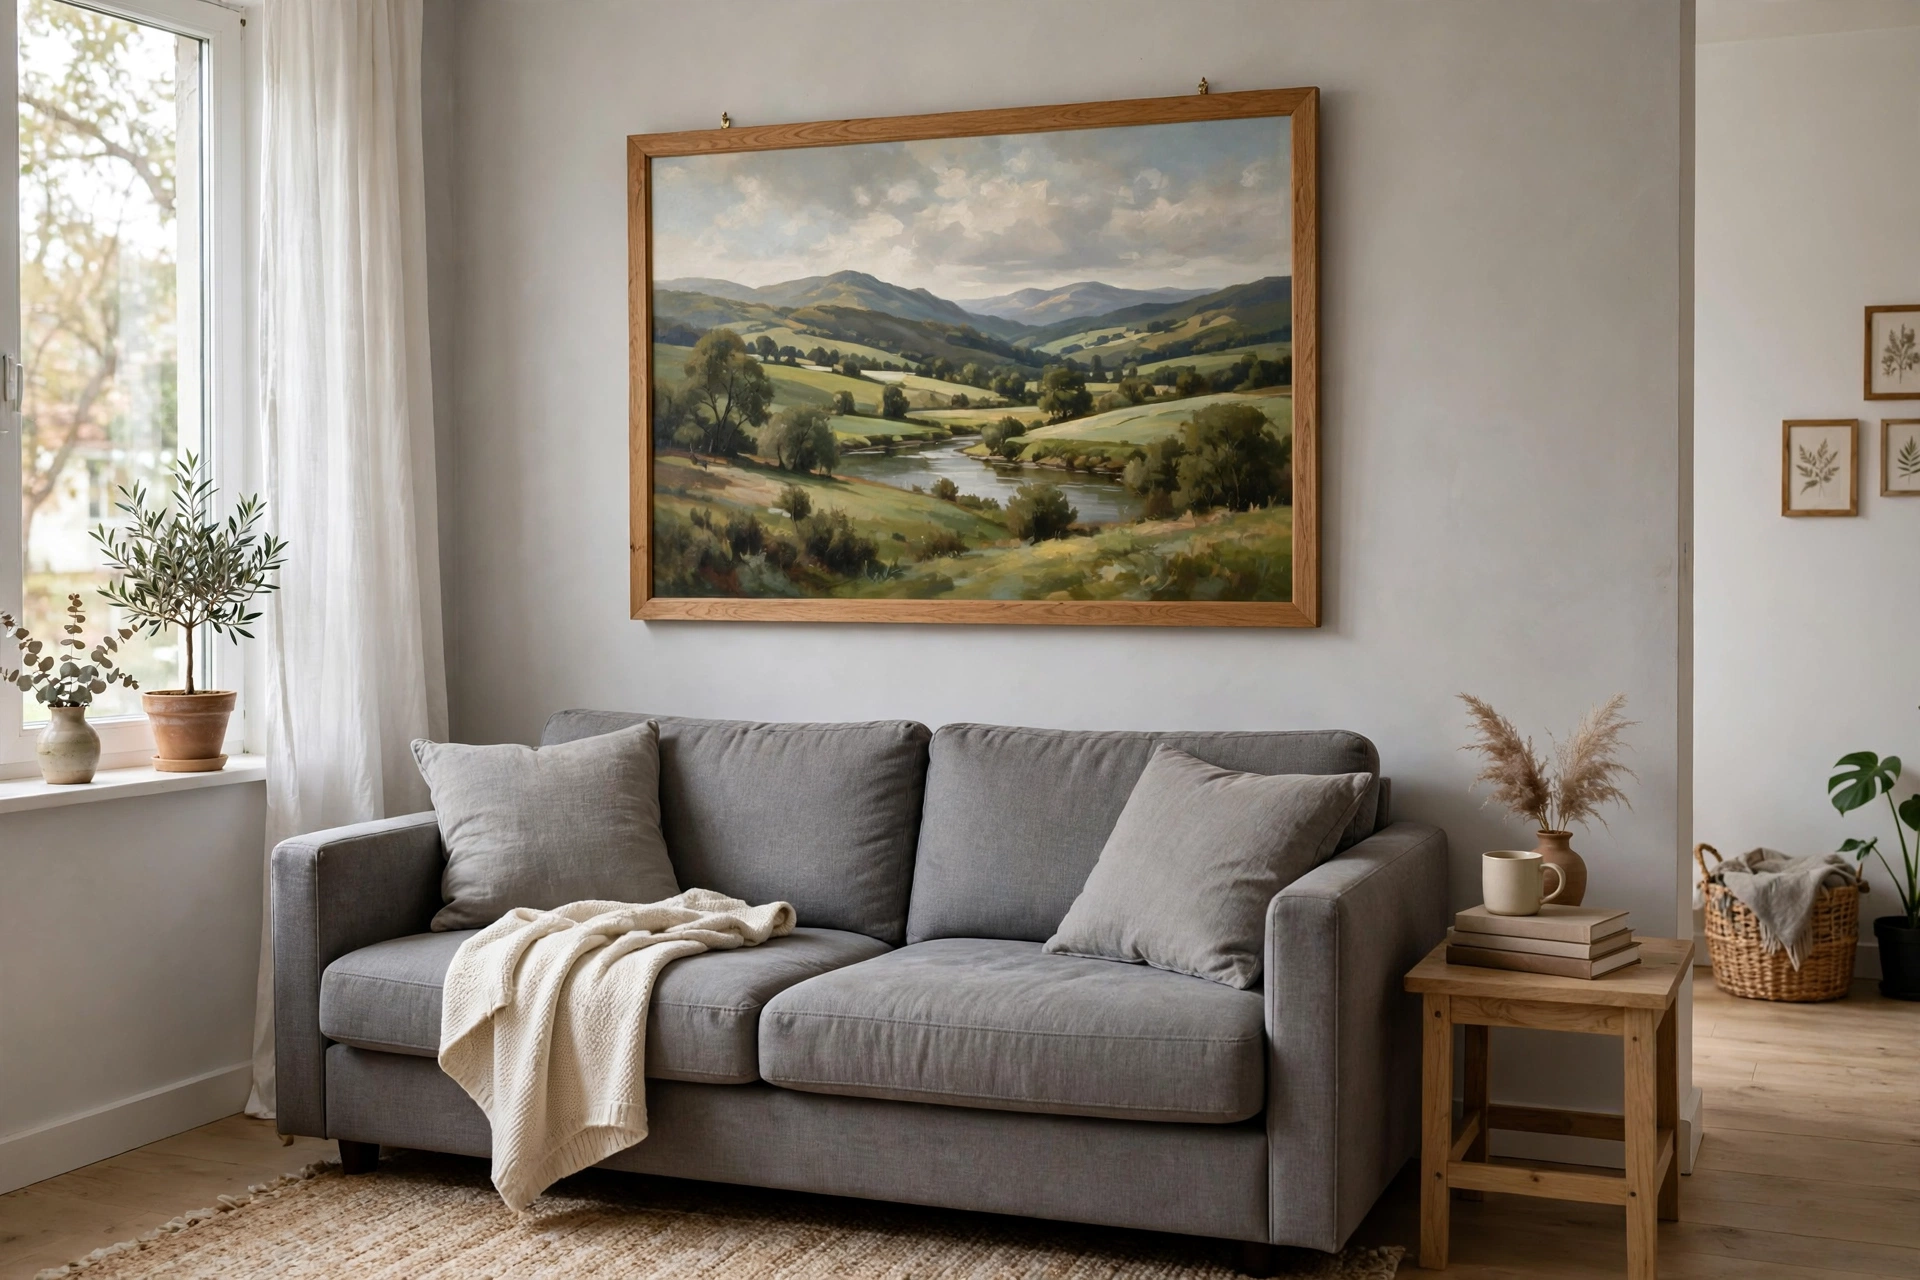
The most common wall art mistake in small apartments is hanging art that’s too small for the furniture below it. The fix: art above a sofa should span roughly two-thirds the sofa’s width. A 72-inch sofa wants about 48 inches of art — one large piece or a tight grouping. For the full rundown of scale mistakes, see our apartment decorating mistakes to avoid. Pro tip: measure the sofa, multiply by 0.66, and don’t buy art until you know your number.
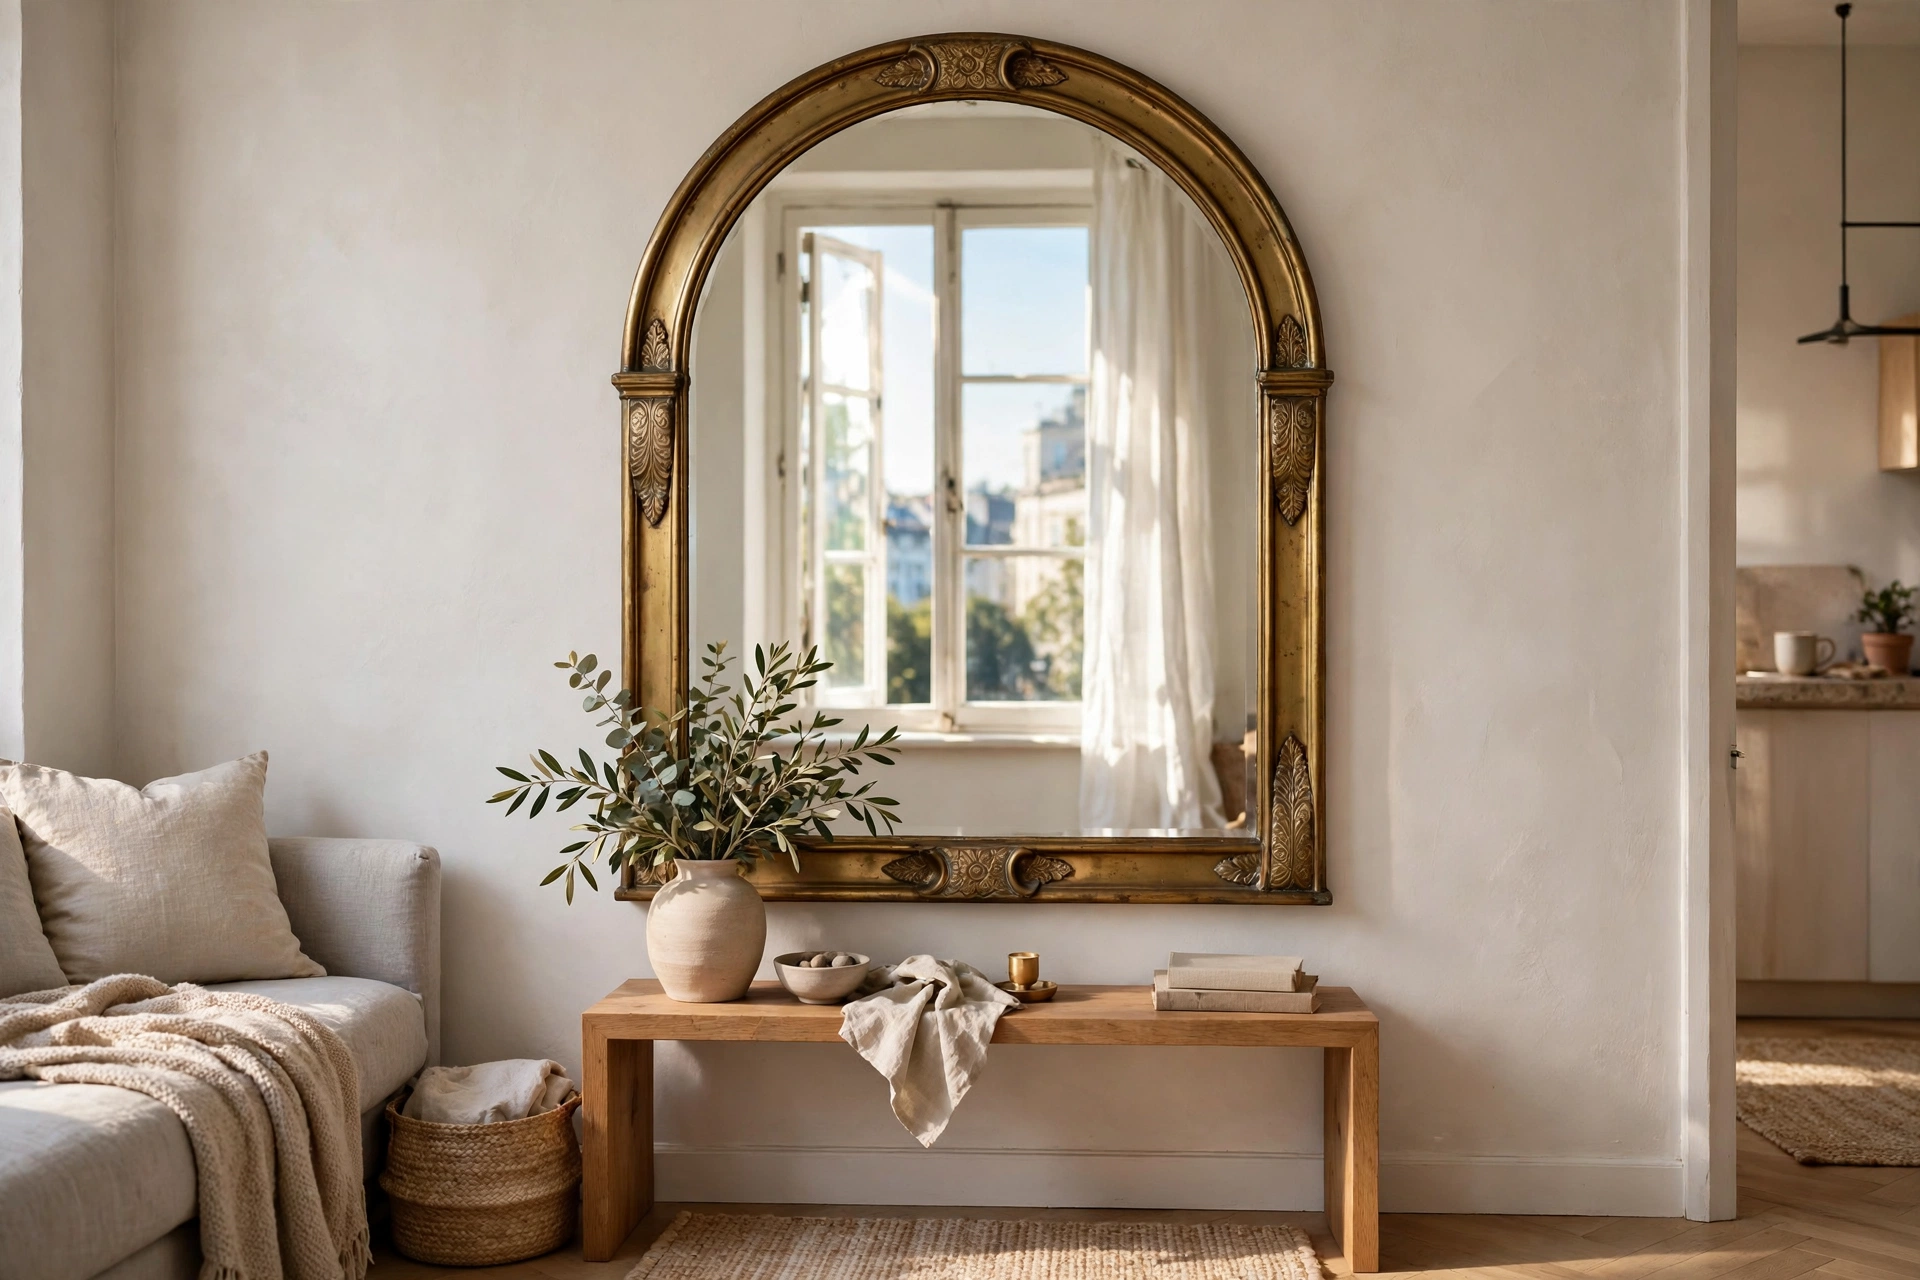
12. Treat a Statement Mirror as Art
A large decorative mirror — sunburst, arched, or an ornate vintage find — functions exactly like art while also bouncing light and doubling visual space. In a studio, that’s triple duty. Thrift stores regularly have interesting mirrors for $10–$30. Pro tip: hang the mirror where it reflects a window or your best-styled corner, never where it reflects clutter.
Renter-Friendly Hanging: Zero Holes
Your security deposit called — it wants you to hang art without drilling. These six methods hold real weight and remove cleanly.
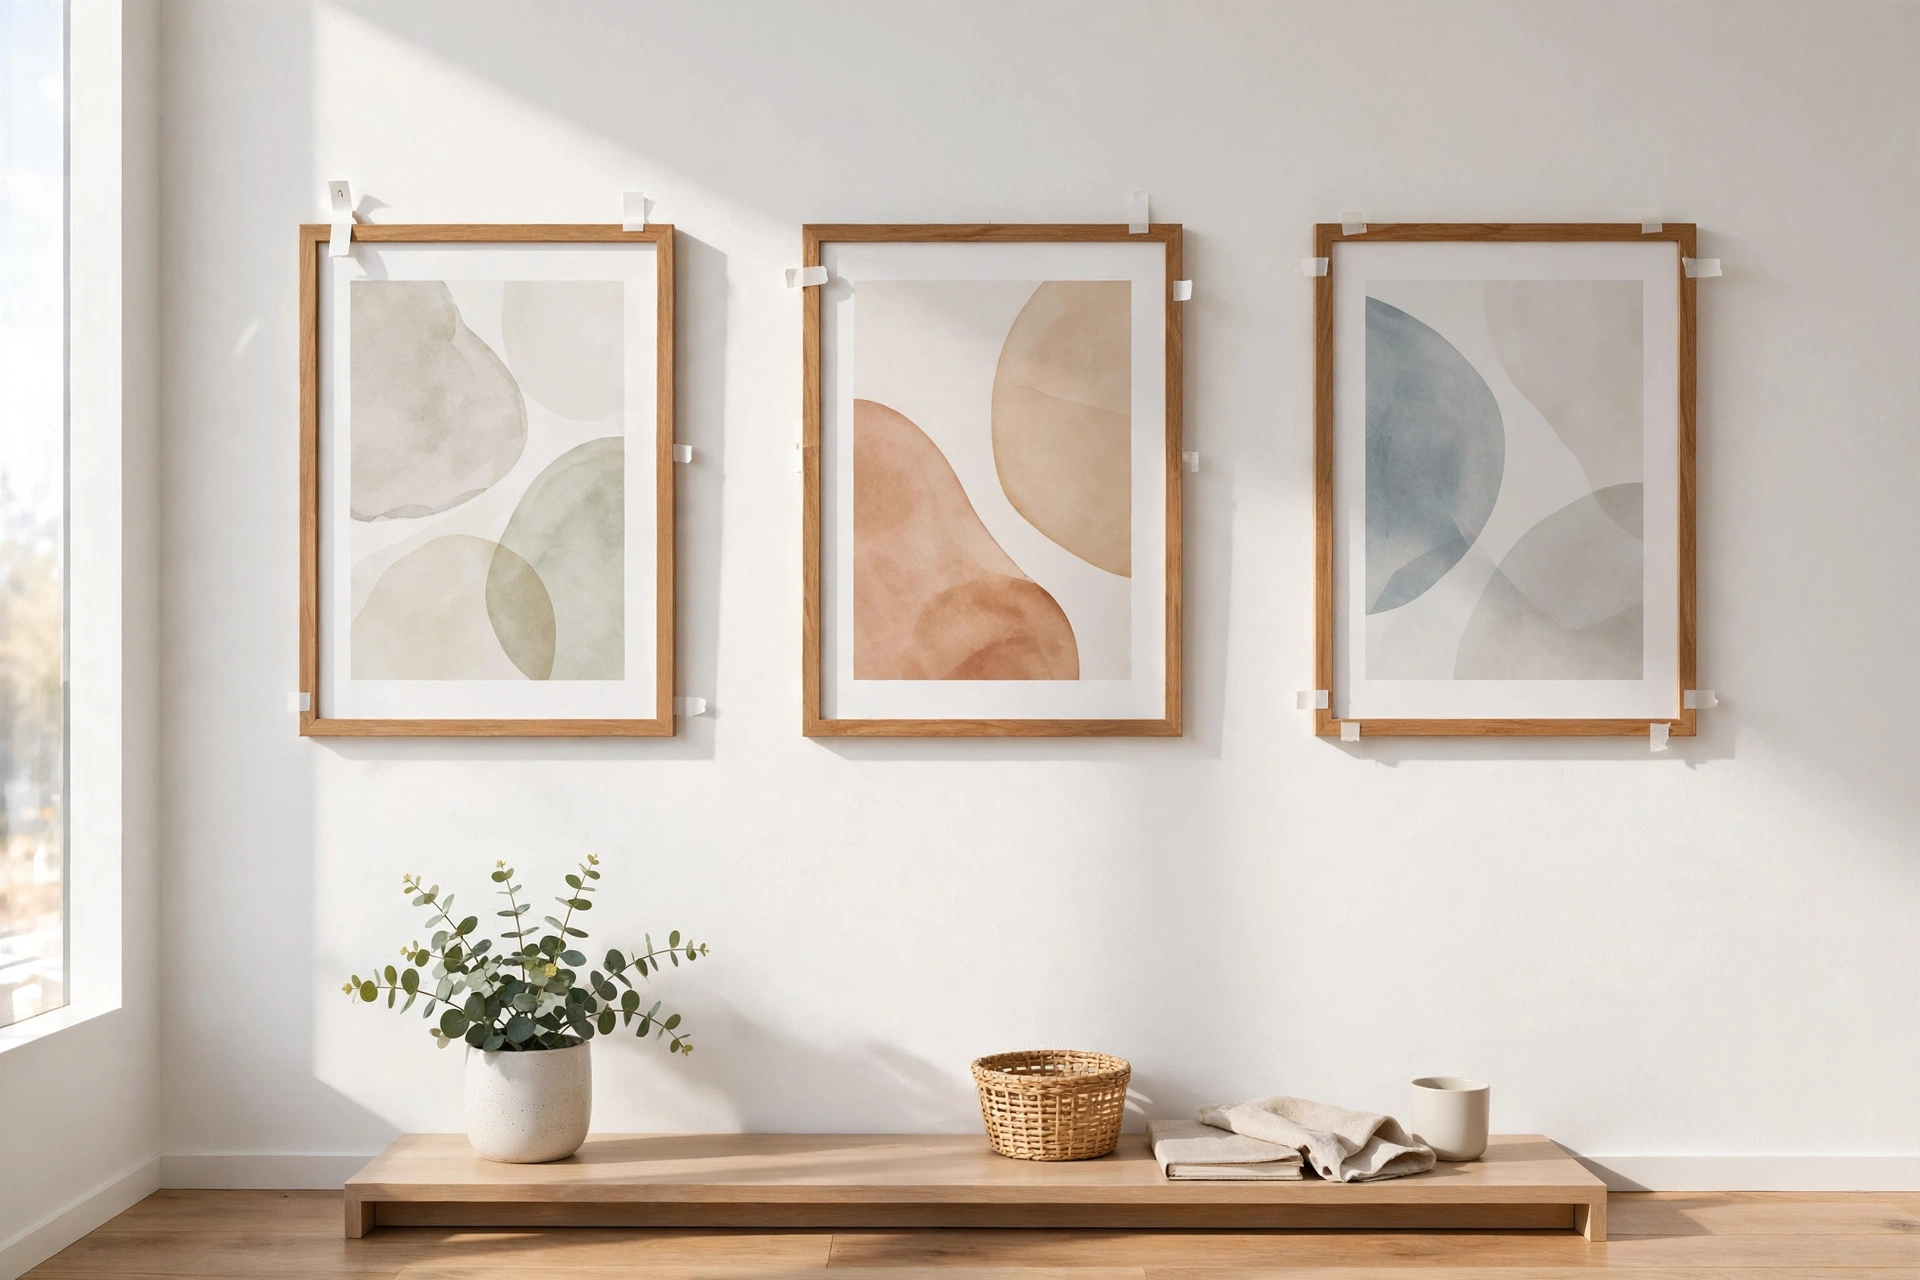
13. Master Adhesive Hanging Strips
3M Command picture-hanging strips hold up to 16 pounds per set of four — enough for most framed prints — and pull off cleanly with the tab. They’re the renter’s best friend for gallery walls. A value pack runs about $12–$15. Pro tip: press the strips to the wall for a full 60 seconds during application, then wait an hour before hanging the frame — patience is what makes them hold.
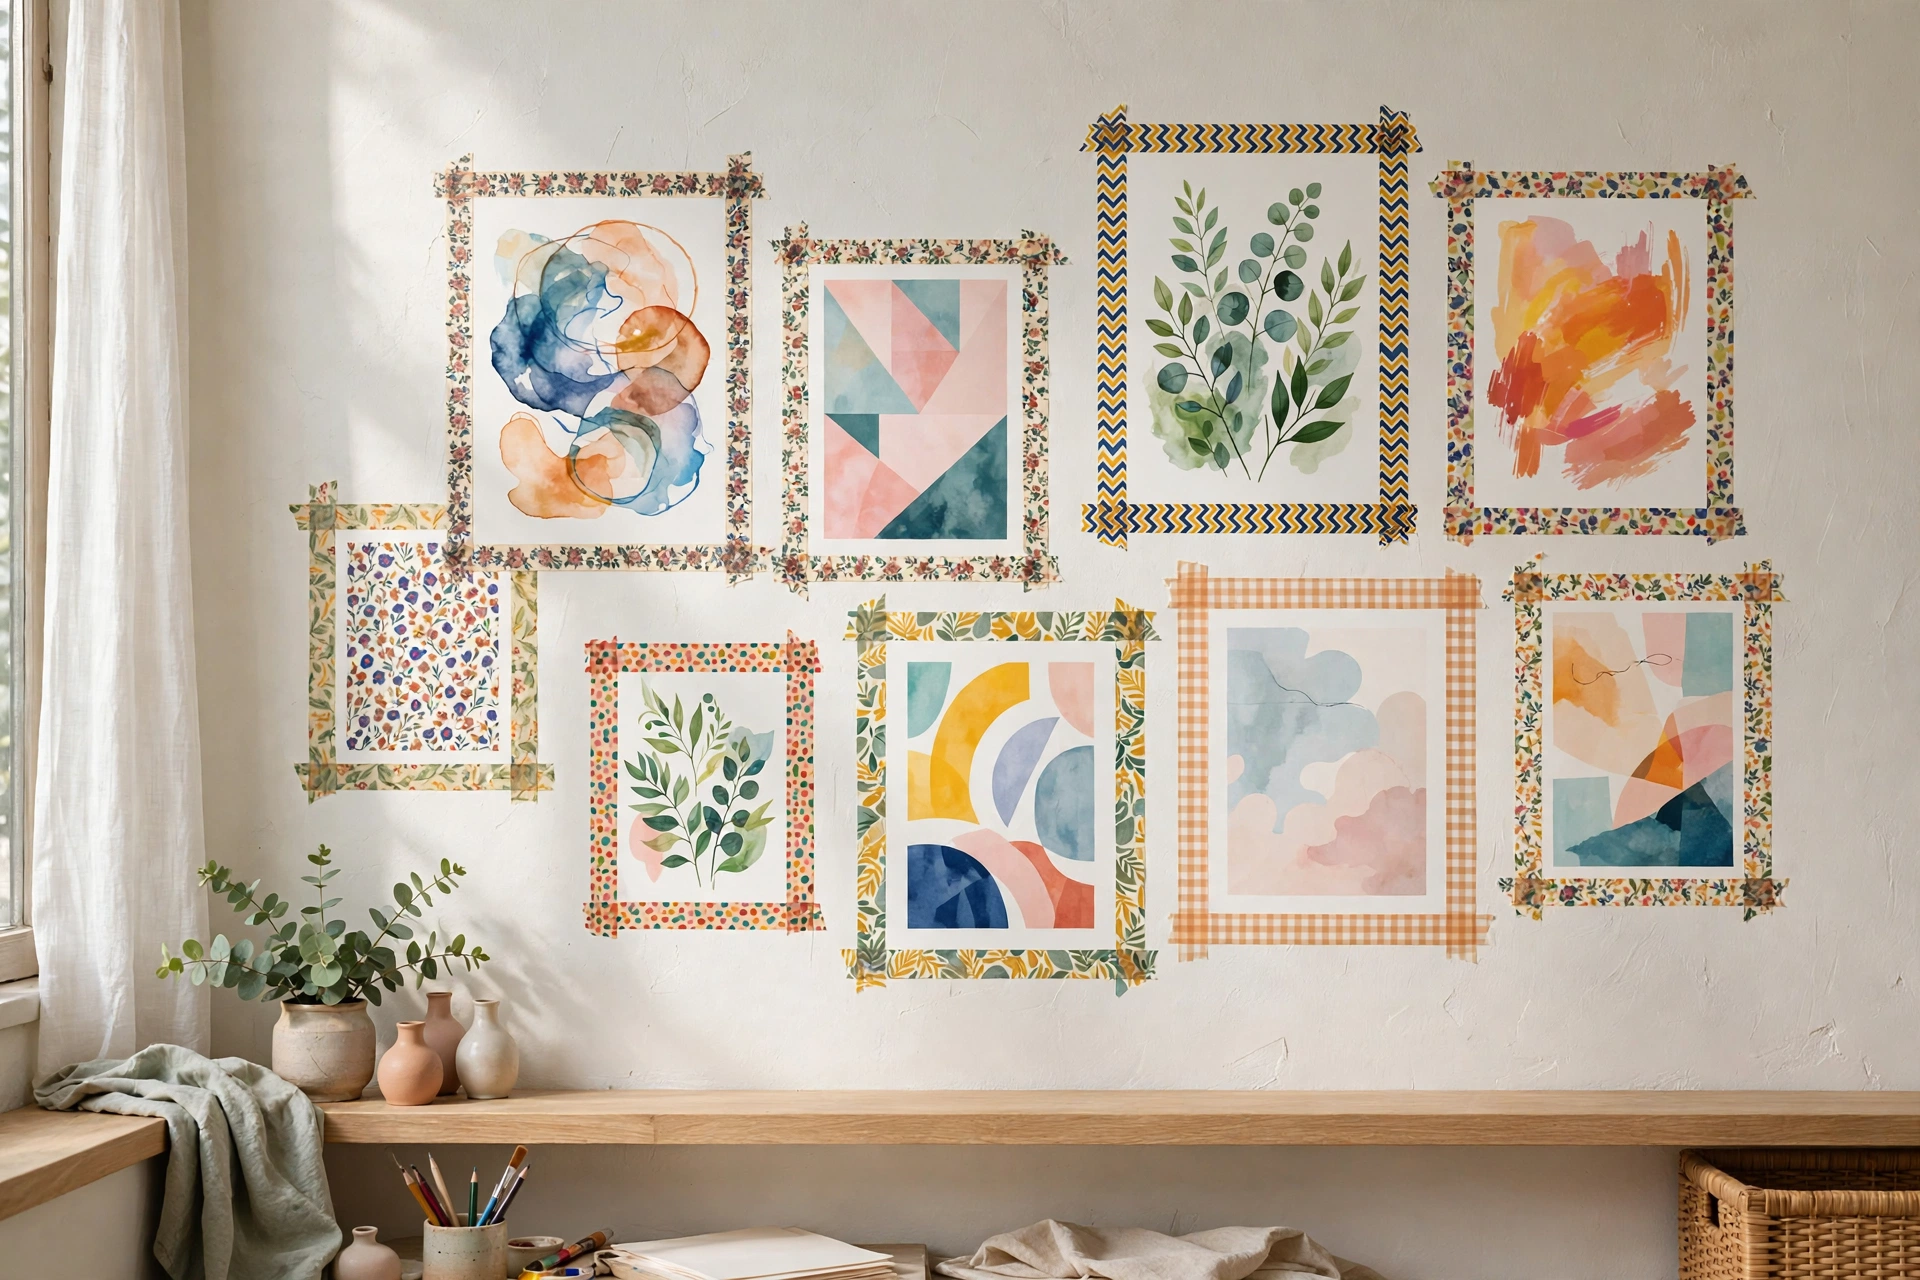
14. Frame Prints with Washi Tape
Skip the frame entirely: stick a print to the wall and “frame” it with patterned washi tape. It’s graphic, playful, costs under $5, and peels off without a trace. This works brilliantly for kids’ art, postcards, and magazine tear-outs. Pro tip: use two layers of tape — one to hold the print, one decorative border on top — so the pretty layer never touches the art.
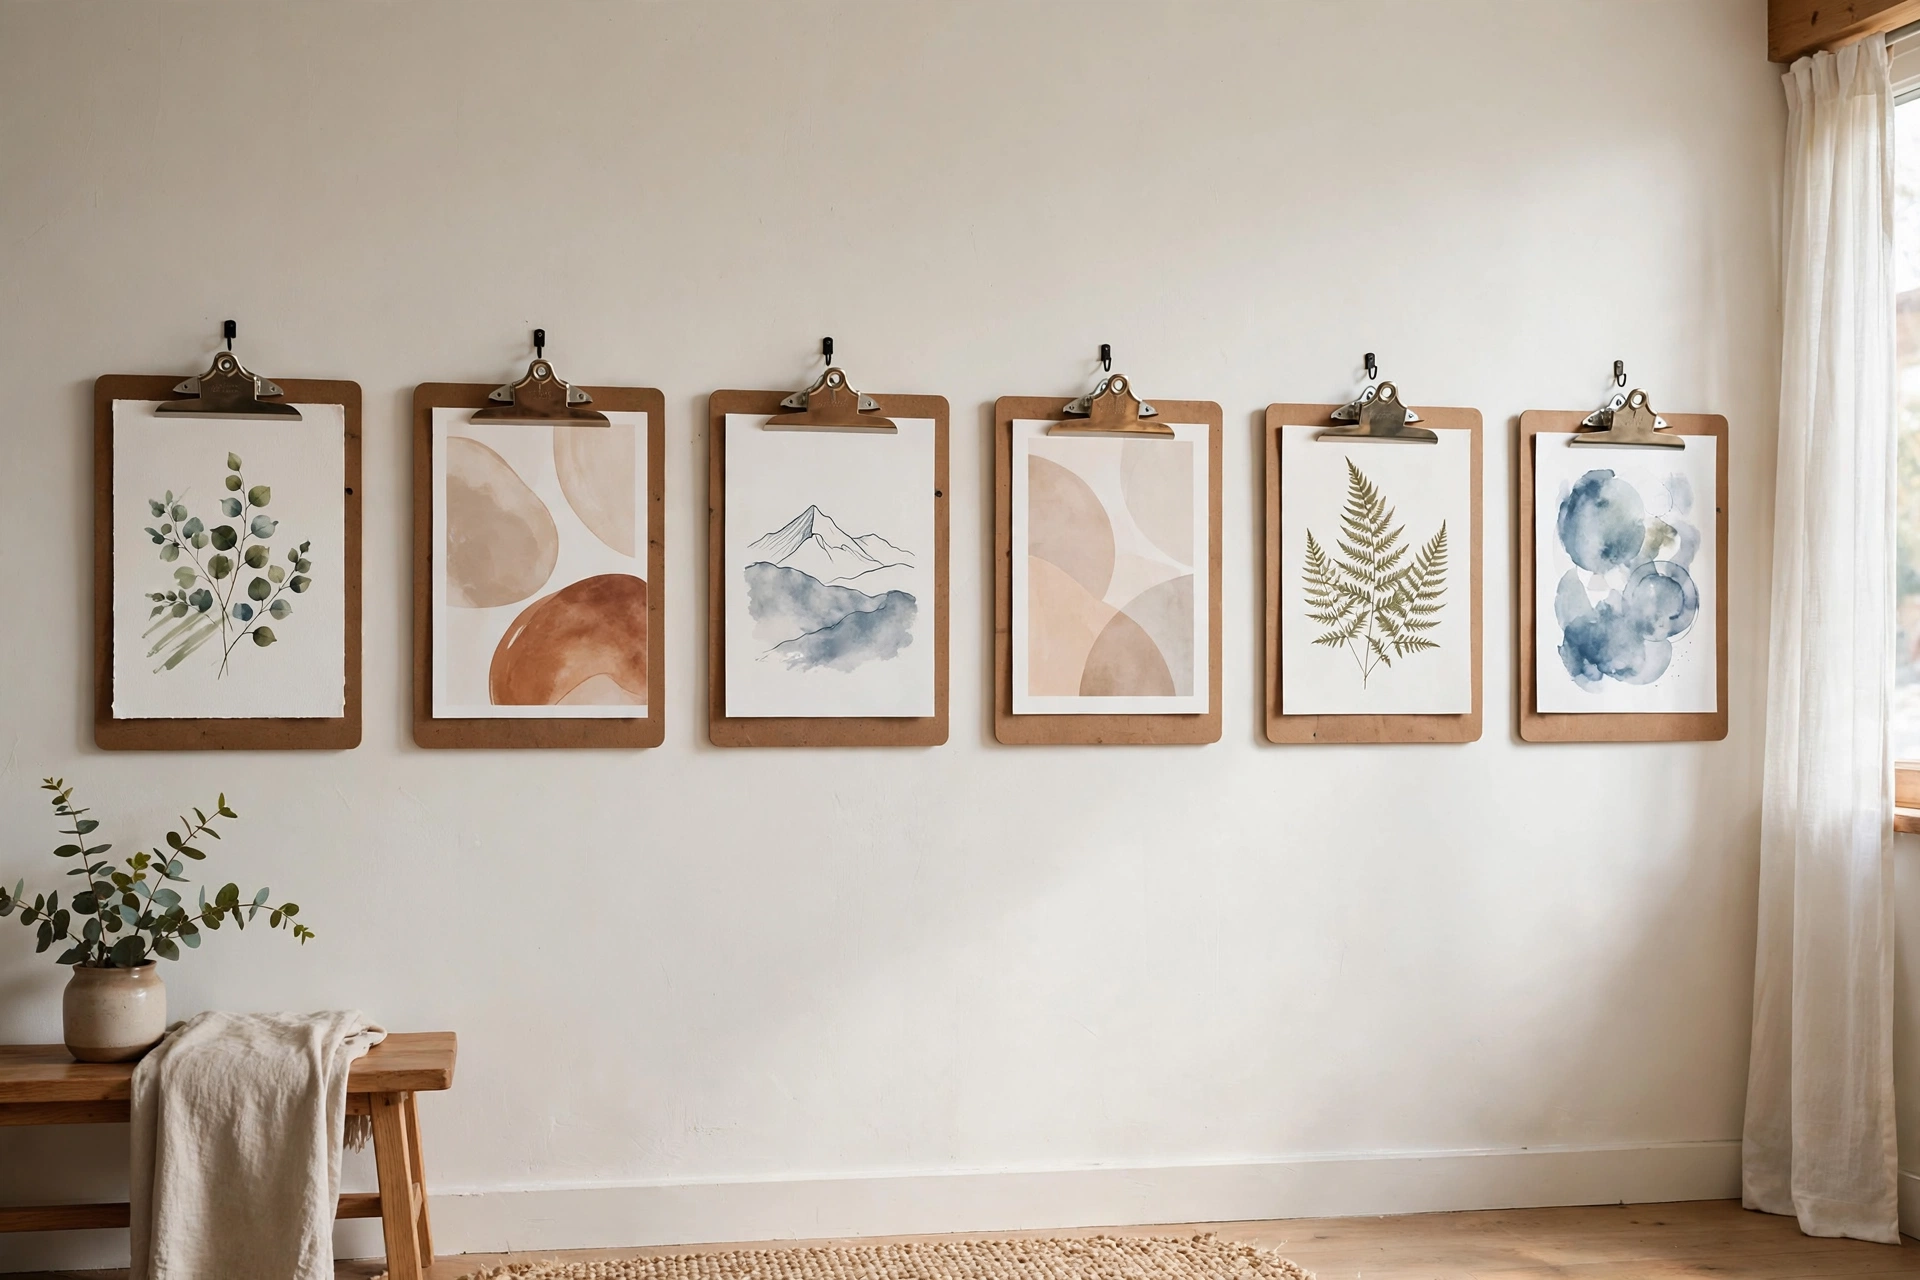
15. Clip Art to Clipboards
Wooden clipboards ($2–$4 each) hung in a row turn any print, photo, or kid’s drawing into instant wall art — and swapping the art takes ten seconds. Hang the clipboards with a single adhesive hook each. Pro tip: stain or paint the clipboards to match your decor; raw clipboard brown only suits certain styles.
16. Lean Art on Floating Shelves
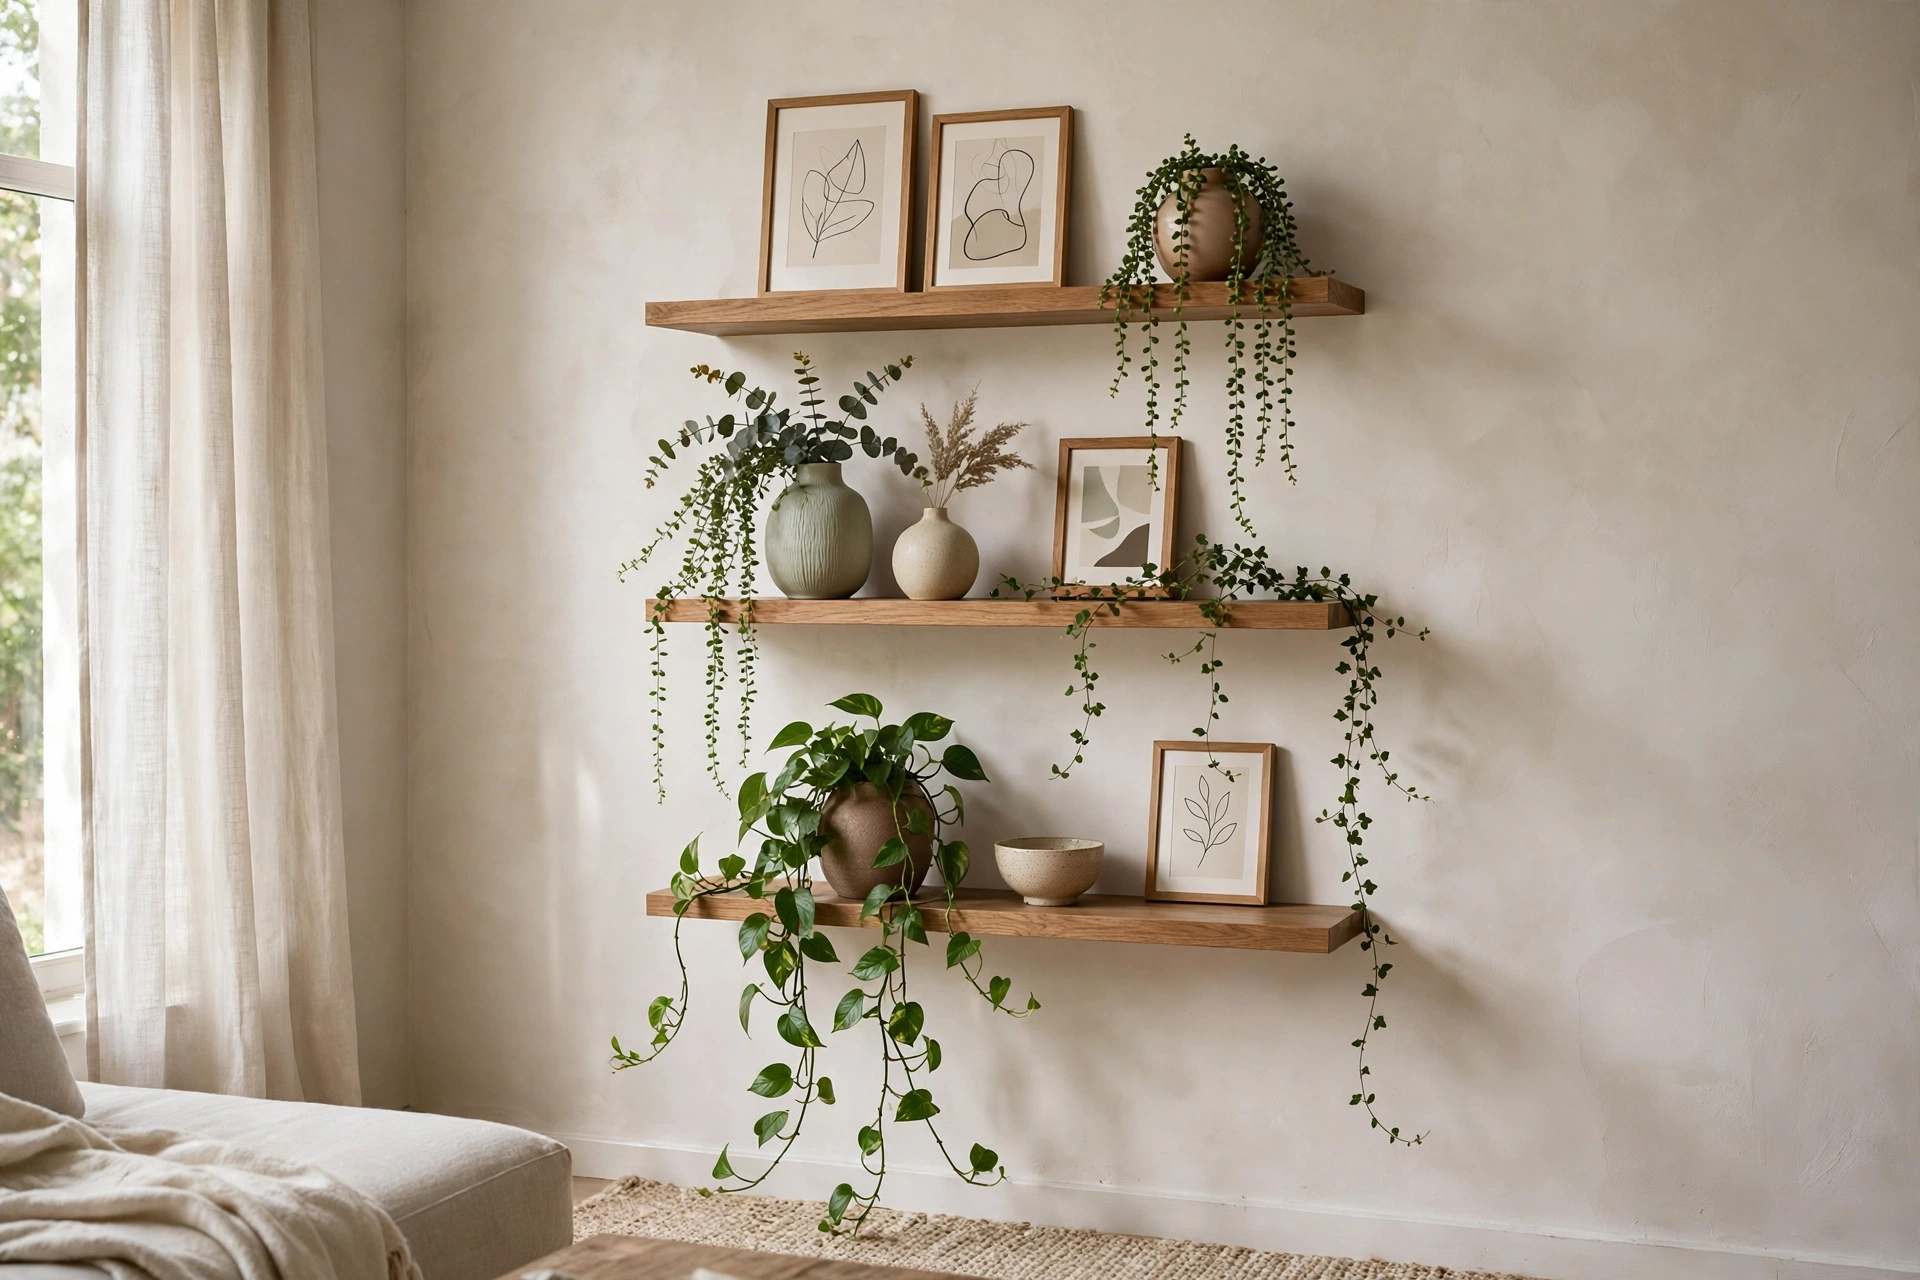
One floating shelf becomes a rotating art display: lean 2–3 framed prints against the wall on the shelf, overlapping slightly. Change the lineup whenever the mood strikes — no holes to patch, no commitment. Pro tip: add a small object (a vase, a stack of books) at one end of the shelf to anchor the composition.
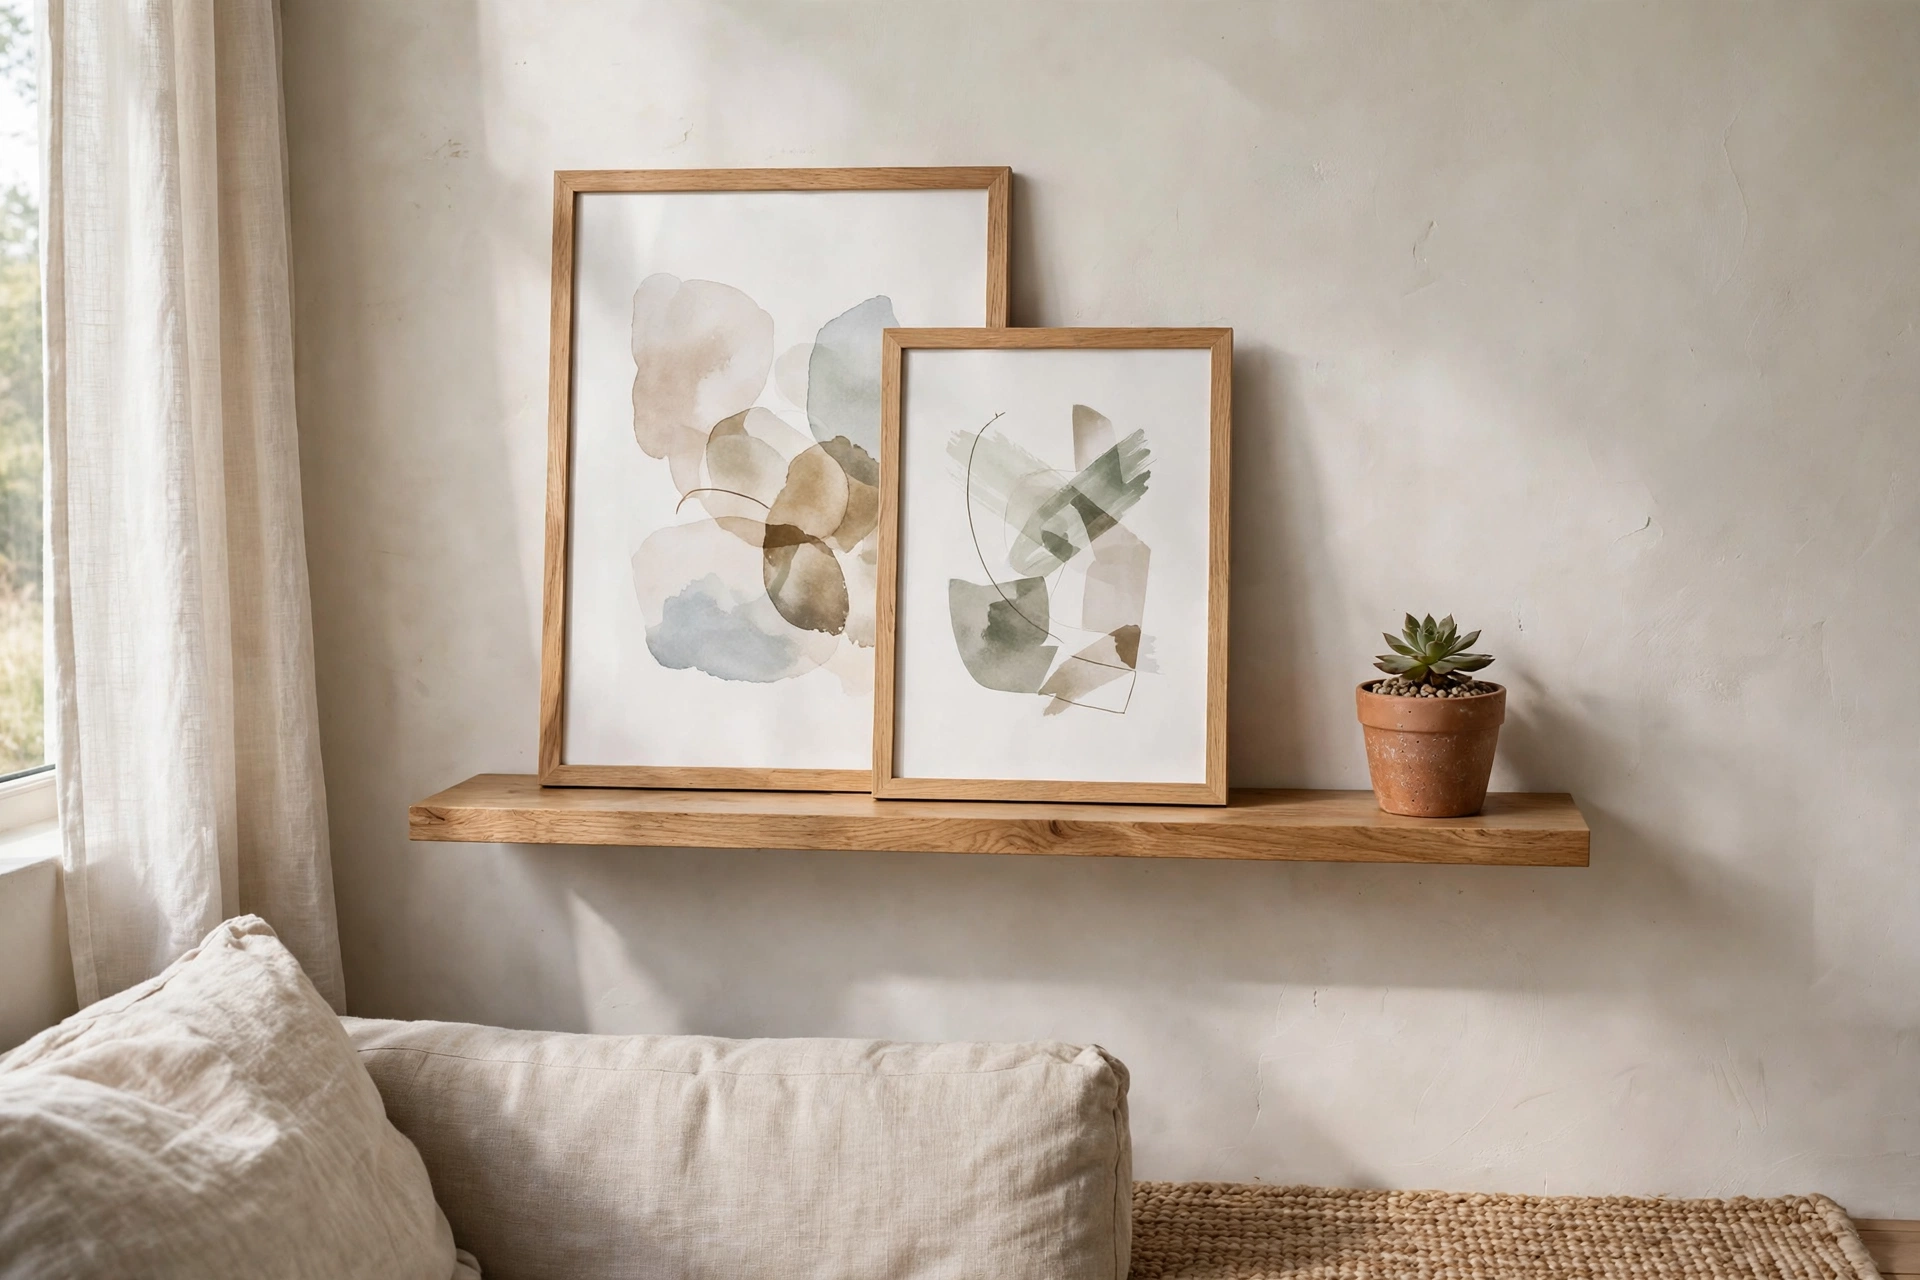
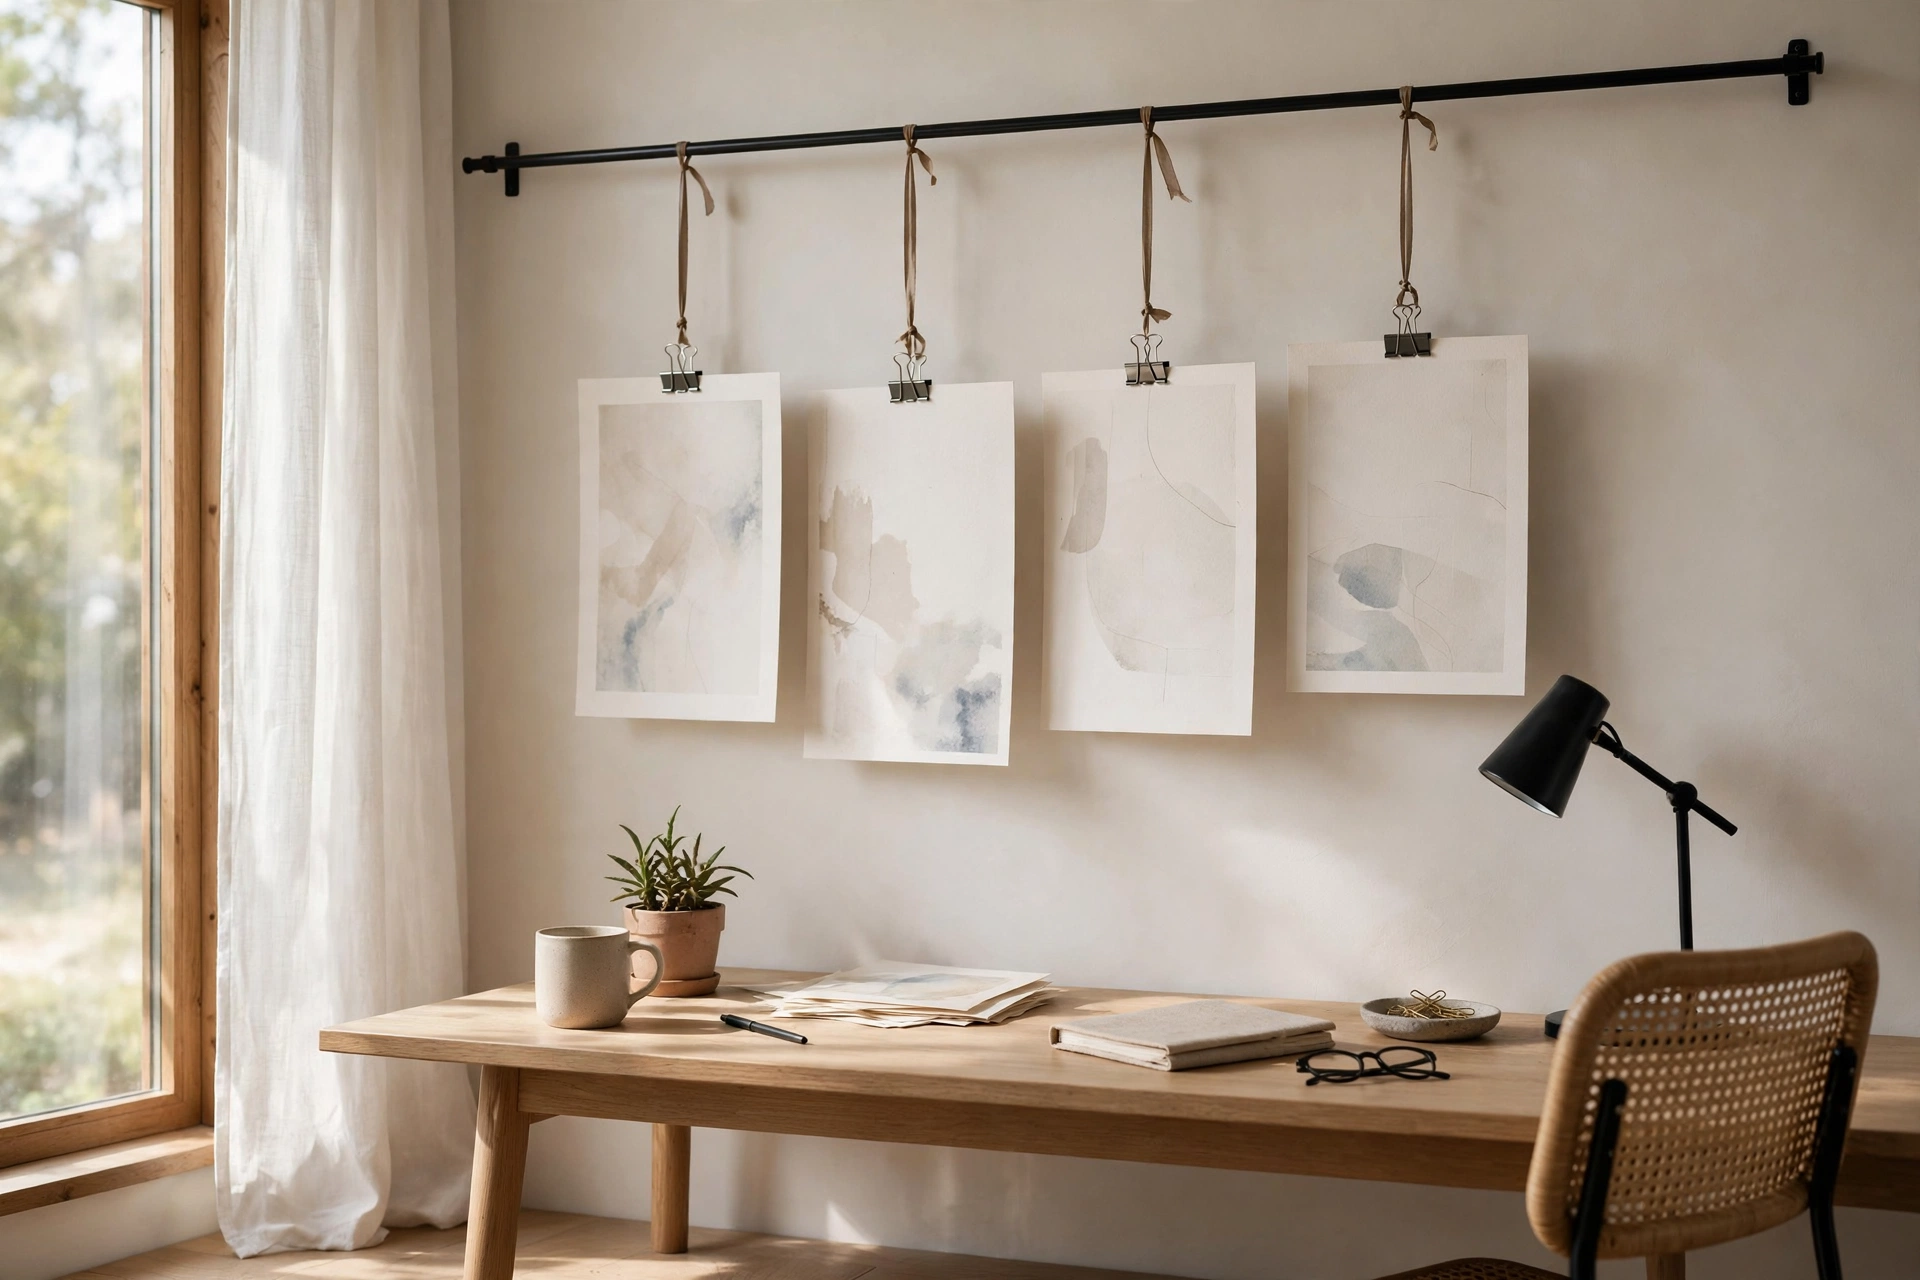
17. Hang a Curtain Rod as an Art Rail
Mount one tension rod (or a Command-hook-held dowel) high on the wall and hang art from it with clips, rings, or ribbon. The whole display slides and swaps effortlessly — it’s a gallery wall you can rearrange without touching the wall. Pro tip: this is perfect above a desk, where you can rotate inspiration prints as projects change.
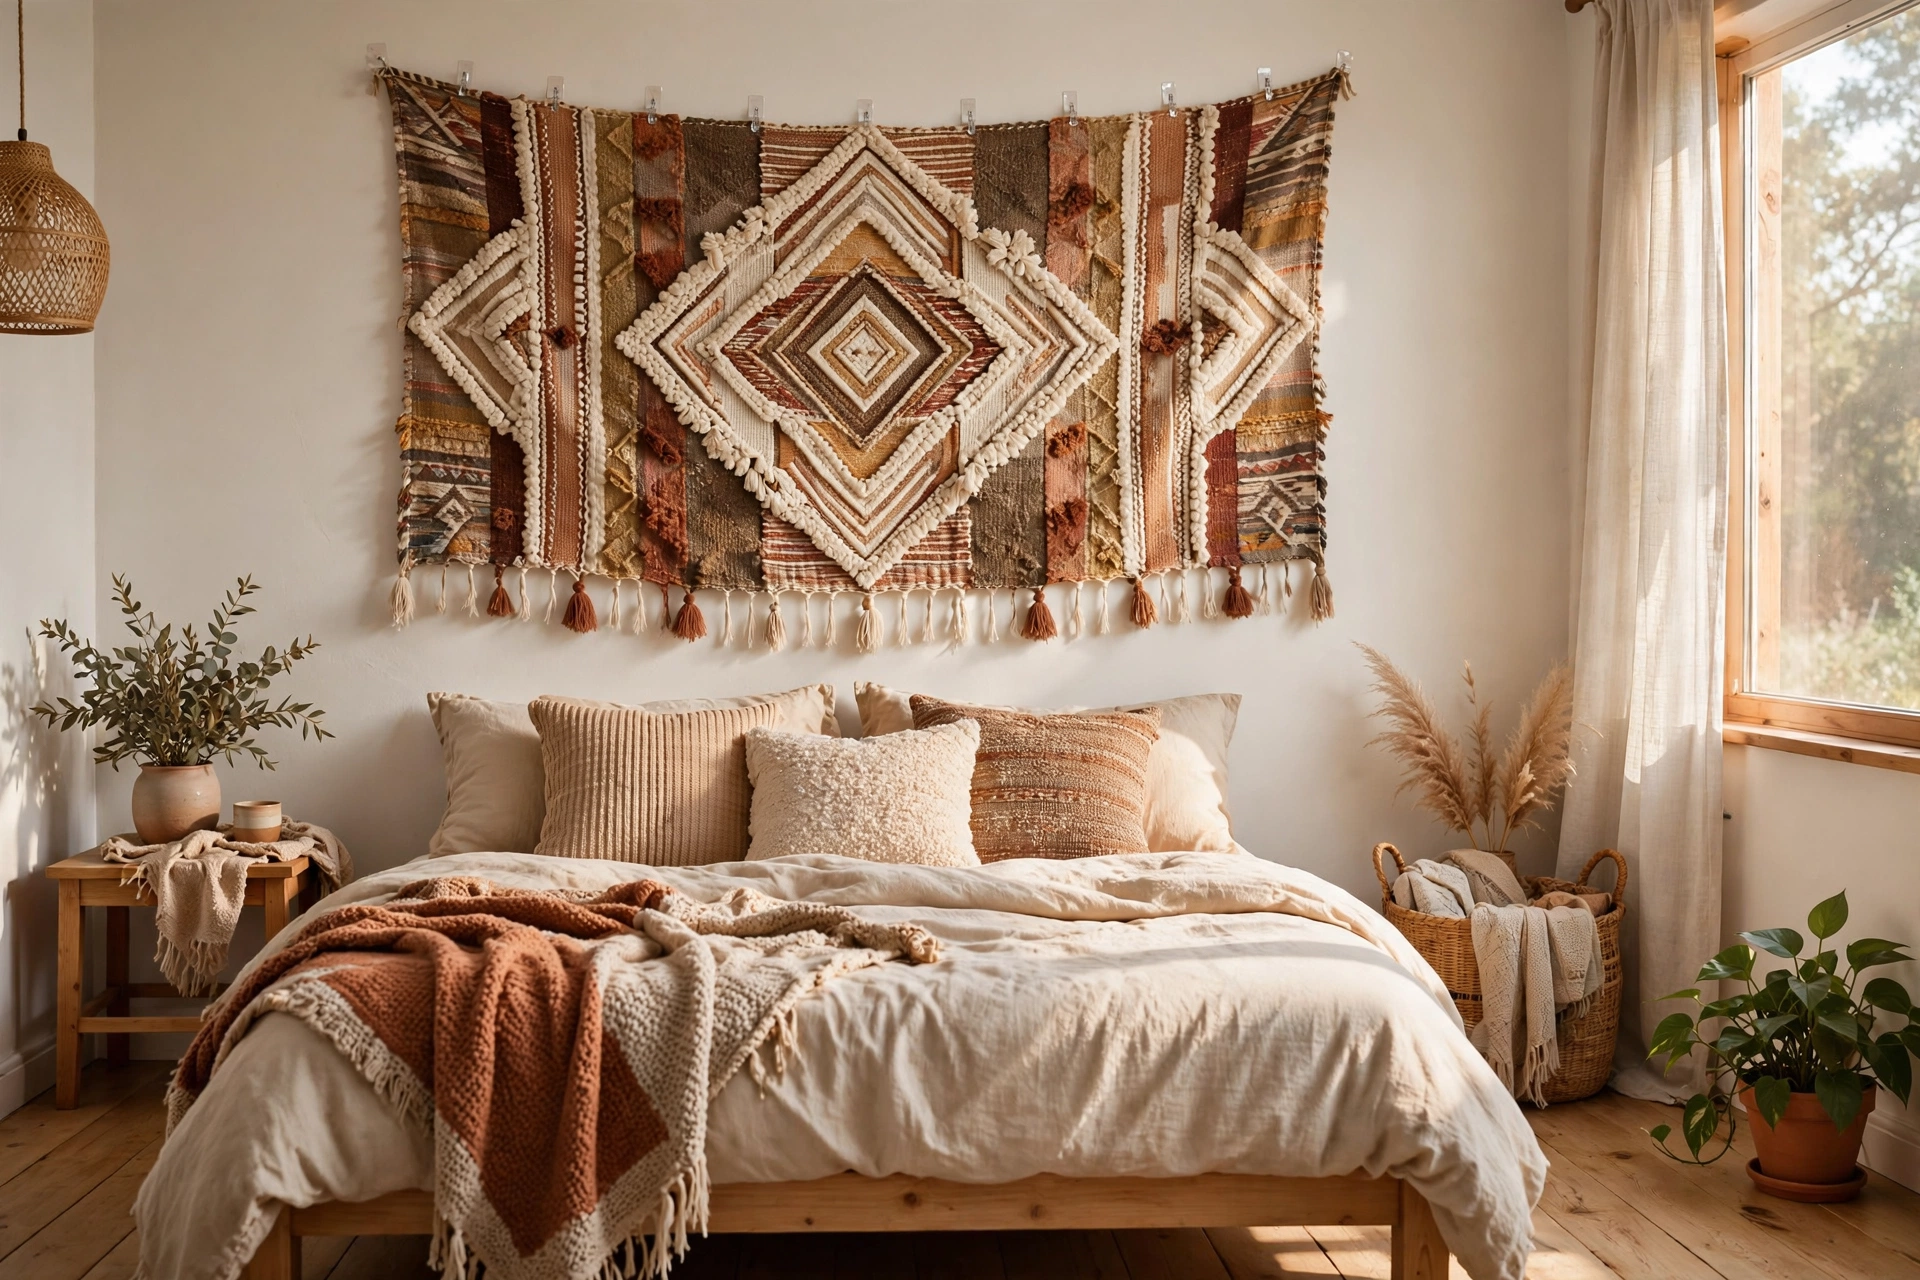
18. Hang Tapestries with Adhesive Hooks
A lightweight tapestry or fabric wall hanging needs only 2–3 adhesive hooks along the top edge — no rod required. The fabric adds softness and serious sound absorption, which thin-walled studios desperately need. Tapestries run $20–$40 on Etsy and Amazon. Pro tip: steam or iron the tapestry before hanging; fold creases are the difference between “boho chic” and “laundry day.”
Textile & 3D Wall Art
Art doesn’t have to be flat or framed. Textiles and dimensional pieces add texture and warmth that prints alone can’t — and they’re naturally renter-friendly.
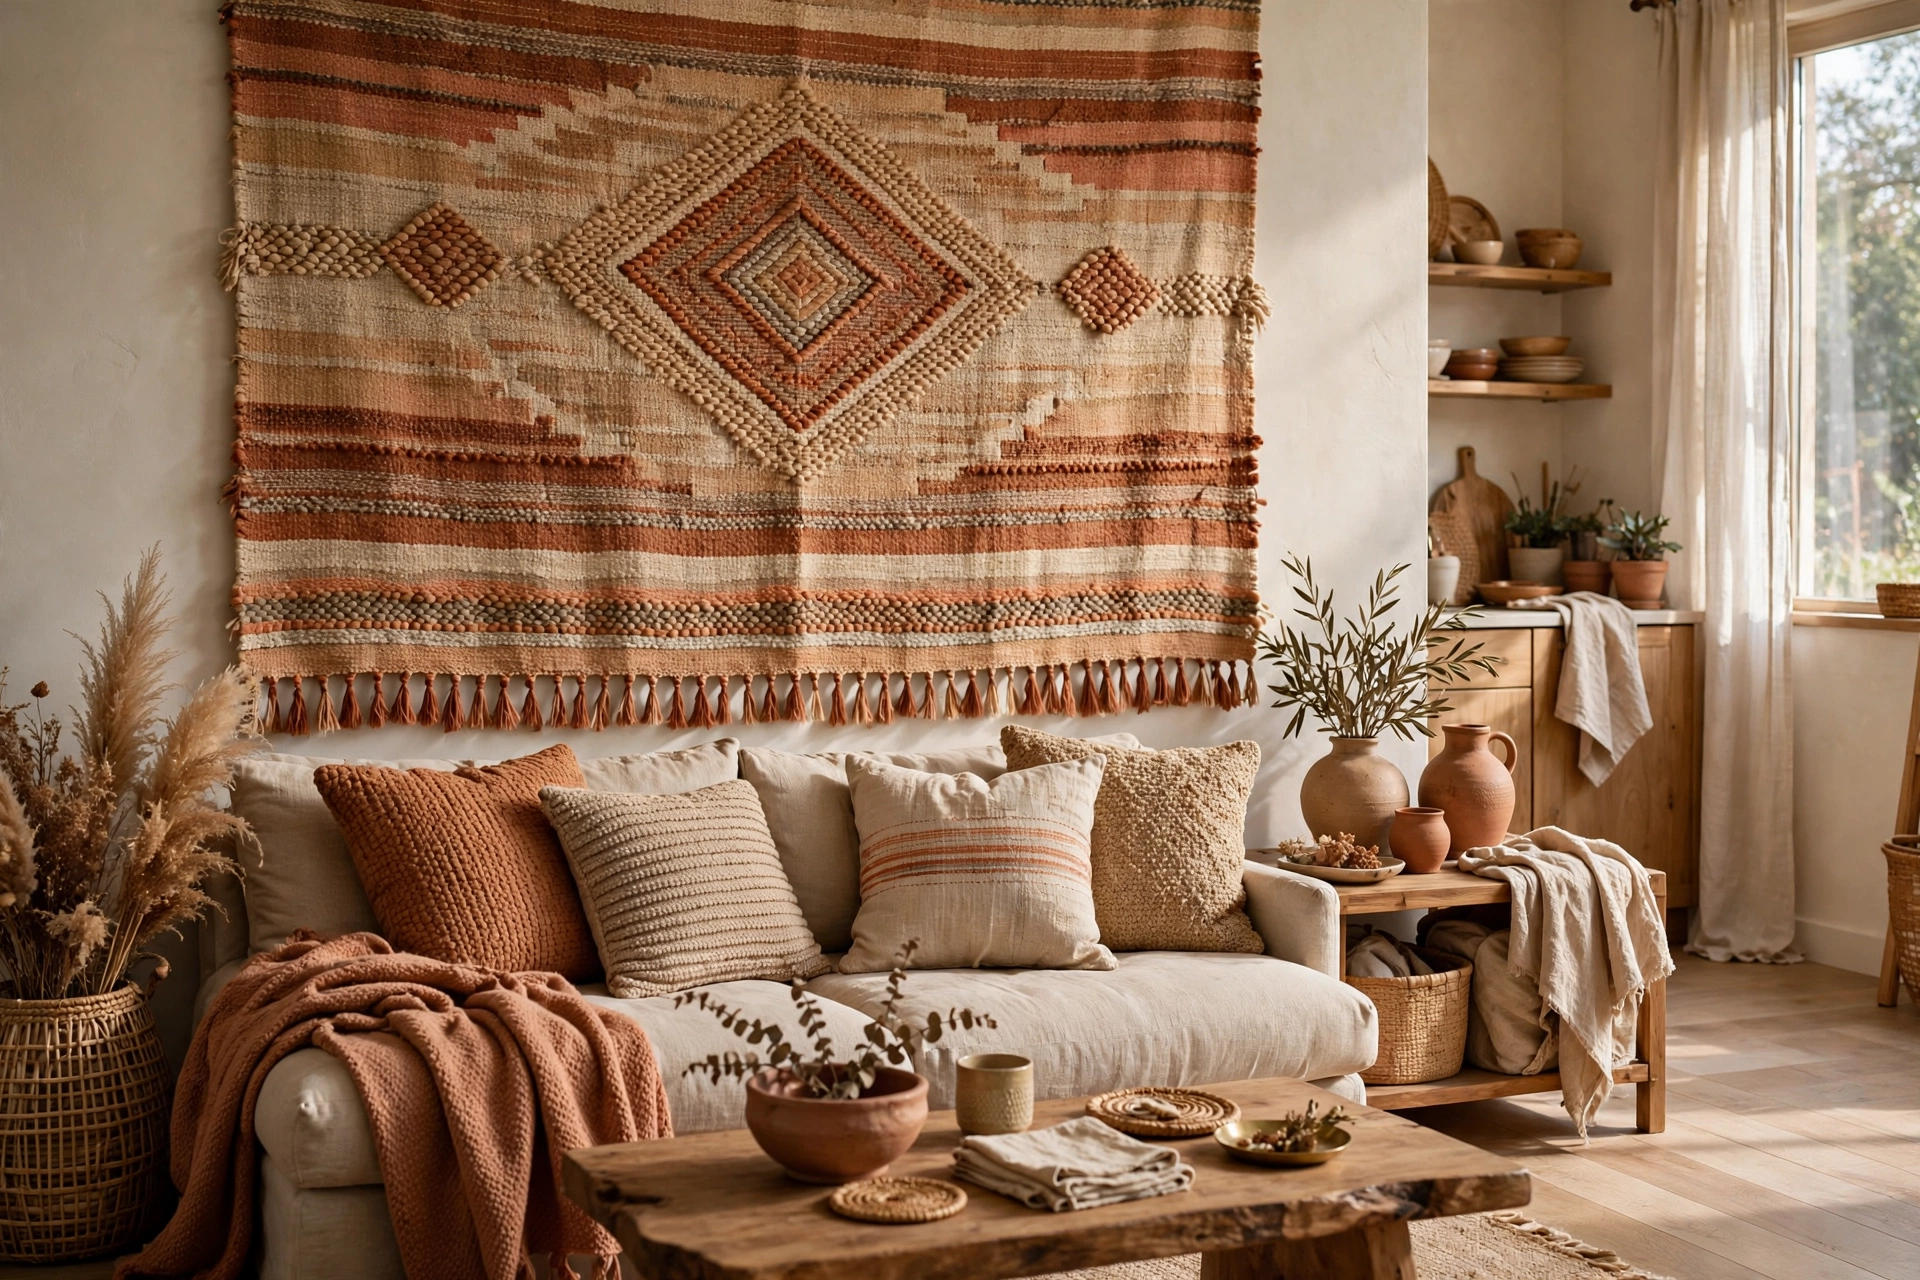
19. Hang a Woven Wall Tapestry
A large woven tapestry in warm neutrals or muted tones fills a big wall for $25–$50 and instantly makes the space feel layered and collected. Unlike framed art, it won’t shatter, rattle, or damage walls — ideal for the wall behind a bed or sofa. Pro tip: choose a tapestry at least 50 inches wide for a main wall; small tapestries on big walls look lost.
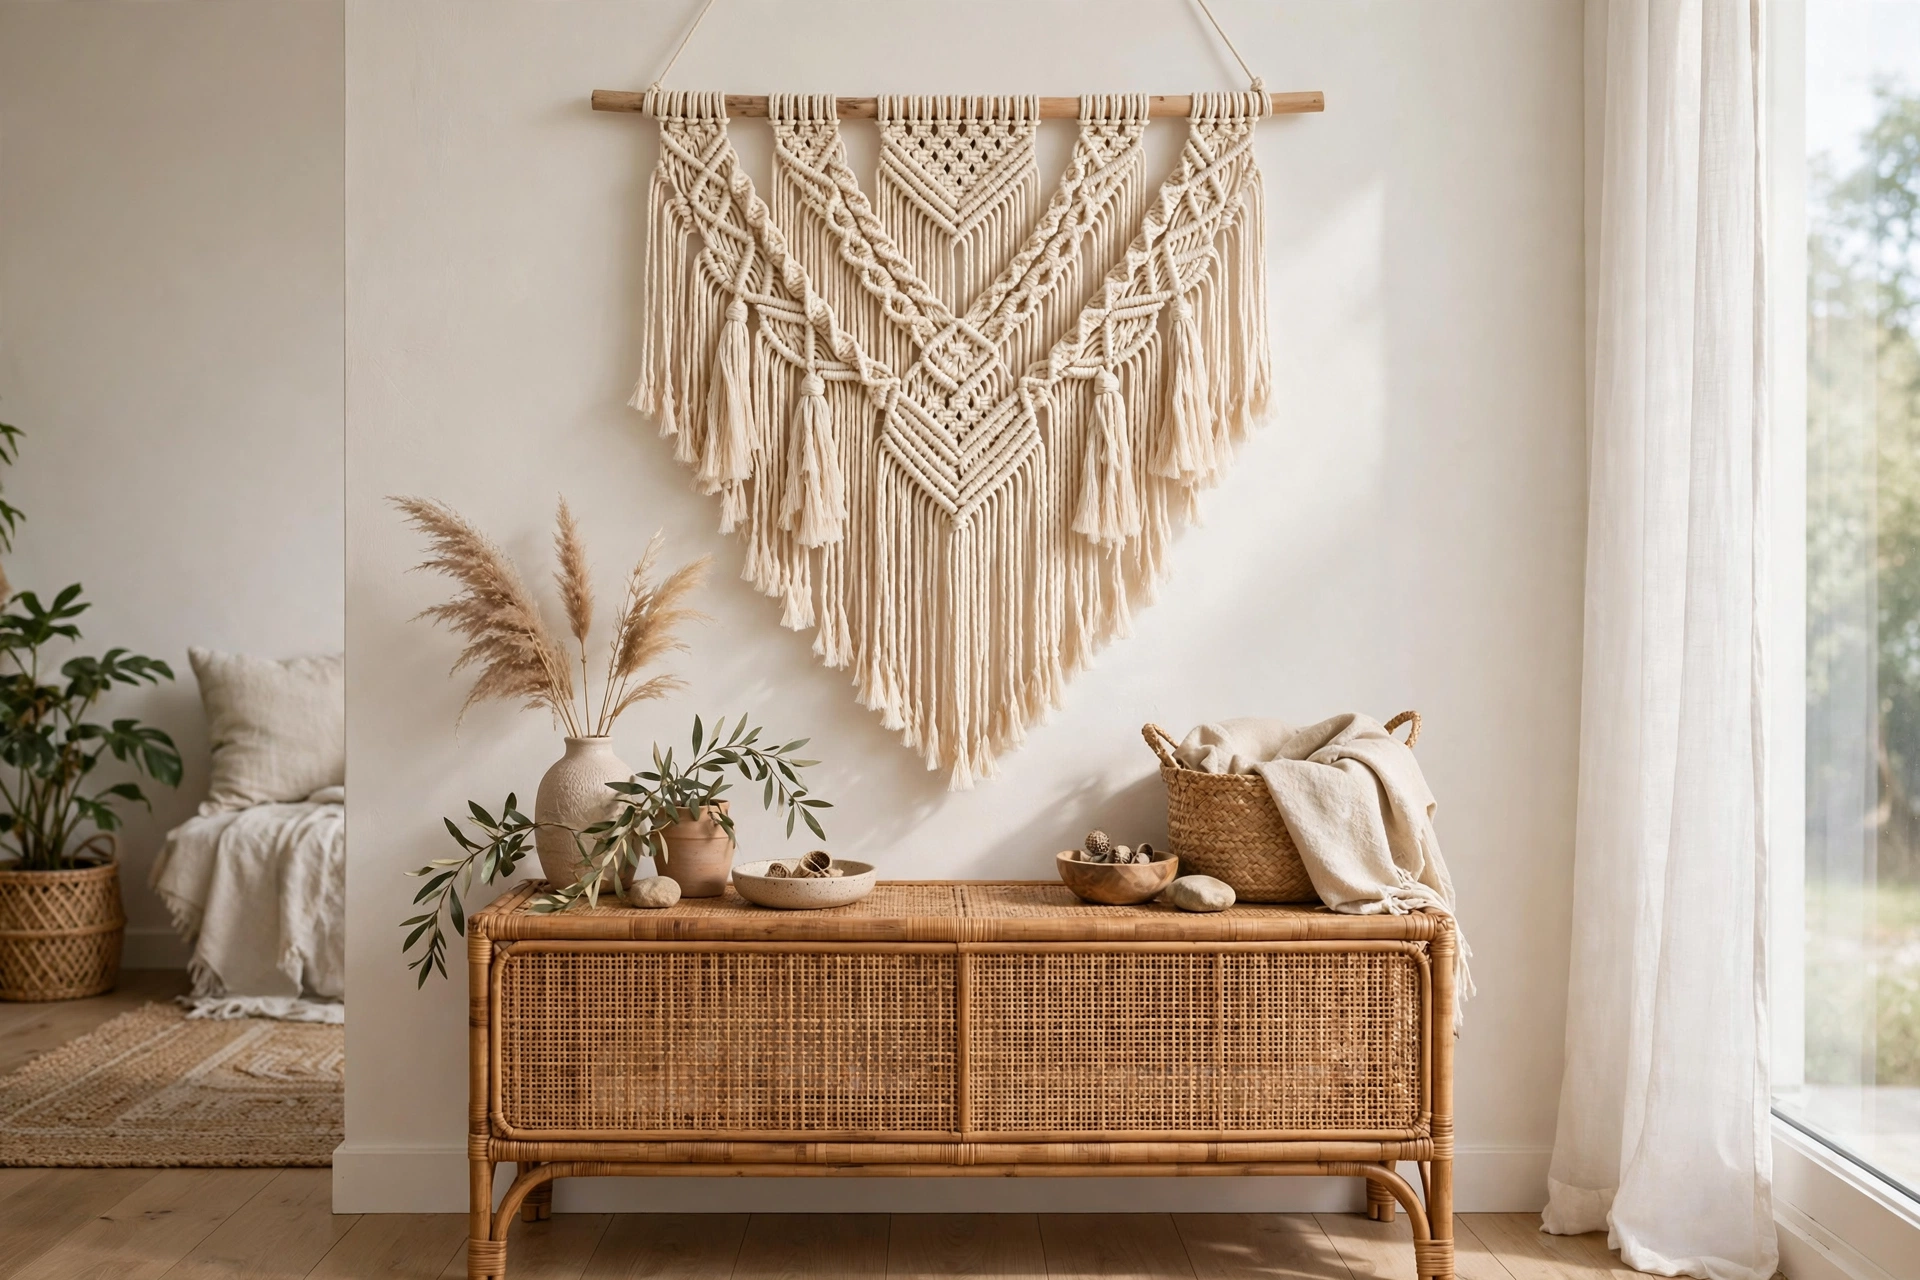
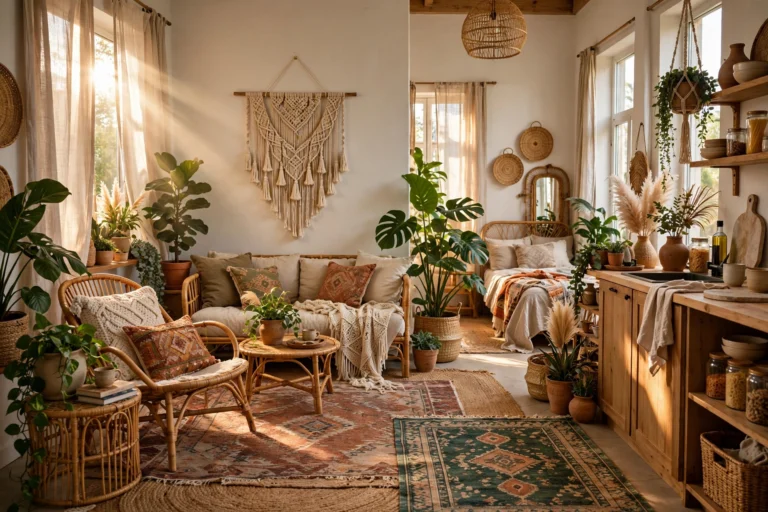
20. Add a Macramé Wall Hanging
Macramé brings handmade texture that softens modern furniture and adds boho warmth without overwhelming a small space. Small hangings start around $15 on Etsy; larger statement pieces run $40–$80. Pro tip: one macramé piece per room is plenty — they’re visually busy, so give it breathing room on the wall.
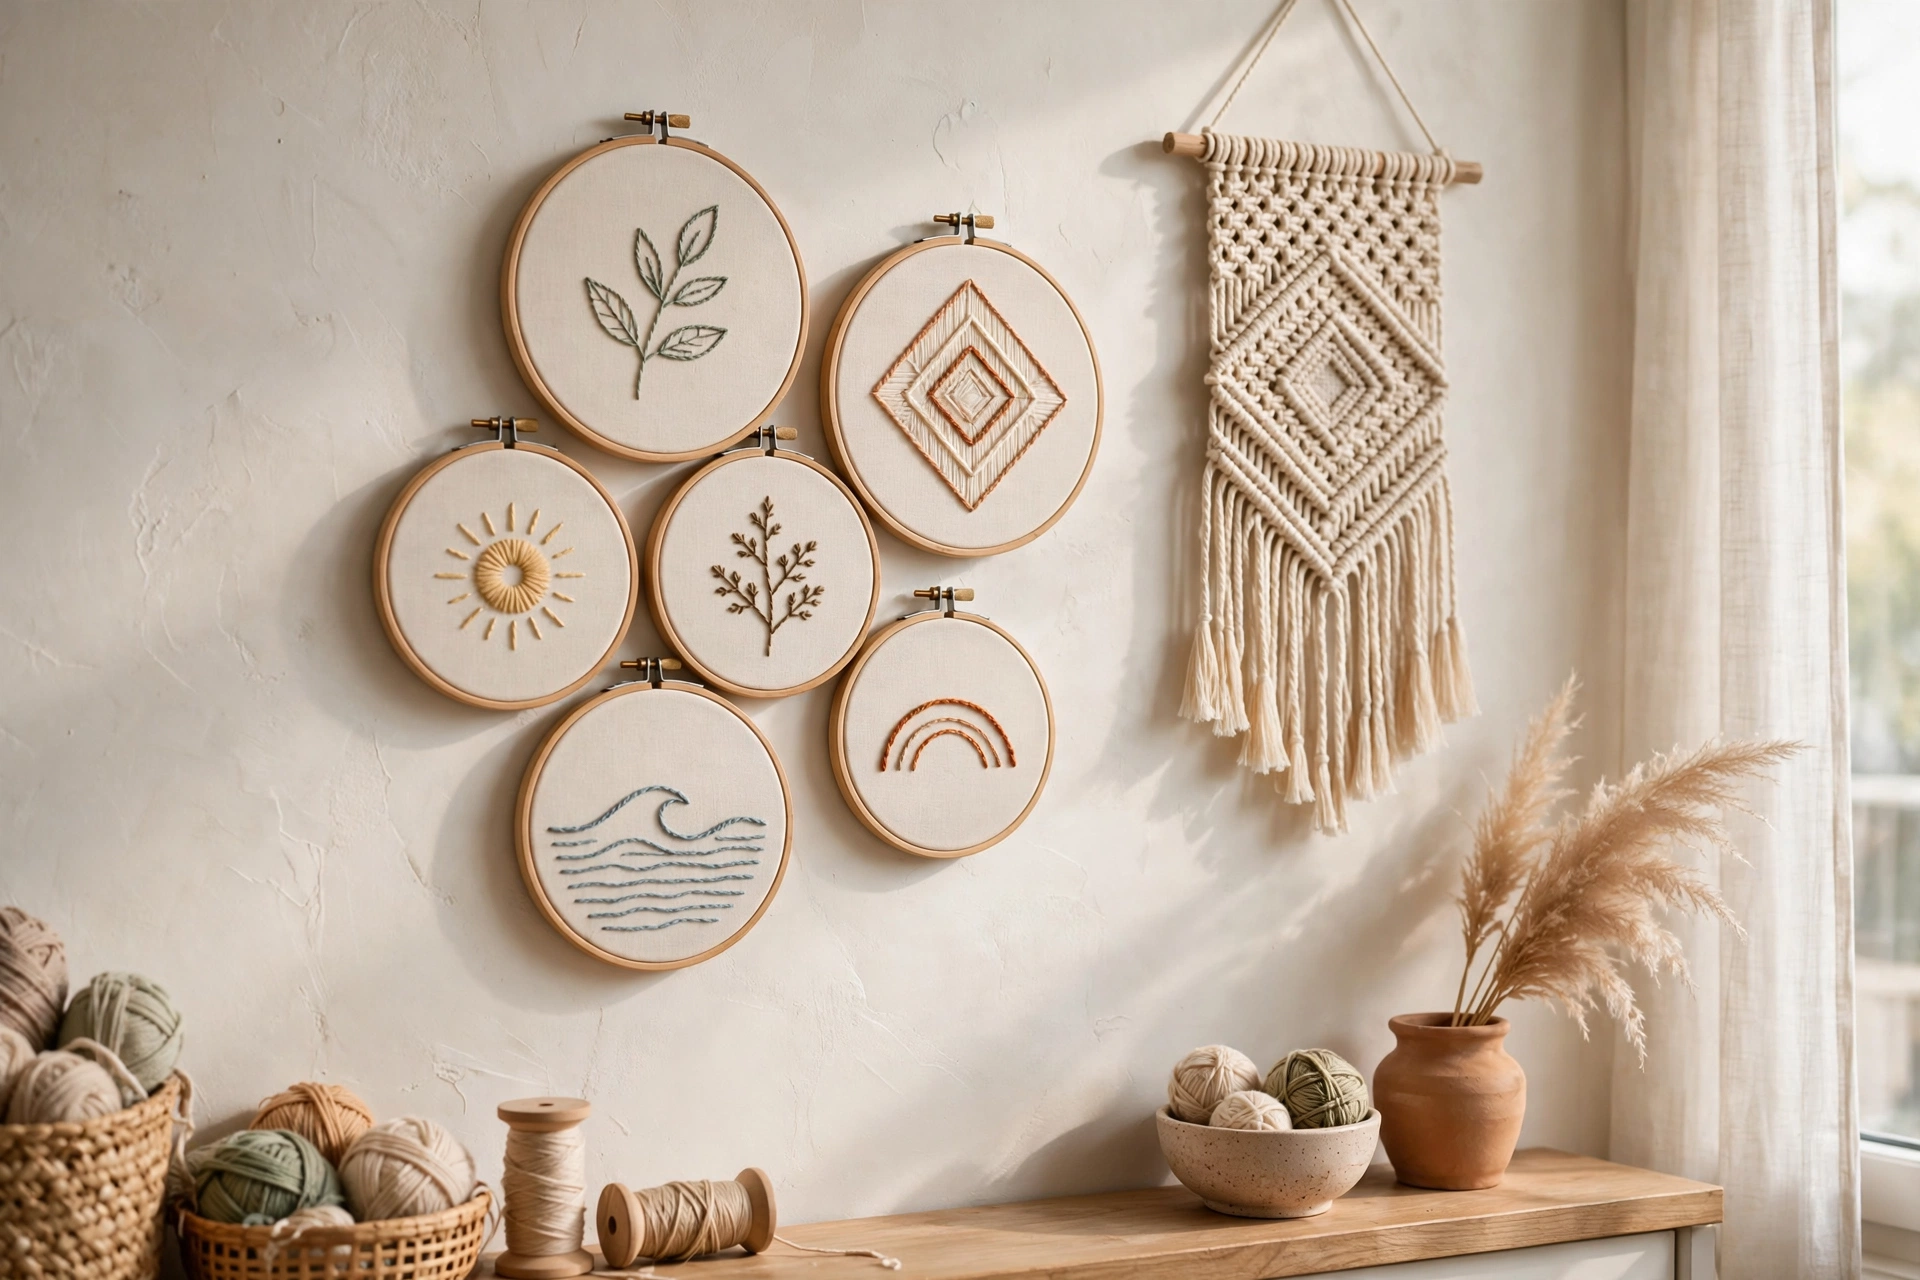
21. Try a Fiber Art or Yarn Hanging
Beyond macramé: wrapped-yarn wall hangings, felt ball garlands, and embroidered hoops grouped together create a soft, craft-forward display. Embroidery hoops ($3–$6 each) with simple stitched designs make charming mini-art. Pro tip: this is a great DIY entry point — a $10 embroidery kit and an evening produces wall art nobody else owns.
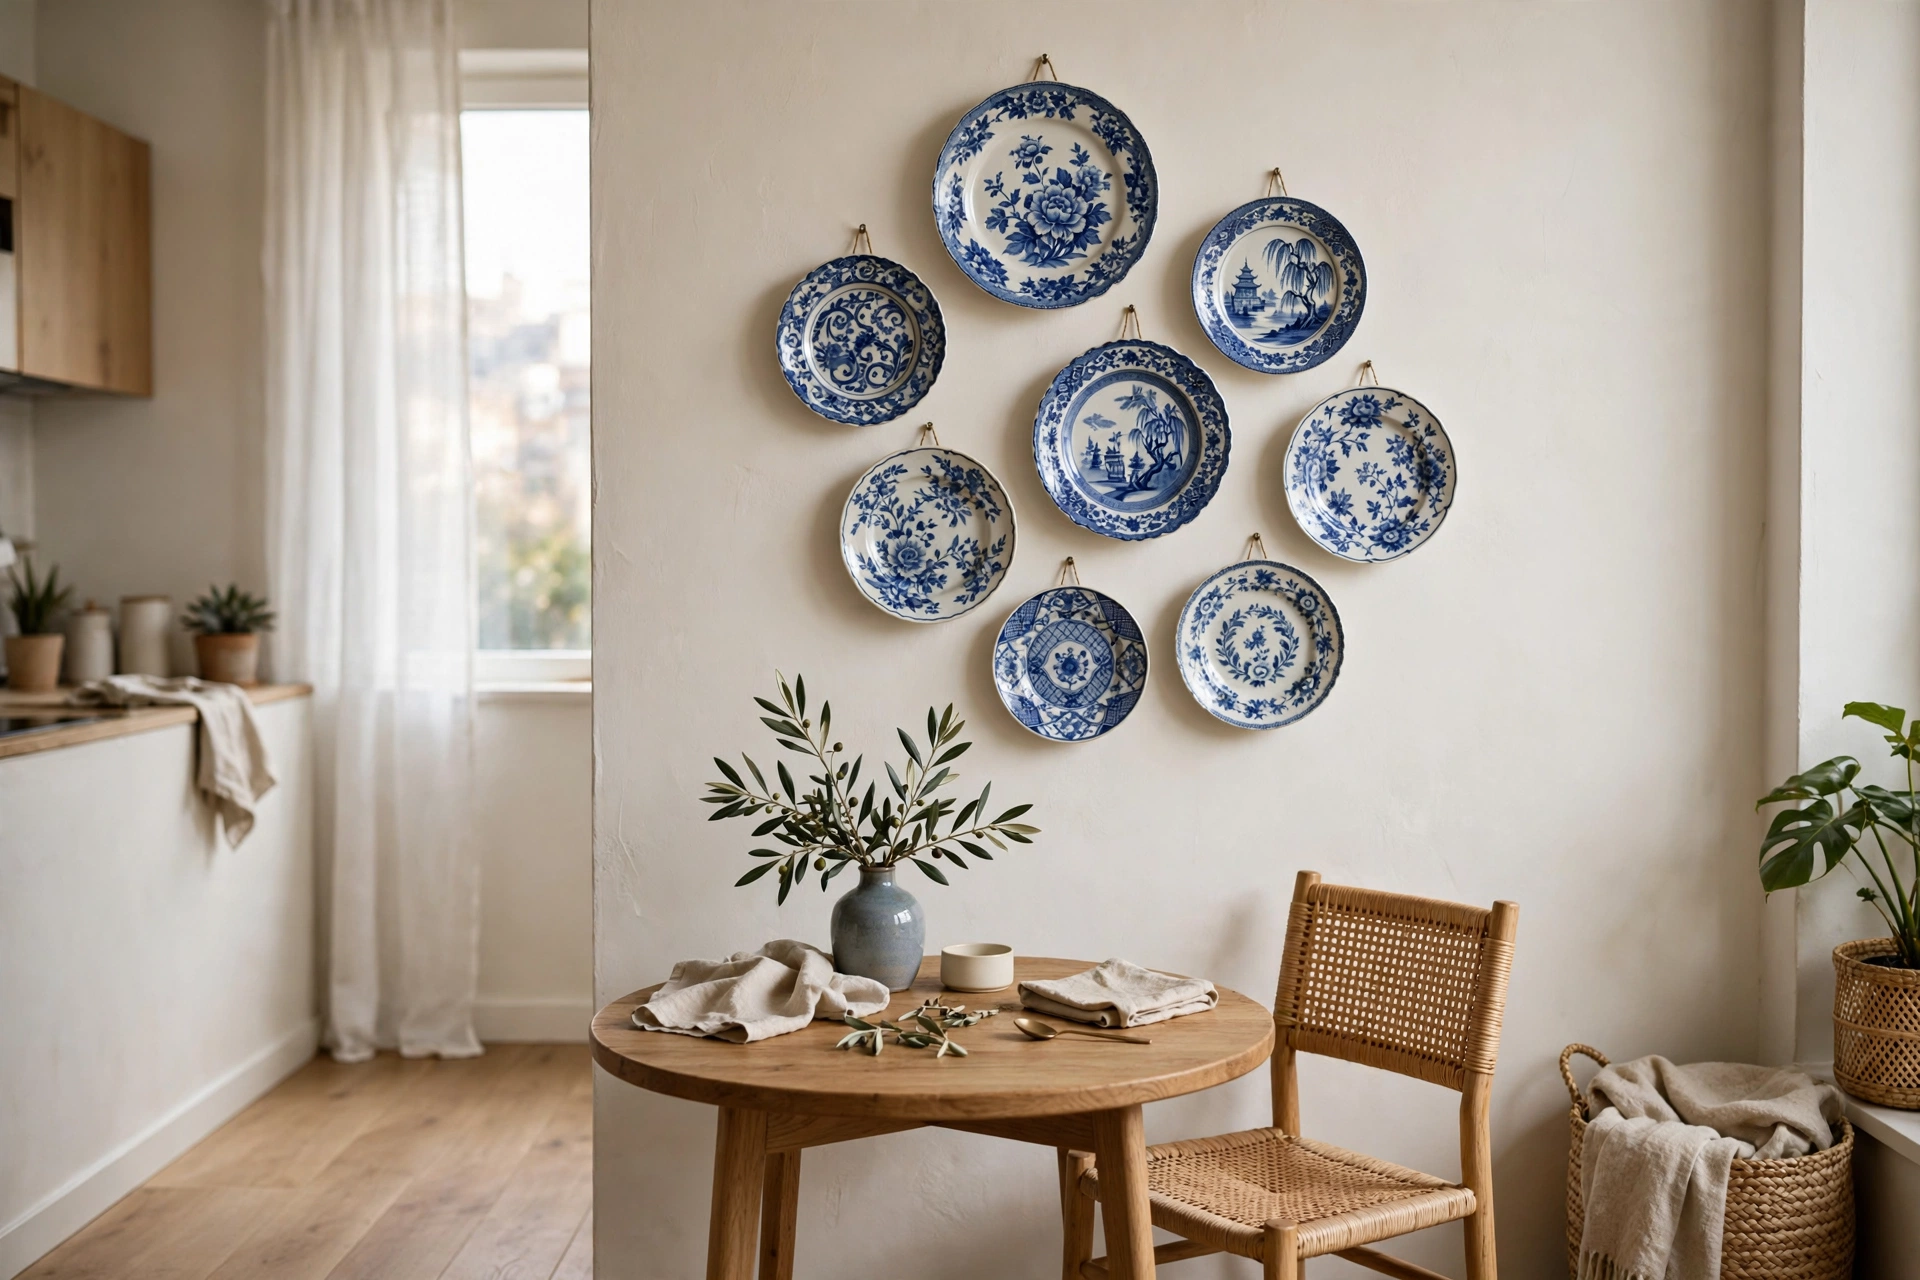
22. Build a Plate Wall
Decorative plates — thrifted, collected on travels, or new — hung in a loose cluster turn a dining-area wall into a personal gallery. Plate hangers cost about $3 each and grip without drilling into the plate. Pro tip: stick to one color family (all blues, all neutrals) for cohesion; random rainbow plates read as clutter.
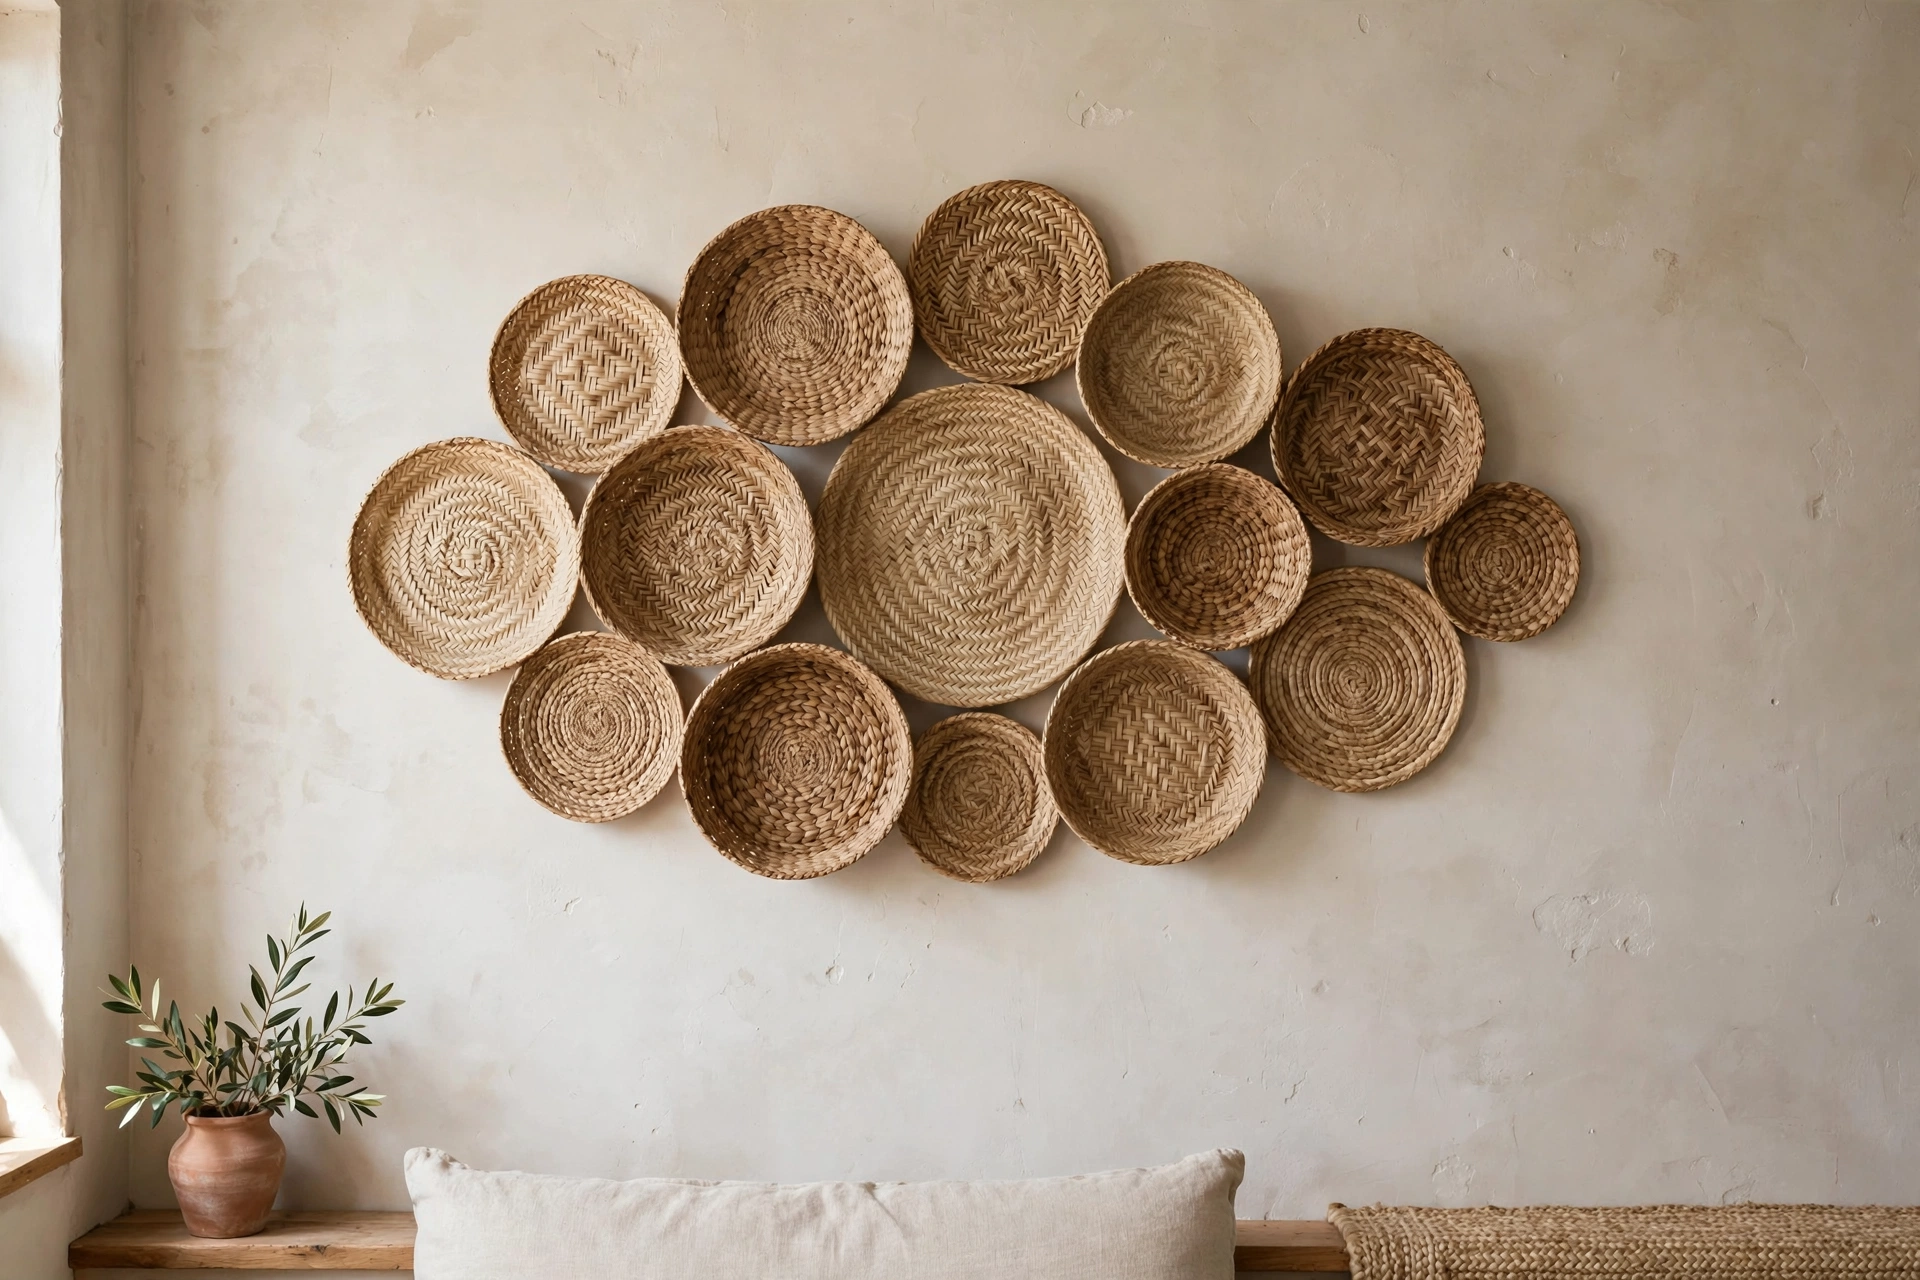
23. Hang a Basket Wall
Flat woven baskets in varying sizes create a sculptural, textural wall display with global-market vibes — and they’re nearly weightless, so adhesive hooks handle them easily. Thrift stores sell baskets for $2–$5 each. Pro tip: arrange baskets on the floor first in an organic oval or round cluster; mark the wall lightly in pencil where each center goes.
24. Style Floating Shelves with Small Art and Objects
Two or three floating shelves become a dimensional art installation when you mix small framed prints with vases, plants, and sculptural objects. It reads as curated styling rather than storage. Pro tip: follow the rule of three — group items in odd numbers at varying heights — and leave 30% of each shelf empty so it breathes.
Art by Zone: Every Wall Earns Its Keep
In a studio, each zone deserves its own art moment. These five ideas put the right art in the right place.
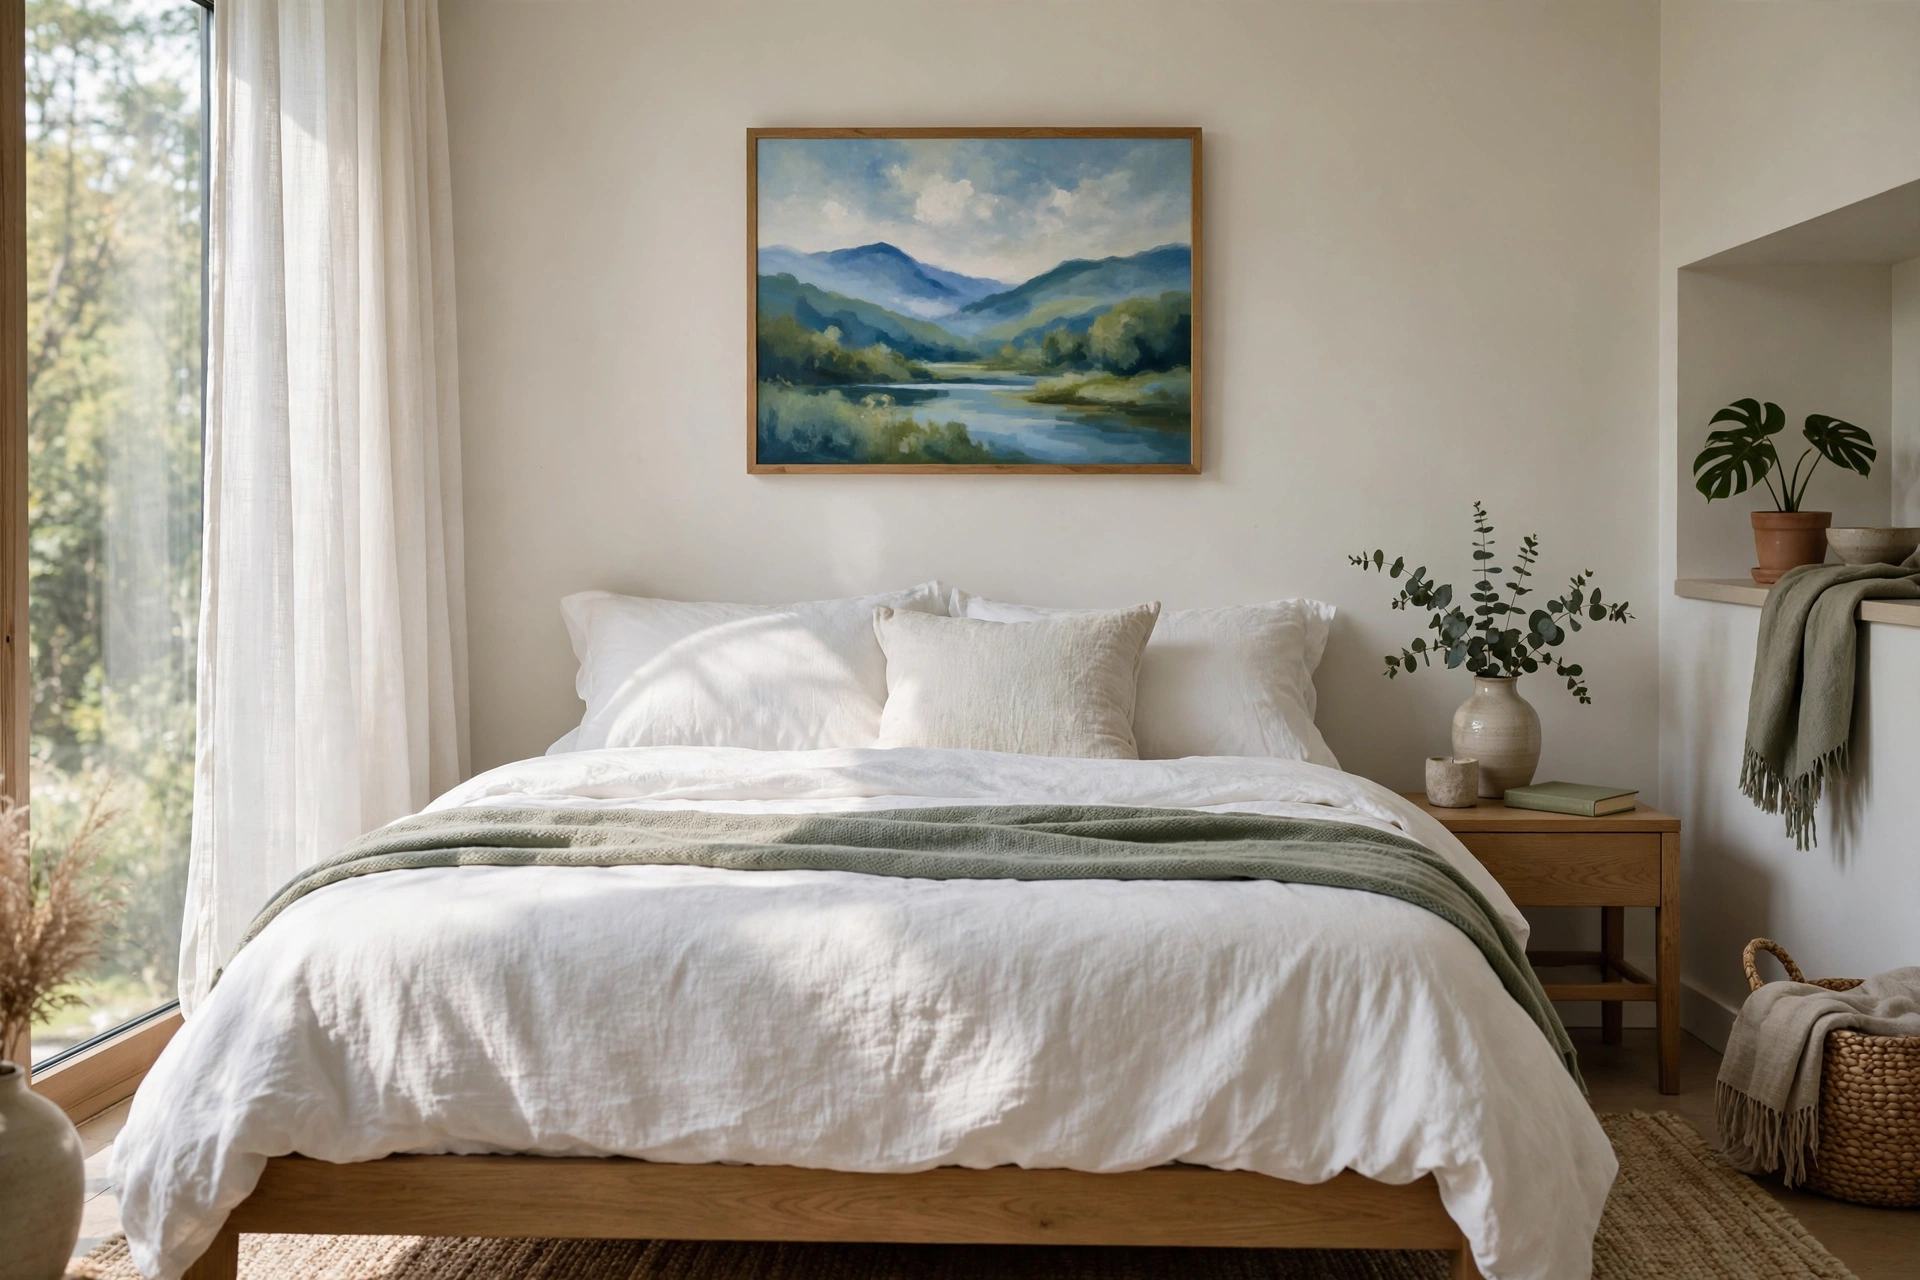
25. Anchor the Bed Zone with Art Above the Bed
The wall above your bed is the bedroom’s focal point — treat it like one. A single calming landscape, an abstract in restful tones, or a soft textile piece sets the sleep-zone mood. Keep it serene: this is the last thing you see at night. Pro tip: blues, greens, and warm neutrals promote rest; save the high-energy reds and oranges for the living zone.
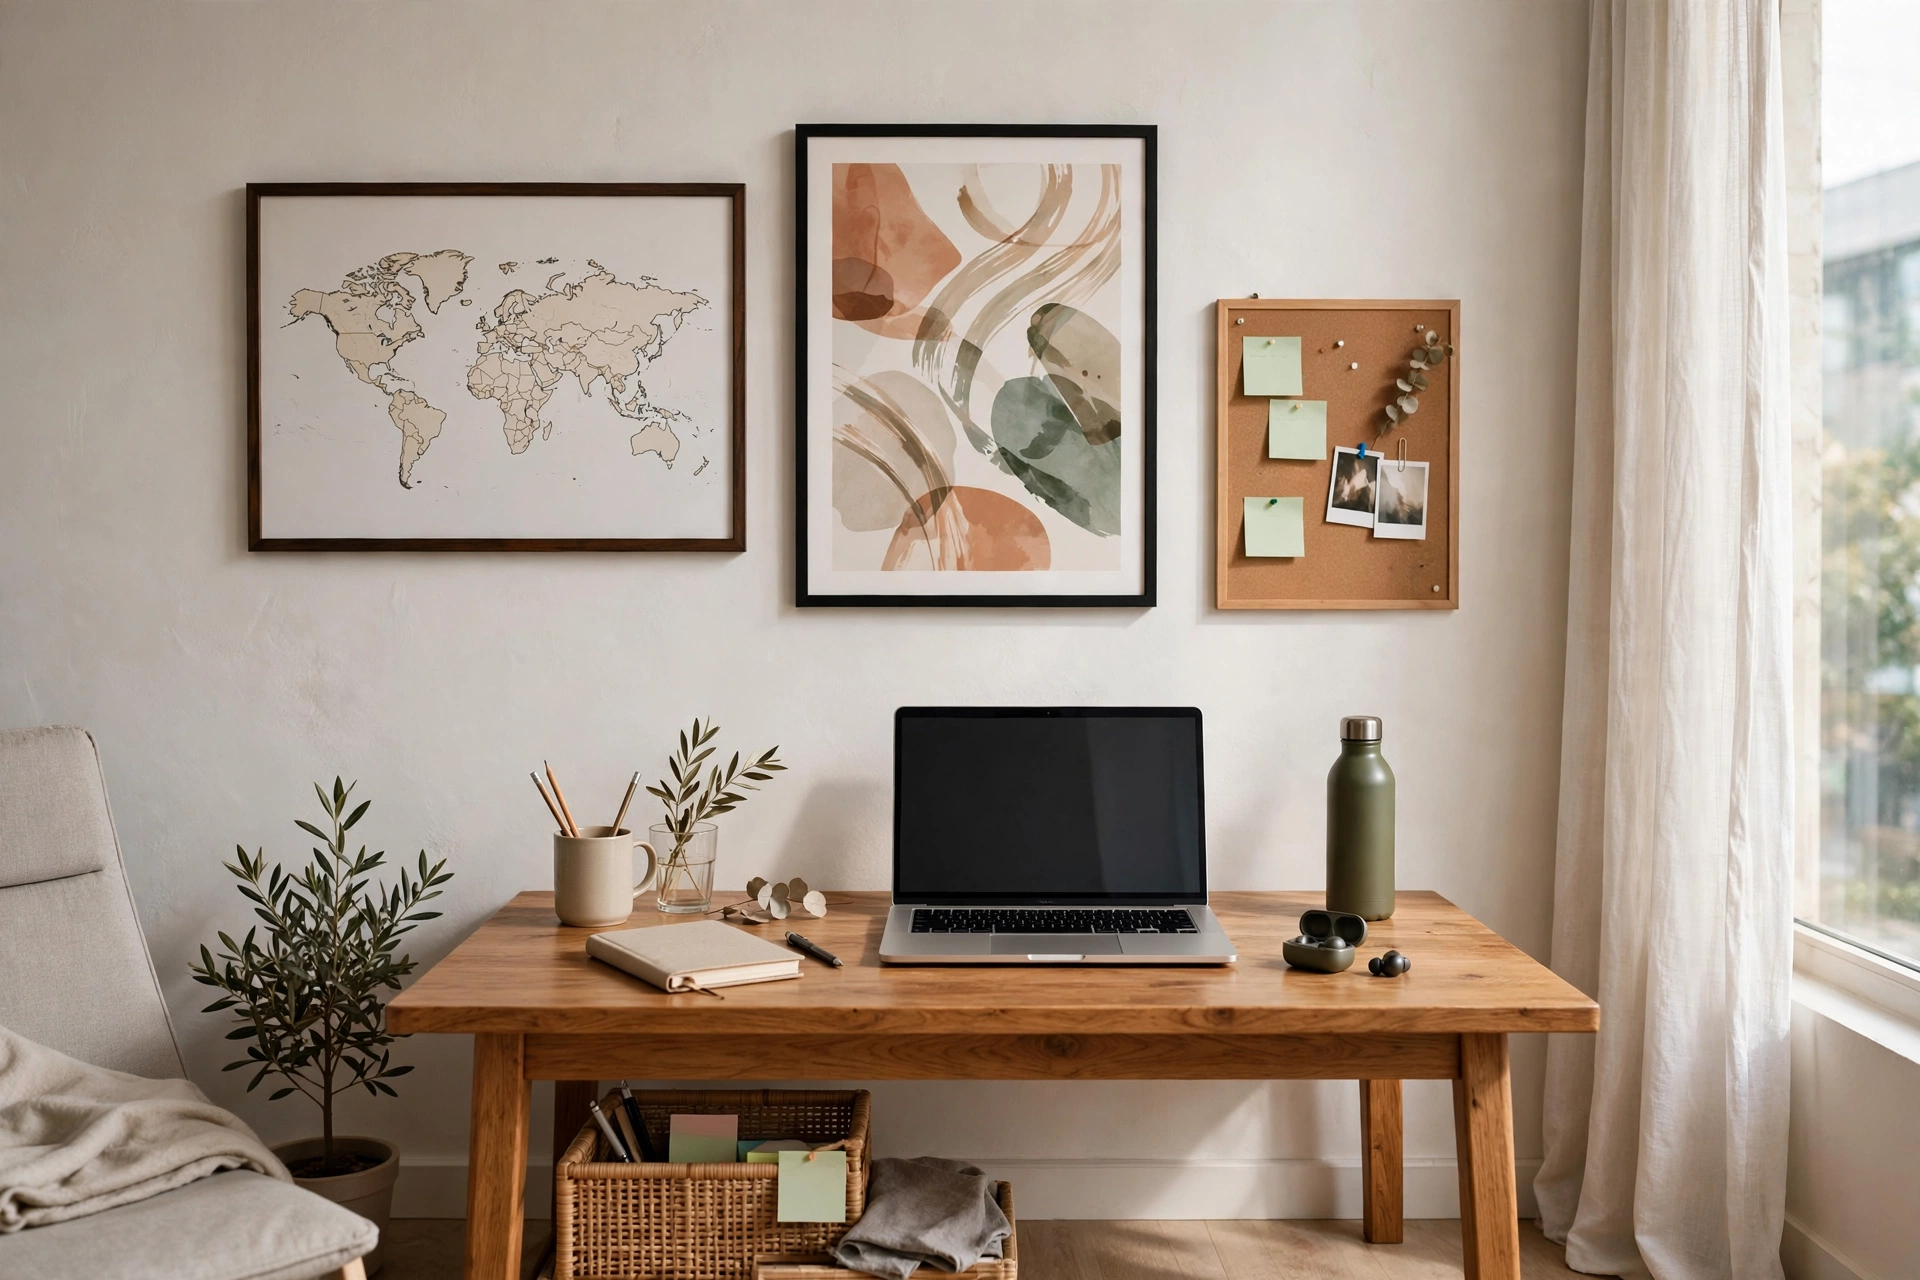
26. Inspire the Work Zone with Art Above the Desk
Your desk wall should motivate, not distract: a framed quote you actually believe, a map of somewhere you’re going, or abstract art in energizing colors. Keep it at eye level when seated — about 40 inches from the floor to the center. Pro tip: a small pinboard or clip rail beside the main piece holds rotating inspiration without more holes.
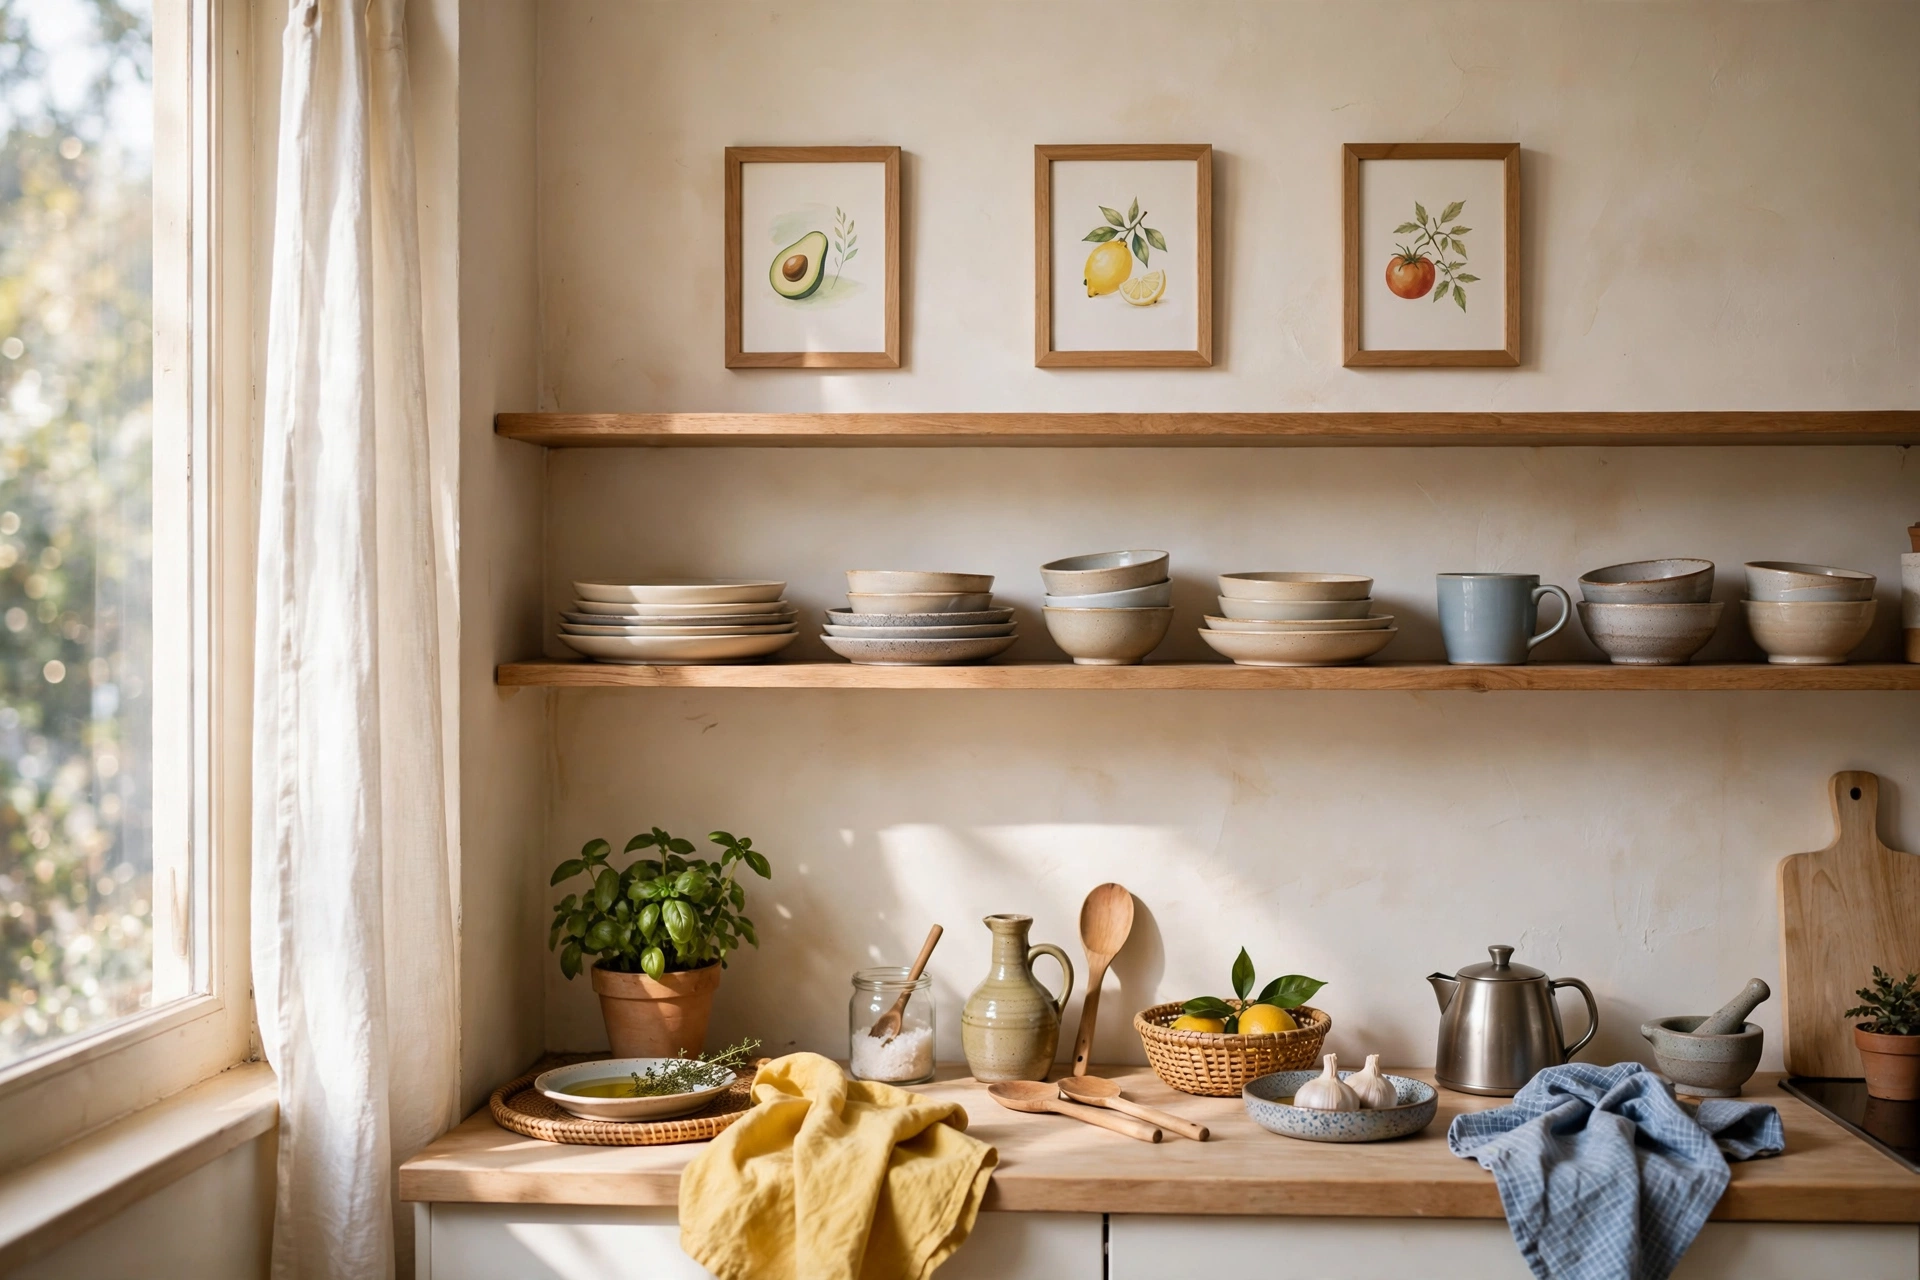
27. Don’t Forget the Kitchen Walls
Studio kitchens get zero decor love, but one framed food print, a vintage-style market poster, or a small herb-print set makes cooking feel less like a chore. Choose art that tolerates humidity — framed behind glass, not raw canvas. Pro tip: lean a small framed print on the backsplash shelf instead of hanging it; steam and grease stay off the frame.
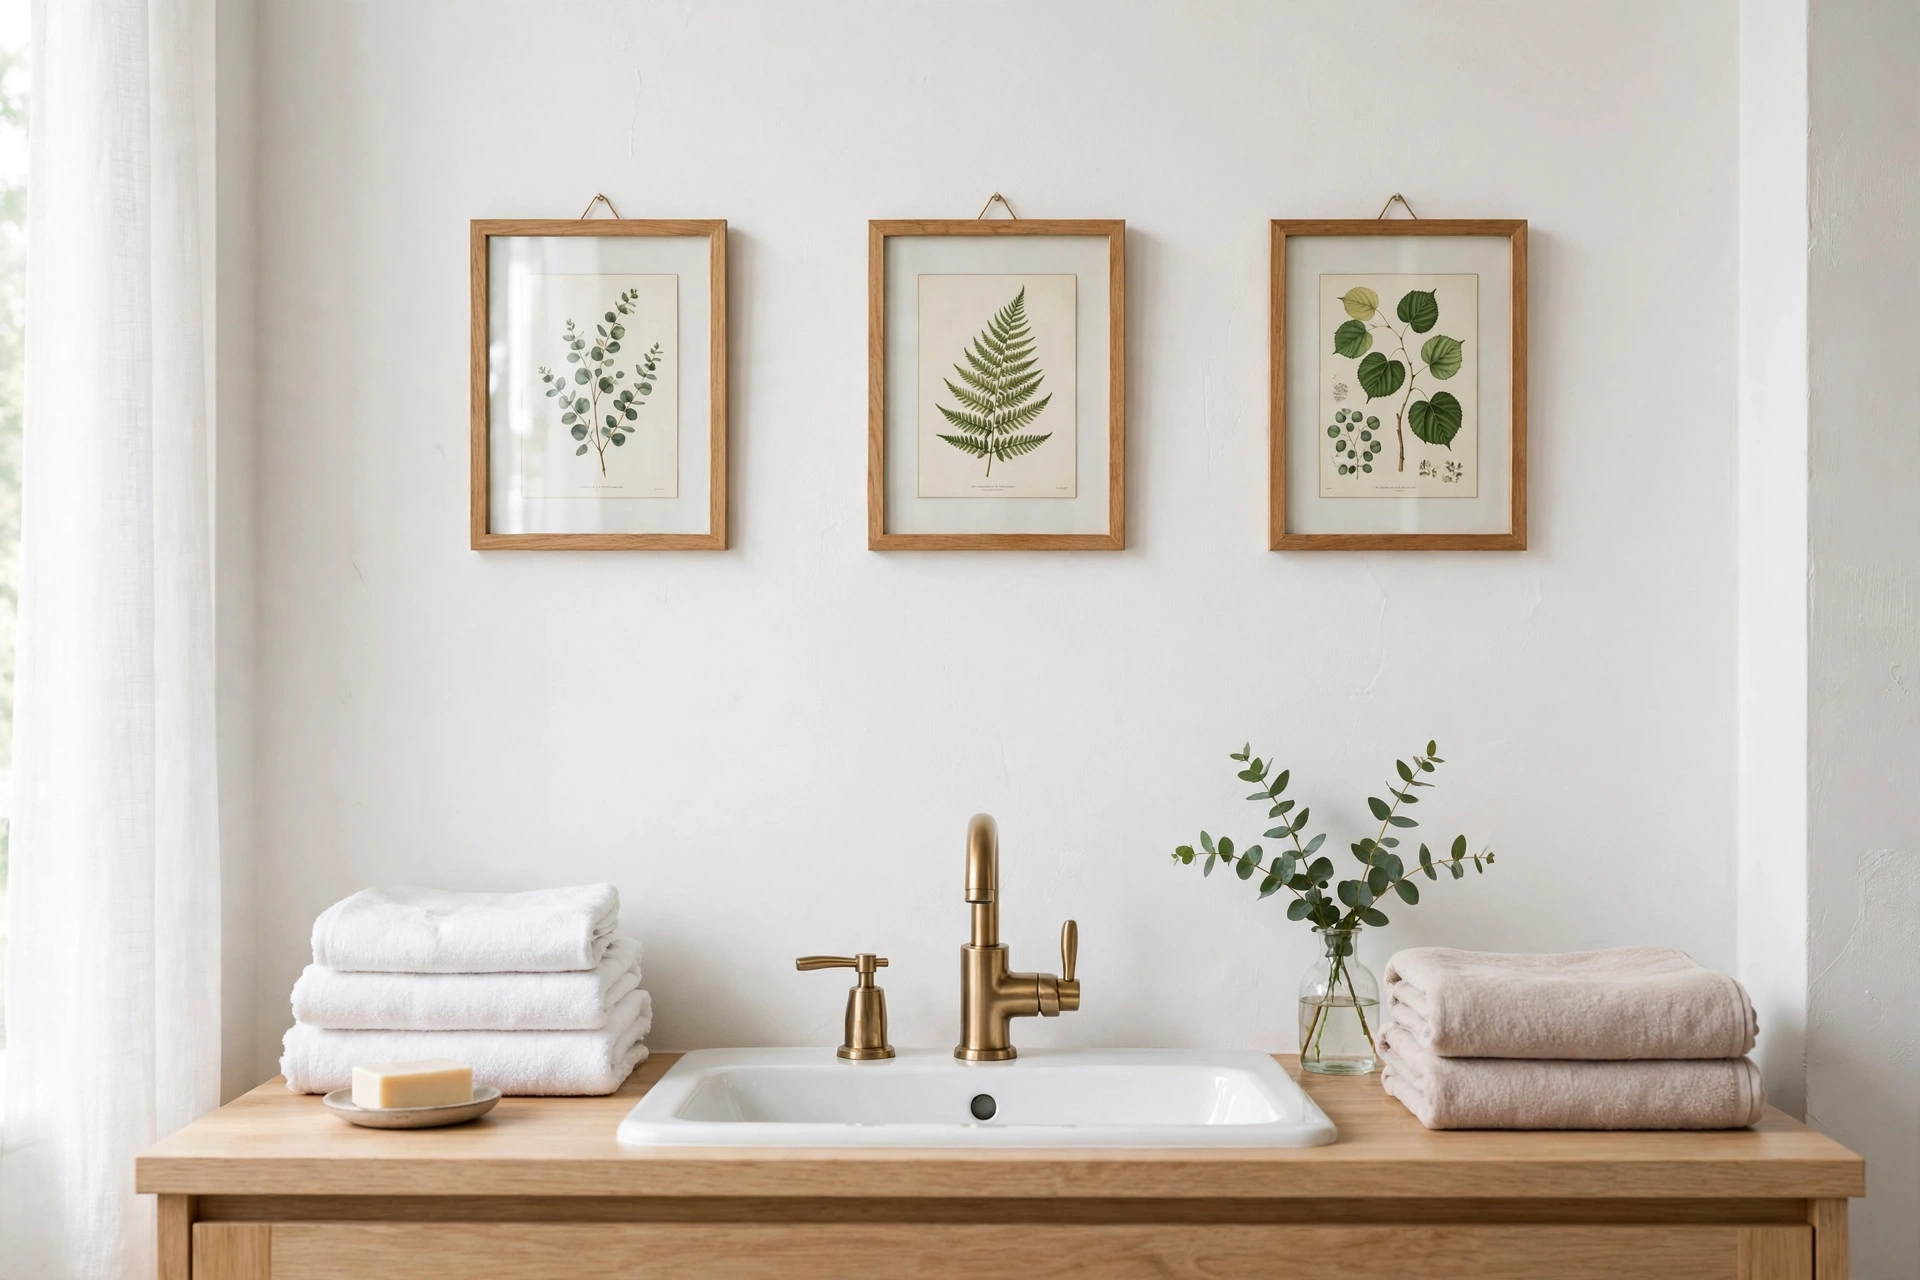
28. Add Art to the Bathroom Too
The bathroom is a room you use every day — it deserves art. Small framed prints, a funny quote, or botanical illustrations thrive here if they’re behind glass (humidity is the enemy). Thrifted frames plus $3 prints make this a $15 upgrade. Pro tip: avoid anything irreplaceable in the bathroom; stick to prints you could reprint if steam wins.
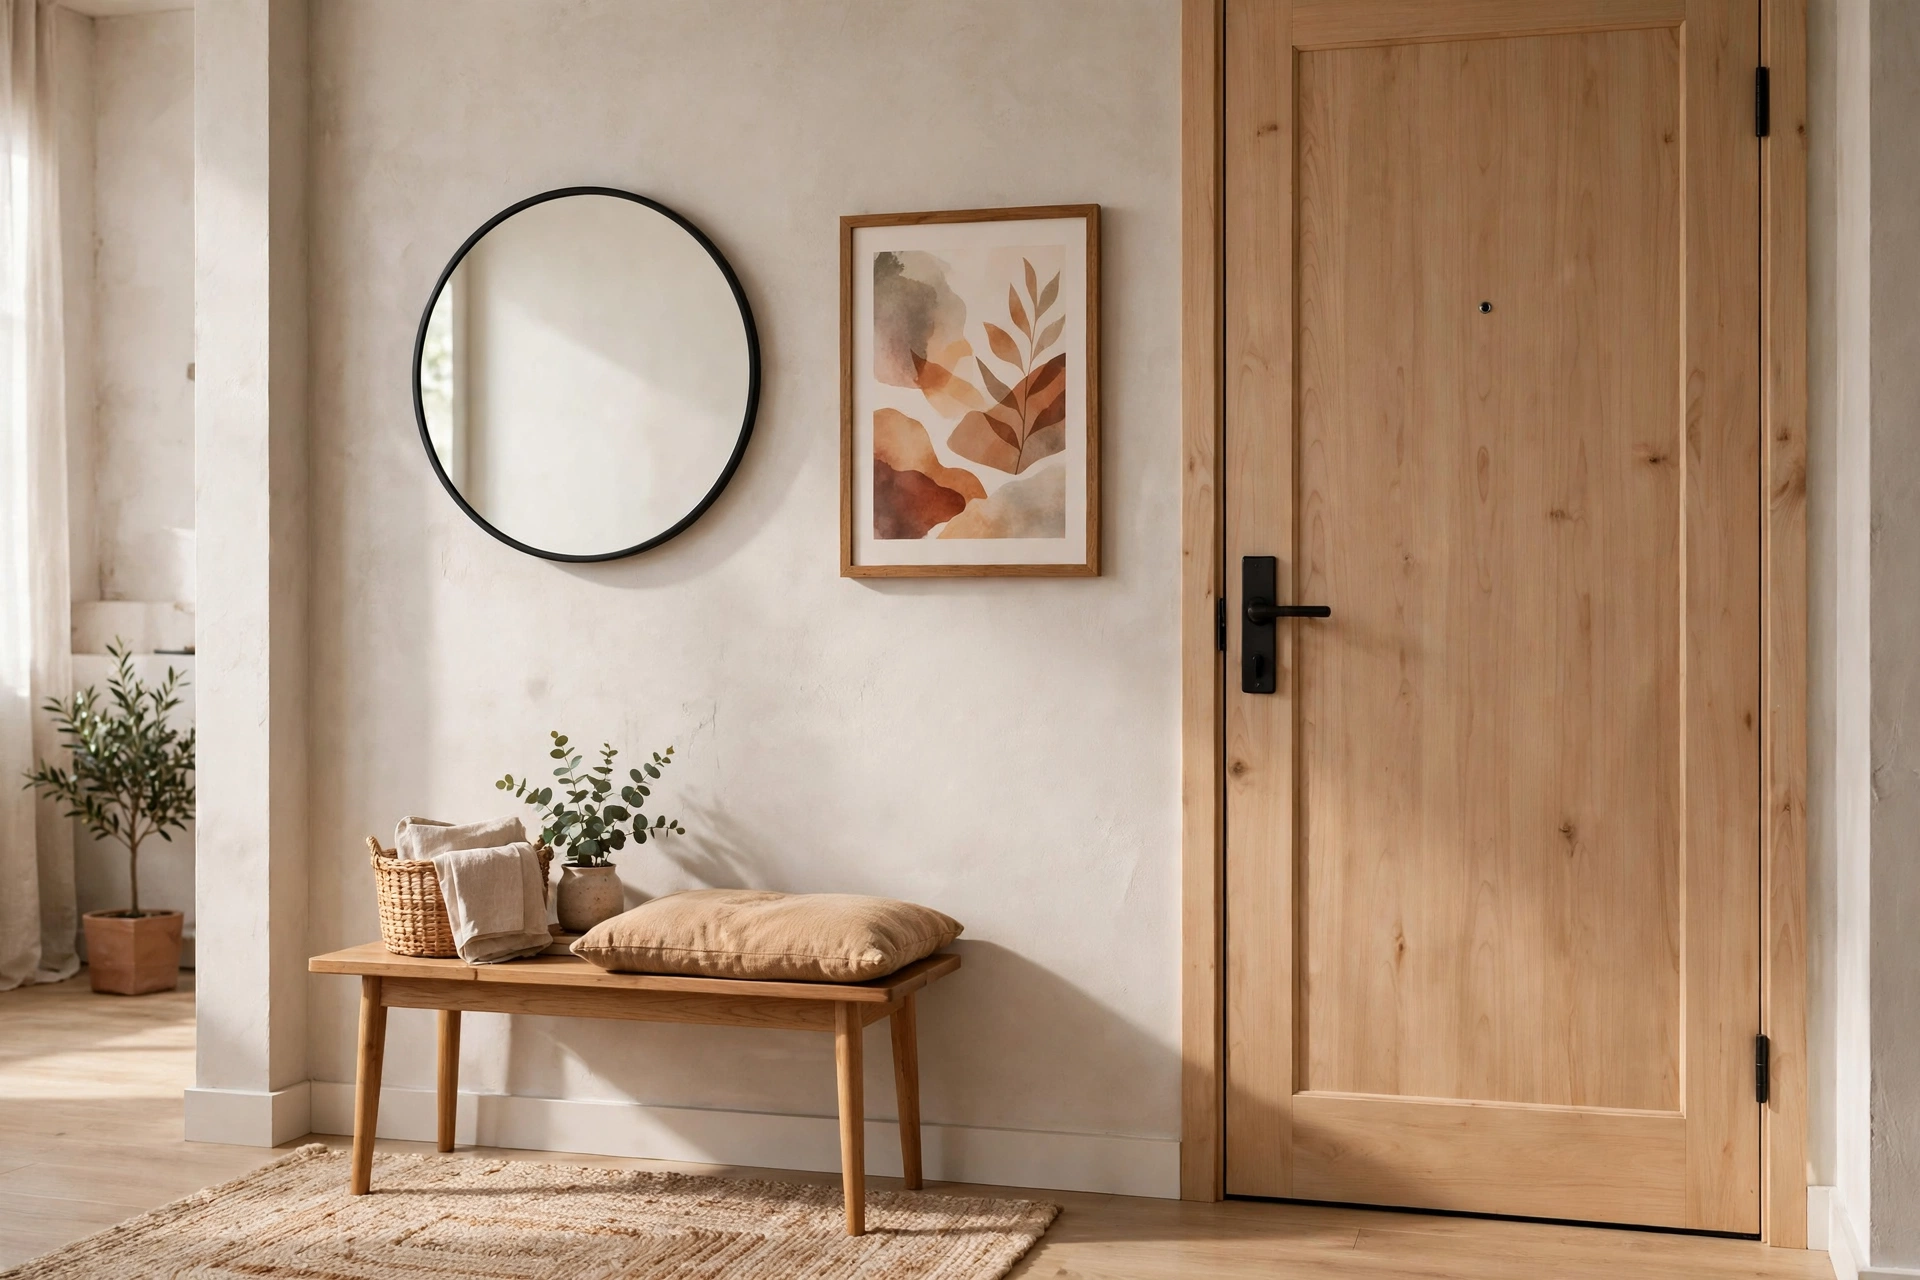
29. Make the Entryway Welcoming
The first wall guests see sets the tone: a welcoming print, a small mirror for last-minute checks, or a hook rail with a hanging plant. In a studio, the entryway art is the apartment’s handshake — make it warm. Our cozy apartment living room ideas start at the doorway for the same reason. Pro tip: a mirror by the door doubles the entryway light and lets you check your look on the way out.
Styling & Placement Rules That Always Work
The final five aren’t art styles — they’re the rules that make every other idea on this list look right. Memorize these and you’ll never hang art wrong again.
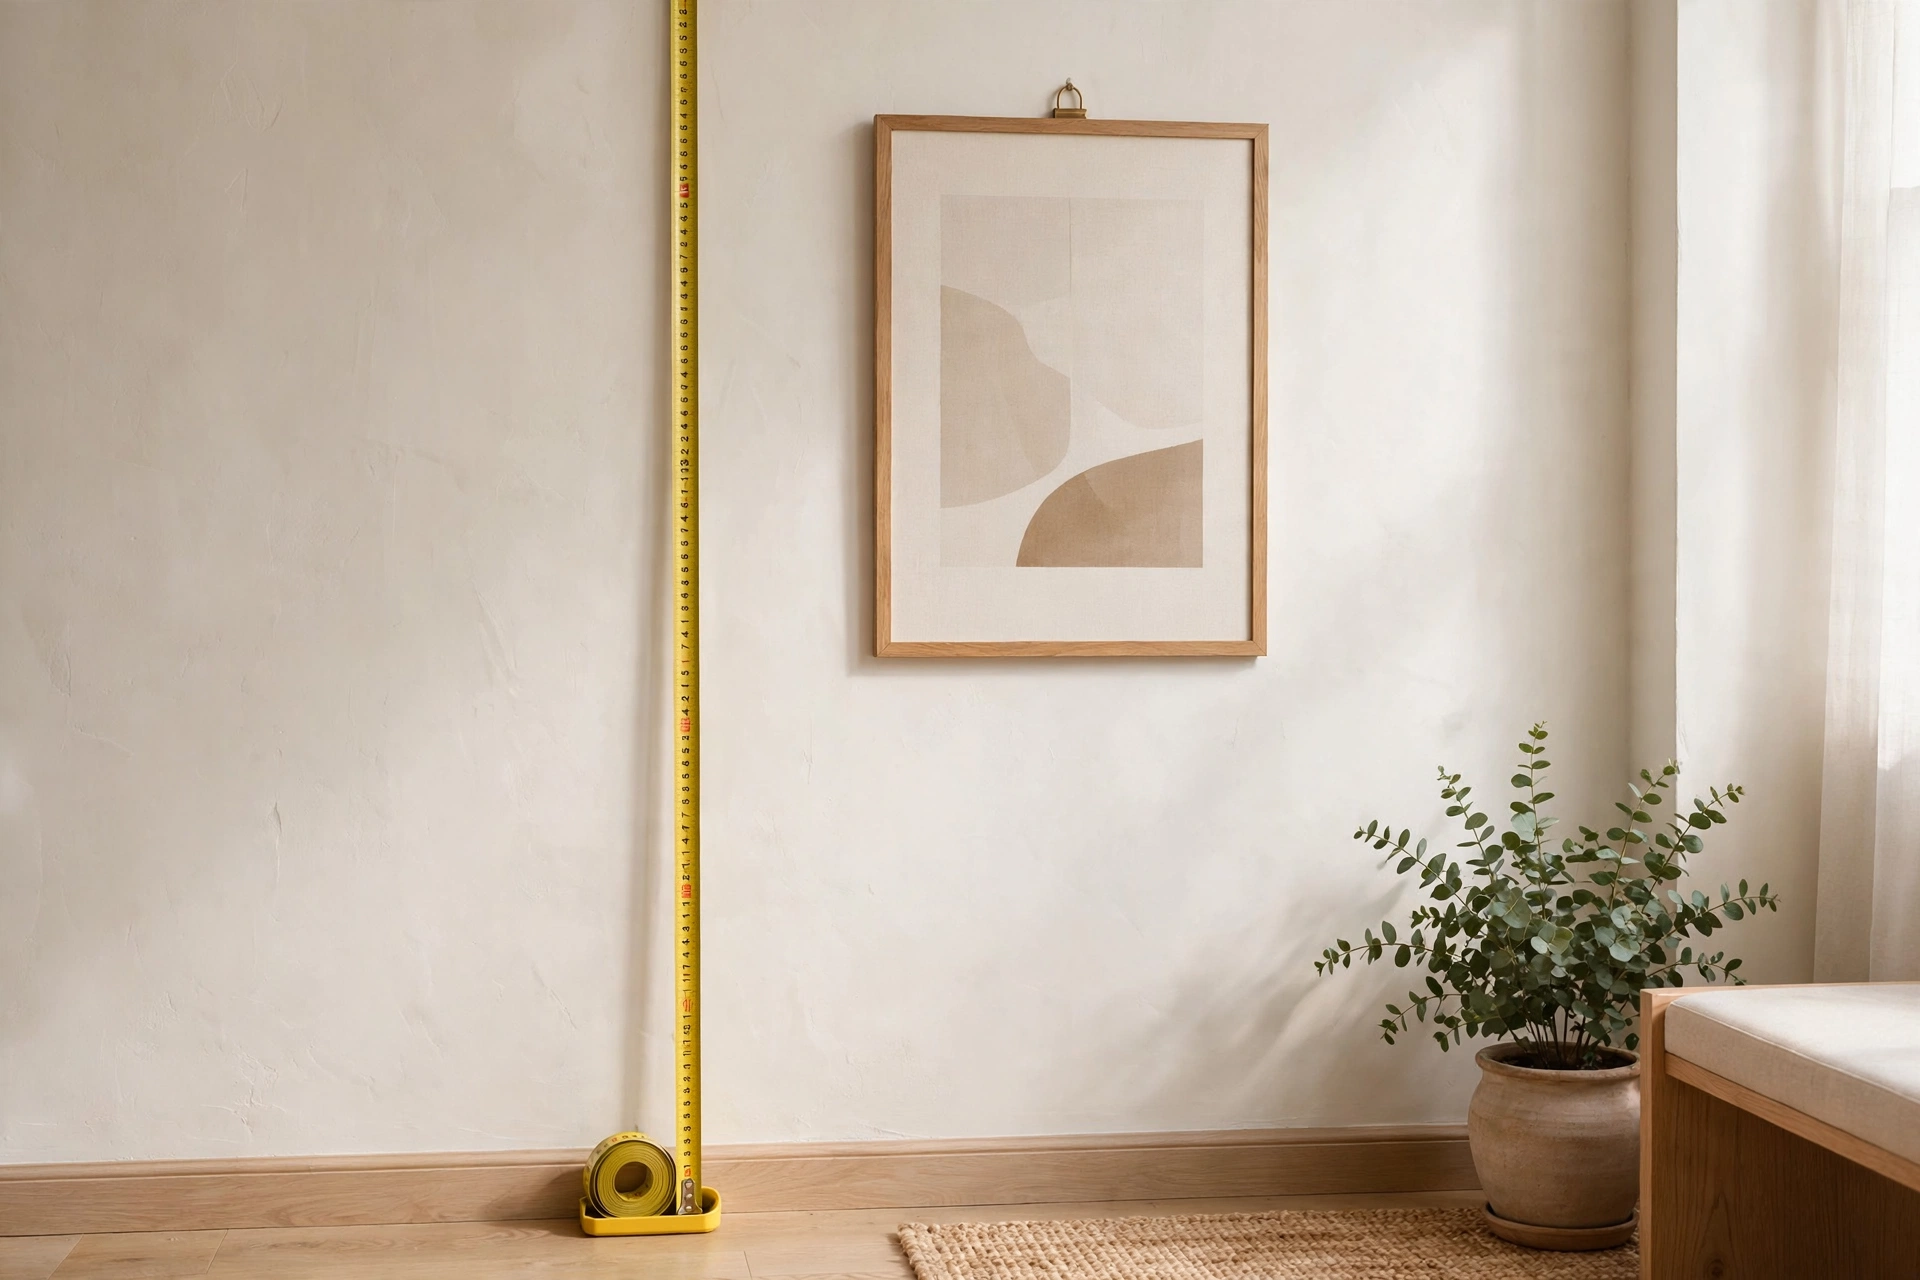
30. Hang Art at Eye Level: The 57-Inch Rule
Museums hang art with the center at 57 inches from the floor — average human eye level — and you should too. Almost everyone hangs art too high; when in doubt, go lower. For art above furniture, the bottom edge should sit 6–8 inches above the piece. Pro tip: measure 57 inches and put a small piece of painter’s tape on the wall as your center mark before you hang anything.
31. Leave Breathing Room Around Each Piece
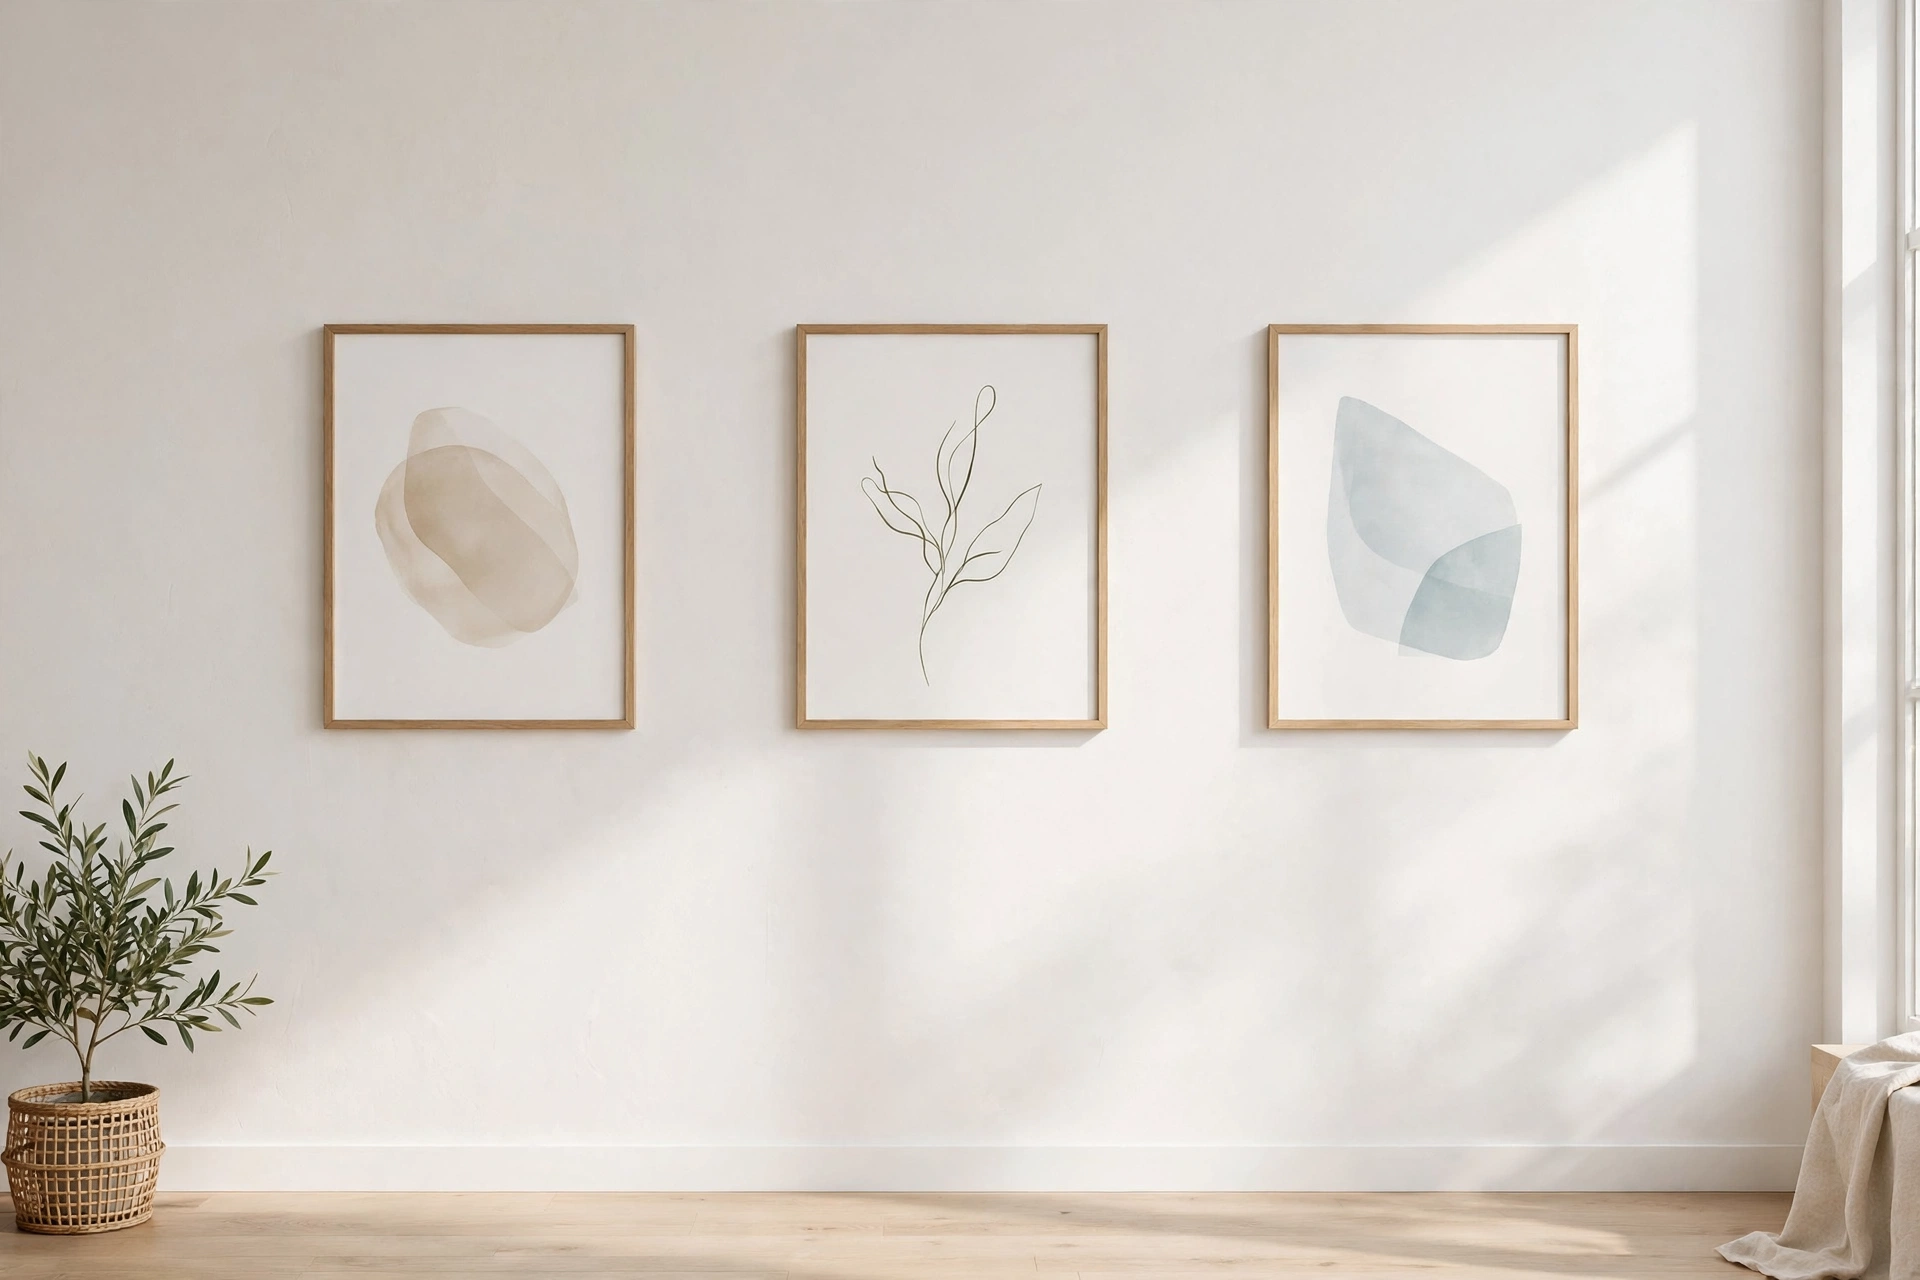
Art needs negative space to shine — crowding pieces edge-to-edge makes even beautiful art look like clutter. In gallery walls, 2–3 inches between frames is the sweet spot; a standalone piece wants at least 6 inches of clear wall on each side. Pro tip: step back ten feet after hanging; if the wall feels busy from across the room, remove one piece.
32. Hunt Thrift Stores for Original Art
Thrift stores, estate sales, and flea markets are treasure chests of original paintings, vintage prints, and interesting frames — often $5–$20 for pieces with genuine character. The hunt is half the fun, and you’ll own art nobody else has. Pro tip: check the frame as much as the art; a great frame with mediocre art is still a win — swap in your own print.
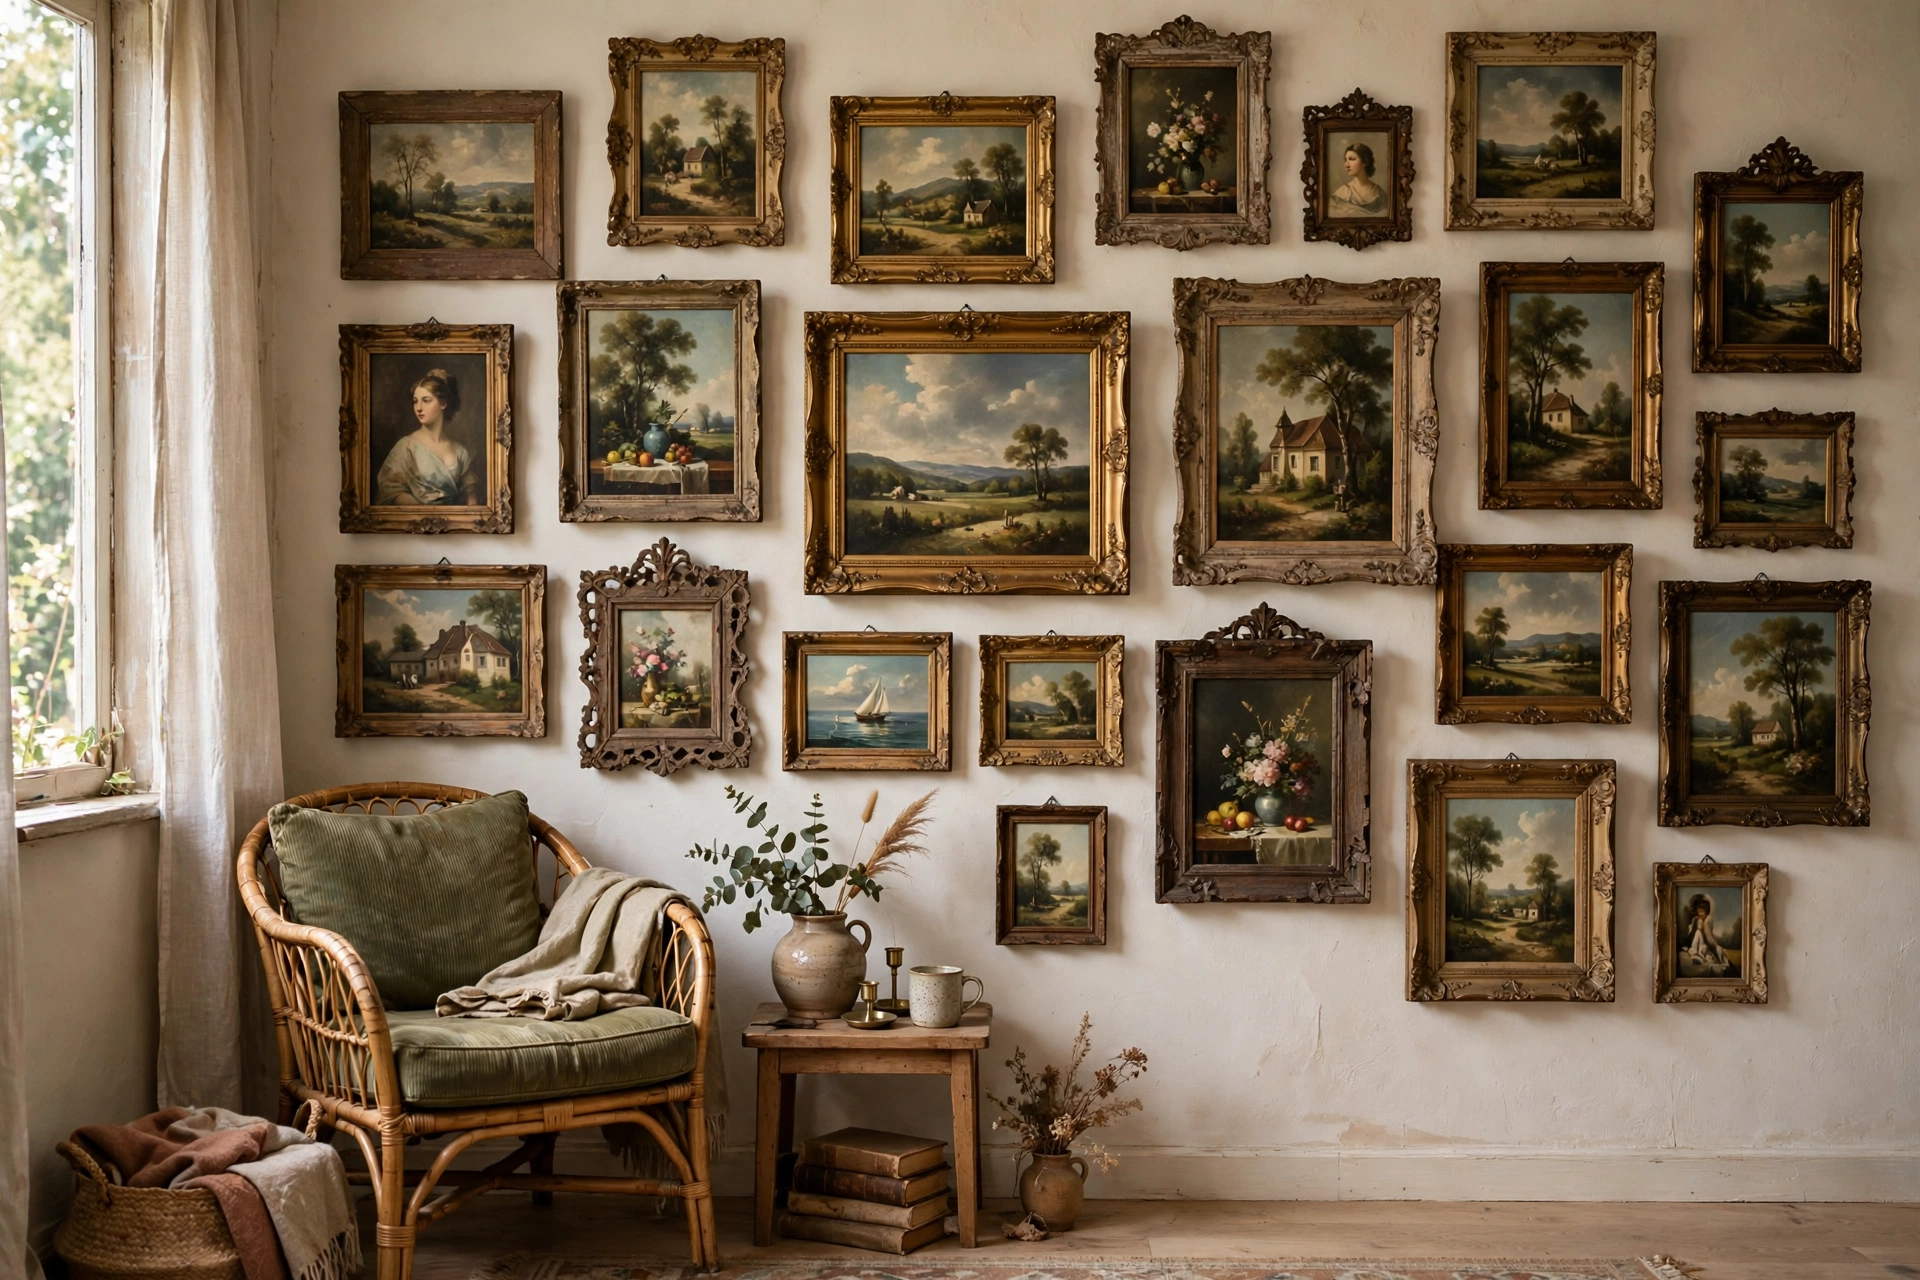
33. Print Your Own Art for Pennies
Etsy sellers offer thousands of printable art files for $3–$8 — buy the file, print at a local shop or drugstore ($2–$10 depending on size), and frame it. You get designer-looking art for under $20 total, in exactly the colors you want. Pro tip: search Etsy for printables in your specific palette (“sage green abstract printable”) rather than browsing aimlessly.
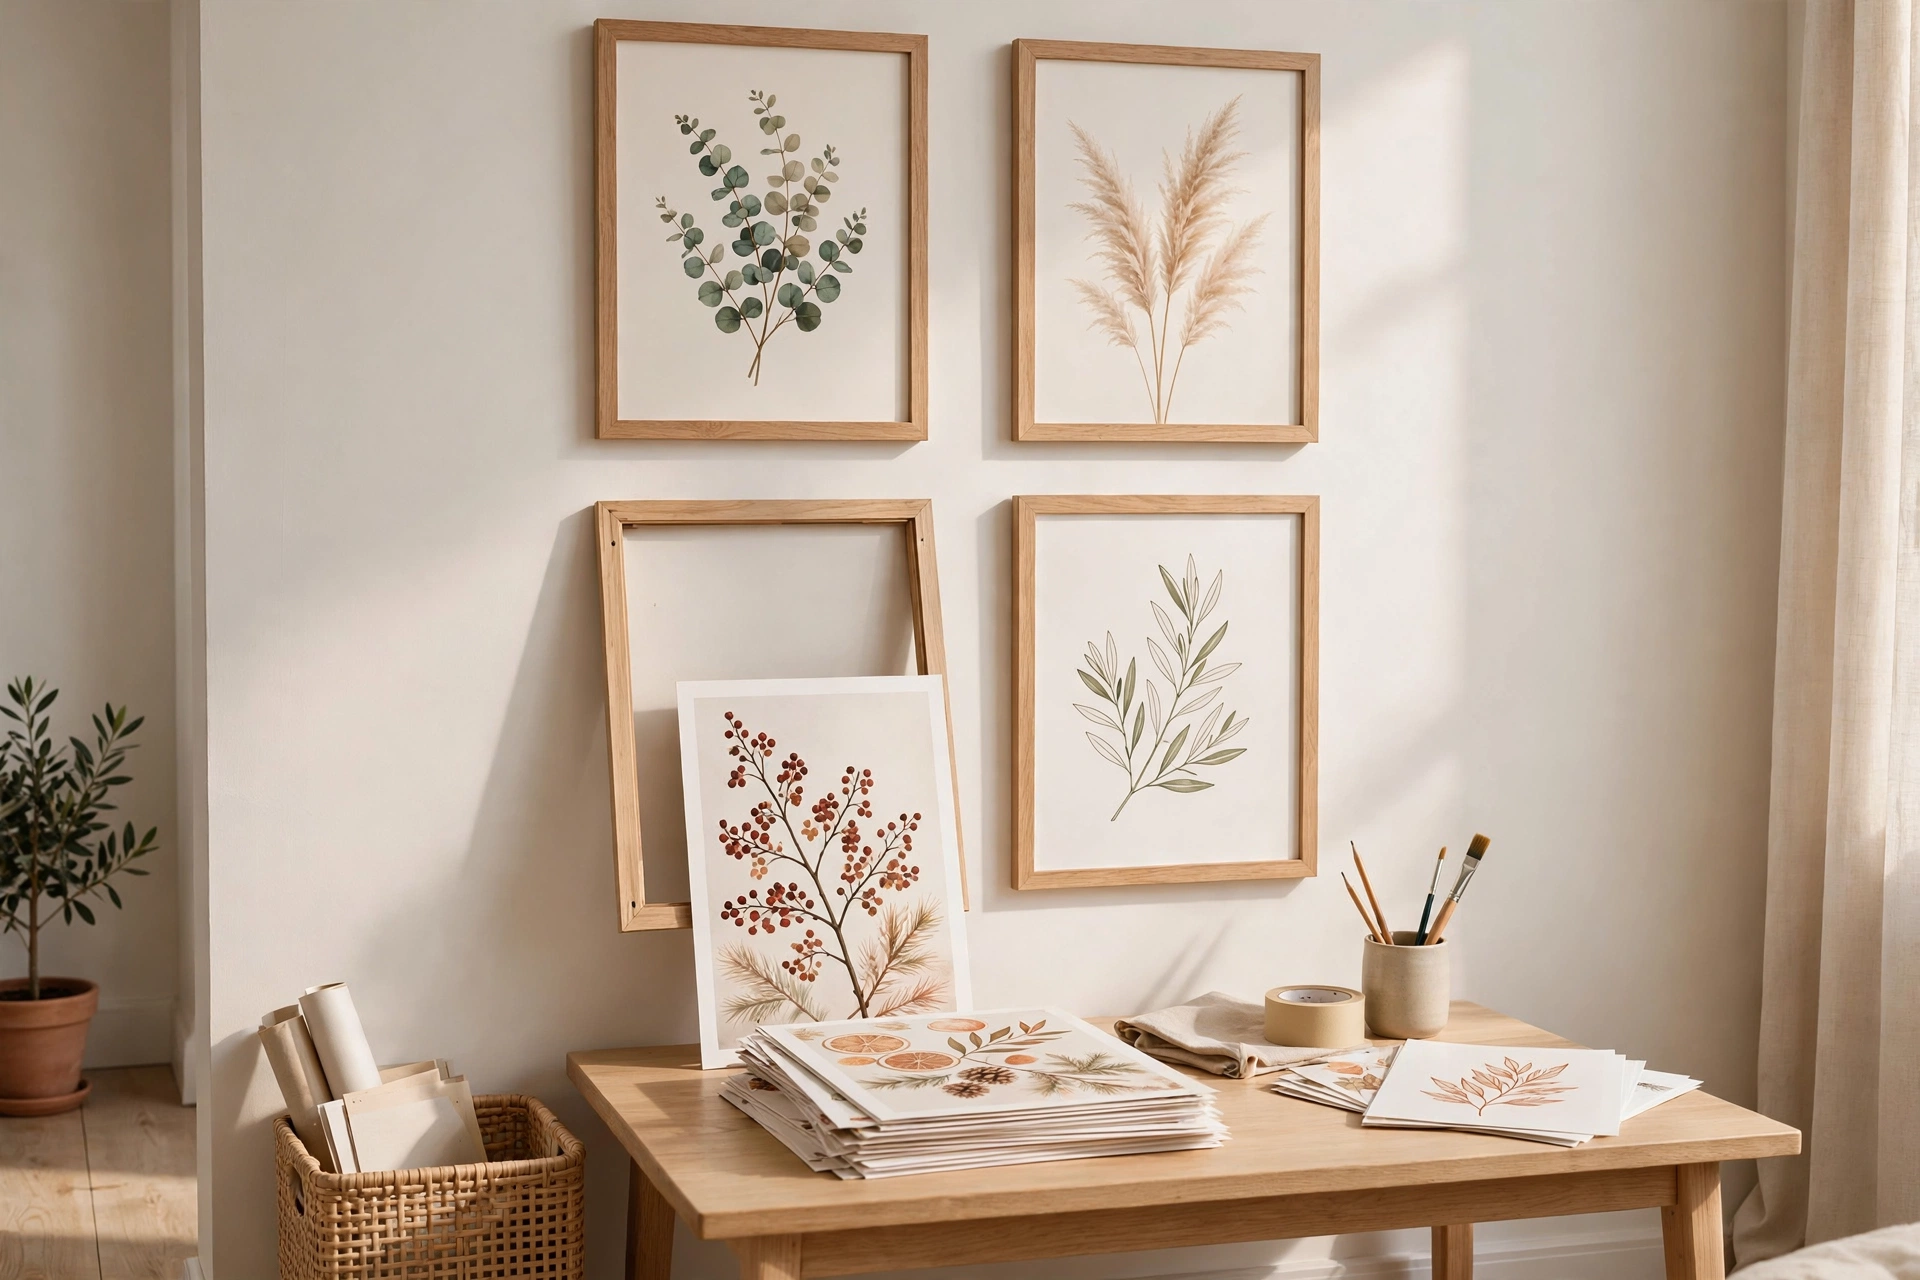
34. Rotate Your Art Seasonally
The cheapest refresh in decorating: swap your art with the seasons. Store off-season pieces flat under the bed or behind furniture, and rotate in warmer tones for fall, brights for spring. Your walls feel new twice a year for zero dollars. Pro tip: keep the frames and just swap the prints inside — same hardware, brand-new look in twenty minutes.
Frequently Asked Questions
How do I hang wall art in a rental without damaging walls?
Adhesive hanging strips (3M Command) are the gold standard — they hold up to 16 pounds and remove cleanly. For heavier pieces, lean oversized art on furniture instead of hanging it, use picture ledges, or hang tapestries from adhesive hooks. Always check your lease, but these methods leave zero trace.
What size art should I hang above my sofa?
Follow the two-thirds rule: your art should span roughly two-thirds the width of the sofa. For a standard 72-inch sofa, aim for about 48 inches of art — either one large piece or a tight grouping. Hang it so the bottom edge sits 6–8 inches above the sofa back.
How high should I hang pictures on the wall?
Center the art at 57 inches from the floor — museum standard and average eye level. When hanging above furniture, prioritize the 6–8 inch gap above the piece over the 57-inch rule. Almost everyone hangs art too high, so when in doubt, lower it.
How can I decorate my studio walls on a budget?
Printable art from Etsy ($3–$8 per file) plus drugstore printing is the cheapest path to designer-looking walls. Thrift stores offer original art for $5–$20. Washi-tape frames, clipboards, and leaning prints cost almost nothing. A full gallery wall can come together for under $50.
What kind of wall art makes a small room look bigger?
Large-scale pieces (one big canvas beats ten small frames), mirrors that reflect light and views, and art with depth or landscape scenes that create a sense of distance. Light-colored art with plenty of negative space keeps walls feeling open; avoid dark, heavy pieces on every wall.
Should all my wall art match?
It should coordinate, not match. Pick a unifying thread — same frame color, same color palette, or same subject matter — and let individual pieces vary within it. Total uniformity looks like a hotel; total randomness looks like clutter. The sweet spot is 70% cohesive, 30% surprise.
Final Thoughts
Here’s what nobody tells you about wall art in a studio: it’s not decoration, it’s architecture. In a one-room home, art defines zones, sets moods, and tells visitors who you are before you’ve said a word. A blank wall is a missed opportunity; a well-dressed wall is a room divider, a headboard, and a personality statement all at once.
Start with one wall this weekend — the one you stare at most. Hang one piece at the right height, in the right scale, with a method your landlord will never know about. Then let it grow. Your studio’s walls are small, but that’s exactly why every inch of art on them counts double.

One Comment