
36 Studio Apartment Curtain Ideas for Every Window and Budget
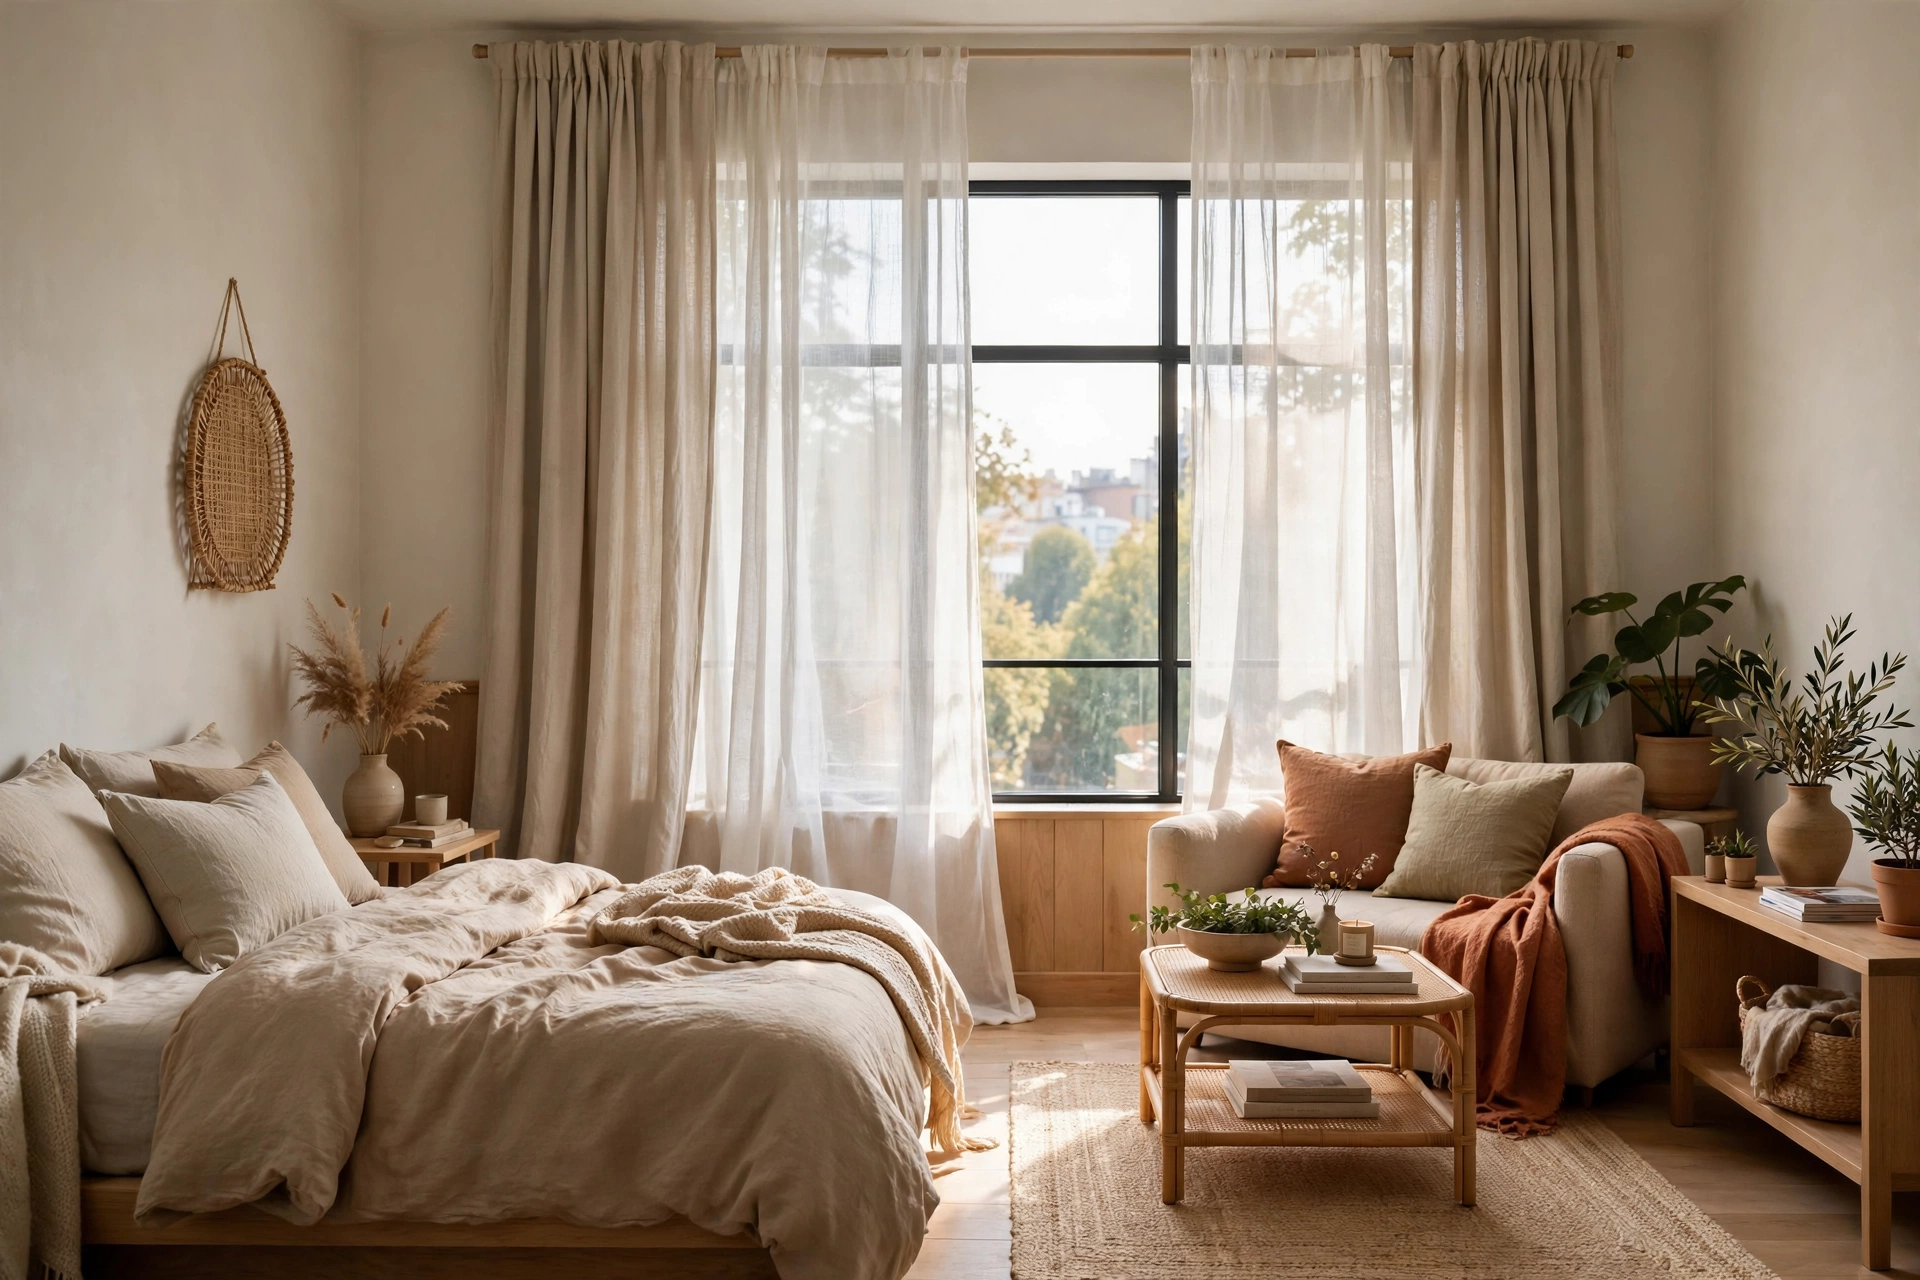
Curtains are the hardest-working textile in a studio apartment. The right panels do far more than block light — they carve a bedroom out of thin air, make a low ceiling feel inches taller, soften street noise, and turn a rental box into a home that actually feels finished. Get them wrong, though, and the same windows shrink your space, fight your furniture layout, and leak morning light straight onto your pillow.
This guide walks through 36 studio apartment curtain ideas for every window, every zone, and every budget — from blackout curtains that give shift workers real sleep to renter-friendly no-drill hangs your landlord will never know about. Most of these ideas cost under $50 per window, and every one is chosen to make a small space feel bigger, not busier. If you’re styling the sleep zone too, our small studio bedroom ideas pair perfectly with the curtain tricks below.
Curtain Types & Fabrics That Work in Studios
1. Blackout Curtains for the Sleep Zone
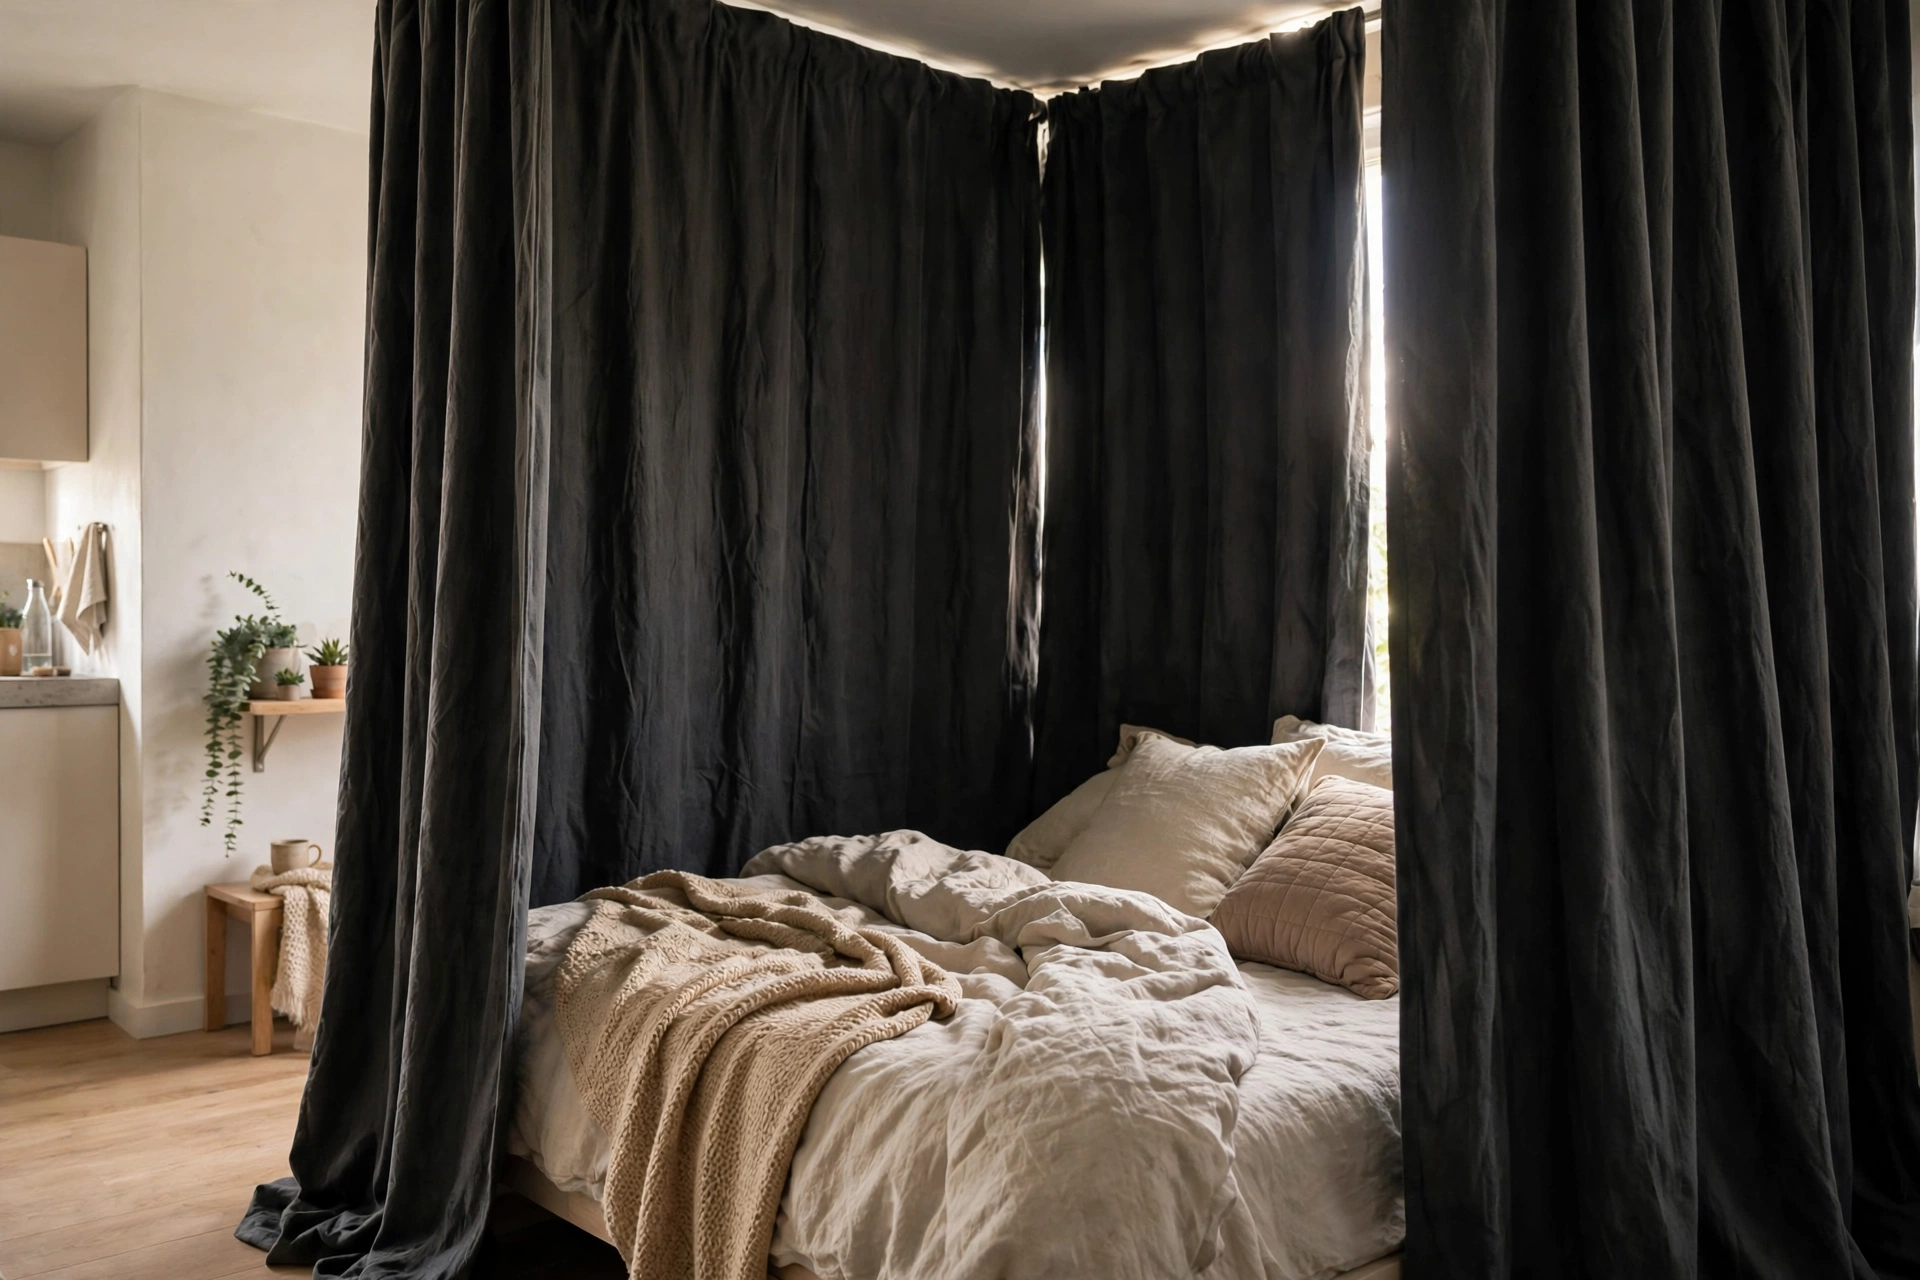
If your bed sits anywhere near a window — and in a studio, it probably does — blackout curtains are non-negotiable. Look for triple-weave blackout panels rather than cheap foam-backed ones; they block 95–100% of light, drape better, and don’t off-gas that plasticky smell. IKEA’s MAJGULL blackout curtains run about $39.99 a pair and come in muted tones that suit small spaces. Pro tip: Choose panels at least 1.5 times the width of your window so the folds stay full even when drawn closed — skimpy blackout curtains leak light at every gap.
2. Breezy Linen Curtains for Soft Daylight
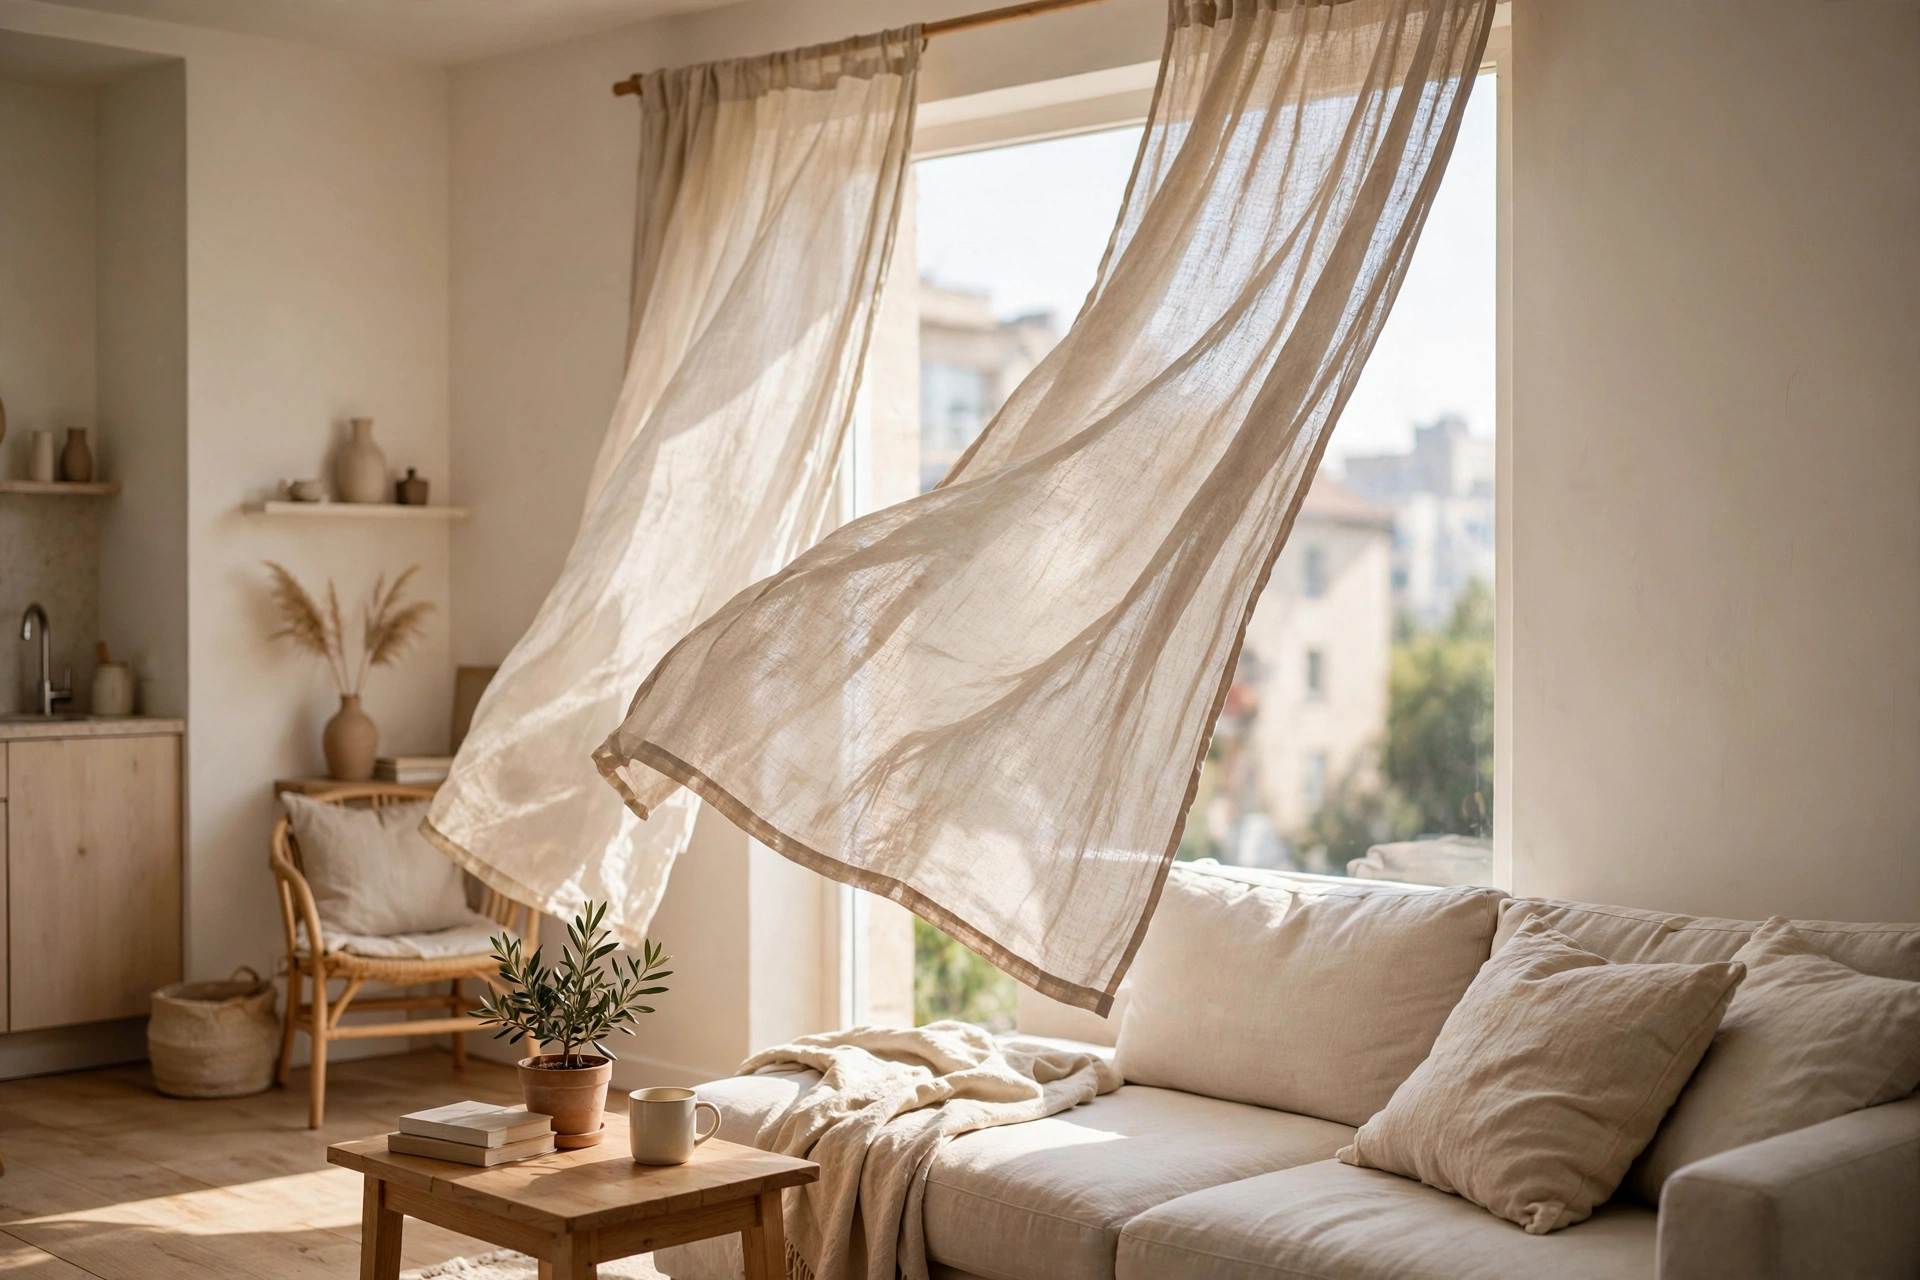
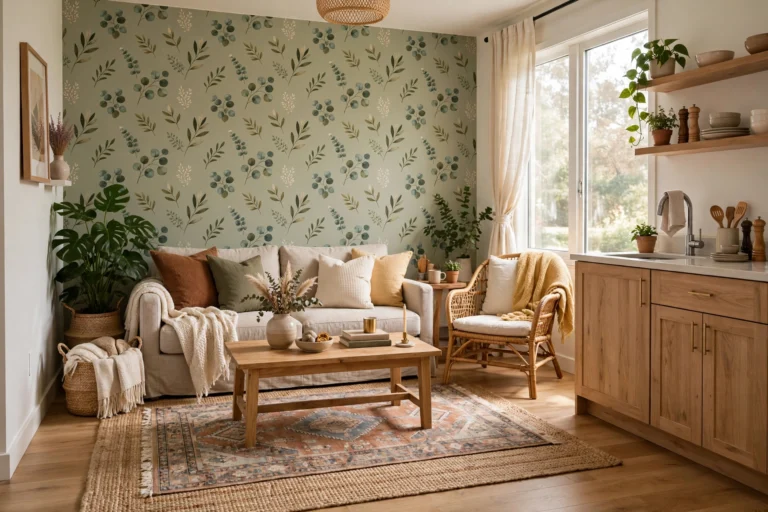
Linen (or a good linen-look blend) is the fabric designers reach for when a studio needs light without glare. The loose weave filters sunshine into a soft glow while still giving you daytime privacy — perfect for the living zone. Pure linen wrinkles beautifully, which suits a relaxed look; if you hate ironing, a linen-cotton blend around $29–$45 per panel from H&M Home or Zara Home holds its shape better. Pro tip: Wash linen panels once before hanging — they shrink slightly, and pre-shrinking keeps your hems landing exactly at floor level.
3. Velvet Curtains for Instant Luxury
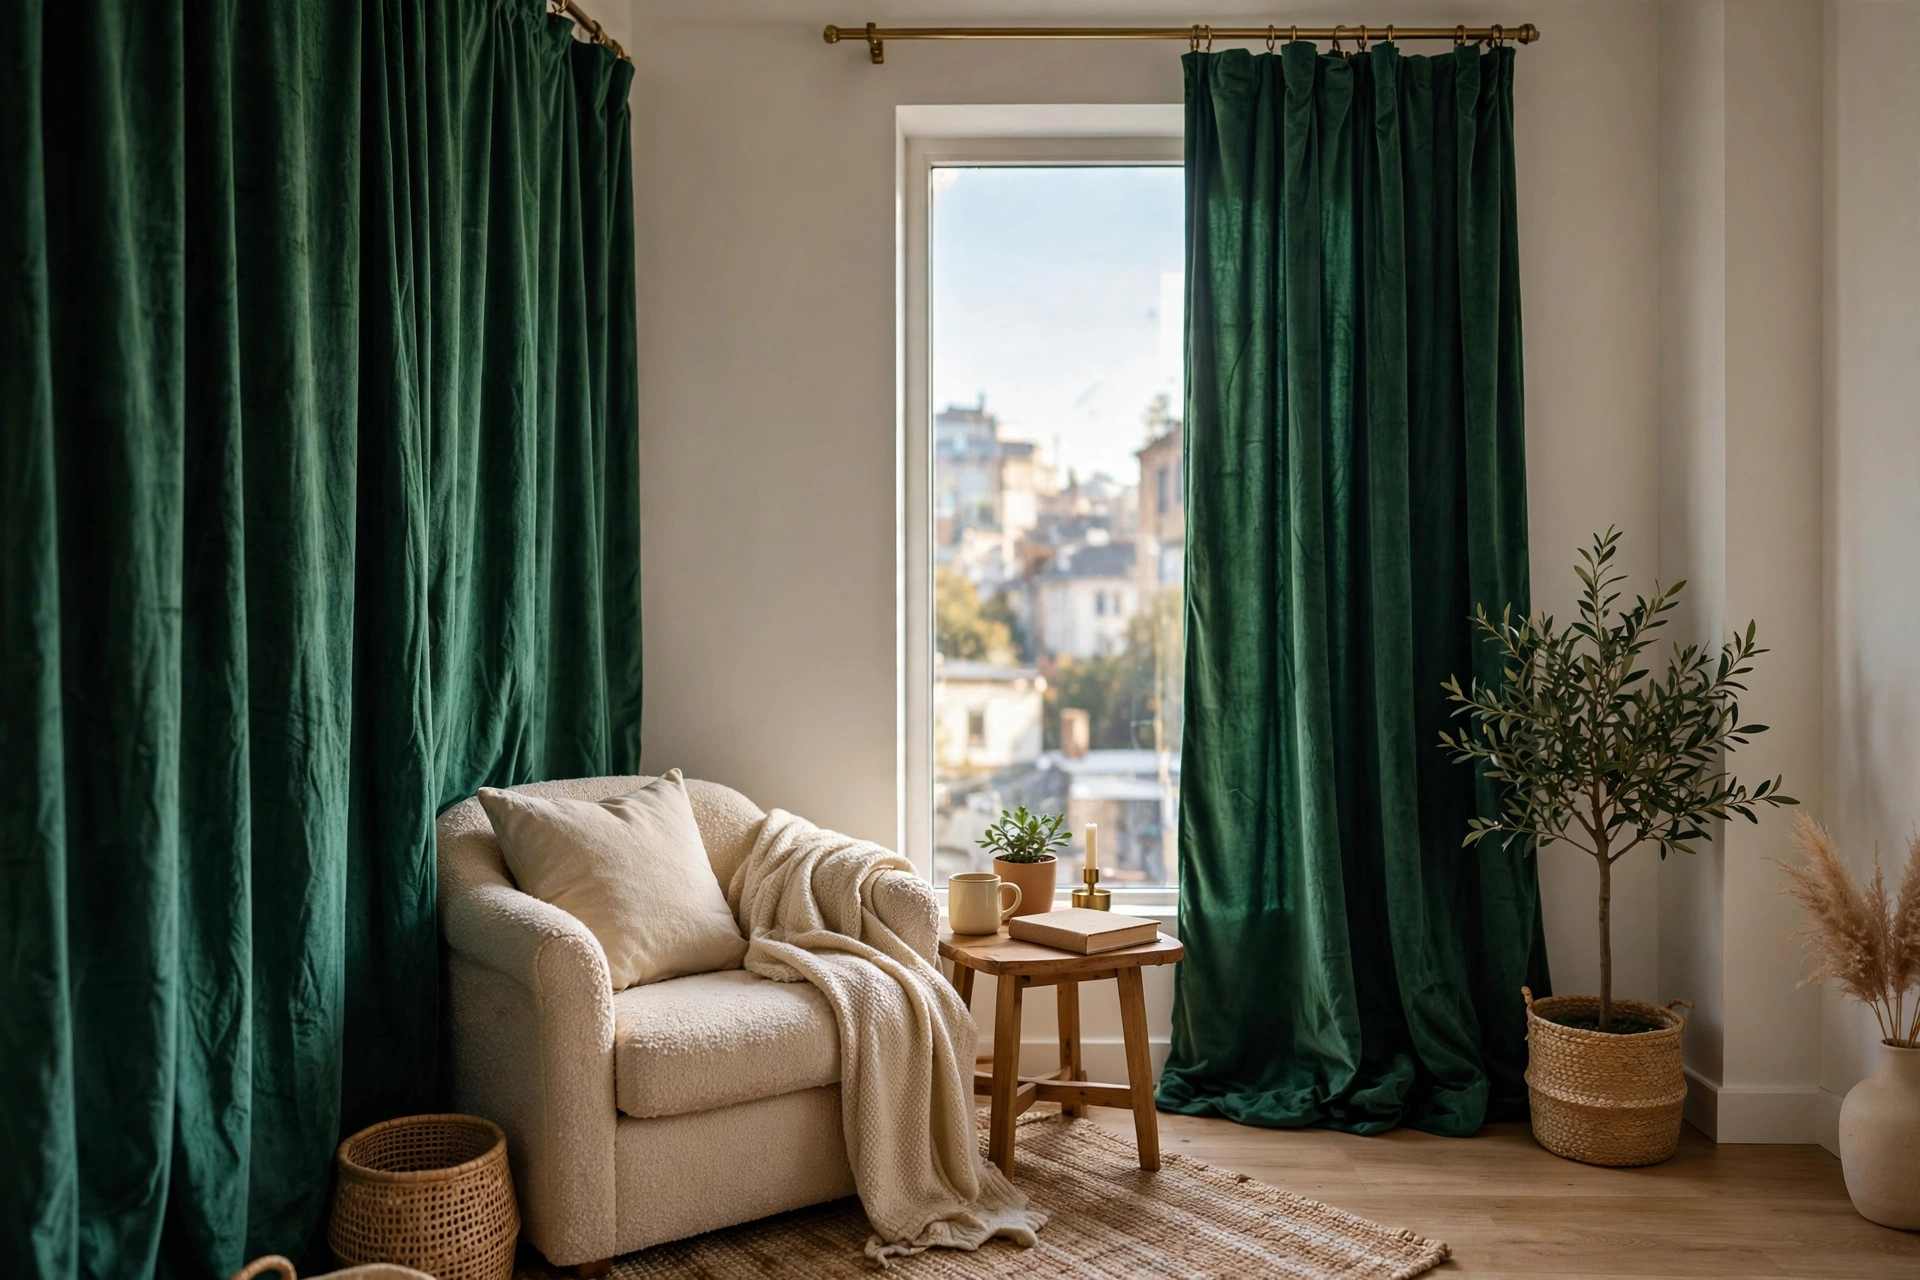
A single pair of velvet panels can make a budget studio feel like a boutique hotel — the fabric catches light, muffles sound, and adds the kind of richness flat-pack furniture can’t. You don’t need much: flank the main living-room window with deep emerald, navy, or warm rust velvet and let them be the room’s jewelry. Amazon and Target carry cotton-velvet panels for roughly $35–$60 per panel. Pro tip: In studios under 400 square feet, keep velvet to one window only — on every window it starts to feel heavy and closes the room in.
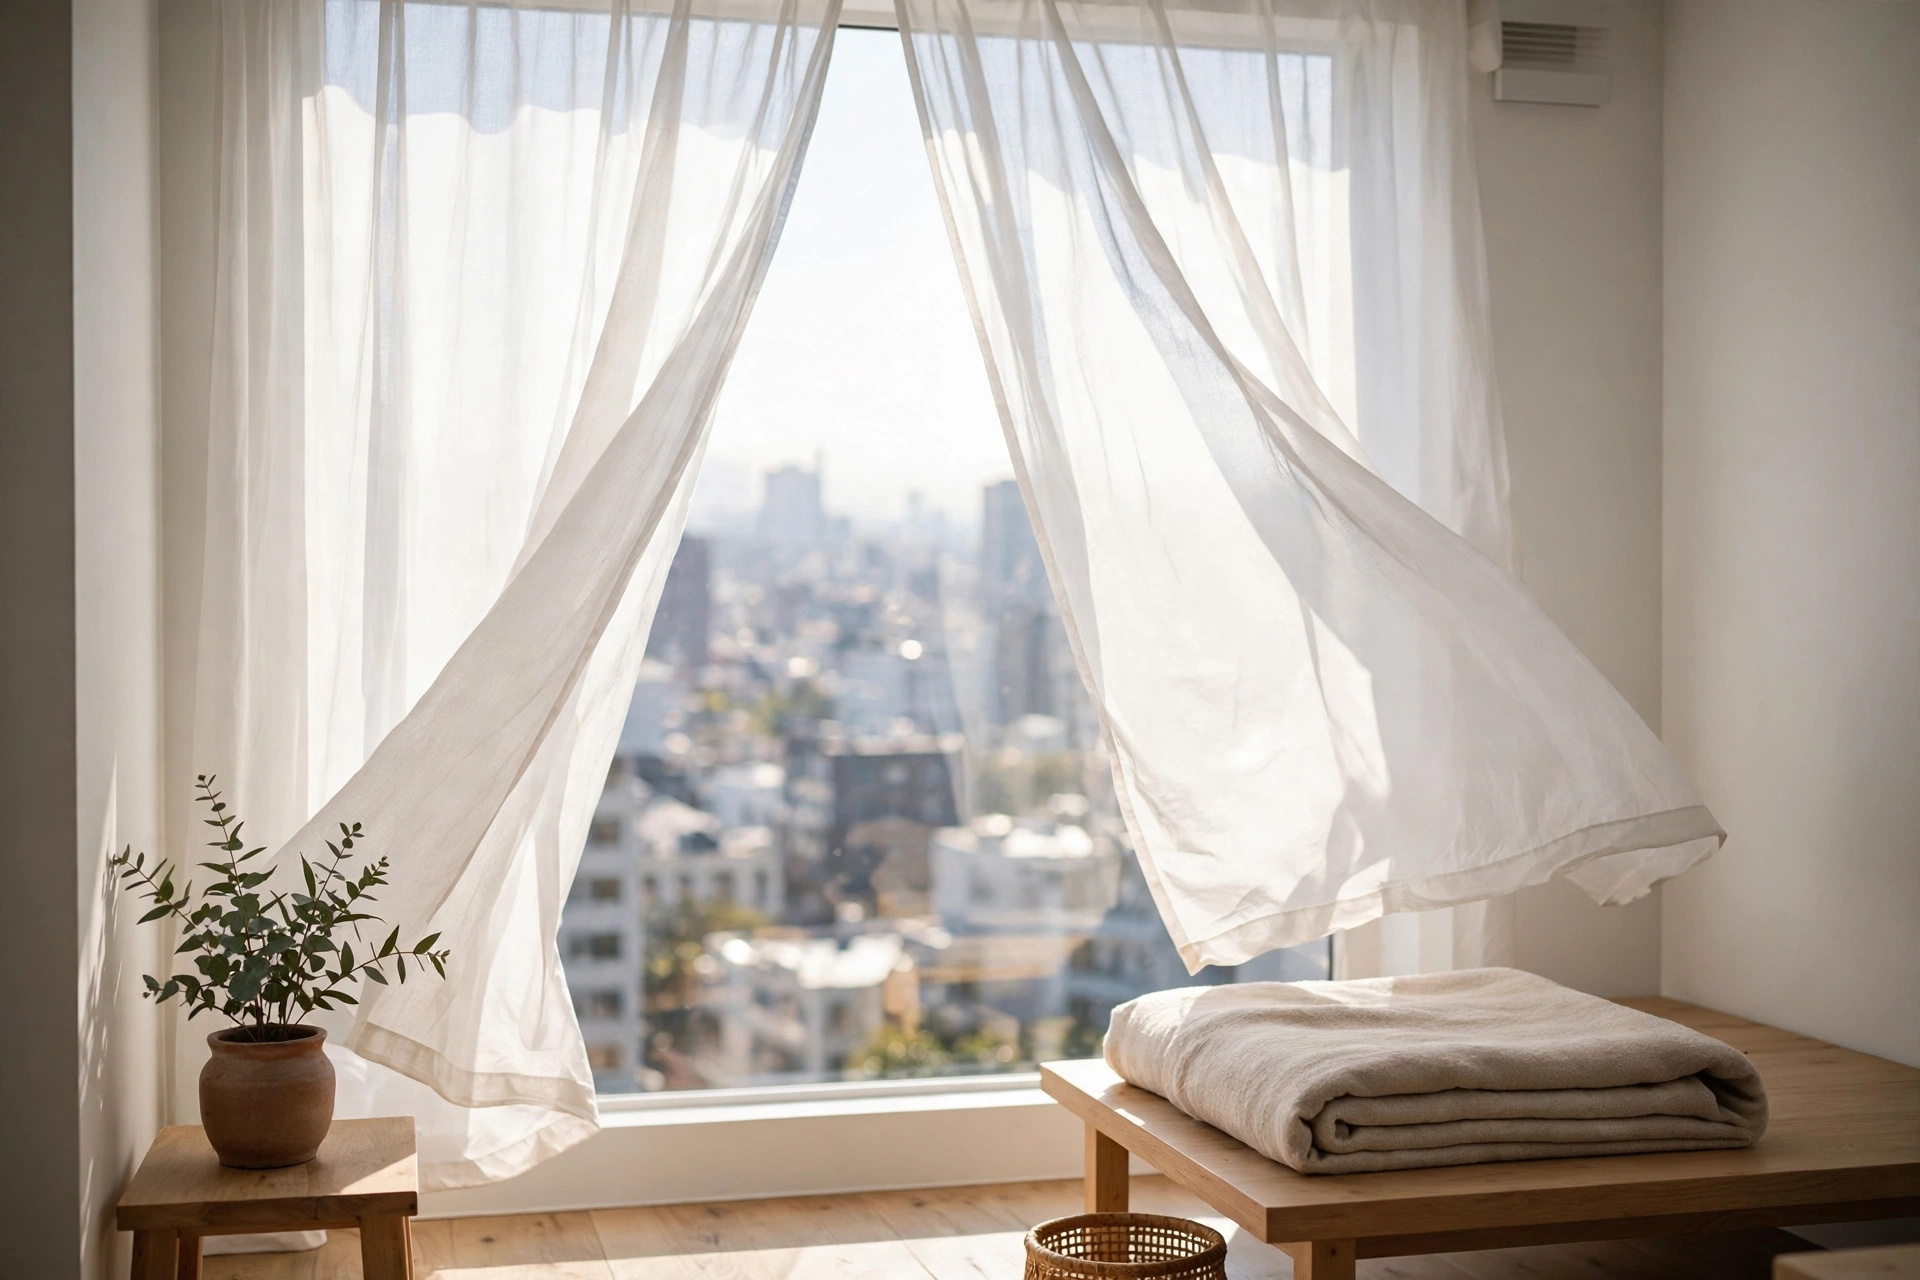
4. Sheer Curtains That Keep the View
Sheers are the studio dweller’s best friend: they blur the outside world just enough for privacy while letting you keep every drop of daylight and your view. Layer them on windows facing another building — you get privacy without living behind closed drapes all day. IKEA’s classic RITVA sheers cost about $12.99 a pair and come in generous lengths. Pro tip: Buy sheers two to three times the window width; gathered full, they look intentional and expensive, while flat sheers look like an afterthought.
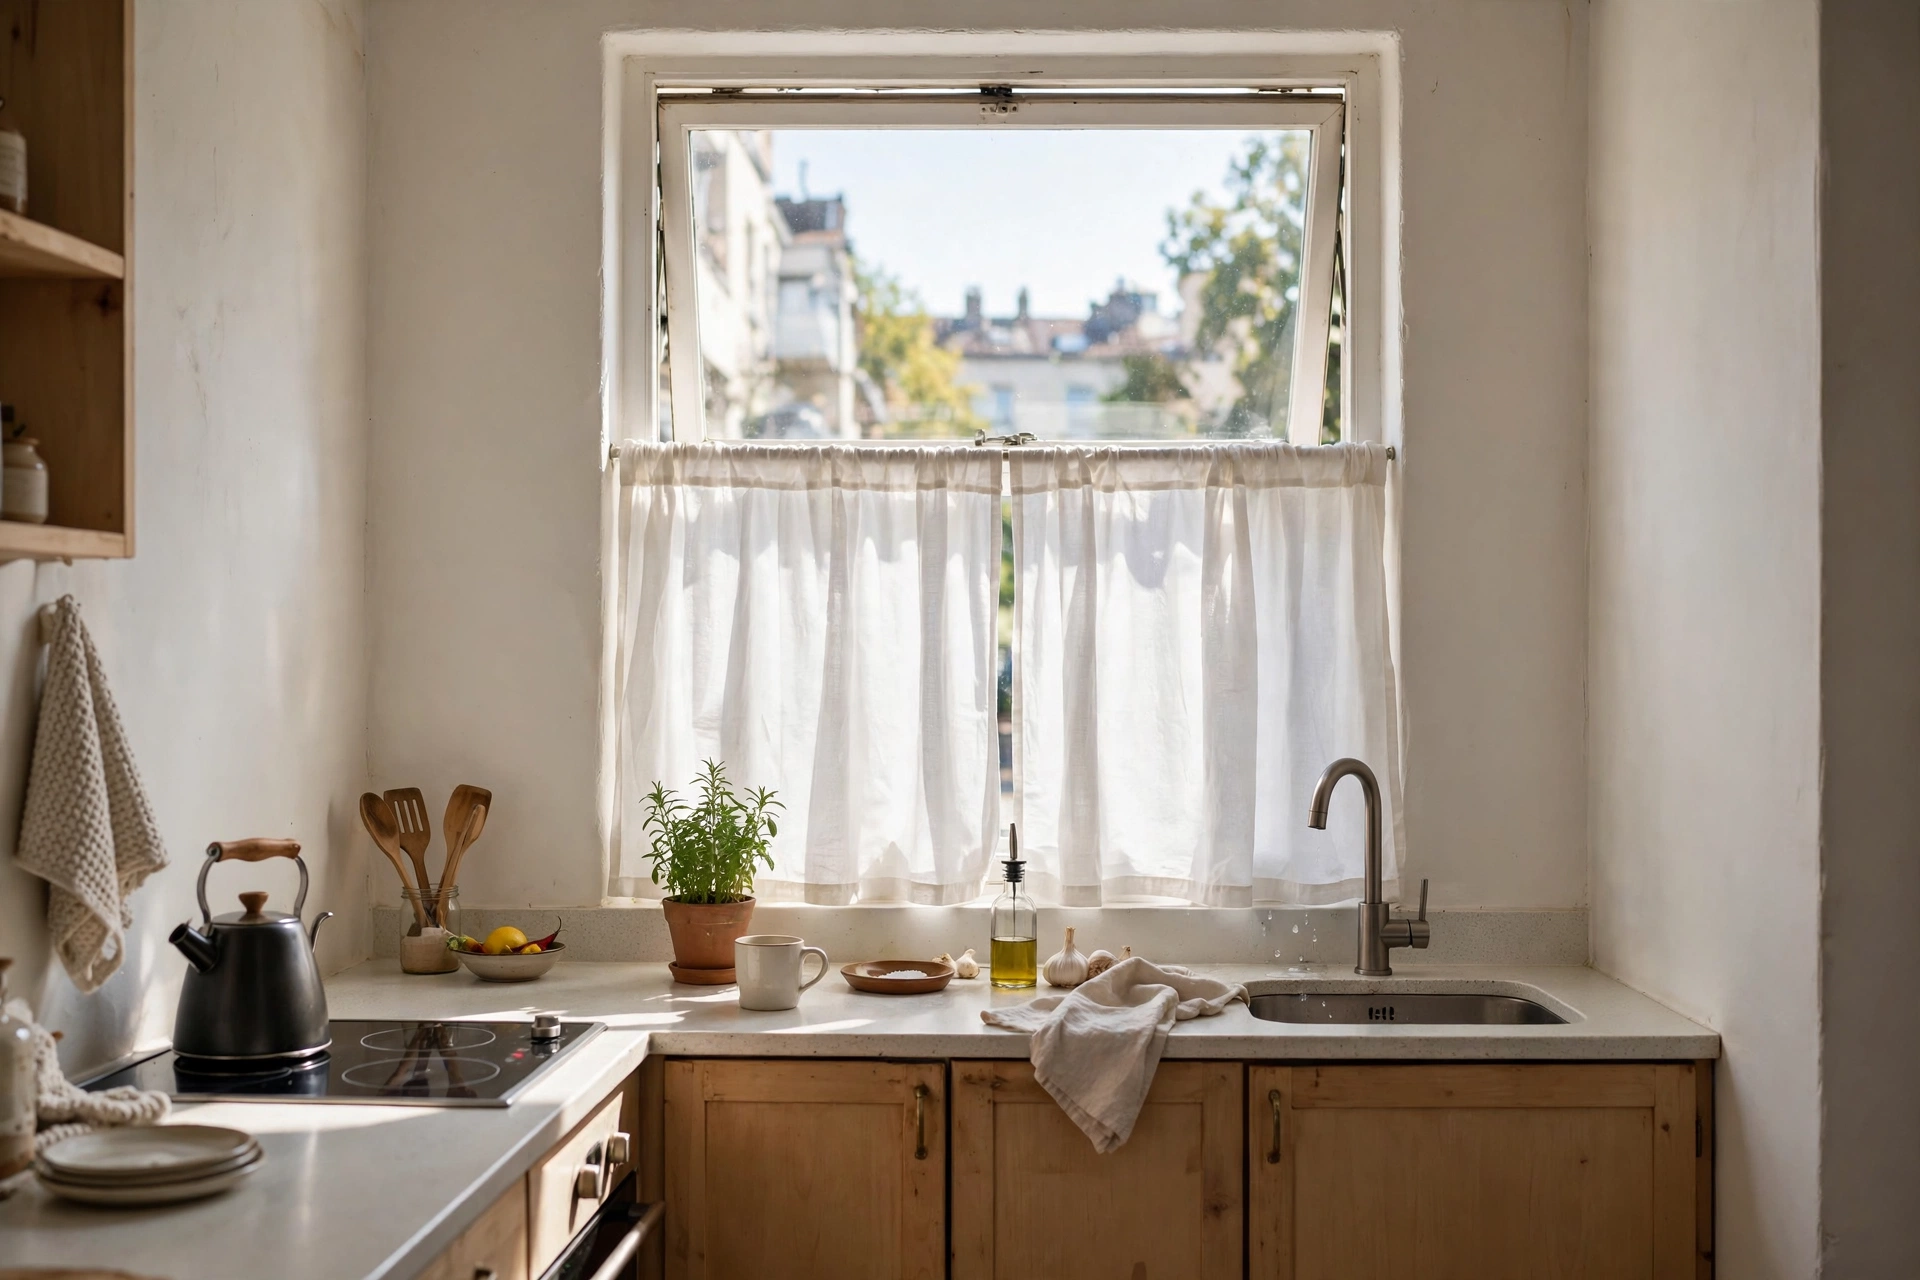
5. Cafe Curtains for Kitchen and Half Windows
Cafe curtains — covering just the lower half of a window — were made for studio kitchens and street-facing windows. They block sightlines from the sidewalk while leaving the top half open for sky and light, which keeps a small kitchen feeling airy. A pair of cotton cafe panels costs $15–$25, and a slim tension rod inside the frame means zero drilling. Pro tip: Hang the rod at the window’s midpoint or slightly above — too low and the proportions look squat; the sweet spot is roughly 55% up from the sill.
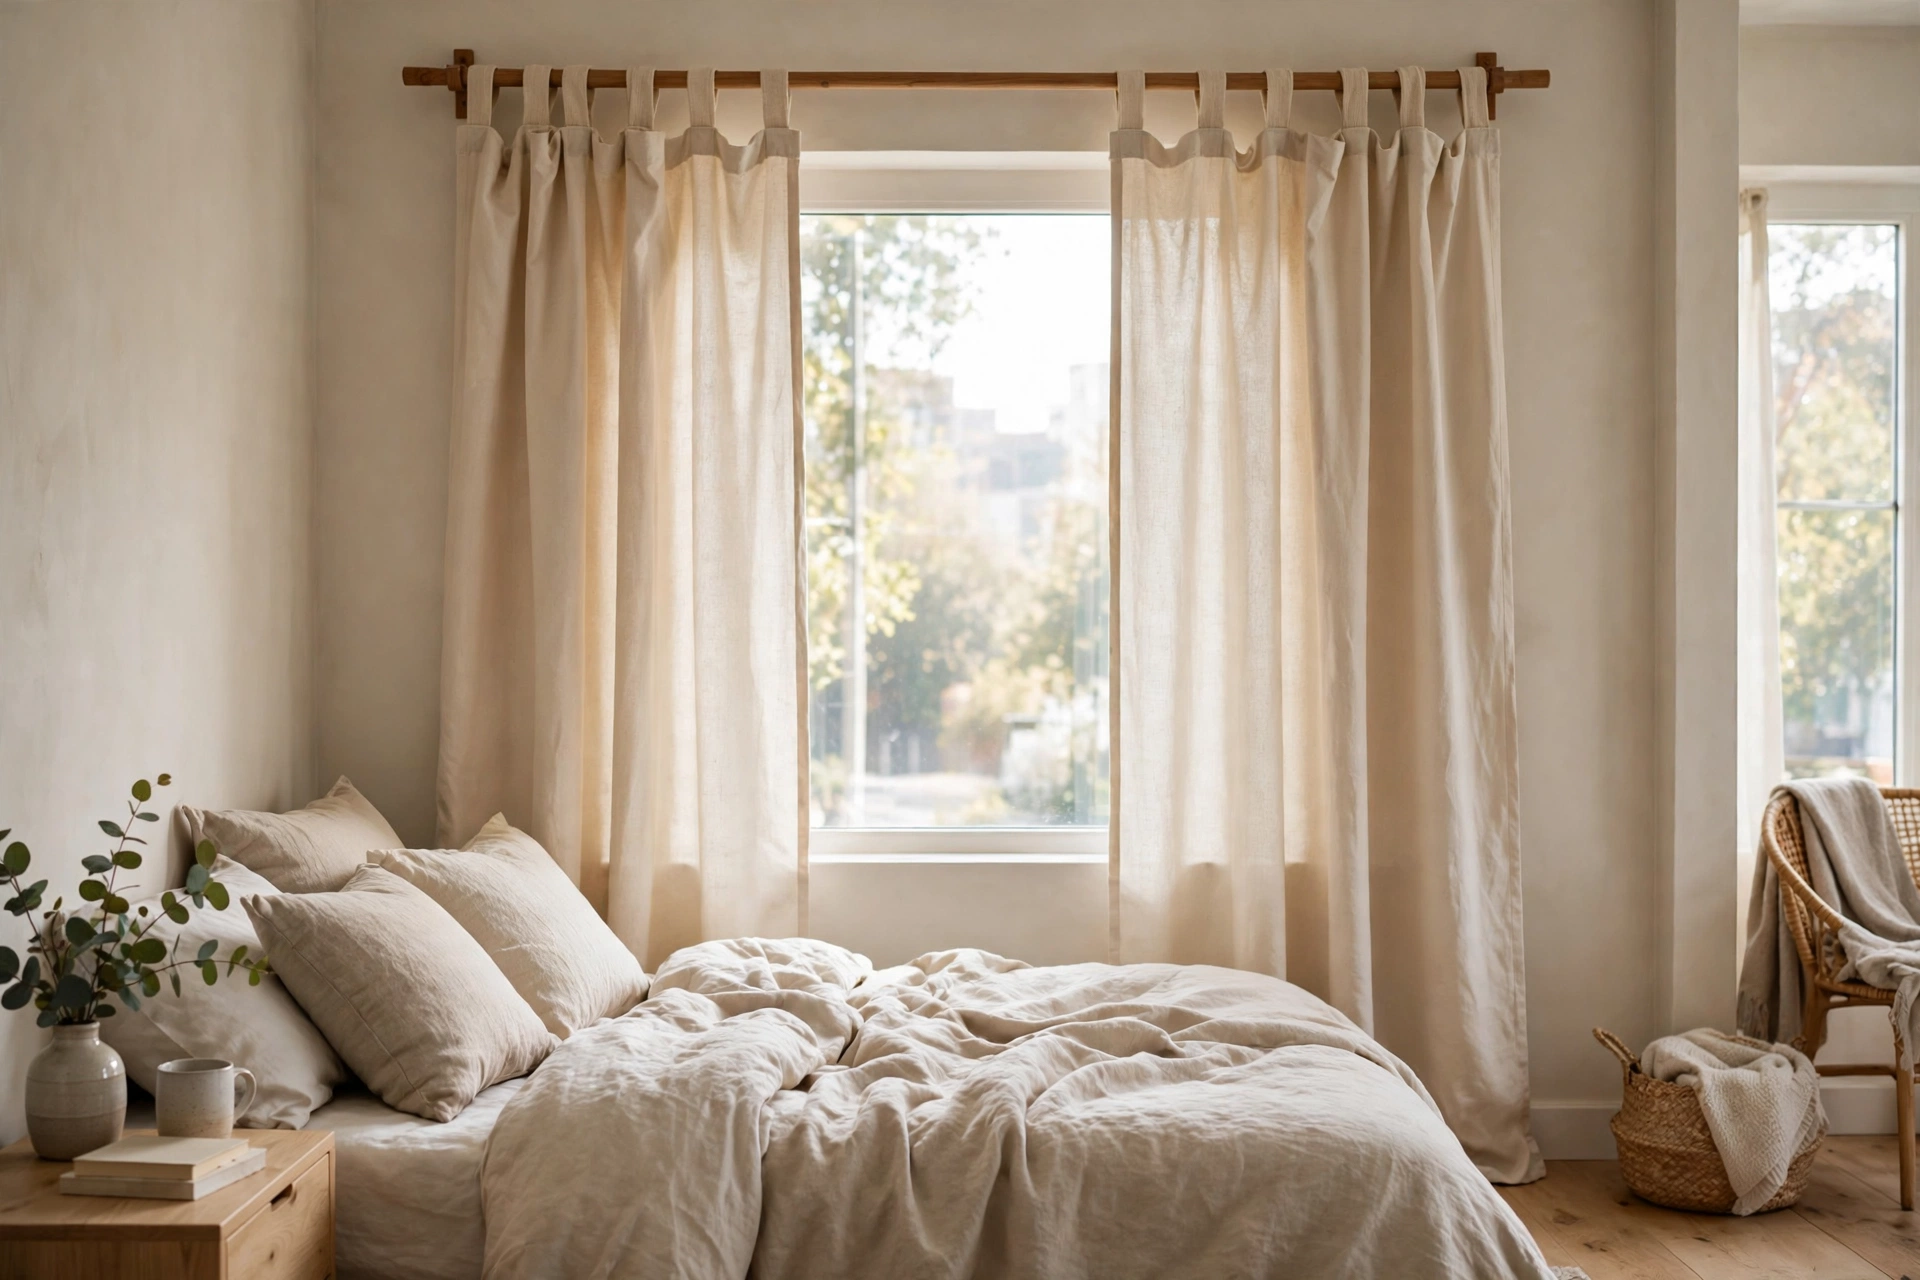
6. Casual Cotton Tab-Top Panels
Tab-top curtains slide on exposed loops instead of hidden rings, giving windows a relaxed, unfussy look that suits Scandinavian and boho studios. Cotton tab-tops are usually the cheapest ready-made option — $10–$20 per panel — and they slide open with one hand, which matters when you’re opening curtains every single morning. Pro tip: Tab-tops don’t traverse as smoothly as ring clips, so reserve them for windows you open fully each day and use rings or a track where panels need to glide constantly.
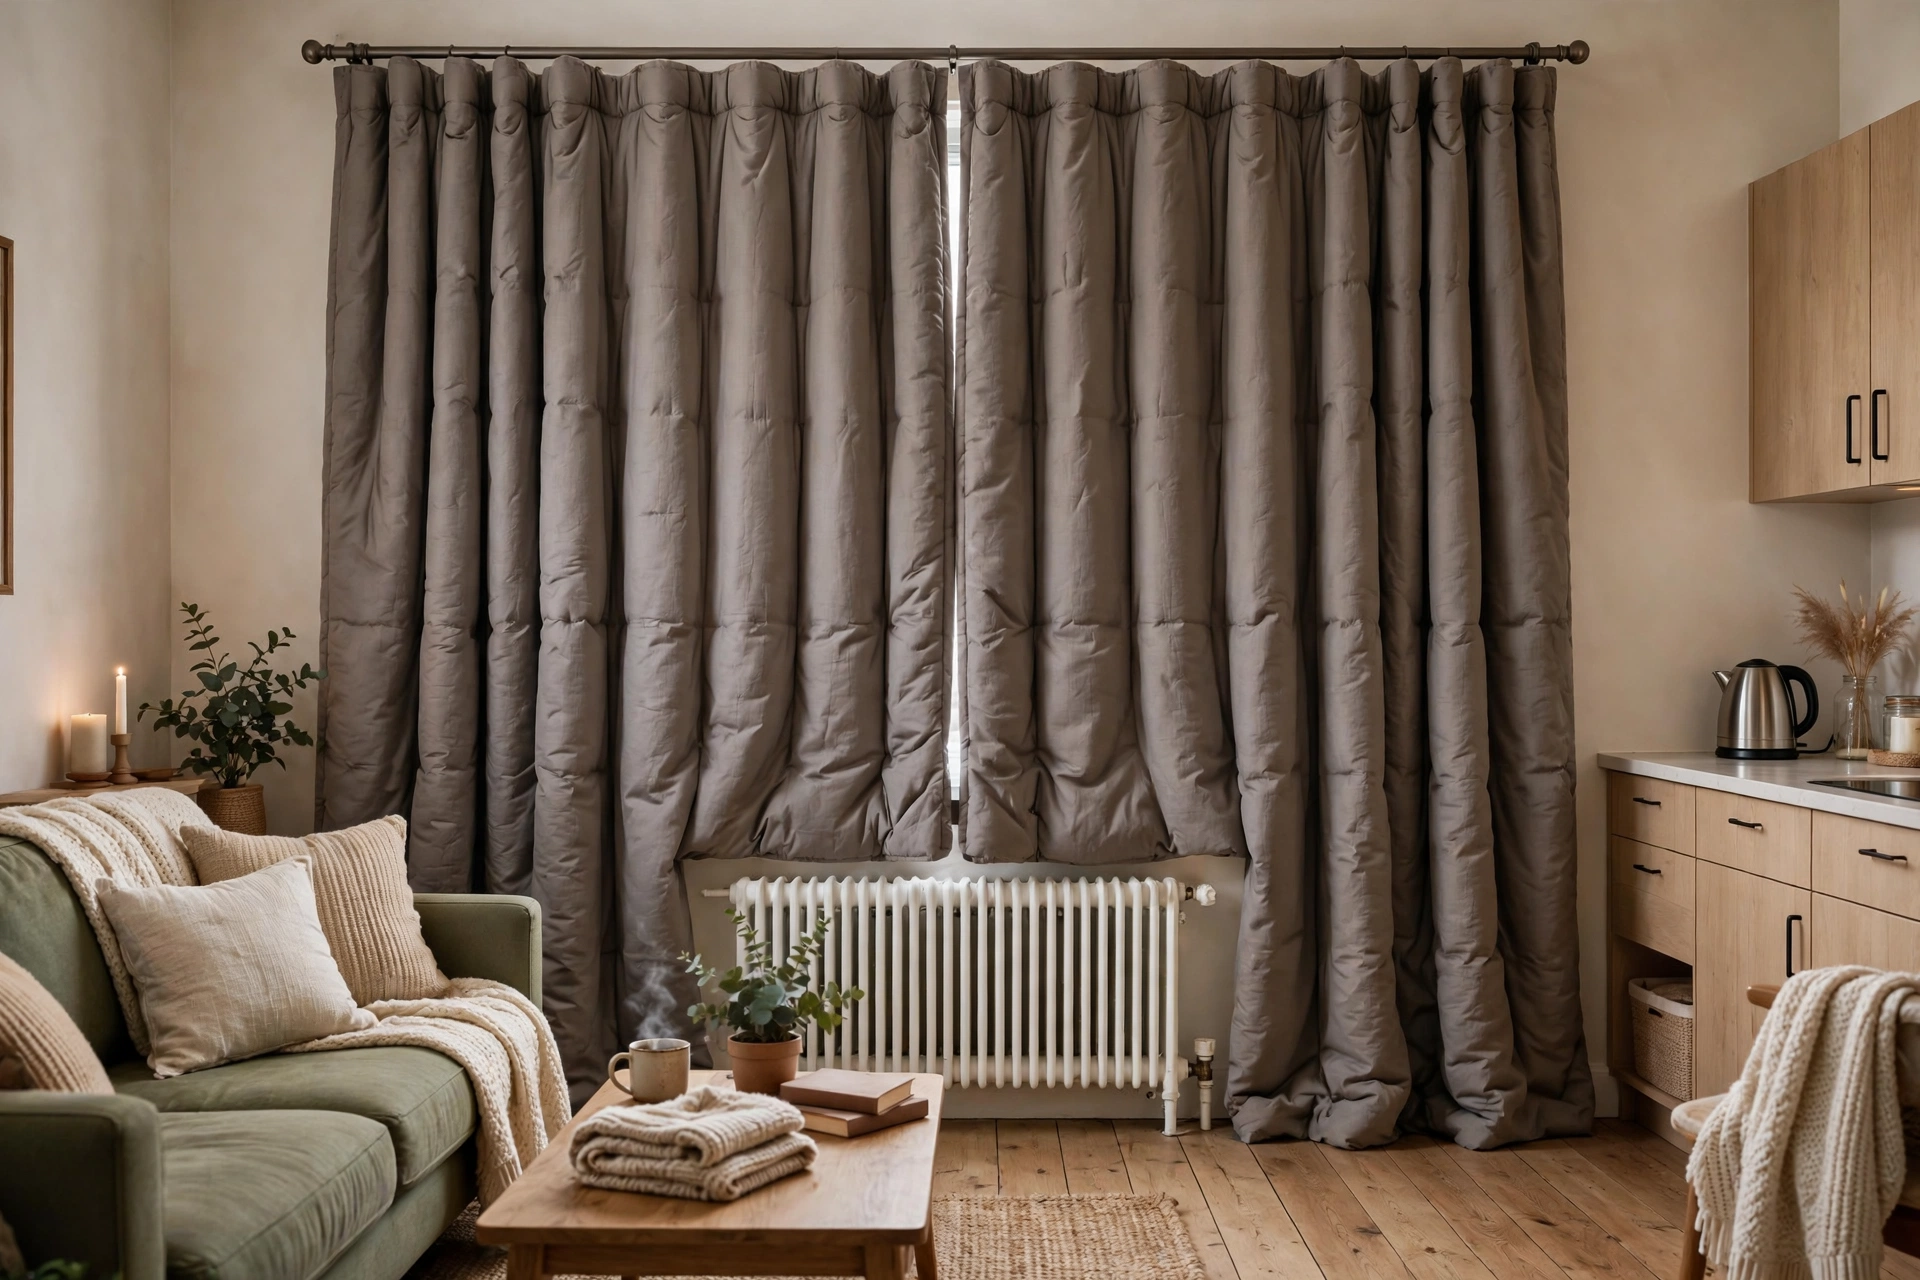
7. Thermal Insulated Curtains for Drafty Windows
Older rentals and ground-floor studios often have windows that leak heat in winter and bake in summer — thermal insulated curtains are the cheapest fix. The foam or flannel interlining can cut heat loss noticeably and doubles as decent light blocking. Expect $30–$55 per panel for quality thermal drapes from brands like Deconovo or NICETOWN. Pro tip: Thermal curtains only work if they seal: mount the rod close to the wall, let panels overlap in the middle, and choose a length that kisses the floor so warm air can’t escape underneath.
The High-and-Wide Hanging Method
8. Mount the Rod High — Near the Ceiling
The single biggest curtain mistake in small spaces is mounting the rod right above the window frame. Instead, install it 4–6 inches below the ceiling (or on the ceiling itself) and watch your walls gain apparent height overnight. This high-and-wide trick is the first thing designers do in every small apartment because the eye reads the curtain line, not the window line. Pro tip: That means buying longer panels — 96-inch curtains instead of 84-inch — so measure from your high mounting point to the floor before you shop, not after.
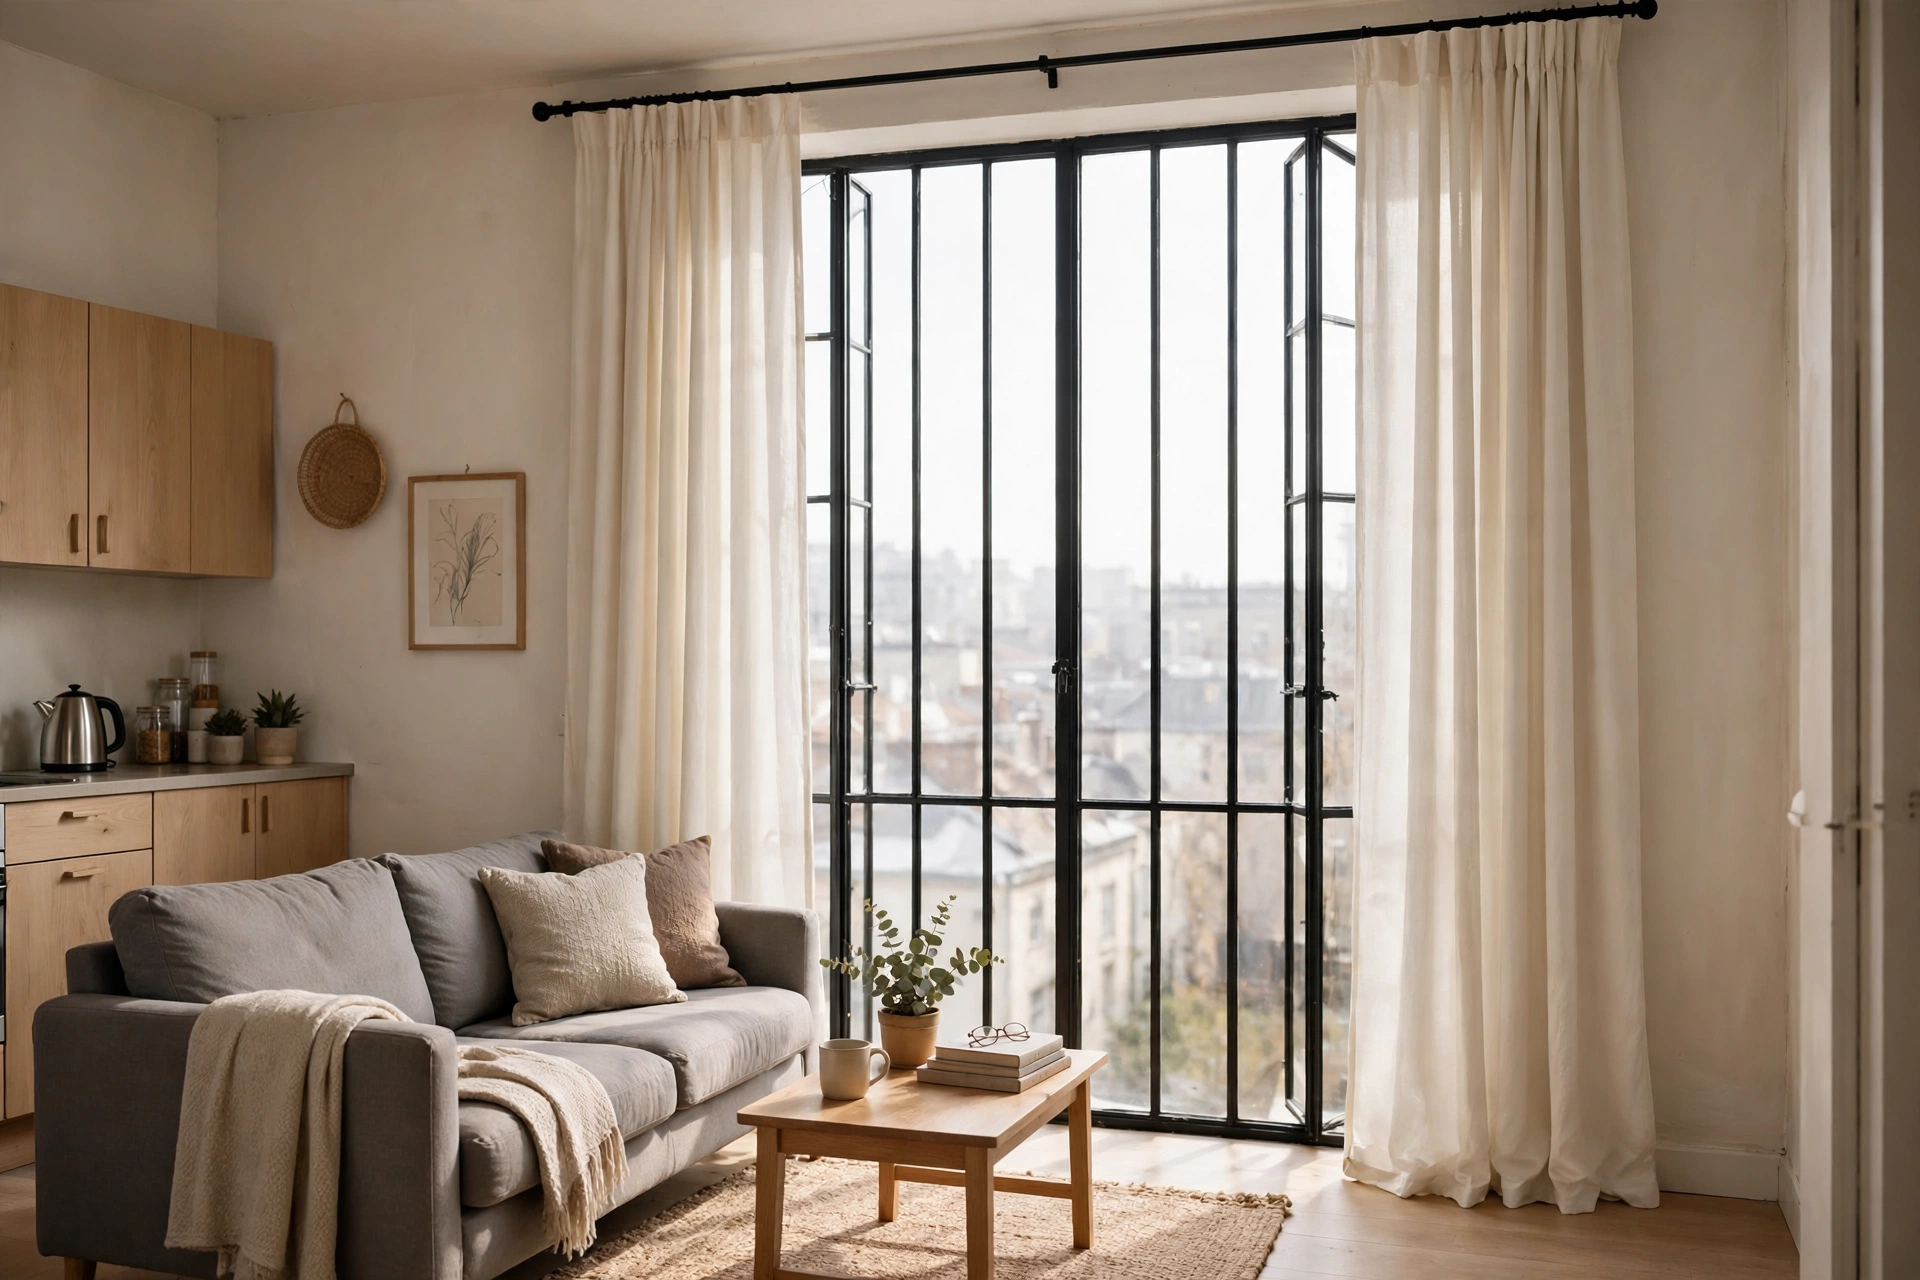
9. Extend the Rod Wide Past the Frame
The second half of the trick: extend the rod 8–12 inches beyond each side of the window frame. When curtains are open, the panels stack over the wall instead of the glass, so you get the full window of light plus the illusion of a much wider window. A 48-inch window suddenly reads as 70 inches wide. Pro tip: Use a rod 20–24 inches wider than the frame and add a center support bracket for spans over 60 inches — sagging rods ruin the whole effect.
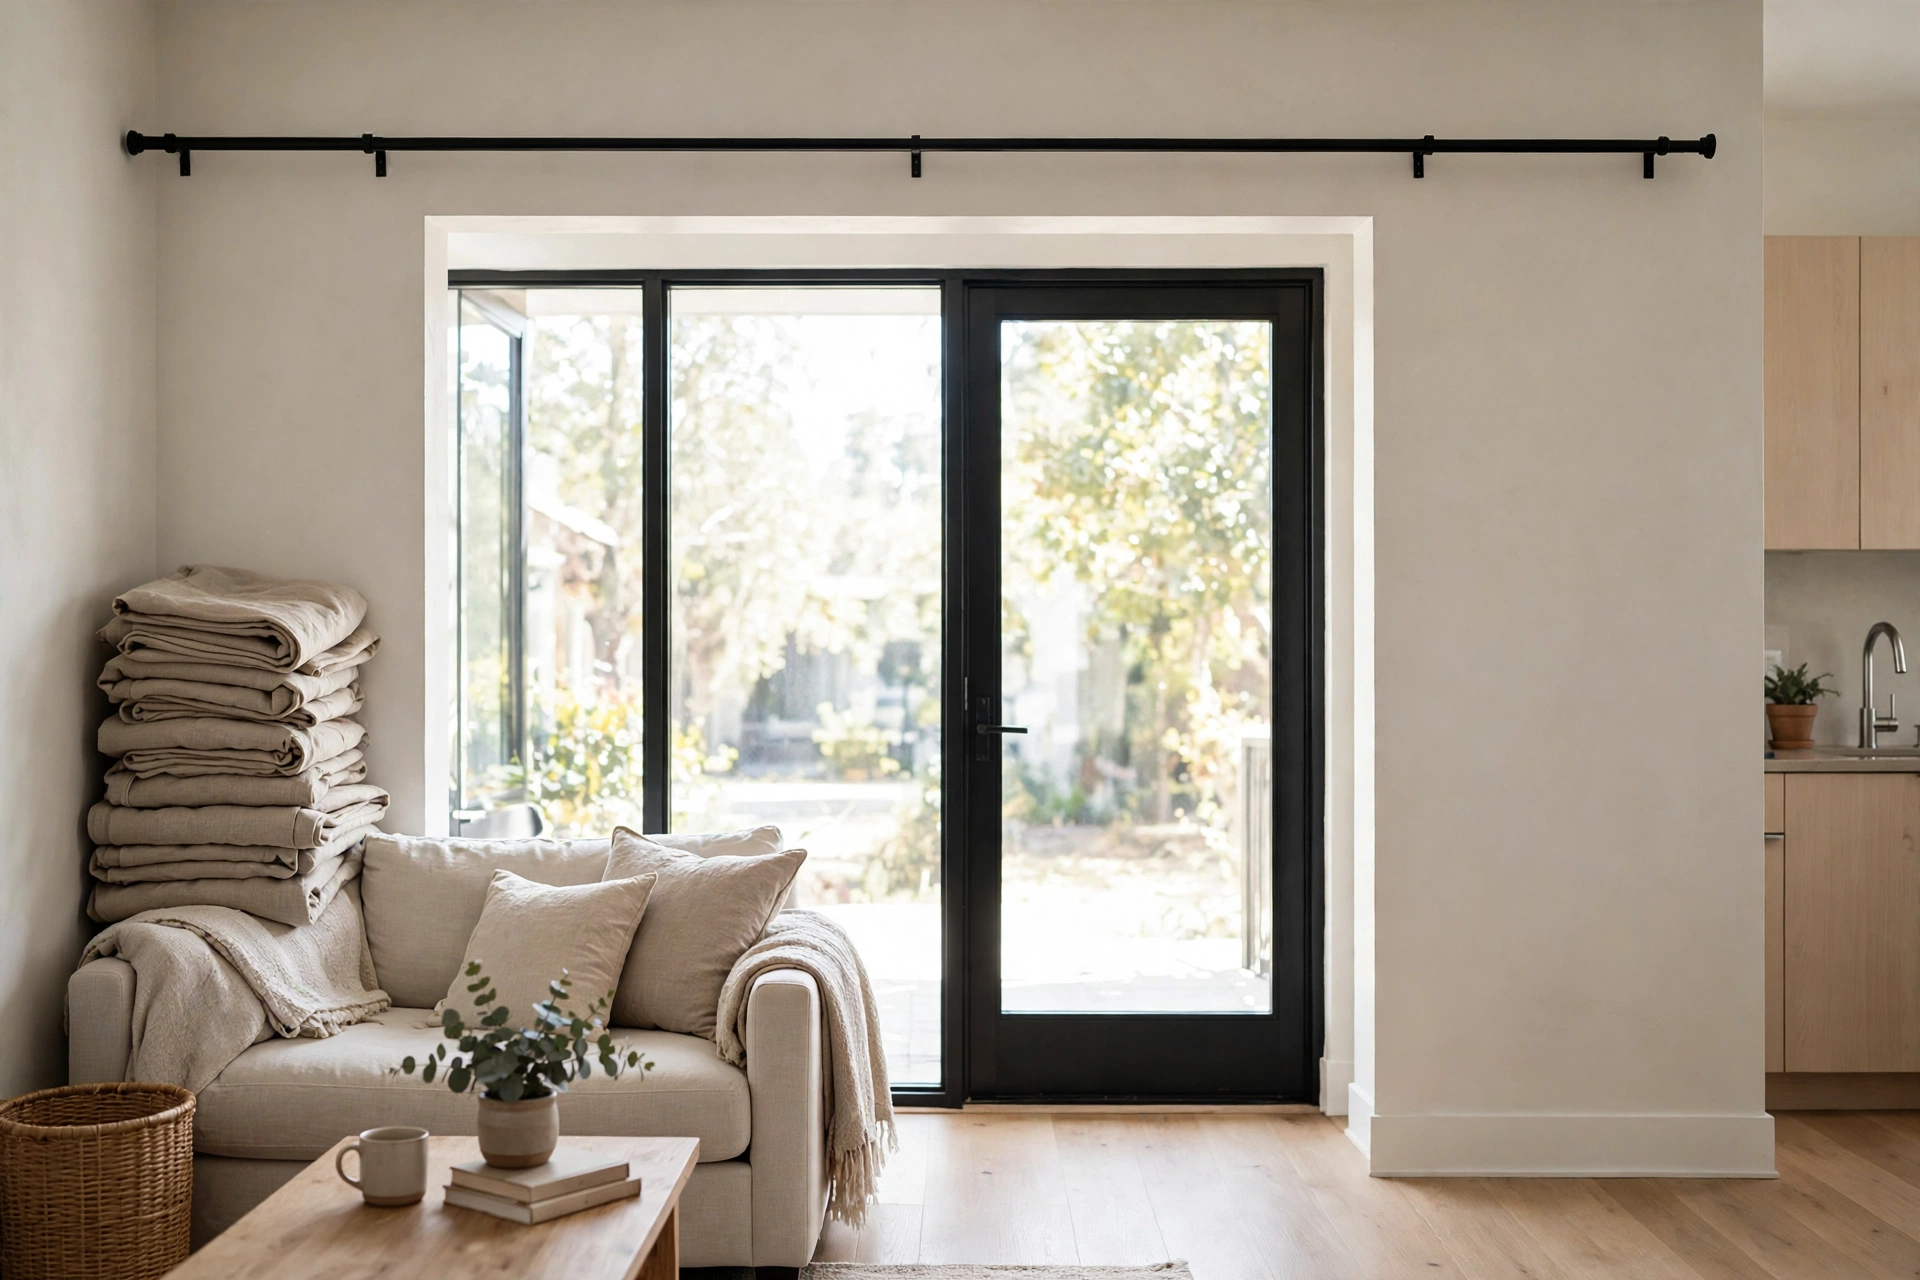
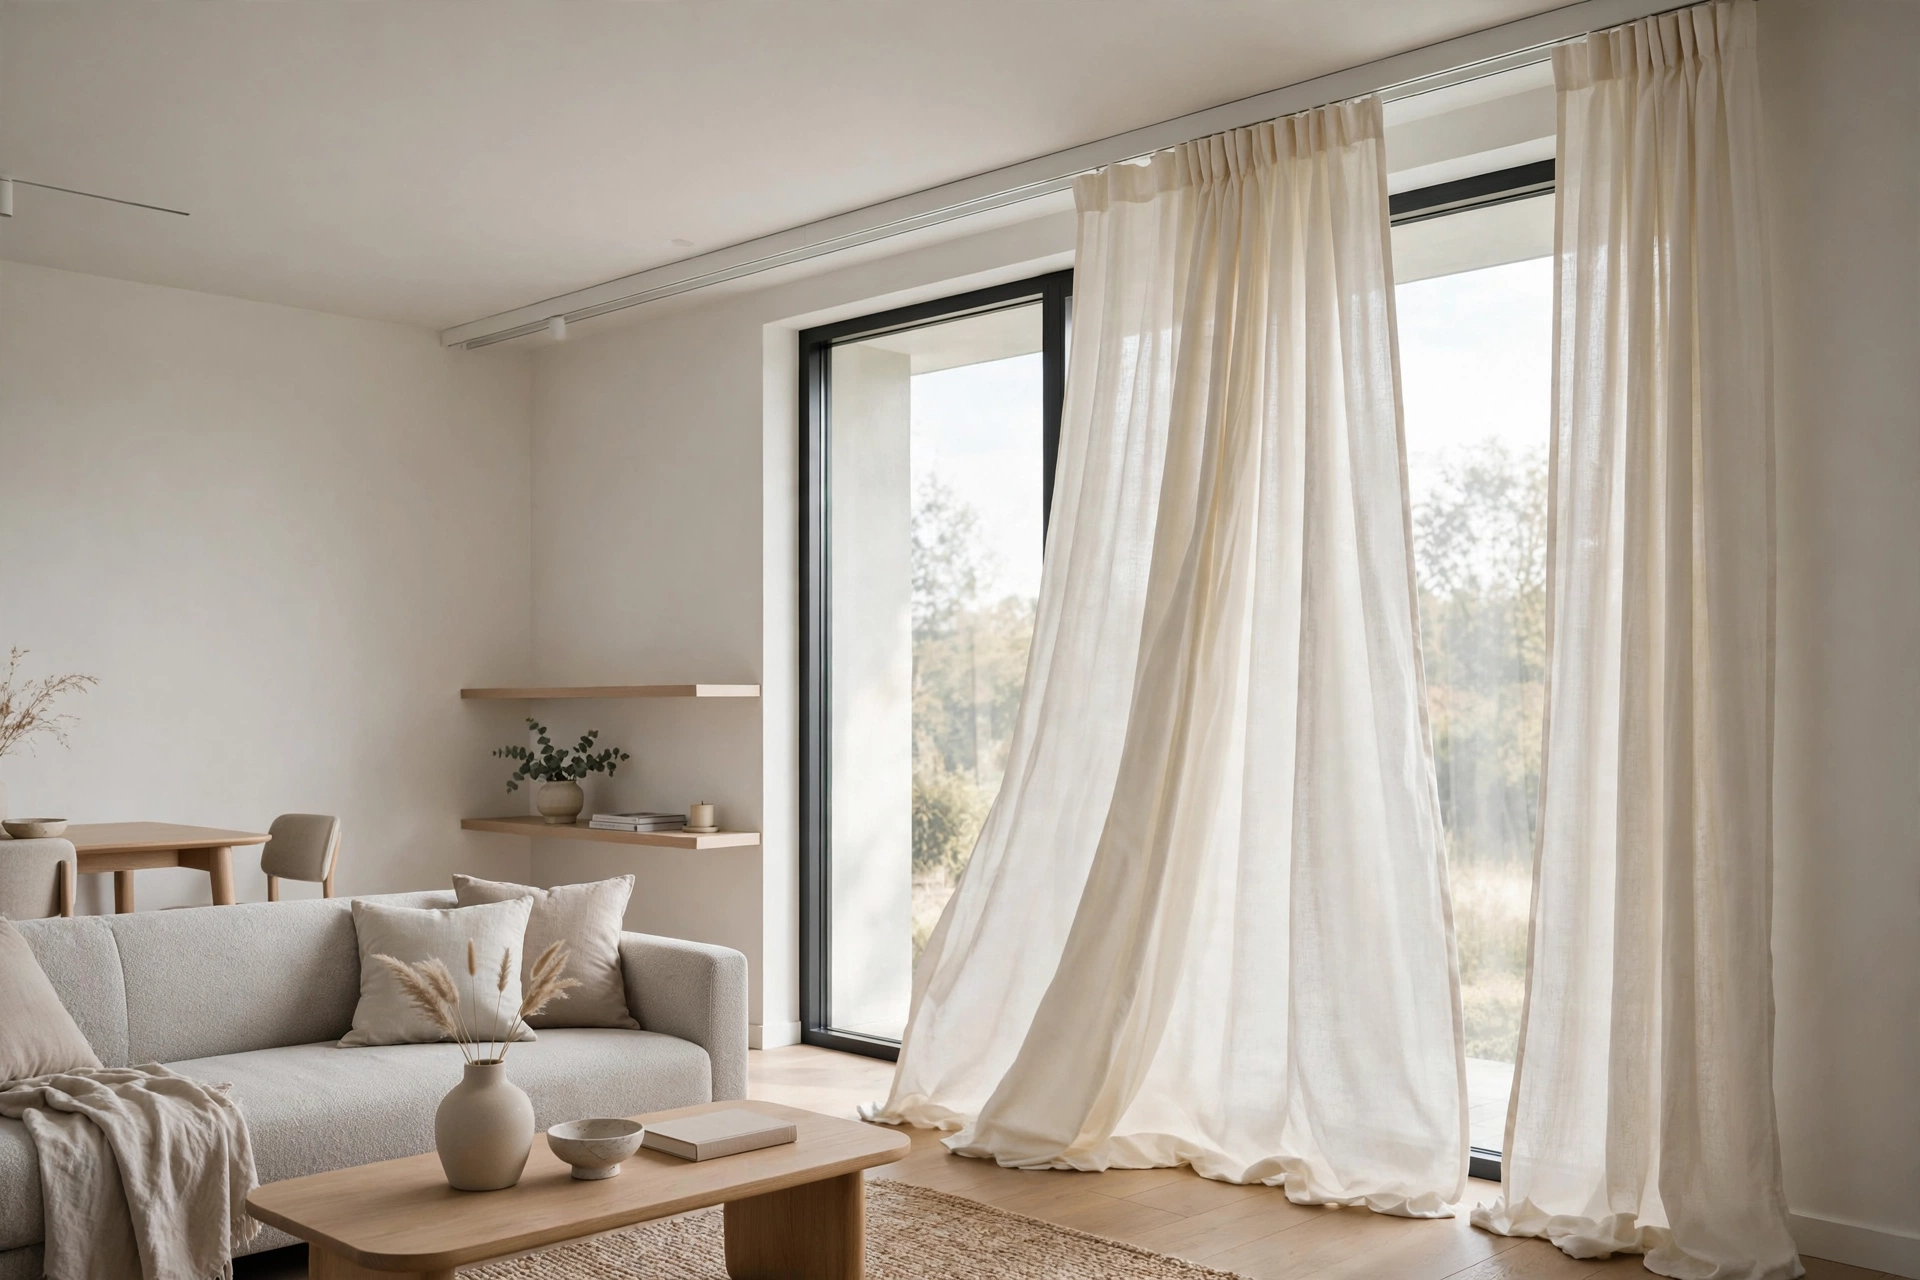
10. Switch to a Ceiling-Mounted Track
Ceiling-mounted curtain tracks are the studio secret weapon: they mount flush to the ceiling for maximum height illusion, curve around corners, and let panels glide effortlessly — ideal when curtains double as room dividers. IKEA’s VIDGA track system starts around $15–$30 for a full setup with gliders and corner pieces. Pro tip: Tracks also solve the “one wall of windows” problem — run a single track across the whole wall and hang multiple panels that slide independently to cover any section.
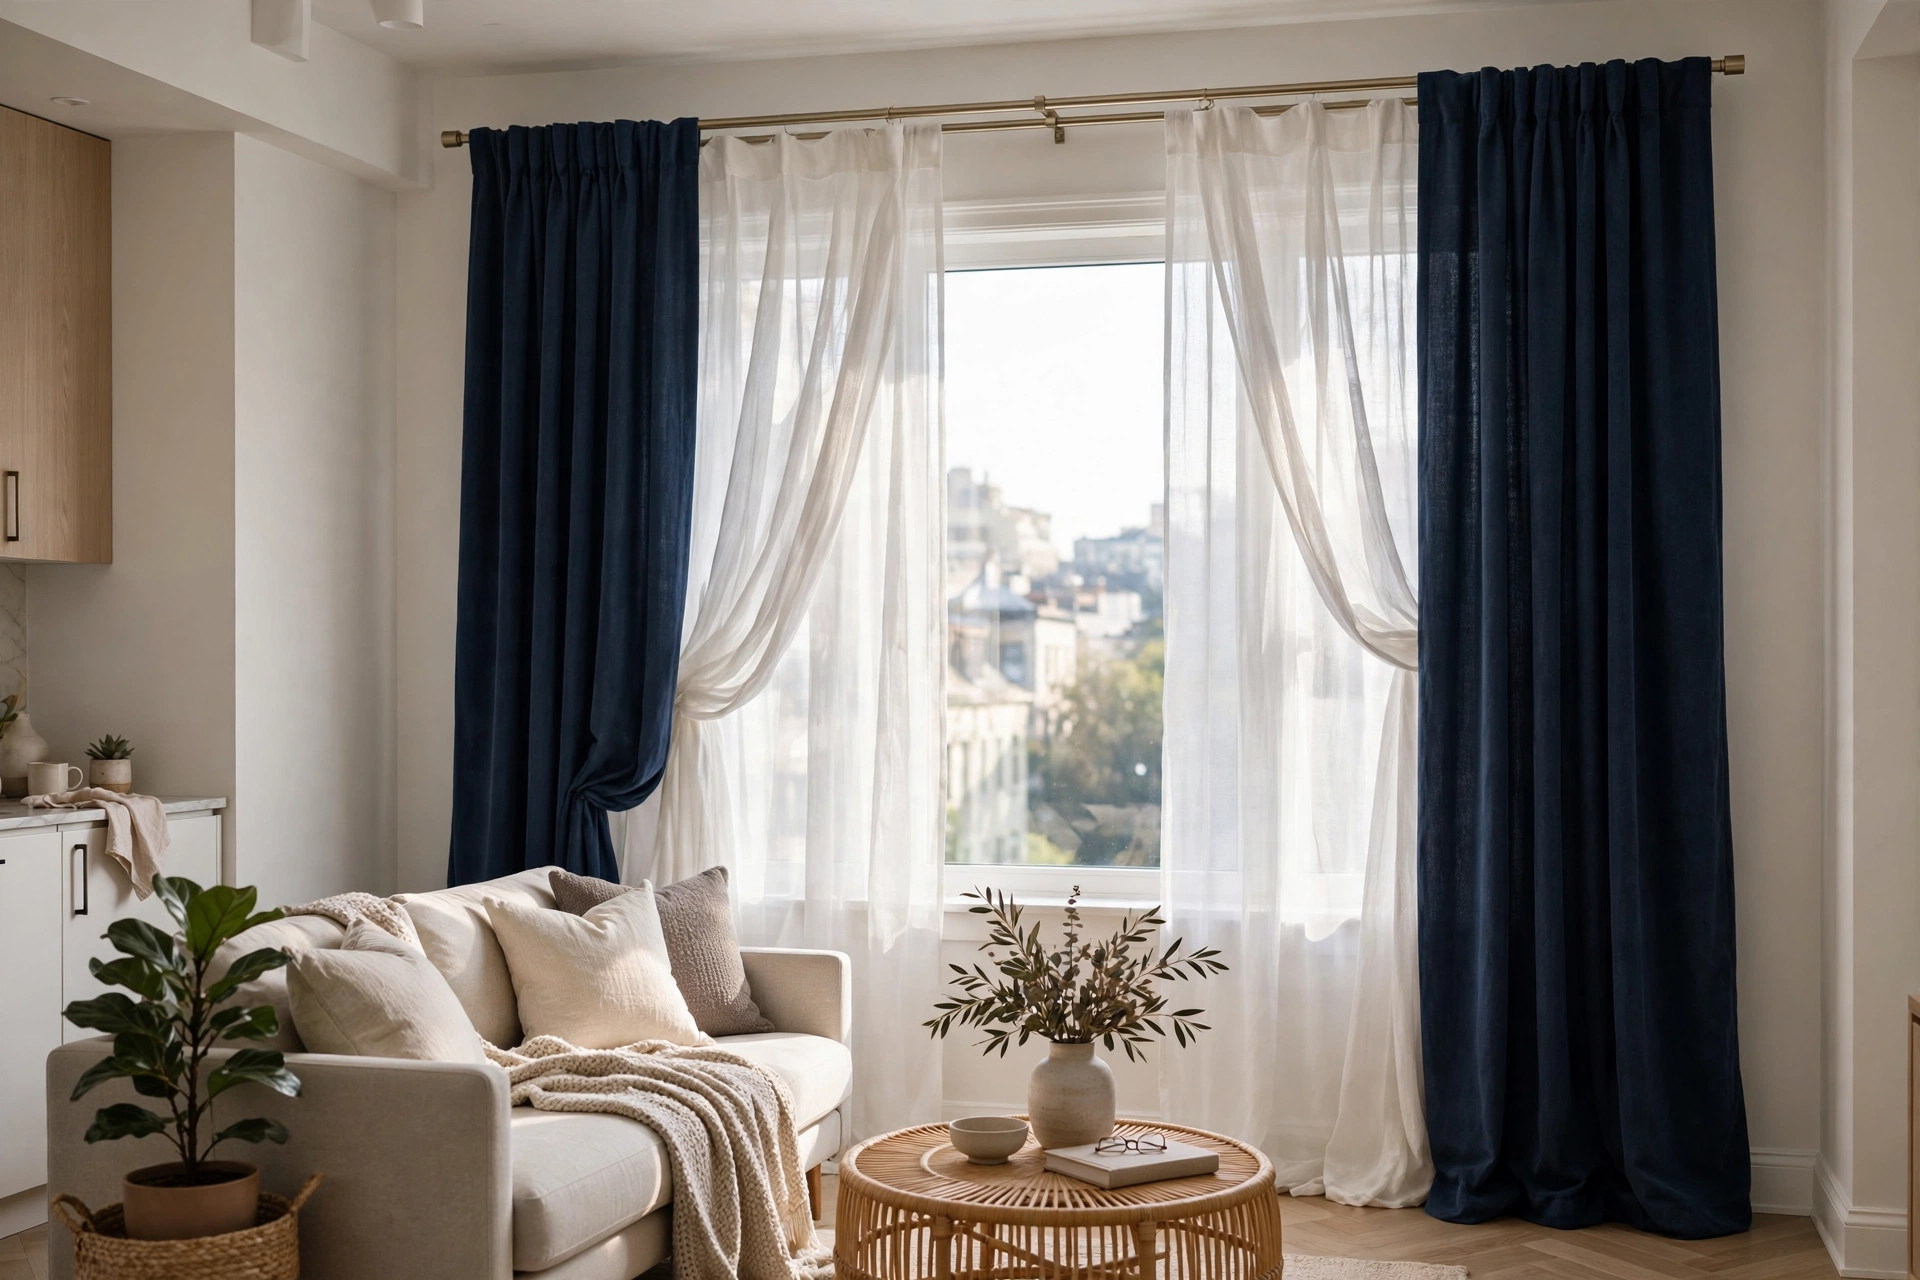
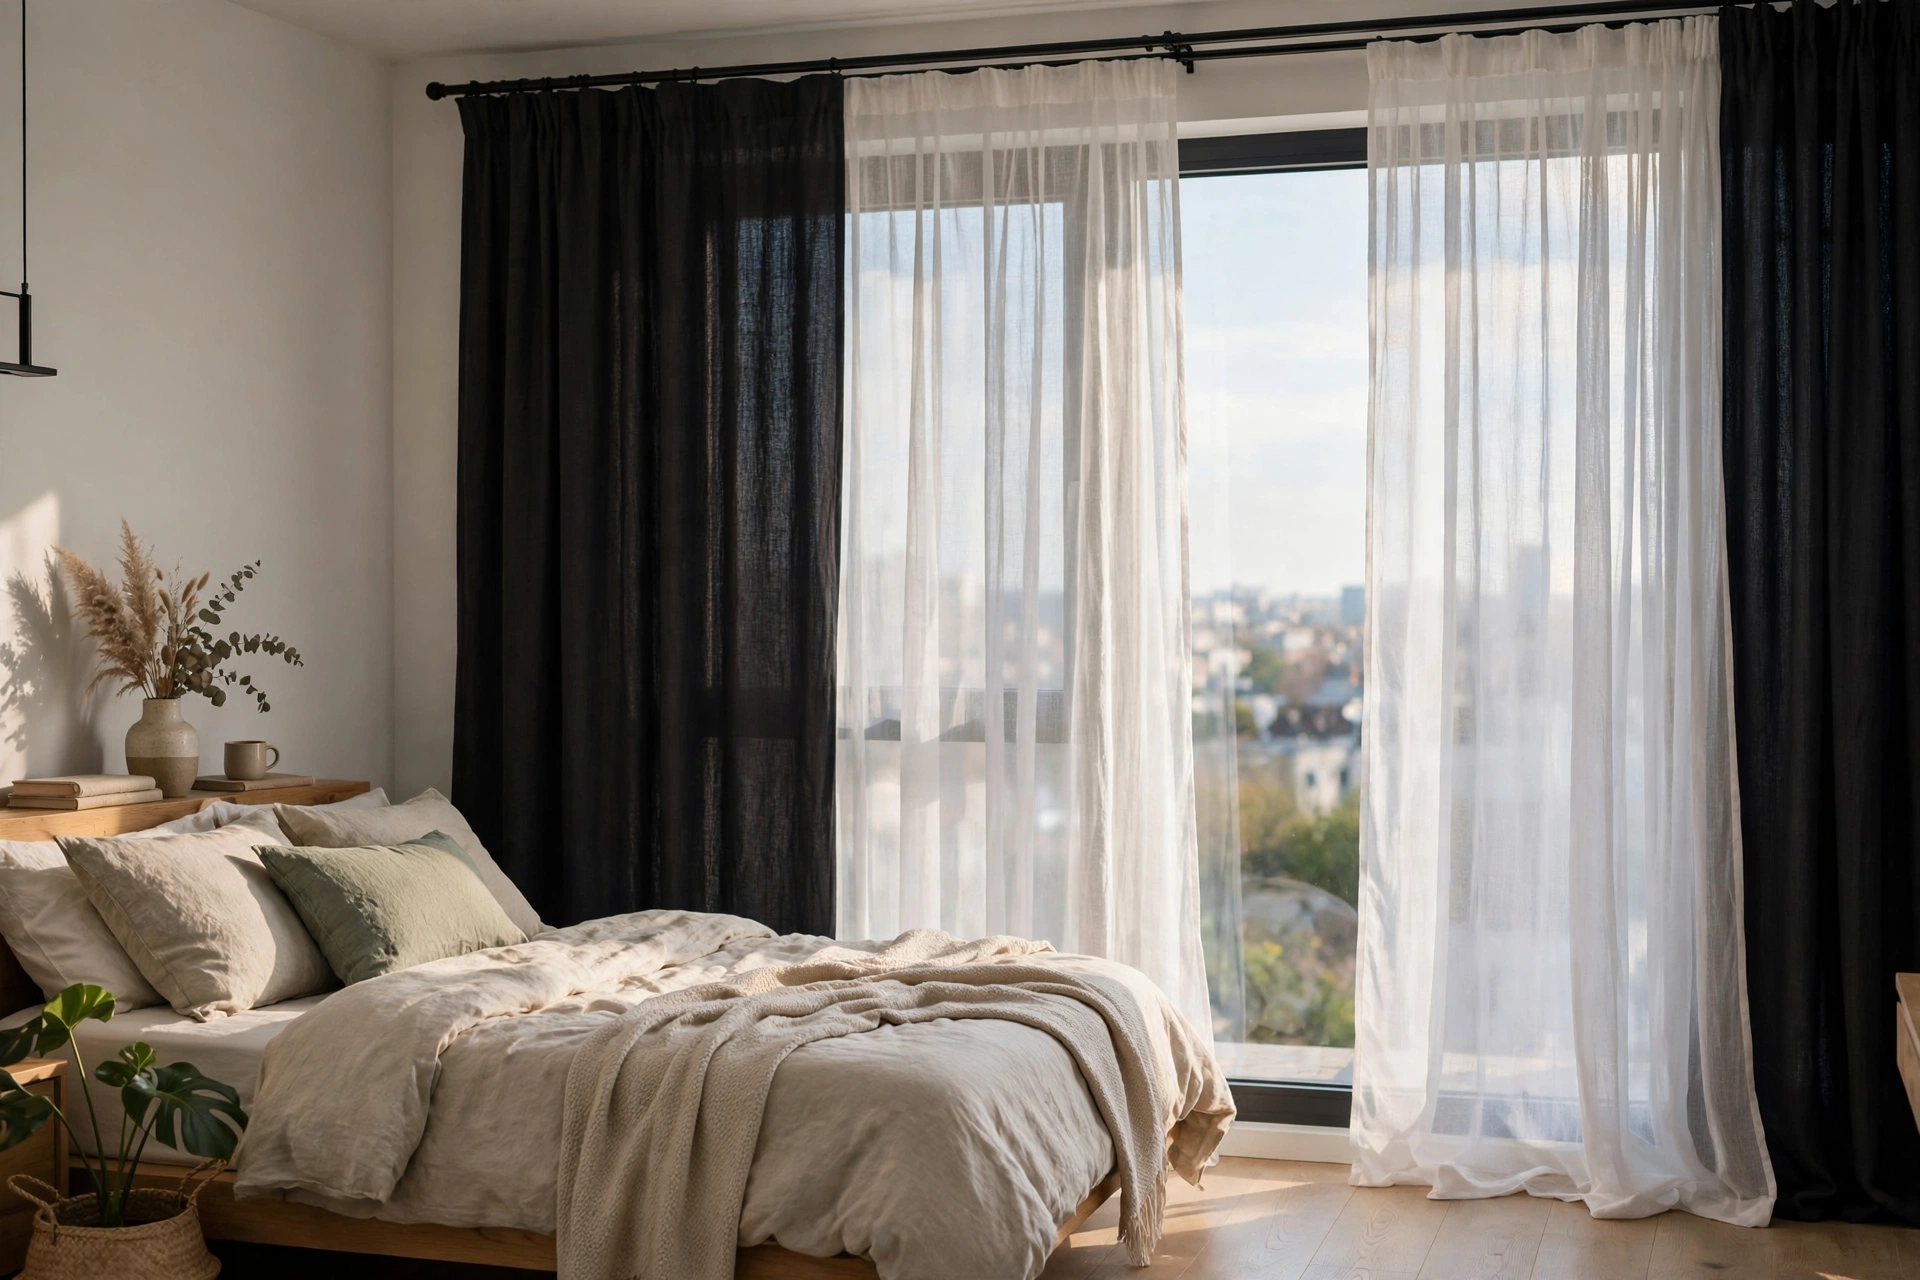
11. Layer Sheers and Blackouts on Double Rods
A double rod gives you the best of both worlds: sheers on the back rod for daytime privacy and blackouts on the front rod for night. In a studio where the bed and living area share light, this layering means you can darken the sleep zone without sealing the whole apartment in darkness. Double rod sets run $25–$40 at Target or Amazon. Pro tip: Keep the sheer panels slightly narrower than the blackouts — when both are closed, the blackout’s fuller folds hide the sheer completely for a clean look.
12. Choose Hardware That Earns Its Keep
In a studio, curtain hardware is always visible — there is no hiding it — so treat finials, brackets, and rings as jewelry. Matte black reads modern, brushed brass warms up neutrals, and slim acrylic or minimal end caps disappear in minimalist spaces. Budget $15–$30 for a decent rod set; the difference between a $12 rod and a $25 one is almost entirely in the finish quality. Pro tip: Match your curtain hardware finish to one other metal in the room — cabinet pulls, lamp base, or faucet — and the whole space suddenly looks designed rather than assembled.

Bedroom-Zone Curtains
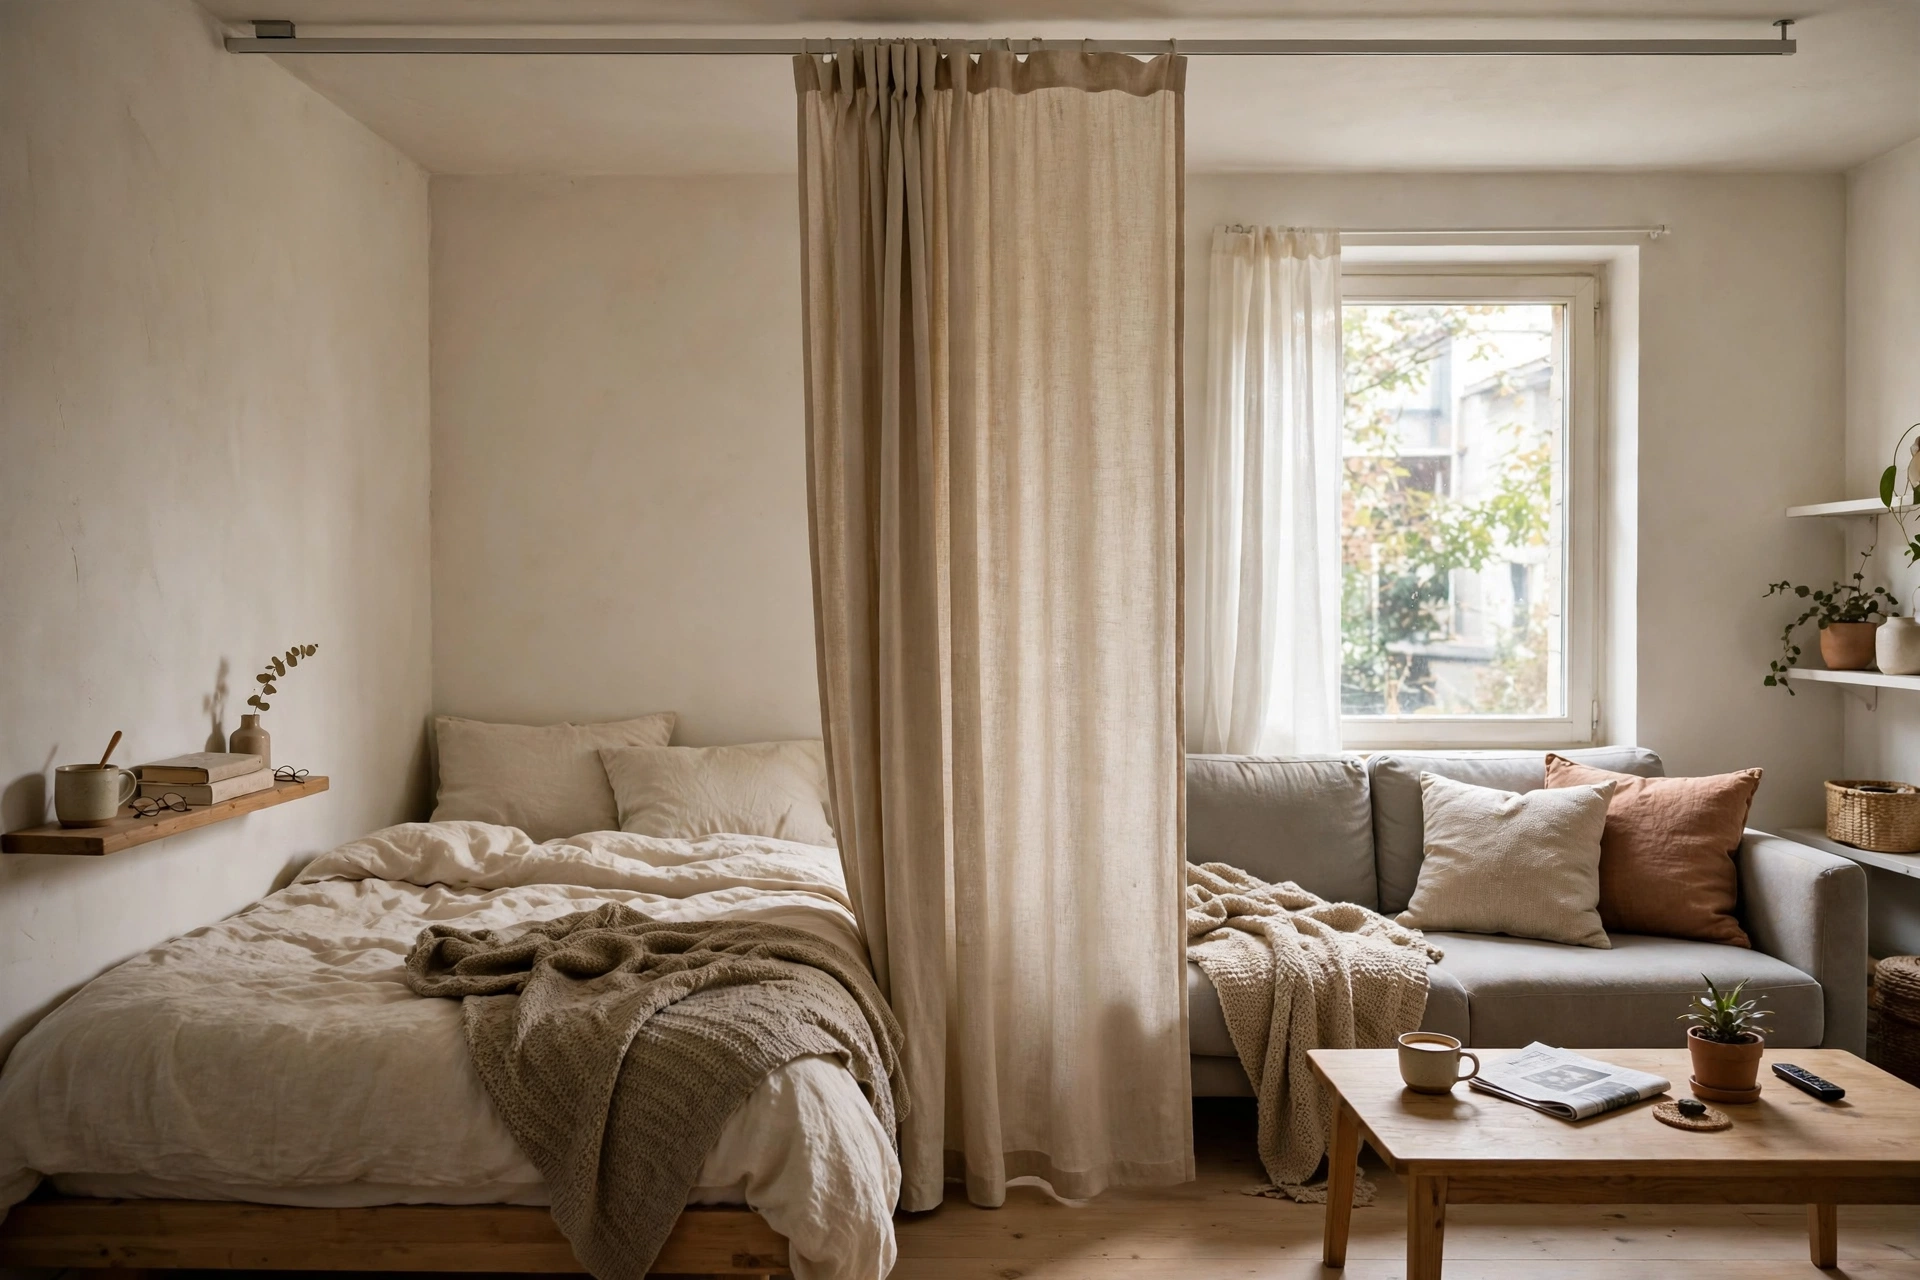
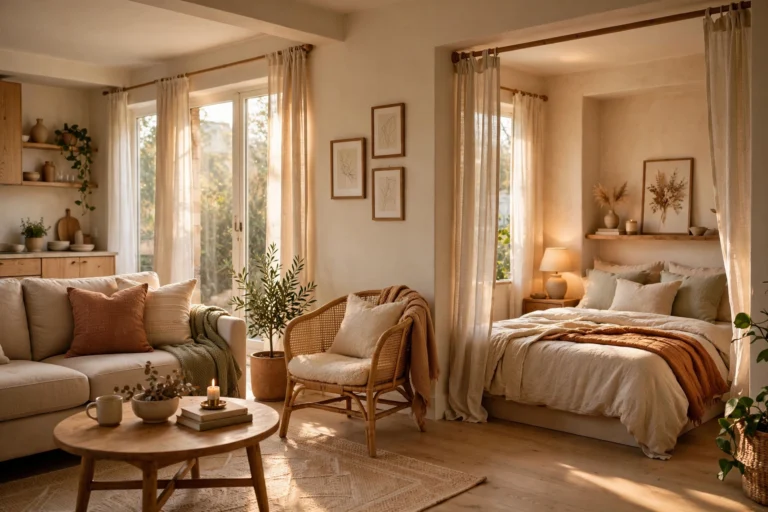
13. Use a Curtain as a Bed Divider
No wall between your bed and your sofa? A ceiling-mounted curtain is the classic studio fix — pull it closed at night for a real sense of a bedroom, open it by day for an airy one-room feel. Choose an opaque but soft fabric like cotton canvas or linen-blackout so it reads as intentional, not improvised. A VIDGA track plus panels runs about $50–$70 total. Pro tip: Hang the divider curtain a few inches off the floor rather than puddling it — it reads cleaner and won’t collect dust bunnies in the walkway.
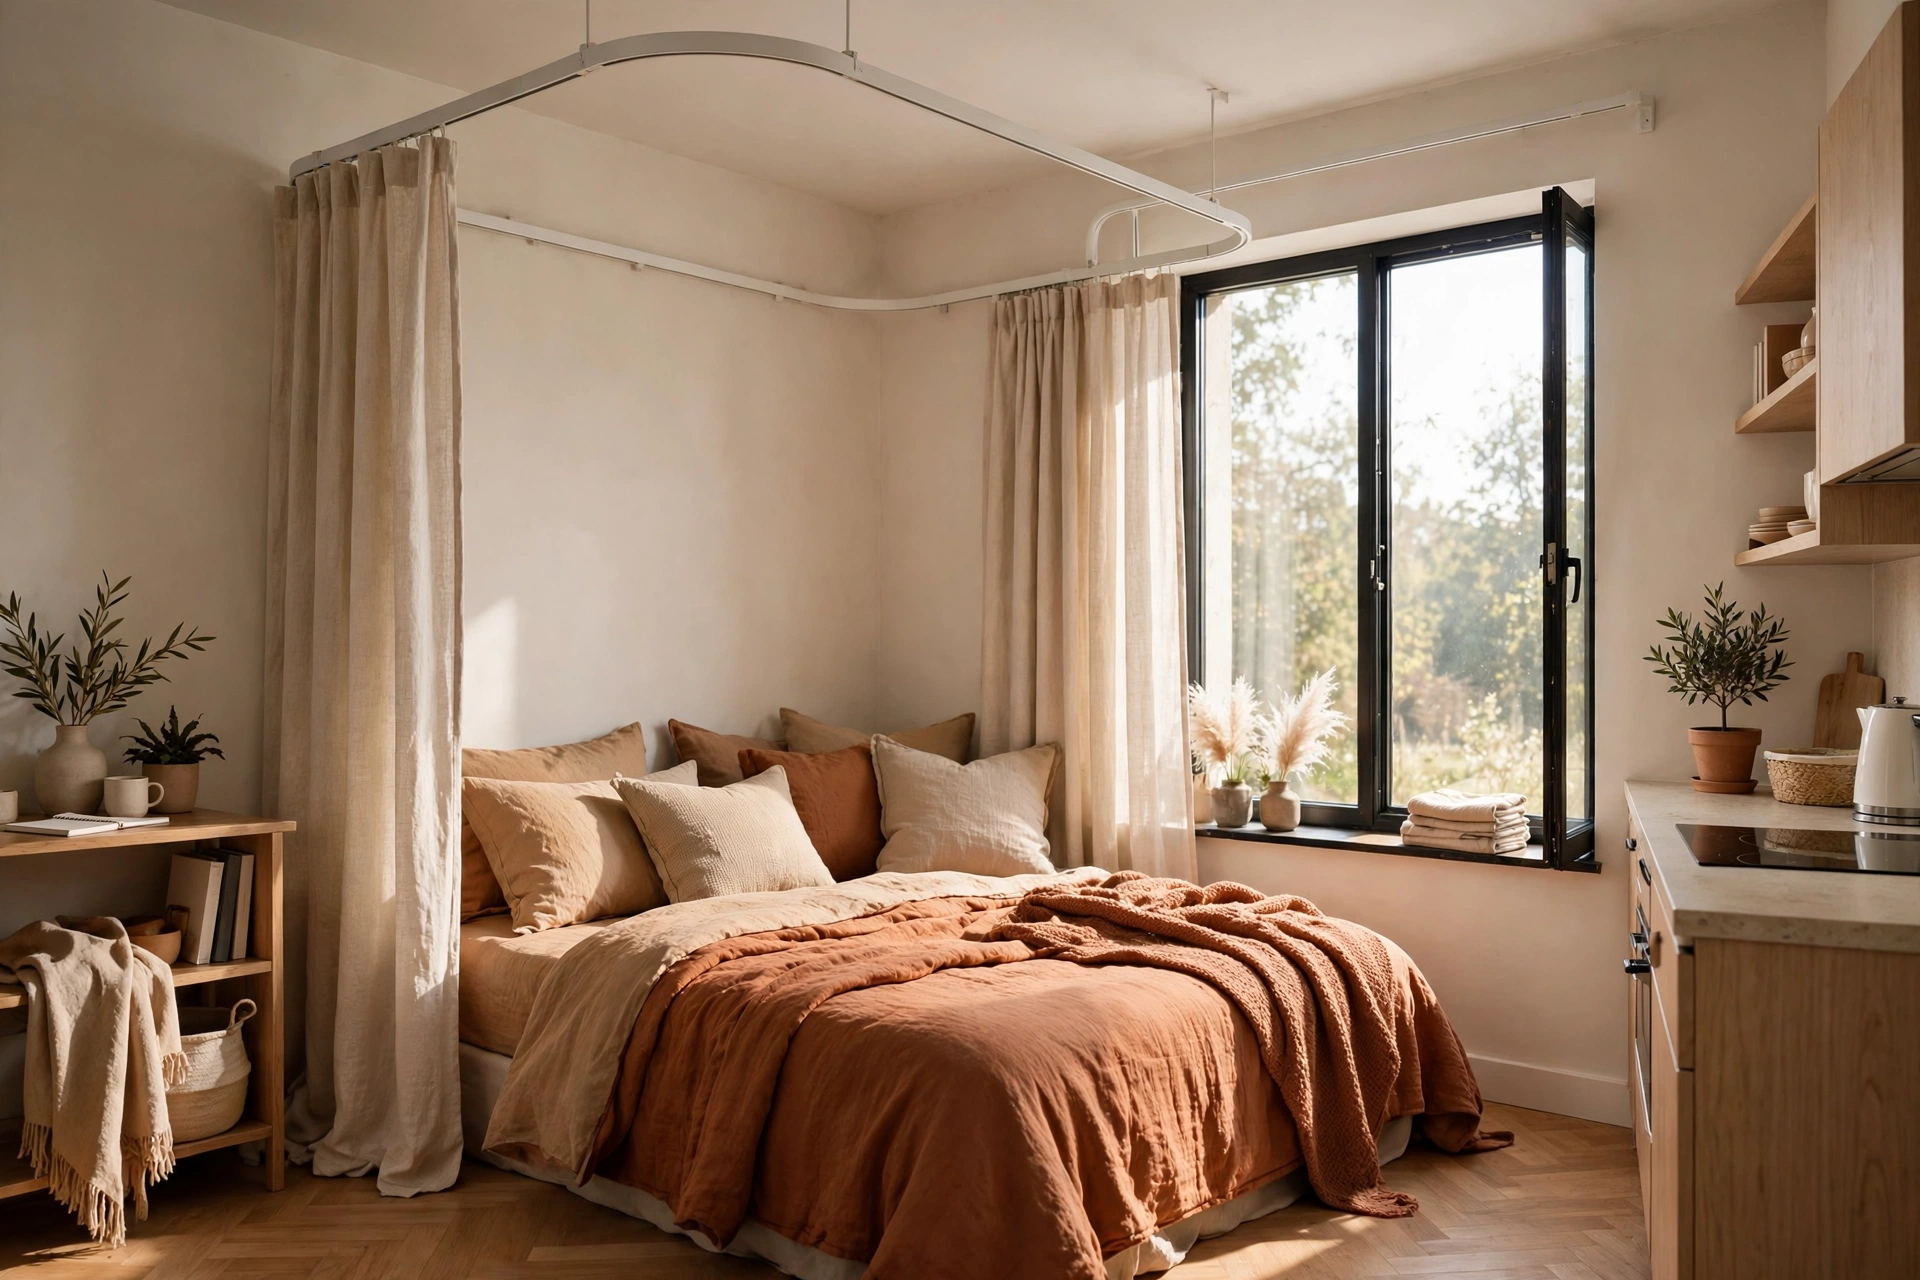
14. Wrap a Corner Track Around the Bed
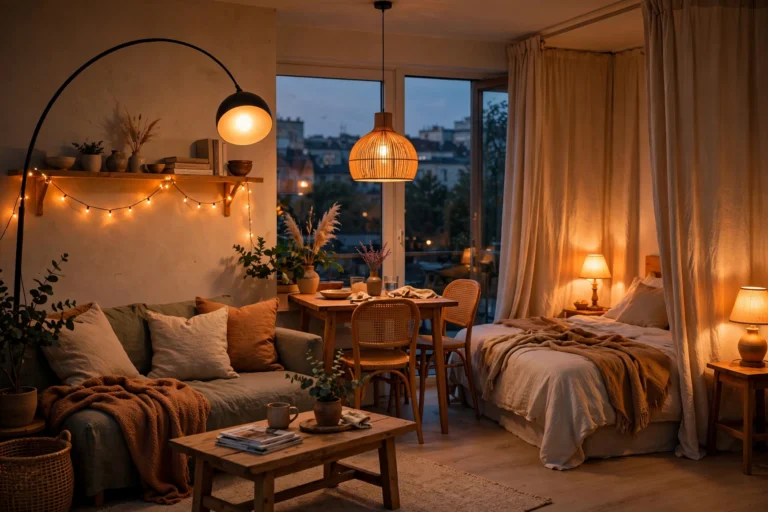
When the bed sits in a corner, an L-shaped ceiling track lets curtains wrap two sides, creating a genuinely private sleeping nook. This works beautifully for studio alcoves and for renters whose “bedroom” is just the far end of the room. VIDGA corner pieces make the L-turn easy, and two panels ($25–$40 each) cover most twin-to-queen setups. Pro tip: Leave one side of the nook open toward the window — wrapping all four sides feels claustrophobic and blocks airflow you’ll miss on warm nights.
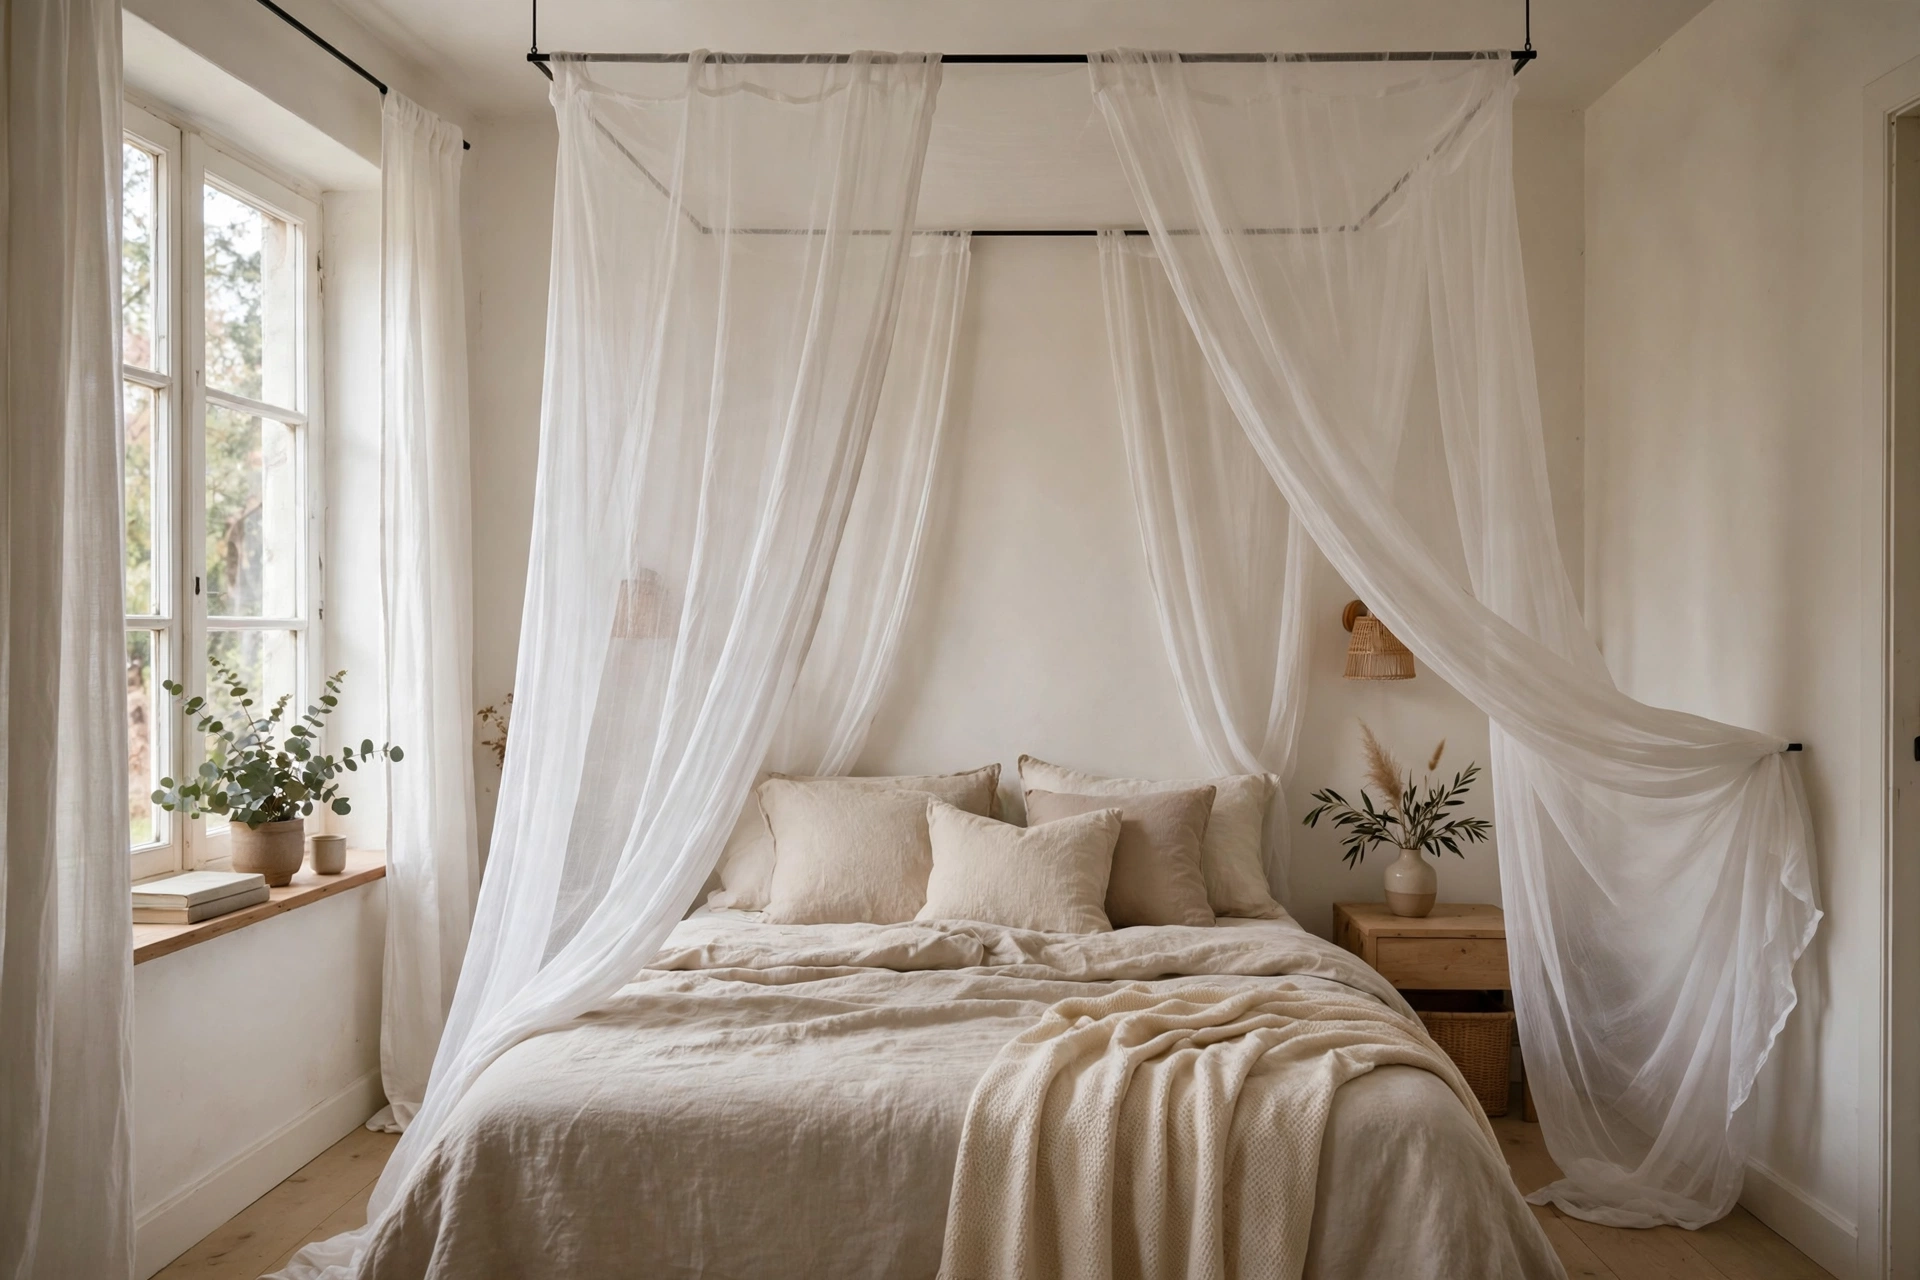
15. Drape a Canopy Over the Bed
Canopy-style drapes — sheer panels hung from a ceiling frame or four slim posts — give a studio bed instant romance and a visual “room within a room.” Use airy voile or mosquito-net-style mesh so it feels dreamy rather than heavy, and keep the rest of the bedding simple so the canopy stays the star. A basic canopy frame plus sheers costs $40–$80. Pro tip: In low-ceiling studios, skip the tall posts and mount a simple rectangular ceiling frame instead — same canopy effect, zero floor footprint.
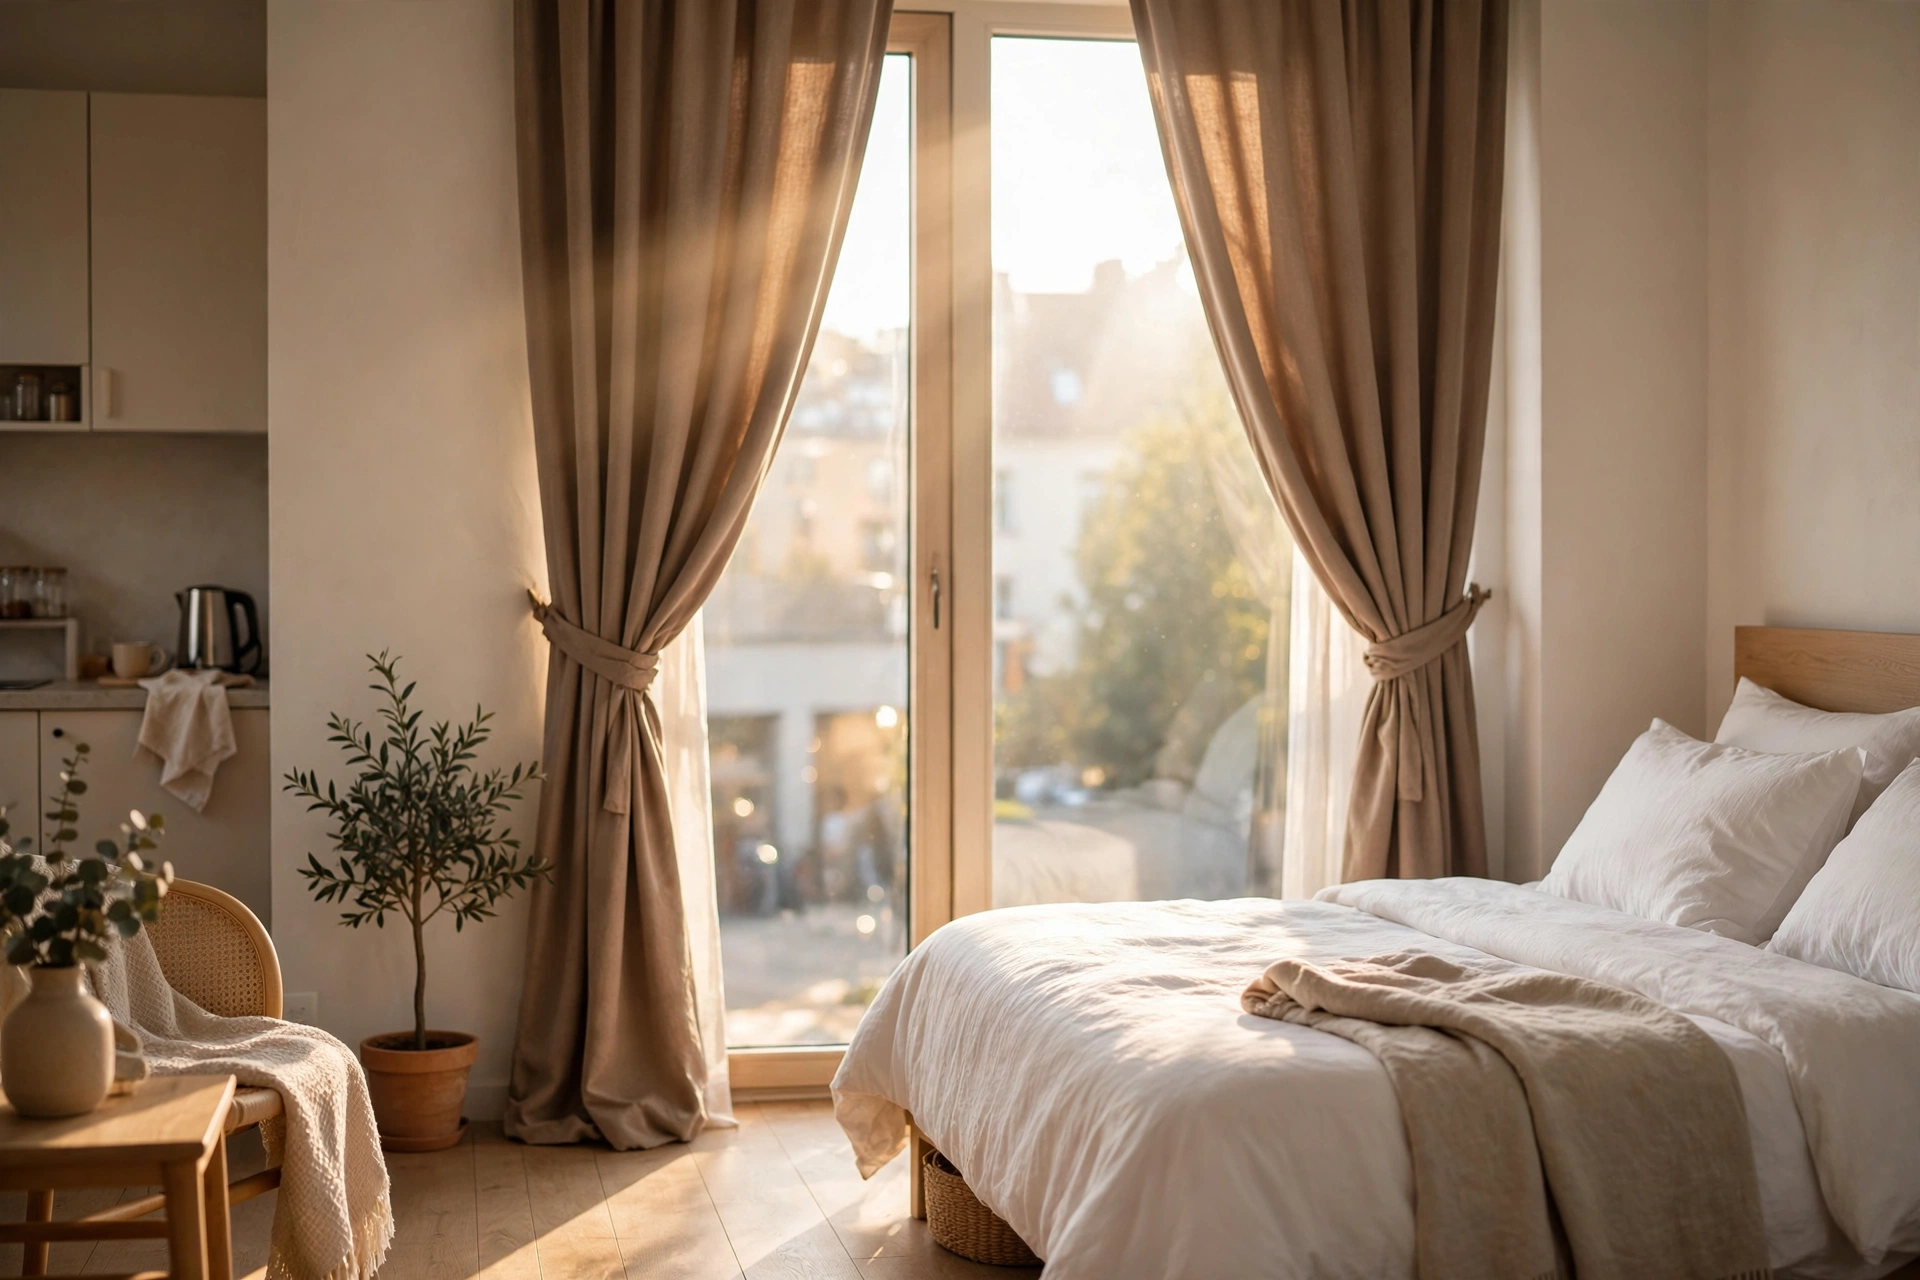
16. Tie Panels Back for Daytime Openness
Heavy curtains that stay closed all day make a studio feel like a cave — tie-backs solve it. Pull each panel to the side with a fabric tie, rope, or magnetic tie-back ($10–$15 a pair) and your windows stay dressed while the light floods in. This is especially important for blackout curtains in the sleep zone: tied back by day, they frame the window beautifully instead of looming. Pro tip: Mount tie-back hooks at two-thirds of the panel height, not halfway — the higher placement creates a more elegant sweep and shows more glass.
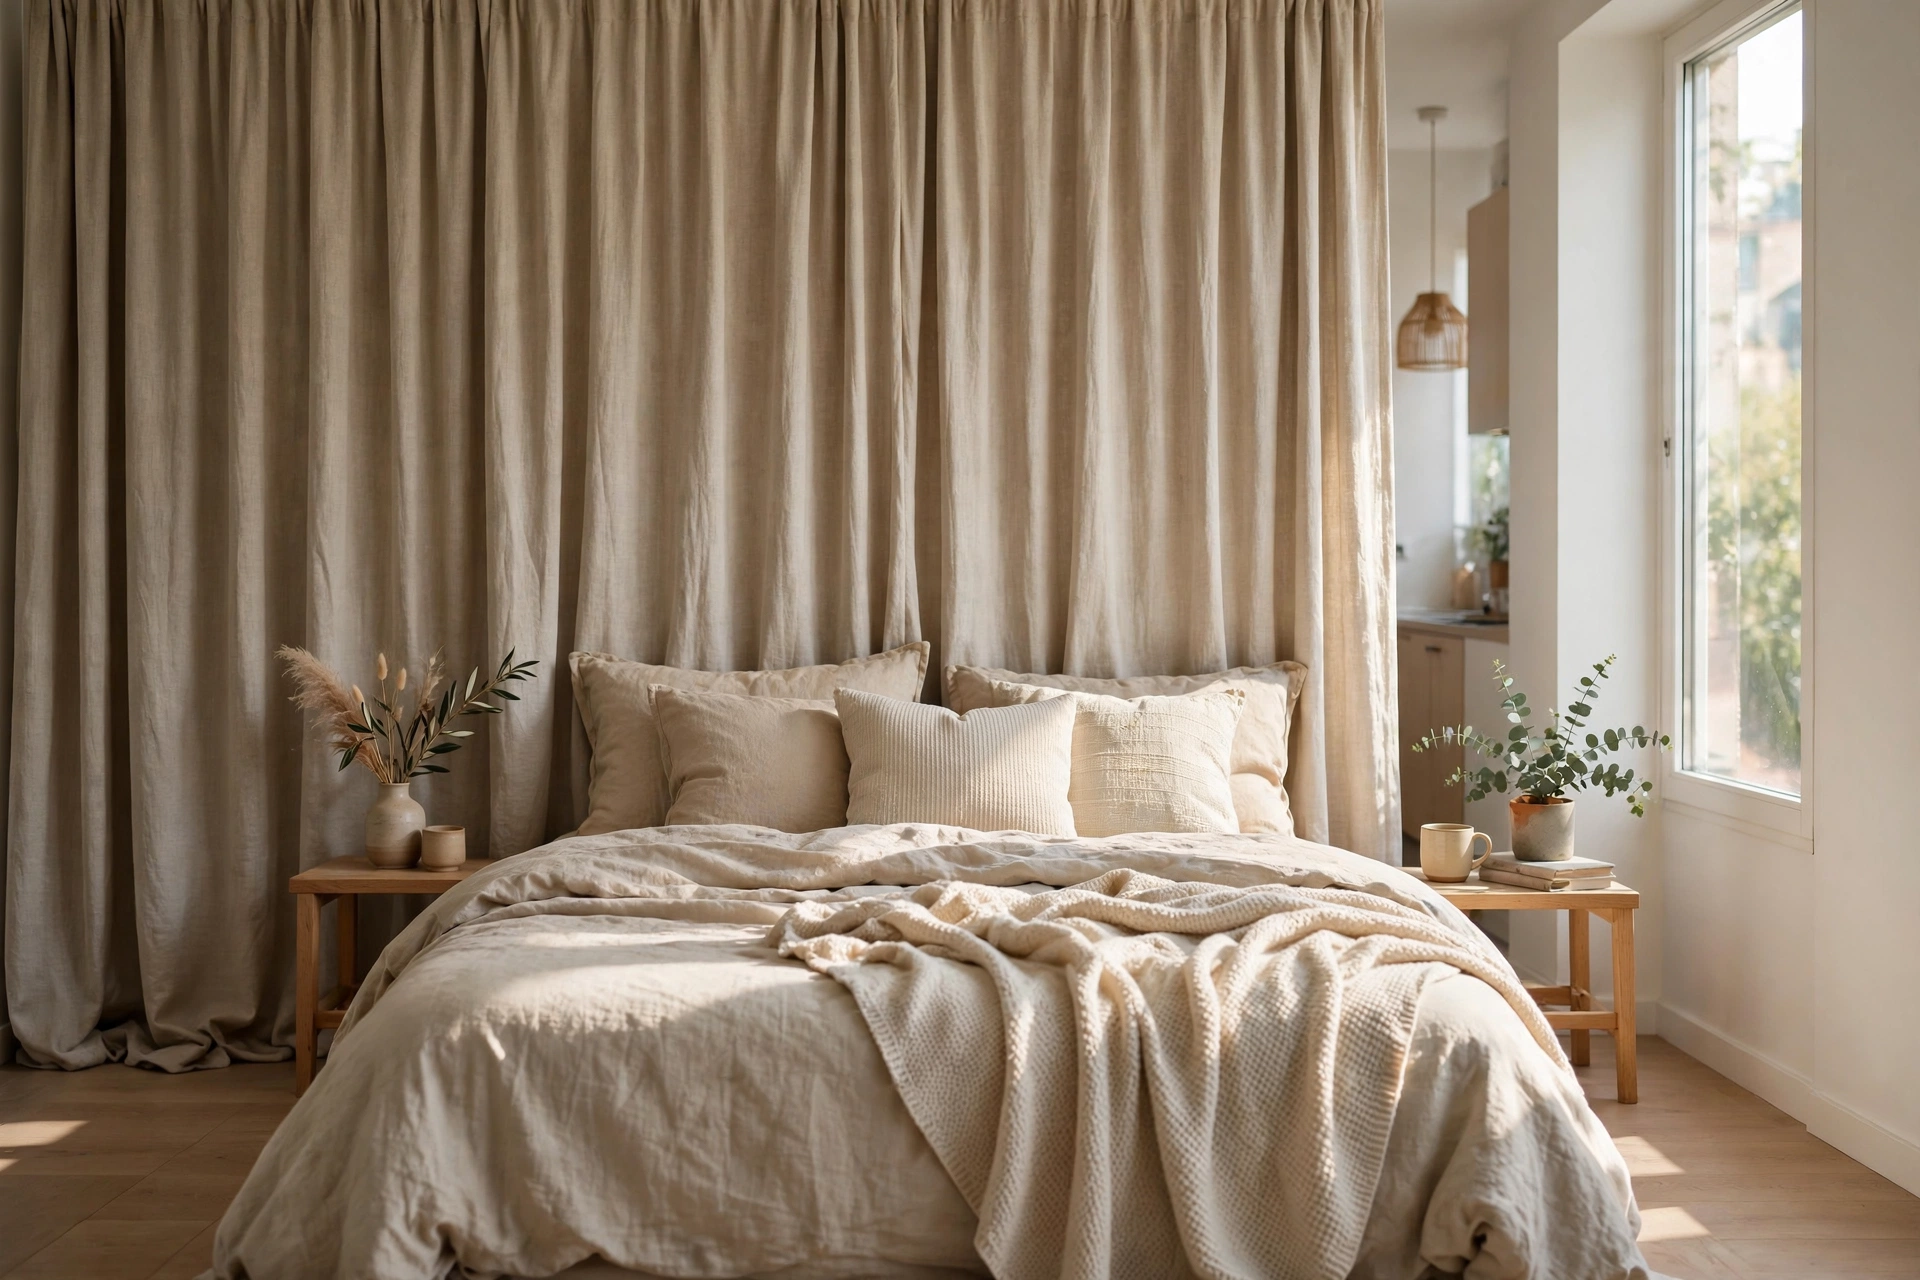
17. Build a Curtain Wall Behind the Bed
Instead of a headboard, hang floor-to-ceiling curtain panels across the entire wall behind your bed. It adds softness, hides an ugly rental wall, improves acoustics, and costs a fraction of an upholstered headboard — three to four panels ($15–$30 each) on a single rod or track. Choose a textured neutral like boucle-look or slubbed linen. Pro tip: This trick also works behind a sofa in the living zone; see our cozy living room ideas for more ways to anchor seating without bulky furniture.
Living-Zone Curtains
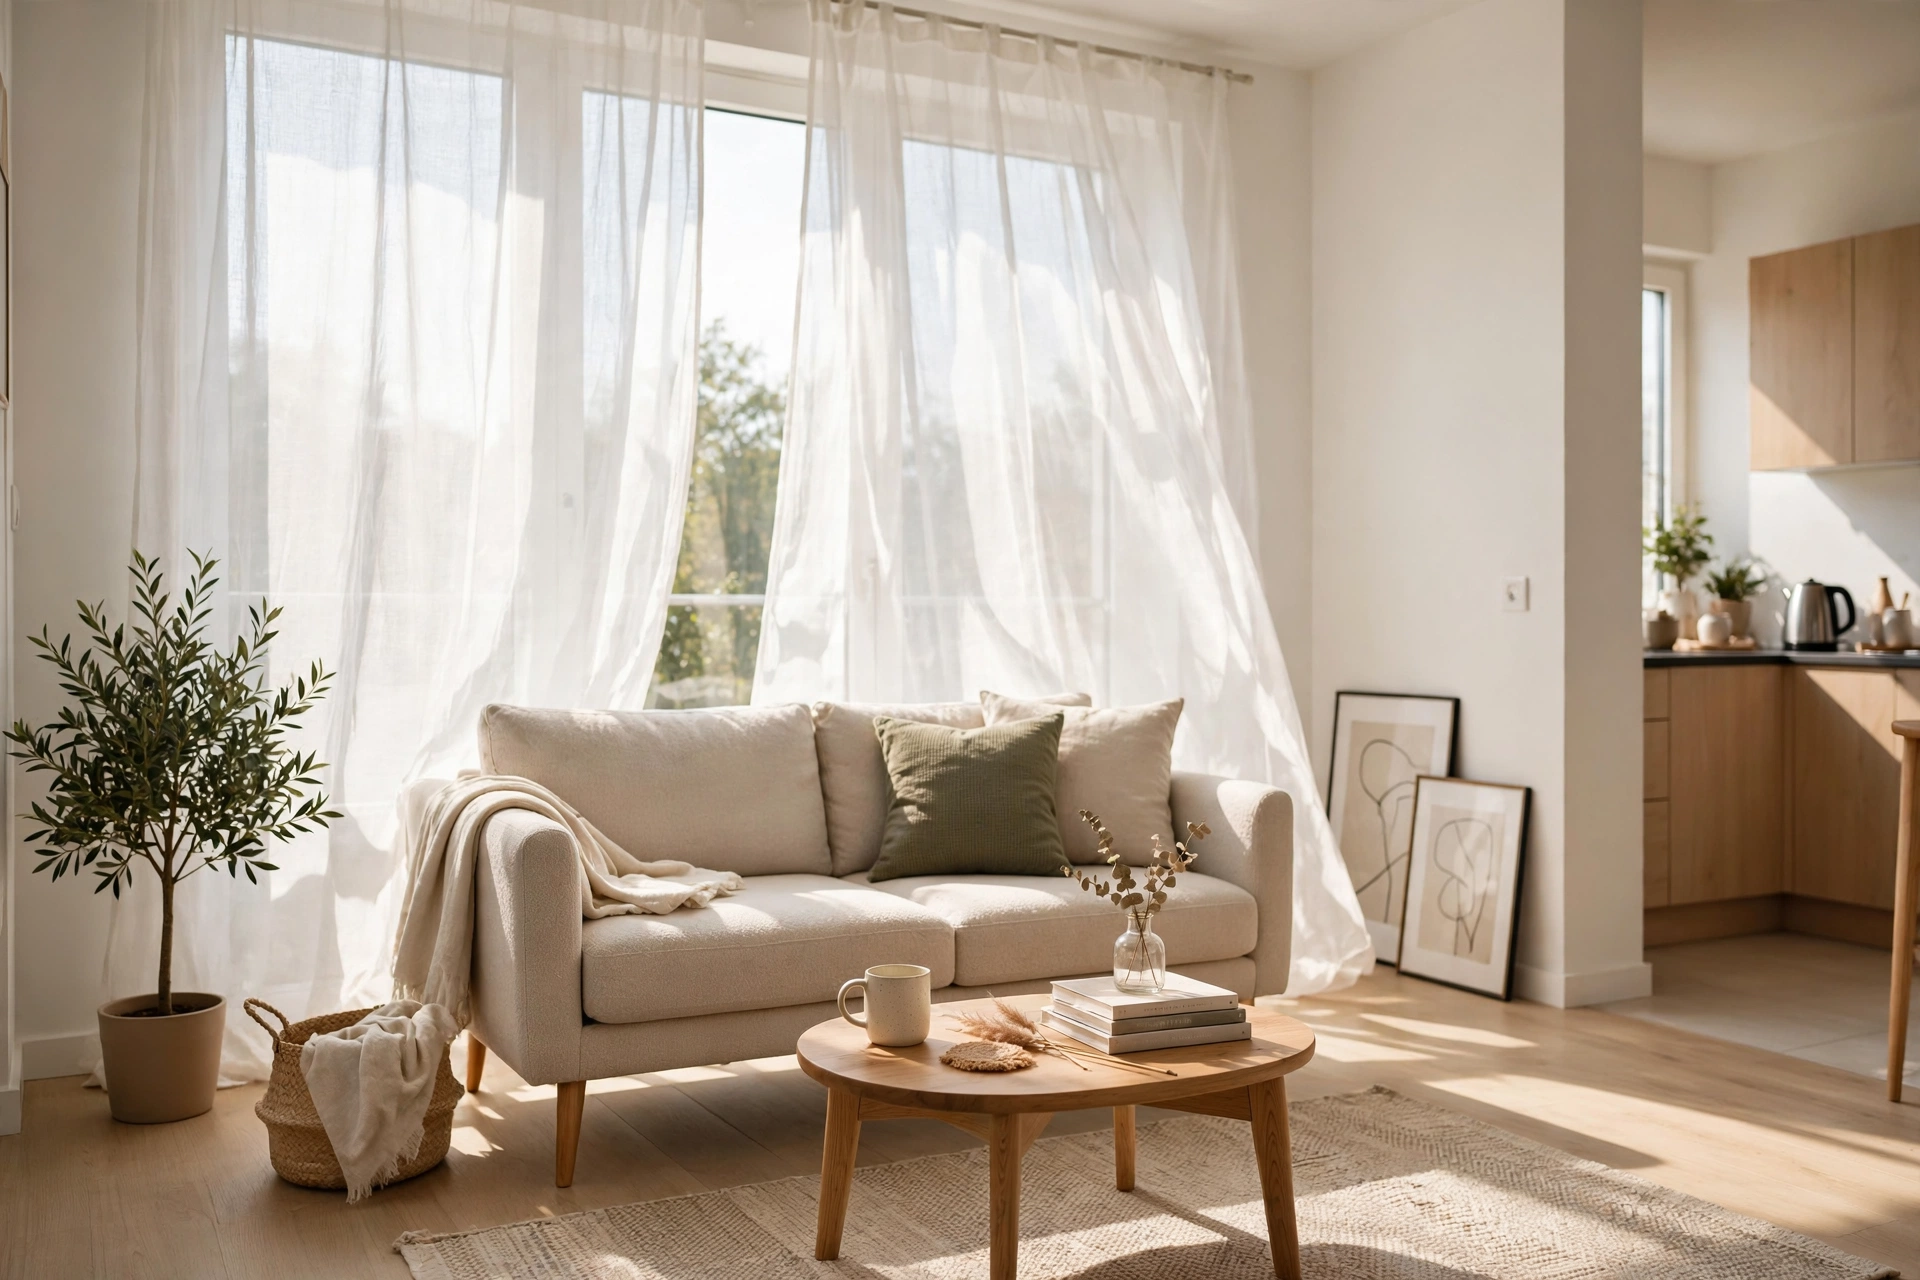
18. Keep Living-Zone Sheers Bright and Simple
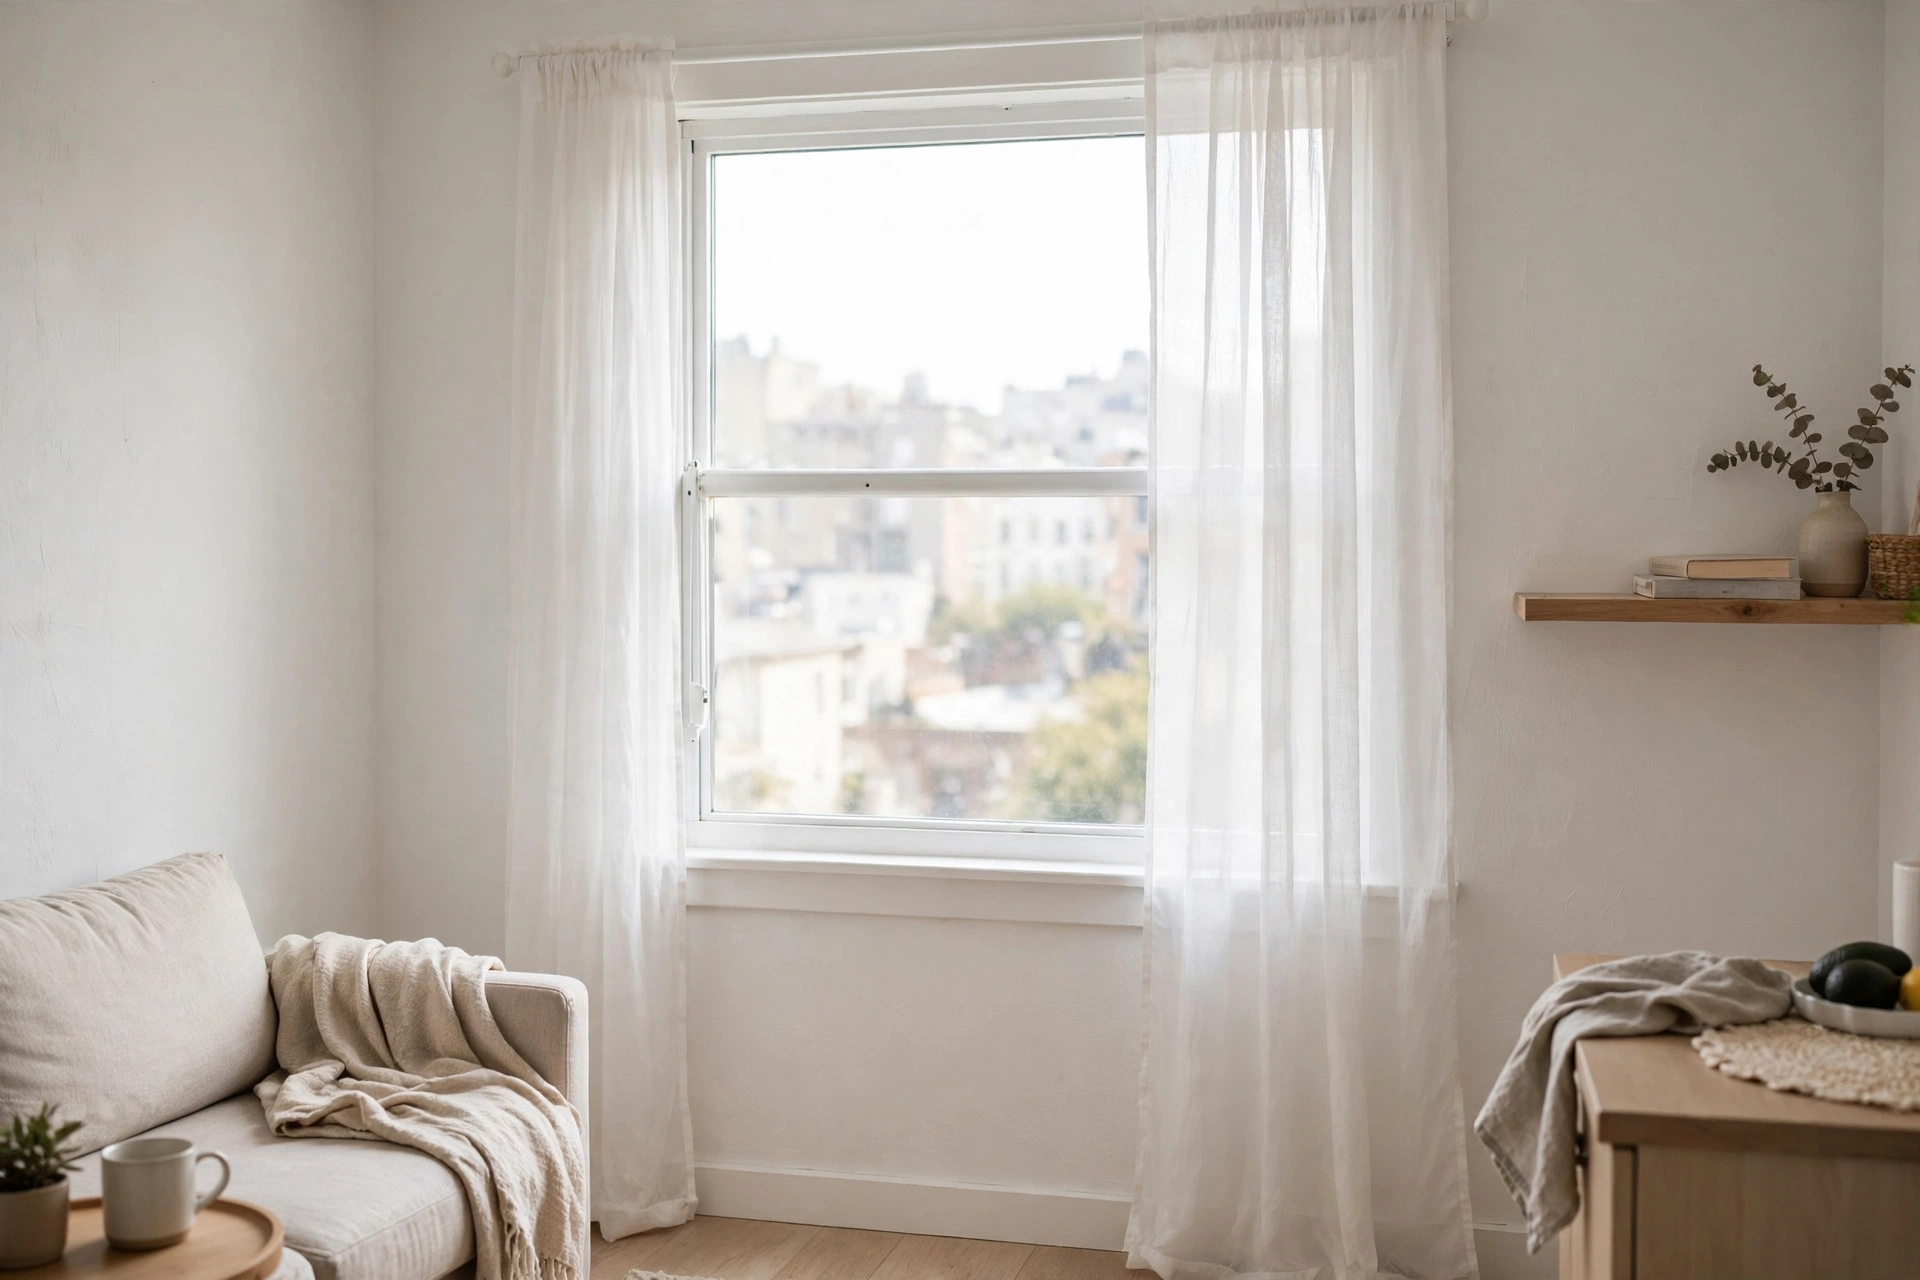
The living area is where you want maximum daylight, so keep its window treatment light: white or ivory sheers, hung high and wide, with nothing else competing. This keeps the seating zone feeling open while still softening the window’s hard edges. One or two sheer panels ($13–$25 each) is often all a small living zone needs. Pro tip: If the living and sleeping zones share one window wall, use identical sheers across the whole span — the unbroken line makes the studio read as one calm, larger space.
19. Let Panels Puddle Slightly for Luxury
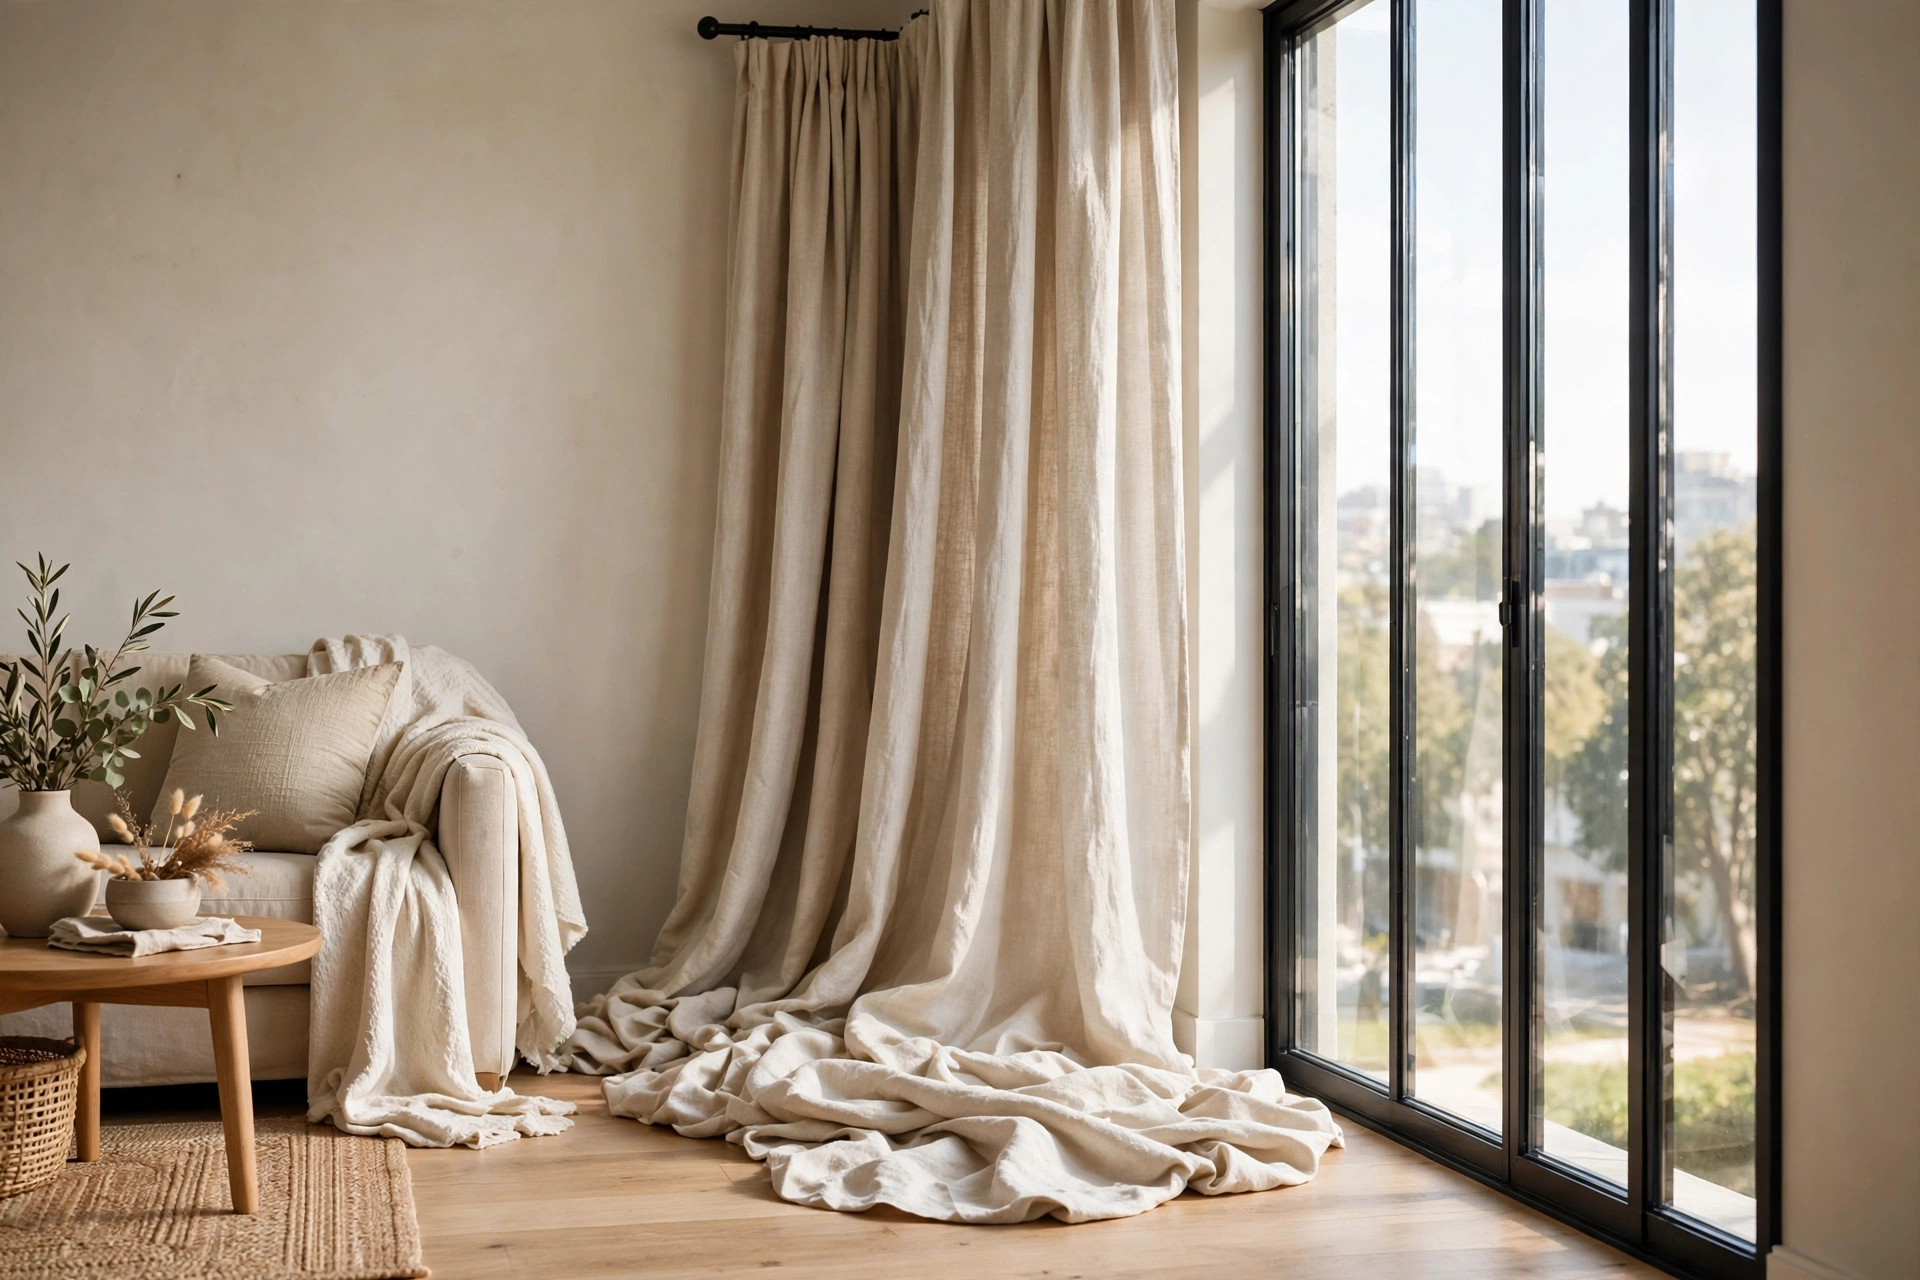
Adding 2–3 extra inches of length so panels kiss — or just barely puddle on — the floor is the oldest designer trick for making curtains look custom. In the living zone, a slight puddle in linen or velvet reads relaxed-luxe; just keep it minimal so it doesn’t look sloppy or trip anyone. Order the next length up (e.g., 108-inch instead of 96-inch) to get the effect. Pro tip: Puddling works on hard floors only — on carpet it looks messy and collects lint, so stick to a clean floor-kiss there instead.
20. Pair a Roman Shade with Side Panels
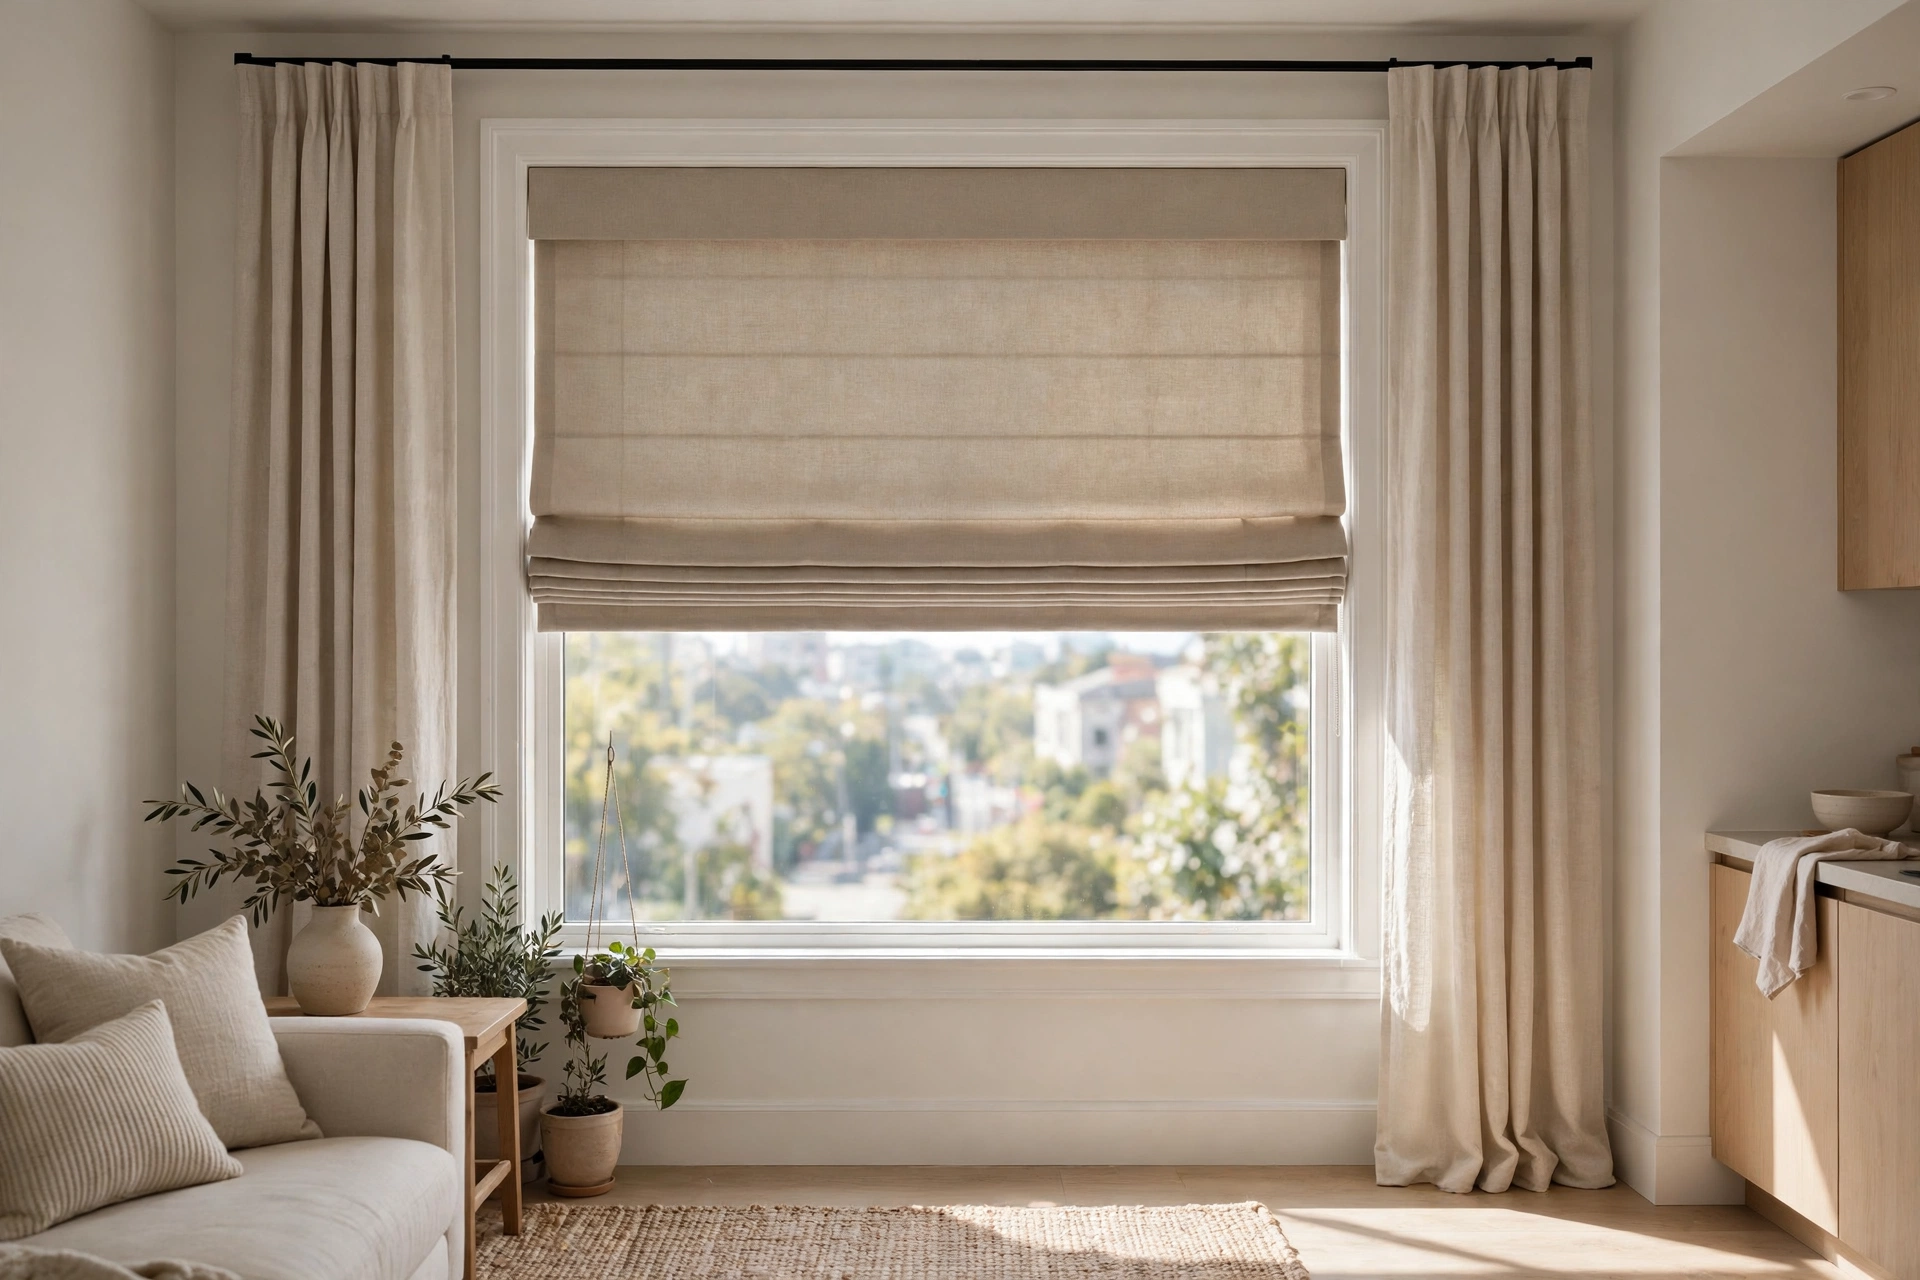
Roman shades give a tailored, structured look that flat panels can’t — and paired with slim side curtain panels, you get the polish of full drapery with half the fabric. The shade handles light control precisely; the panels add softness and height. Budget around $40–$70 for a cordless Roman shade plus $30–$50 for the side panels. Pro tip: Mount the shade inside the frame and the panels high and wide outside it — the layered depths make even a standard rental window look architecturally considered.
21. Add One Patterned Accent Panel Pair
All-neutral everything can feel flat — one pair of patterned curtains in the living zone adds personality without overwhelming a small space. Keep the pattern medium-scale and the palette to two or three colors pulled from your rug or cushions. Block prints, subtle geometrics, and tone-on-tone botanicals all work; expect $25–$45 per panel. Pro tip: Limit pattern to a single window treatment in the studio — if the curtains are patterned, keep bedding and upholstery solid so the eye has somewhere calm to rest.
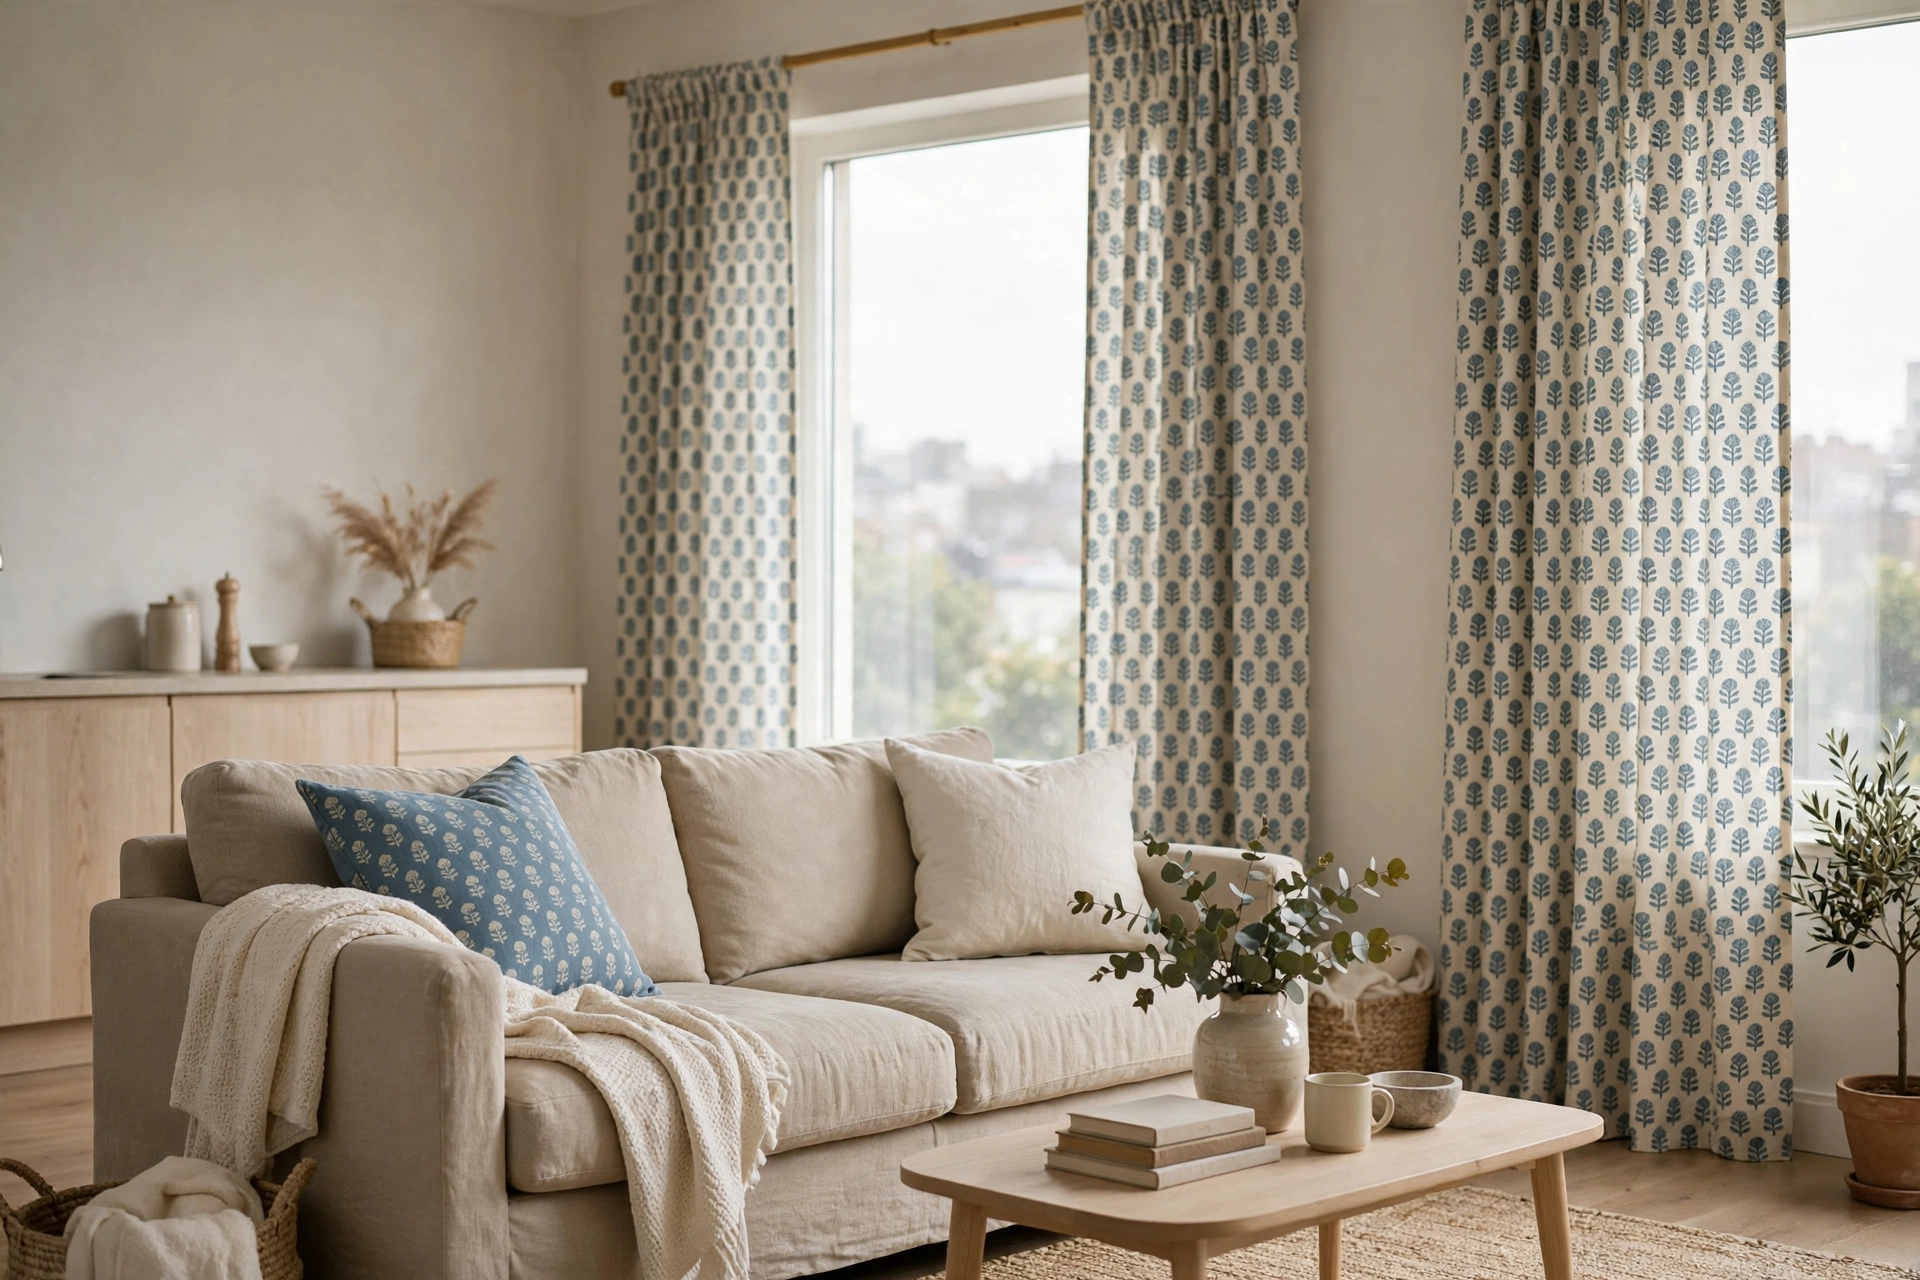
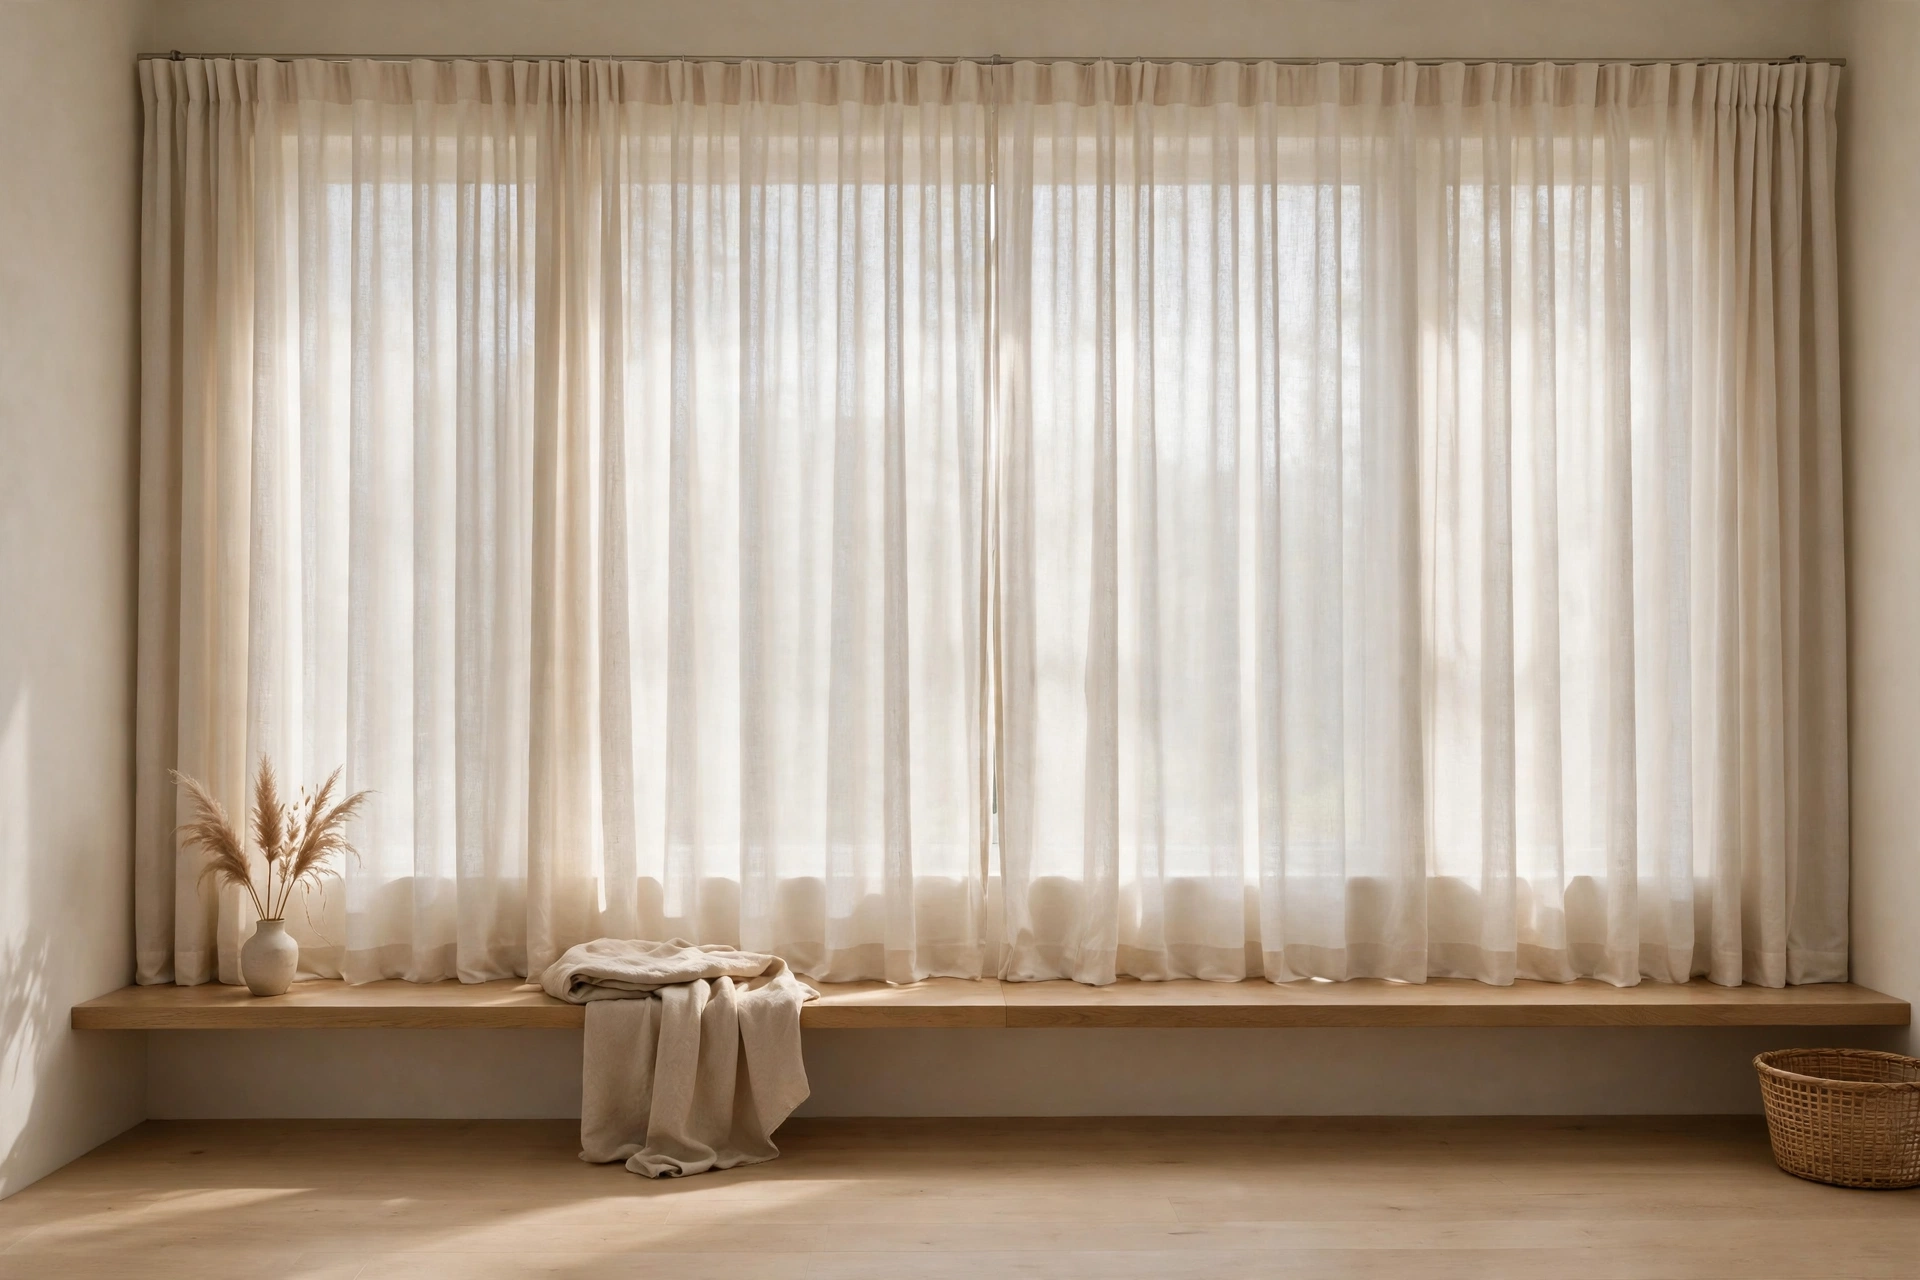
22. Run One Neutral Across the Whole Wall
When a studio has several windows along one wall, hanging a single continuous run of neutral curtains — rather than separate treatments per window — creates one long, calm backdrop that visually widens the room. The repetition disappears and what remains is height and flow. This takes more panels (budget $80–$120 for the full wall), but the impact per dollar is enormous. Pro tip: Choose a color close to your wall color for this trick; the curtains melt into the architecture and the room feels twice as wide. Our studio color schemes guide has palettes where this works beautifully.
Renter-Friendly No-Drill Hangs
23. Tension Rods Inside the Window Frame
The renter classic: a spring-loaded tension rod wedges inside the window frame with zero holes, zero tools, and zero deposit risk. Modern tension rods hold surprising weight — enough for sheers, cafe curtains, and light cotton panels — and cost just $10–$18. Measure the inside width carefully; the rod should extend about an inch beyond the opening for real grip. Pro tip: For wider windows, look for tension rods with a center support or “twist-tight” locking mechanism — basic spring rods sag past 48 inches.
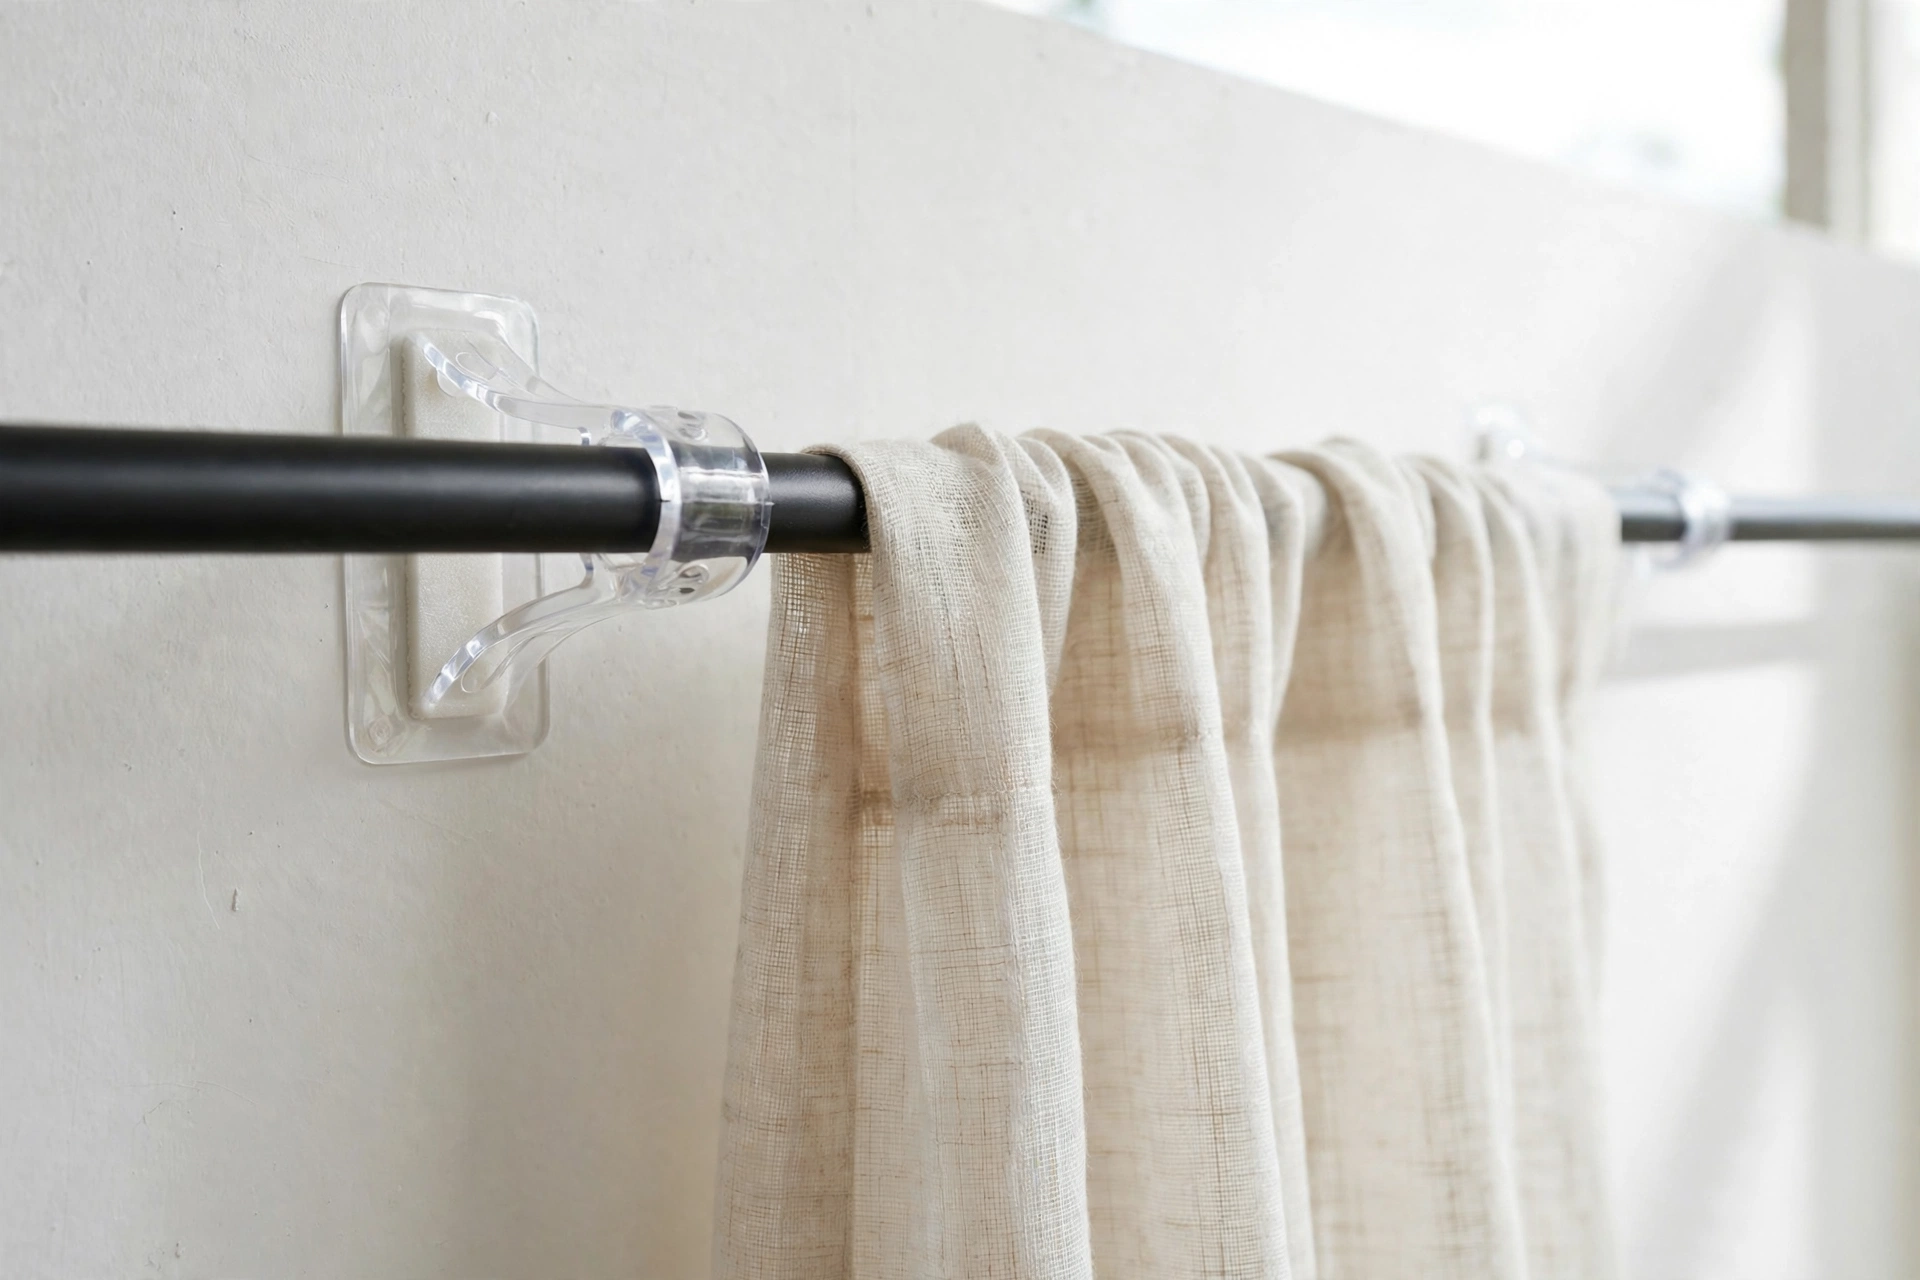
24. Adhesive Brackets for Real Rods
Want a proper curtain rod without drilling? Heavy-duty adhesive brackets stick to the wall or window trim and hold a surprising amount — many are rated for 10–20 pounds, plenty for lined panels. Clean the surface with alcohol first, press firmly, and wait the full 24-hour cure time before hanging. Sets run $12–$20. Pro tip: Adhesive holds best on smooth, non-porous surfaces like painted trim, glass, or tile — skip textured or chalky walls, where the bond will fail within weeks.
25. Twist-and-Fit No-Drill Rods
Twist-and-fit rods work like a shower curtain rod’s bigger sibling: twist to extend, and rubber end caps grip the opposing walls with serious force — no brackets at all. They’re ideal for hanging a curtain divider across an alcove or doorway where there’s no window frame to use. Expect $18–$30 for sturdy versions rated for heavier drapes. Pro tip: These need two solid opposing surfaces within their extension range, so measure wall-to-wall first — they’re perfect for alcoves and hallway-style studio entries.
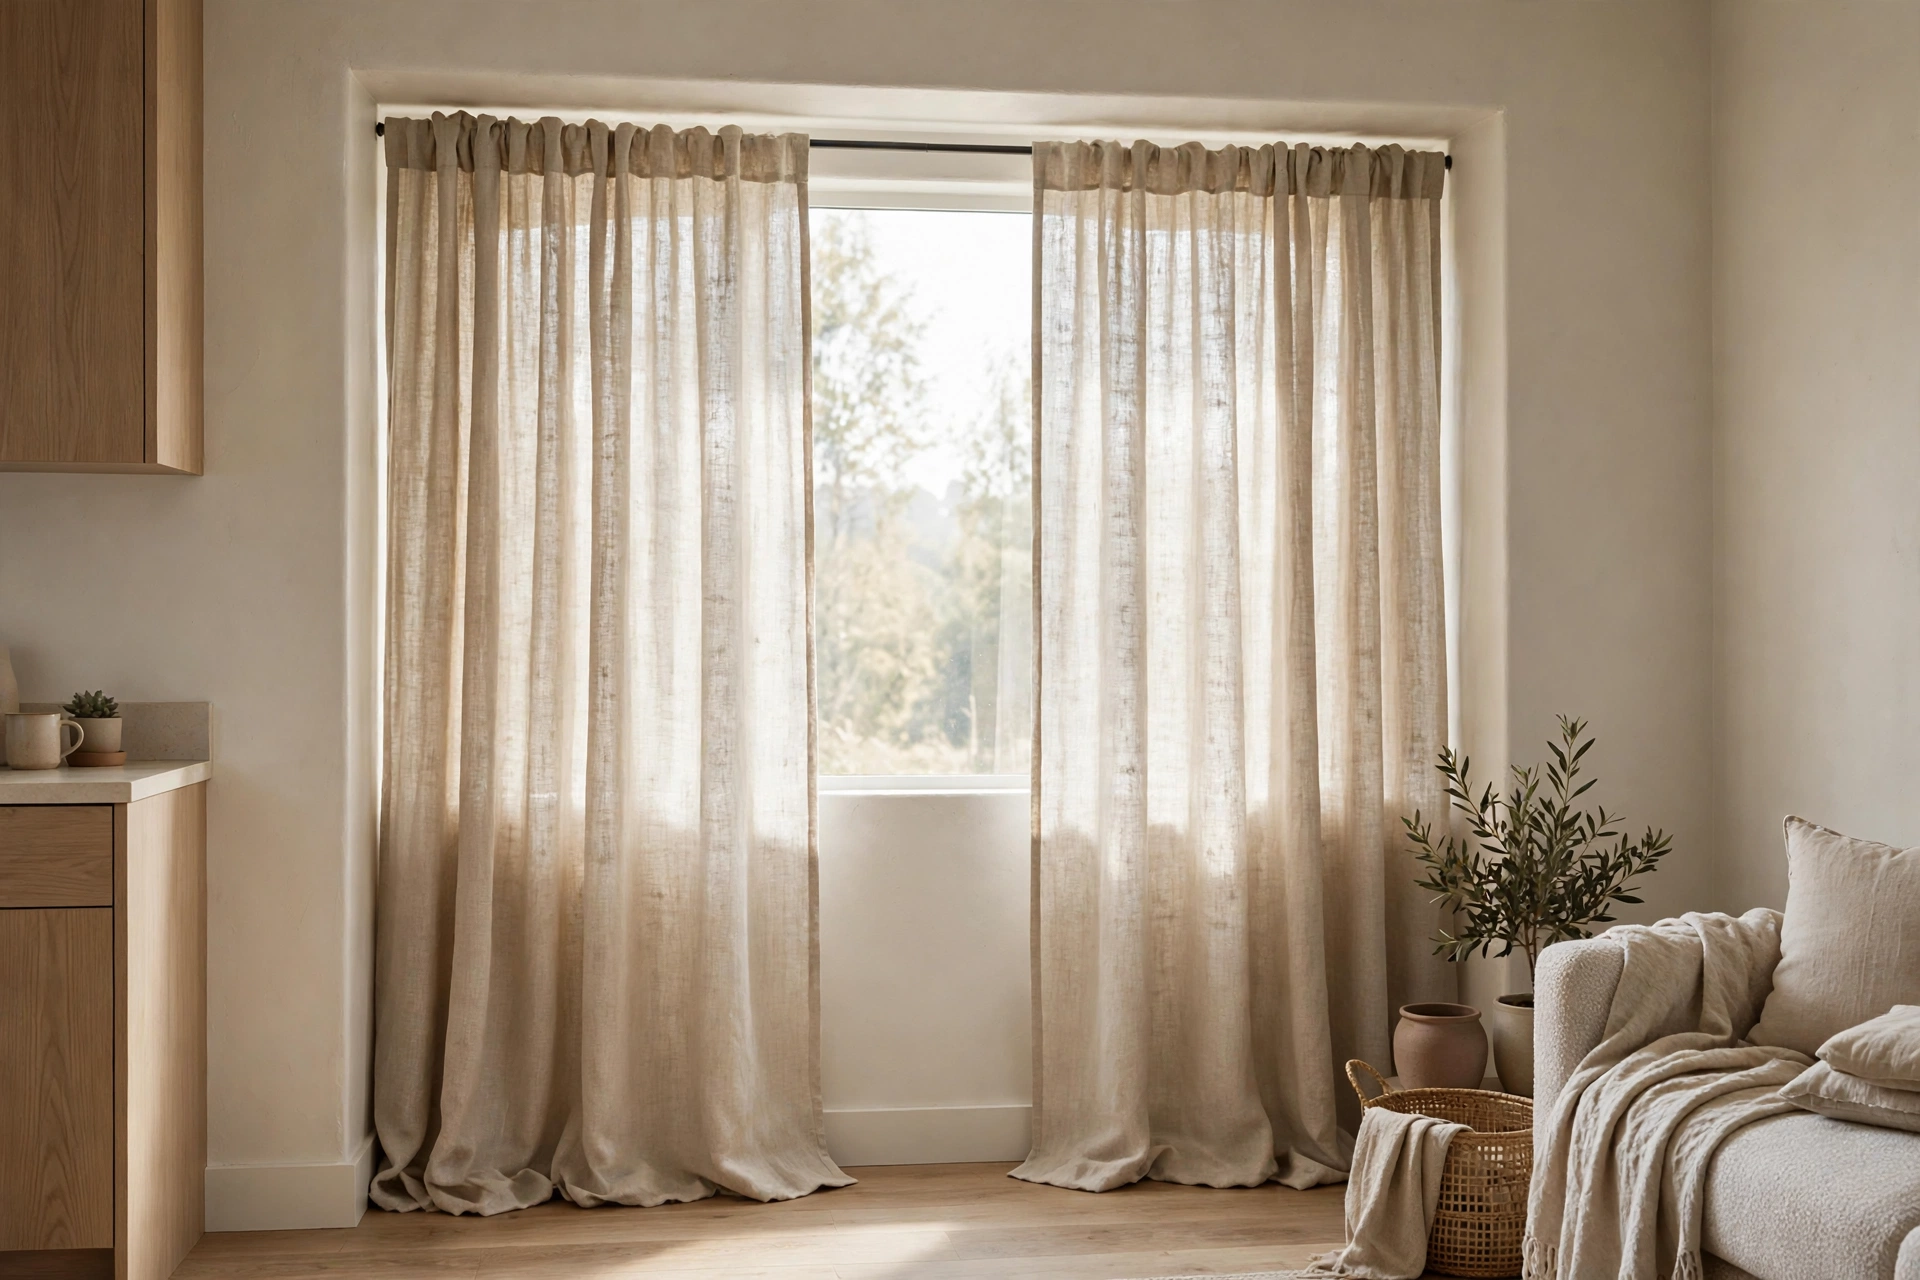
26. Magnetic Rods for Metal Doors and Frames
If your studio has a metal entry door with a window or steel window frames, magnetic curtain rods snap on in seconds — strong neodymium magnets grip the metal and hold light panels perfectly. They’re the fastest curtain hang in existence and cost $12–$18 a pair. Great for covering a door window for privacy without blocking the peephole zone. Pro tip: Test with a fridge magnet first — if it sticks firmly, a magnetic rod will work; aluminum and vinyl frames won’t hold them at all.
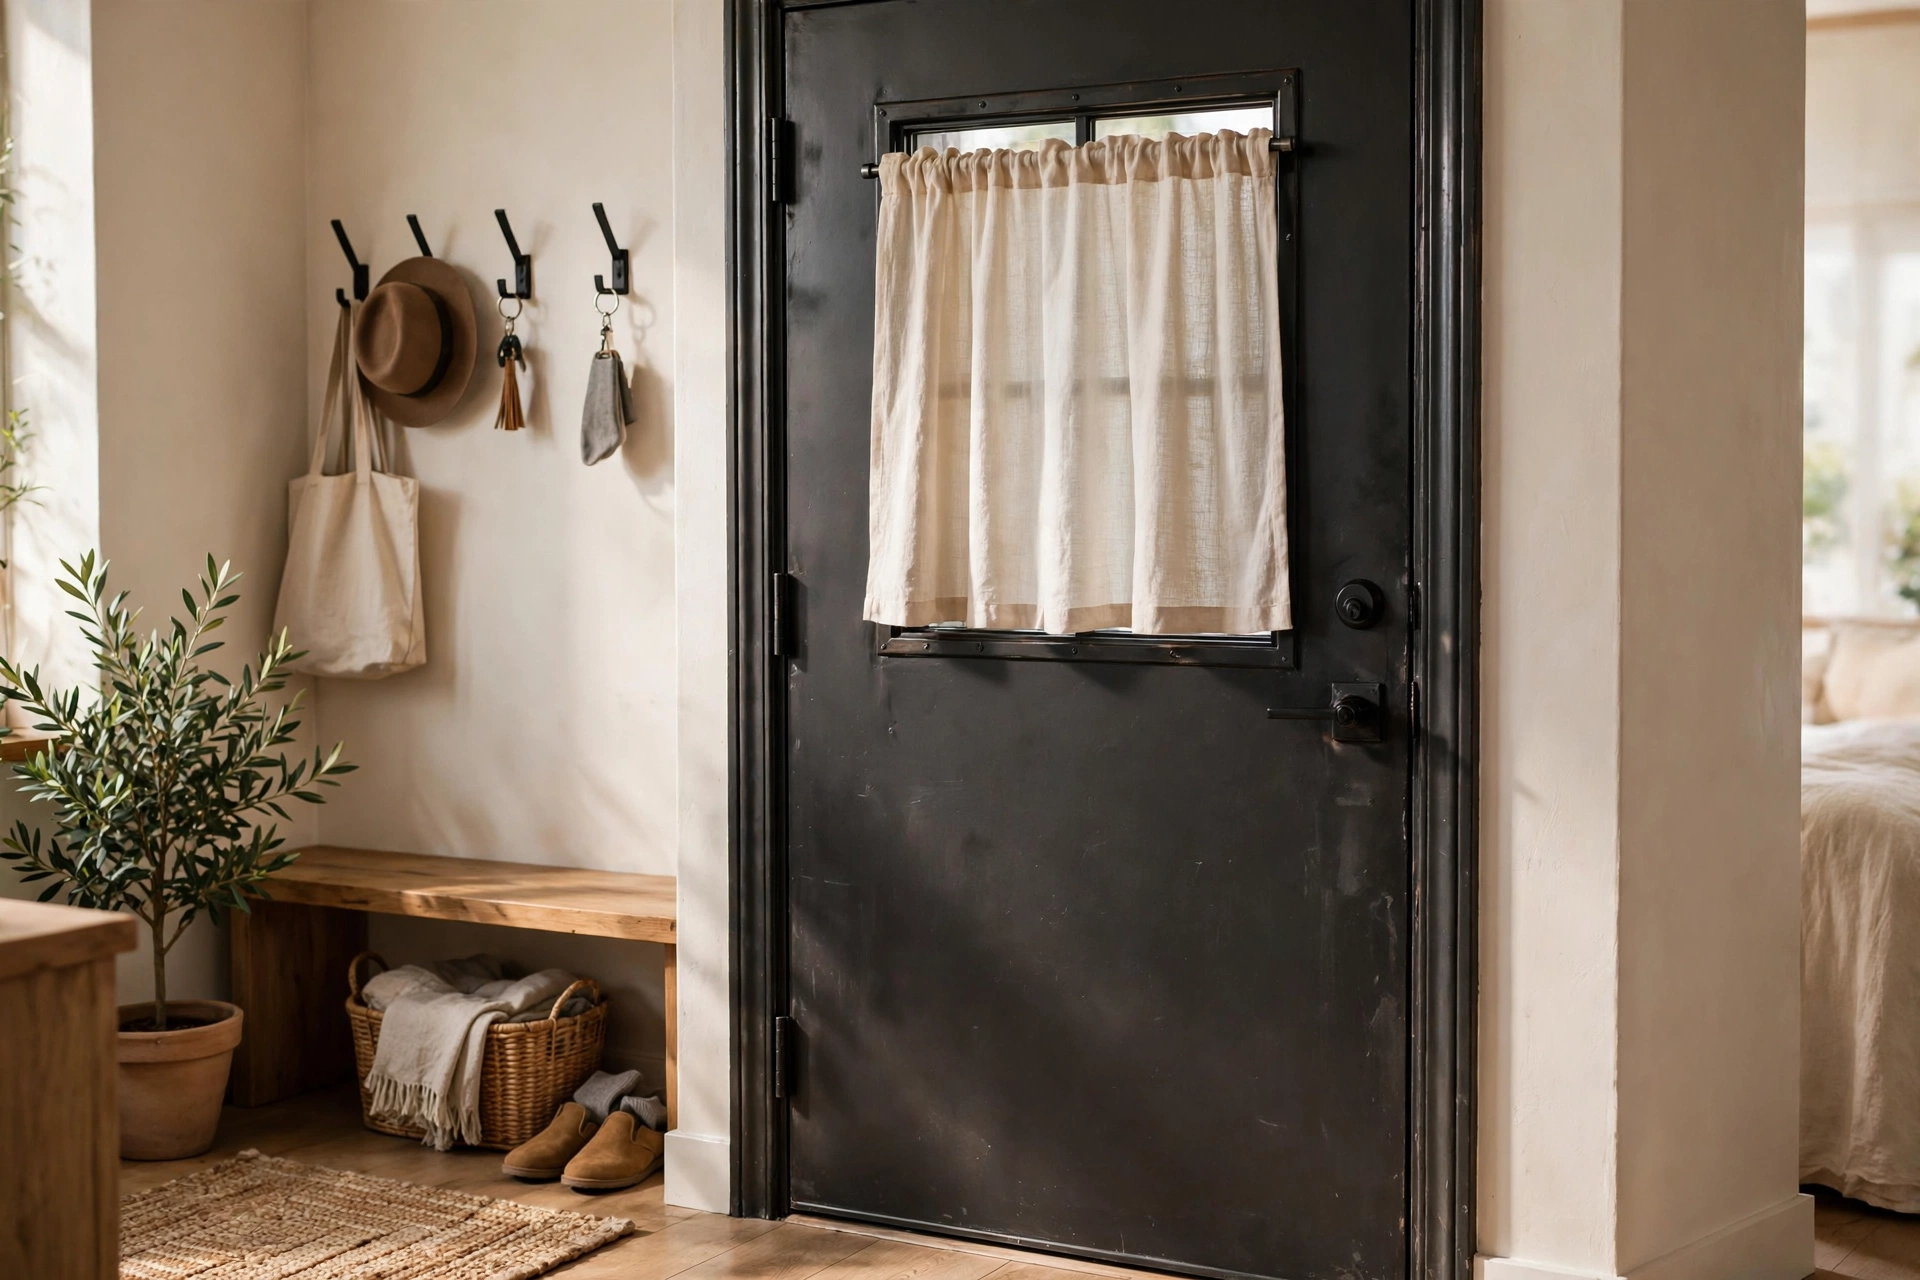
27. No-Drill Ceiling Tracks with Adhesive Mounts
Ceiling tracks don’t have to mean screws — adhesive ceiling mounts and heavy-duty removable strips can hold lightweight track systems on smooth ceilings. This is how renters get the coveted floor-to-ceiling curtain look (and the bed-divider trick from idea 13) without touching a drill. Budget $25–$45 for track plus adhesive mounts. Pro tip: Keep panels light — sheers or unlined cotton — on adhesive-mounted tracks, and press each mount for a full 30 seconds during install; rushed installs are the number one reason these fail.
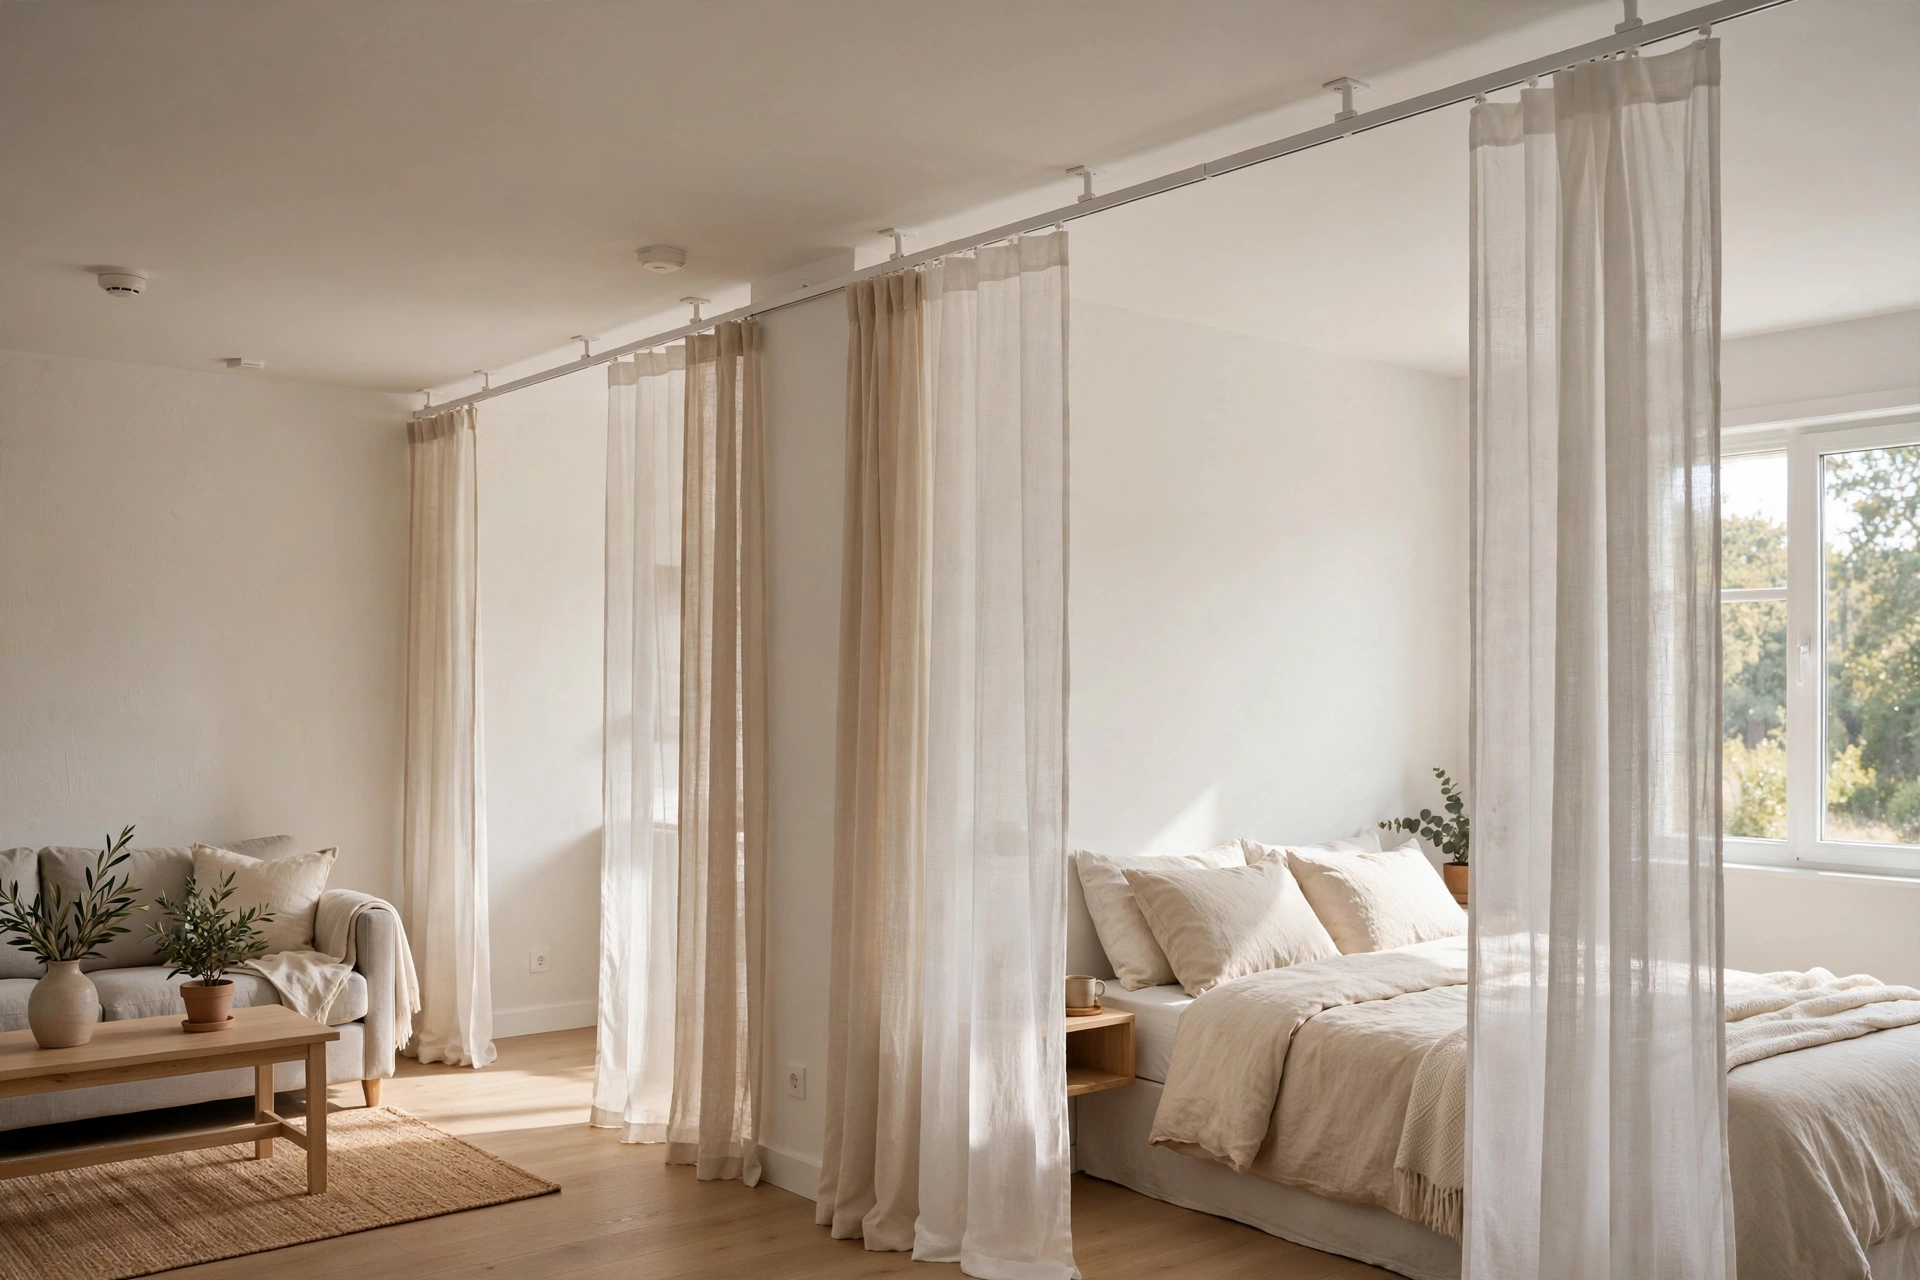
28. Clip Rings Onto Existing Blinds
Already have landlord-issue mini blinds you can’t remove? Don’t fight them — clip curtain rings directly onto the blinds’ headrail or valance and hang lightweight panels in front. You keep the blinds’ light control and gain the softness of fabric, all without a single new hole. Clip rings cost about $8–$12 for a pack of 14. Pro tip: This works best with the blinds fully raised and used as a valance — the curtain becomes the daily light control and the blinds stay as backup for harsh afternoon sun.
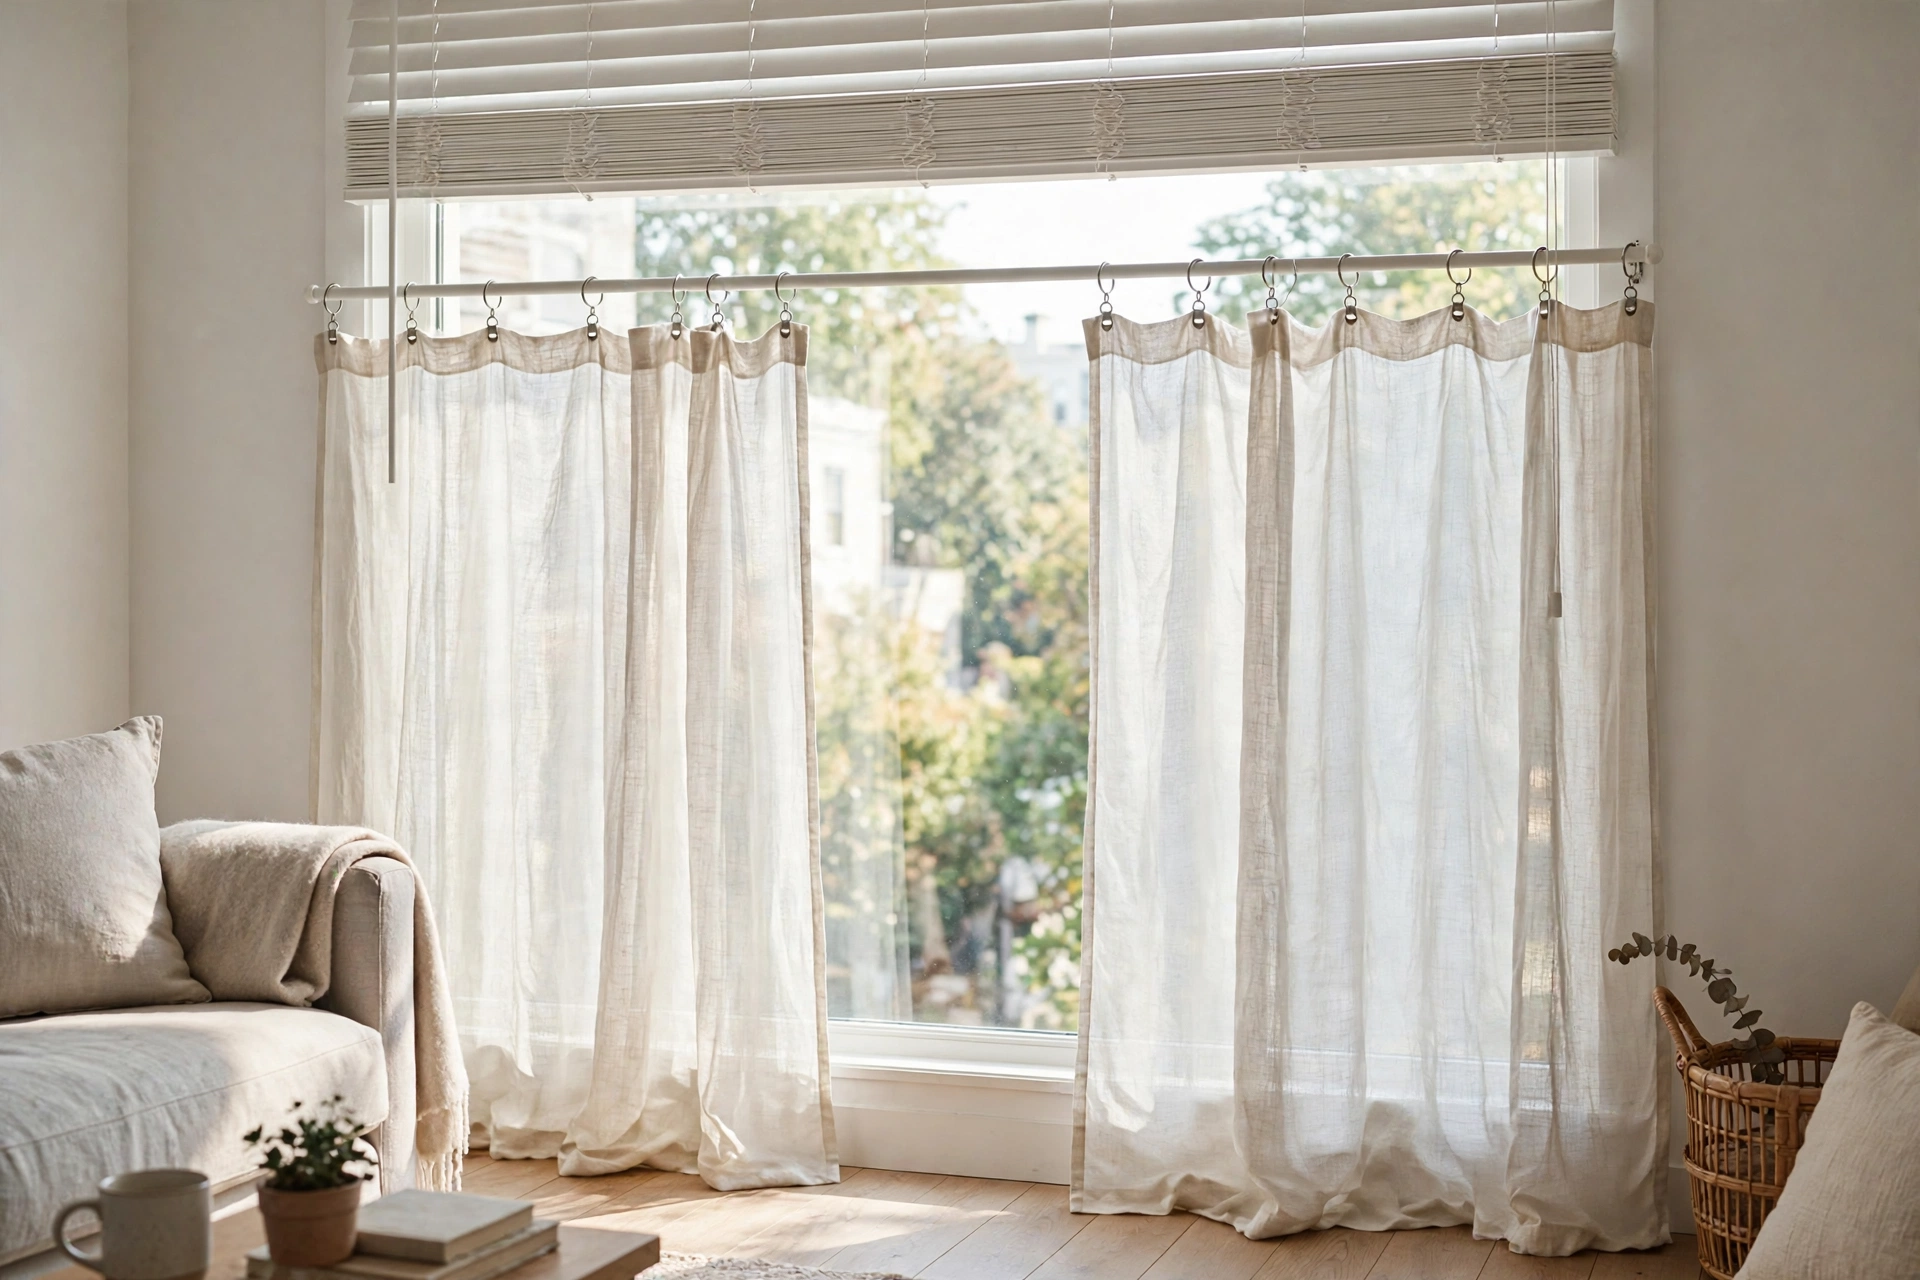
Colors, Patterns & Layering Tricks
29. Go Crisp White to Expand the Space
White curtains are the safest small-space choice for a reason: they reflect light, visually recede, and make walls feel farther apart. In a studio, white or off-white panels on every window create a bright envelope that lets your furniture and art provide the color. Budget-friendly white panels run $12–$25 each at IKEA or Target. Pro tip: Choose a warm white (ivory, linen-white) rather than stark blue-white — pure white can look clinical under cool LED lighting, while warm white glows.
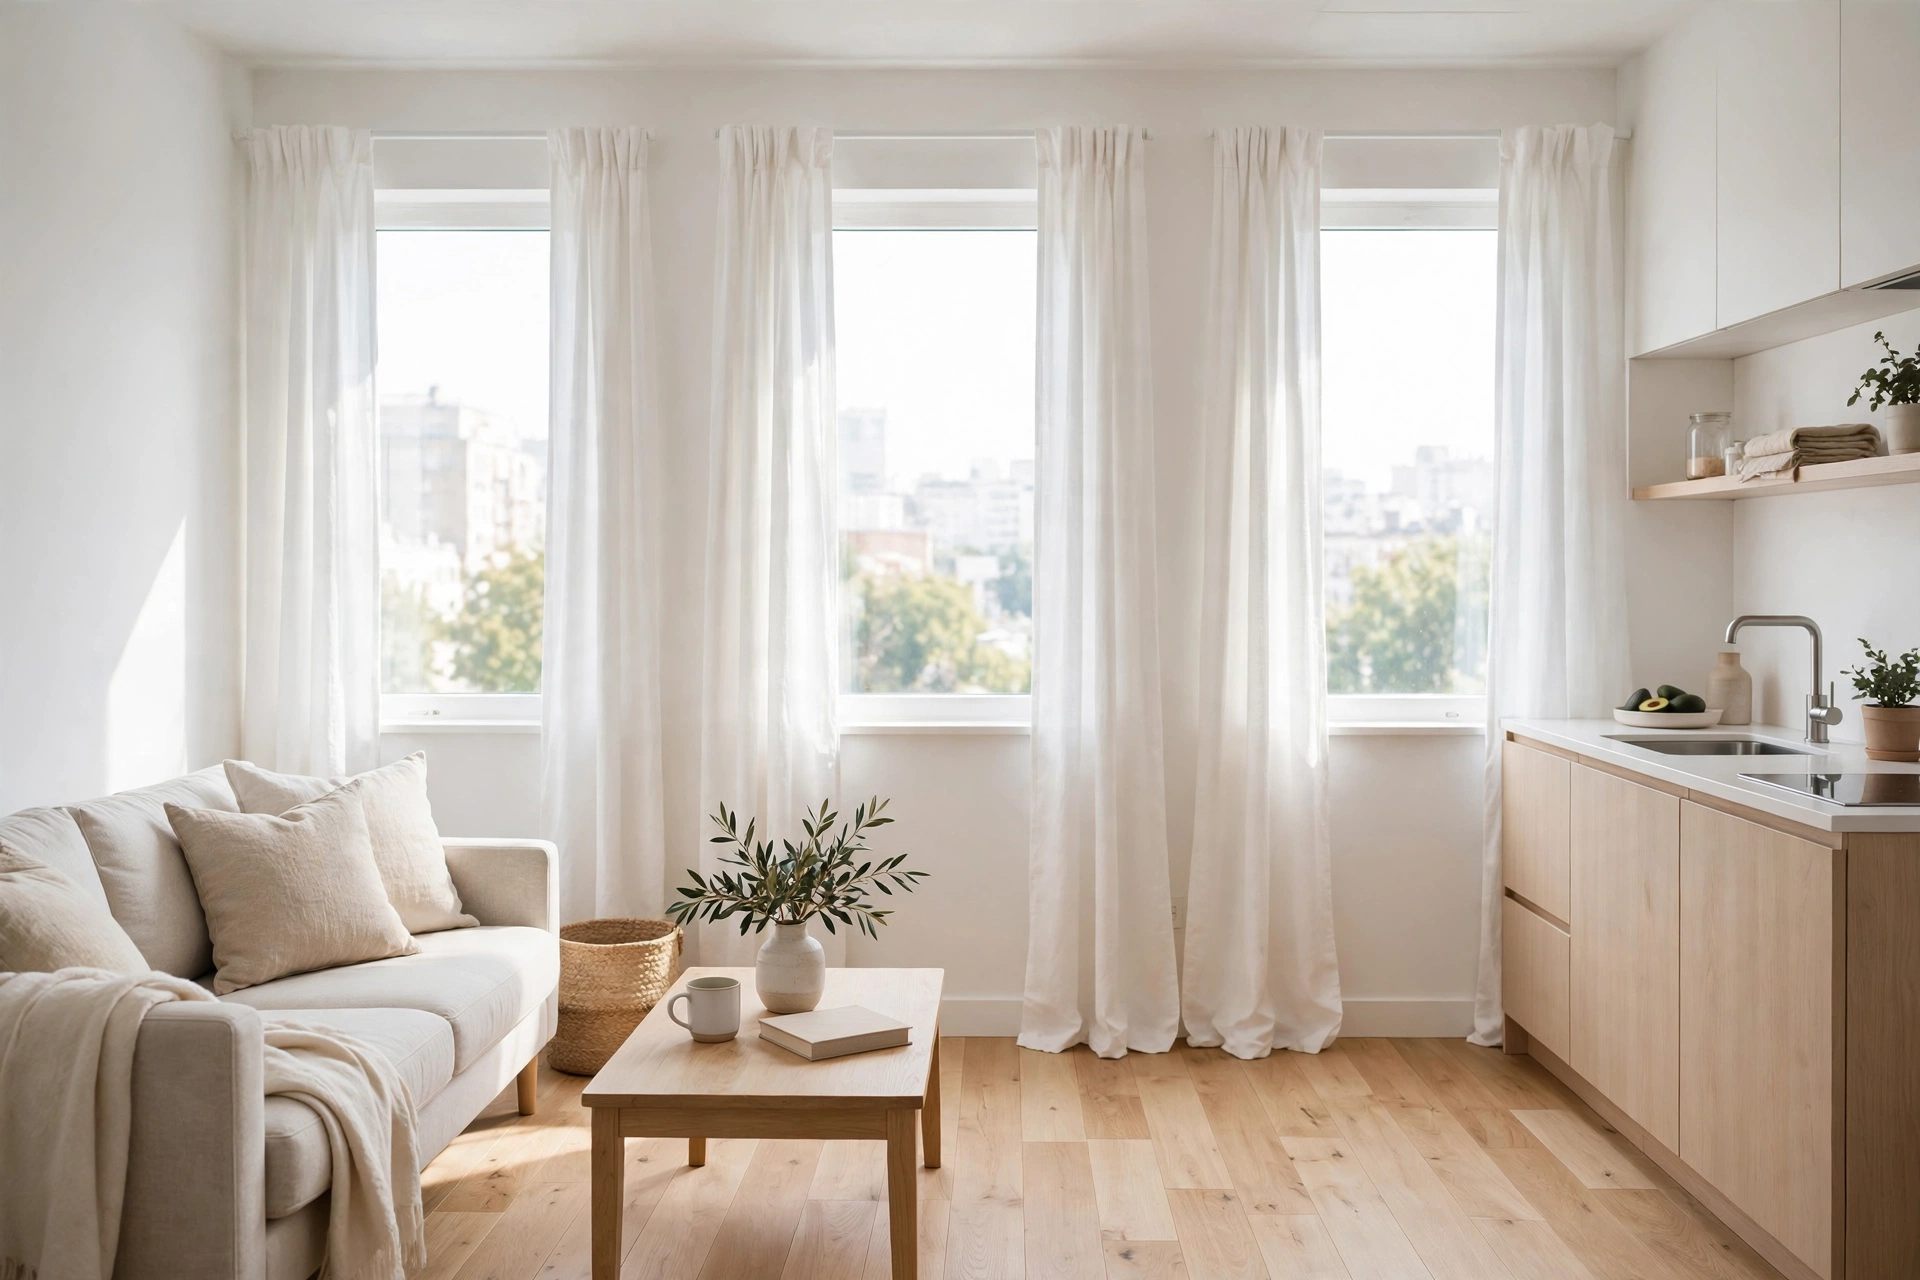
30. Try Tone-on-Tone for Quiet Depth
Instead of white, pick curtains one or two shades deeper than your wall color — warm greige on greige walls, soft sage on white. This tone-on-tone approach adds depth and sophistication without introducing a new color that chops up the space. It’s the designer’s way of adding interest while keeping everything calm. Pro tip: Bring a paint swatch or cushion cover when shopping — matching undertones (warm vs. cool) matters more than matching the exact shade.
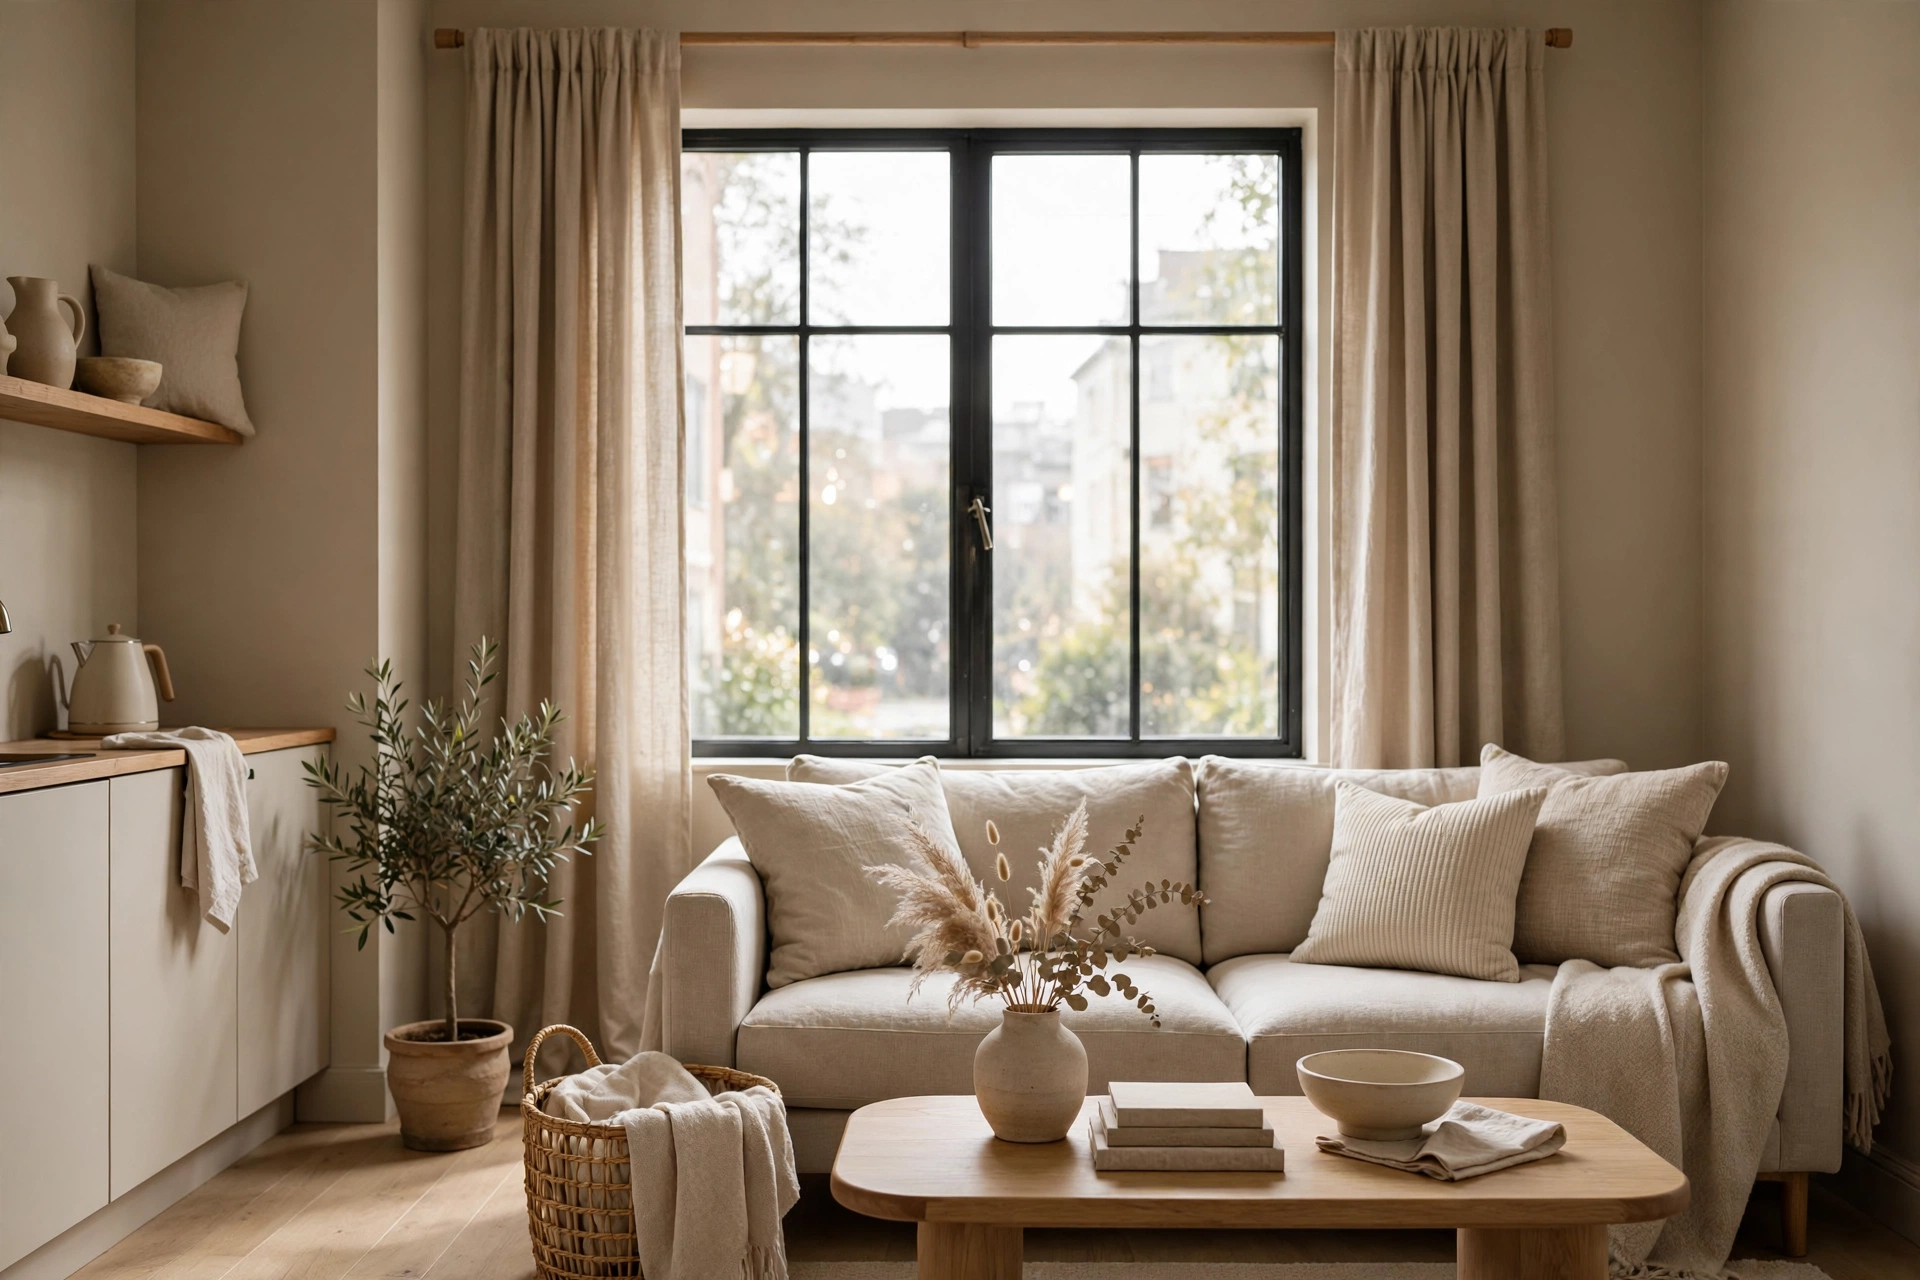
31. Use Vertical Stripes to Fake Height
Vertical stripes draw the eye upward — the same principle as striped wallpaper, but removable and far cheaper. In a studio with standard 8-foot ceilings, striped panels can make the room feel noticeably taller. Keep stripes narrow and low-contrast for elegance; wide, high-contrast stripes overwhelm small rooms. Expect $20–$40 per panel. Pro tip: Stripes work hardest on the tallest wall or the bed-zone divider curtain, where the vertical emphasis reinforces the sense of separate, generous zones.
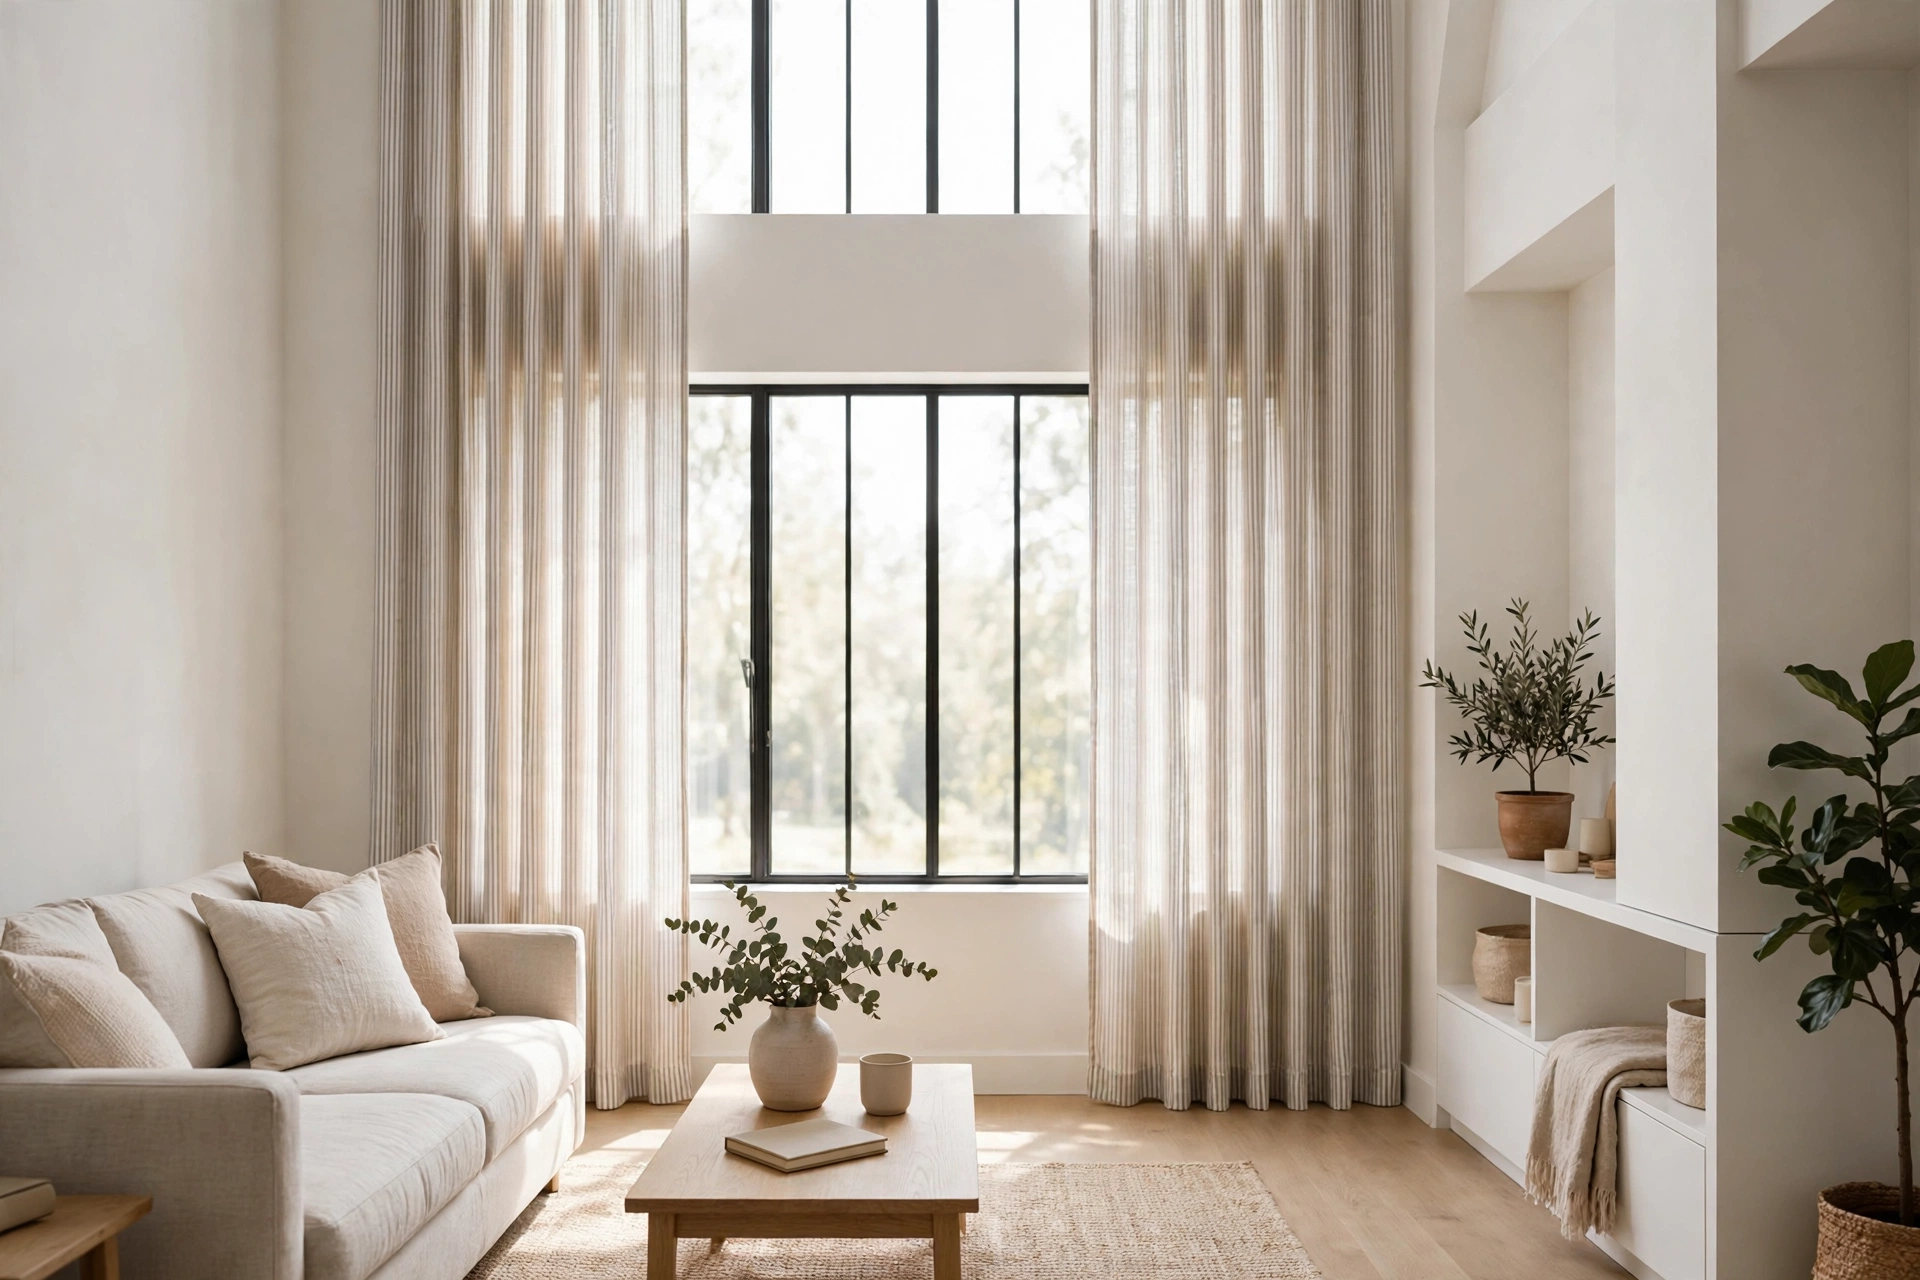
32. Choose Subtle Texture Over Loud Print
When you want interest without visual noise, texture beats pattern: slubbed linen, waffle weave, raw silk-look, or subtle jacquard add richness that reads as solid from a distance but rewards a closer look. Textured neutrals are also the most forgiving choice if your decor style evolves — they work with everything. Budget $25–$50 per panel. Pro tip: Texture shows best in natural side-light, so textured panels earn their keep most on east- and west-facing windows where raking light reveals the weave.
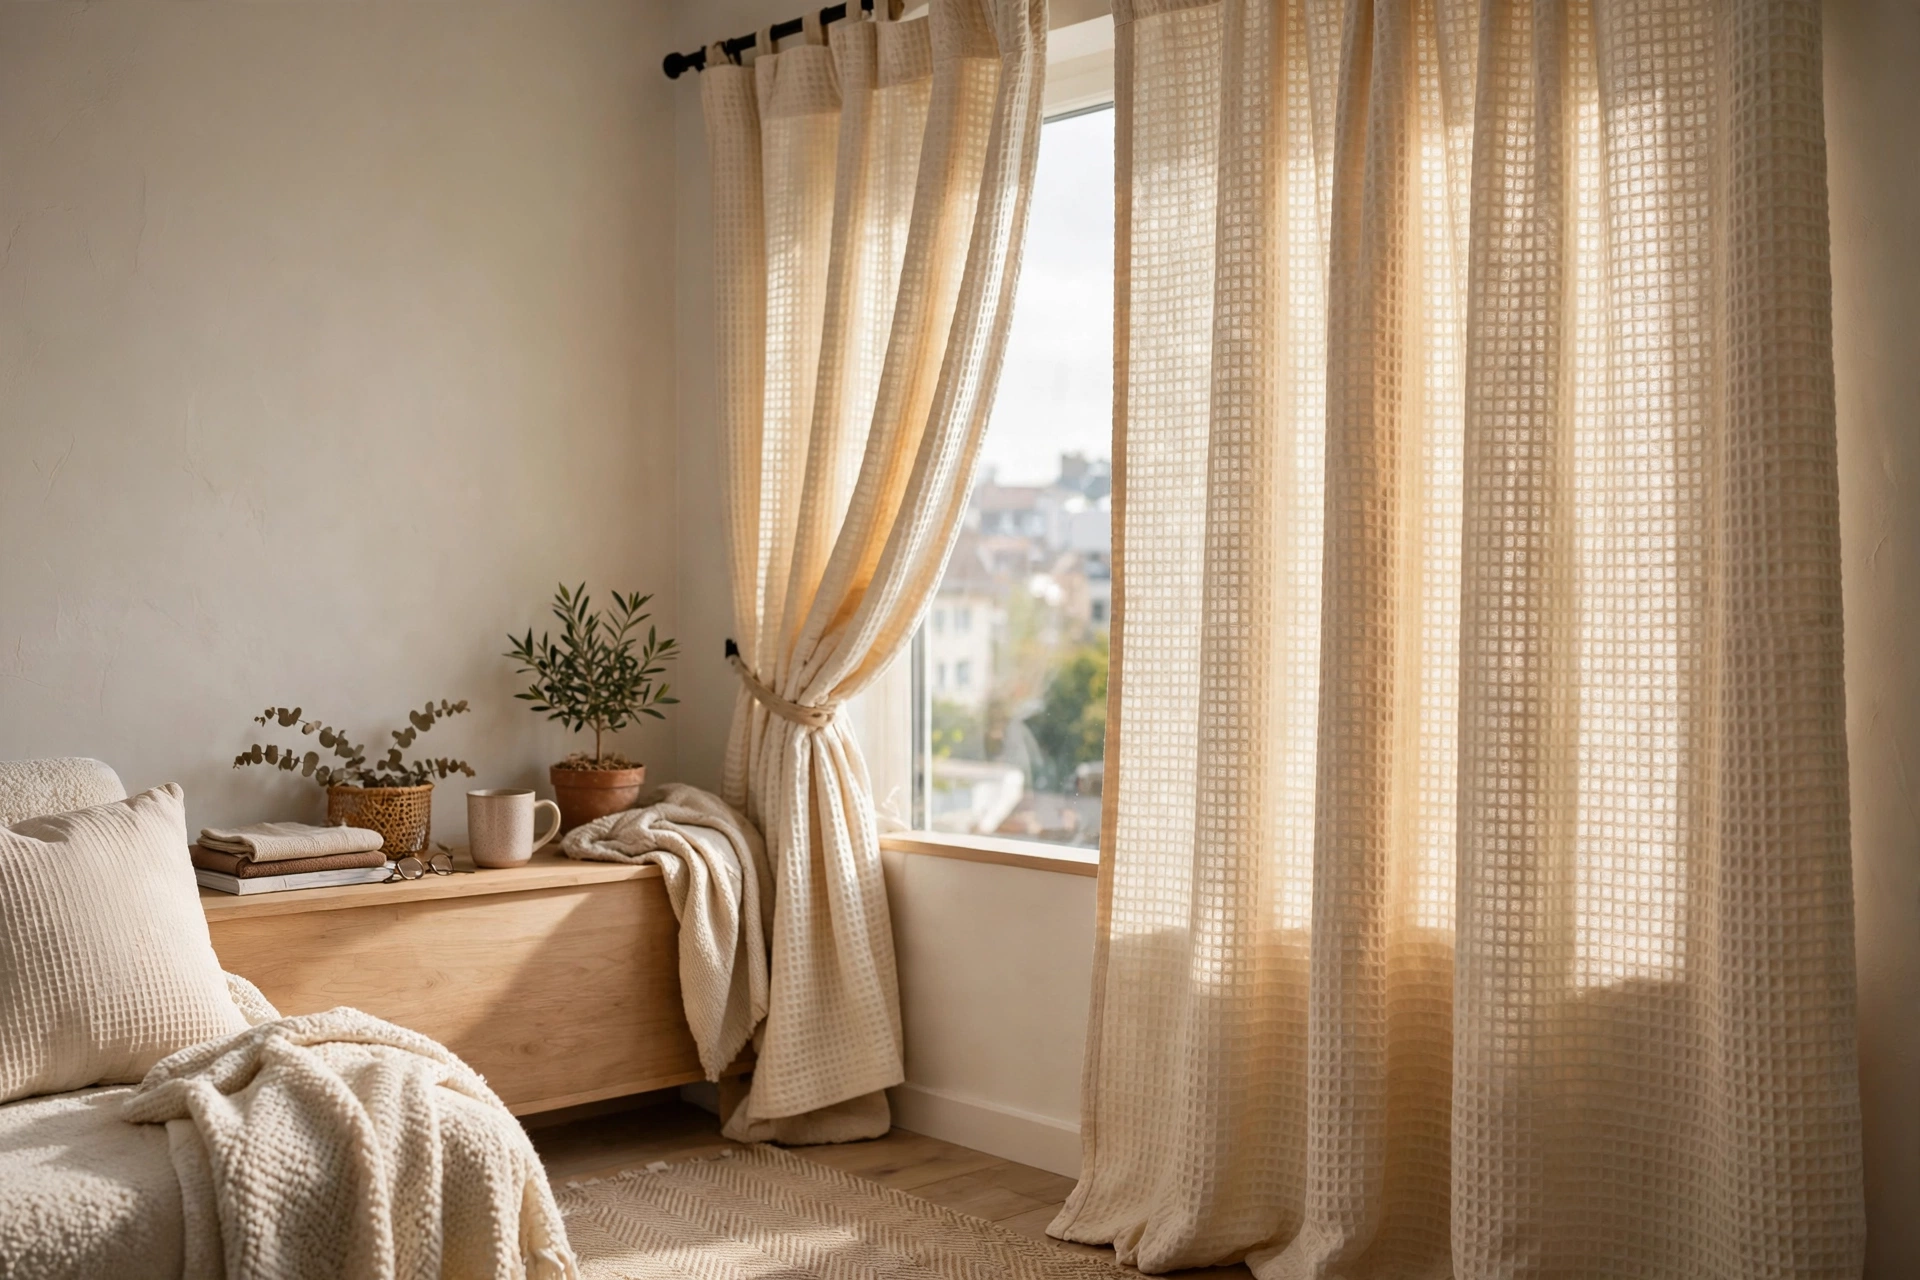
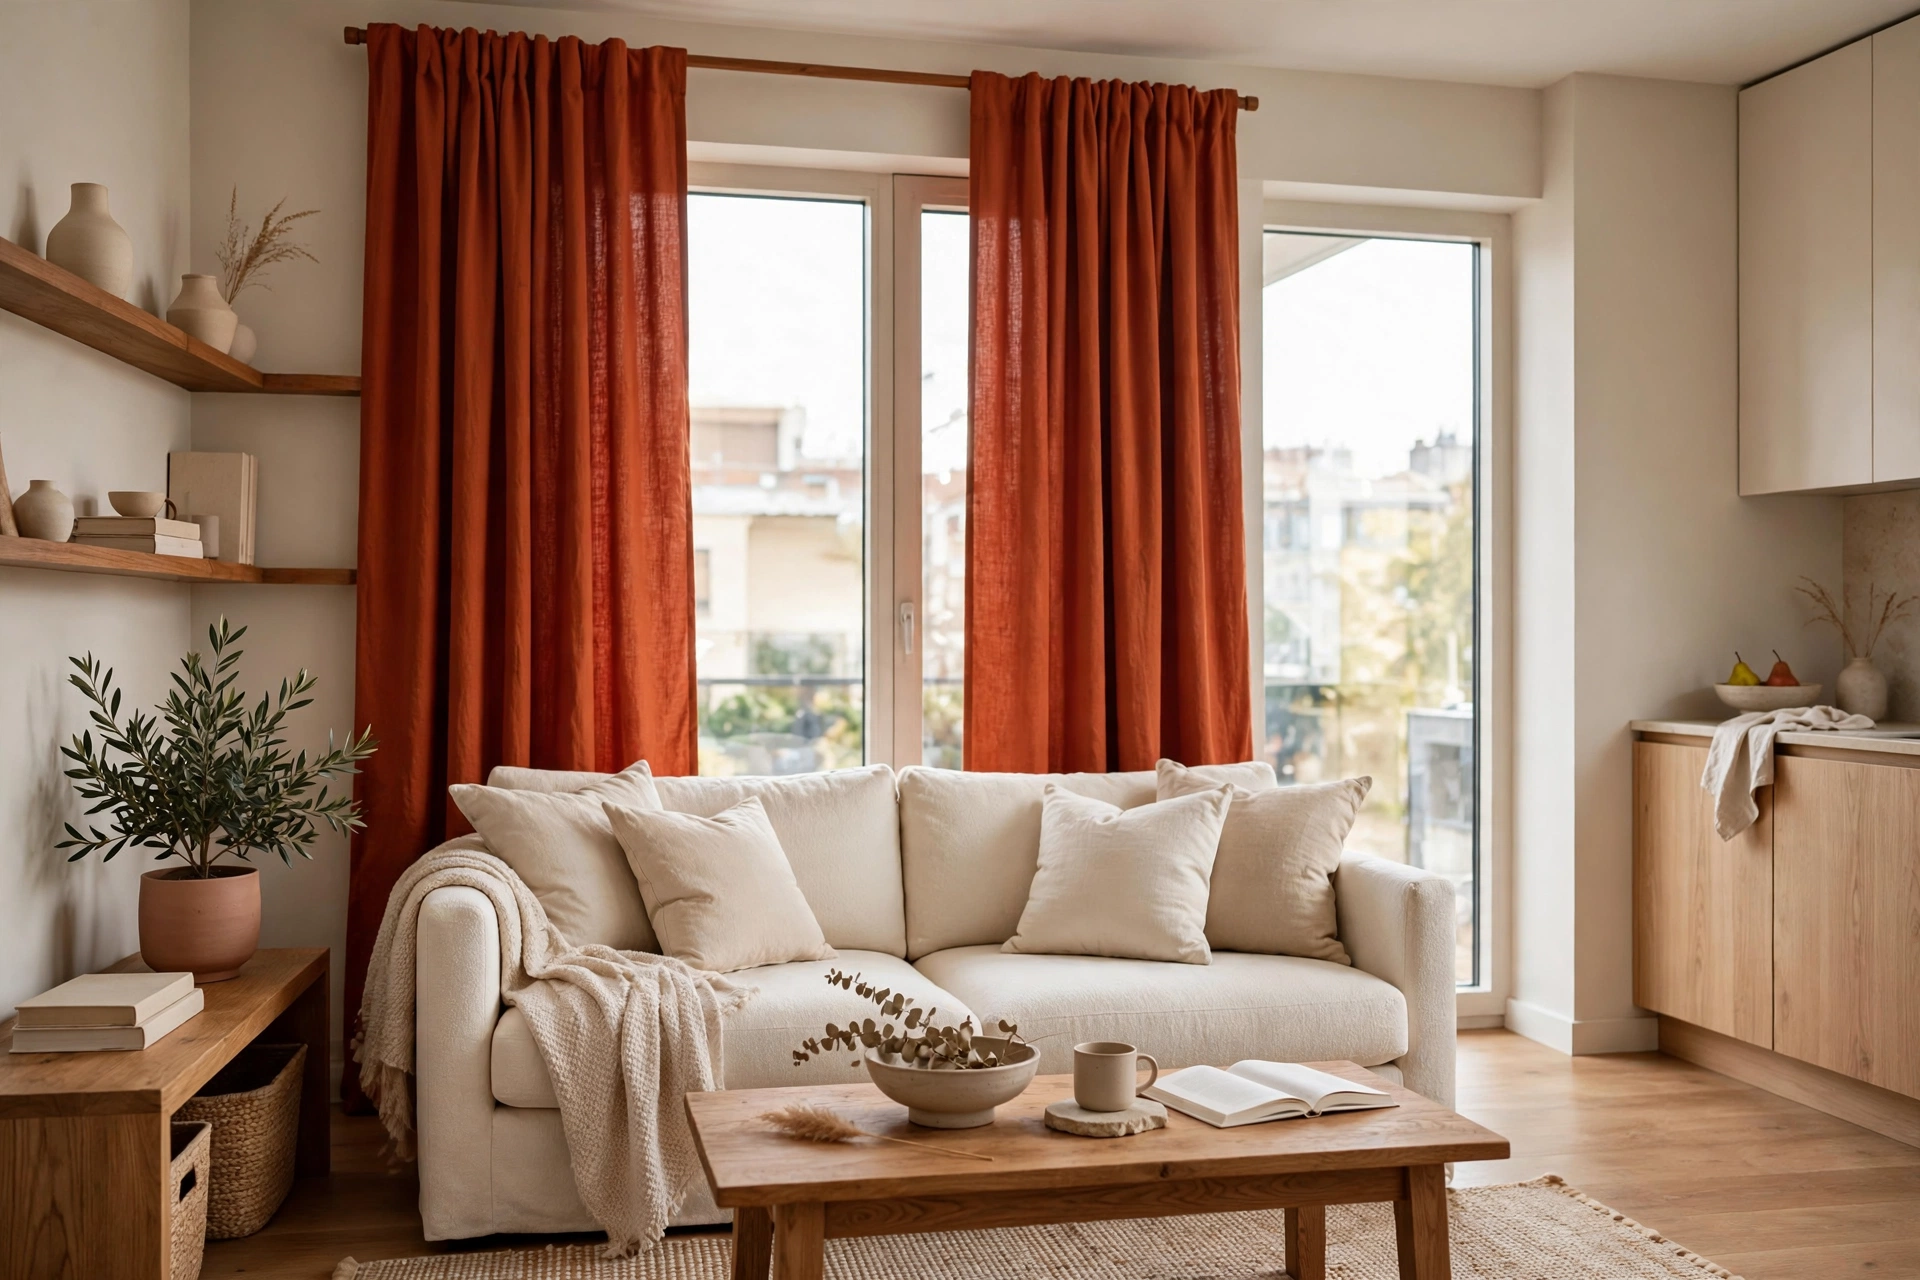
33. Make One Bold Color Move
A single pair of curtains in a confident color — terracotta, deep teal, mustard — can carry an entire studio’s personality. The trick is commitment in exactly one place: bold curtains plus a mostly neutral room equals intentional design; bold curtains plus bold everything equals chaos. Panels in saturated colors run $30–$55 each. Pro tip: Echo the curtain color in just two small accents (a cushion, a vase) and the bold choice looks deliberate and pulled-together rather than random.
34. Layer Blackout Behind Sheer for Day-to-Night
The sheer-plus-blackout layer (from idea 11) deserves its zoning superpower spelled out: in a studio, hang sheers closest to the glass across the whole window wall for daytime privacy, and add blackout panels only on the section in front of the bed. By day the whole wall glows softly; at night you draw just the bed section dark. It’s the most functional curtain arrangement a studio can have. Pro tip: Put the blackout panels on a separate track or rod section so they operate independently — one pull at bedtime, one pull in the morning, done.
35. Keep a Seasonal Second Set
Designers quietly swap textiles with the seasons, and curtains are the highest-impact swap in a studio. Light linen or cotton voile for spring/summer keeps things breezy; heavier velvet or thermal drapes for fall/winter add coziness and insulation. Store the off-season set in a vacuum bag under the bed. A second set of budget panels costs $25–$60. Pro tip: Buy both sets in the same rod-pocket or header style so the swap takes ten minutes — if you have to change hardware too, you’ll never do it.

36. Finish with a Proper Hem and Steam
The difference between cheap-looking and custom-looking curtains is almost entirely in the finishing: hems that land consistently and fabric free of packaging creases. A handheld steamer ($25–$35) is the best $30 a renter can spend — five minutes per panel erases fold lines forever. For length fixes, iron-on hem tape ($6) shortens panels without sewing. Pro tip: Steam curtains while they’re hanging, working top to bottom — gravity helps, and you’ll see exactly how the fabric falls. This one step is also among the decorating mistakes to avoid skipping: wrinkled, wrong-length curtains cheapen even expensive panels.

Frequently Asked Questions
What is the best curtain length for a studio apartment?
Floor-length — always. Panels should just kiss the floor or puddle by an inch or two. Short curtains that end at the sill visually cut the wall in half and make ceilings look lower, which is the opposite of what a studio needs. Measure from your rod or track to the floor and buy the next standard length up (usually 96 or 108 inches) rather than settling for 84-inch panels.
Should curtains match the wall color in a small space?
Close to it, yes — curtains in a similar tone to the walls (white on white, greige on greige) make the room feel larger and calmer because the eye doesn’t stop at high-contrast boundaries. If you want contrast, do it once: a single bold pair in the living zone while the rest stay tonal keeps the drama without the visual clutter.
How do I hang curtains without drilling in a rental?
Tension rods inside the window frame are the easiest option for light panels, adhesive brackets handle real rods on smooth surfaces, and twist-and-fit rods span alcoves for divider curtains. For the popular ceiling-track look, adhesive ceiling mounts can hold lightweight tracks and sheers. Always clean surfaces with alcohol first and respect the 24-hour adhesive cure time.
Are blackout curtains worth it in a studio apartment?
Absolutely — in a studio your bed is never far from a window, and streetlights, sunrise, and neighbors’ lights all land on your pillow. Triple-weave blackout panels block nearly all light, dampen street noise, and add insulation. Layer them behind sheers on a double rod so you still get soft daylight during the day.
How wide should curtain panels be?
Each panel should be 1.5 to 2 times the width of the window it covers — so a 48-inch window wants 72–96 inches of total panel width. Fuller panels create the deep, luxurious folds that make curtains look expensive, while skimpy panels stretched flat look cheap no matter what they cost. This fullness rule matters even more for sheers, which need extra gathering to look intentional.
Can curtains really divide a studio into rooms?
Yes — a ceiling-mounted curtain on a track is one of the most effective studio dividers, creating a genuine sense of a separate bedroom that opens up by day. It costs a fraction of a bookcase divider or folding screen, softens sound, and disappears when you want openness. Pair the divider curtain with the zoning ideas in our studio bedroom guide for a sleep zone that truly feels like its own room.
Final Thoughts
Curtains might be the highest-impact, lowest-cost upgrade a studio apartment can get. For the price of one piece of furniture, you can add privacy, darkness, insulation, the illusion of height, and even an entirely new “room” — no renovation, no landlord negotiations, and most of these ideas install in under an hour. Start with the high-and-wide hang and one good set of panels, then layer in sheers, tie-backs, and a divider curtain as your budget allows.
The golden rule through all 36 ideas is the same: in a small space, every textile choice should earn its place by making the room feel bigger, calmer, or more intentional. Choose fullness over skimpiness, length over shortness, and softness over stiffness — and your studio windows will do more design work than almost anything else you own.

One Comment